Girly Blue & Pink Freehand Chevron Moons 🌙

Hello loves & happy Wednesday!

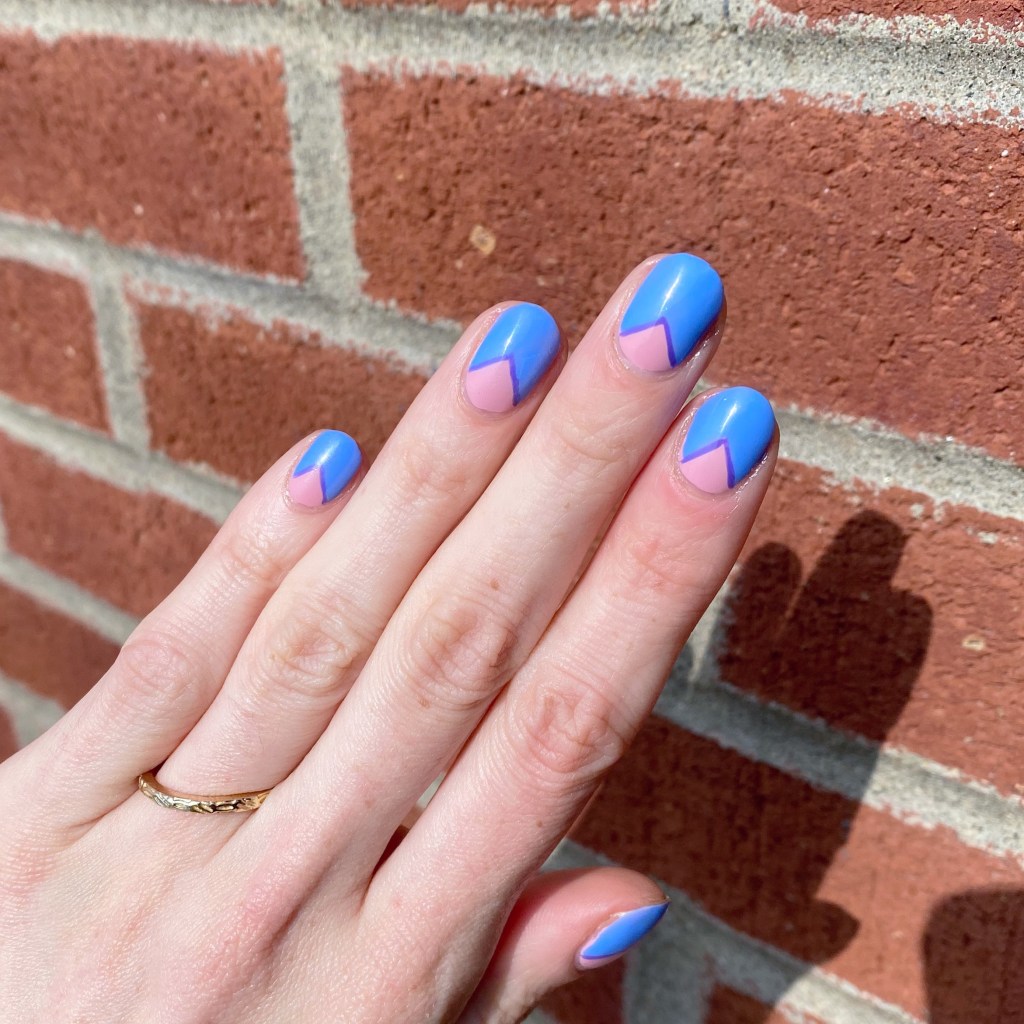
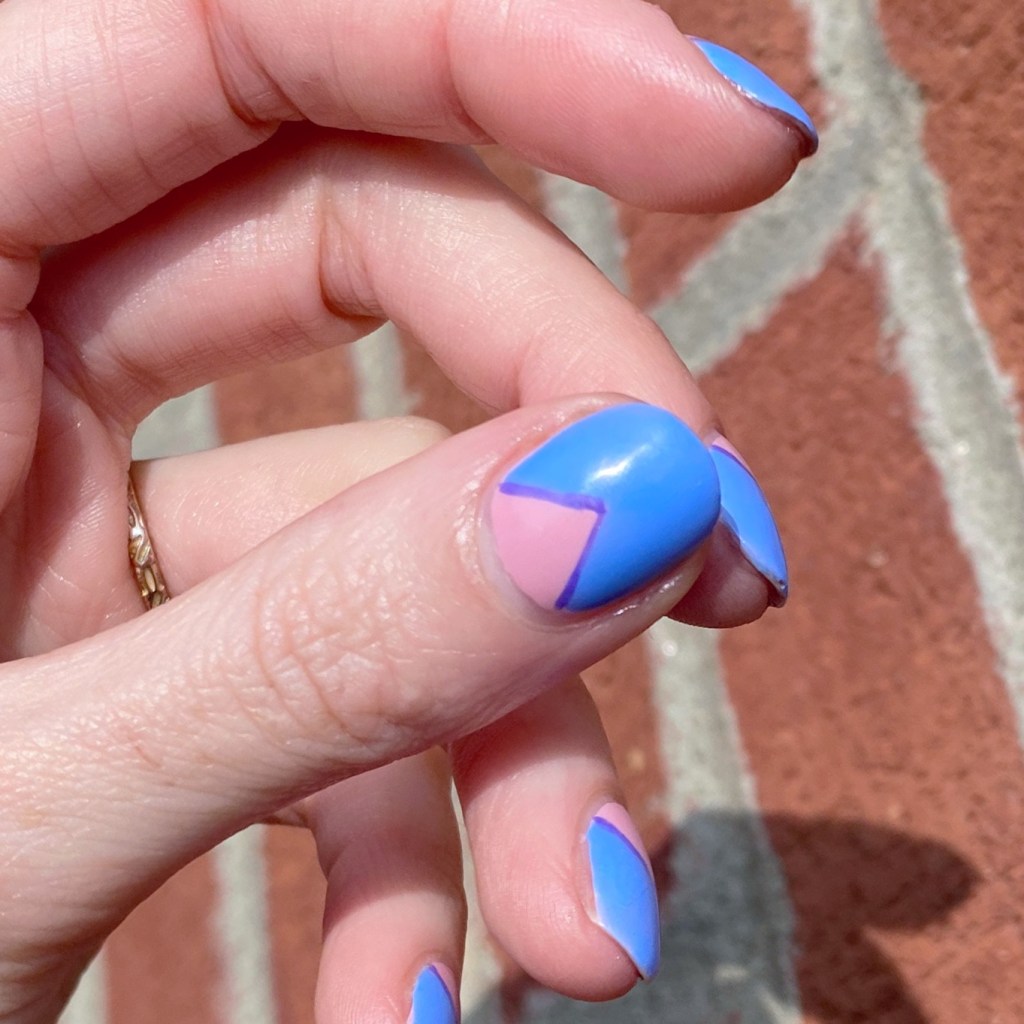
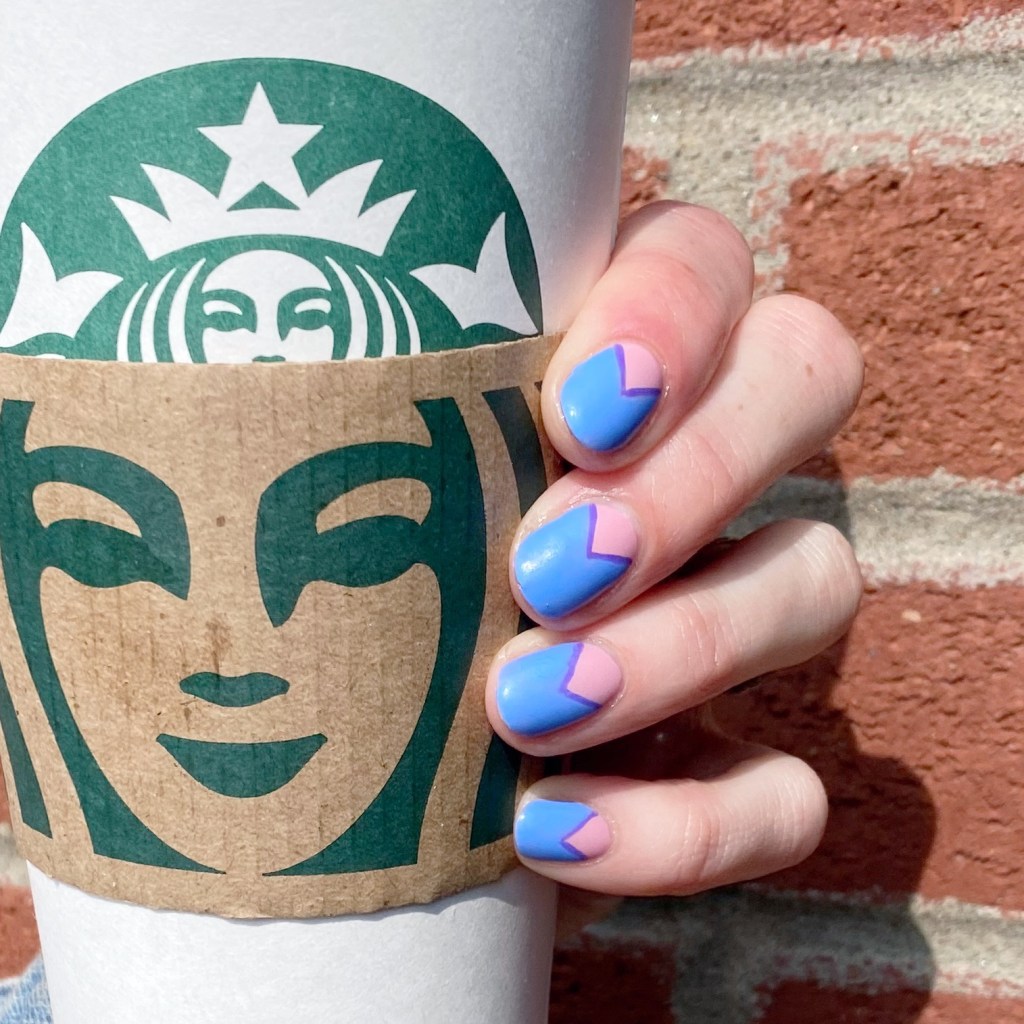
Already the middle of the week –how crazy is that? Today I’m sharing another cute look on these new shorties of mine. Whenever I have a bad break, I always get stressed about what I’m going to be able to paint on my nails. But the truth is, nail art looks just as cute on short nails as it does on long… & sometimes it looks even cuter! I always find that a moon/chevron moon design looks best on a shorter nail length, which is why I tend to do them more when my length is short.

Today’s look I went simple, & girlie.

The polishes I used for this manicure are: 

  • Base Coat: Londontown KUR Nail Hardener & Base Coat 
  • Top Coat: Seche Vive Fast Dry Top
  • Sally Hansen Good. Kind. Pure. Love You Lotus
  • Sally Hansen GKP Blue Moonstone
  • Color Club Art Club Striper Passion Flower

Back in the early days of my Instagram, I saw a tutorial from @christabellnails that showed how do easily do the v-shape of a chevron moon, & I’ve been doing it that way ever since. Obviously, I do still do the occasional vinyl look too, but this is so much easier if you don’t want to have to wait for your base shade to full dry.

Also these colours are so cute together! Blue Moonstone from the Good Kind Pure line is still one of my favourites to grab for a quick manicure, so I enjoyed pairing it with this soft pink base. & just a little hint of purple around the edges.
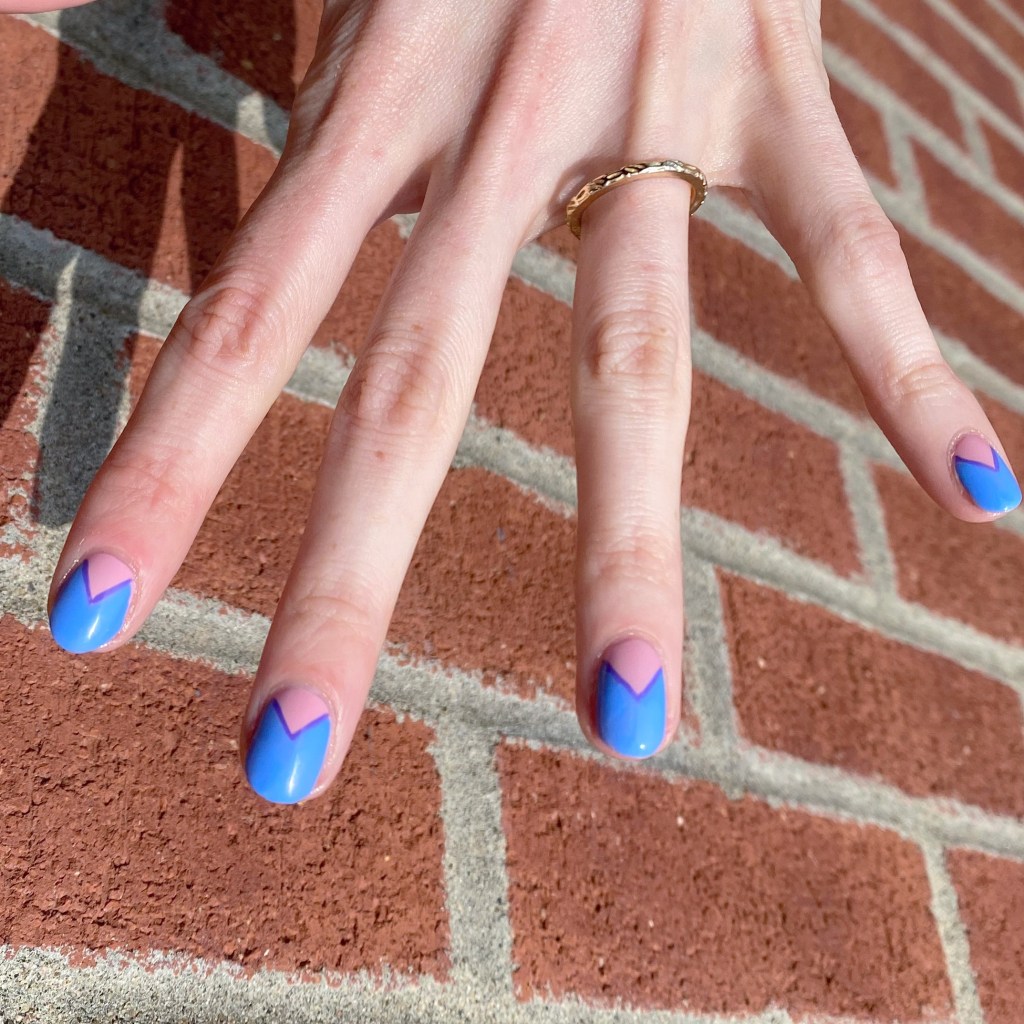
What do you think of these freehand chevron moons? Do you like a simple design like this, or are you a fan of a more poppy complicated look? Let me know all your thoughts down in the comments below!

& have a happy Wednesday! ♥︎

*contains PR/gifted items

Itty Bitty Gradient Dotticure

Hello lovelies! Yes it’s me — only we’re rocking some shorties again. (Okay, & I’m drinking a matcha lemonade — my other drink aside from coffee!) I mentioned I had a patch on my middle finger nail of a bad crack. I finally decided I was over trying to keep it from cracking worse, & decided to chop my my nails down.

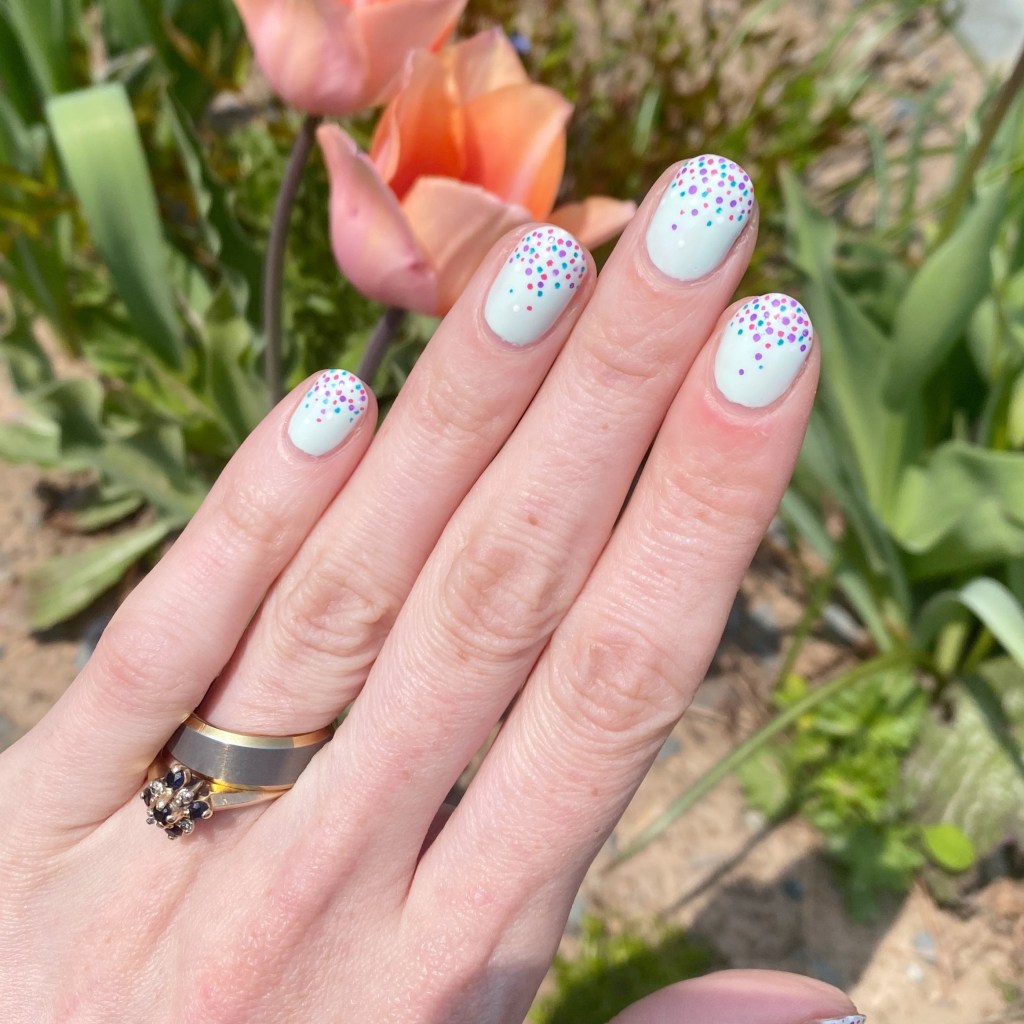
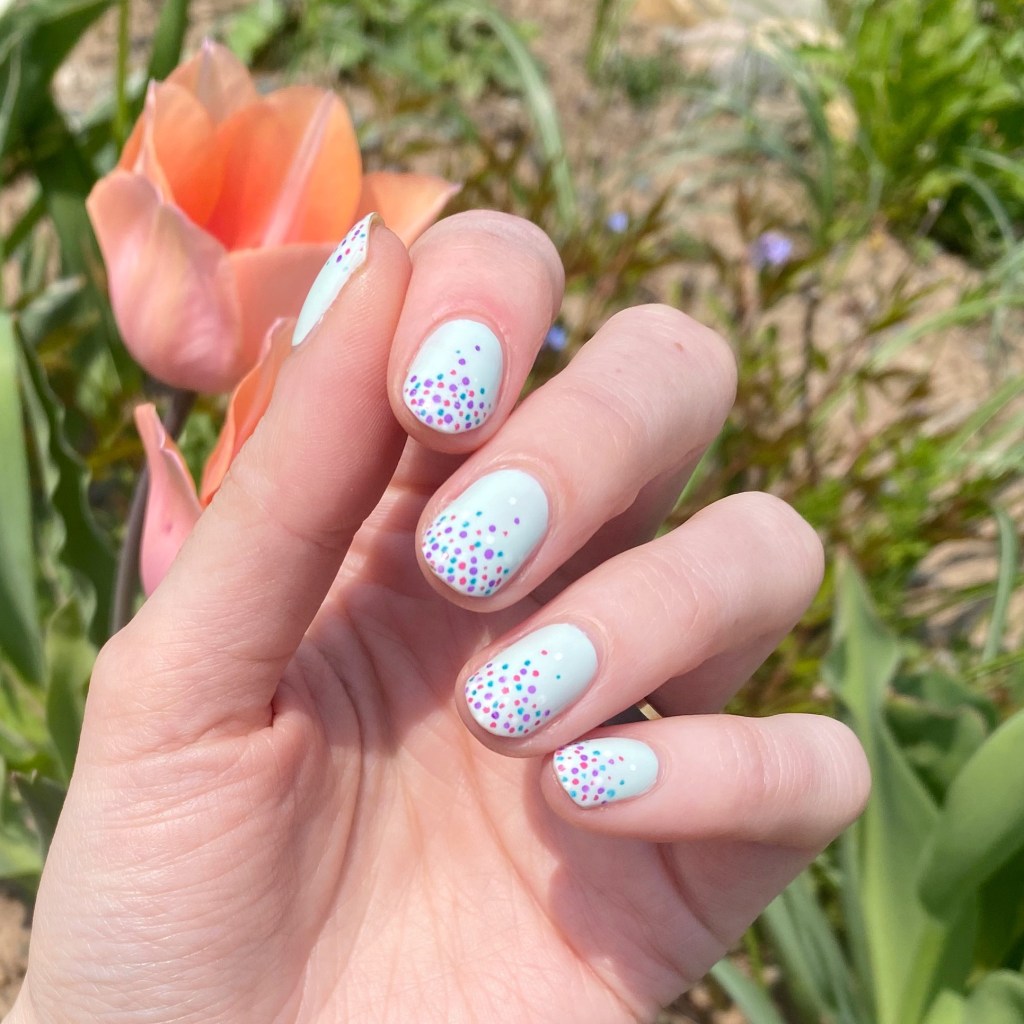
Today I went with a simple but fun look to wear. I love a good gradient dotticure, but I realized it’s been a long time since I actually did one. This design was actually inspired by this look from 2016. I thought since we were back down to shorties, why not find some fun nail art to do on short nails!

The polishes I used for this manicure are: 

  • Base Coat: Londontown KUR Nail Hardener & Base Coat
  • Top Coat: Seche Vive Fast Dry Top
  • Londontown KUR Mint No Chip
  • Sally Hansen I ❤️ Nail Art pen in purple
  • Sally Hansen I ❤️ Nail Art pen in turquoise
  • Sally Hansen I ❤️ Nail Art pen in pink
  • Sally Hansen Miracle Gel Get Mod
  • Itty Bitty Dotting Tool (NailStuff.ca Dotting Tool Trio)

How absolutely adorable as these itty bitty polka dots? You could definitely do this with a tiny dotting tool & an assortment of polishes, but I love those Sally Hansen I ❤️ Nail Art pens because it makes it so easy! I really wish Sally Hansen would bring them back, because they’re amazing for nail art — & mine are starting to empty out after all these years.

What do you think about this Gradient dotticure? Do you think you’d wear this fun (& easy!) look? Let me know all your thoughts down in the comments below.

& feel free to share any nail art you’d love to see me do on my new short nails!

Happy Friday! 🖤

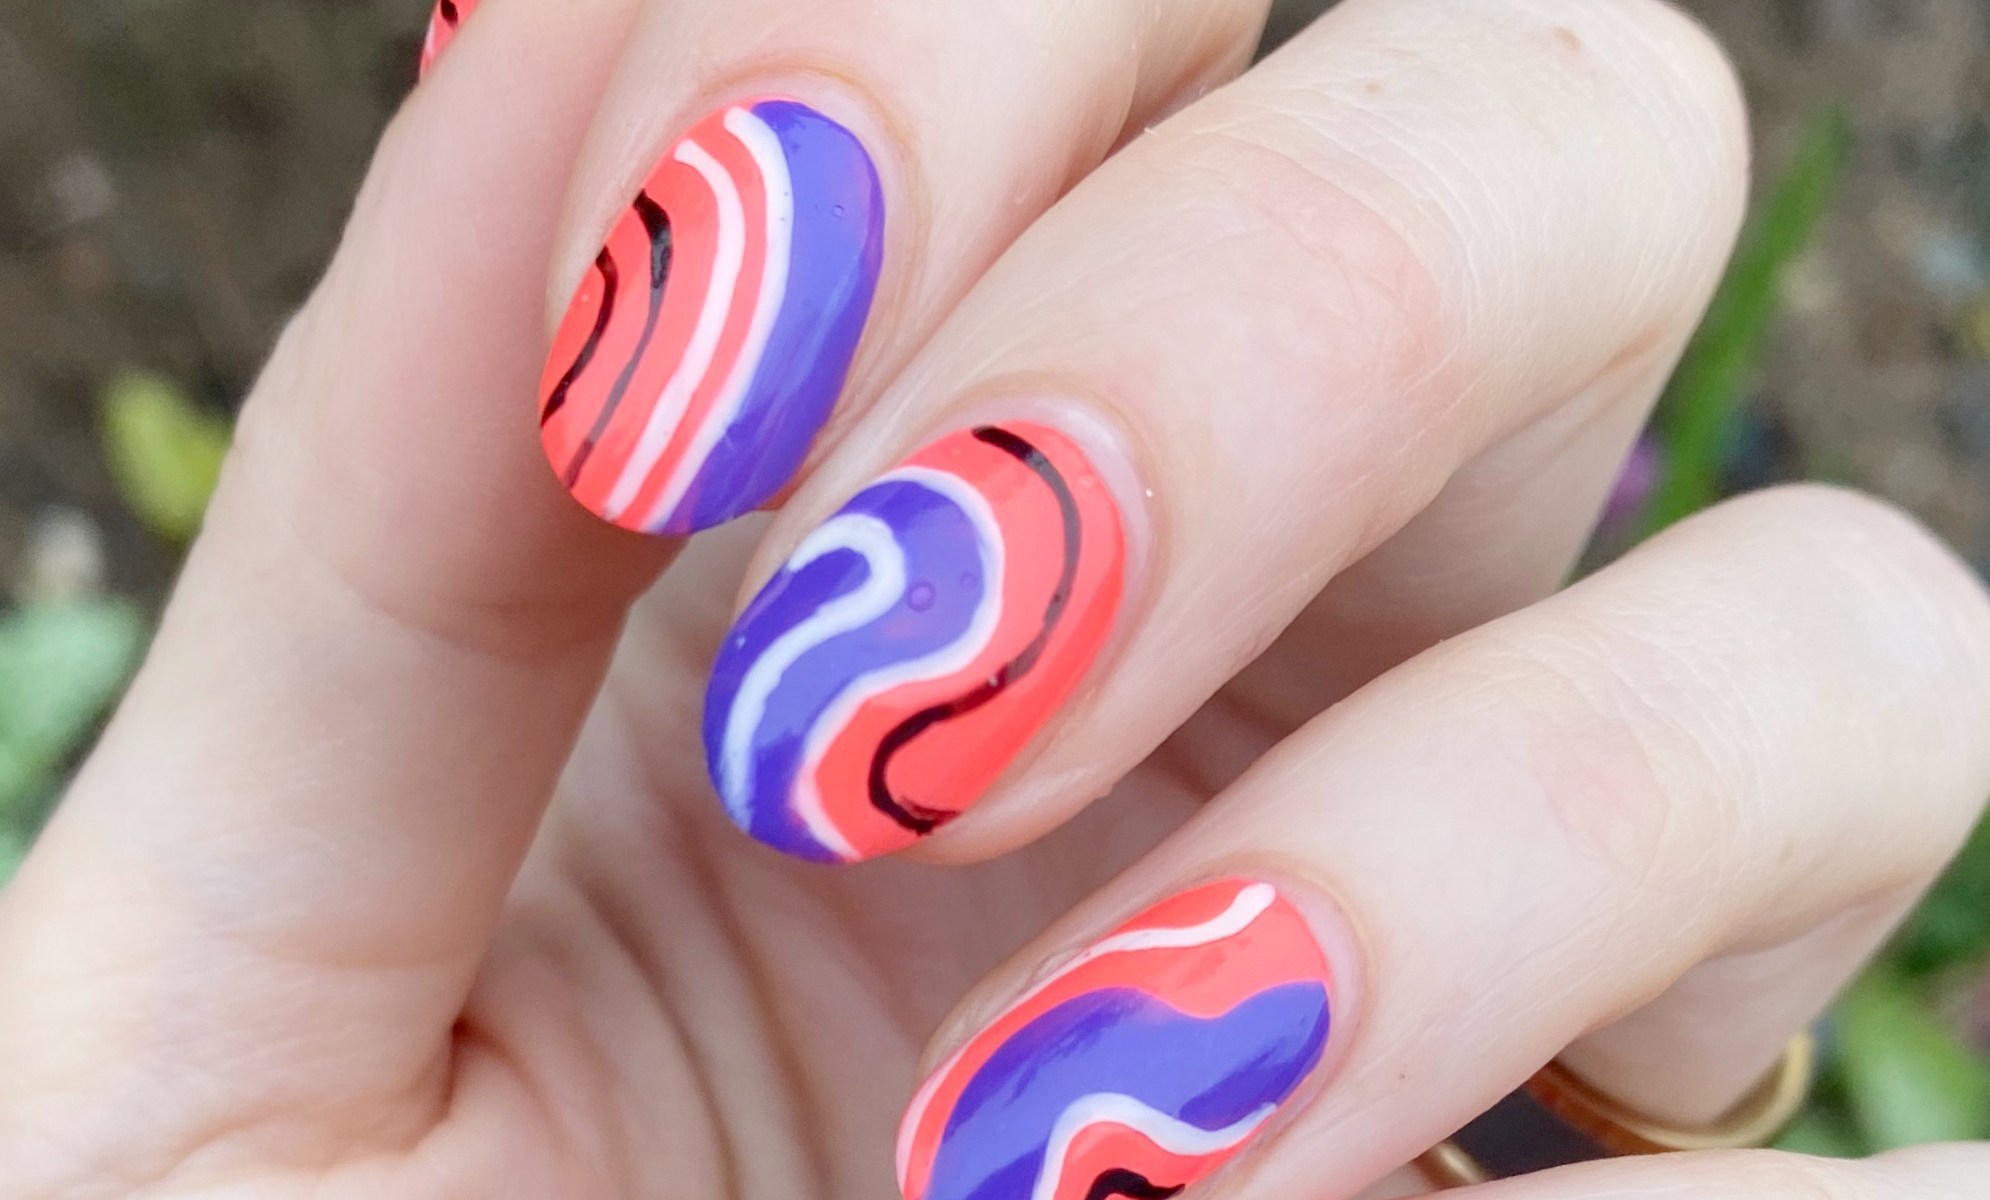
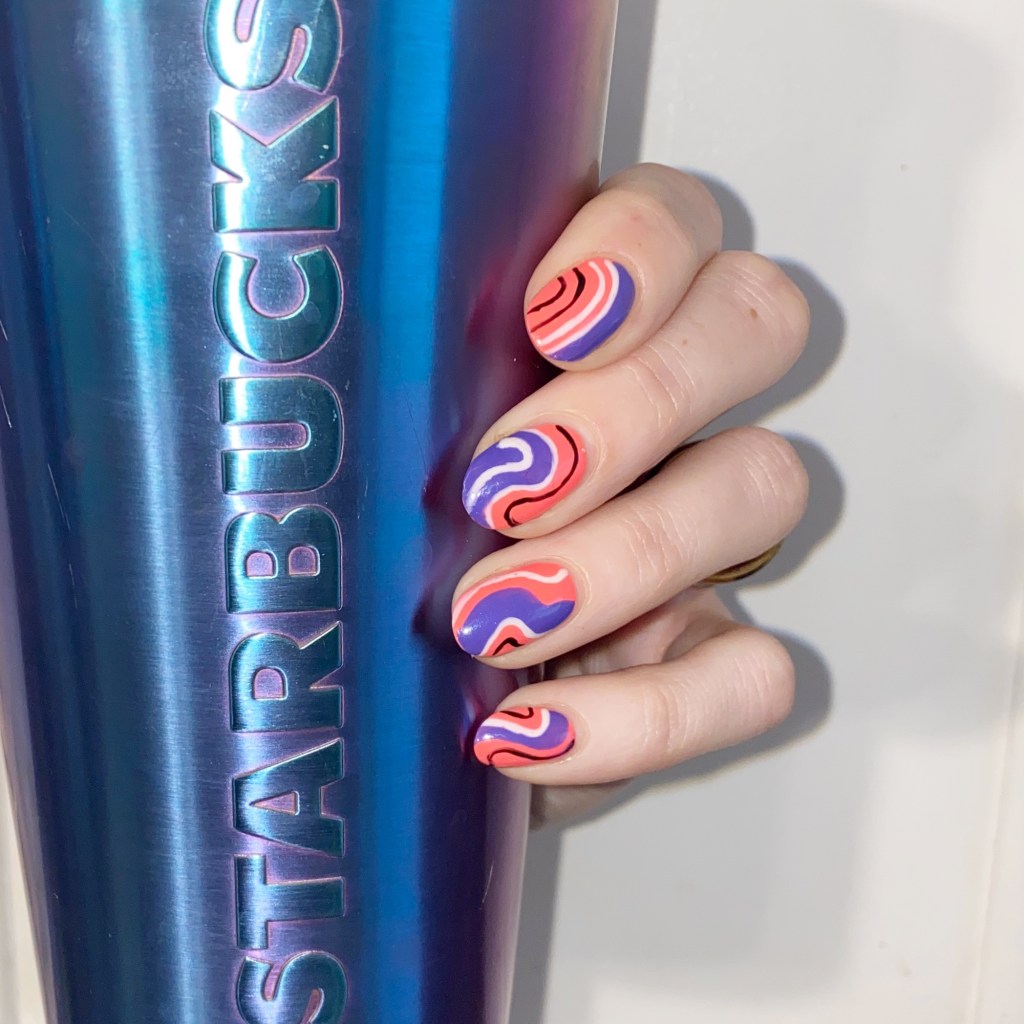
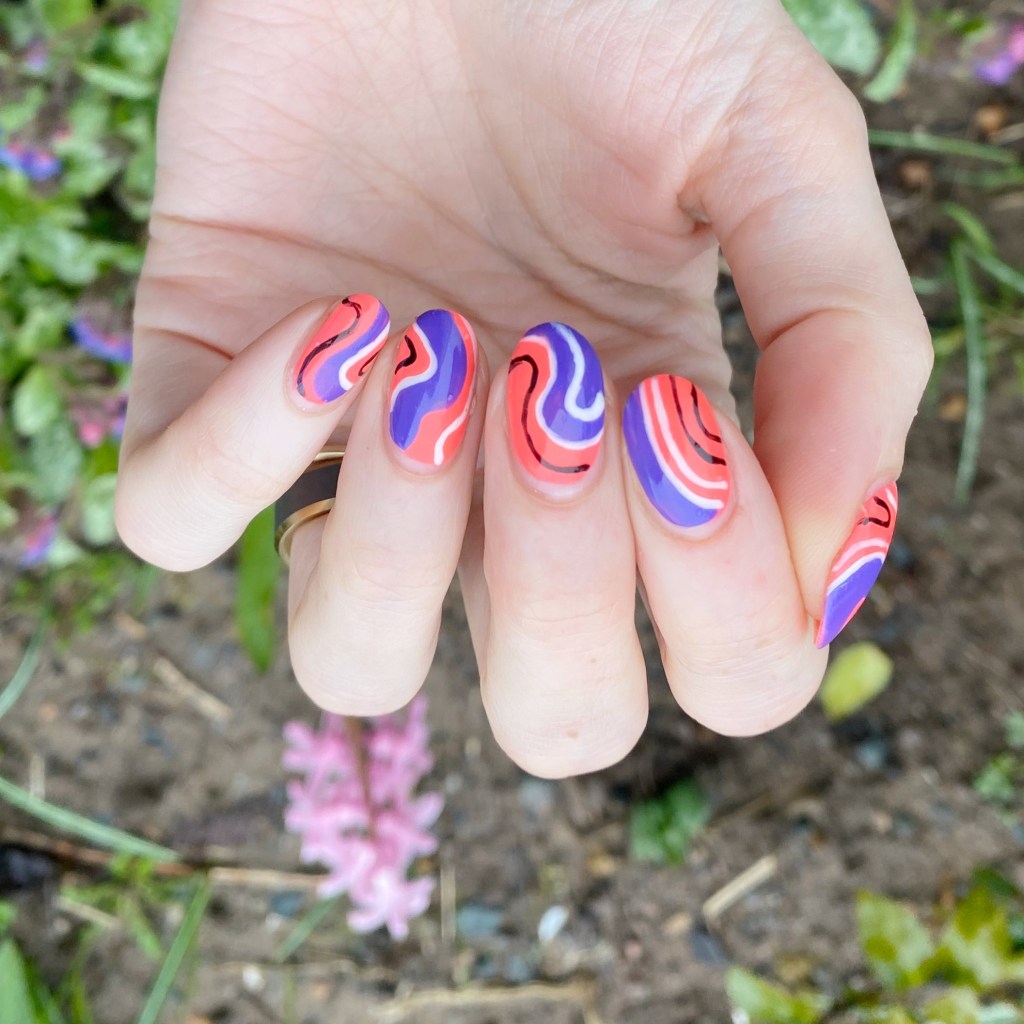
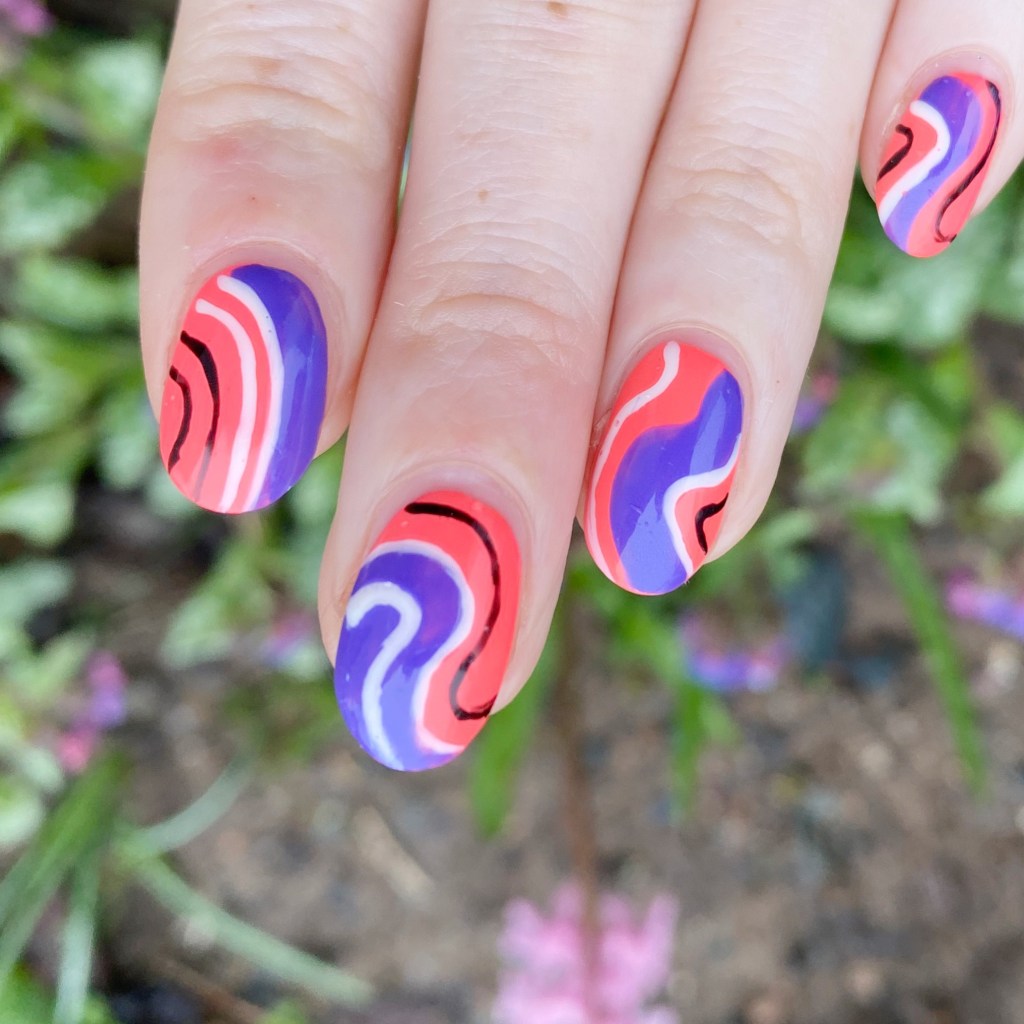
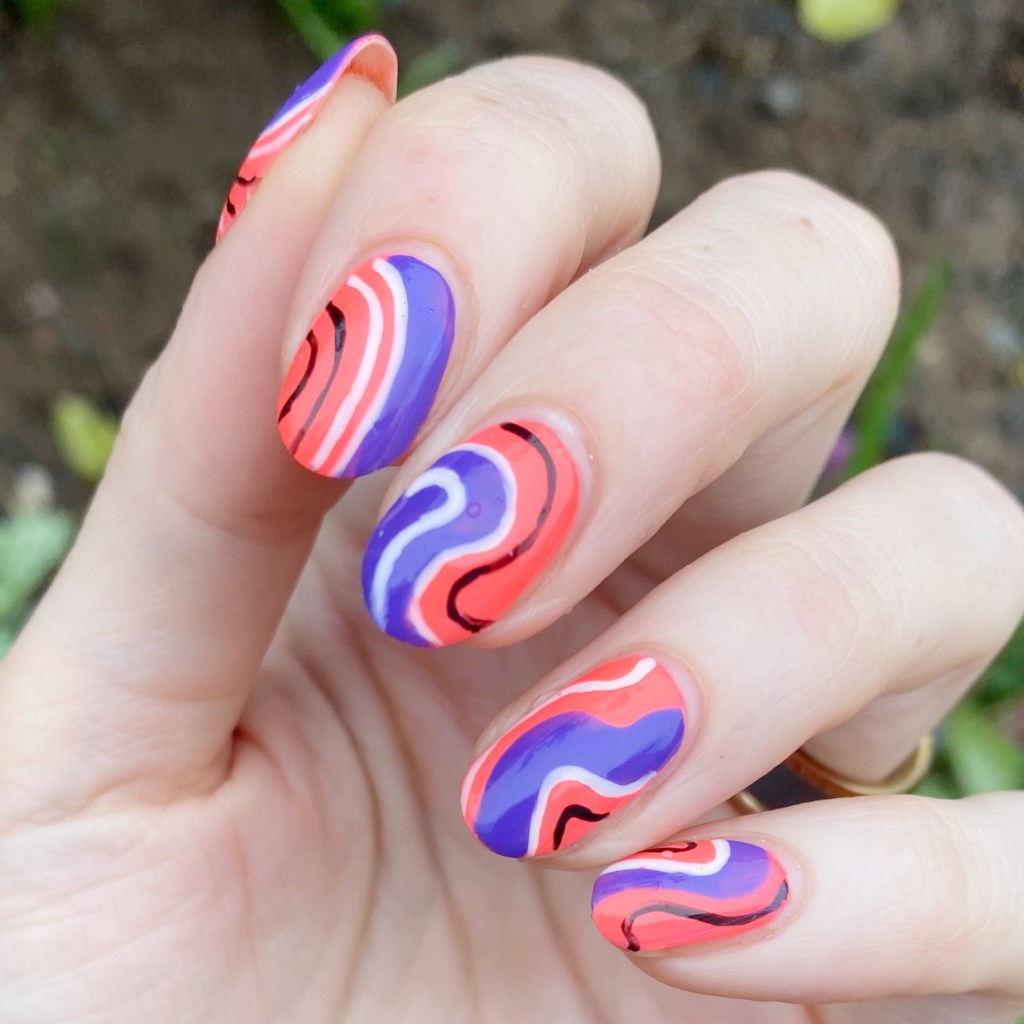
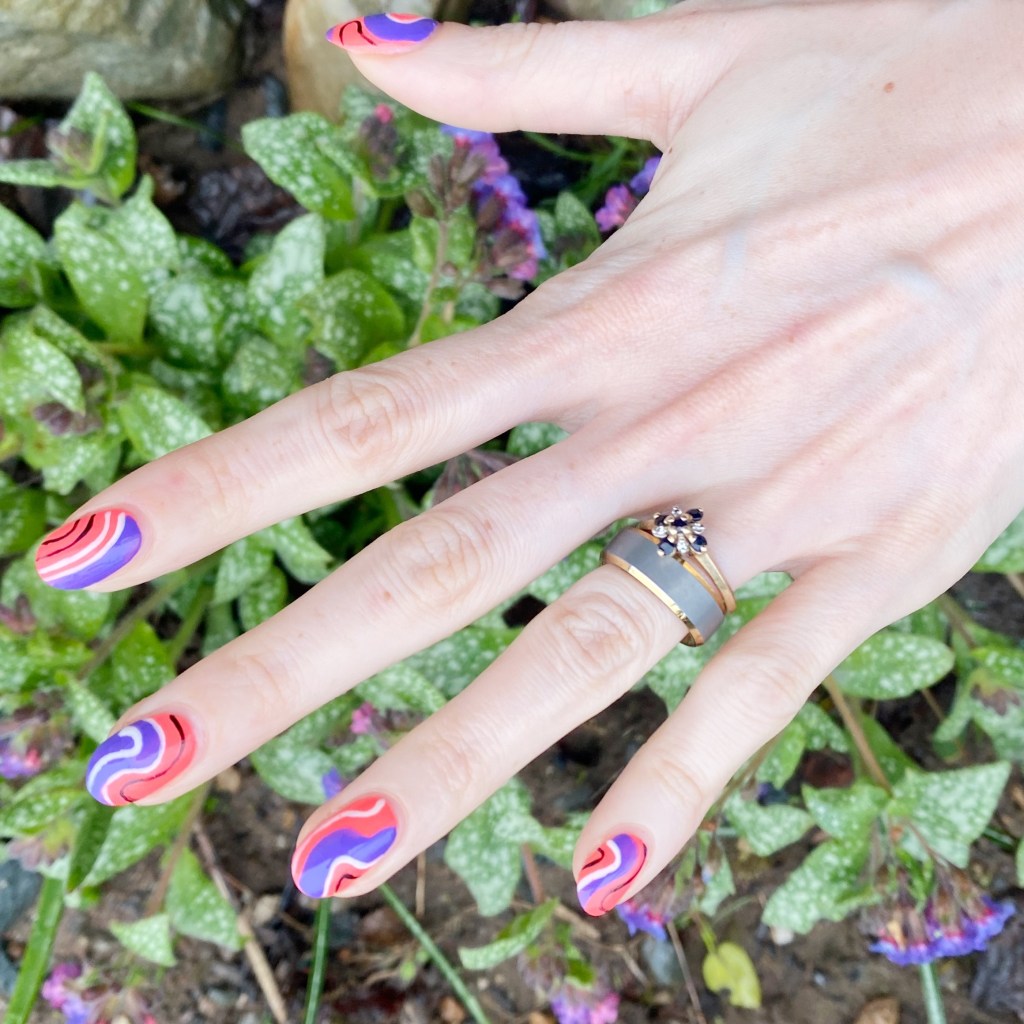
Funky Bright Abstract Stripes

Hello lovelies & happy Wednesday! A beautiful sunny Spring Wednesday.

I’ve really been feeling the bright colours lately, so I decided to dig through my stash to see what fun colour combinations I could come up with. Originally I had picked out these colours to do in a moon manicure, but it was late, I was tired & I didn’t want to wait for my base to dry so I decided to do the next best thing! A fun abstract stripe look.

The polishes I used for this manicure are: 

  • Base Coat: Essie Hard To Resist Glow & Shine 
  • Top Coat: Seche Vive Fast Dry Top
  • China Glaze Thistle Do Nicely
  • China Glaze I Got A Blue Attitude
  • Sally Hansen Miracle Gel Blacky-O
  • Sally Hansen Complete Salon Manicure Let’s Snow
  • NailStuff.ca 16mm Striper Brush

I love love love these two colours together, I can’t lie. I’ve always been a fan of pairing purple/corals together. In high school, my bedroom was painted a very vibrant shade of purple, & my curtains were this coral-y orange. & I loved it!

It was the early 2000s… don’t judge haha.

Either way, this is a fun, bright look to show off on a bright & sunny day like today. Of course, when I took these pictures it was not a sunny day… but you know, this kind of look works on a cloudy, rainy day too. Really, I’ll take any excuse for bright nails right now.

What do you think of these fun, funky bright abstract stripes? Are you hearing the call of the Summer neons? I’ll be honest, I bypassed right past pastels & full on into my brightest polish shades, but I’m okay with that!

Have a happy Wednesday!

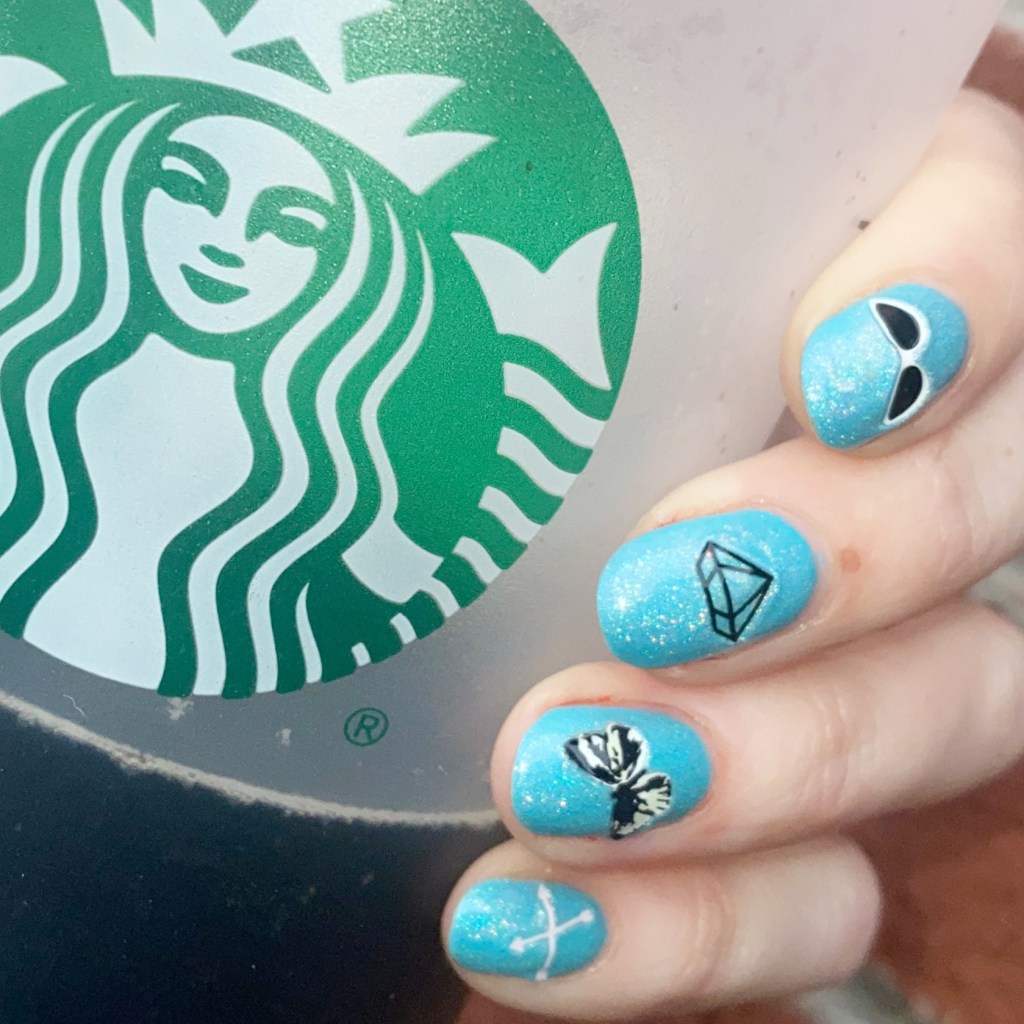
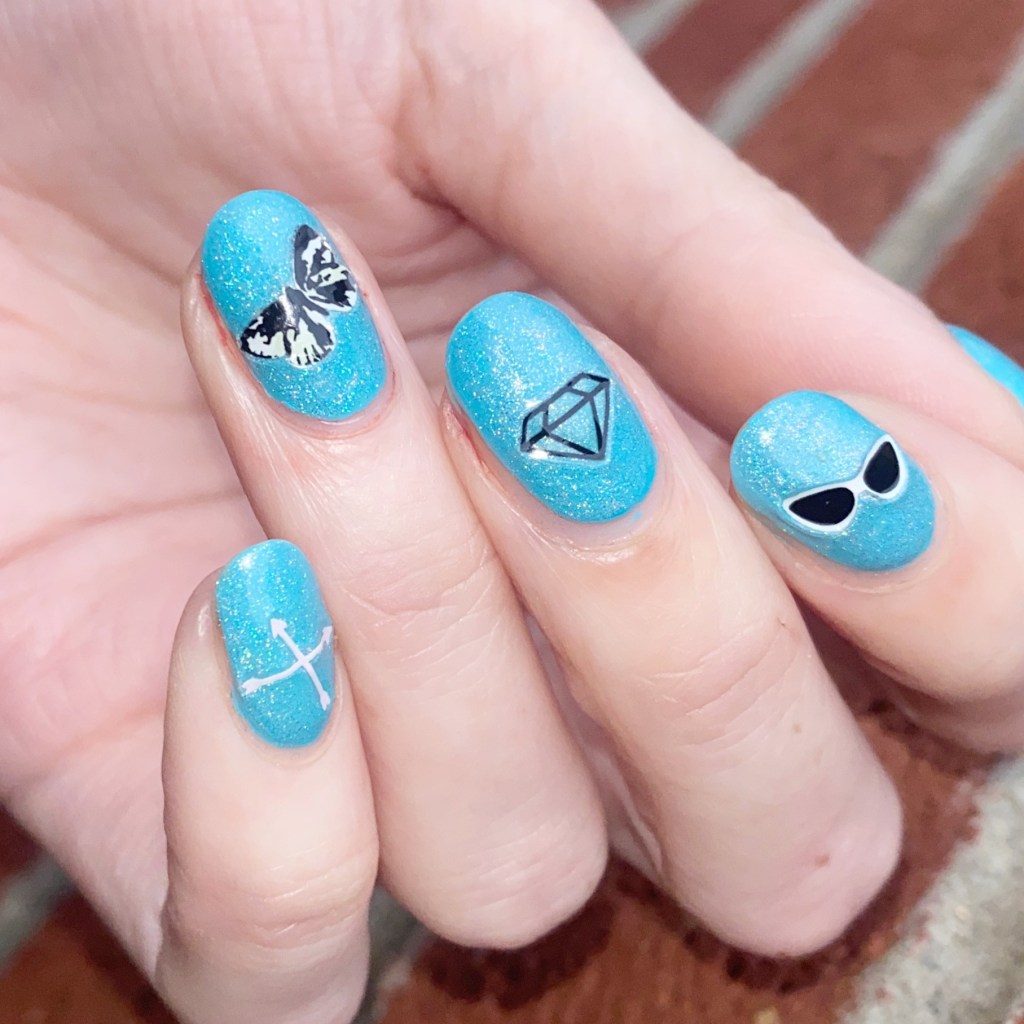
Easy Pop Art Nail Art with Stickers

Hello lovelies! I hope everyone is having a lovely week so far. Today I’m feeling Summer vibes, so I wanted to share a fun pop art inspired nail art I recently did that were super easy to do — especially since they basically involve no actual talent what-so-ever! & isn’t that the best kind of nail art?

The polishes I used for this manicure are: 

  • Base Coat: Essie Hard To Resist Glow & Shine 
  • Top Coat: Seche Vive Fast Dry Top
  • Holographic Top Coat: Starrily Eclipse
  • Essie In The Cabana
  • Olive & June Nail Art Stickers (discontinued sheet)

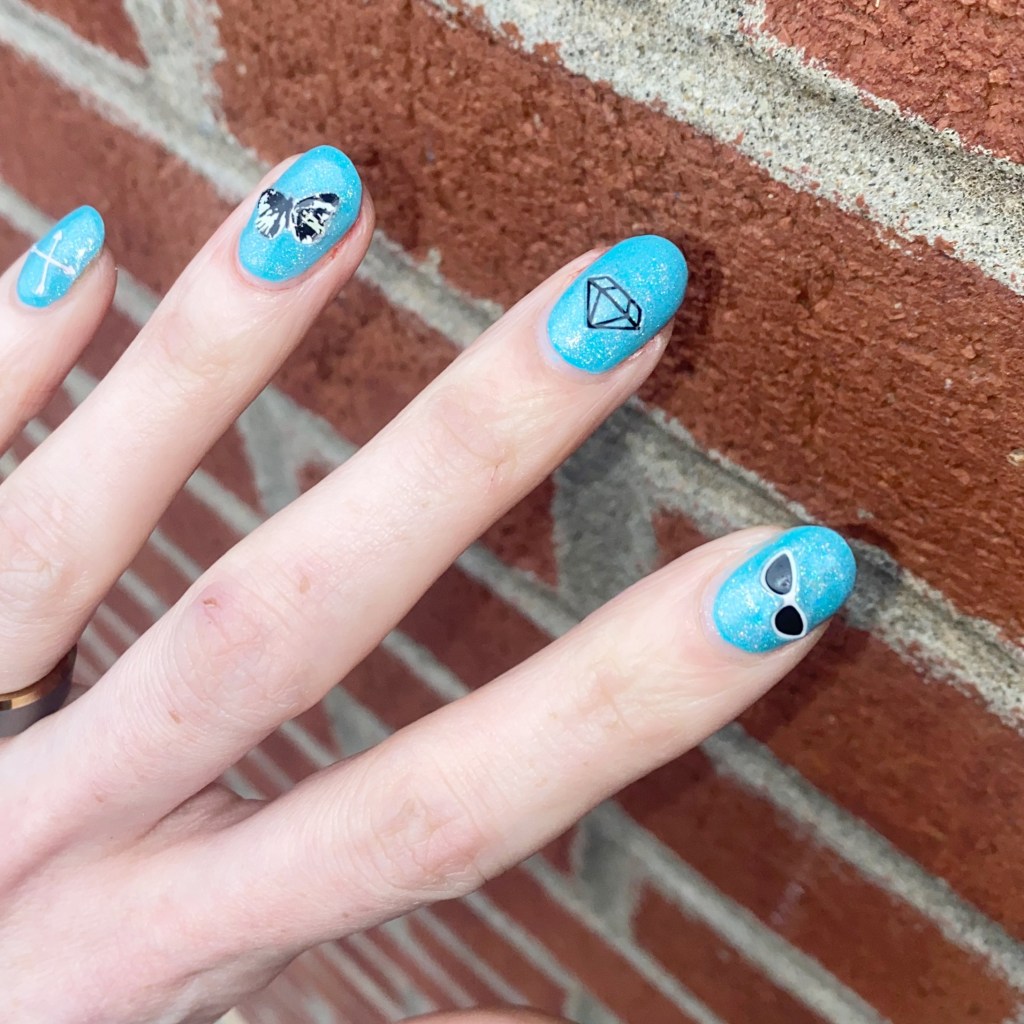
I recently picked up (well… last Summer) a new bottle of Essie In the Cab-ana which is one of my favourite Summer shades. But adding Starrily Eclipse over top brought it to a whole other level! & I’m definitely obsessed.

I also thought these Olive & June nail art stickers were so cute over top. The black & white stickers feel very pop art to me. This sticker line is long discontinued (I think it’s about 5 years ago I was gifted them) but they do have lots of other cute nail art stickers on their site. You can also find cute nail art stickers through my go to, NailStuff.ca, Deco Miami — although I’ve never tried them — & Amazon, obviously!

What do you think about these fun nail art looks? Do you like easy nail art looks like this?

Let me know all your thoughts down in the comments below.

GLAM NAILS CHALLENGE APRIL — Birds 🕊️

Hello lovelies & happy Wednesday! This post probably finds you late in the day — especially those of you not in North America. But this morning was a busy one, so my posting got messed up a smidge. Today, I have another prompt for Glam Nails Challenge April to share & it’s the second to last one of the challenge!

It’s almost May, how crazy is that?

Today’s prompt is birds. I looked through my stamping plates, because I wasn’t sure I was up to free handing a bird, & surprisingly I don’t really have many plates with bird images on them. BUT I did have an Essence one with a flying sparrow design, so I thought that would look pretty.

The polishes I used for this manicure are: 

  • Base Coat: Essie Hard To Resist Glow & Shine 
  • Top Coat: Seche Vive Fast Dry Top
  • Kozmic Colours shimmery blue (no name — bought at Dollarama)
  • Kozmic Colours teal (no name — bought at Dollarama)
  • Kokie Professional Rock Star
  • Starrily Vantablack
  • Essence “Stamp It!” plate (no longer available)
  • Nailstuff.ca clear stamper & scraper set

I started off this design by creating a kind of “smoosh” design. My base shade was originally just the Kosmic Colours blue, but I found it a bit thin & patchy, so I decided a kind of marble base would look pretty. I smooshed a few other colours using my stamper & then sealed everything in with top coat. Then one by one, I stamped on the bird image, trying to give it the effect of them kind of flying. Simple, for sure, but I think over all the design turned out really cute.

What do you think of this bird design for Glam Nails Challenge April? Are you a fan of a simpler look like this?

I also have to say I enjoyed taking these pictures in my own garden, listening to all the birds finally fluttering around. Spring is such a beautiful time of year, & I’m excited about these warmer days!

Have a lovely day! ♥︎