Hello lovelies & happy Wednesday! Today is a very special Wednesday because it is my baby girls 6th birthday. 🎉 🎂
So crazy to believe that she’s 6 already!
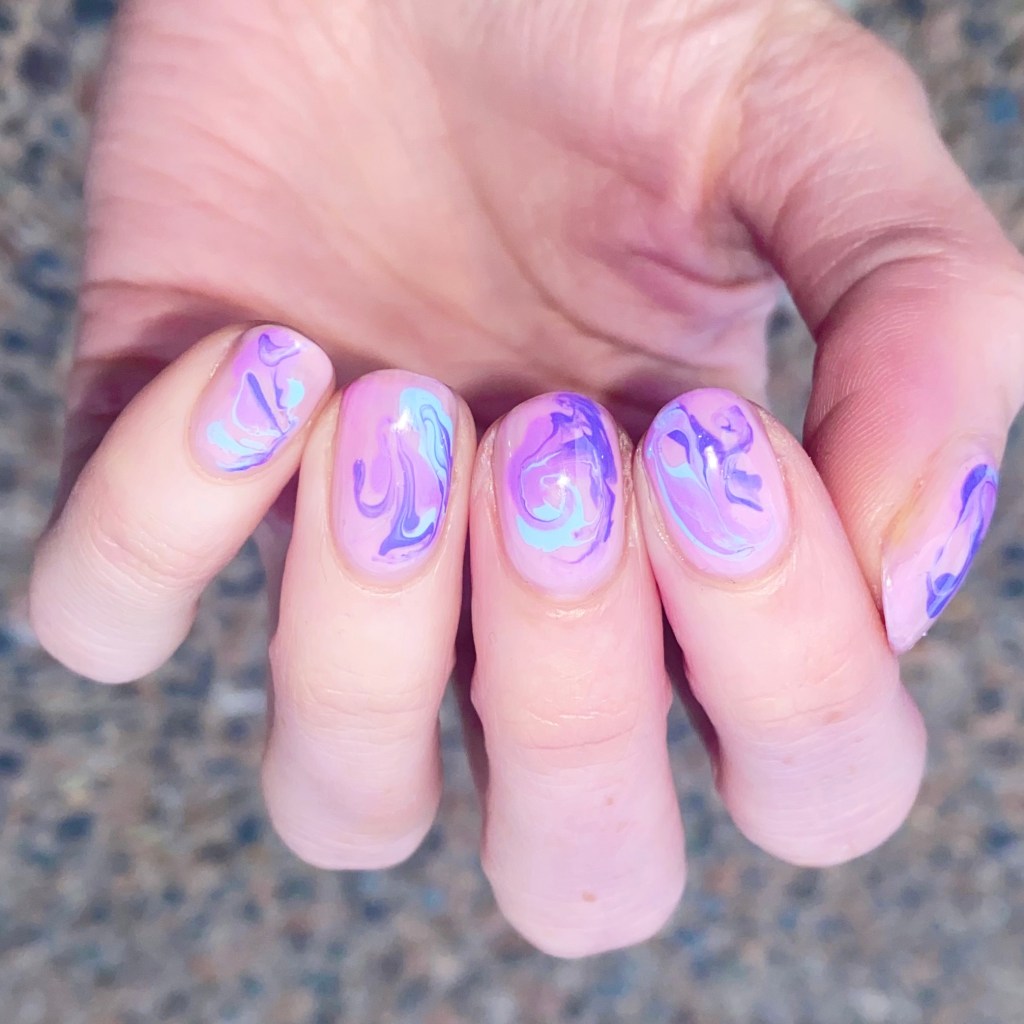
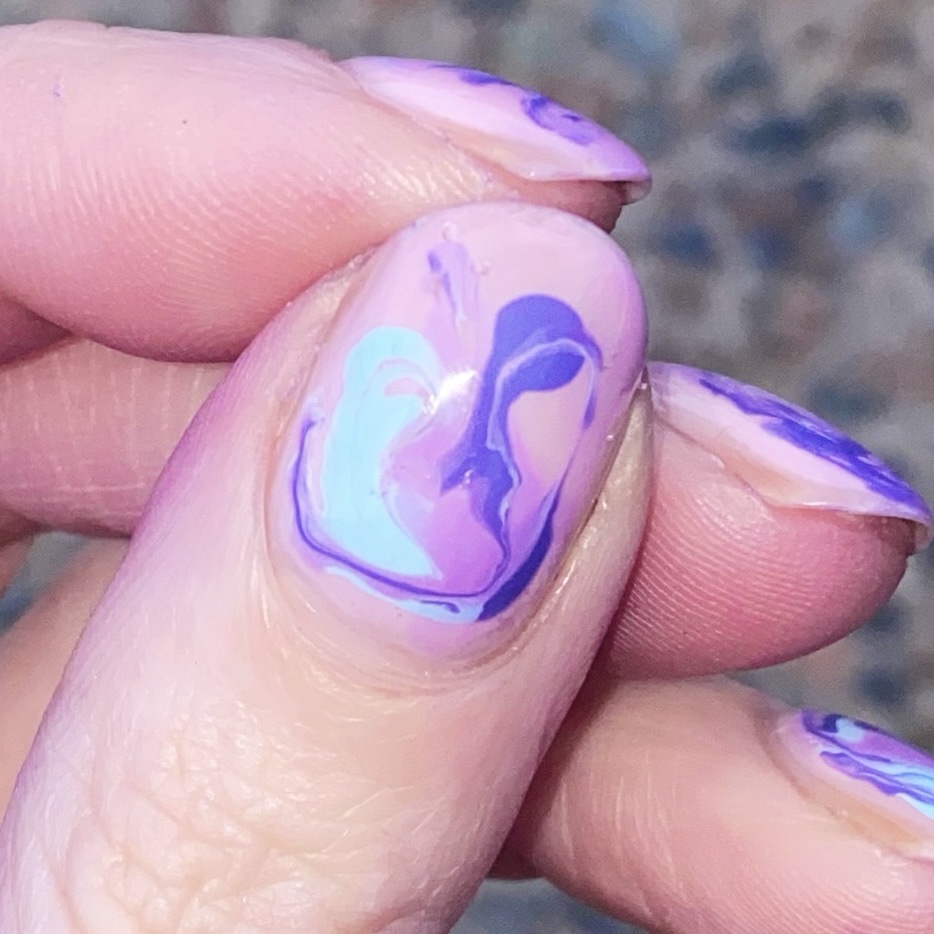
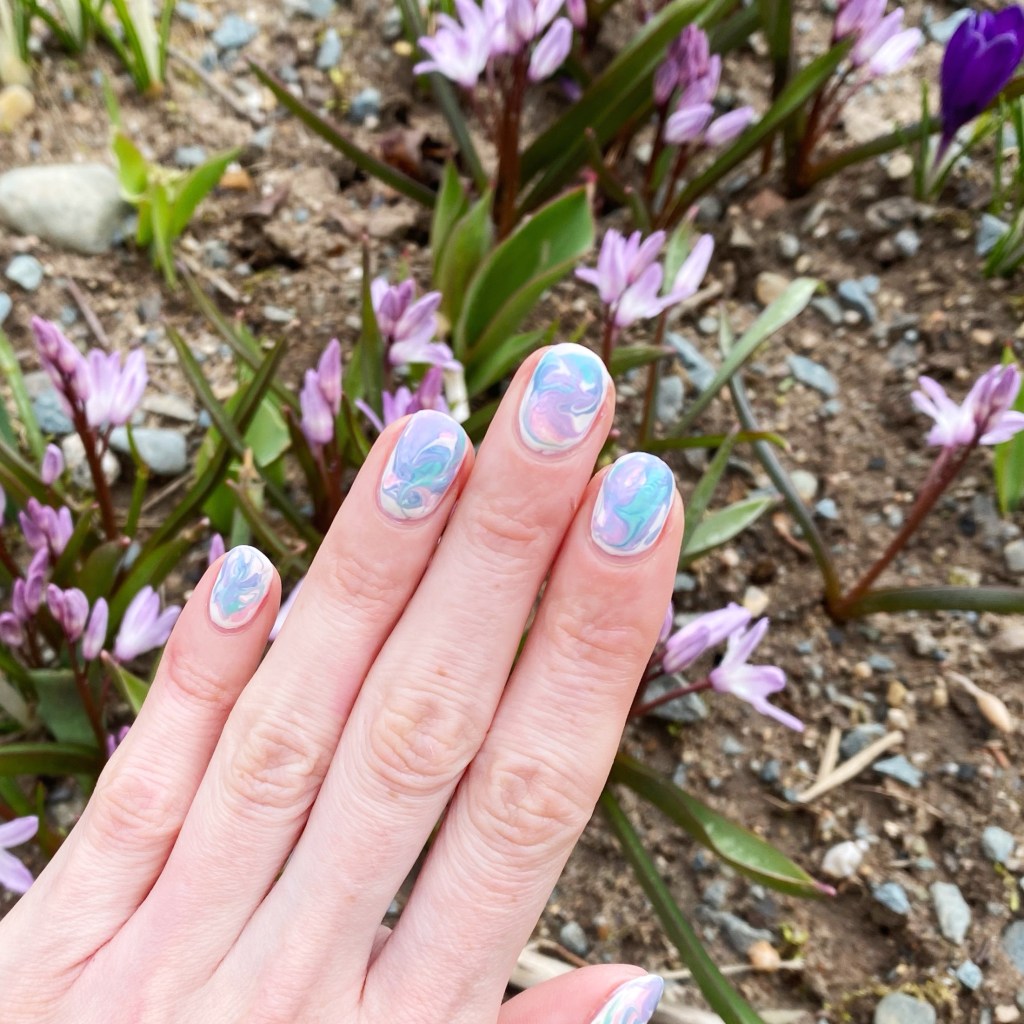
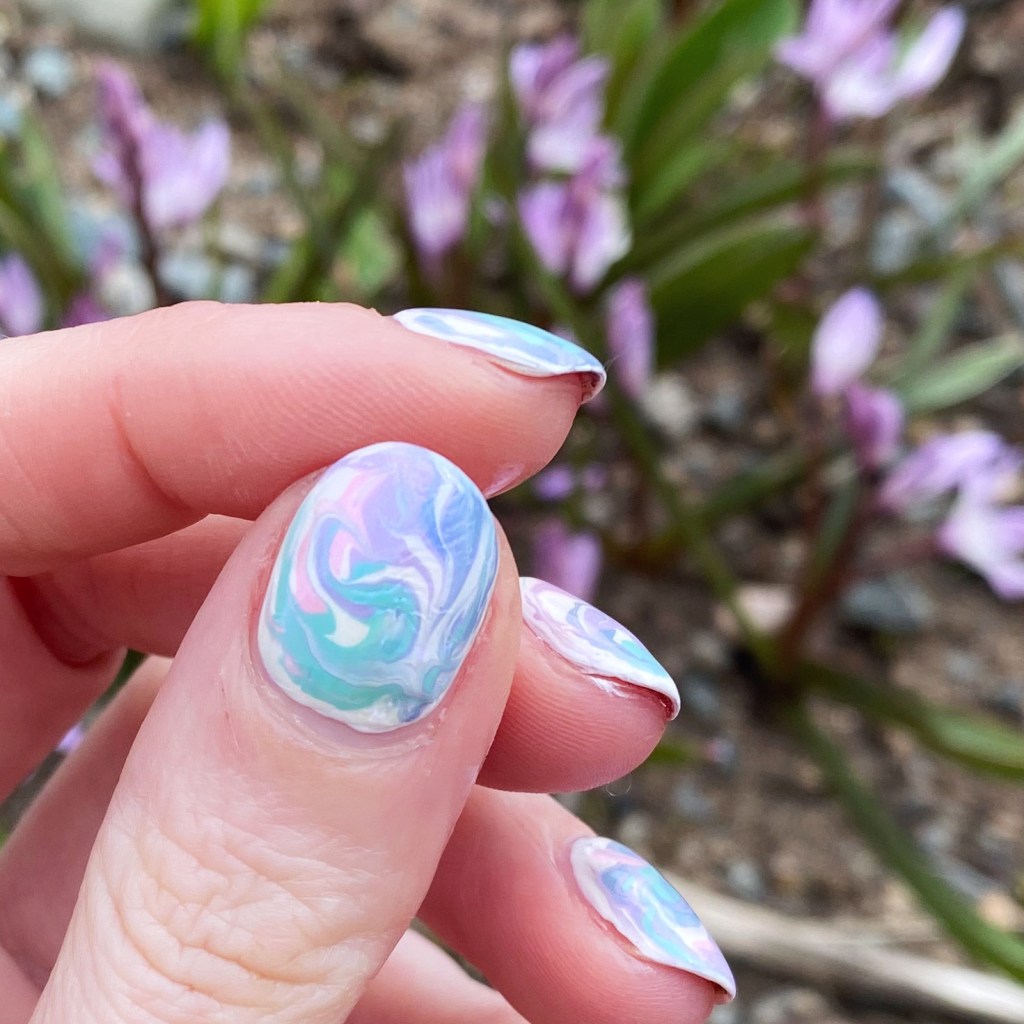
I wanted to create some special nails in her honour, & since her favourite thing right now is Taylor Swift — well obviously taut is where my inspiration came from. She also told me I should do nails that were pink, blue & yellow with hearts — & as soon as she told me that, Taylor’s Lover era popped into my head. & since Cruel Summer has been playing on repeat at our house, it fit perfectly.


The polishes I used for this manicure are:
- Top Coat: Essie Gel Setter Top Coat
- Base Coat: China Glaze Calcium Gel Fortifier
- Essie Bikini So Teeny
- Butter London Coming Up Roses *pr
- Claire’s Scented Nail Polish Orange
- Sally Hansen Miracle Gel Violet Voltage
- Essie Gel Couture Gossamer Garments *pr
- Nails INC Heartfelt Holidays
- Claire’s Mini Glitter Shade (no name)
- Nailstuff.ca Mermaid Tail 7mm liner brush
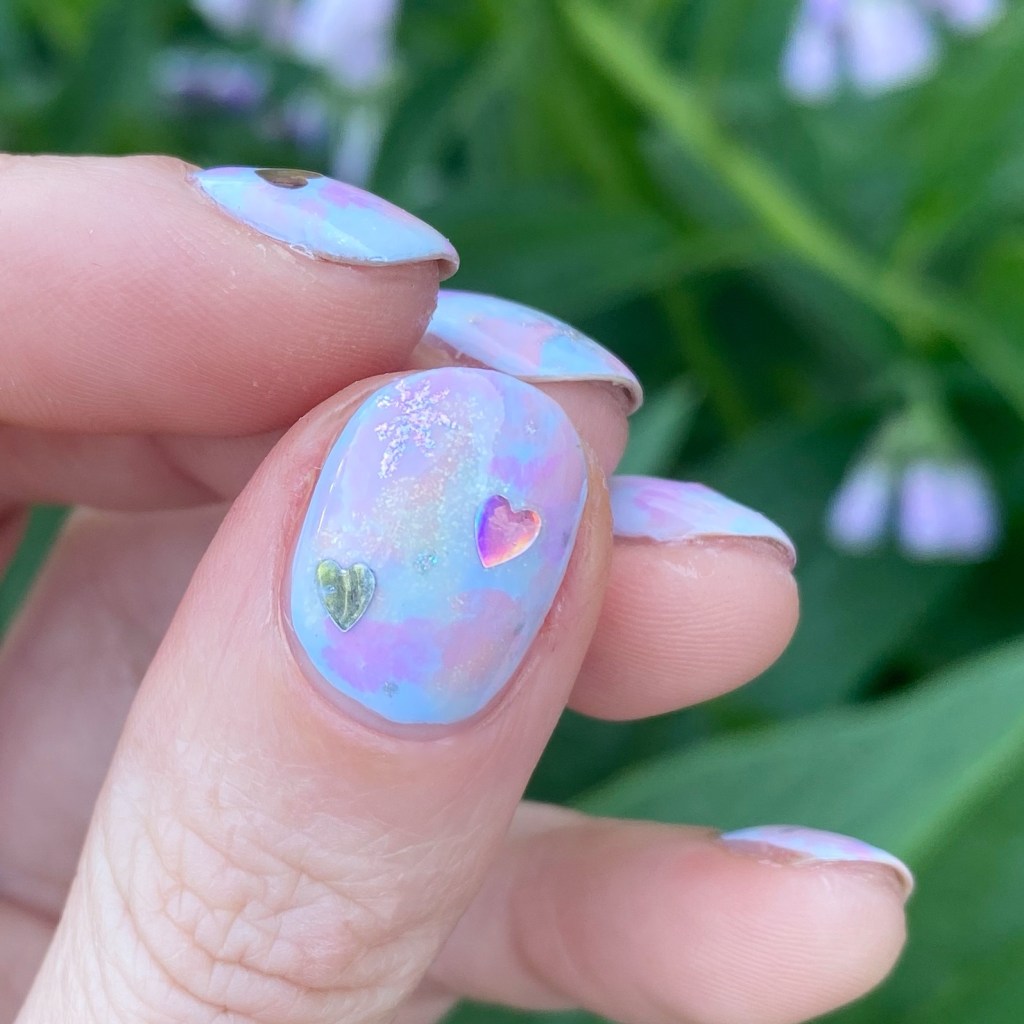
How pretty does this manicure look? I love the Lover vibes it’s giving. If this isn’t the perfect manicure to wear while belting out Cruel Summer, I don’t know what is.
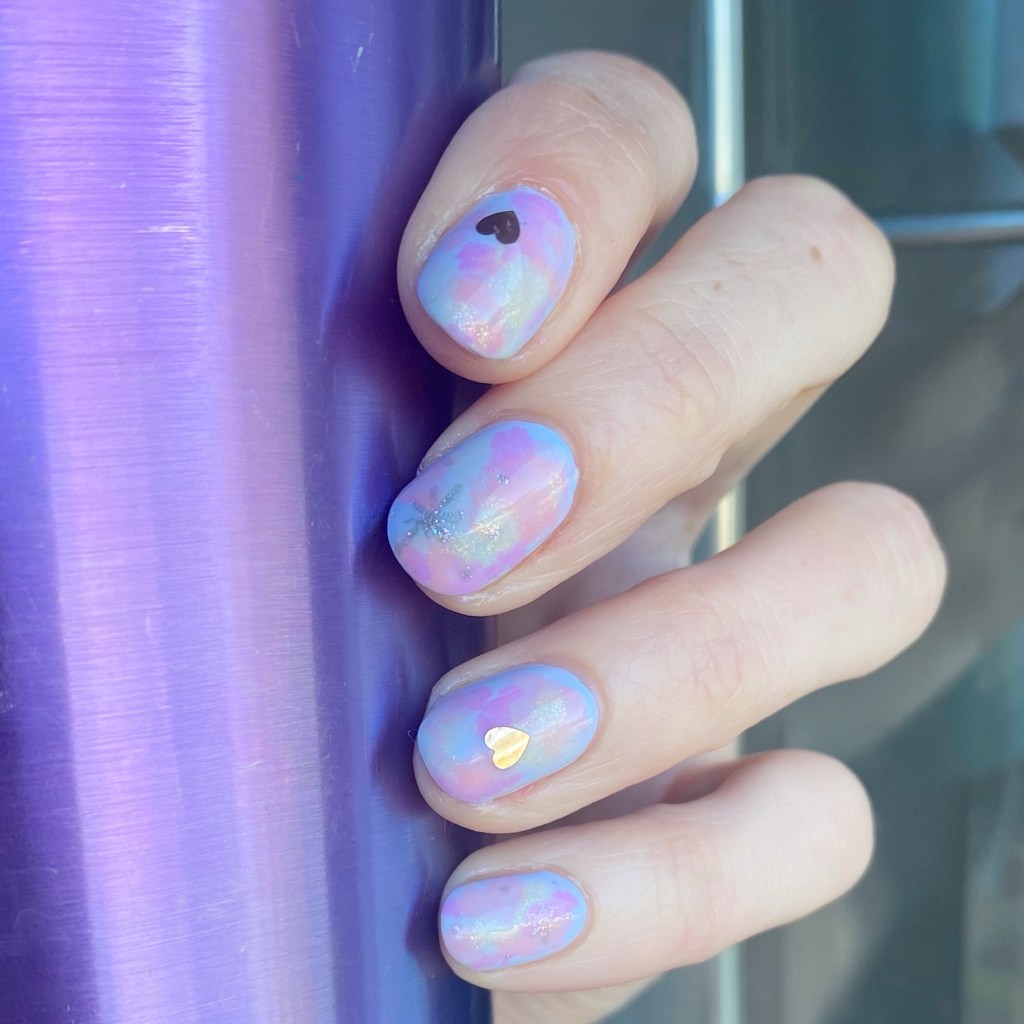
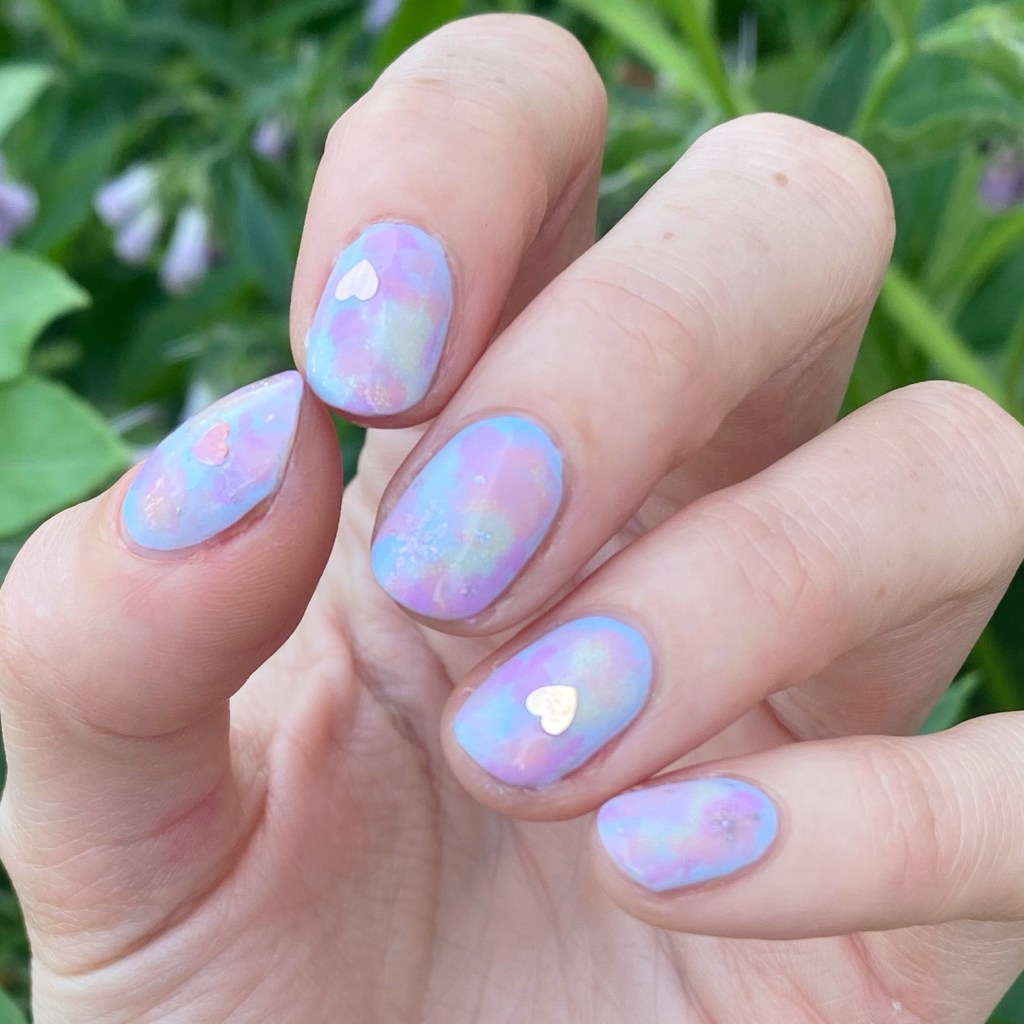
& my little girl was so excited to see these nails! She’s having a Taylor Swift inspired birthday party with her friends next month, & she is already planning her nails for the occasion.

What do you think about these Taylor Swift inspired birthday nails? Do you love them as much as I do? Would you wear them? Let me know all your thoughts in the comments below!
Happy Wednesday lovelies — enjoy some cake today in honour of my little girl.
🖤