Blue Chevron Claws


I received my Snail Vinyls nail vinyls order the other day, & immediately needed to break them out for some nail art. As part of my order, I ordered their Single Chevron Variety Pack because my selection of chevrons was sadly dwindling. & the ones I was most excited for from the collection? The Deep Single Chevron nail vinyls!

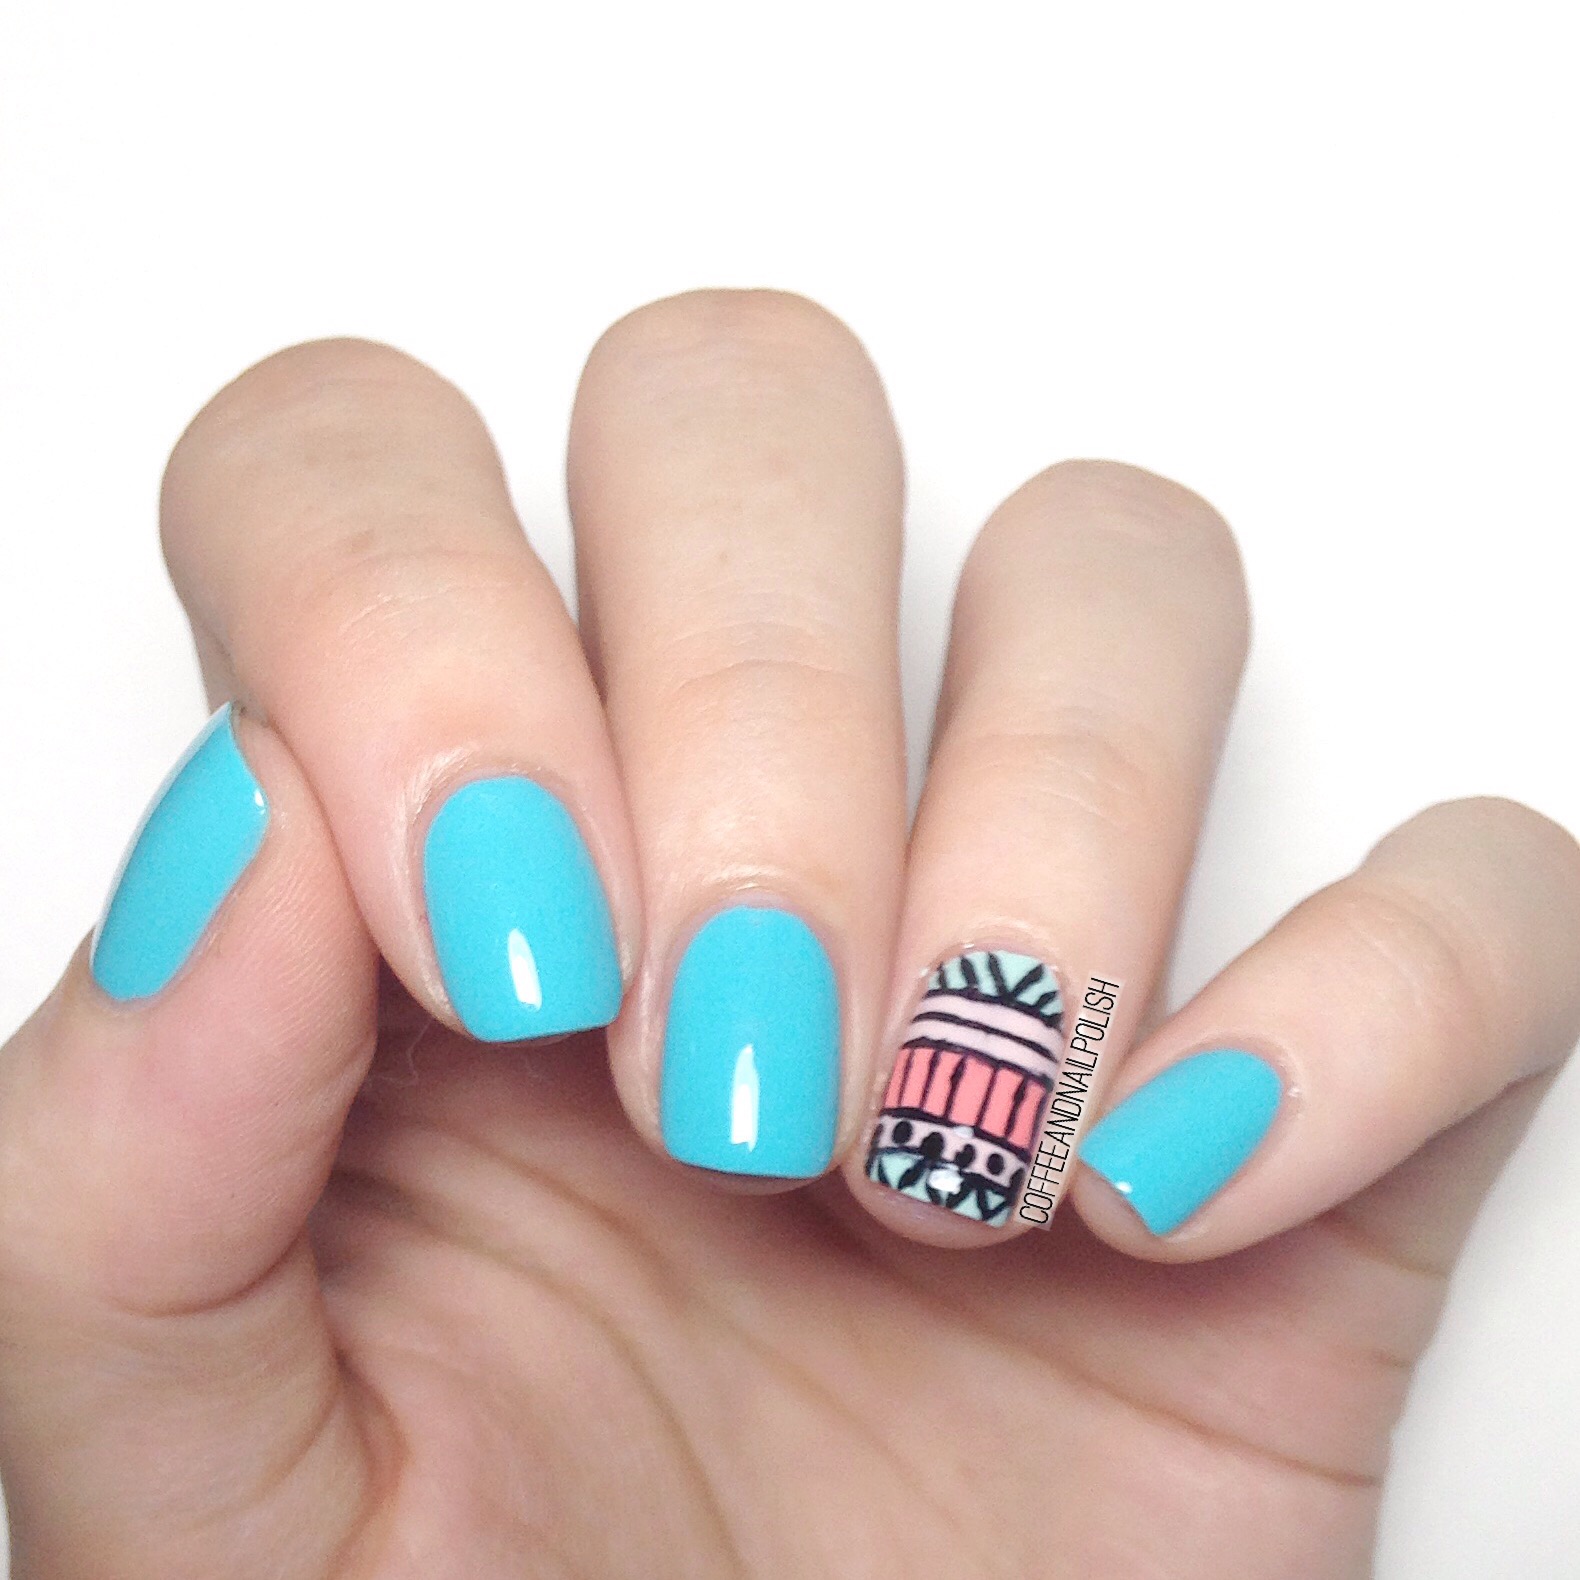
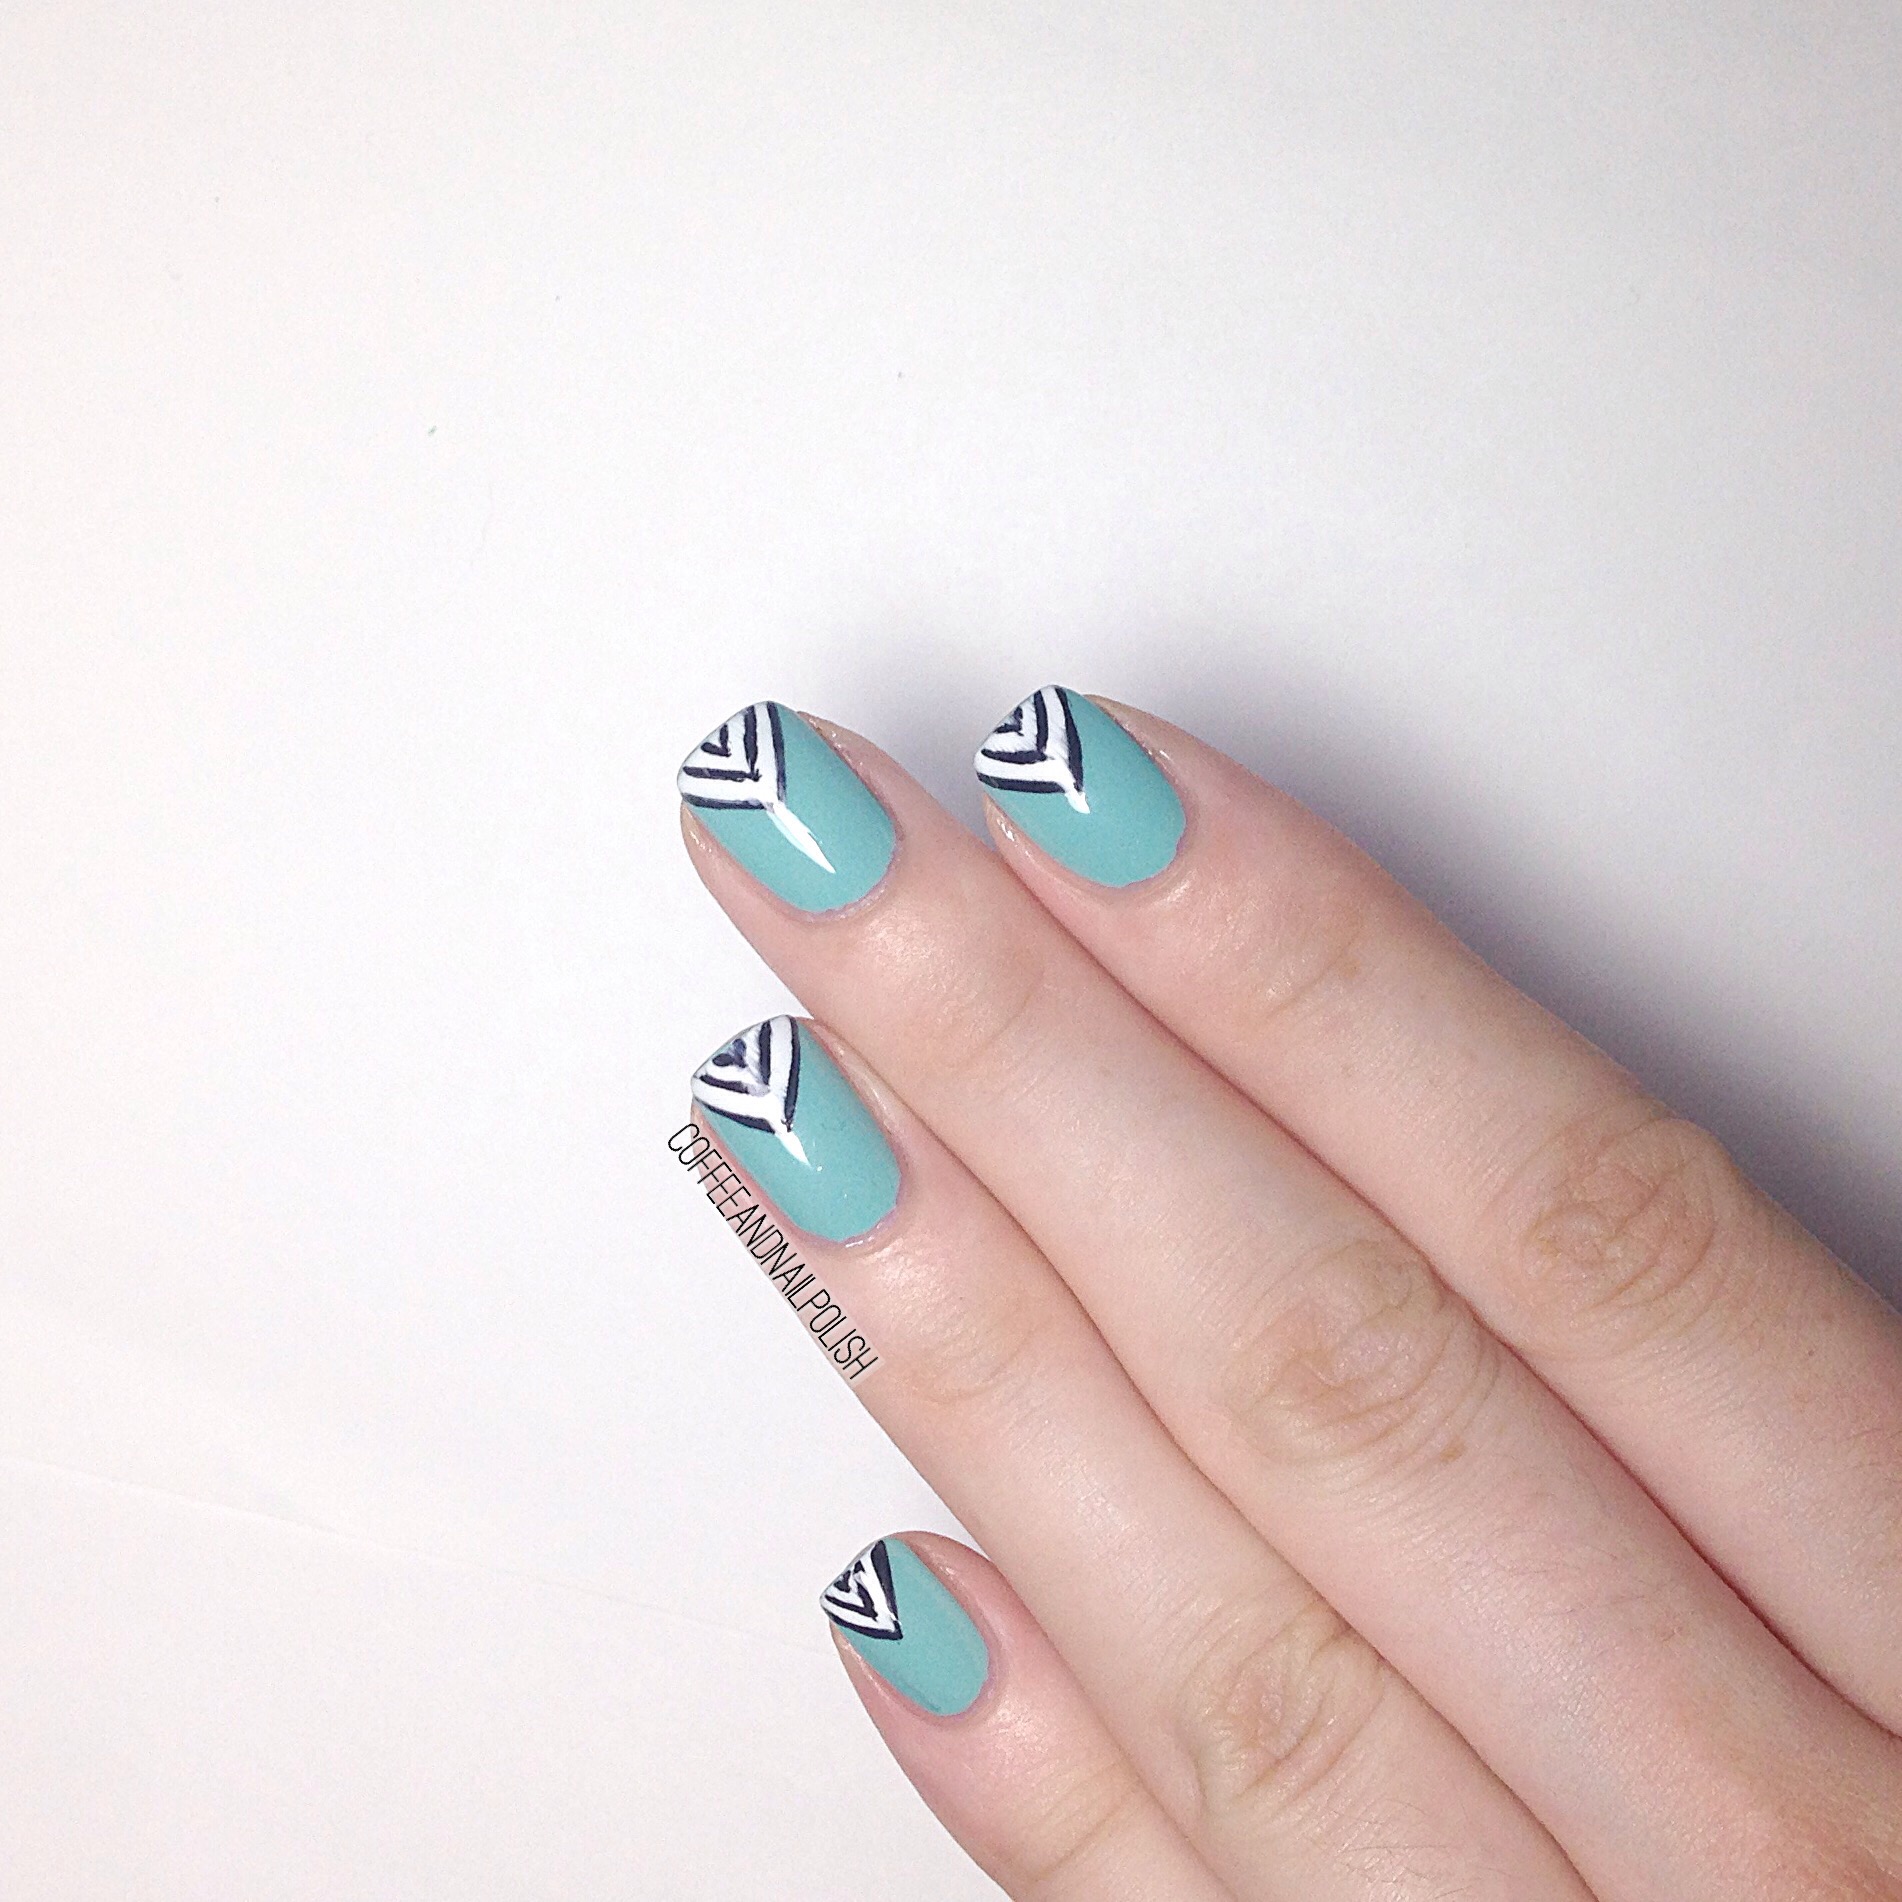
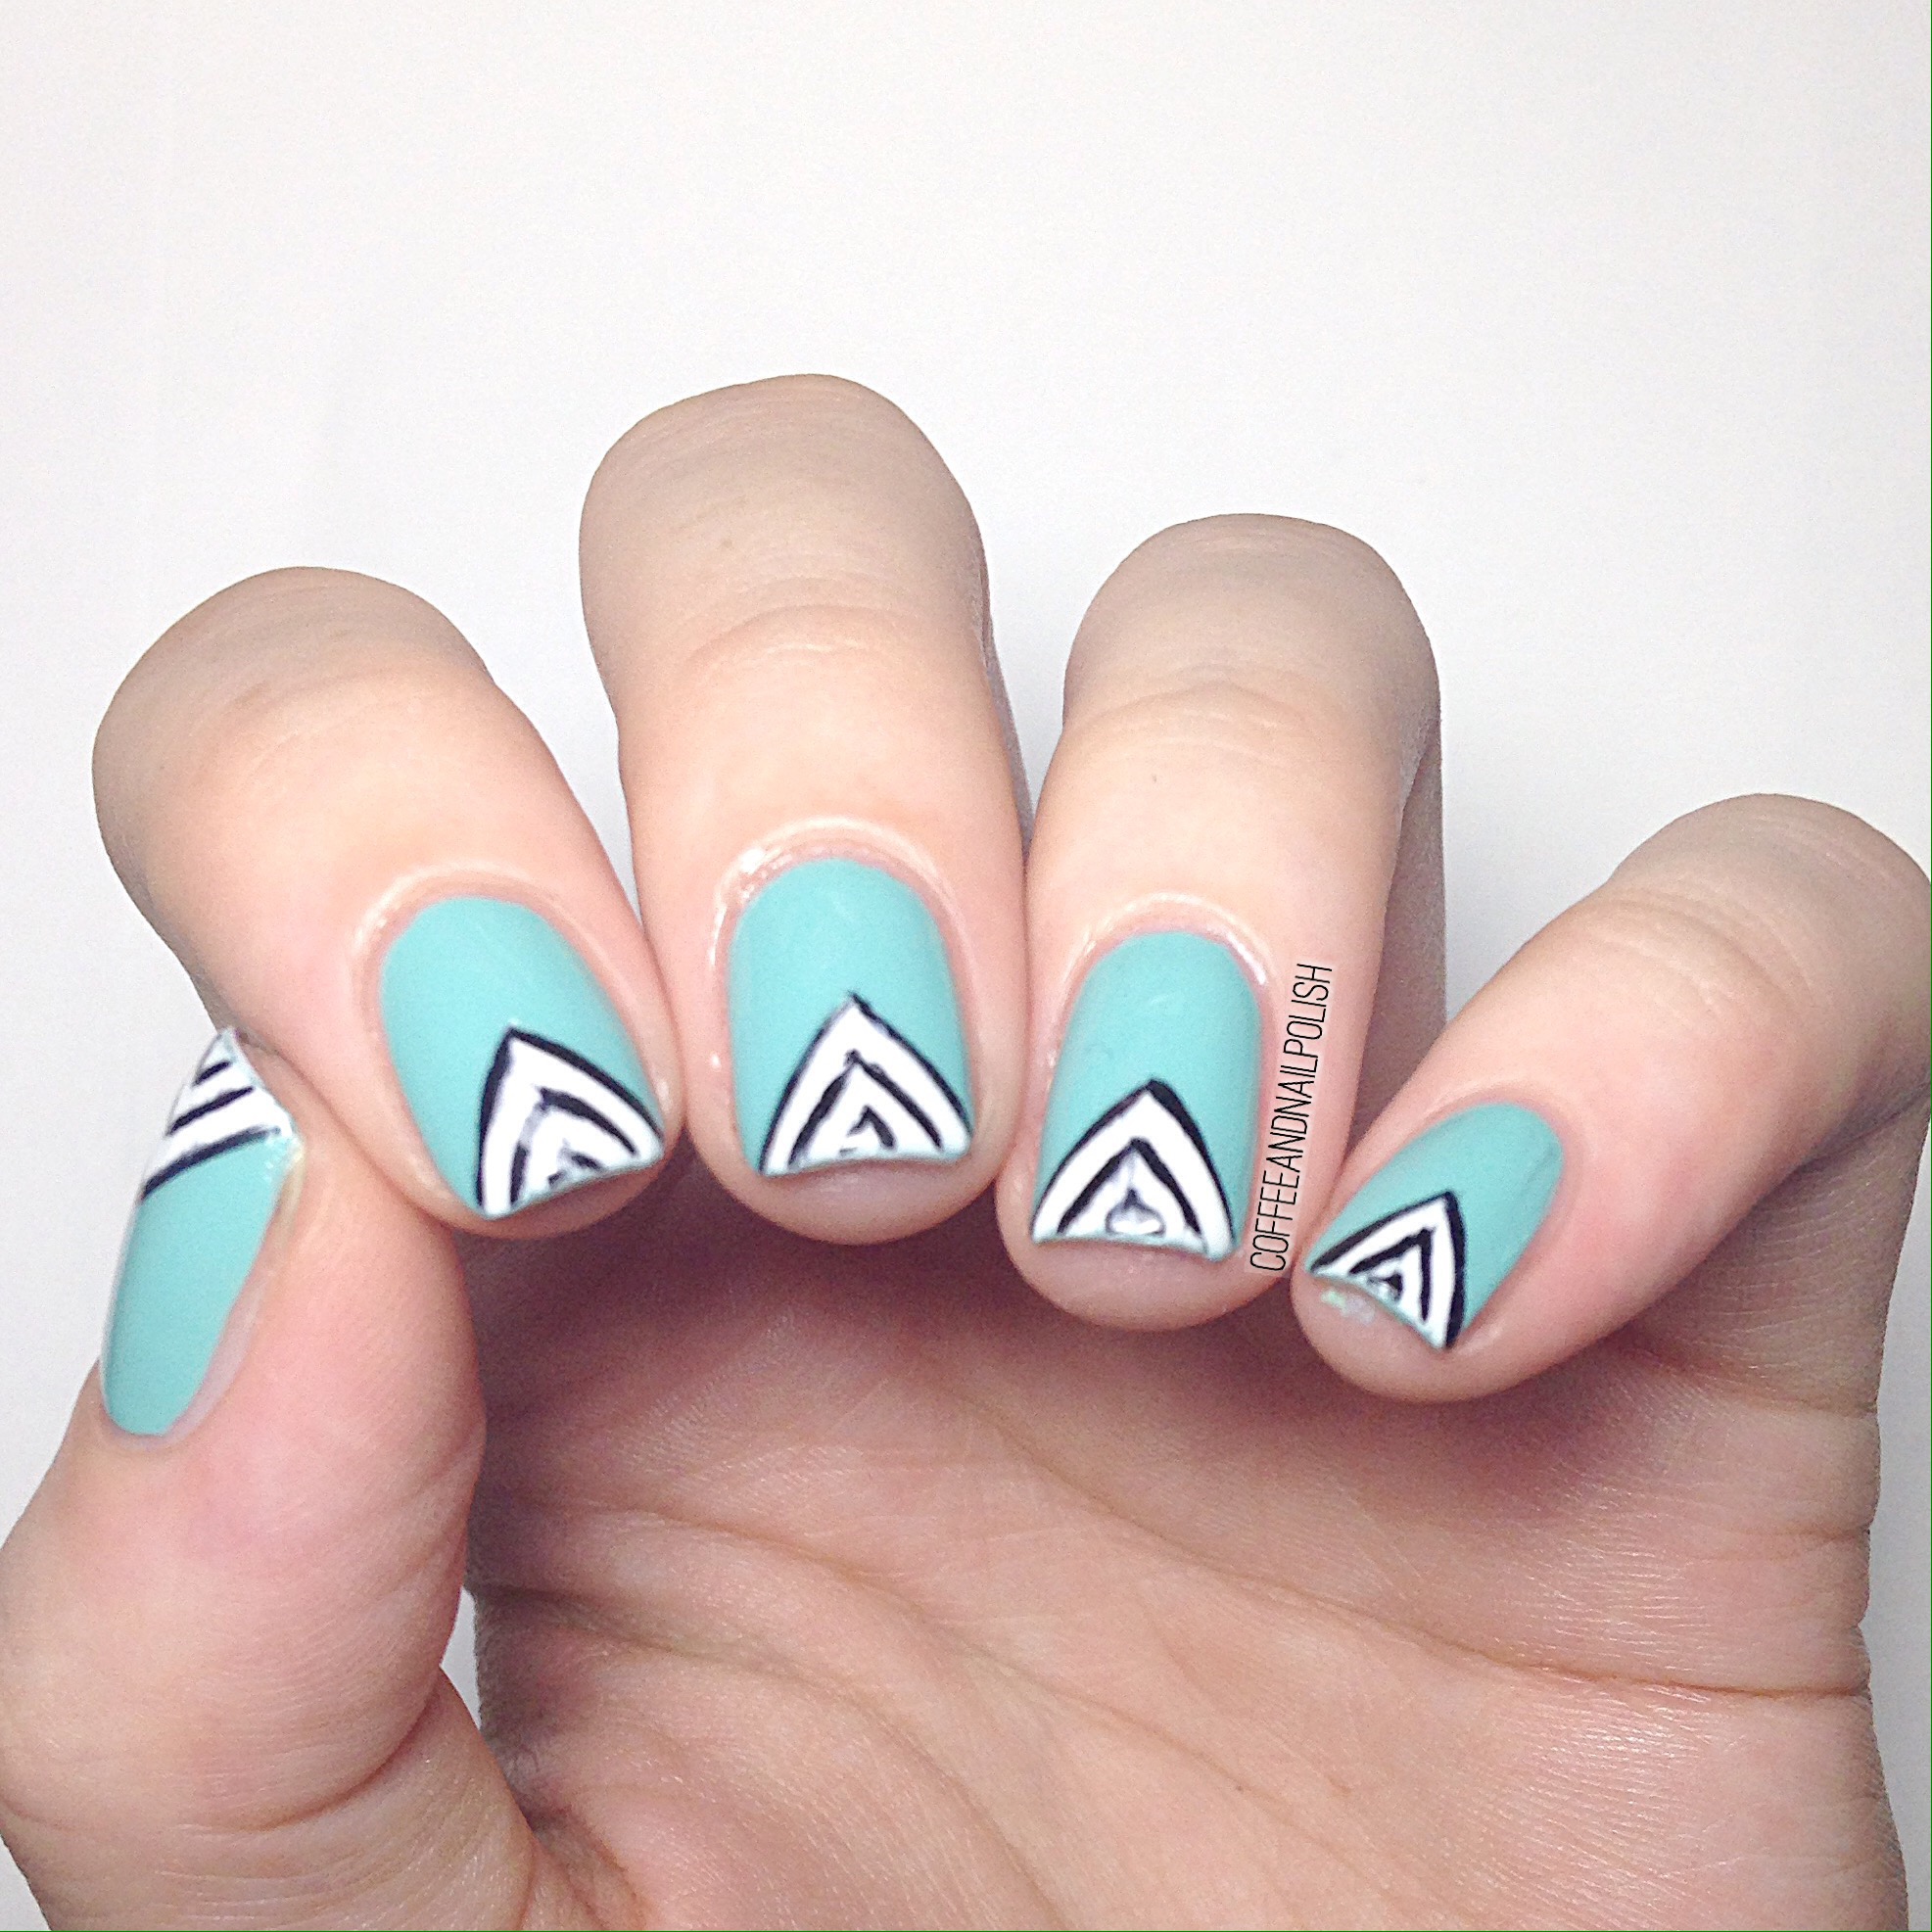
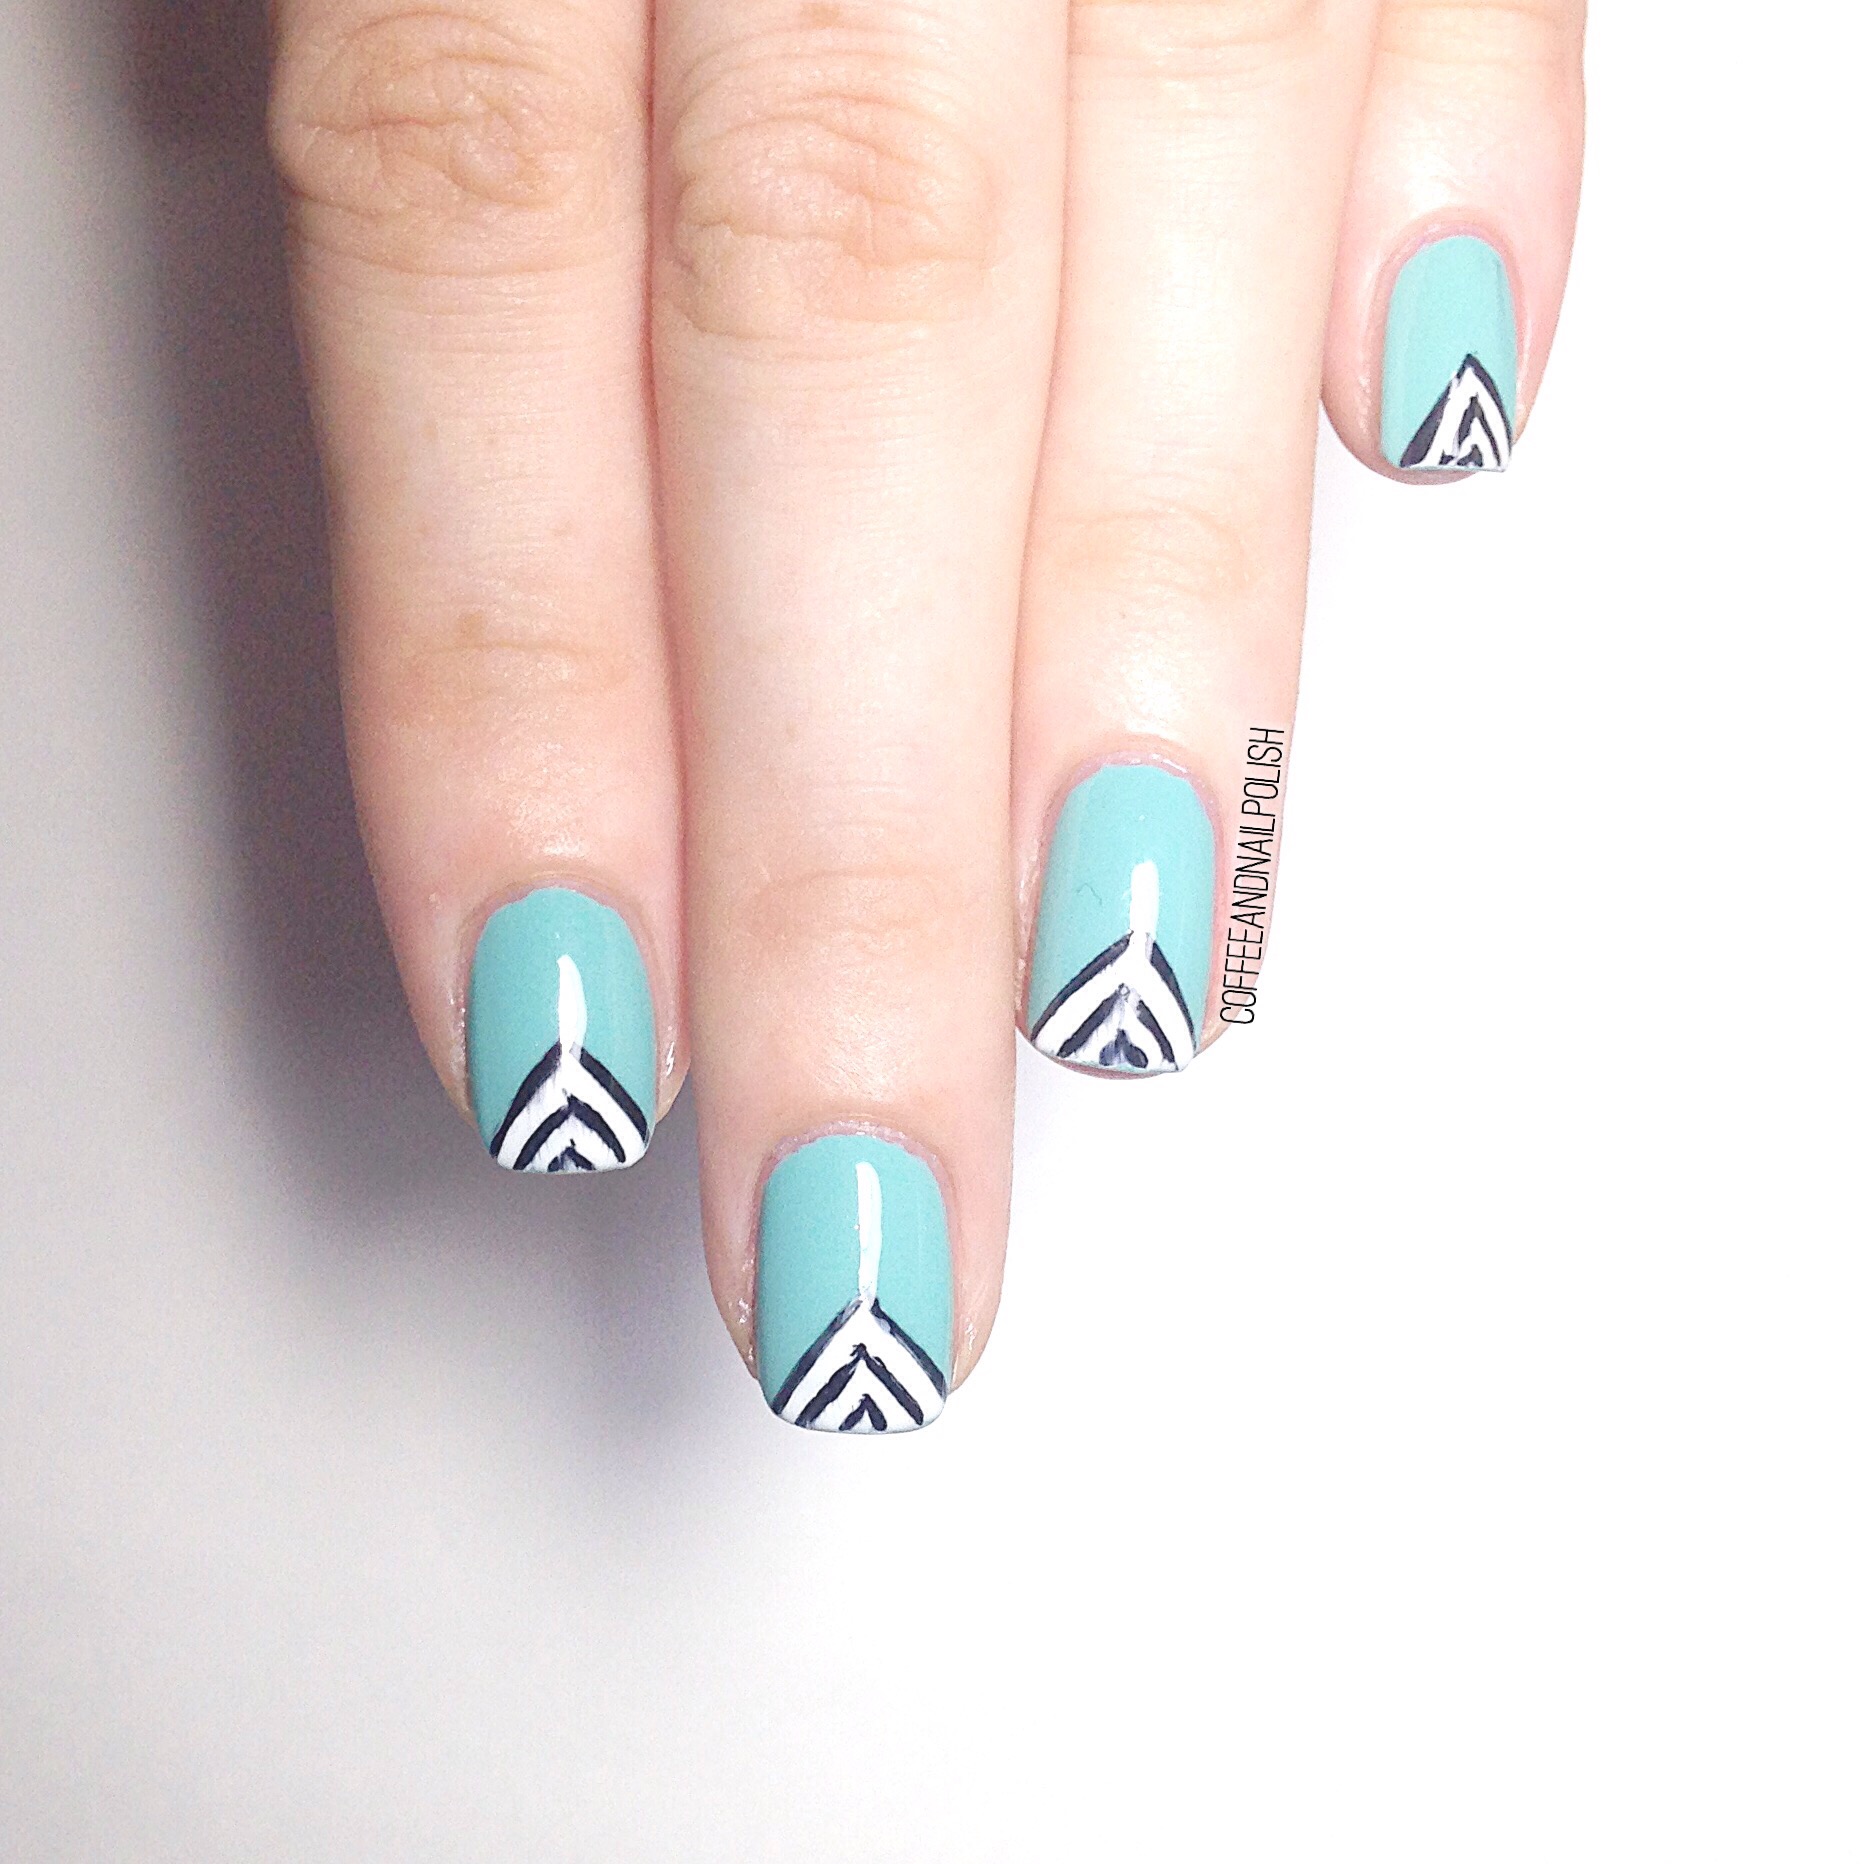
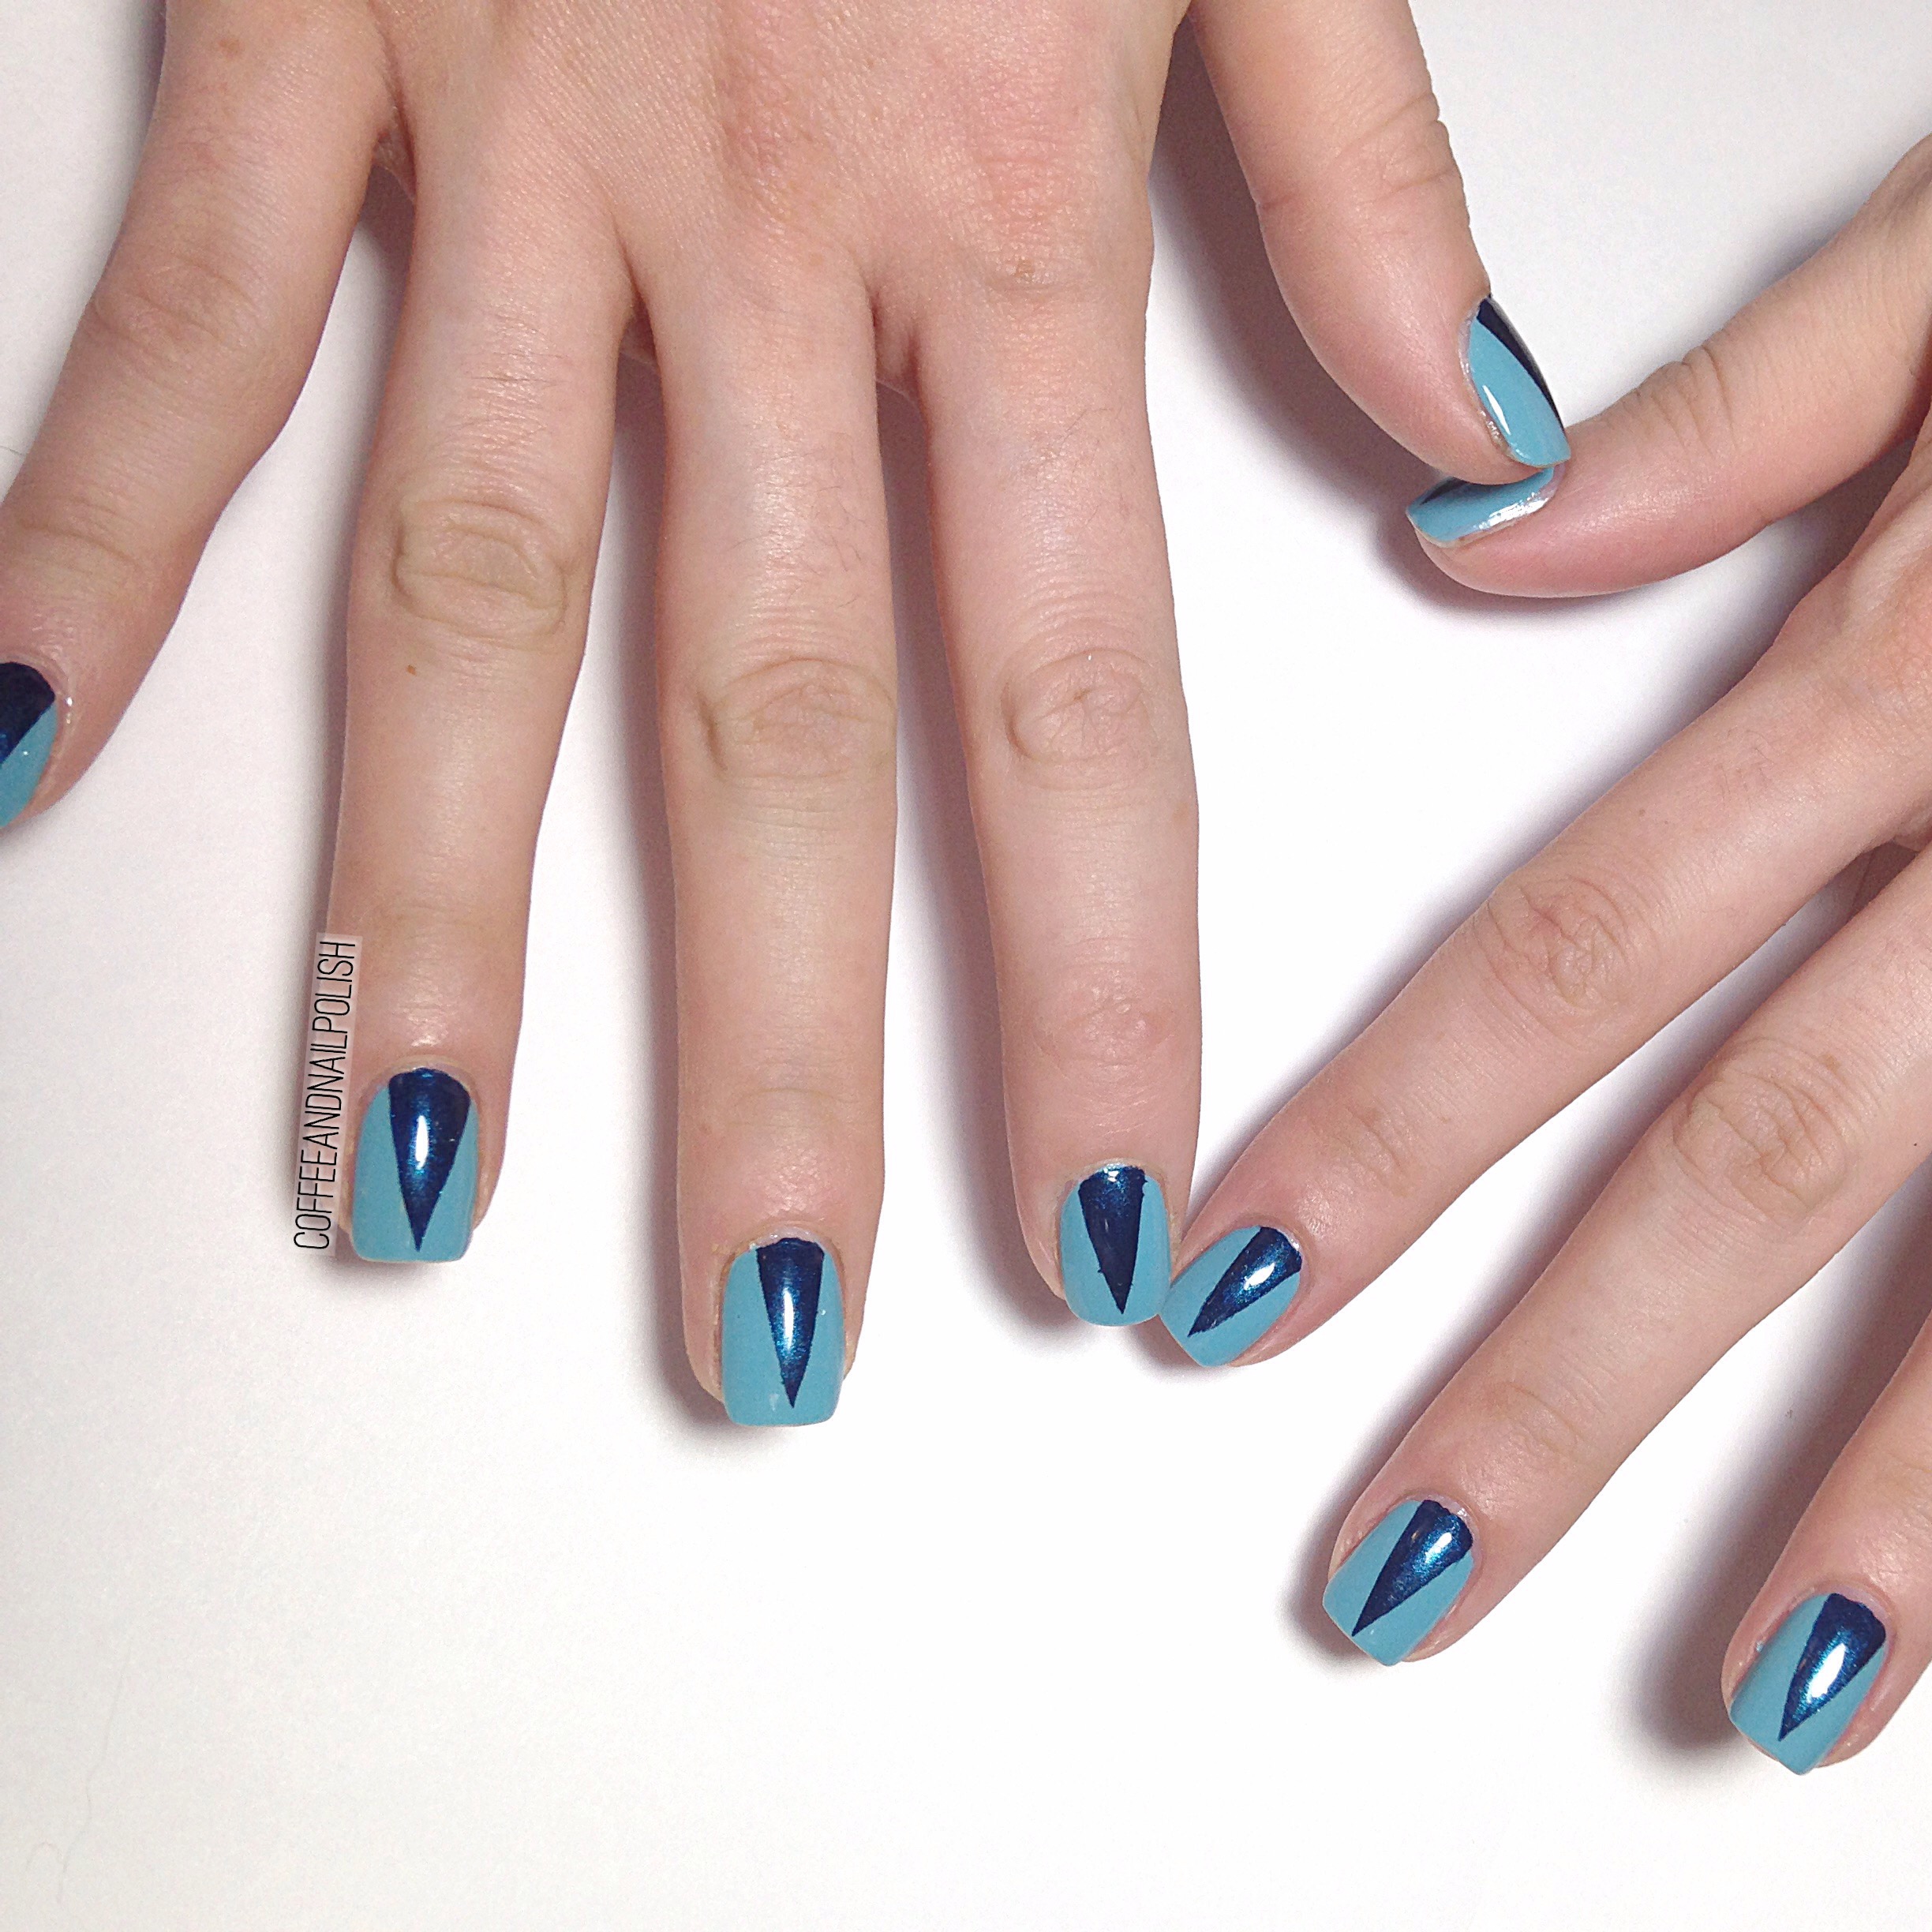
I’ve done Chevron claws a few times using straight vinyls or striping tape, but it’s not the easiest. I’m loving these vinyls because it takes the hard part out of it–all you need to do is line them up on the nail straight! Sure that took me a few tries to make sure they were straight, but the end result looks really awesome. Chevron claws are like the cool big sister to chevron moons, so obviously I love them! I’m really excited it will be so easy for me to do them now. 
For this mani, I used:

What do you think of these chevron claws? This was my first time using Snail Nail Vinyls, but they were easy to use, & produced nice clean lines (as you can see!) When it comes to a designs like this, clean & crisp lines are very important!

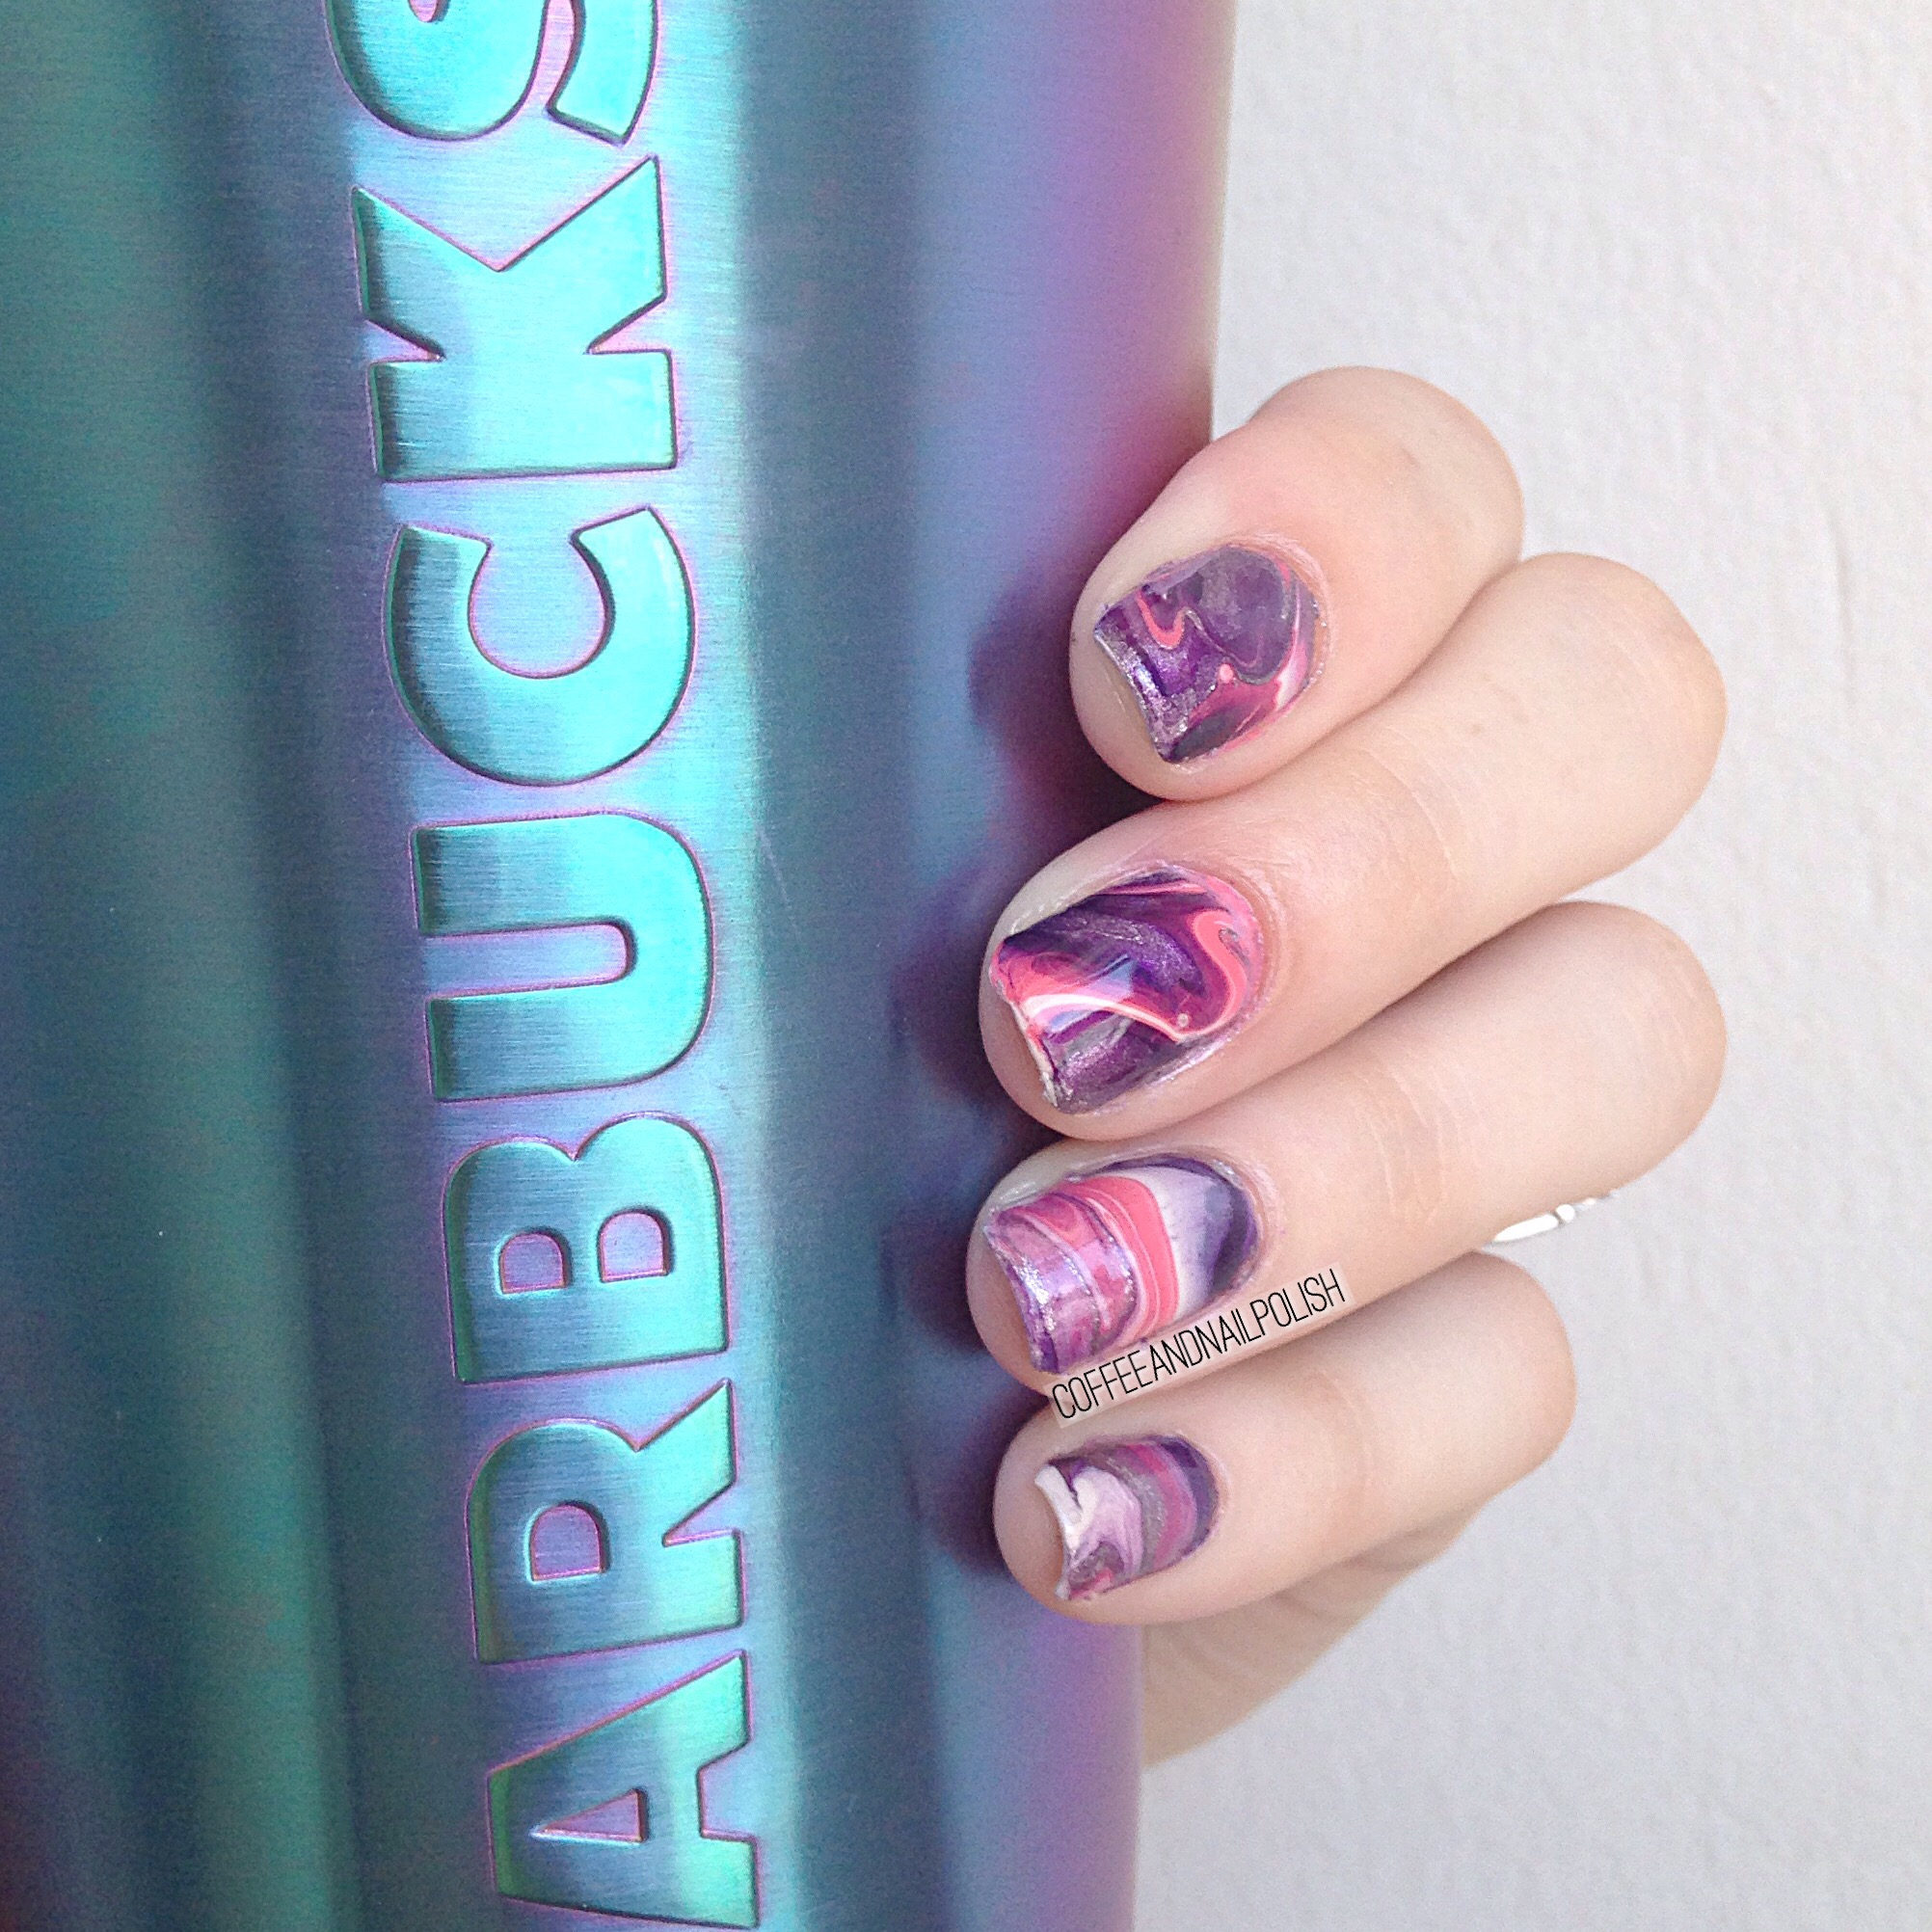
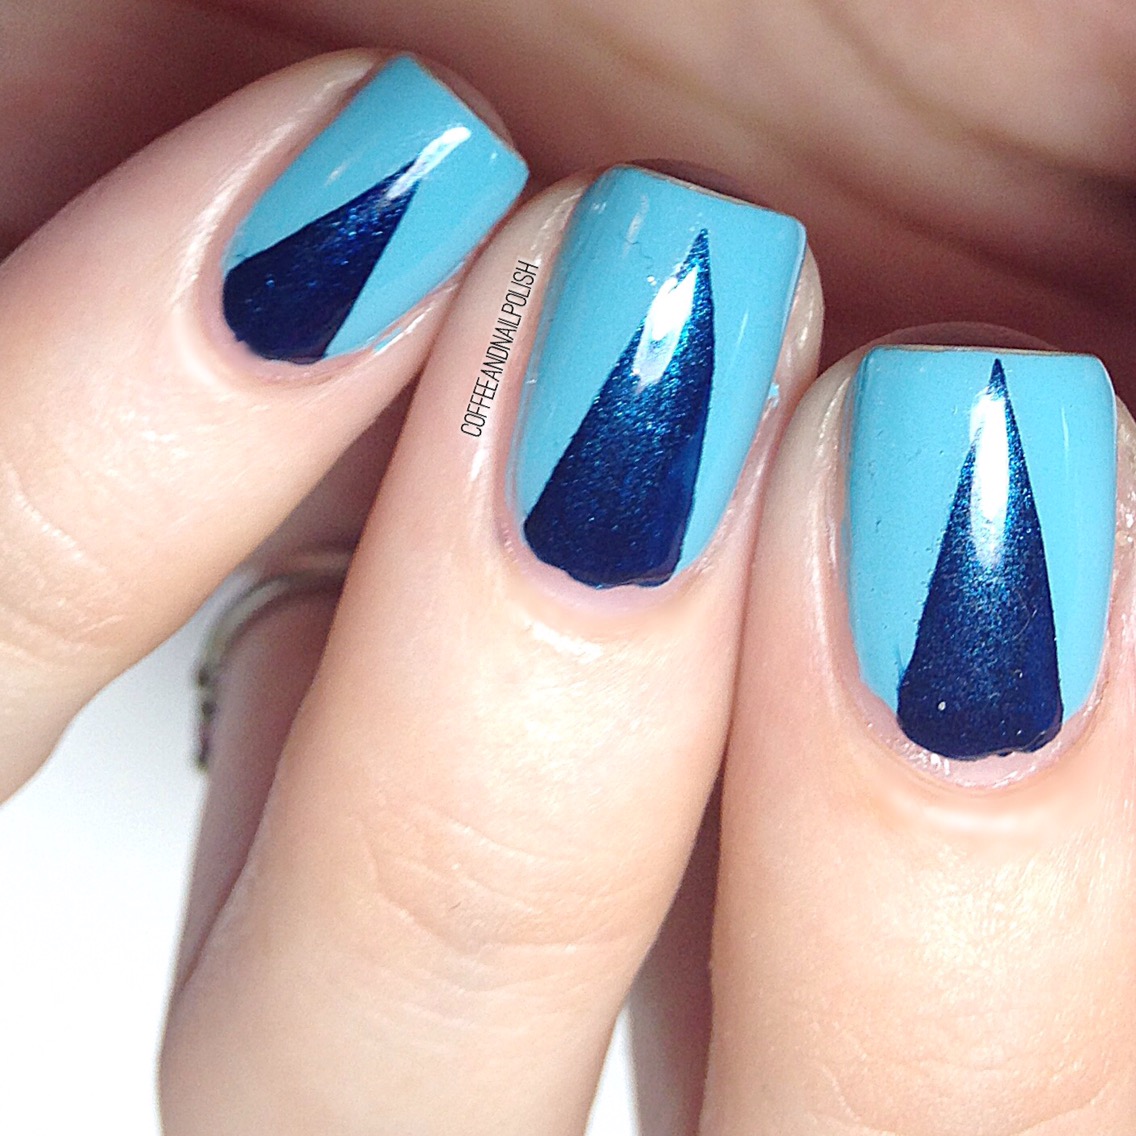
Also I really like the darkness of Bell Bottom Blues over In The Cab-ana. The shimmer of Bell Bottom Blues is just so pretty, especially when it catches the light. It just pairs with the light creamy  blue of In The Cab-ana so well. And they still have that Summer-y vibe, even with the darker blue sparkle.

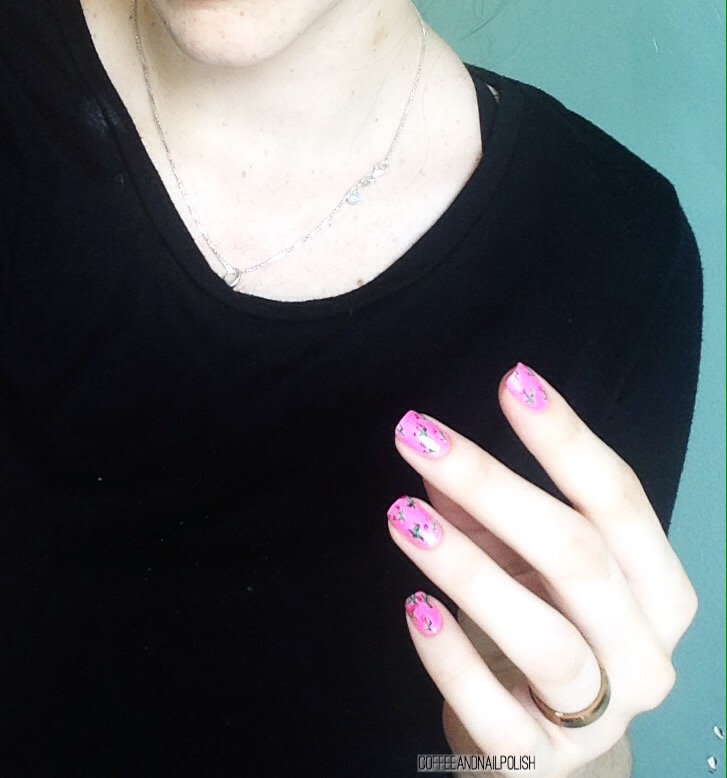
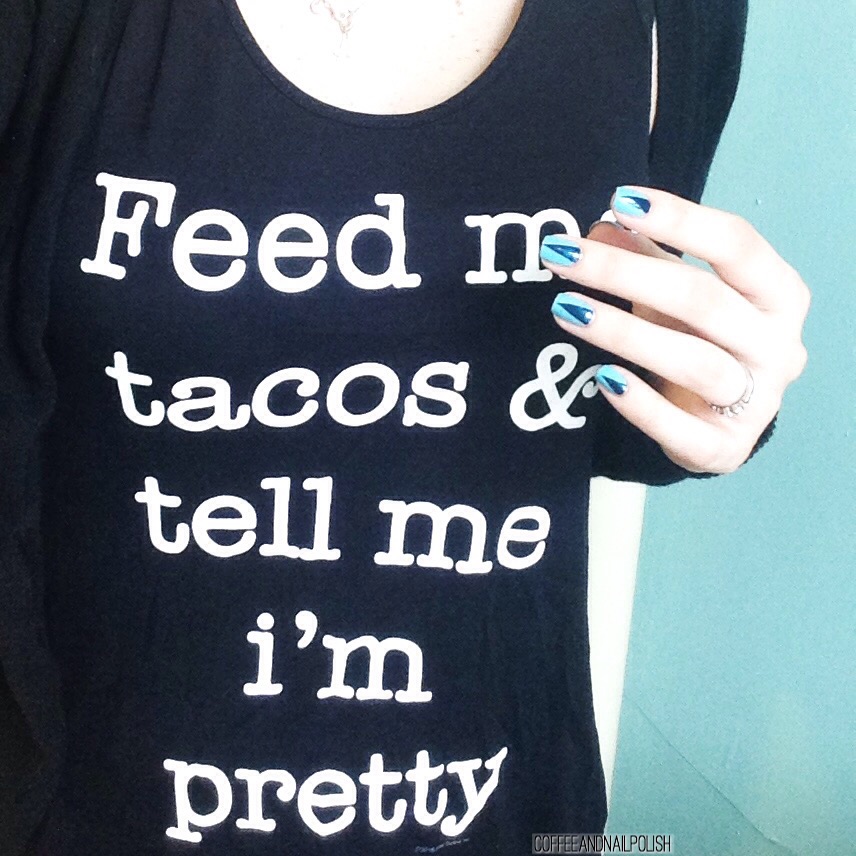
Now that I have my lighting situation figured out, I’ve been working on taking different shots for the blog to show off my manis. Obviously I’ll never tire of my coffee shots, but I want to show off different angles of my designs so you get the whole look (including the occasional shot of my Cinderella hand!) I want to give my blog as much character as possible, so it’s as enjoyable to read as it is for me to write!


What do you think of these chevron claws? As always, let me know what you think in the comments below and stay tuned for more chevron nails featuring these awesome vinyls from Snail Vinyls!

Drip Marble decals inspired by @SimplyNailogical 


I’ve tried water marbling, & it was… not my thing. I’ve tried drag marbling, & it’s usually hit or miss. But I really love marbled nails, so naturally when I picked up a silicone craft mat I knew I needed to try drip marbling recently done by @simplynailogical.


For this mani I used:

  • ORLY Decades of Dysfunction 
  • Sally Hansen Pretty Piggy
  • Nicole by OPI We Got Beiber Fever
  • Finger Paints Wanna Gogh Dance?
  • ACO by Ardene Base Coat
  • Cutex Quick Dry Top Coat

To create my decals, I started off by dropping my polished of choice onto the mat, starting with my lightest colour (ORLY Decades of Dysfunction) as my base, then continued with my darker colours, & finished with my metallic shade (Finger Paints Wanna Gogh Dance?). Once all my colours were down, I moved my mat around to create my marbled effect. Once I was happy with one decal, I’d let it sit & dry for a few minutes before starting on the next one. When I was happy with the amount of decals I’d made, I left them to Dry for a few hours (around 2 hours).

I’m not going to lie, trying to apply these wasn’t the easiest. I started off by painting my accent nails with a base colour (again I used ORLY Decades of Dysfunction) and let dry. I then peeled off my decal & figured out which part I wanted on my nail, trimming it down to a more manageable size. When I was ready, I applied a coat of my ACO by Ardene base coat & immediately stuck my decal onto the nail. Using a brush dipped in acetone, I cleaned up around the cuticle. This was probably the least fun part–I wish I had better nail art scissors to trim off the access instead! When the decal was fully cleaned up & my cuticles were clean I sealed everything in with top coat to finish. I also surrounded my cuticles in oil to help after all that remover. No one likes wrecked cuticles.

And how does the final result look?

Continue reading “Drip Marble decals inspired by @SimplyNailogical “

Neon Cactus nails. 


Cactus nails 🌵 are having a moment right now on Instagram, so I decided to join in & create my own version. I originally did cactus nails last year, which can be found here. With my design from last year, my personal complaint was my base colour was too dark, so this time I wanted to go with something brighter. And what is brighter than neon pink!


For this manicure, I used:

  • China Glaze Hang Ten Toes
  • Sally Hansen I ♥️ Nail Art pen in Green
  • Essie First Timer 
  • Essie Off Tropic
  • Essie Stylenomics
  • Essie Peach Daquri 
  • Essie Haute As Hello
  • Cutex Quick Dry Top Coat
  • Small nail art brush from this set by Bundle Monster.


Have you jumped on the cactus nail art trend yet? I absolutely love cacti. When my son was born, I didn’t wanted flowers, I wanted my mum to bring me a cactus (which is pictured above). The little guy also has a little cactus onesie that is too cute, and I’m planning on filling our house with a few more plants too! I’m a little obsessed.


And just for fun (because I’m so obsessed with this mani I couldn’t stop taking pictures), a shot of both hands:

What do you think of this mani? Are you as obsessed as I am? Let me know in the comments below!

Tribal Print Accent Nail

Today I have some more nail art to share with you! I’m really enjoying being able to do my nails again. It’s surprising how relaxing it is to be able to sit down & pull out my polishes at the end of the night.


It’s been a while since I did anything tribal-esque on my nails, so I felt like it was about time. Again, I continued the trend with some pretty Spring polishes that I haven’t pulled out in a while.

For this manicure, I used:

  • ACO by Ardene Whacky
  • ACO by Ardene Flawless
  • Essie Mint Candy Apple
  • Essie Lounge Lover 
  • Kiss Products Nail Art Striper in Black
  • Cutex Quick Dry Top Coat
  • Thick striping tape from Born Pretty Store.
  • Small dotting tool.

It’s been too long since I’ve tried to freehand lines like this, hence why I only did an accent nail, & used striping tape to create my thick lines. I really should invest in some acrylic paint for nail art, eventually. (Although I’ve been saying that for ages, & still haven’t.) Even with the wonky lines though, I really love this accent nail. Makes me feel like I’m officially back in the nail art game again!

I think if I went with some pastel polish, & white lines, these would be great for Easter Egg nails! I’m starting to plan my Easter manicures so I will have to try this again with the right colour palette.


What do you think of my tribal-esque accent nail? Let me know in the comments below!

Happy 3rd Birthday Coffee & Nail Polish


Today is a very special day… it’s Coffee & Nail Polish’s 3rd blog birthday! 🎈 So in honour of the occasion, I decided to celebrate with a gluten-free cupcake & a recreation of one of my favourite early manicures–chevron tips.

Three years, how crazy is that?! When I first started my nail blogging adventure I was still learning about nail care, nail art & taking pictures. Back then I was still using my Blackberry for less than stellar pictures, & hadn’t yet learned the magic powers of cuticle oil. I was just a girl who liked painting her nails & decided to share pictures with the whole internet instead of just her Facebook friends. 3 years, a bit better phone, & countless bottles of cuticle oil later here we are! 11.2k followers on Instagram, featured in Nail It magazine 3 times, & the occasional chance to swatch & review polish brands I love. It’s been an awesome amazing journey.
I cannot even begin to explain how much it means to me that you out there read and follow this blog. So to anyone who had ever read this blog, commented on my posts, or decided to follow: thank you.  You helped make my nail art dreams come true. I used to joke that the goal was for someone to want to send me free nail polish. But honestly, having people love my designs enough to recreate them? That’s how I know I’ve made it. 💜

So enough mushy stuff! In honour of this special anniversary, I wanted to go back to the beginnings & recreate one of my favourite manicures from  the early days: Green Chevron Tips. This was my first foray into chevrons, way before my obsession with chevron moons exploded. I remember creating them (freehand!) & being so excited about how well they turned out. For my recreation, I obviously still had to free hand these… & still feeling pretty proud of how these turned out! 

For this manicure I used:

  • ORLY Gumdrop
  • Kiss Products Nail Art Striper in White
  • Kiss Products Nail Art Striper in Black
  • Cutex Quick Dry Top Coat

What do you think of my special recreation? Do you think it lived up to the original?  As always, let me know what you think in the comments below!

Thank you so much for 3 awesome years, & here is many more manicures to come! 💜