Jewel Toned Stained Glass Nails 💎

Hello my loves! I hope everyone is having a fantastic week so far. It has been absolutely freezing here on the East Coast of Canada. I’ve been wearing legging under my jeans & over the knee socks just to keep warm — crazy! Winter is definitely just around the corner, & I’m never ready for it when it comes.

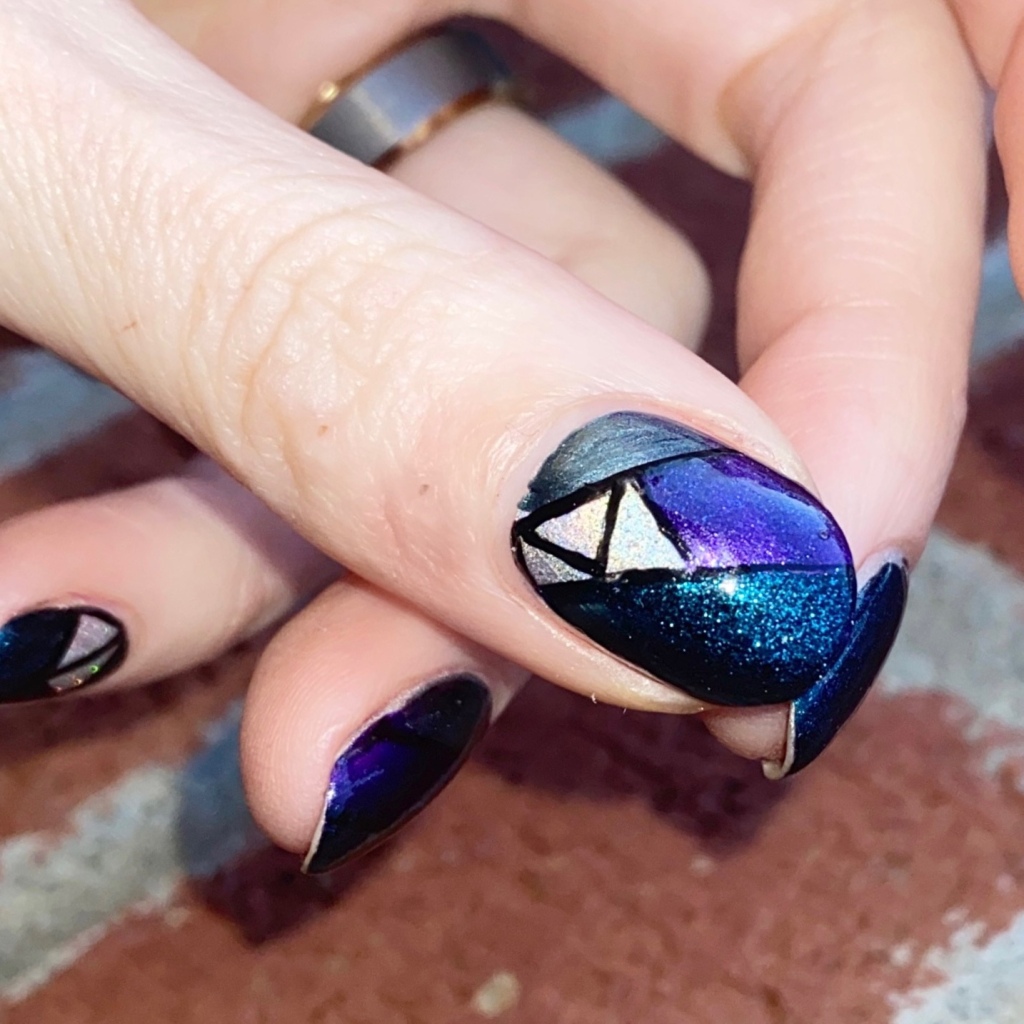
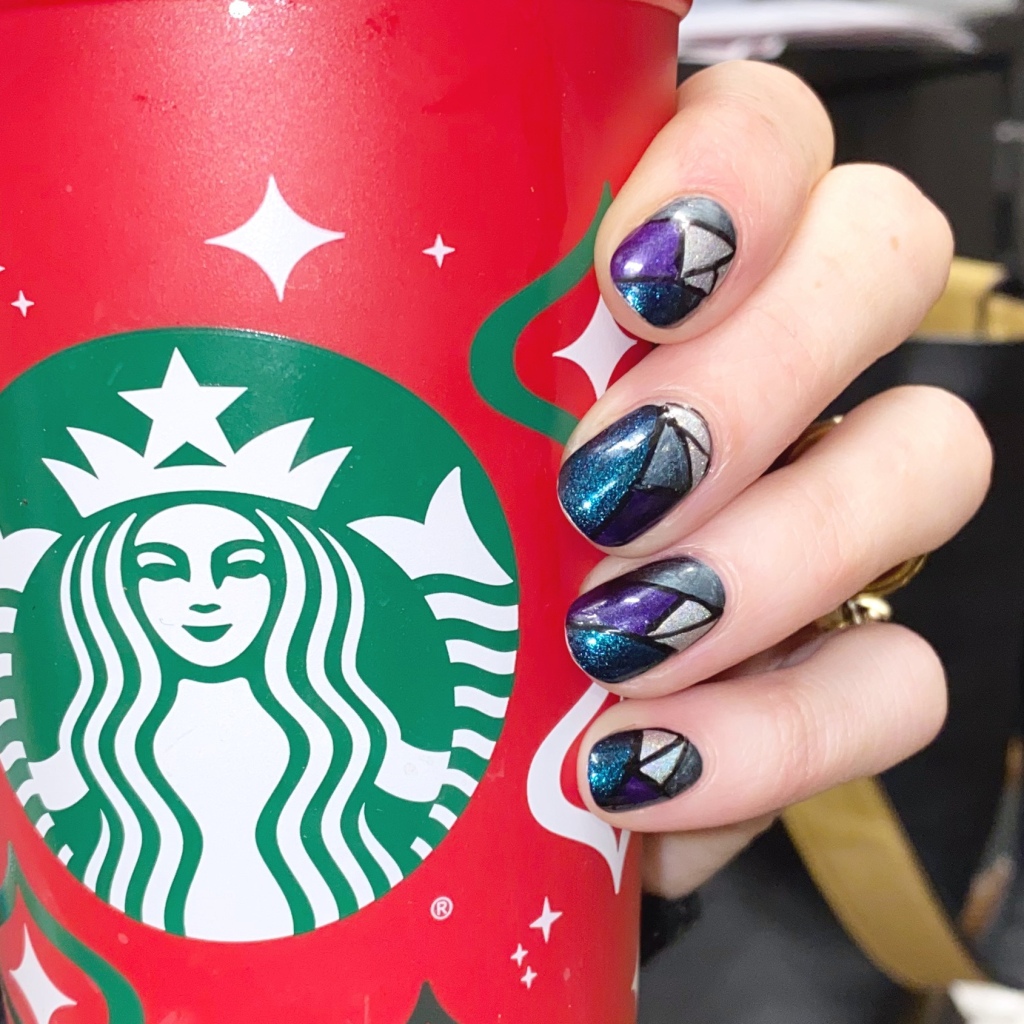
Today though, I have a beautiful jewel toned design to share with you. I used to do stained glass nails a lot when this blog first started, but it’s been a while since the last time. After finding a few beautiful China Glaze polishes I haven’t worn in a while, I knew I wanted to pair them together in a stained glass look.
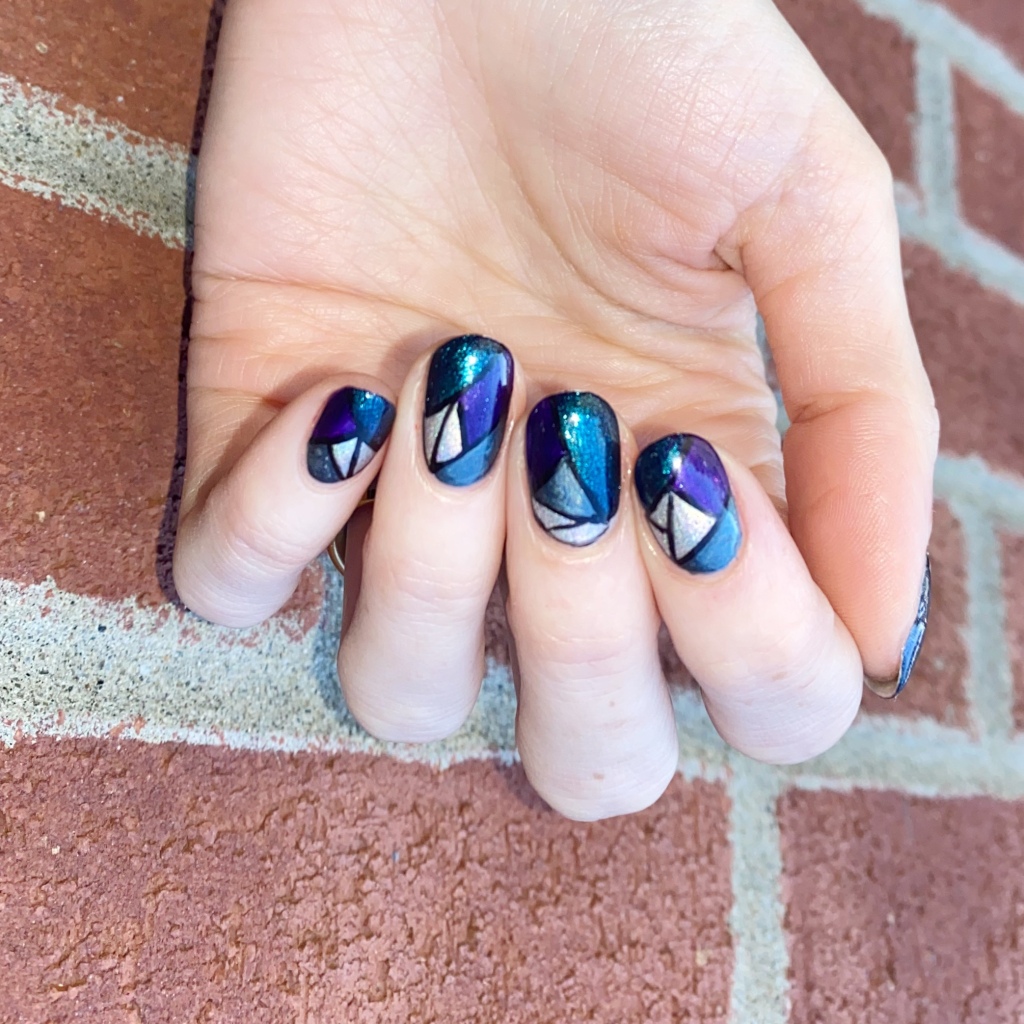
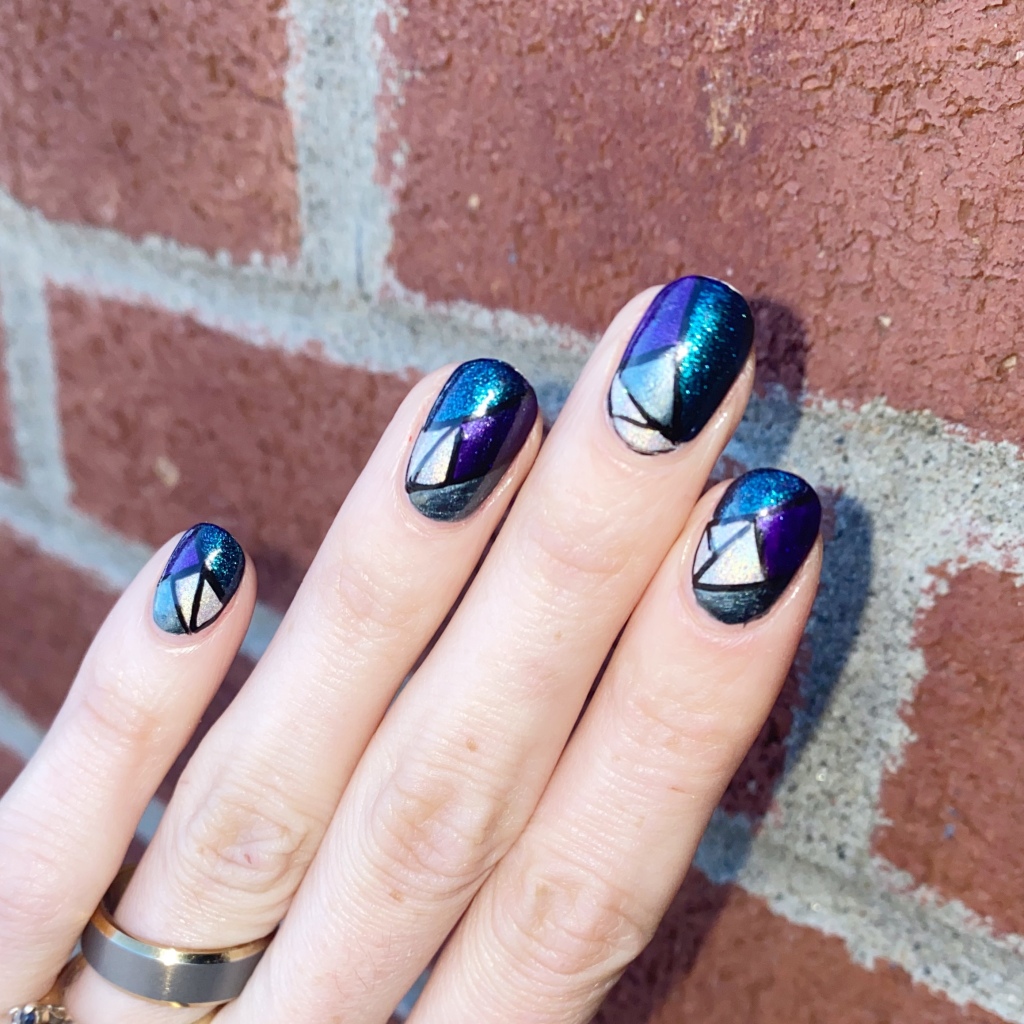
The polishes I used for this manicure are: 

  • Base Coat: Sally Hansen Miracle Gel Colour Grip Primer Base Coat 
  • Top Coat: Seche Vive
  • China Glaze OMG
  • China Glaze Fairy Dust
  • China Glaze First Class Ticket
  • China Glaze Don’t Get Elf’d Up
  • China Glaze Pull Me Close
  • Sally Hansen Ghouls Night Out
  • NailStuff.ca 9mm Mermaid Tail Liner Brush

How freaking pretty is this! These shades juts compliment each other so well… it makes me so happy! Originally I had just started with a simple colour block, but it really felt like I was lacking in something, so I decided to add on another colour (Pull Me Close) & the black outlining, & it just brought everything together perfectly.

Even though I’ve been wearing a lot of red nails just on their own, I’m trying really hard to not go too hard on the Christmas nail art\ quite yet. A little sprinkling here & there, but I know that December will be Christmas nail art heavy (I’m doing Glam Nails Challenge December again!), so I’m trying my best to get in everything else in the meantime.
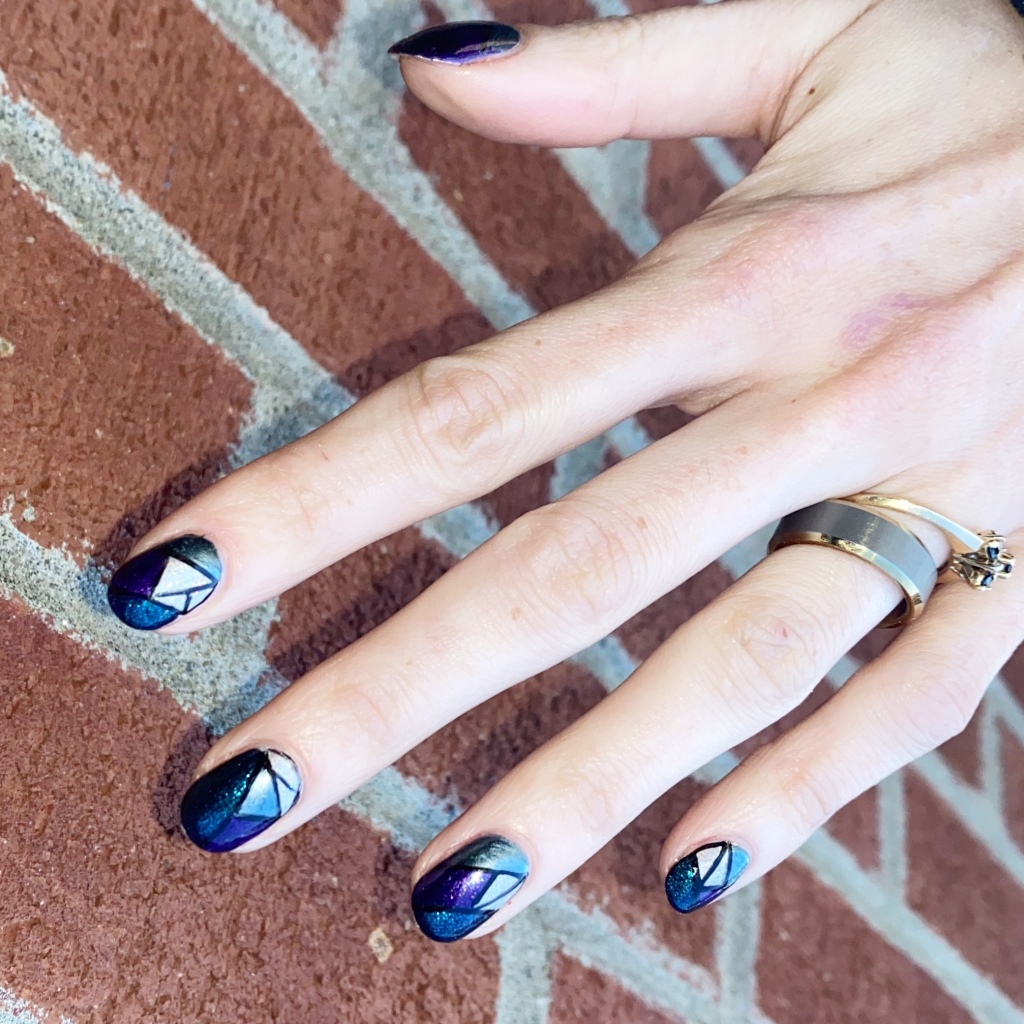
What do you think of this beautiful jewel toned stained glass design? Do you think this is a fun look or do you prefer more simple nail art? Let me know all your thoughts down in the comments below.

&, to all my American followers, Happy Early Thanksgiving!

Enjoy your Wednesday lovelies ♥︎

GLAM NAILS CHALLENGE OCTOBER—Zombie 🧟‍♀️

Hello lovelies & happy Monday! & happy Halloween Eve!

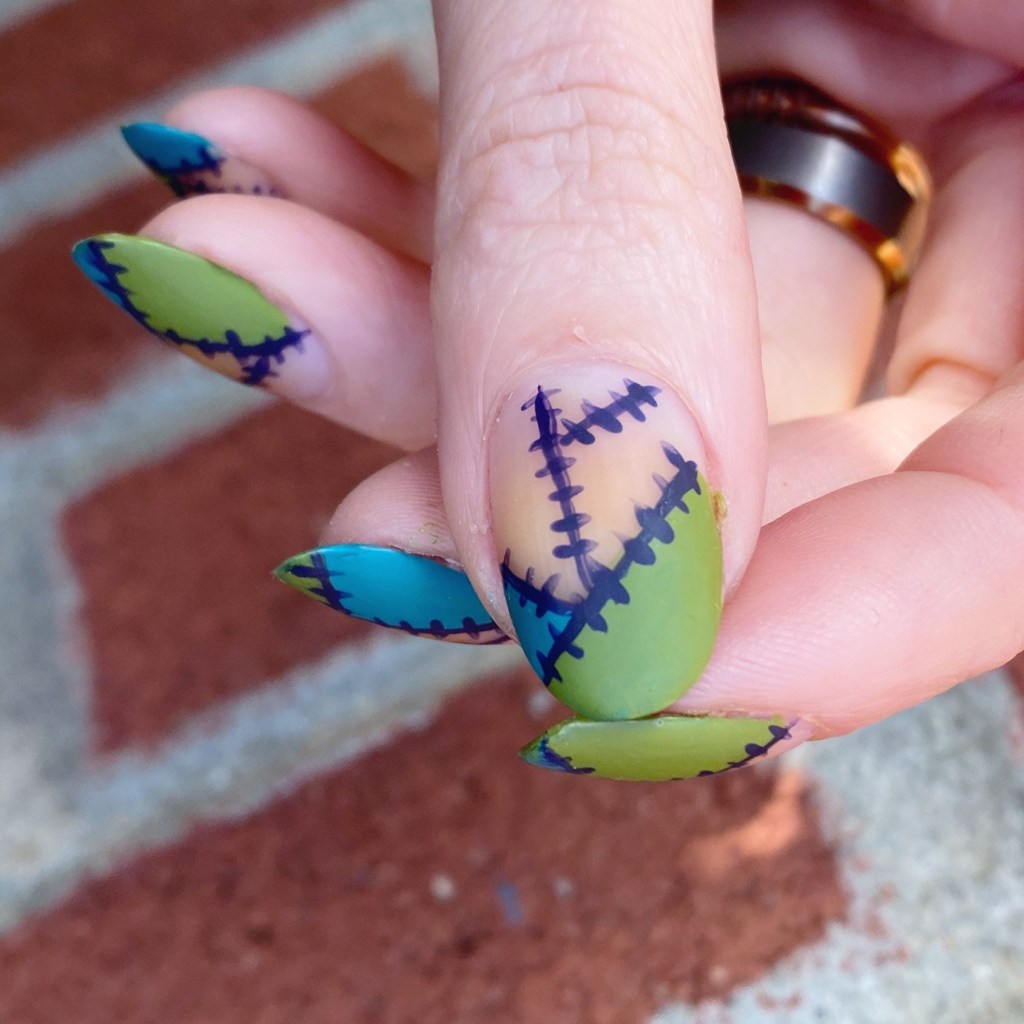
Today is our last prompt for Glam Nails Challenge October! Can you believe it?! This is kind of crazy. But I’m very excited because the prompt is Zombie & it gave me an opportunity to recreate a design I saw earlier this month on the Essie instagram.

The polishes I used for this manicure are: 

  • Base Coat: Essence Colour Grip Base Coat 
  • Top Coat: Seche Vive
  • Matte Top Coat: Sally Hansen Complete Salon Manicure Matte Top Coat
  • Essie Willow in the Wind
  • Essie (Un)Guilty Pleasures
  • Essie No More Film
  • NailStuff.ca 7mm Mermaid Tail Liner Brush

When I saw I’m obsessed with this design, I am obsessed. This turned out better than I could have ever imagined, & totally gives off the zombie design I was going for. This is a fantastic Halloween look, & it might be my favourite of all the designs I’ve done this month!

Have you enjoyed seeing all the designs for Glam Nails Challenge October? Was there a design that stood out to you as a favourite? Let me know all your thoughts down in the comments below!

Enjoy your Monday!

♥︎

Autumn Colour Blocking

Hello lovelies & happy Thursday! Switching up my posting schedule a smidge this week, just as I get back into regularly doing my nails. I’m still feeling the post-covid fatigue, so nail art is a little bit more difficult.

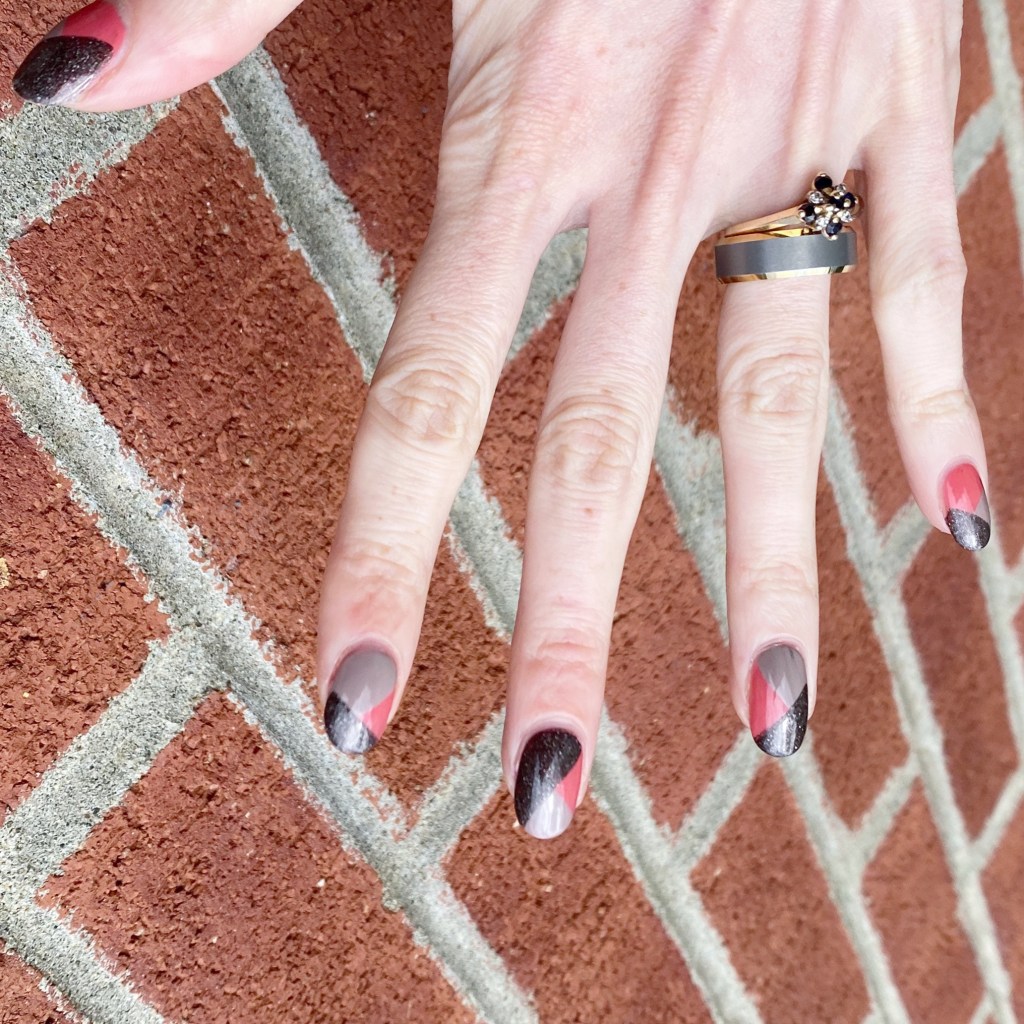
But I’m really excited to share today’s nail art look, because I really, really love the colour combination for this one! While I’m still sticking to easier nail designs, like this colour block design, I think this one turned out absolutely perfect! It was also done completely freehand, without any other nail art brushes or tools.

The polishes I used for this manicure are: 

  • Base Coat: Sally Hansen Miracle Gel Colour Grip Primer Base Coat 
  • Top Coat: Quo by ORLY Color Amp’d Top Coat
  • OPI My Address is Hollywood
  • OPI My Private Jet
  • OPI Icelanded A Bottle of OPI

I wish it had been a bit sunnier so I could have captured the scattered holographic glitter of My Private Jet, but I think these three colours compliment each other really well. & give off all the Fall vibes, to match the cooler Fall days we’ve been having. I’m really hoping I’ll be feeling a bit more like getting back into more complicated nail art soon, but in the meantime I’m okay with this simpler design.

So if you have any simple nail art suggestions, send them my way! I could use all the inspiration I can get.

What do you think of this nail art design? Do you love this colour combination as much as I do? Let me know all your thoughts down in the comments below!

Neon Colour Blocking (Featuring Sally Hansen Miracle Gel 90s collection)

•contains pr/gifted product•

Good morning lovelies & happy Monday! Sorry for the lack of a post yesterday — it was a very busy week last week! I decided instead of rushing to get a Swatch Sunday post done, to use my Saturday night for some fun self care & I did something I’ve been wanting to do forever: I re-dyed my hair purple! It was a bit of a lengthy process (we needed to bleach!) so I knew I couldn’t get both done. So I picked my hair.

I’m back today, though, & sharing a design using some of the Sally Hansen Miracle Gel 90s shades I received last week.

The polishes I used for this manicure are: 

  • Base Coat: Sally Hansen Miracle Gel Colour Grip Primer Base Coat
  • Top Coat: Sally Hansen Miracle Gel Glossy Top Coat
  • Sally Hansen MG 90s Did I Blue That?
  • Sally Hansen MG 90s Nostalchick
  • Sally Hansen MG 90s Toadally Buggin’

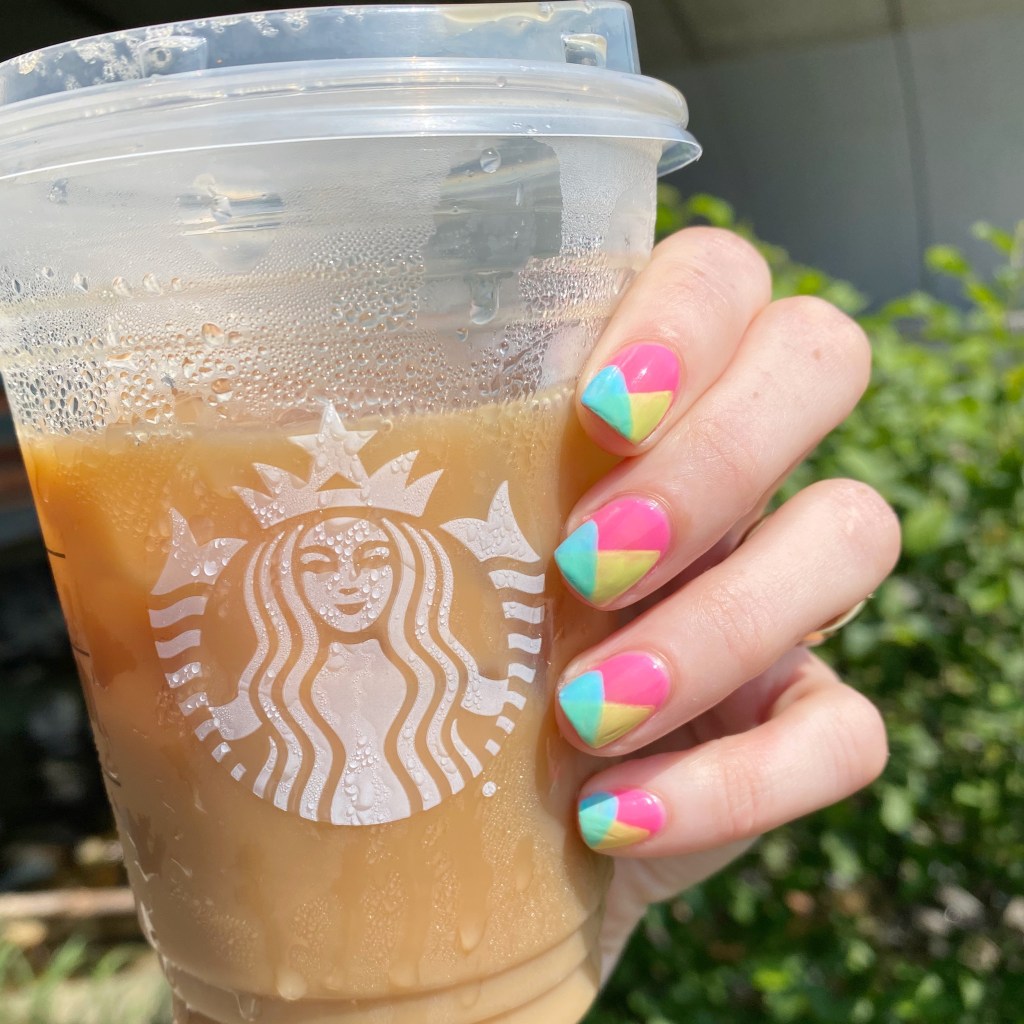
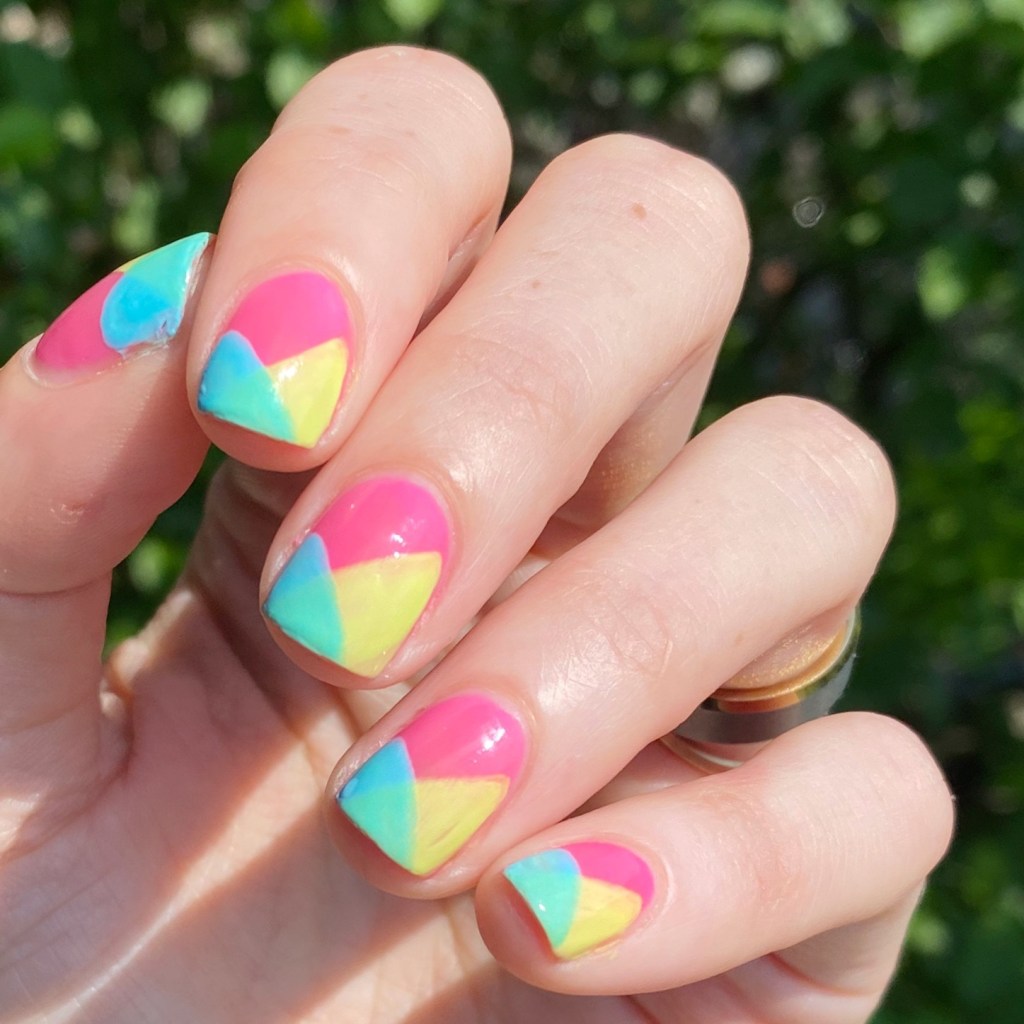
Does the colour combination & colour blocking on this look remind anyone else of those 90s colour block bathing suits — the ones with the big zipper down the front? I definitely had one or two I wore as a kid.

I just thought this design would be so fun to wear, & the bright colours would look so good together, & I’m glad I was right! Give me all the Summer shades. I’m very much about the Summer vibes right now.

What do you think about this bright neon colour block look? Do you like these Sally Hansen Miracle Gel 90s inspired polishes. I have a bunch of free time this week so I should be able to get Swatches done of these new shades for this coming Sunday!

Have a fantastic start to your week lovelies! & enjoy the sunshine if it’s shining where you are. ☀️

Products featured in this post were provided in exchanged for content.

All thoughts are honest & my own.

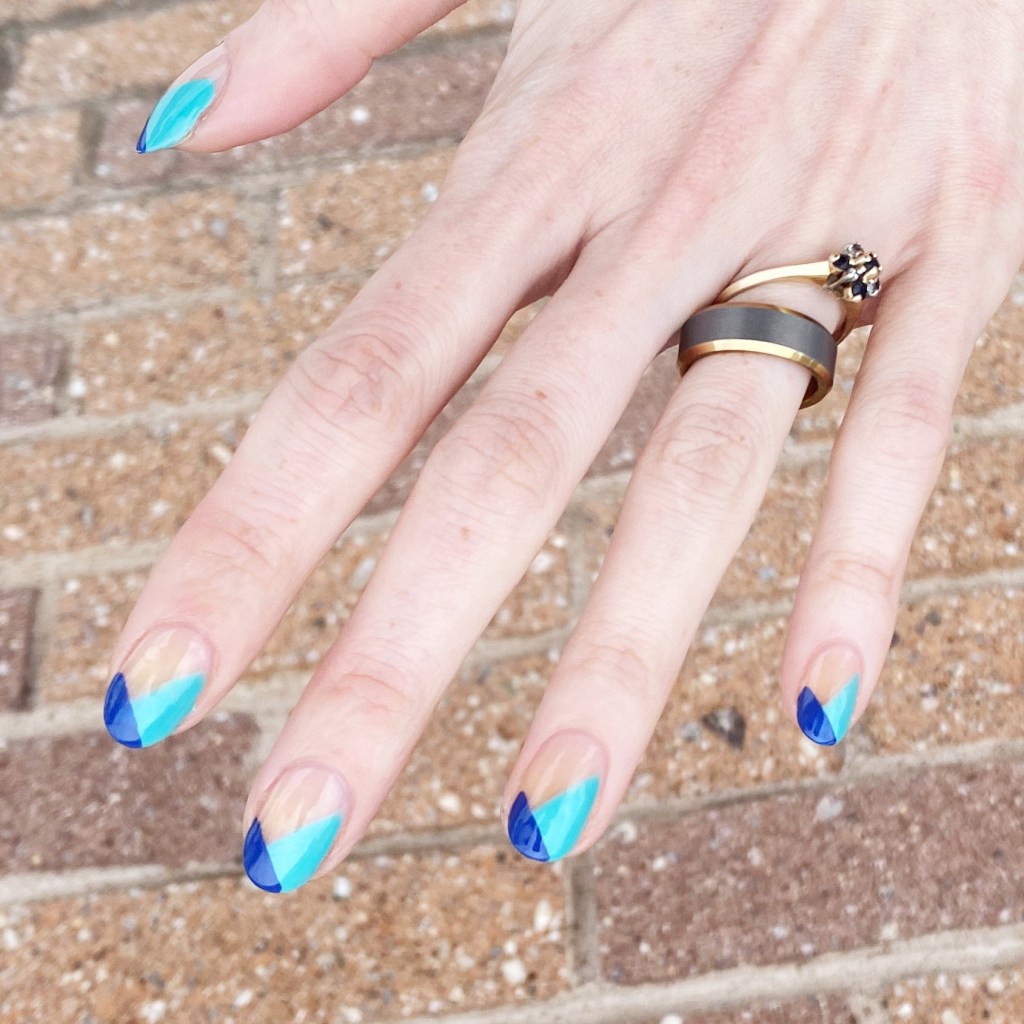
Teal & Blue Colour Block French Manicure

Good morning loves & happy Thursday. It’s almost the weekend!

I hope everyone’s week is not too crazy. I’ve just been wistfully sitting here, wishing for Spring. Every time I look at the dresses in my closet, I can’t help but wonder… how much longer? So I decided another bright & colourful manicure was in order. But… I’ll be honest. I’ve been very wrapped up in all the Vanderpump Rules drama going on, so I also needed something not too involved.

So naturally I decided a bright & colourful colour block French design would be perfect. Quick, easy, & gorgeous!

The polishes I used for this manicure are: 

  • Base Coat: Essie Hard To Resist Glow & Shine 
  • Top Coat: Seche Vite Fast Dry Top Coat
  • Sally Hansen Miracle Gel X FRIENDS The One With The Teal (PR/gifted)
  • Sally Hansen Miracle Gel Beatnik

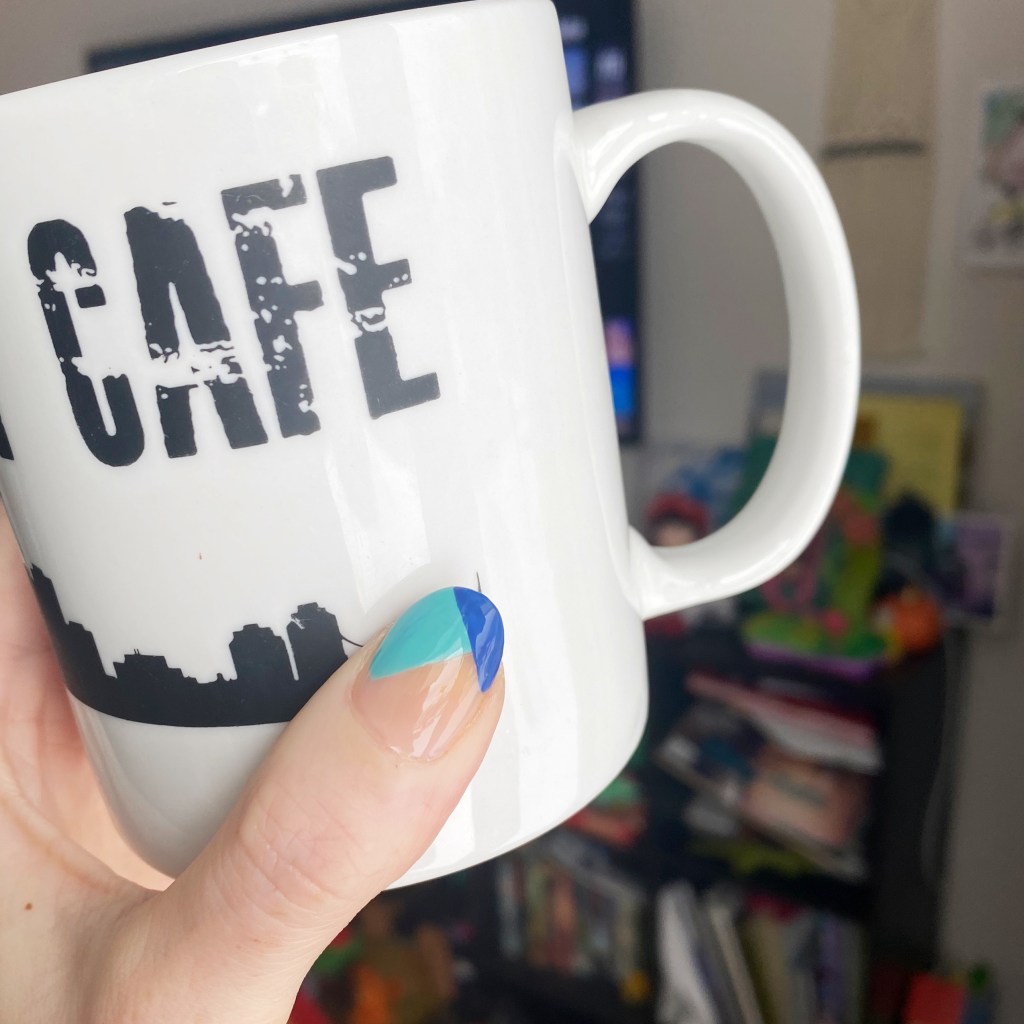
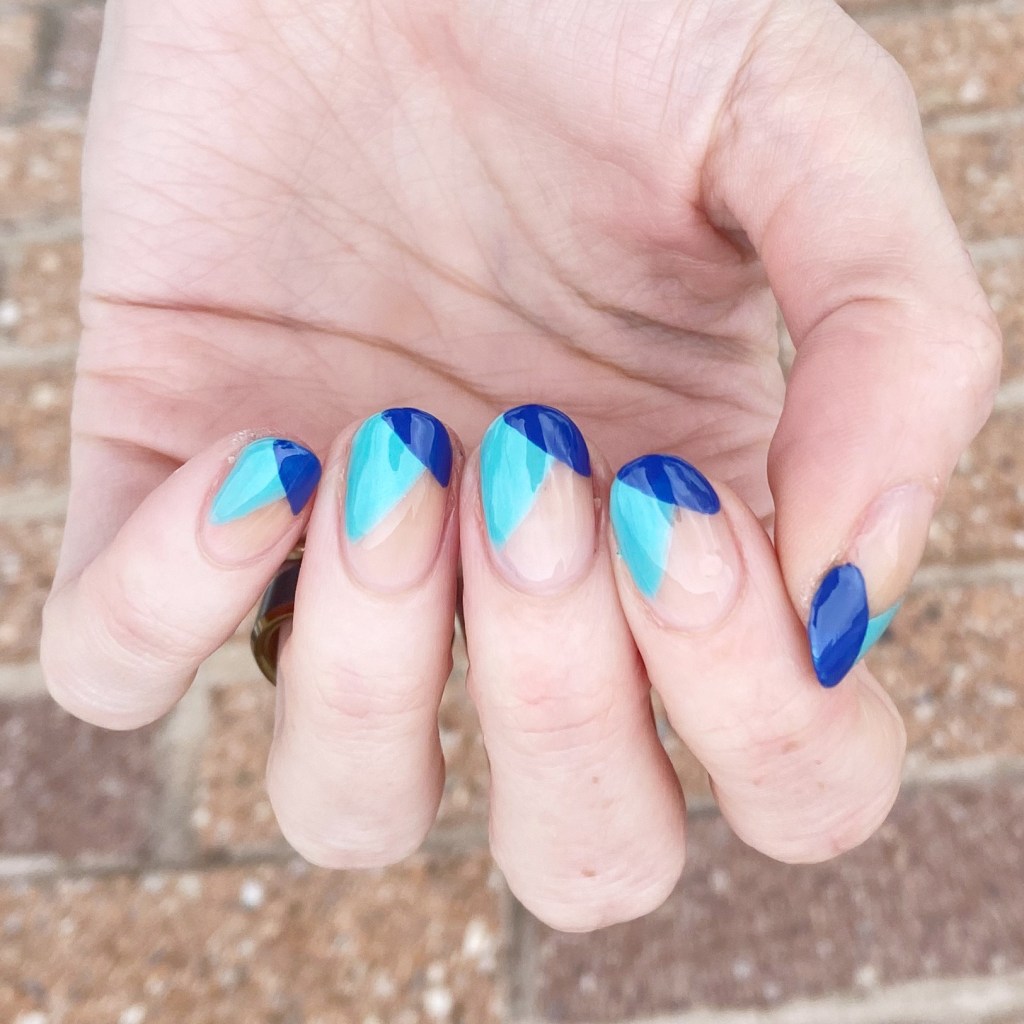
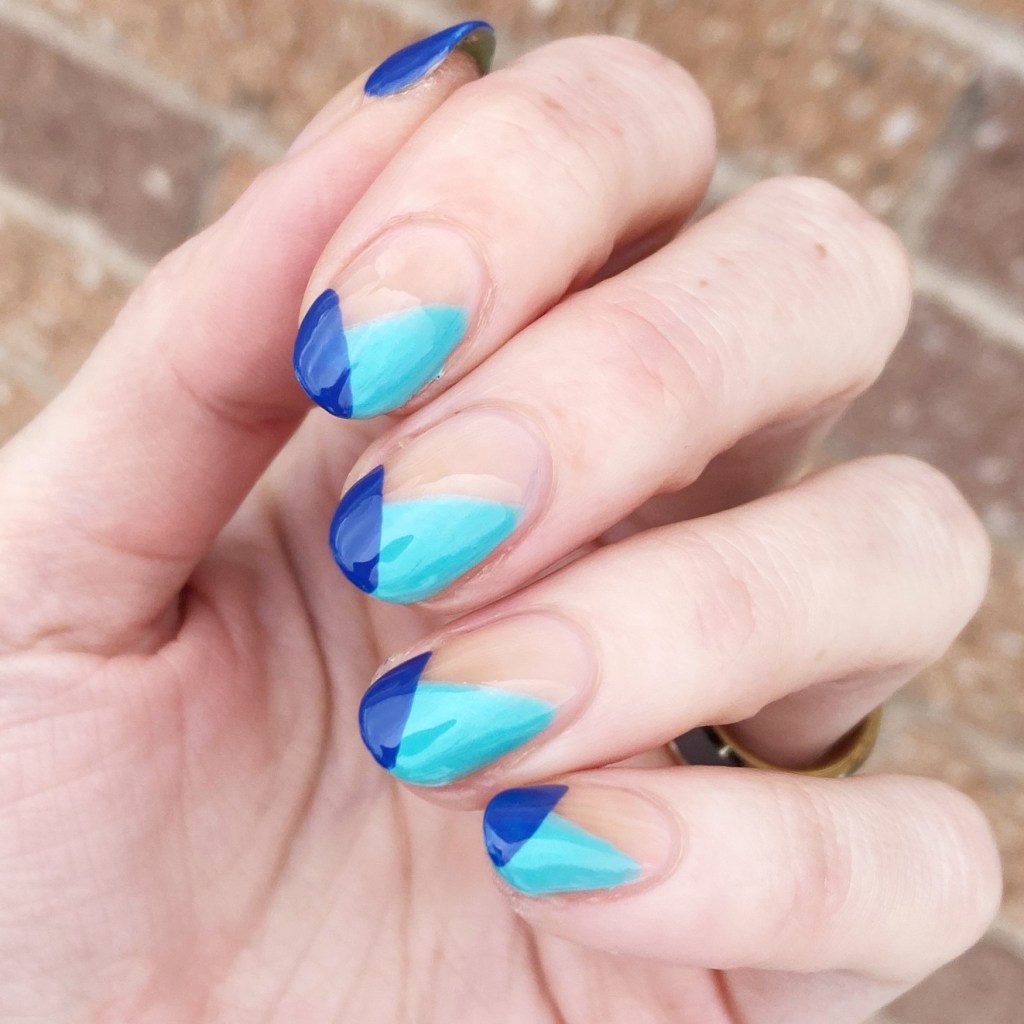
Okay, so I did this look completely 100% freehand, & even I can’t believe how clean & straight I managed these lines. Also, I really like the kind of asymmetrical look of this design, as opposed to my usual (similar) colour block looks. But the colours — the colours are definitely my favourite part. This pop of colour is exactly what I needed, & I didn’t even realize it. I’m obsessed.

It’s just a really fun, easy look with an endless possibility of colour combinations. I’m so happy with how they turned out.

What do you think about this colour block French manicure look? Do you think this is a great design & pop of colour for Spring? I’d love to know what colour combination you would choose for this look, so let me know down in the comments below!

Have a lovely Thursday! ♥︎