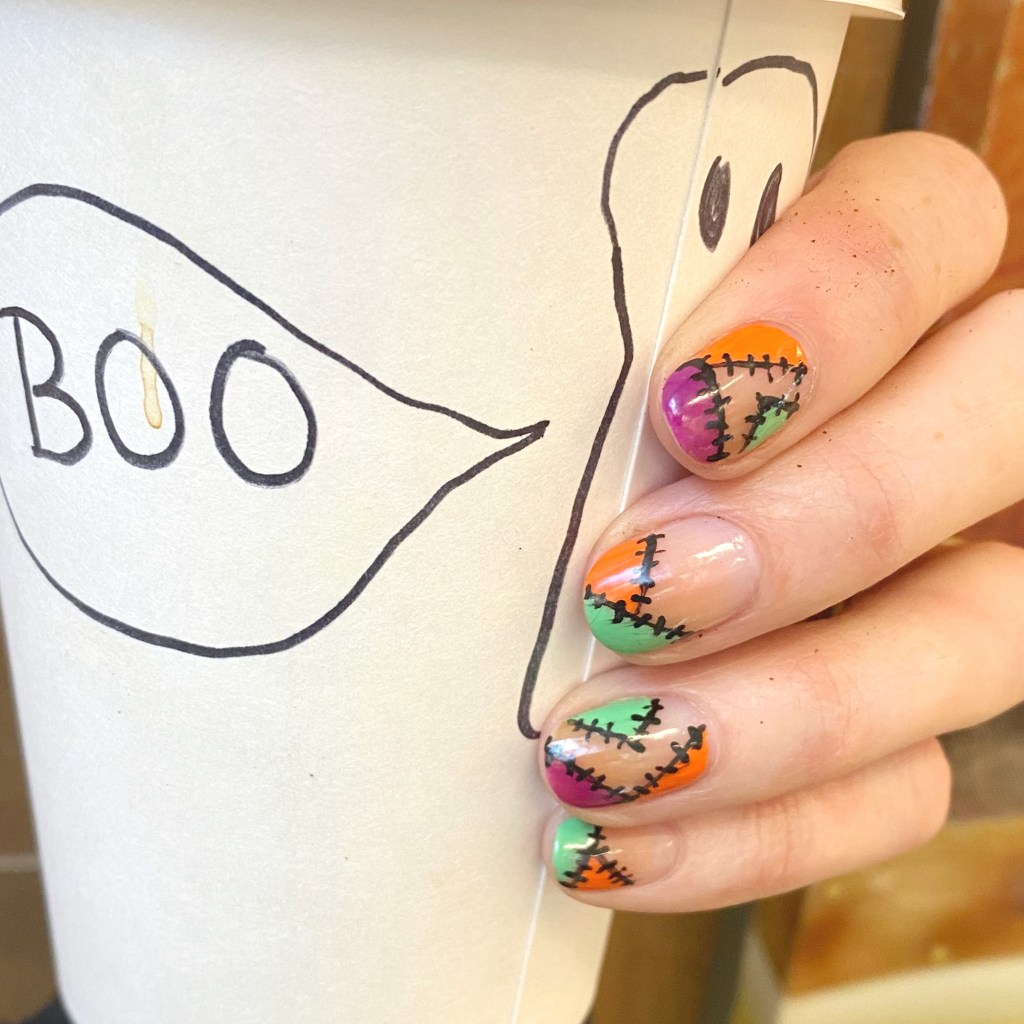
Fun Frankenstein Stitch Halloween Nails 🧟

Hello lovelies & happy Wednesday. A rainy, messy, not fun Wednesday at that. I know I’ve been super off on my posting schedule — I had such big plans for October manicures. But I’m still trying my best to truck along & share some fun nail art looks.

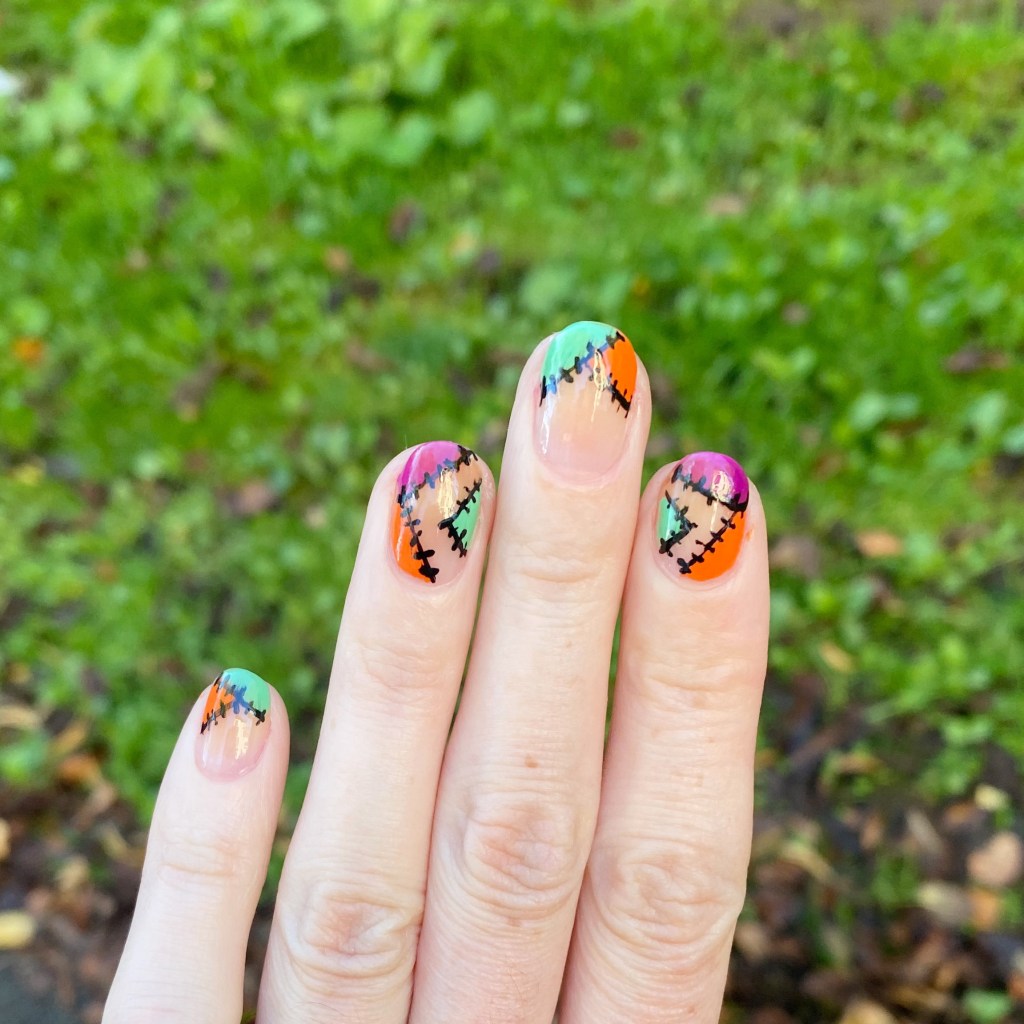
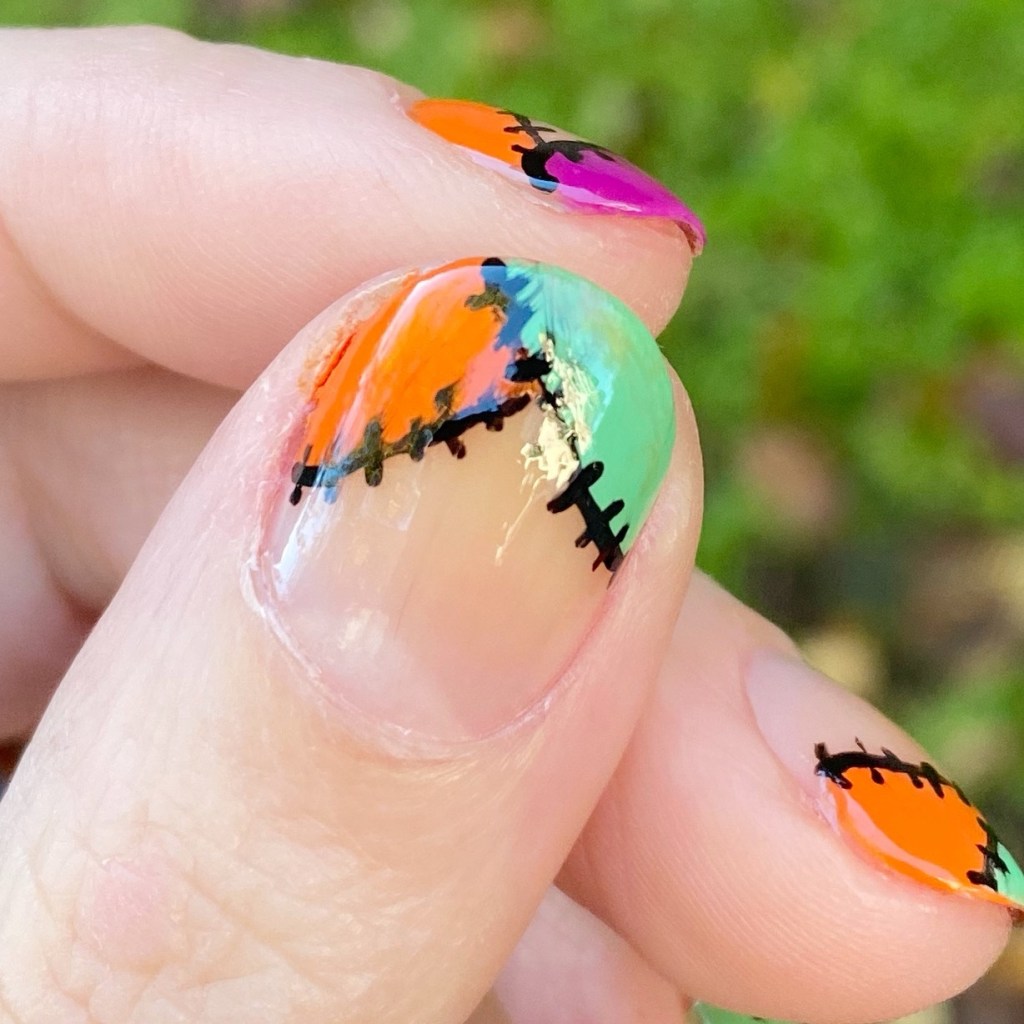
& what is more fun than Frankenstein inspired stitch nails?

Do I do a version of this look every year? Yes. Does it ever get old to me? Not at all.
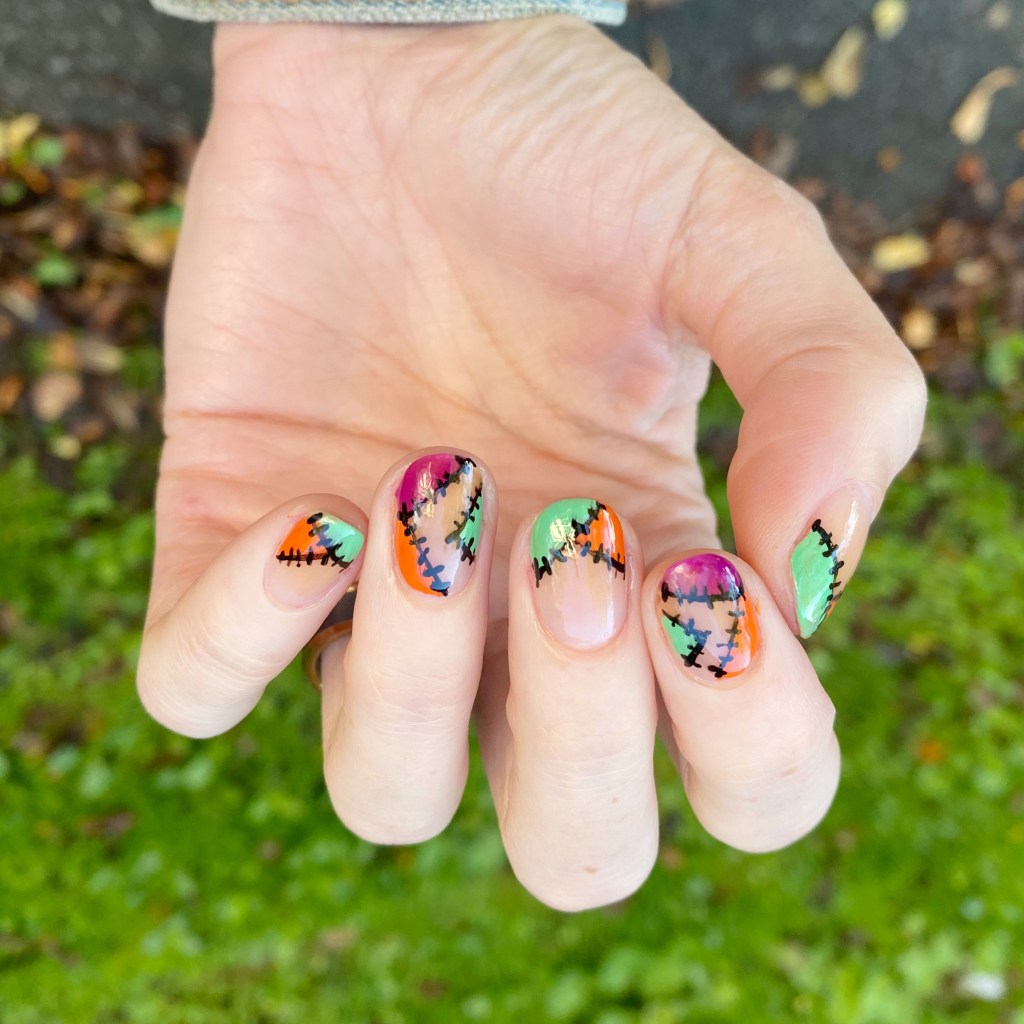
The polishes I used for this manicure are: 

  • Base Coat: Sally Hansen Maximum Growth Base Coat 
  • Top Coat: Sinful Colors Power Paint Top Coat + Sally Hansen Insta-Dri Top Coat
  • Sally Hansen Miracle Gel Feelin’ Grape
  • Sally Hansen InstaDri Pump-kid
  • China Glaze Shore Snuff
  • NailStuff Essentials Raven
  • NailStuff 7mm Mermaid Tail Liner Brush
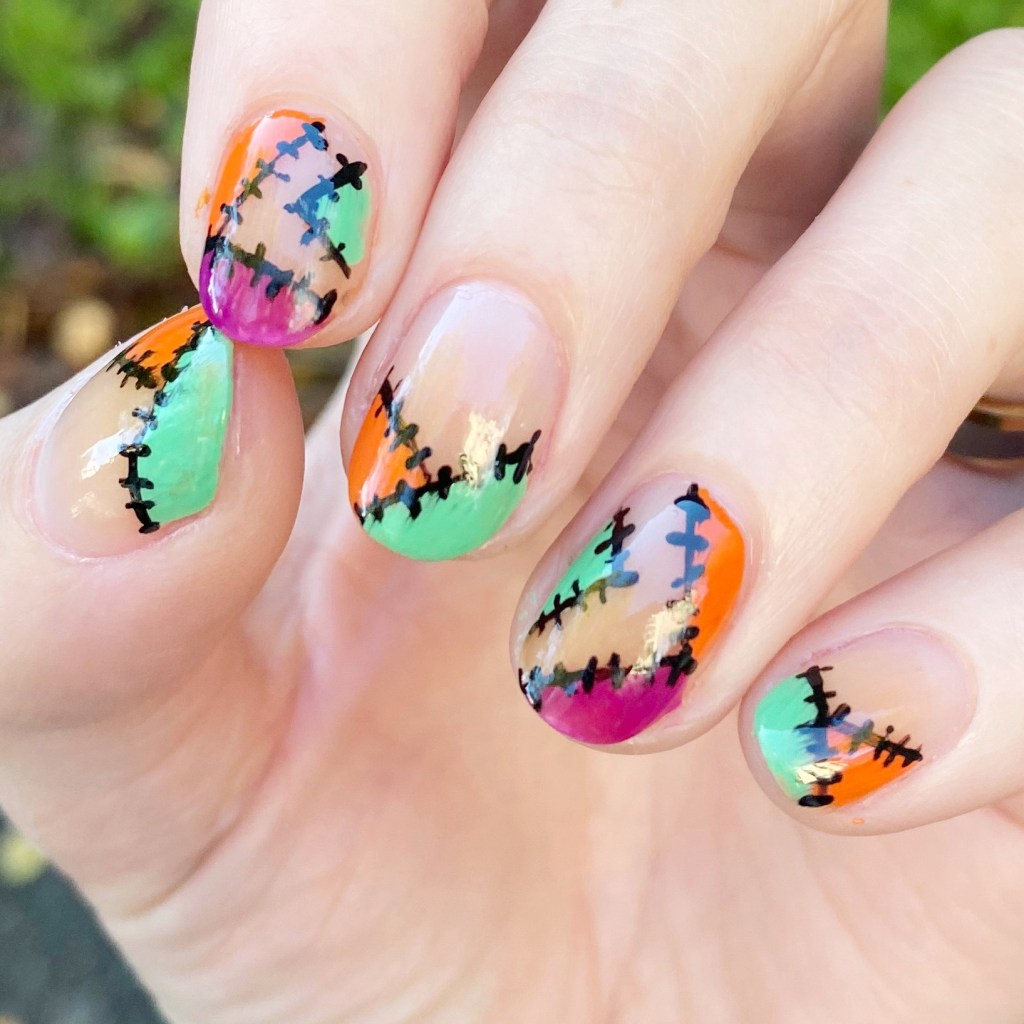
I love how colourful these colours are! This is the same colour scheme I used for my Halloween Inspired Dotticure — maybe because they were still sitting on my bedside table — but they work perfectly for this Halloween stitch look. Also, we all know I love a somewhat negative space design, & this is the perfect design for that.

& you wouldn’t believe how many compliments I got on this look! I wore them to work, & so many people commented on how cool they were. That made me so happy!
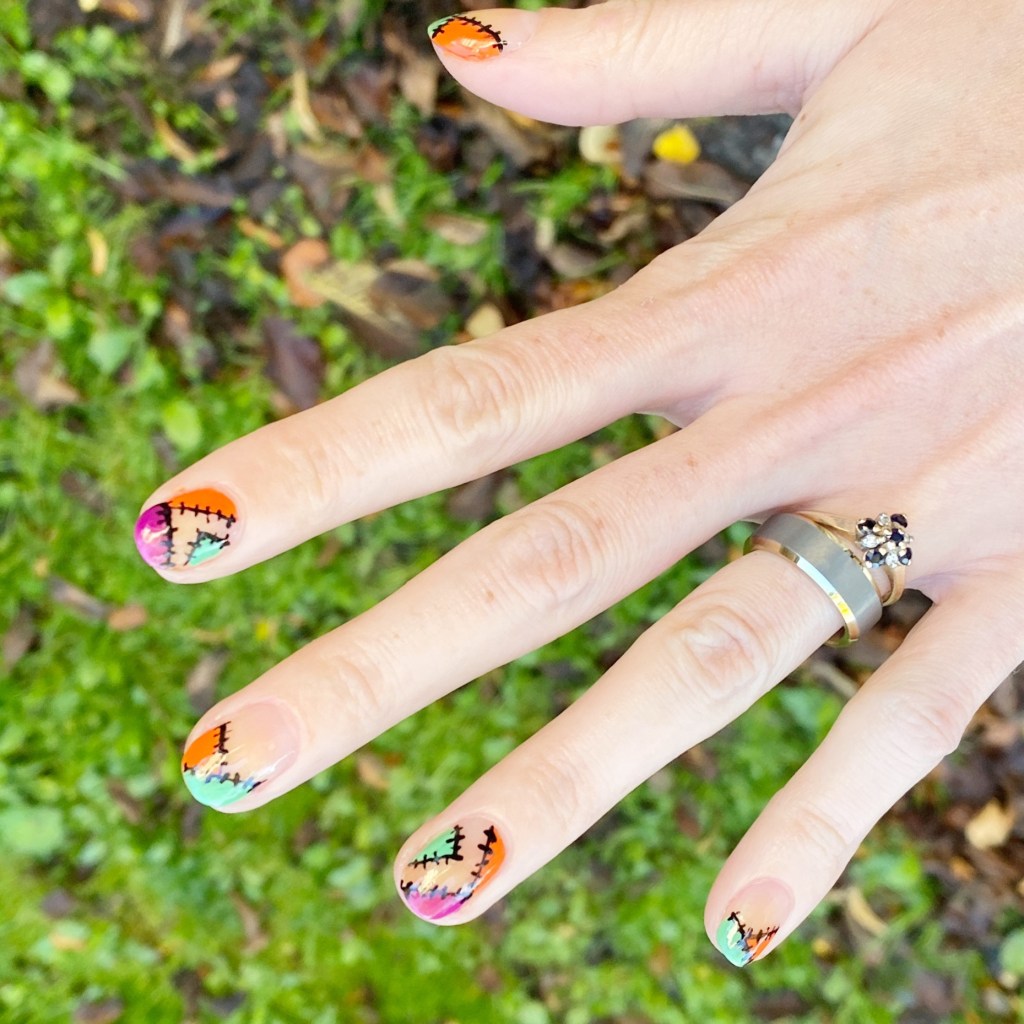
What do you think of this colour block/halloween stitch/Frankenstein inspired look. I’m not entirely sure which way is best to describe them, but I really really love them!

Happy Wednesday loves!

♥︎
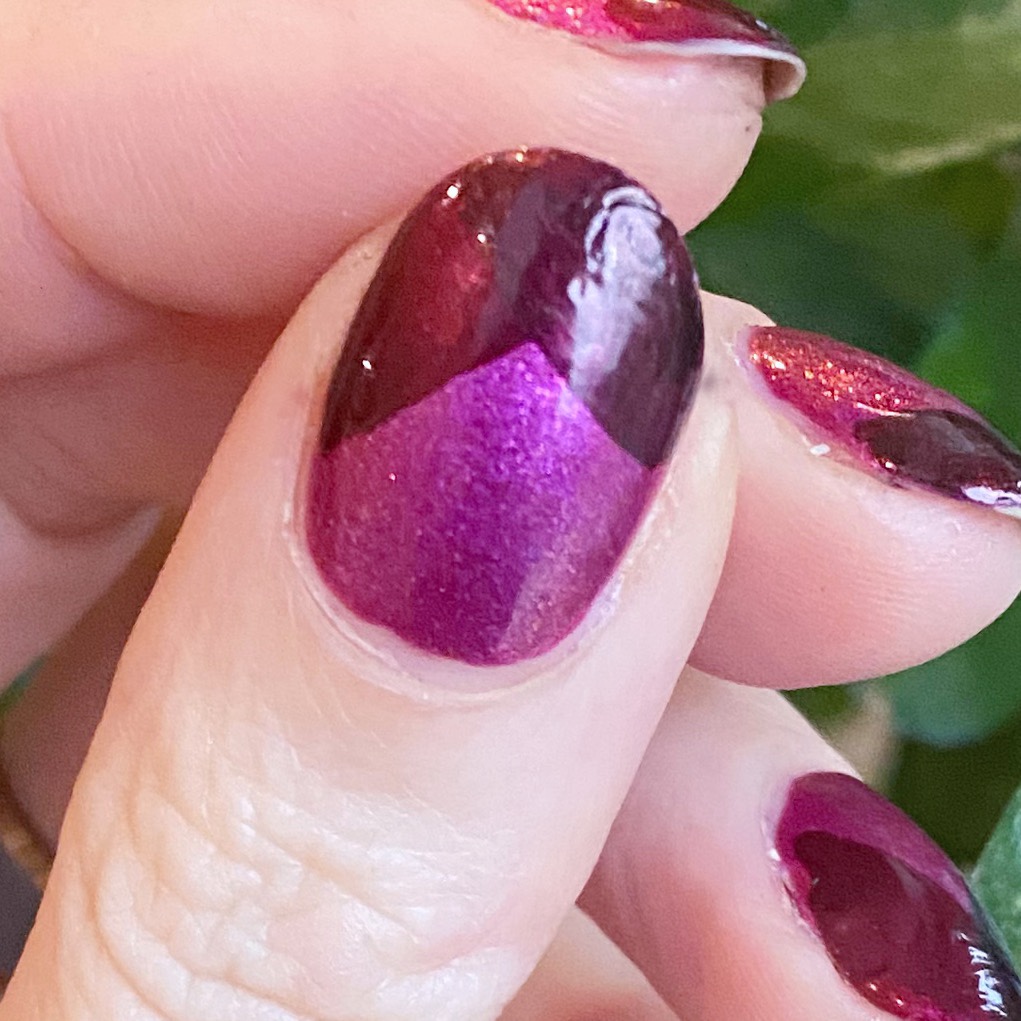
Festive Berry Toned Colour Blocking

Hello lovelies & happy Thursday!

I hope everyone is having a lovely week so far. With the day off for Remembrance Day on Tuesday, I feel like my whole week is so askew! But I am trying to keep on my painting & posting schedule as best as possible, so here we go!

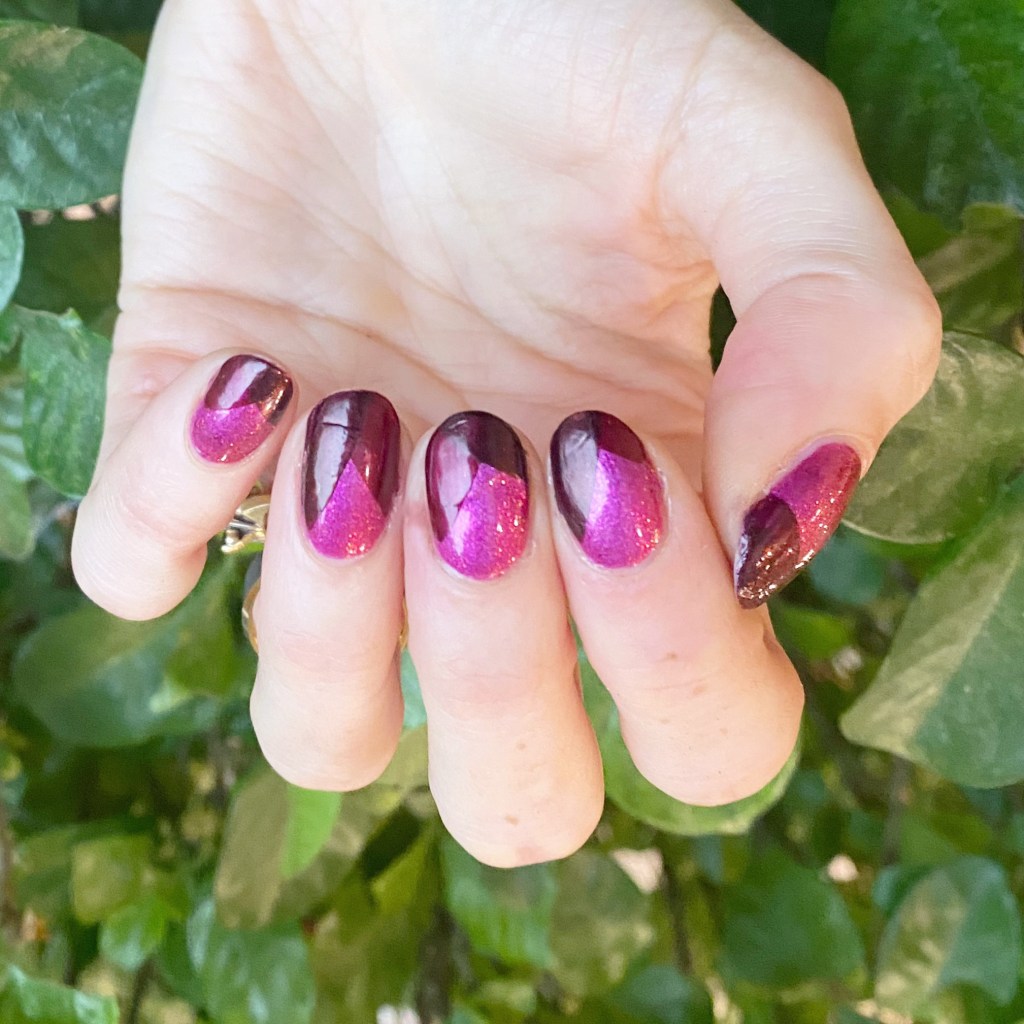
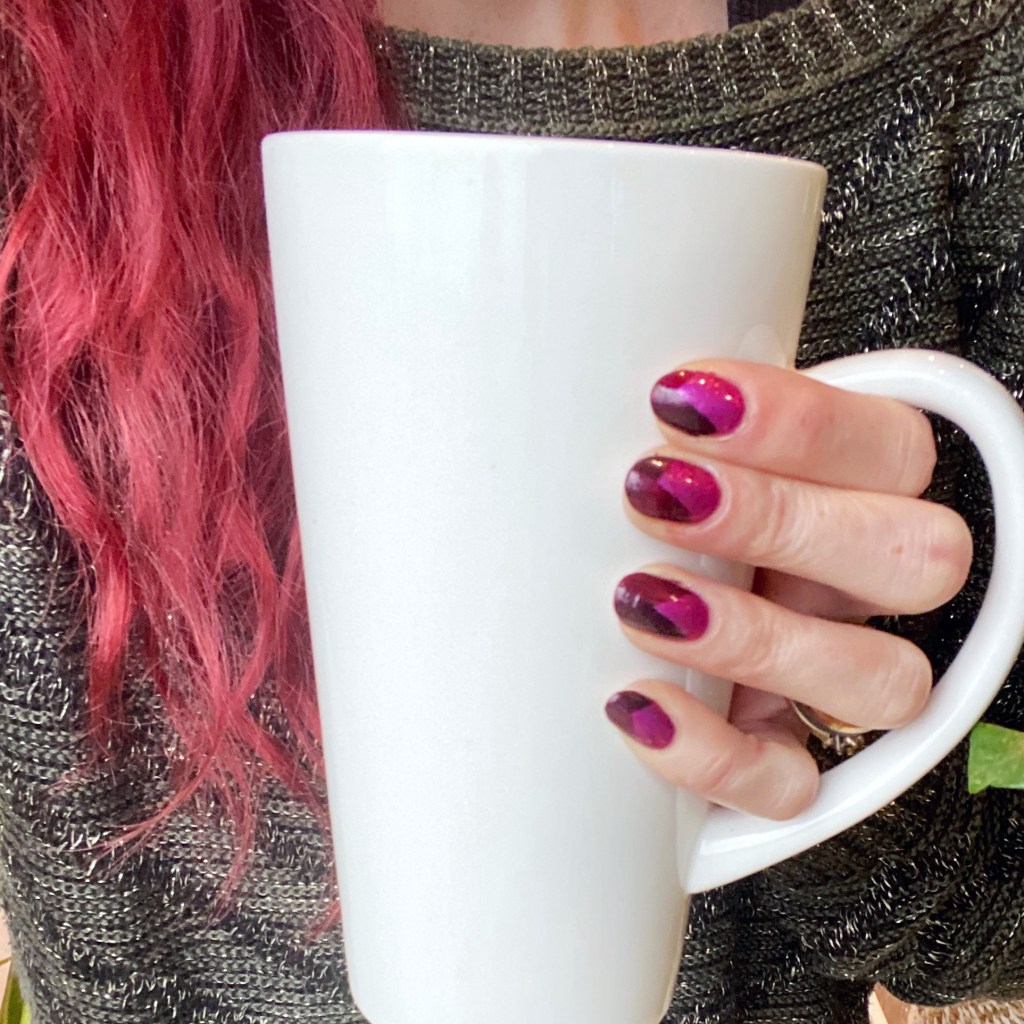
Today’s look is a simple one, but perfect for this time of year. The holiday vibes are really hitting hard now, so why not have nails to match! & I much prefer a pink Christmas vibe, myself.

The polishes I used for this manicure are: 

  • Top Coat: Sally Hansen InstaDri Top Coat (red bottle) 
  • Base Coat: Sally Hansen Miracle Cure
  • Sally Hansen InstaDri The Queens Velvet
  • Sally Hansen Miracle Gel Frosted Berries
  • OPI Infinite Shine Bring Out The Big Gems

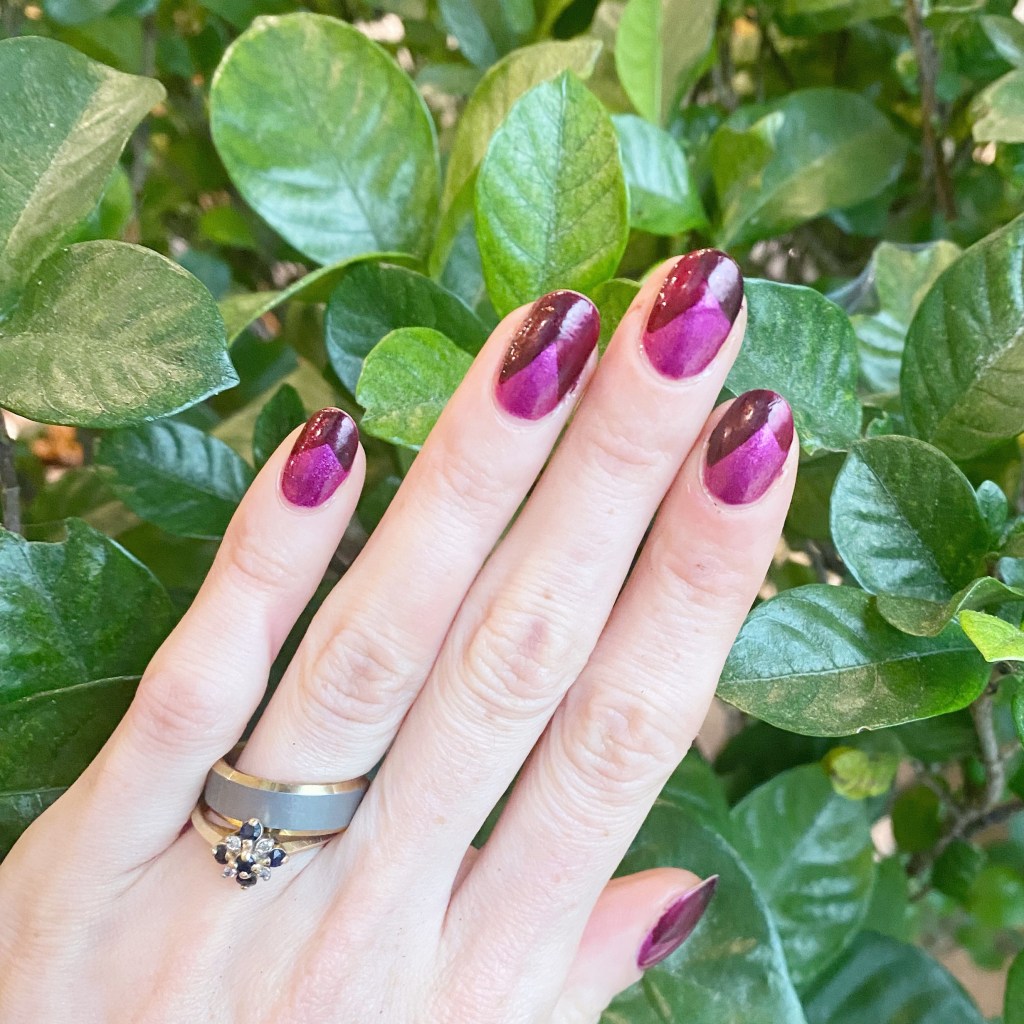
I’m a huge fan of designs like this which feature similar tones all paired together. It looks so beautiful. & I’m very into this pinky red colour scheme right now! As a lady truly dedicated to a crimson nail polish, it’s a nice change from my usual go to shades.

& colour blocking like this is so easy to do! Obviously if you don’t feel comfortable free-handing, you can use nail tape/vinyls — but honestly, once you practice doing it without, you realize how quick & easy it is!

What do you think about my berry toned colour blocking? Do you like this combination of colours? Let me know all your thoughts in the comment below, & if you would wear this design!

Enjoy your Thursday!

🖤

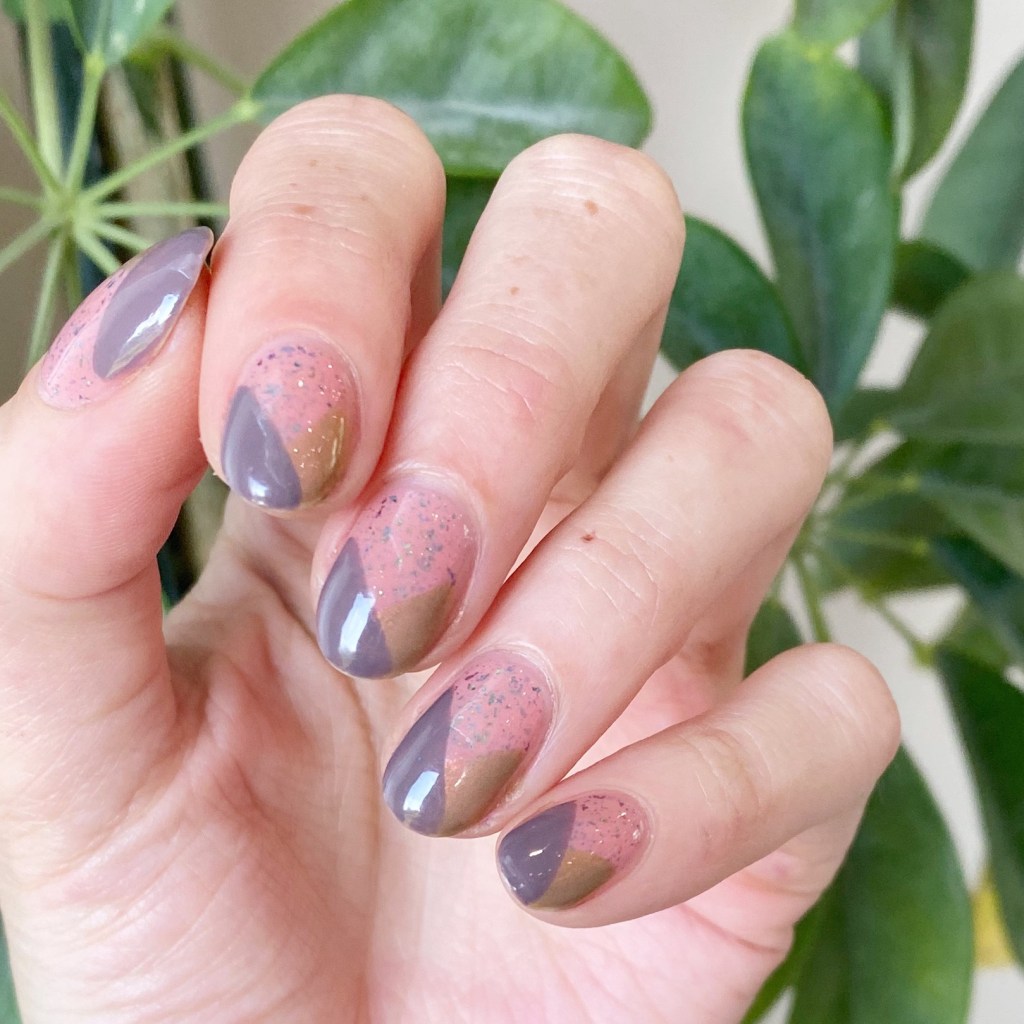
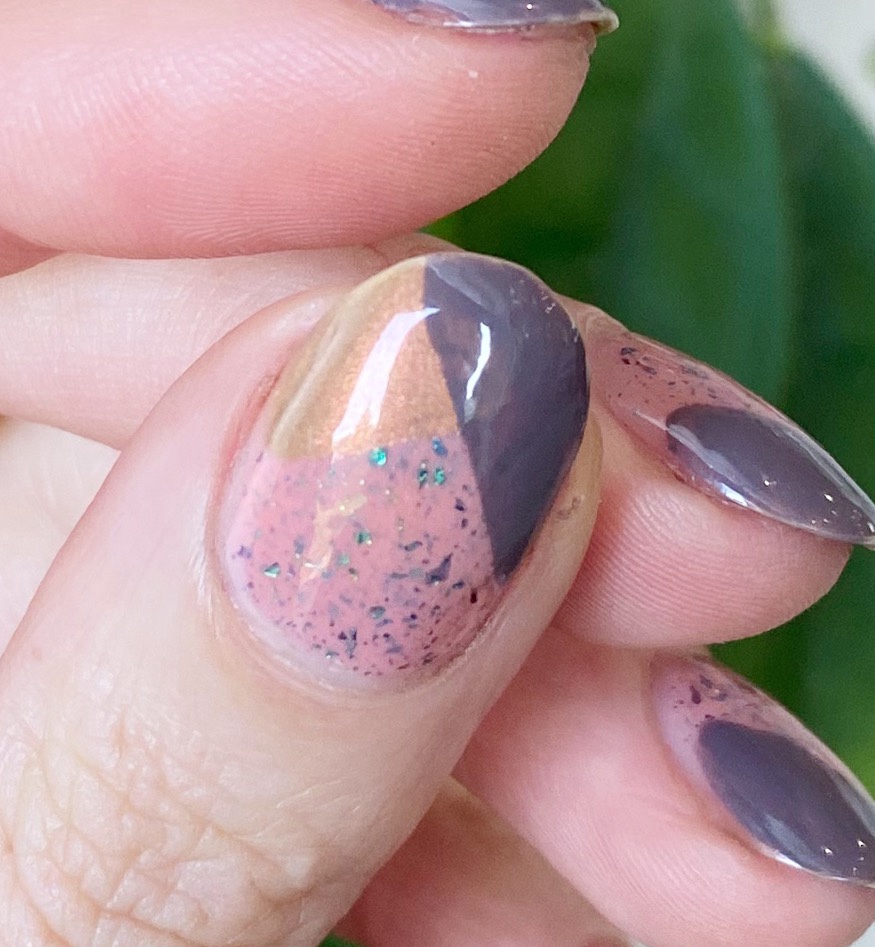
Neutral Sparkle Colour Blocking

Hello loves & happy Friday. I’ve been pretty quiet this week on the blogging front — end of Summer kind of does that to me. But I didn’t want to end this week without posting at least one nail art look, & I think this particular design is perfect.

The polishes I used for this manicure are: 

  • Top Coat: Essie Good To Go Top Coat
  • Base Coat: Essie Hard to Resist (purple)
  • Beyond The Nail Glistening Fairy Nails
  • Essie Merino Cool
  • Essie Light as Linen

I love the mixed finished of this colour blocking look. You have the flakie look of Glistening Fairy Wings, the shimmer of Light as Linen & the cream finish of Merino Cool. Usually when I do my colour blocking, I stick to one — sometimes two — finished but I’ve never done anything so contrasting before (I don’t think, at least). I also really like the neutral colour palate— it’s not as eye catching as some colour blocks I’ve done, but it is so beautiful in its cooler tones.

I just really love how this looks, & I got so many compliments on them when I wore them to work.

What do you think about this neutral colour blocking look, with a touch of sparkle? Do you like how I mixed up the polish finishes? Would you wear this design?

Let me know all your thoughts down in the comments below & share what you’re wearing on your nails right now!

Happy Friday

🖤

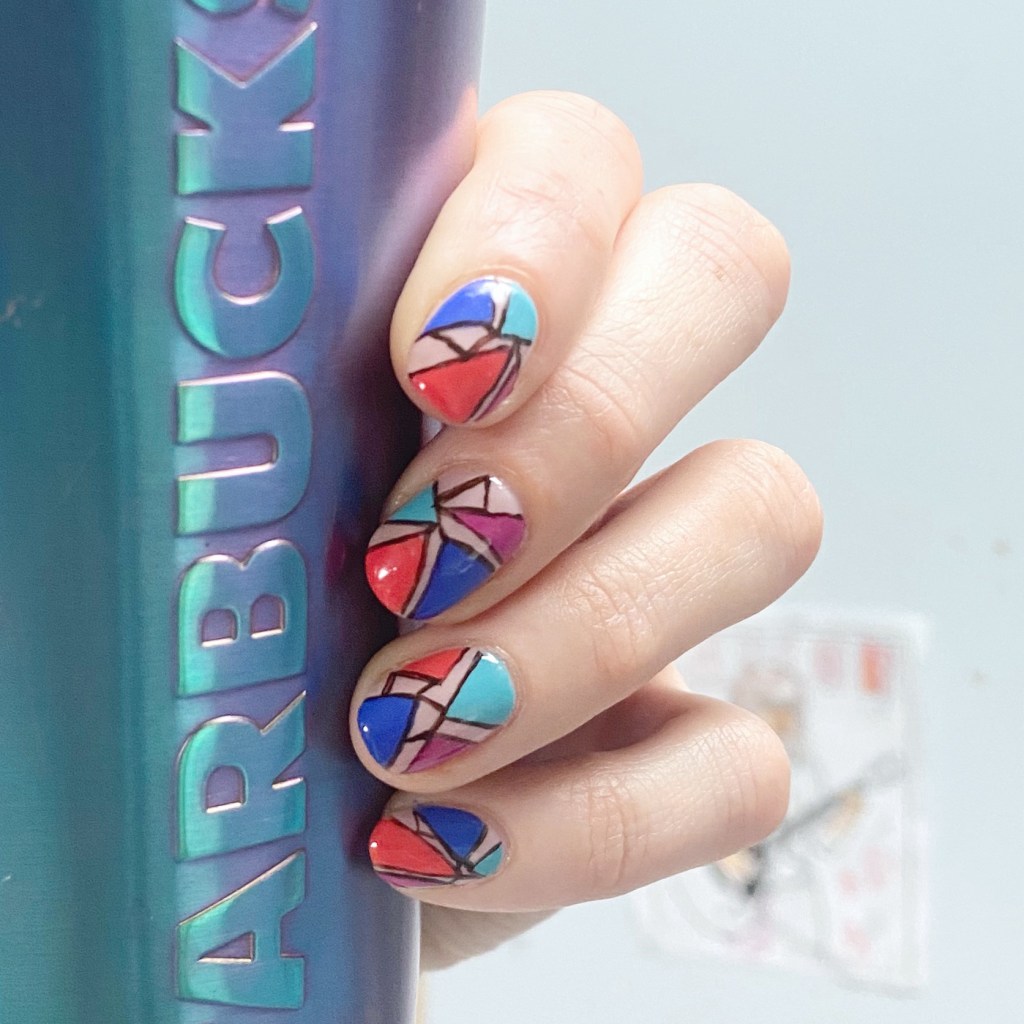
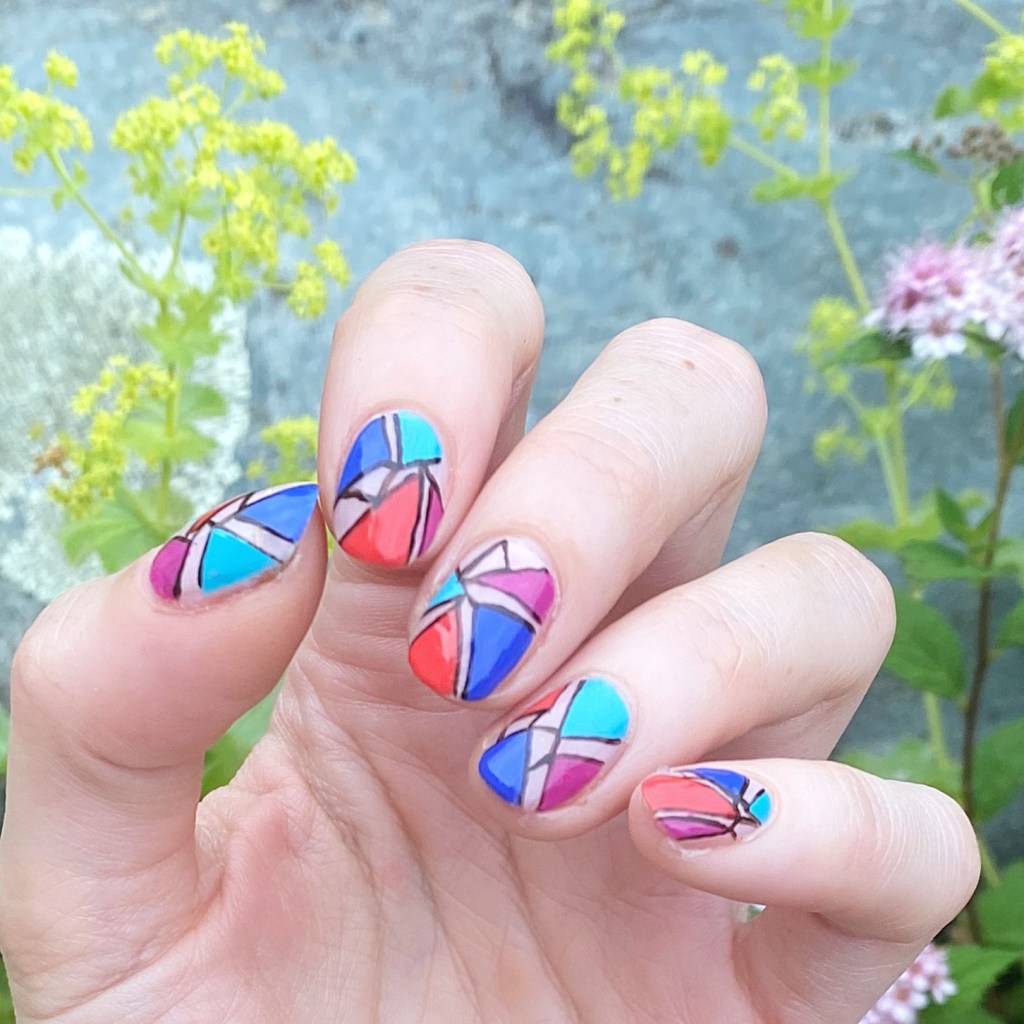
Cool Colour Block Stained Glass

Hello loves & happy Wednesday.

I hope everyone’s week has been peaceful so far. Summer is in full swing, & the weather has been… up & down. But I’m trying to enjoy the Summer none-the-less.

Today I have some actual nail art to show with you. I know — who is she? It feels like a while since I’ve been fully inspired in my nail art endeavours, so I was happy when I started this design & ended up loving it. That doesn’t always happen lately, so I was in love with this look when it just came together so perfectly.

Also, my nails are finally growing out after that bad break on my ring finger. Thank goodness!

The polishes I used for this manicure are: 

  • Top Coat: Essie Gel Setter Top Coat 
  • Base Coat: China Glaze Calcium Gel Fortifier
  • Essie Gel Setter Sheer Fantasy *
  • Essie Handmade With Love *
  • Essie Butler Please
  • Essie Swoon in the Lagoon *
  • Essie In My Cab-Ana
  • Essie Expressie Take The Espresso *
  • Nailstuff.ca Mermaid Tail 7mm liner brush

**pr/gifted product

I cannot begin to explain how much I love how these turned out. I started off with the block of colour, but it just felt like it needed something a little more to make it pop. & outlining it with the dark brown of Take the Espresso was definitely the right choice. I am very pleased with how these turned out.

&, if we’re being honest (always), it truly didn’t take as long as you would think it would take. No more than an hour from start to finish.

What do you think about these fun colour block, stain glass looking nails? Do you think this look turned out as good as I think it turned out? I’d love to know your option, or if you would wear it too! Let me know all your thoughts down in the comments below.

Happy Wednesday!

♥︎

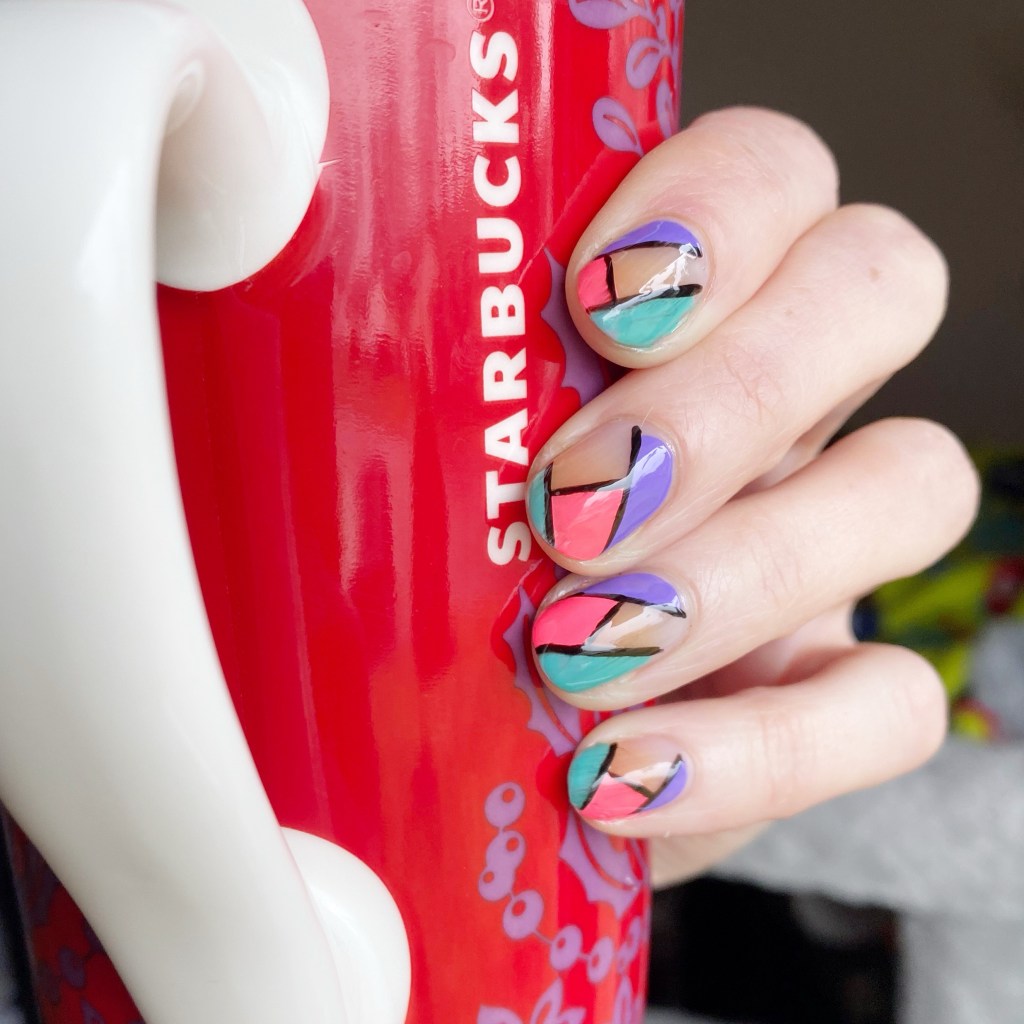
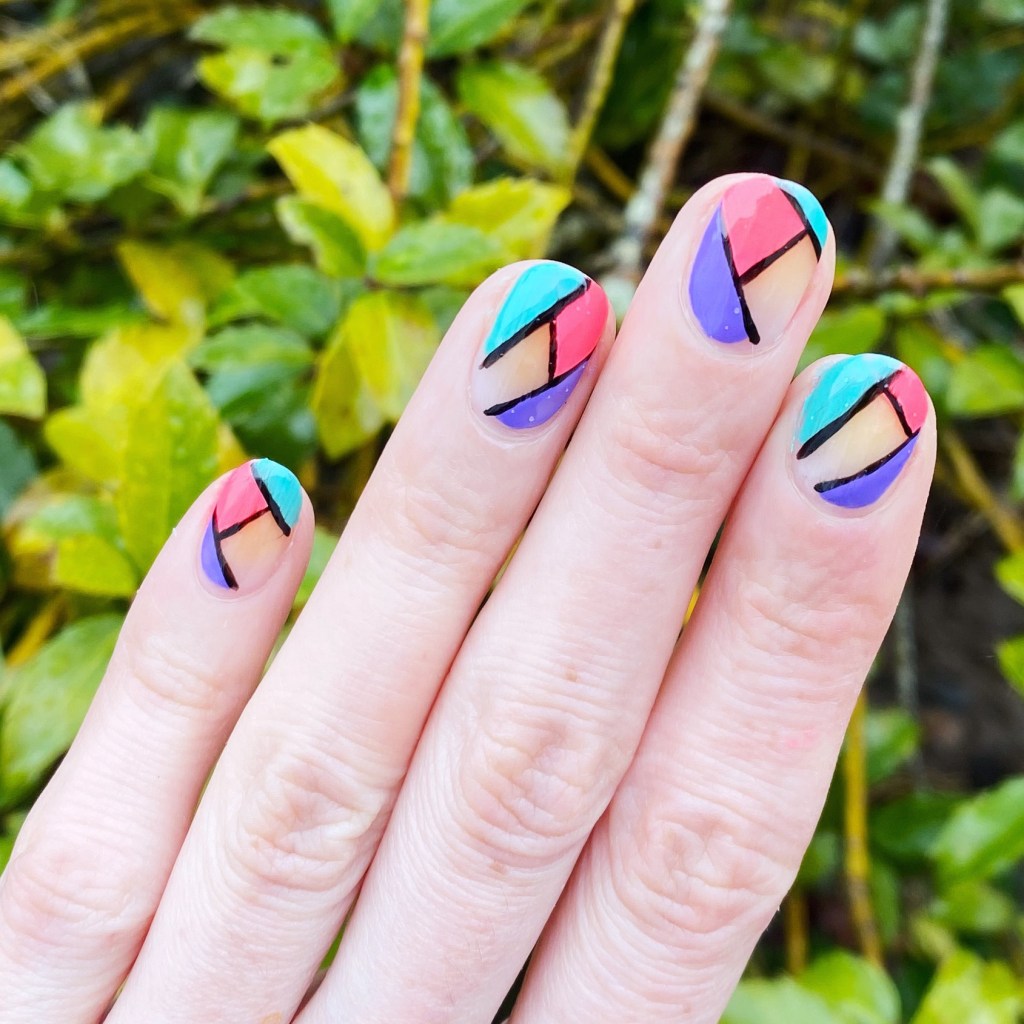
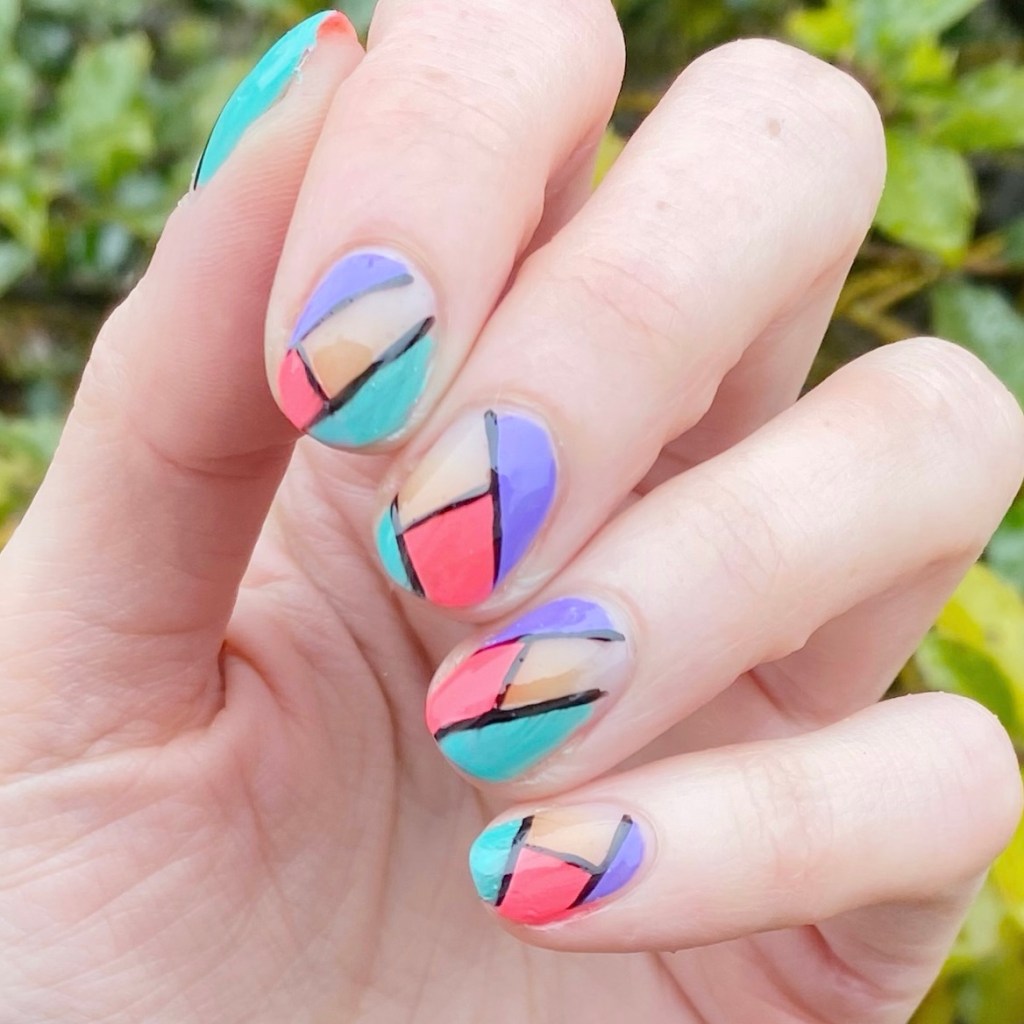
Bright & Vibrant Colour Blocking

Hello lovelies & happy Wednesday! & Happy April! I hope everyone is having a great week so far — it’s been a very, very wet start to our week here, but hopefully that will encourage some beautiful Spring flowers to pop up in our garden.

The polishes I used for this manicure are: 

  • Top Coat: Essie Gel Couture Top Coat 
  • Base Coat: Essie Hard to Resist Advanced
  • ORLY Put The Top Down
  • Color Club Pucci-licious
  • Essie Bustling Bazaar
  • Quo by ORLY Black Striper
  • NailStuff.ca 16mm Striper Brush

I love a good negative space colour block look, but I usually only do it with 2 colours — so I thought I would add a 3rd to change things up a little bit. Plus these colours are so bright & vibrant & completely make me forget the mucky weather we’ve been having — & make me think of Spring & Summer days to come! (Just ignored the raindrops that fell on them while I was trying to take pictures.)

What do you think about these colour blocking nails? Are you a fan of this peek a boo negative space look that I have going on? Let me know all your thoughts down in the comments below! & let me know what you’re wearing on your nails right now.

🖤