Desert Sunset inspired nails

Coachella is finishing up this weekend, which means lots of festival inspired nails have been popping up in my feed! I’ve never been to Coachella, but I DO know it takes place in the desert so I thought these desert sunset gradient nails would be perfect to channel my inner festival goer (instead of what I’m actually spending today doing which is cleaning my bedroom & putting away way too much clothing while simultaneously trying to convince the baby to nap.)

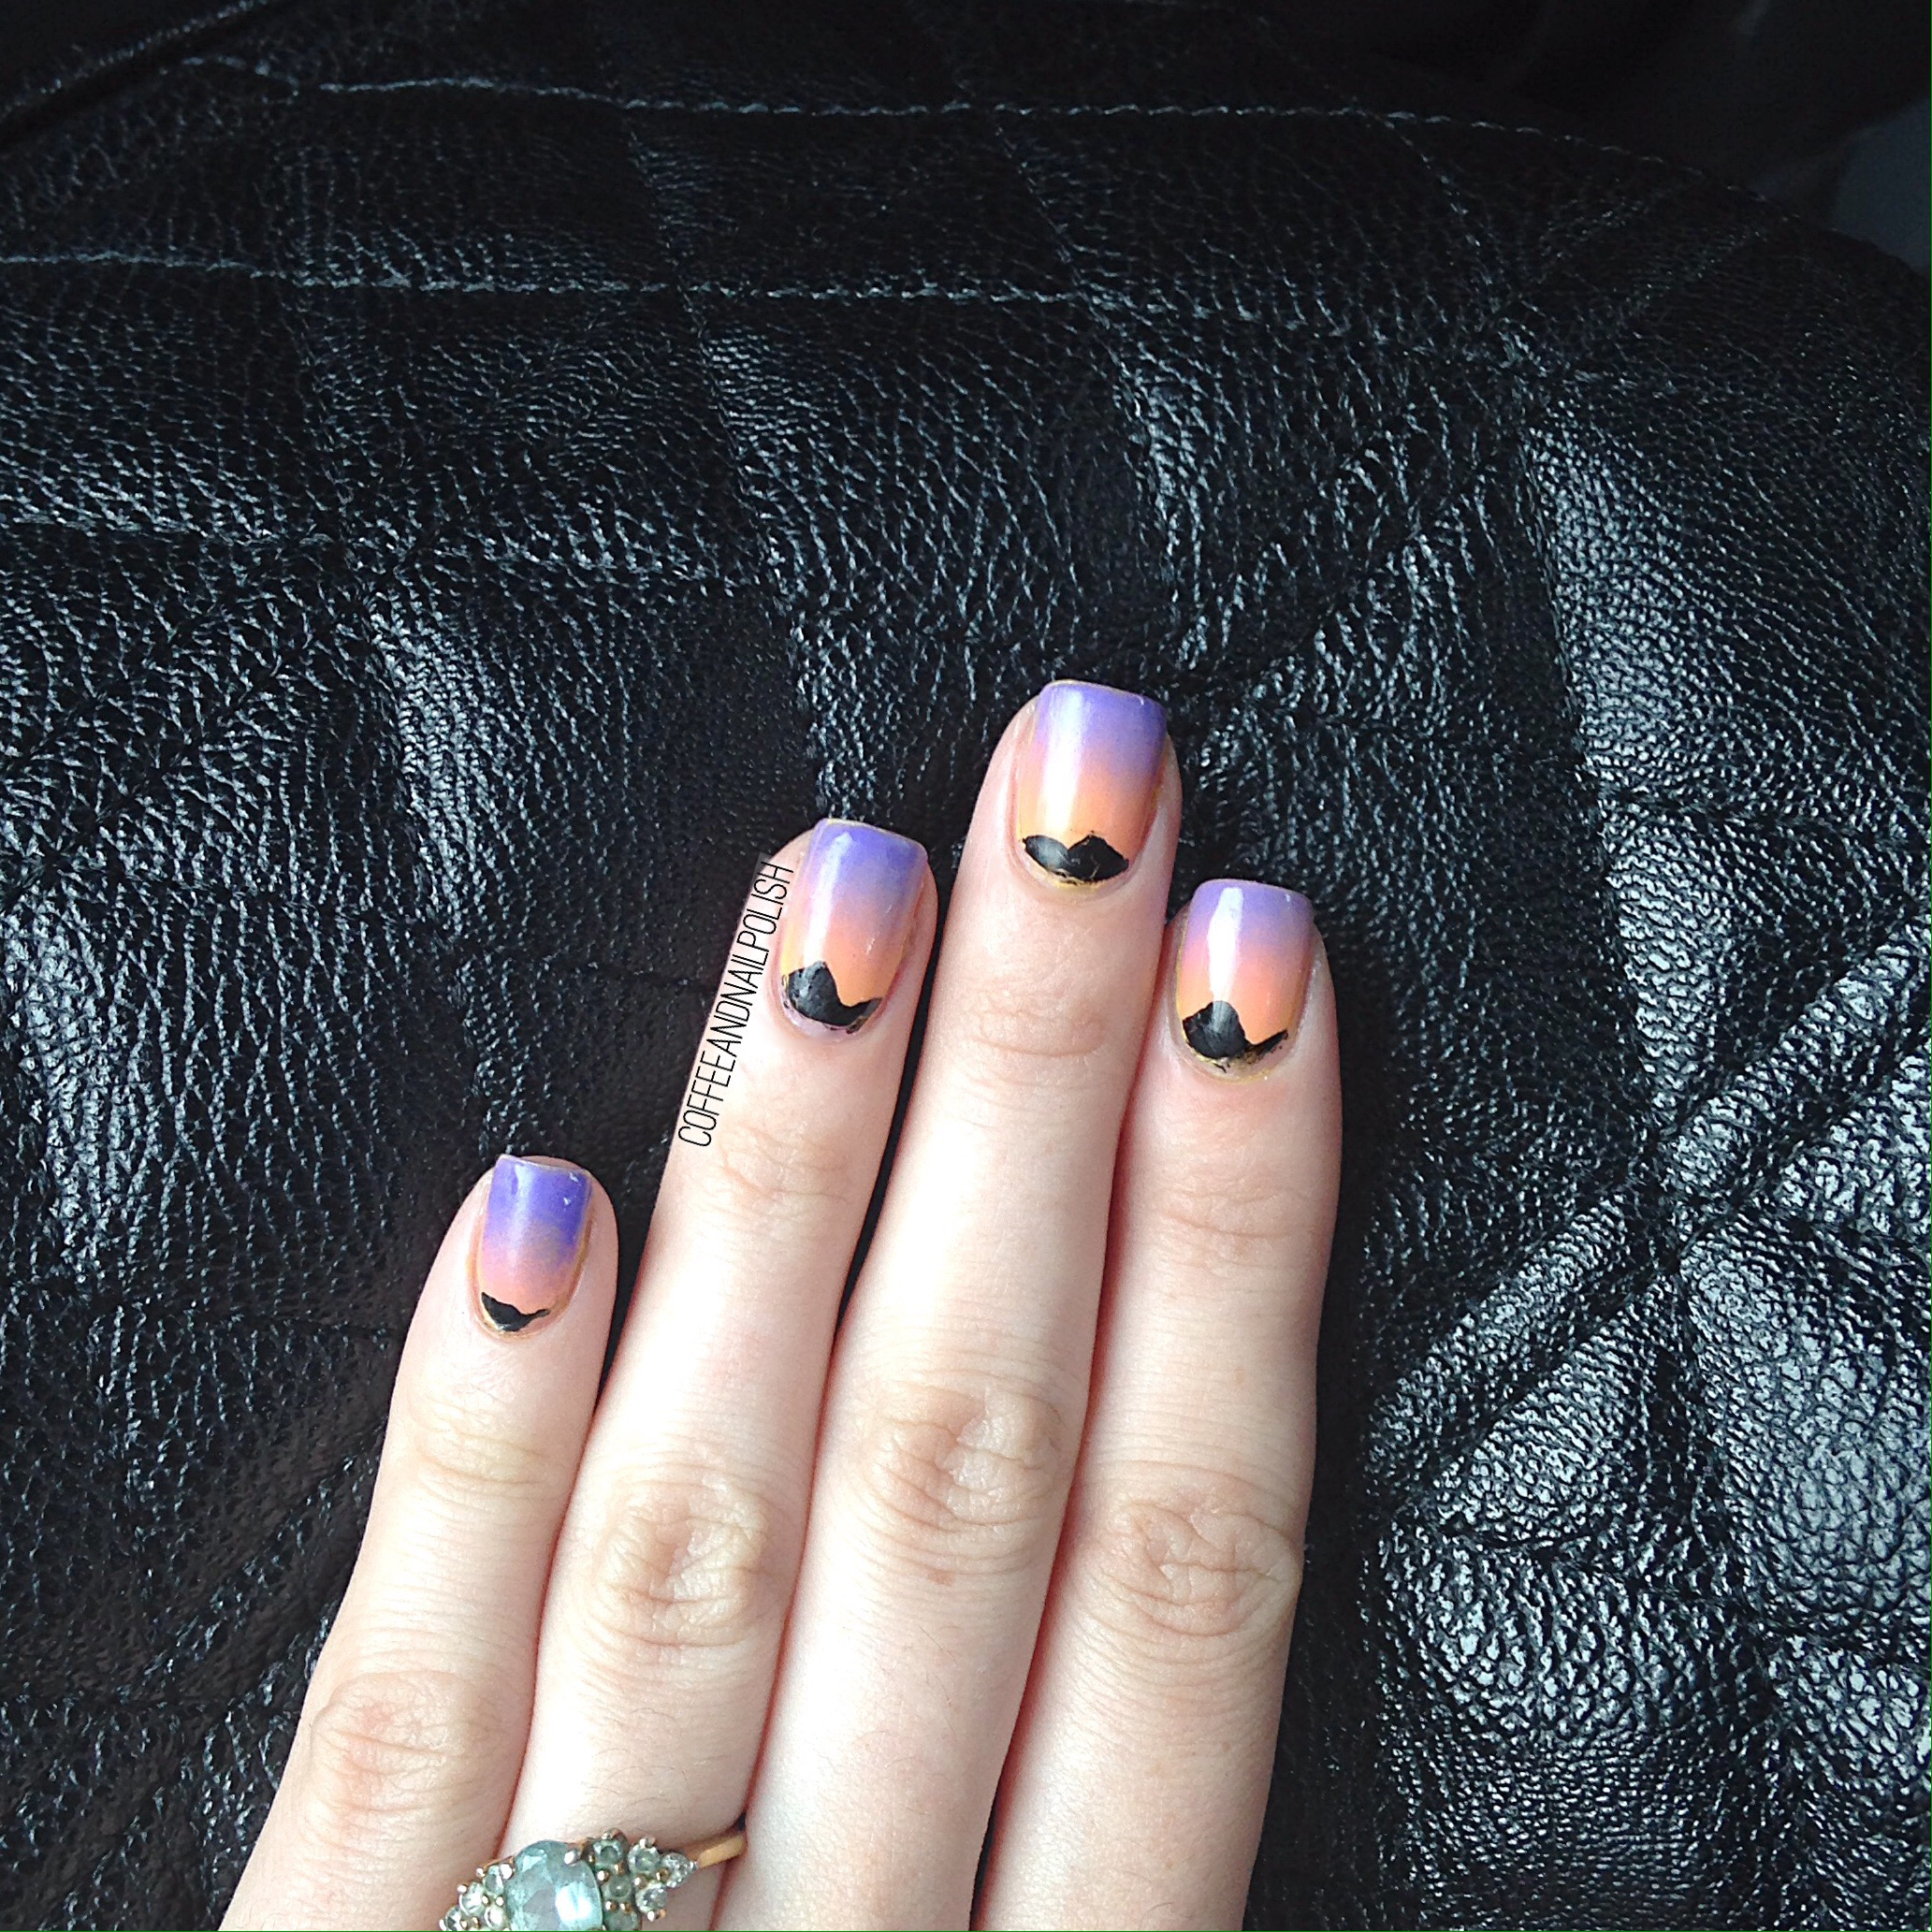
For this design, I used:

  • Base Coat: Perfect Formula Pink Gel Coat
  • Top Coat: Cutex Quick Dry Top Coat 
  • Color Club Almost Famous 
  • OPI Where Did Suzy’s Man-go?
  • Essie Play Date
  • Color Club Pucci-licious
  • Sally Hansen I ♥️ Nail Art pen in Black. 
  • Latex Free cosmetic sponge 
  • Born Pretty Store Liquid Latex Peel Off Tape
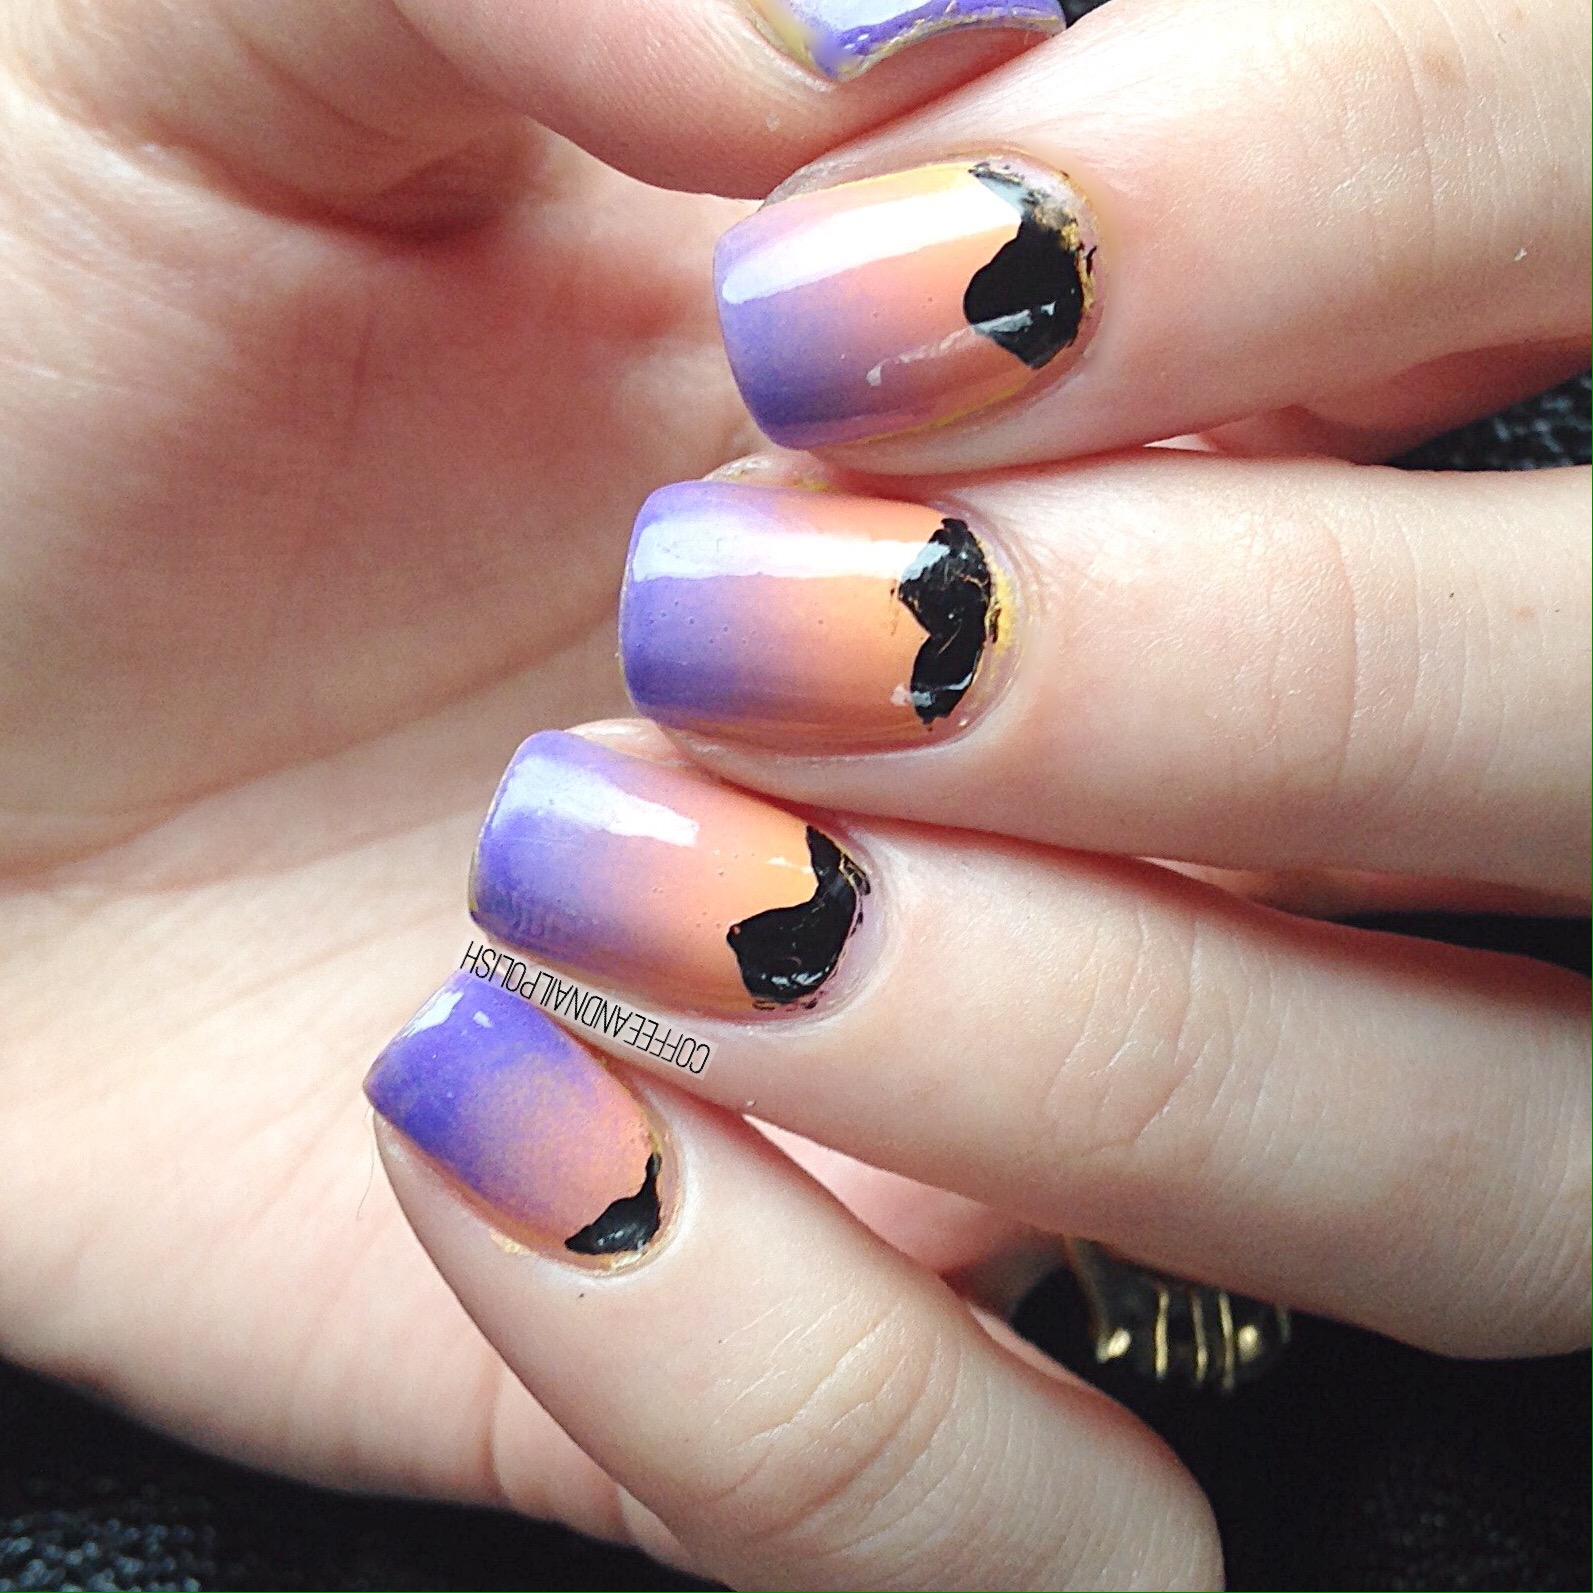
My bottle of top coat is reaching the bottom which lead to some weirdness & shrinking. Never the less, I really love the colour combination of this gradient with the desert landscape. I could totally see these fitting in at Coachella, or another similar music festival! 🌄 all I need is a flower crown & some cut off denim shorts & I’d fit right in! 
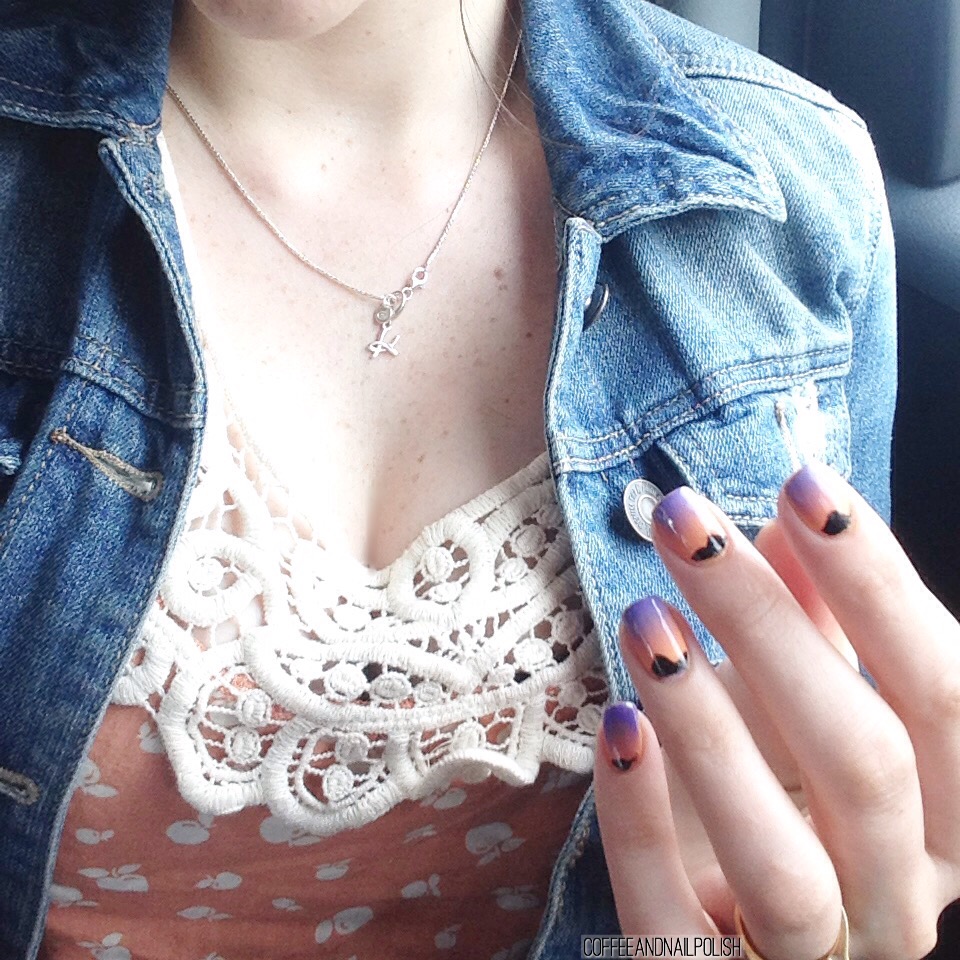
I think I’ve rediscovered my obsession with gradients, clean up be damned. (Thank goodness for Liquid latex.) & I think I’m slowly getting better at them! They make me happy. This colour combo worked out so well, I just can’t stop staring! Even my husband commented how wicked these were (& without asking even!)

What do you think of this design? Let me know in the comments below!

Pink and Purple half moons. 

Anyone else so excited for Spring?! I definitely am. Although we’re getting some less than pleasant weather (snow in April? 😧) I thought I’d embrace some bright colours. And it’s been a while since I wore a half moon mani, so I thought it would be fun to pull out a few of my favourite bright colours. 

   
The polishes I used for this mani were:

  • Color Club Pucci-licious 
  • China Glaze Purple Panic 
  • Essie Good to Go 
  • Paper Hole reinforcers 

   
What colours are you loving for Spring? 🌷

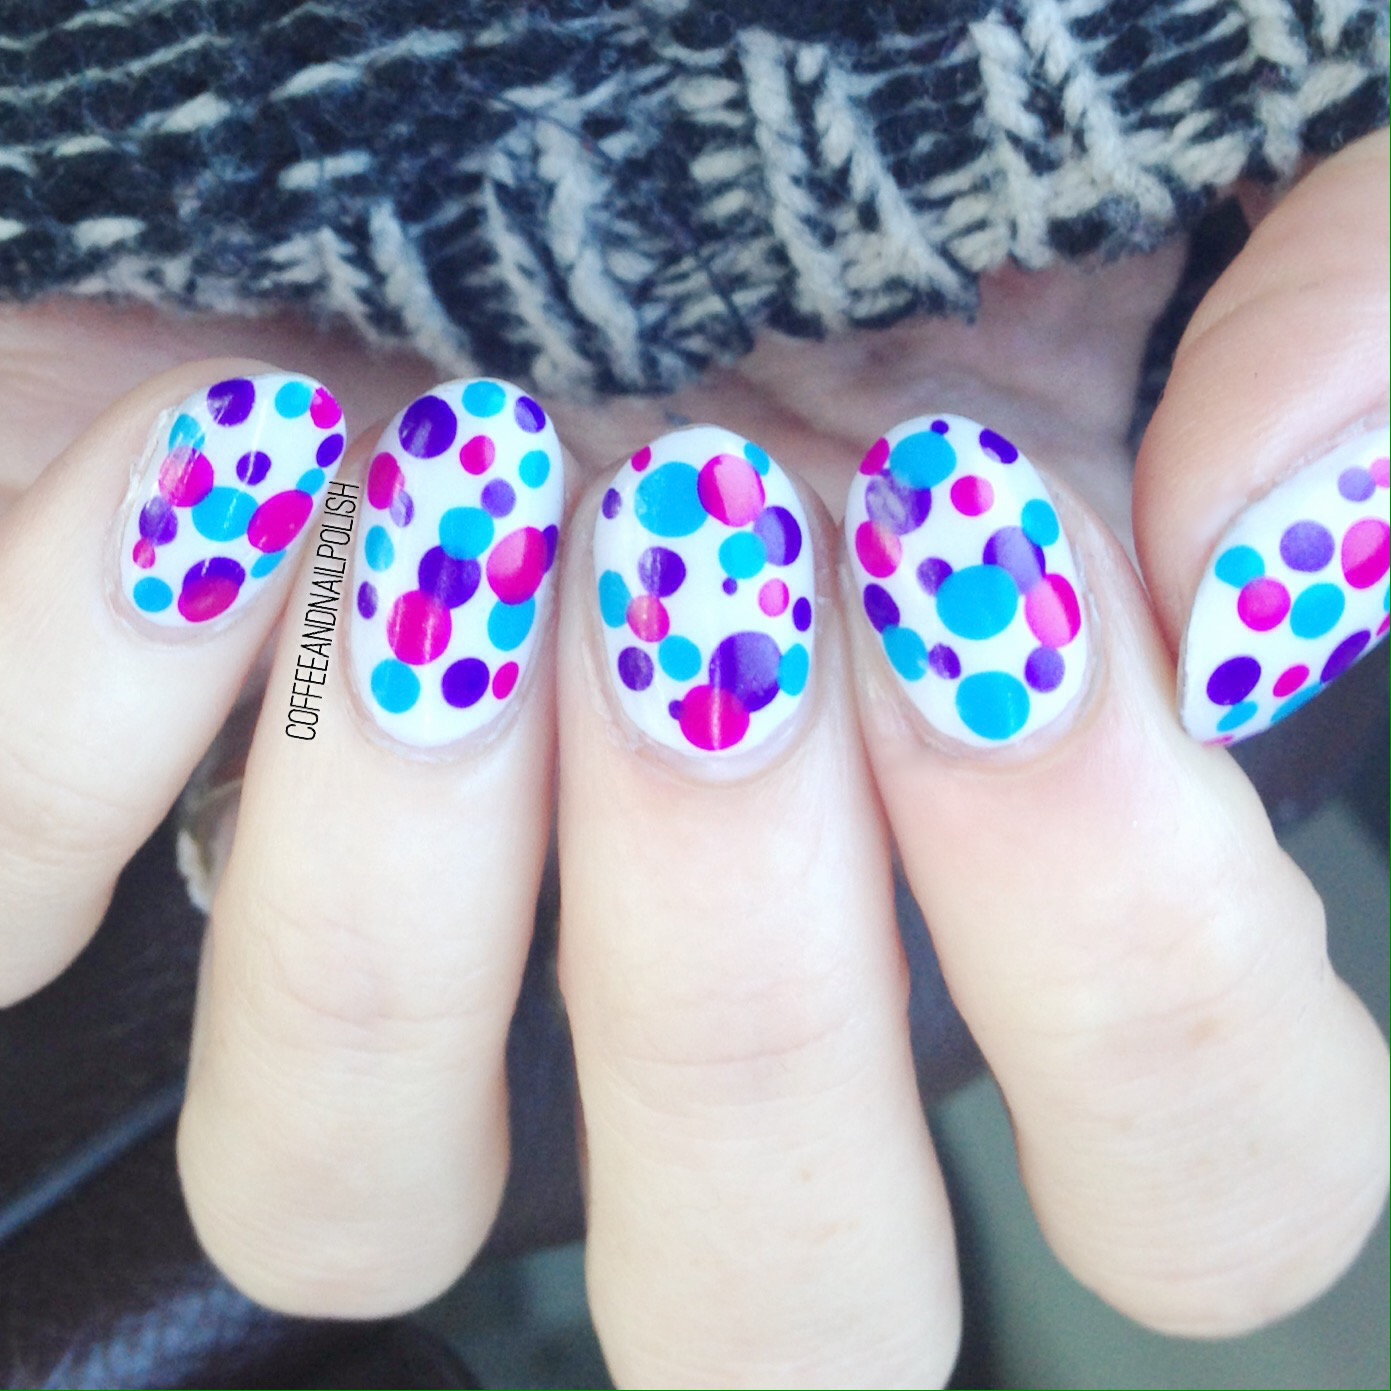
Neon polka dots. 

I’m kind of over snow and winter, so I decided to go with something bright and colourful on the nails. I decided to play around with some of my favourite bright and neon colors. 


The polishes I used for this manicure were:

  • OPI I Canolli Wear OPI (white base colour)
  • Color Club Disco Dress
  • Essie Strut Your Stuff
  • Sinful Colors Dream On 
  • Essie Good to Go top coat 
  • Smaller size and Larger size dotting tools. 

What do you wear on your nails when the January blahs take effect? 

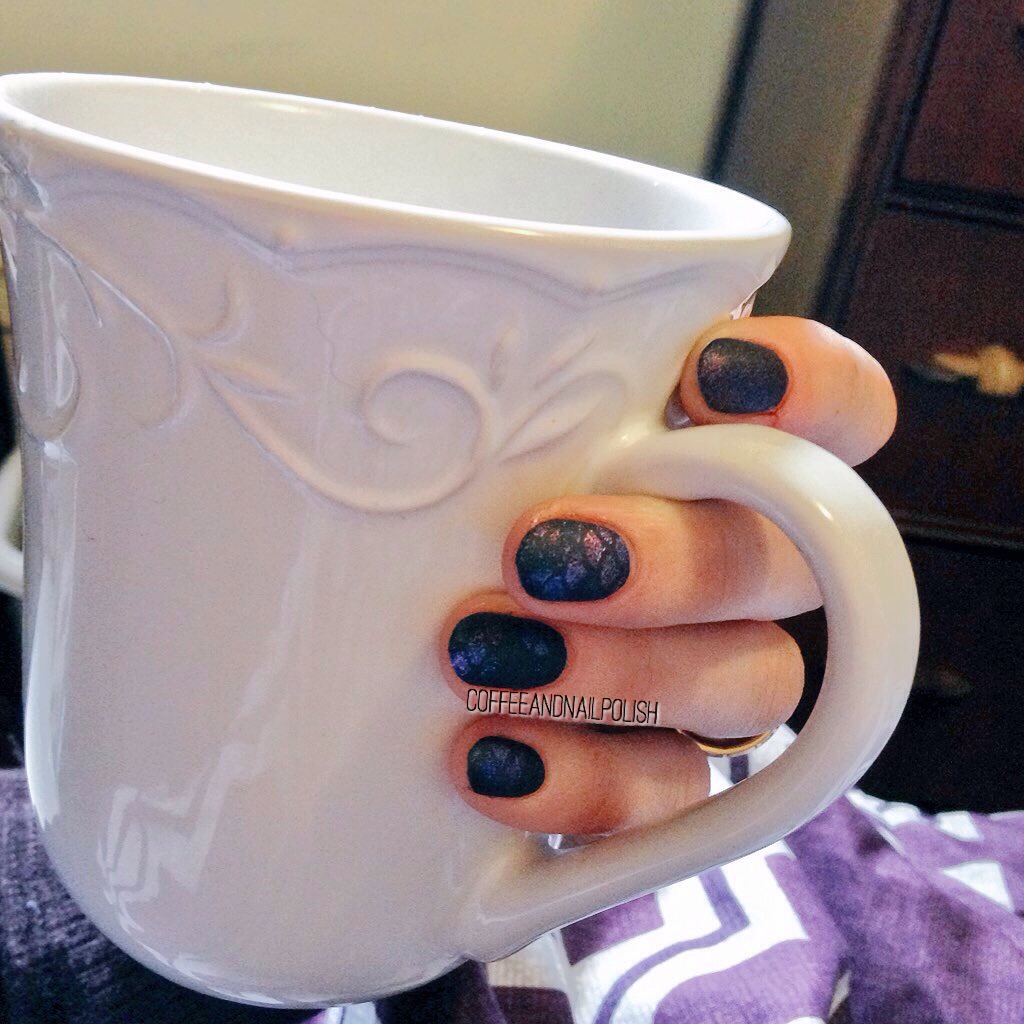
Matte Mermaid Nails featuring stencils from Born Pretty. 

 Morning lovelies! Hope you’re not having a too rough or caffeine deprived Monday. Today I’ve got a manicure to share with you today featuring Fish Scale nail art stencils (item #23535).   

I’ve come to discover my love affair with nail vinyls and nail stencils in the last year so I was very excited when I was contacted to review some items by Born Pretty. I’ve always had very good expirences with their products and these nail stencils were no different. 

Each sheet comes with 12 stencils all attached on a clear backing. I pre-cut the six stencils I was going to use, then one by one applied each over my base colour that was completely dry. These stencils are much thinner than I’m used to with other vinyls (they’re made of a thin holographic material) but we’re very easy to place and apply. 


Once I had my stencils where I liked them, I trimmed the excess off the tips and started sponging on my colours of choice. 

The polishes I used for this manicure were:

  •  OPI Miss You-neverse (base colour)
  • Essence Best Dressed
  • Quo by Orly Celestial Stars
  • Color Club Obsessed 
  • Essie Good to Go 
  • Butter London Matte top coat. 

 Once all your colours have been sponged on and you feel good about them, quickly remove the stickers from the nail leaving behind your scale pattern. Apply top coat (I used both quick dry top coat and a matte top coat for mine) and it’s time to enjoy. 


I just absolutely adore how this mani turned out, and I feel like the matte top coat just brings the whole mani to the next level. 

If you’d like to try out these nail art stencils for yourself, or any of the other great products Born Pretty has to offer, you can use my discount code COFFK31 to save 10% off any non-sale item! 

“Shattered Glass” glitter placement. 

 You may be noticing lots of versions of the shattered glass manicure popping up online. I’ve been really wanting to give it a go, but cutting up teeny slivers of irredesant paper seemed a little overwhelming. So instead I pulled out my bottle of Color Club Diamond Drops for a little glitter placement. 

  
Polishes used for this manicure were:

  • China Glaze Don’t Get Elfed Up
  • Color Club Diamond Drops
  • Seche Vite
  • Small size dotting tool. 

This mani is super easy to do. You start off with a dry base colour (I used China Glaze Don’t Get Elfed Up from the Cheers 2015 collection). Once dry, I used a small sized dotting tool to fish out different sized glitter shards from Diamonf Drops and create the shattered glass patterns. When I had filled in the patterns on all my nails, I sealed everything in with two coats of Seche Vite–although I probably could have went with three as some glitters were still sticking up in some places! 

 
I love these. So much, I had to wear them for two days! Diamond Drops has the most incredible holo effect, I couldn’t stop staring at my nails! This would definitely been a fun design to wear to any holiday parties coming up, or even New Years Eve! 
So what do you think of this version of Shattered Glass nails? Have you given this technique a try yet?