Instagram Summer Treats Nail Art Collab 🍦

Hello lovelies — happy Friday. We have a weekend of rain in the forecast, which I’m so happy for because my entire province has basically been on fire this week, & we’re in desperate need of a reprieve from the heat. So everyone send rain vibes. 🌧️

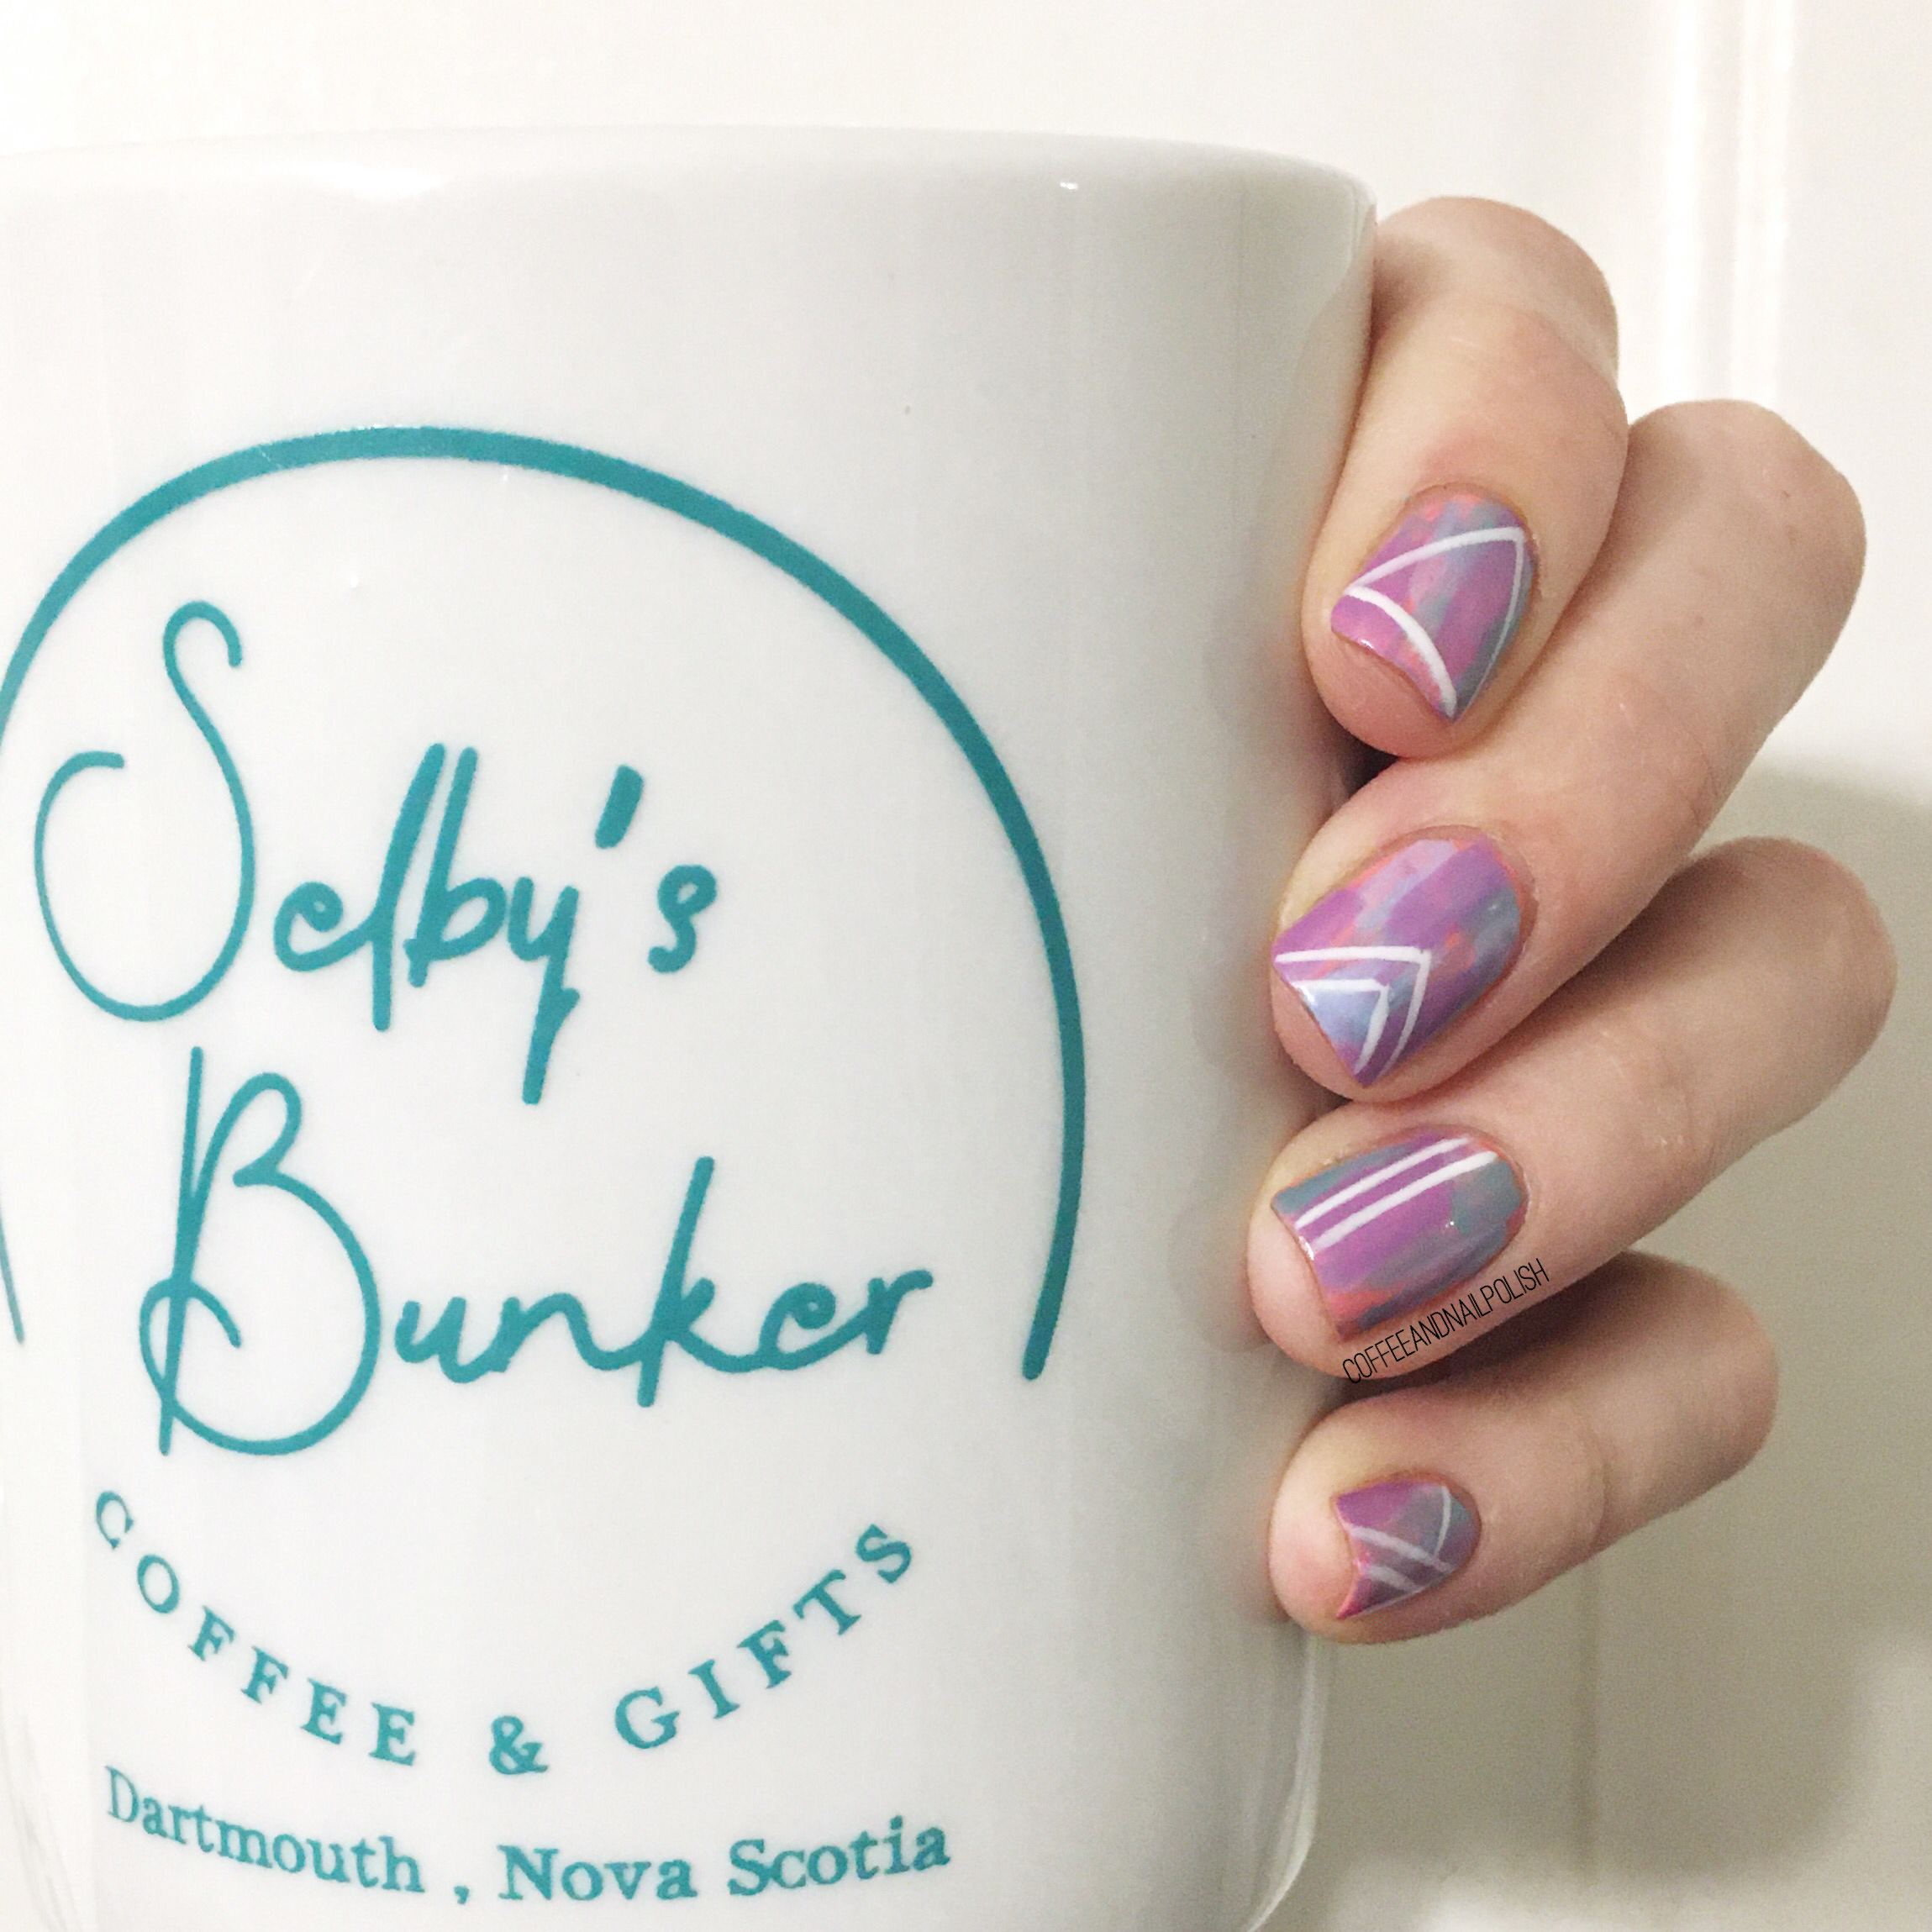
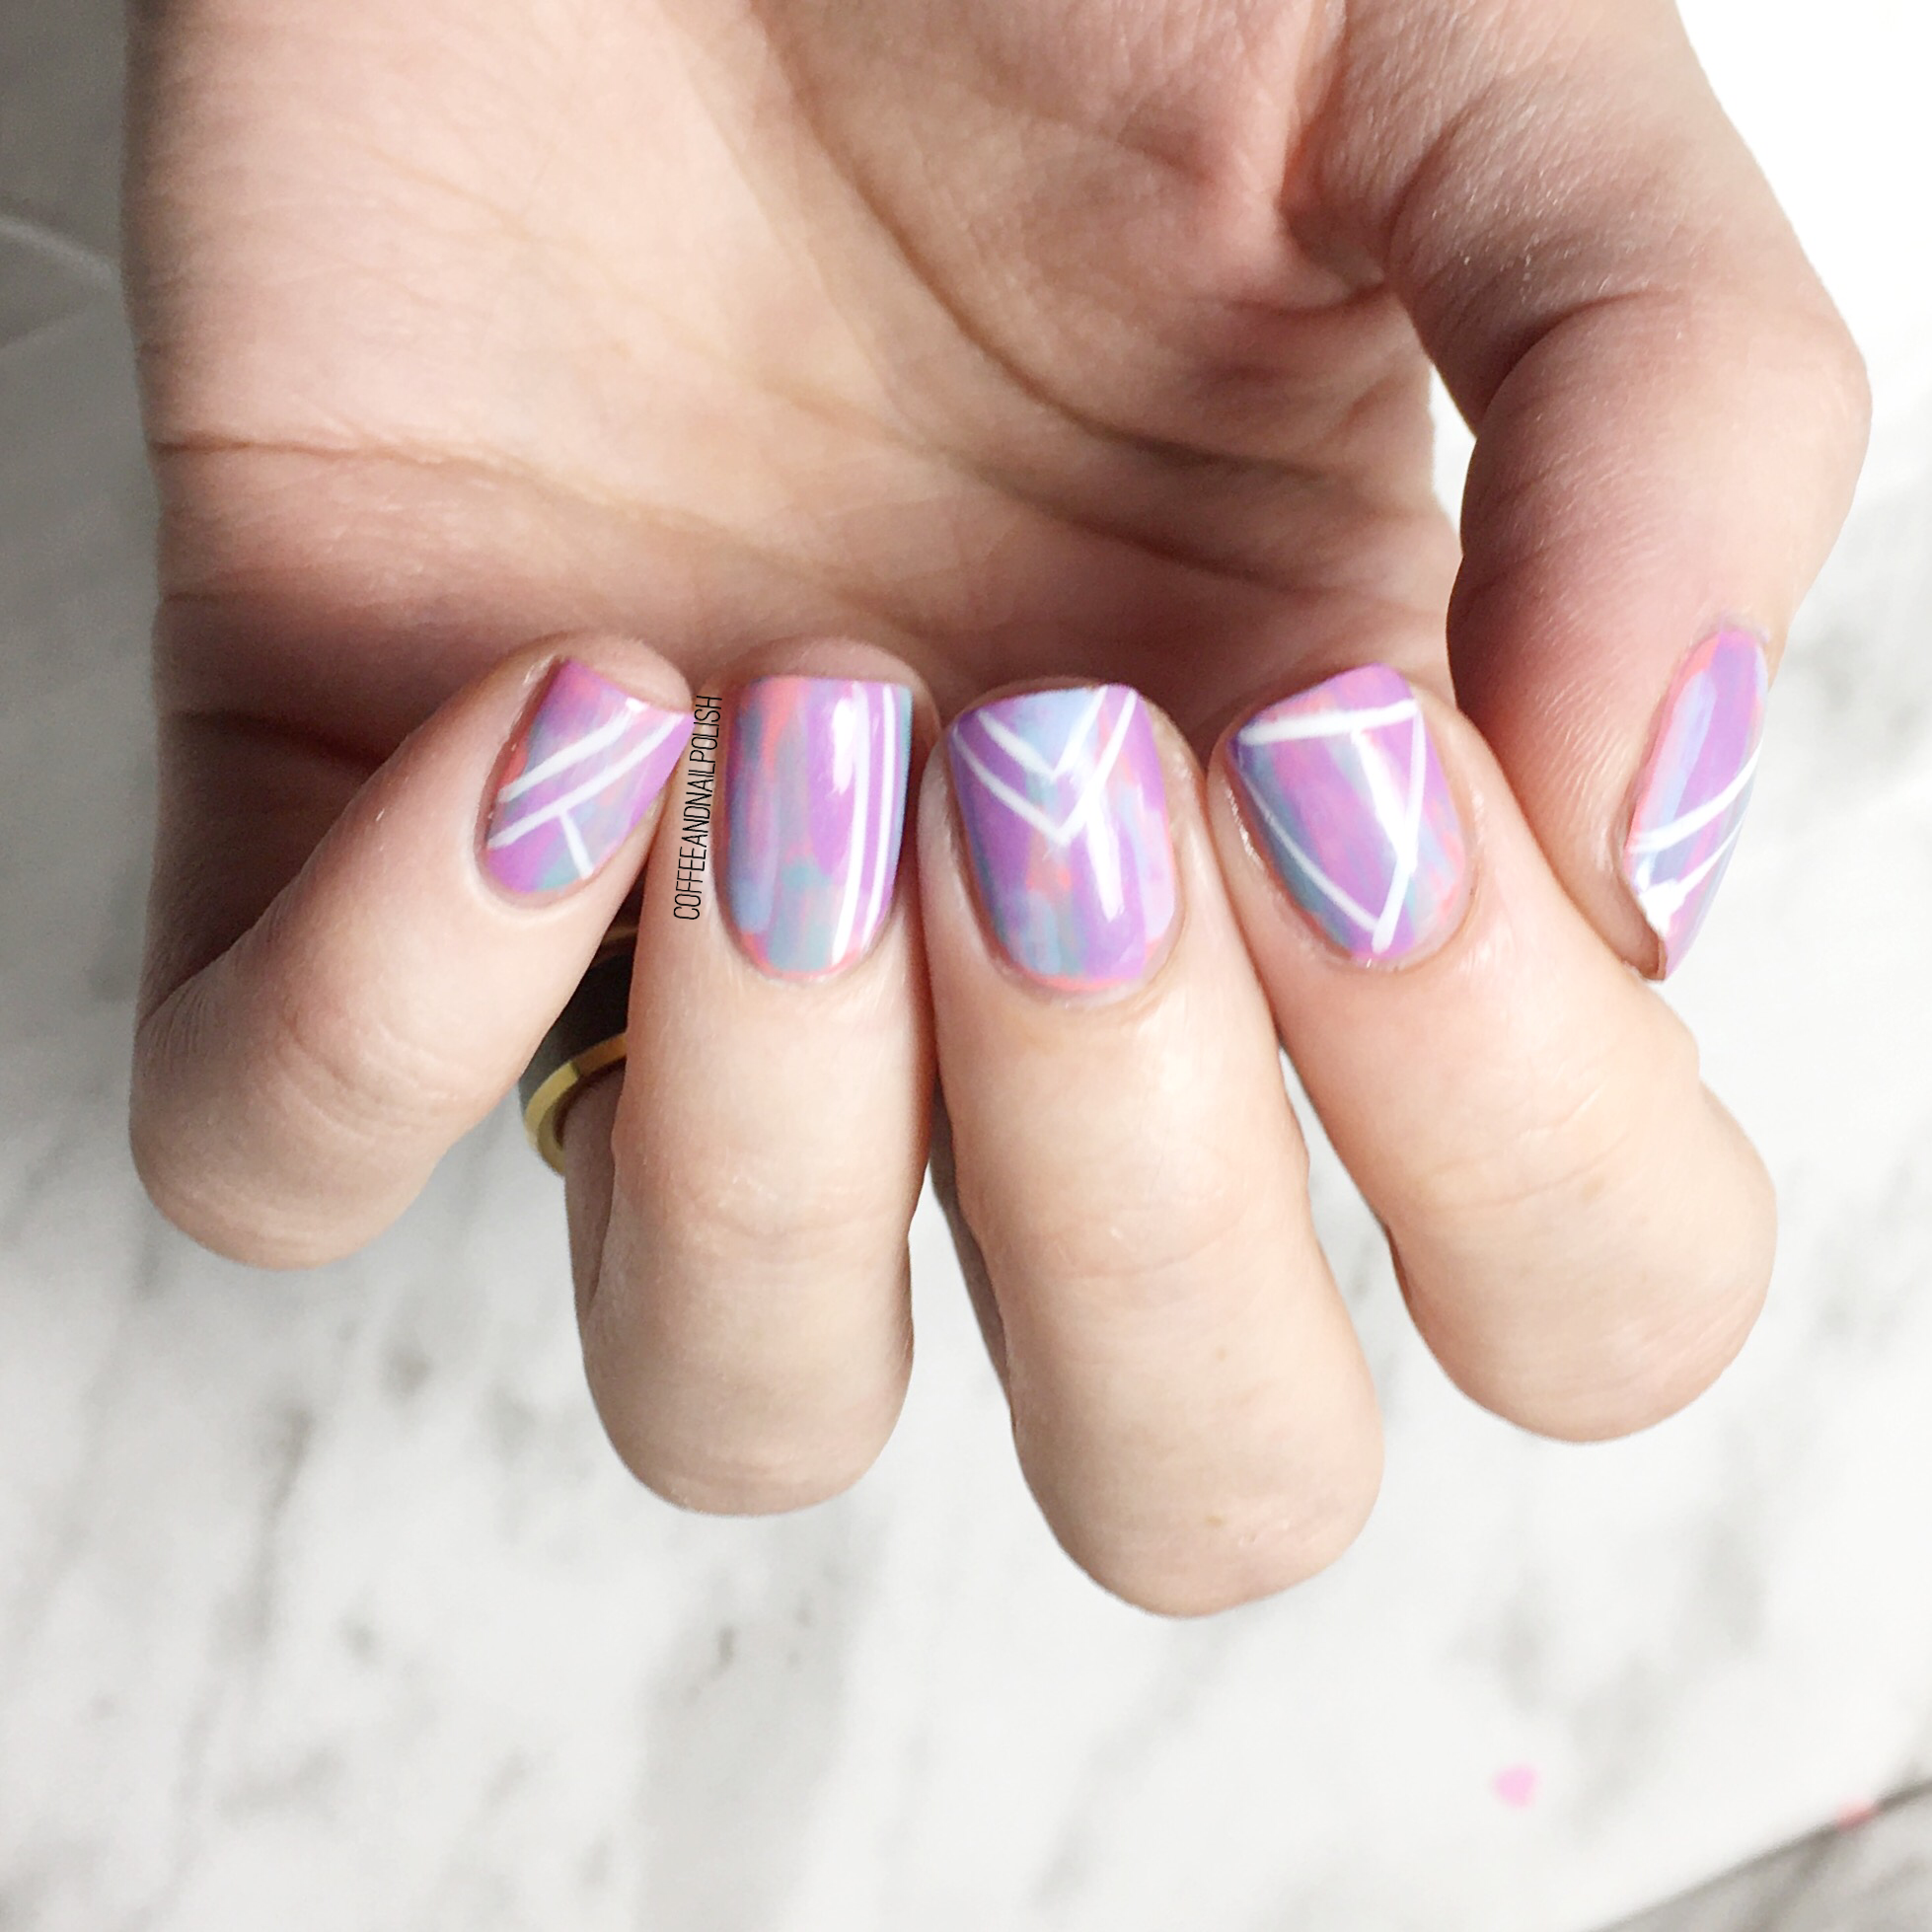
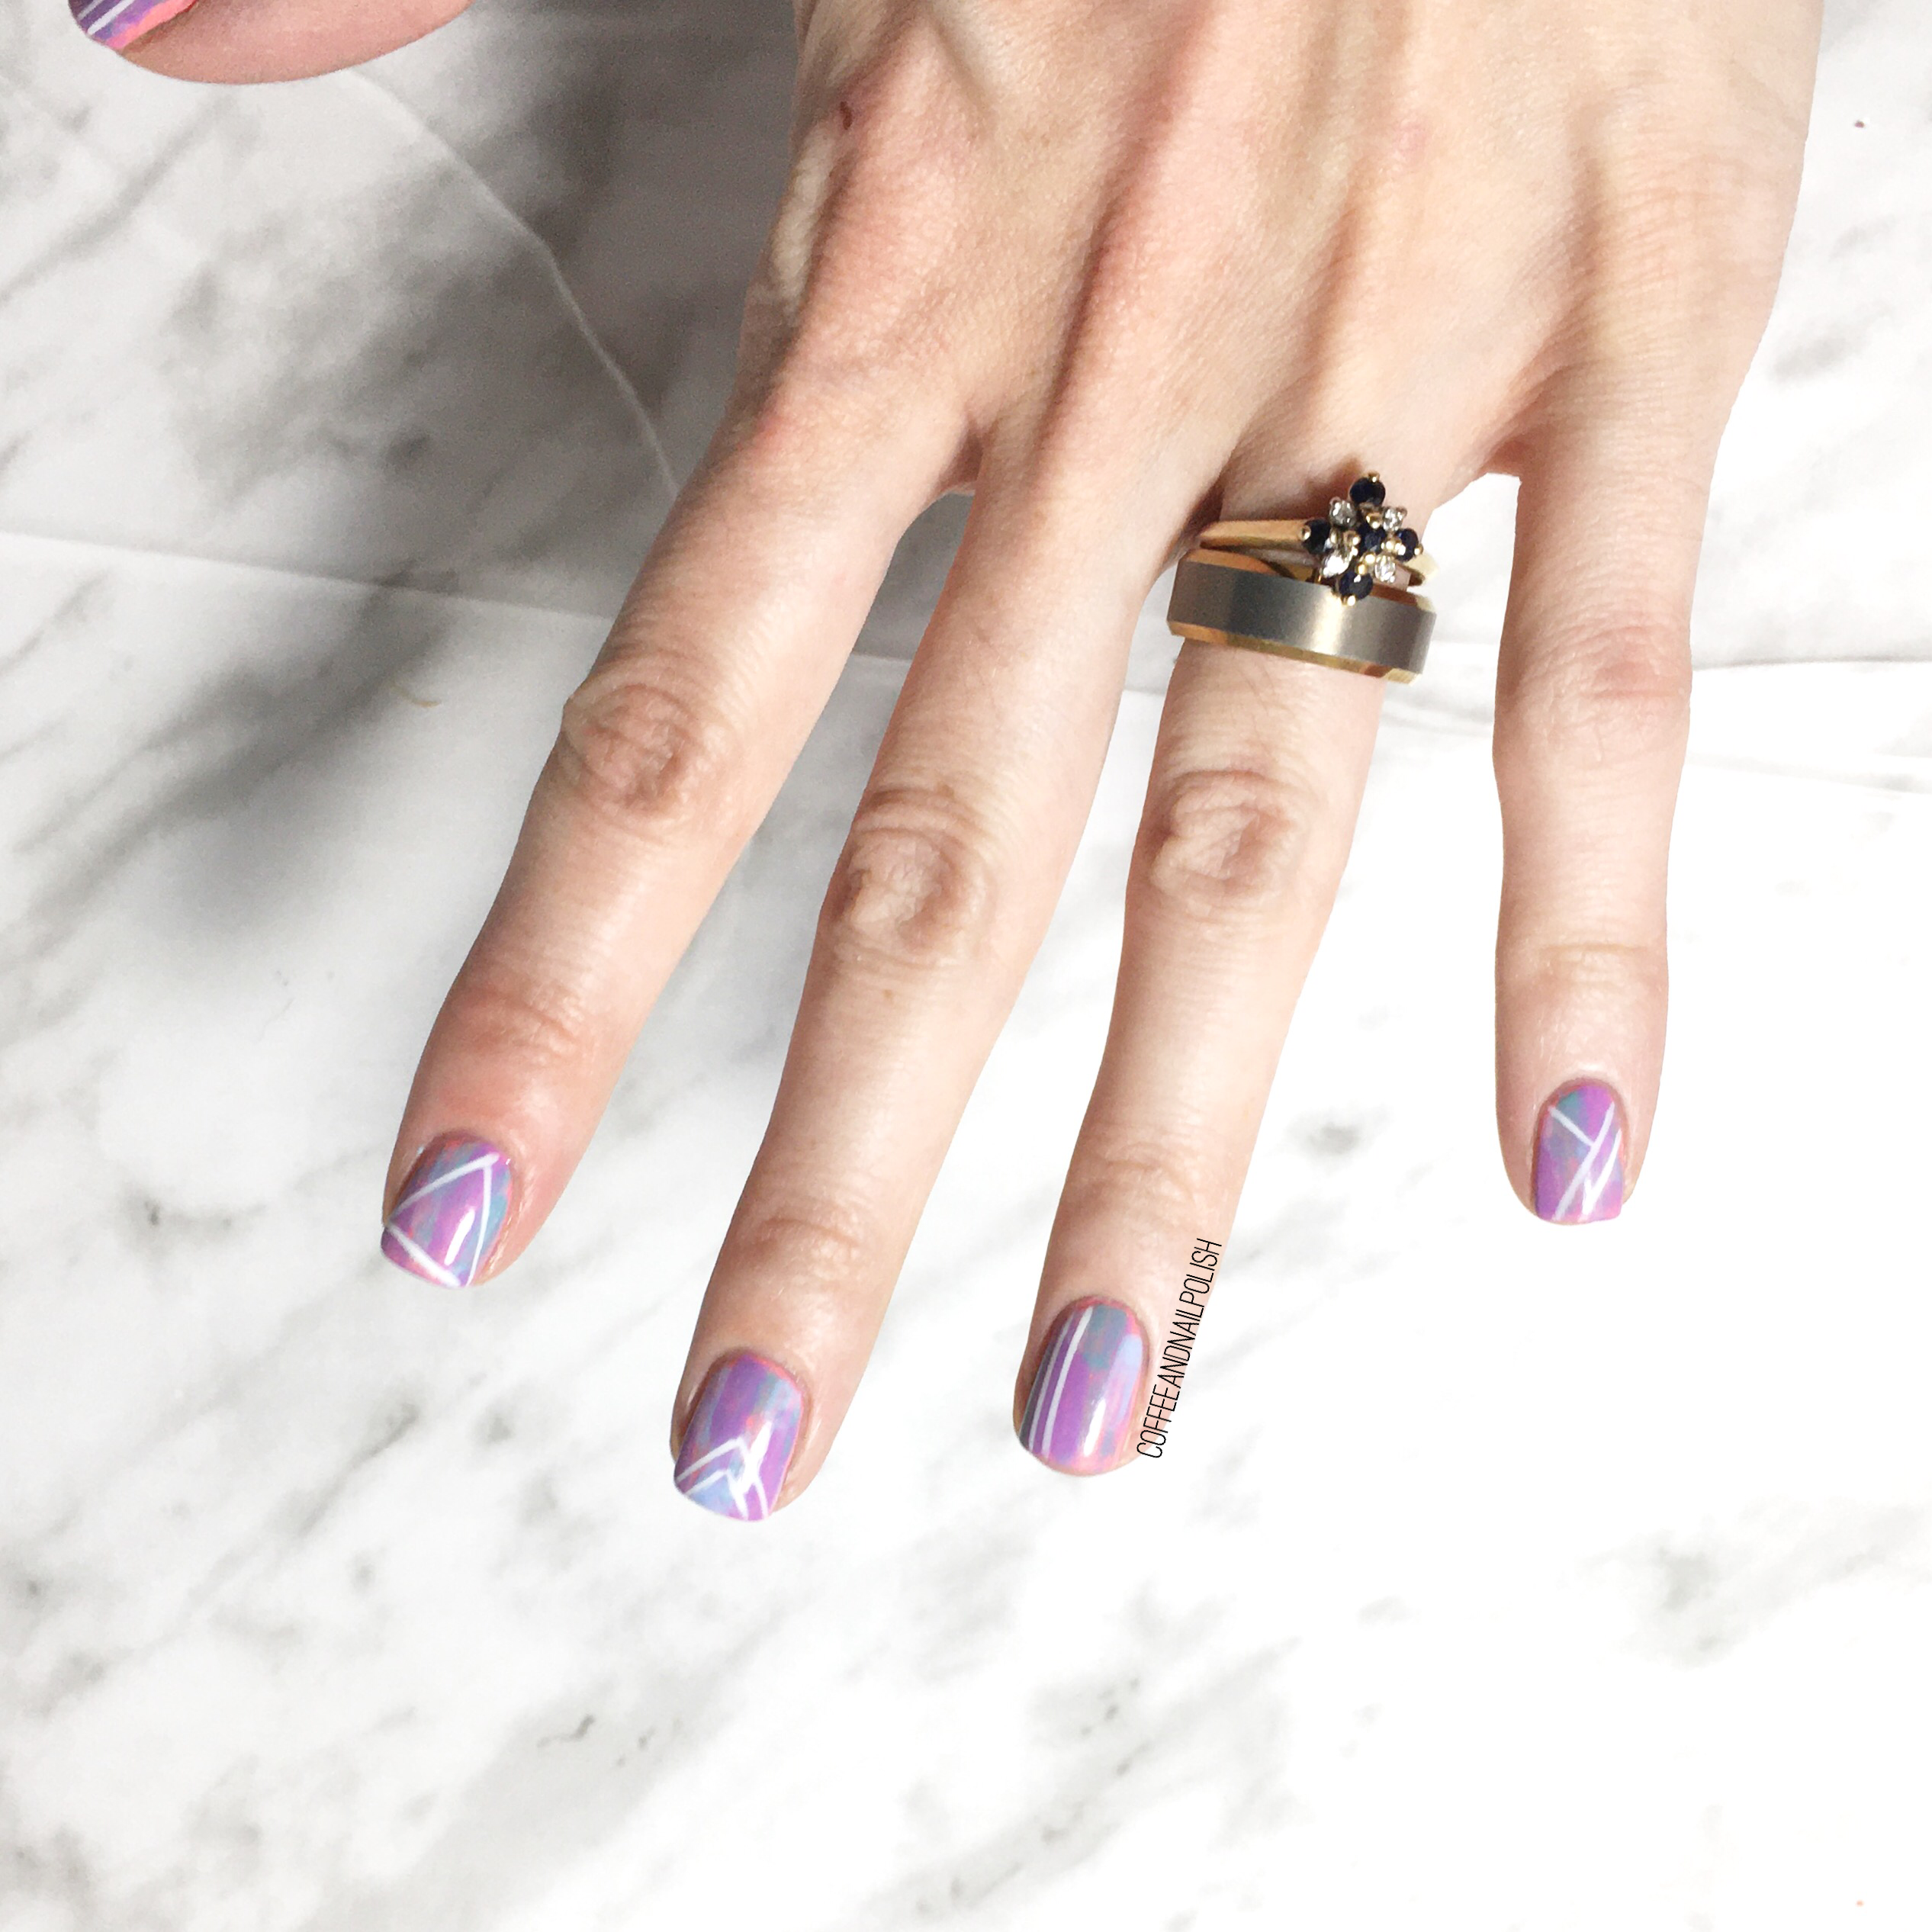
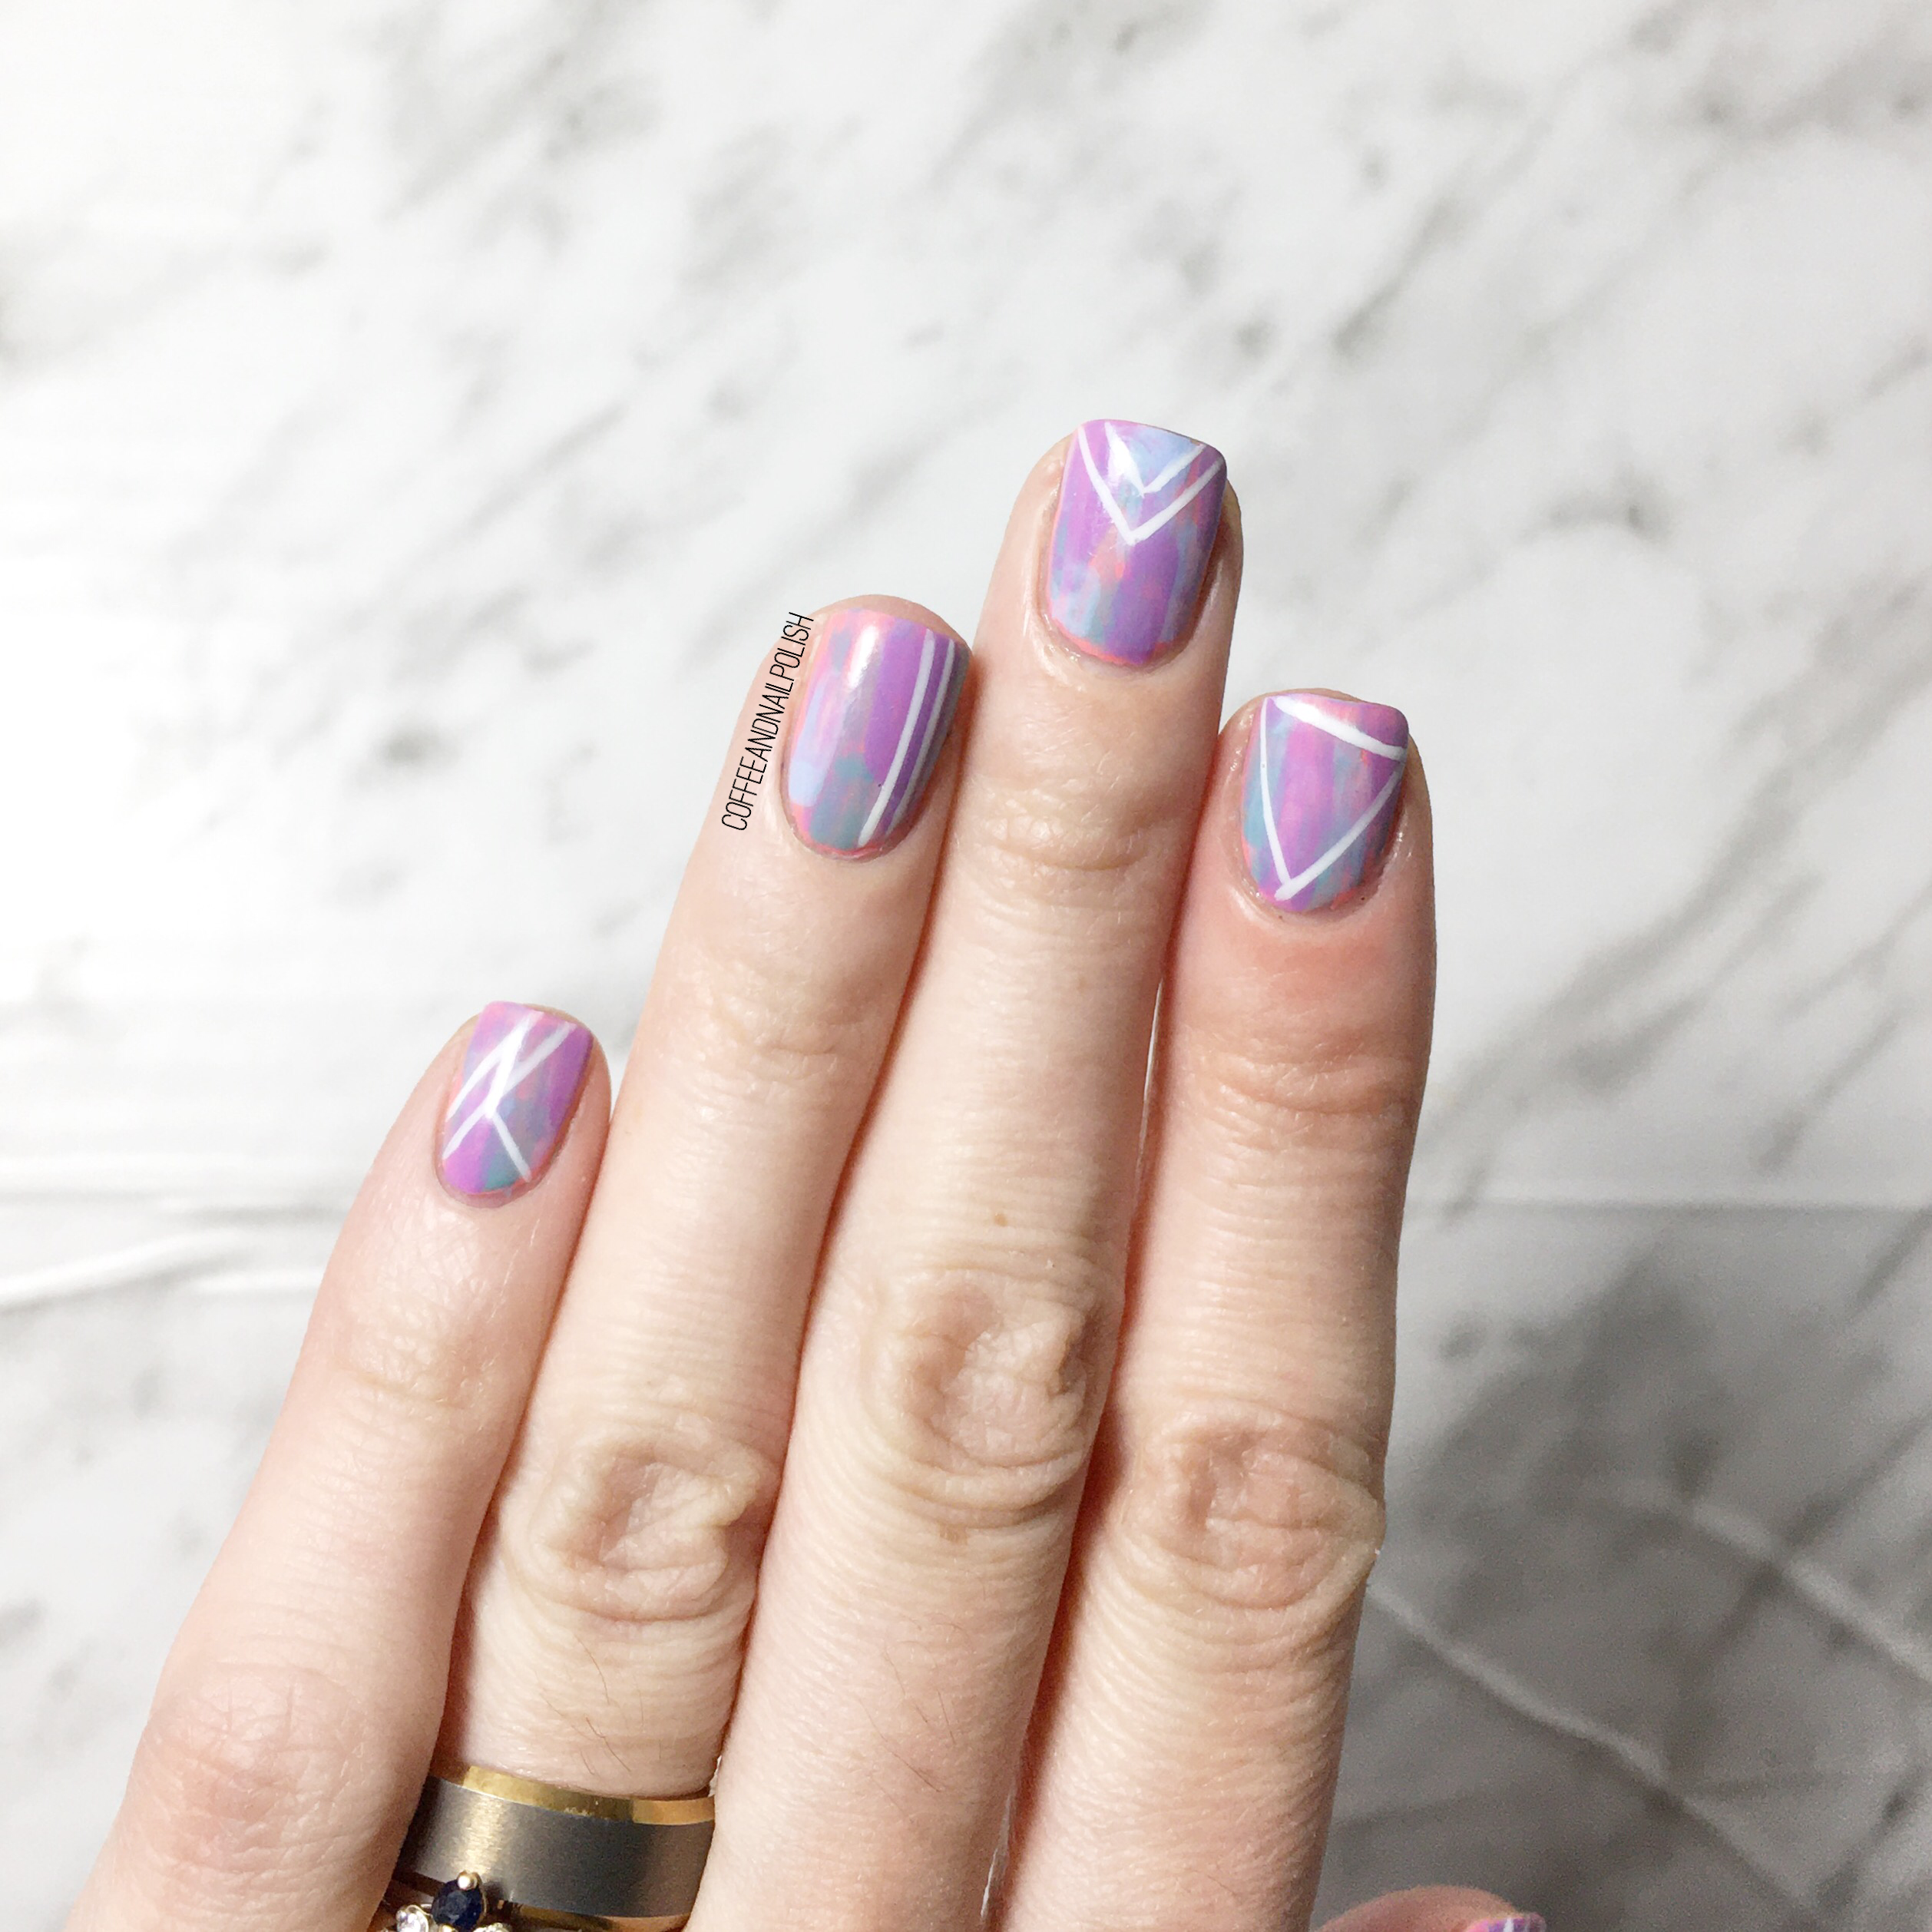
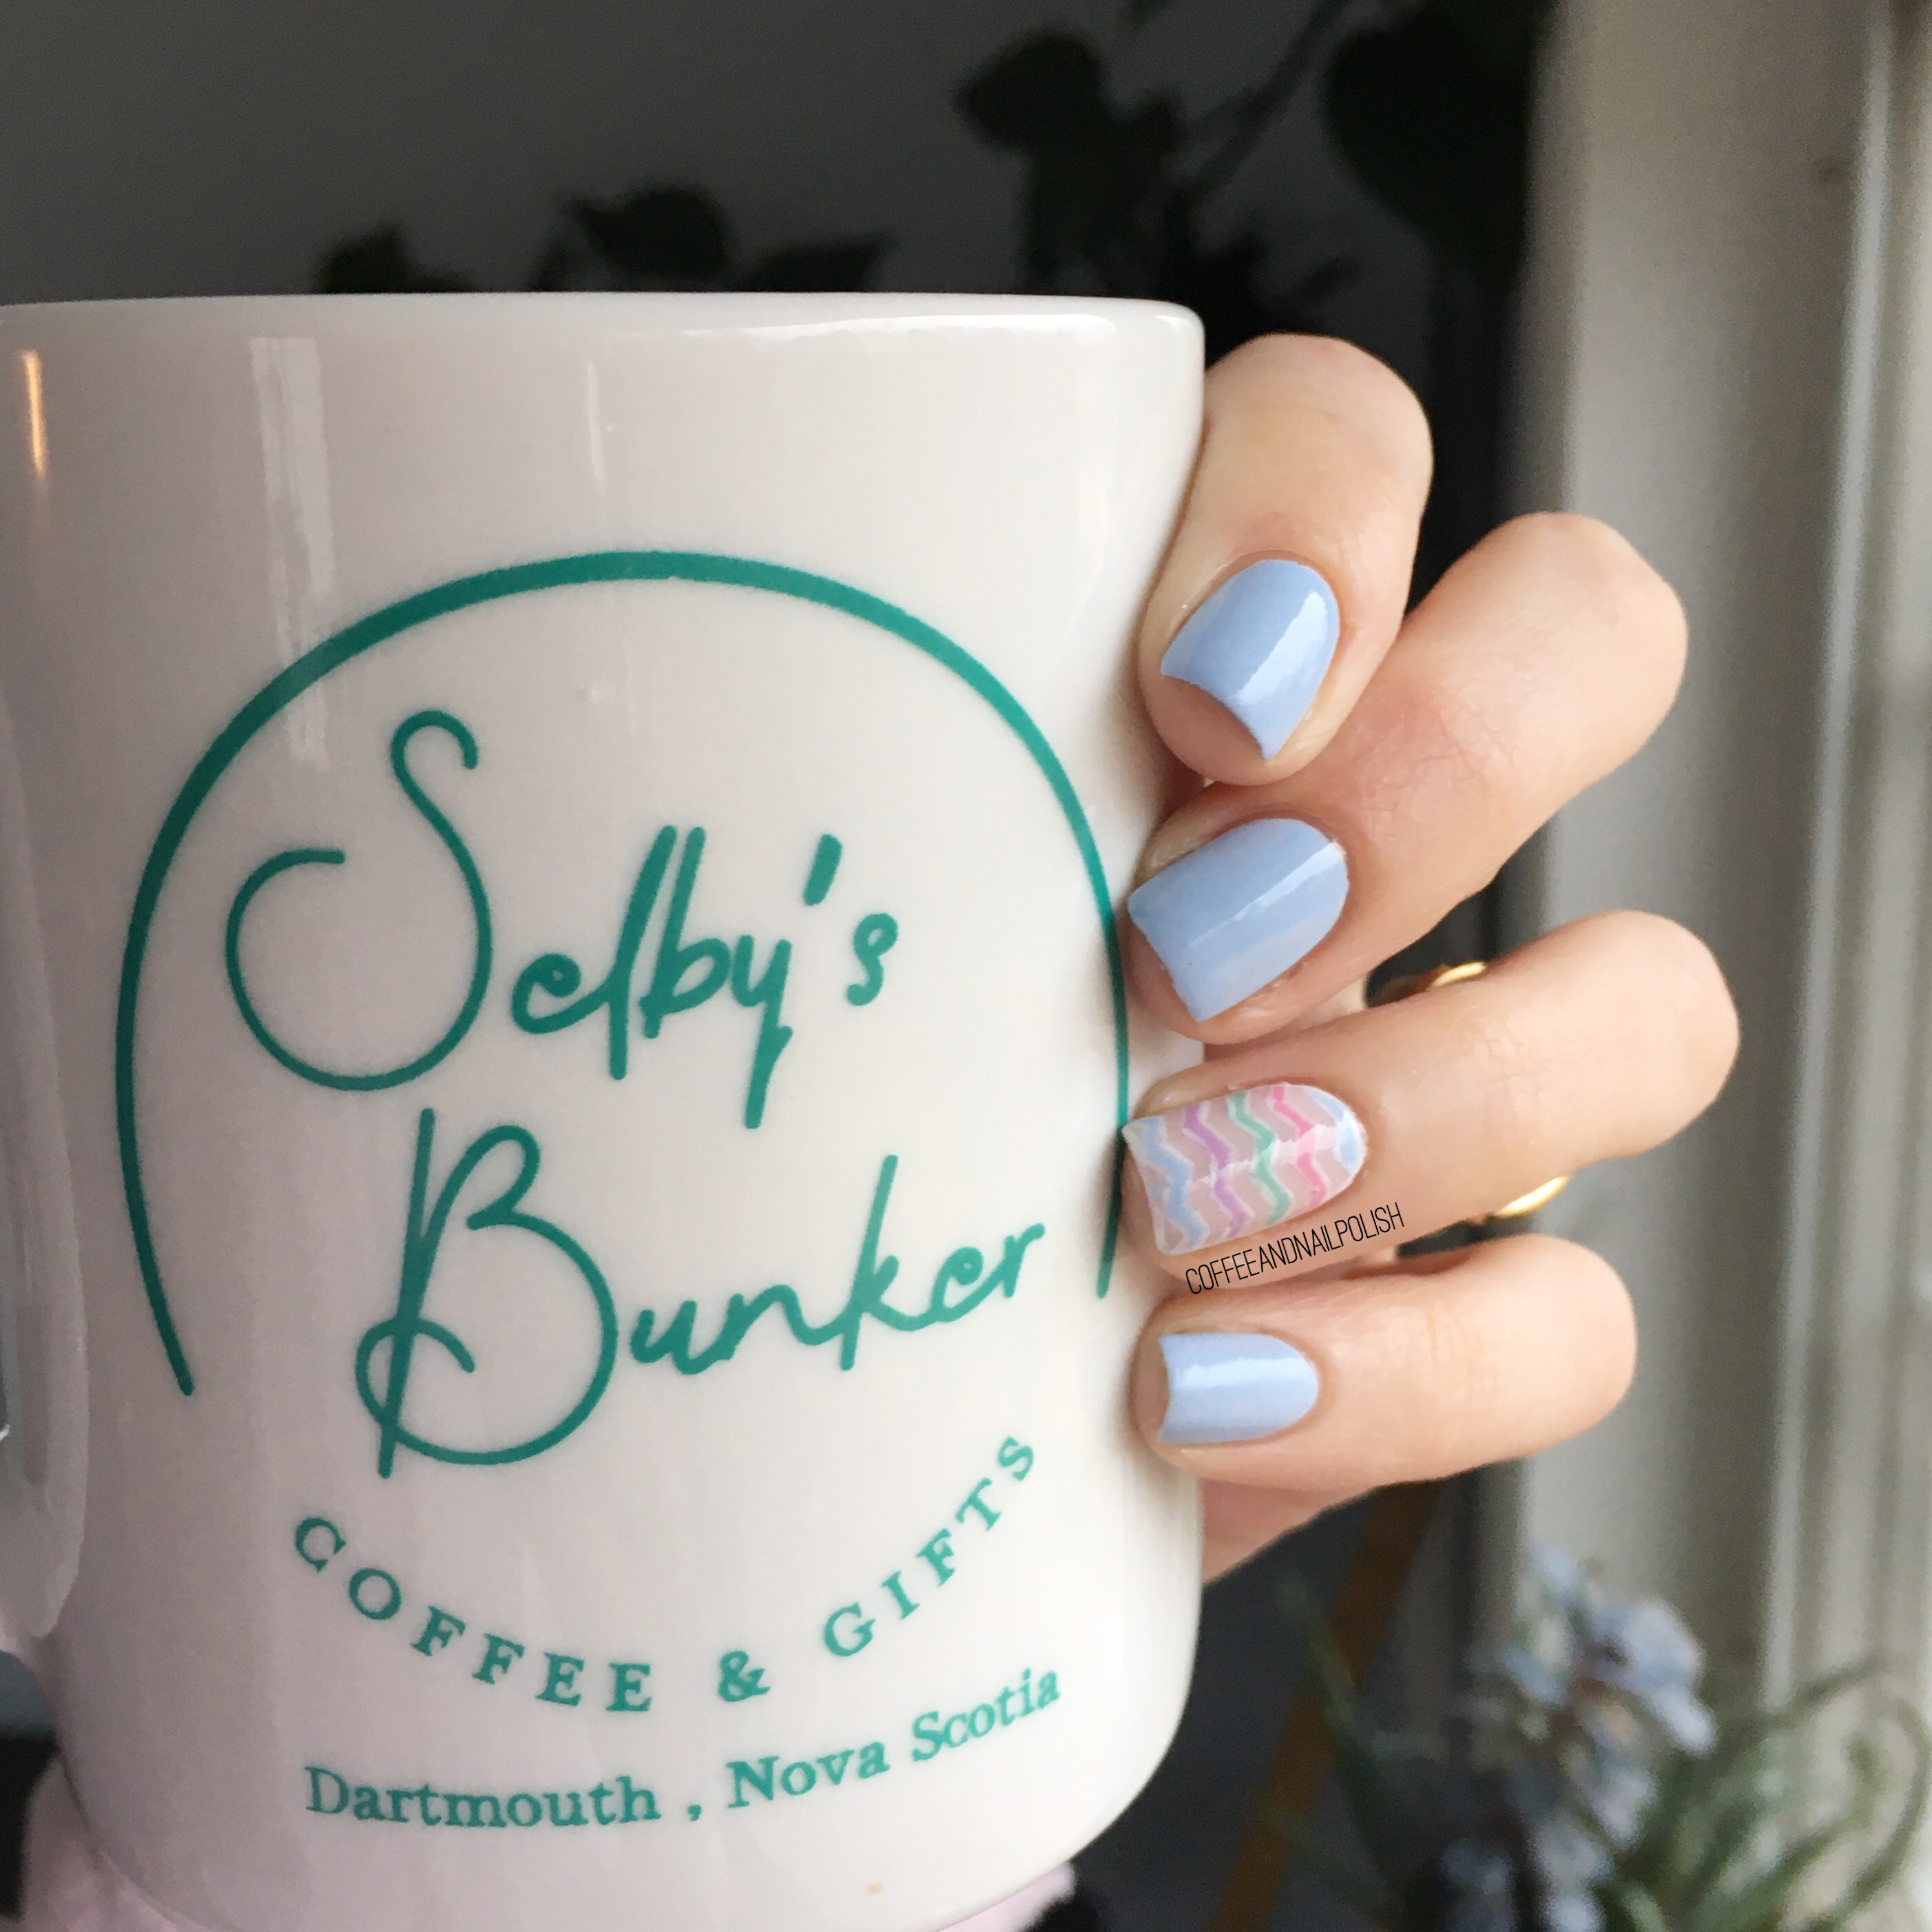
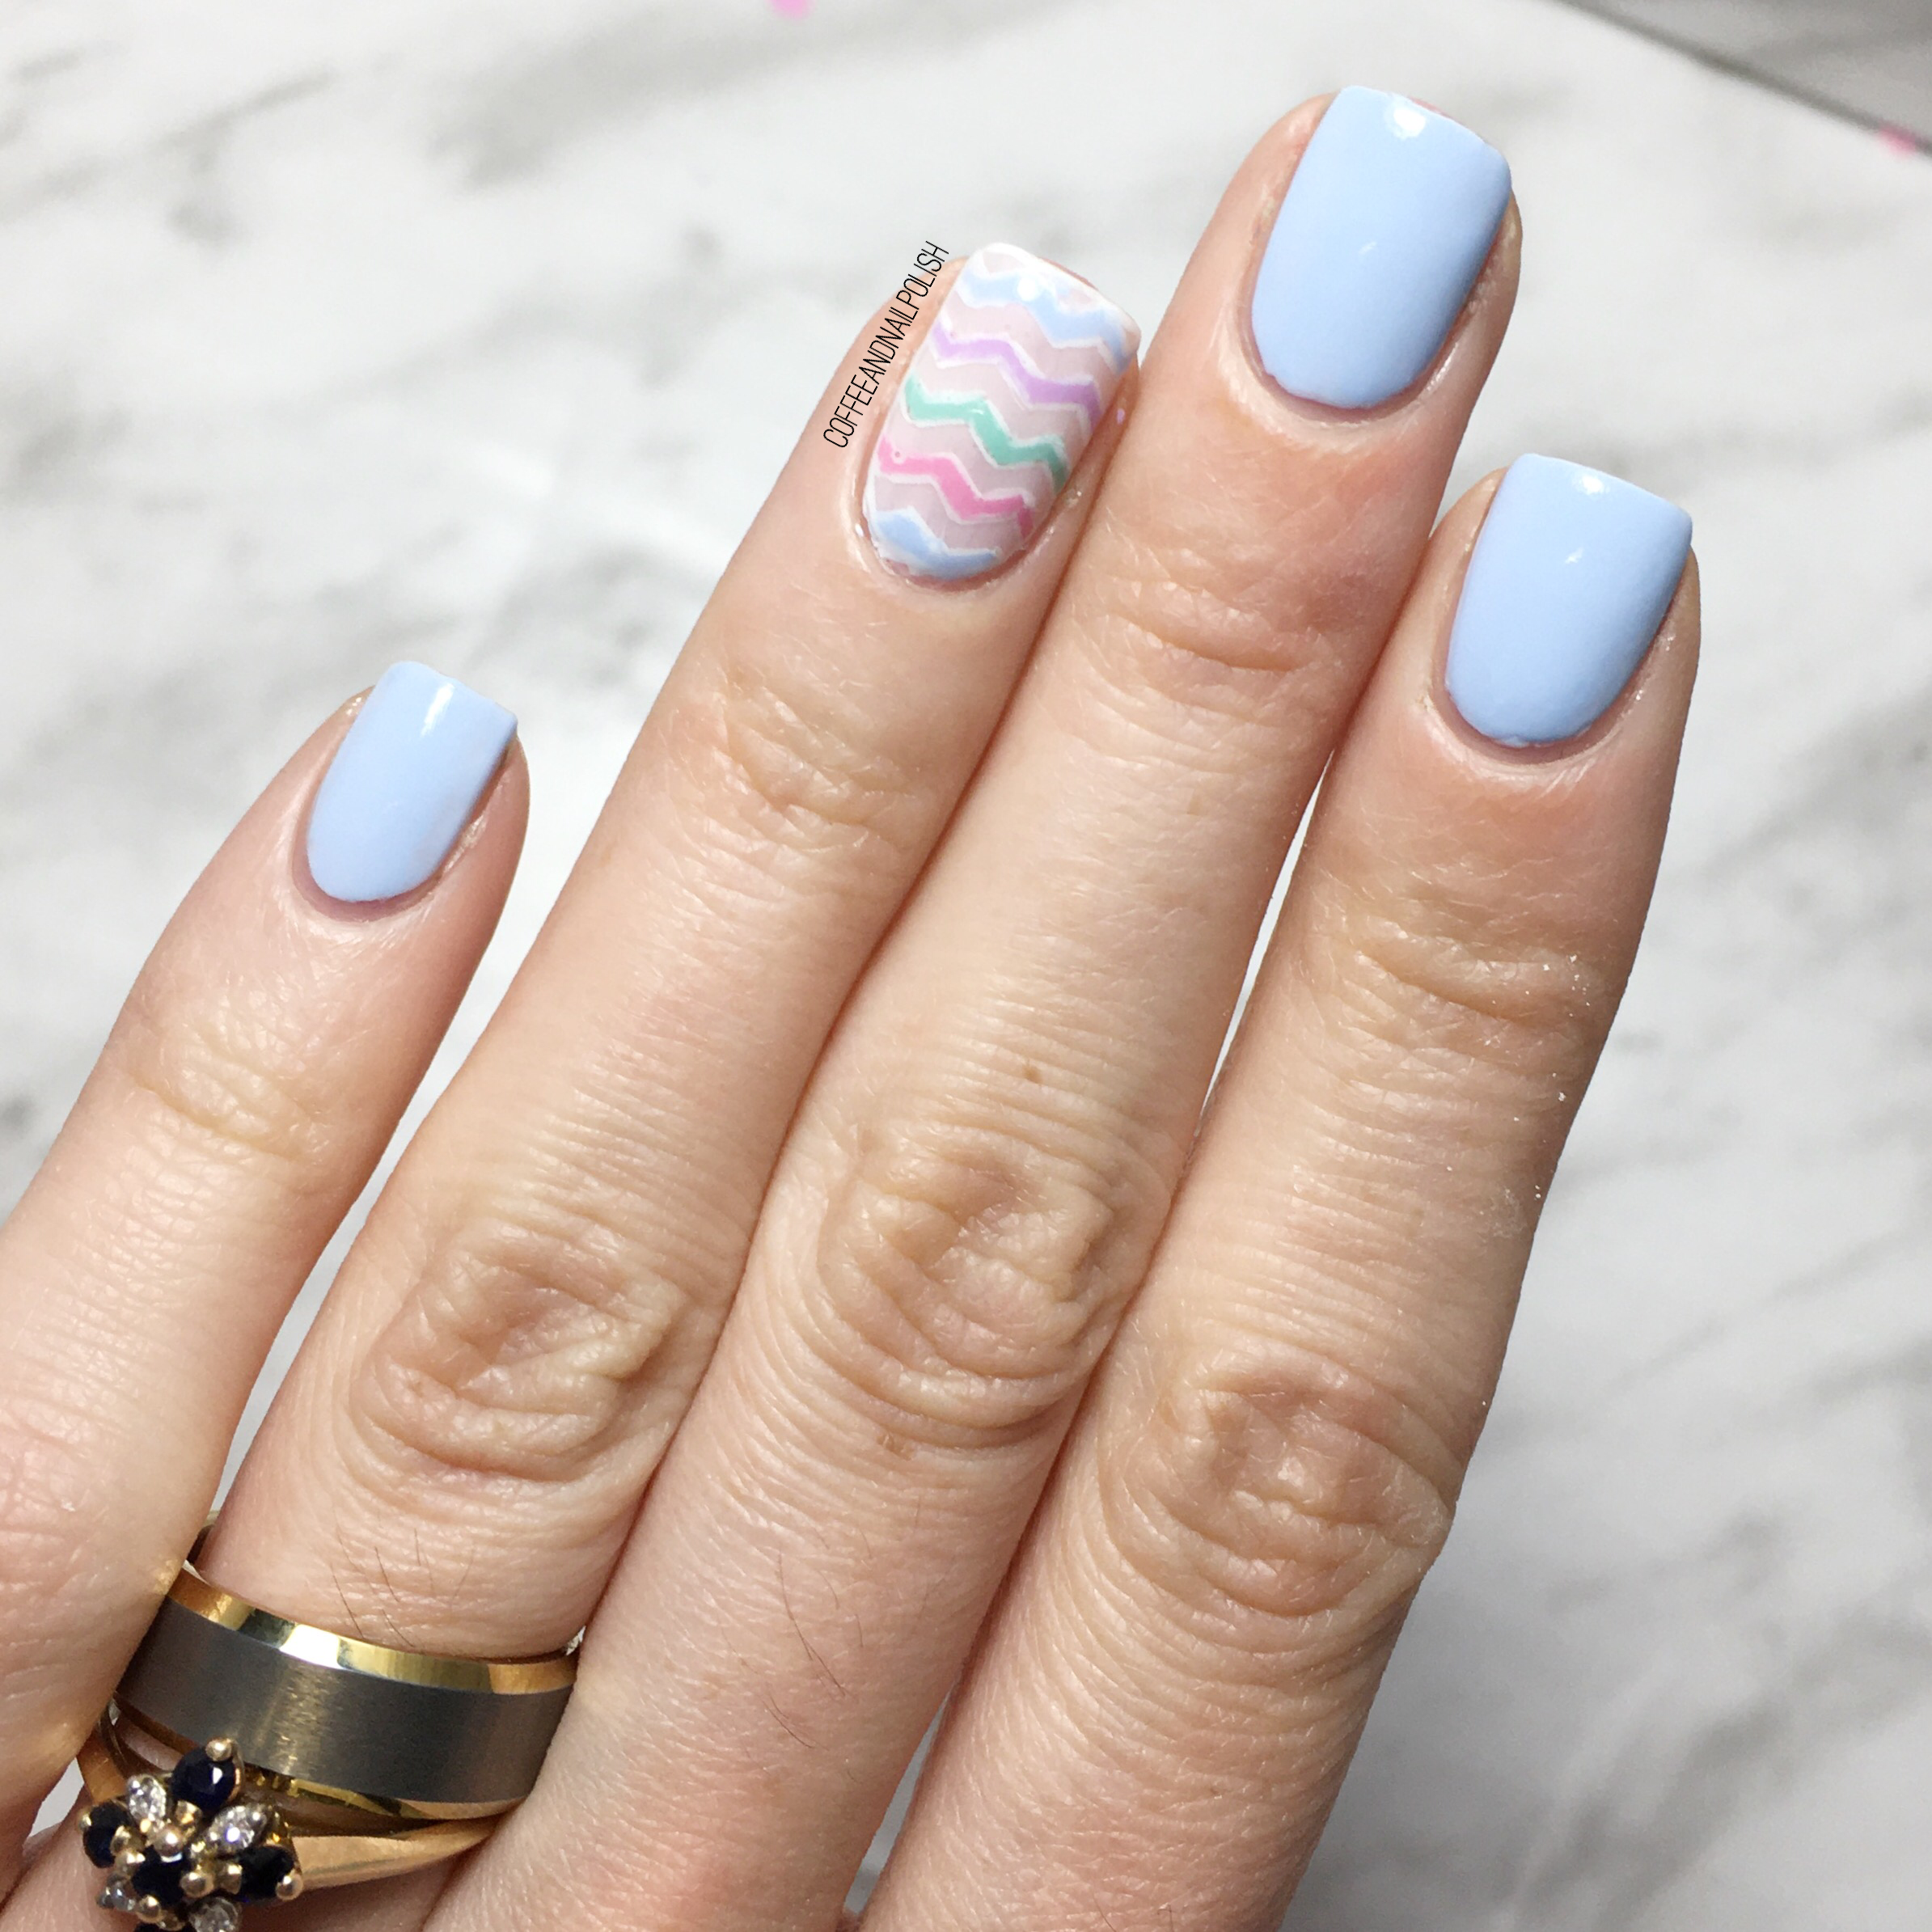
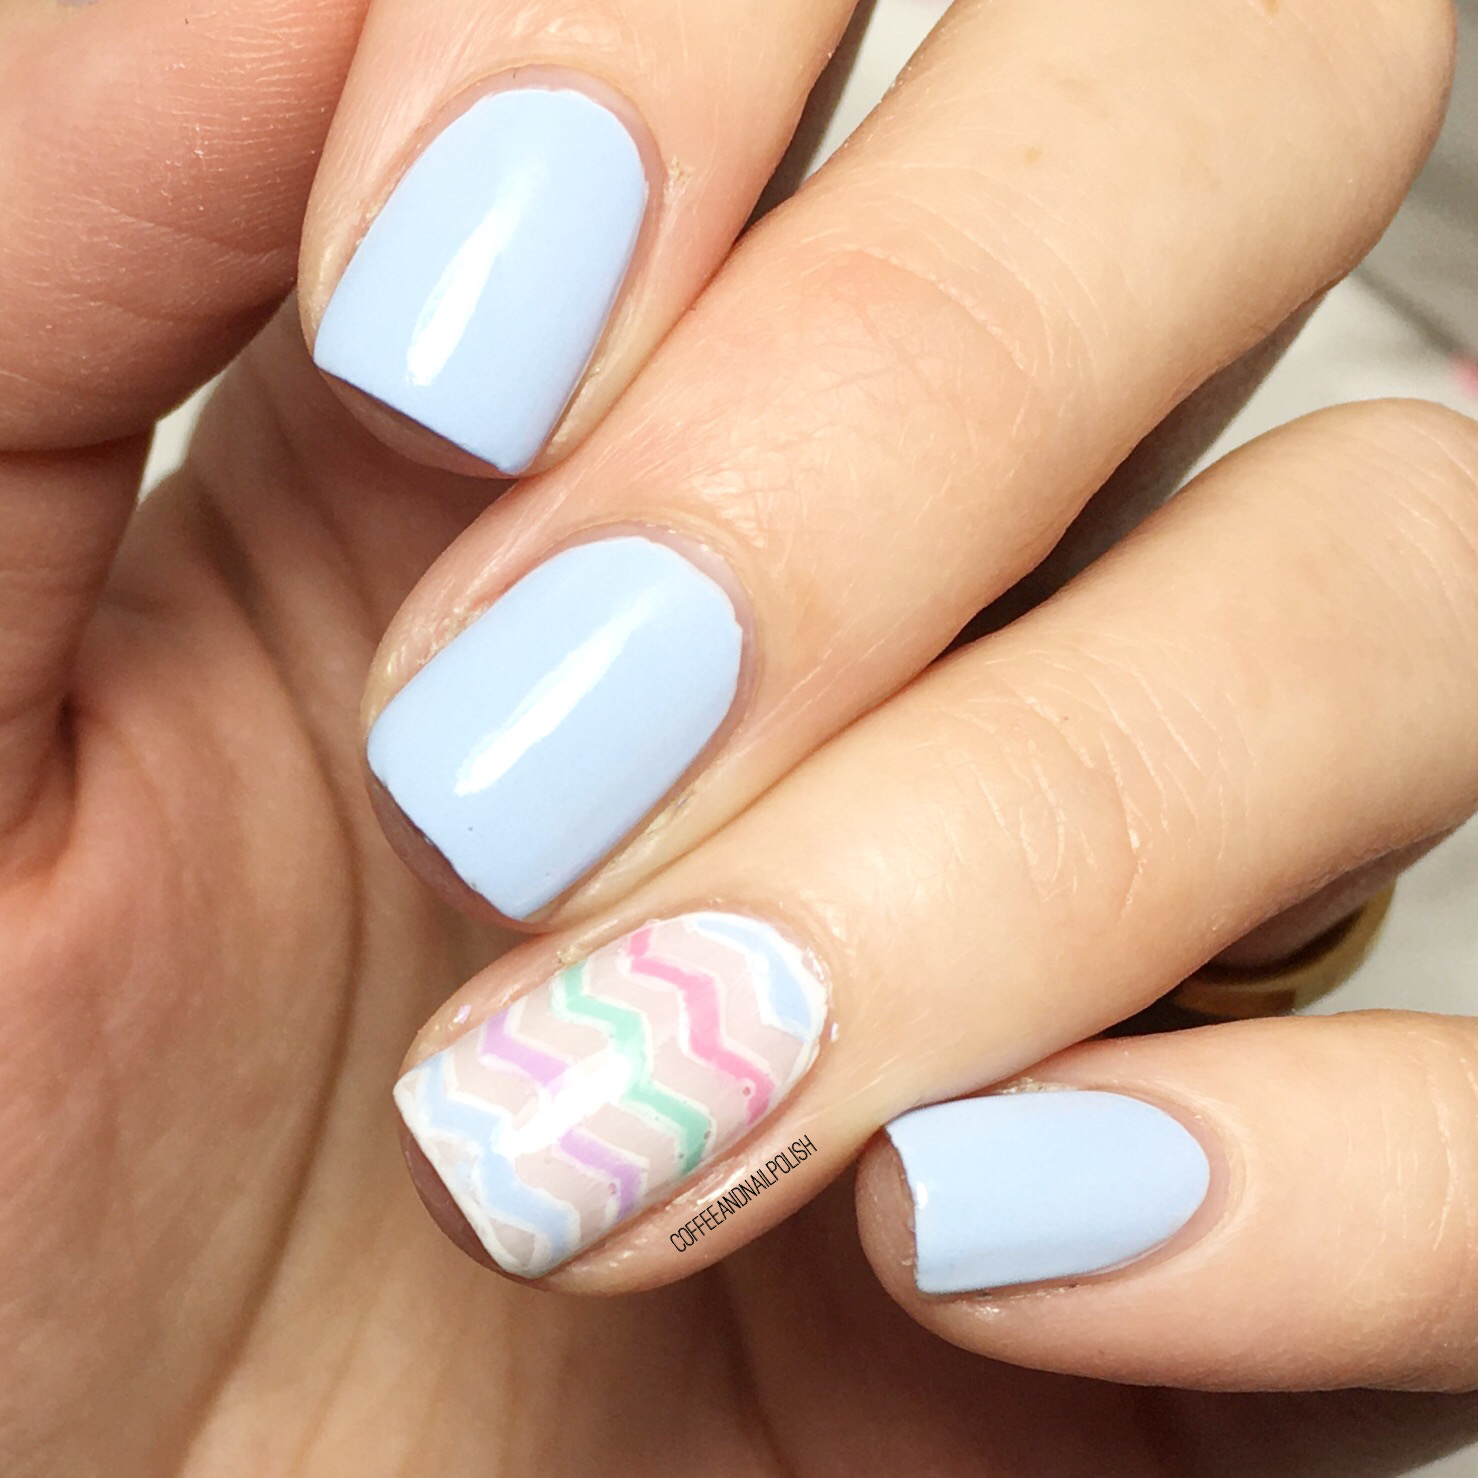
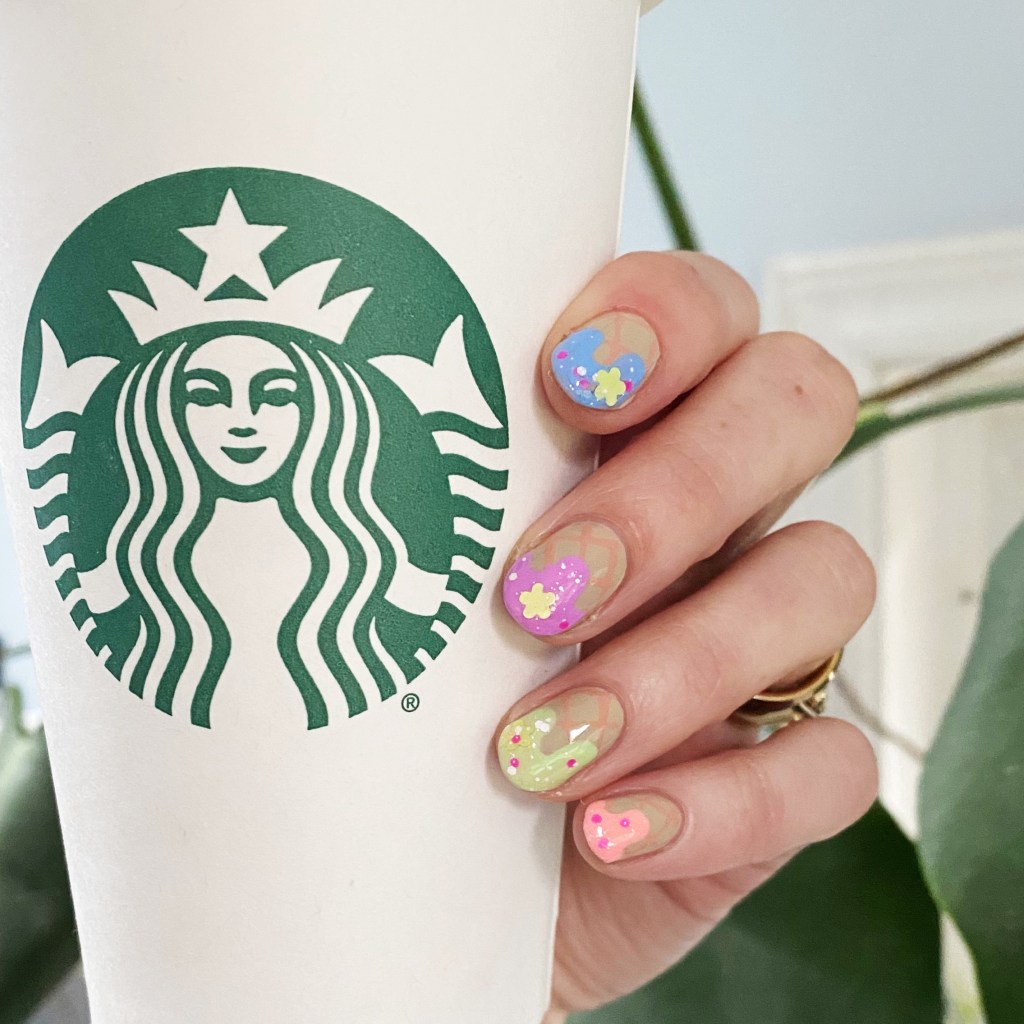
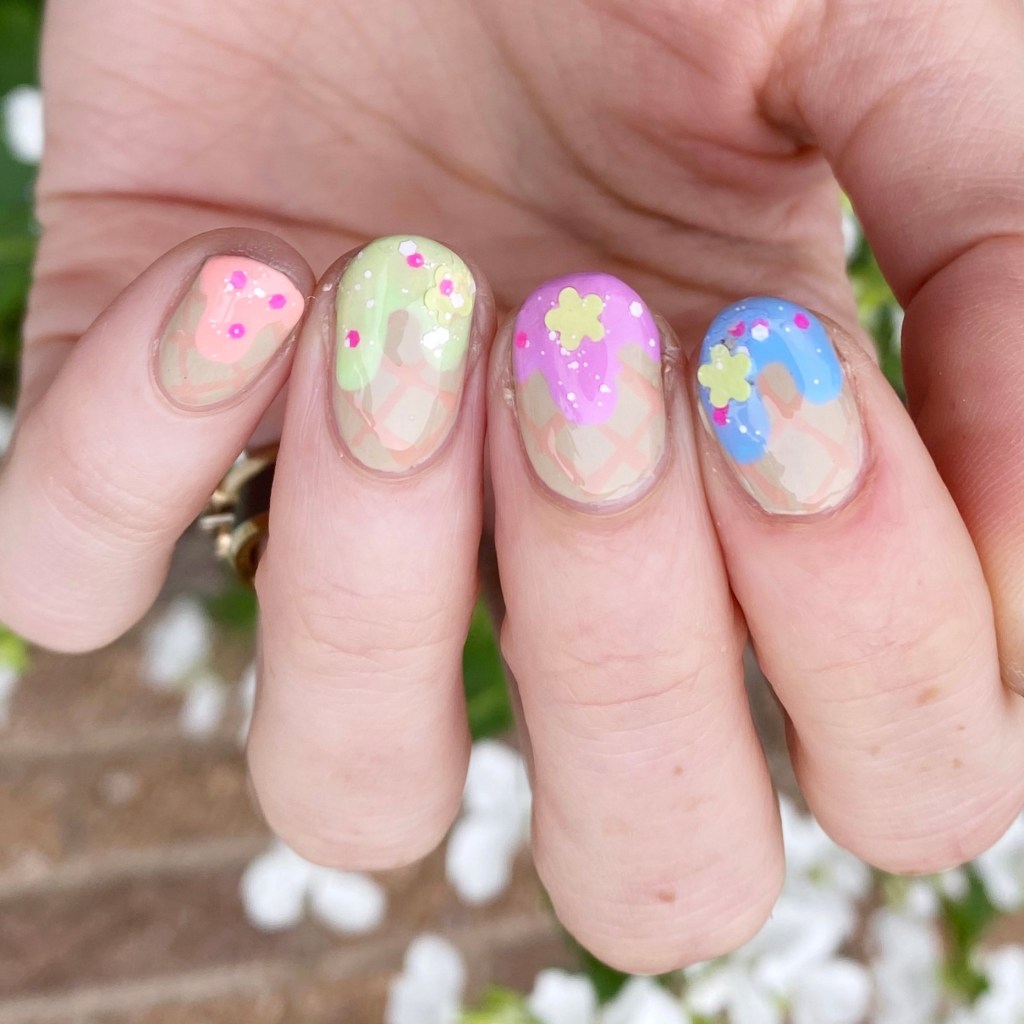
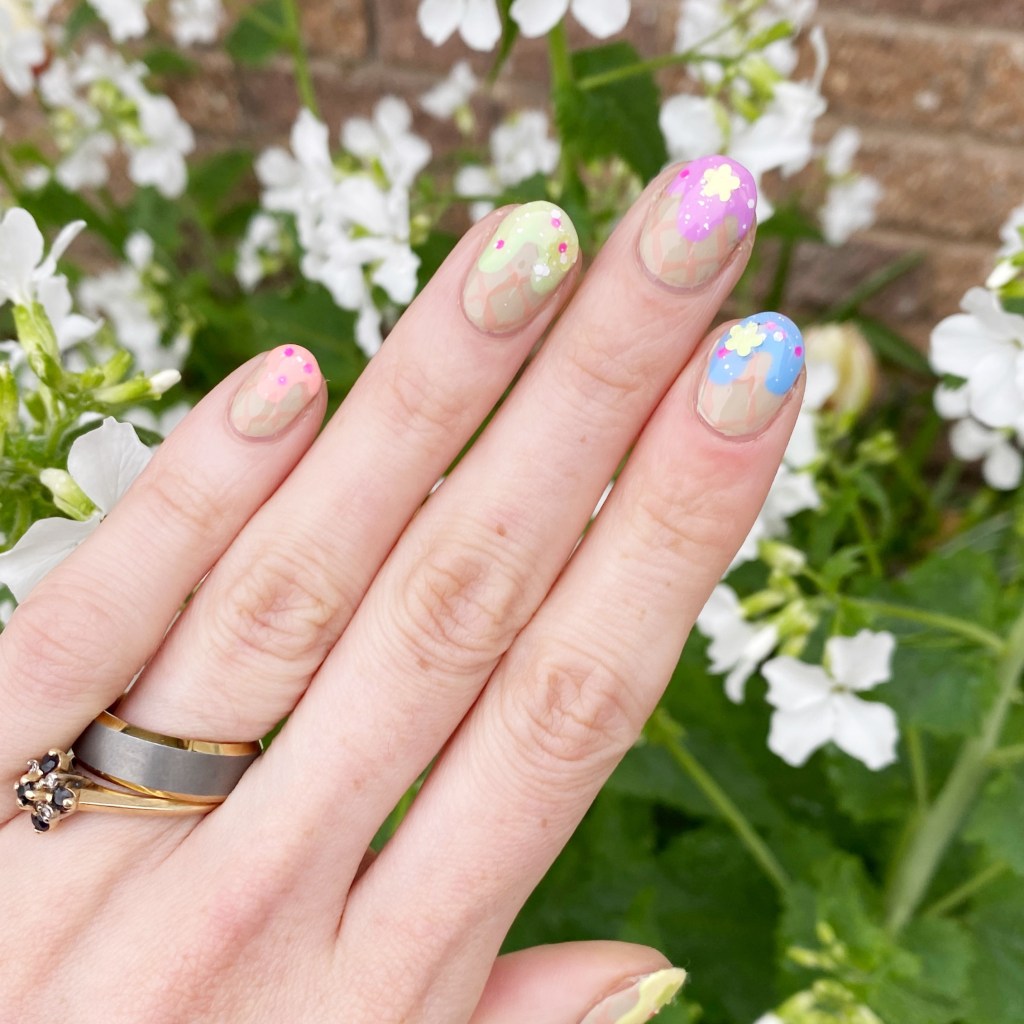
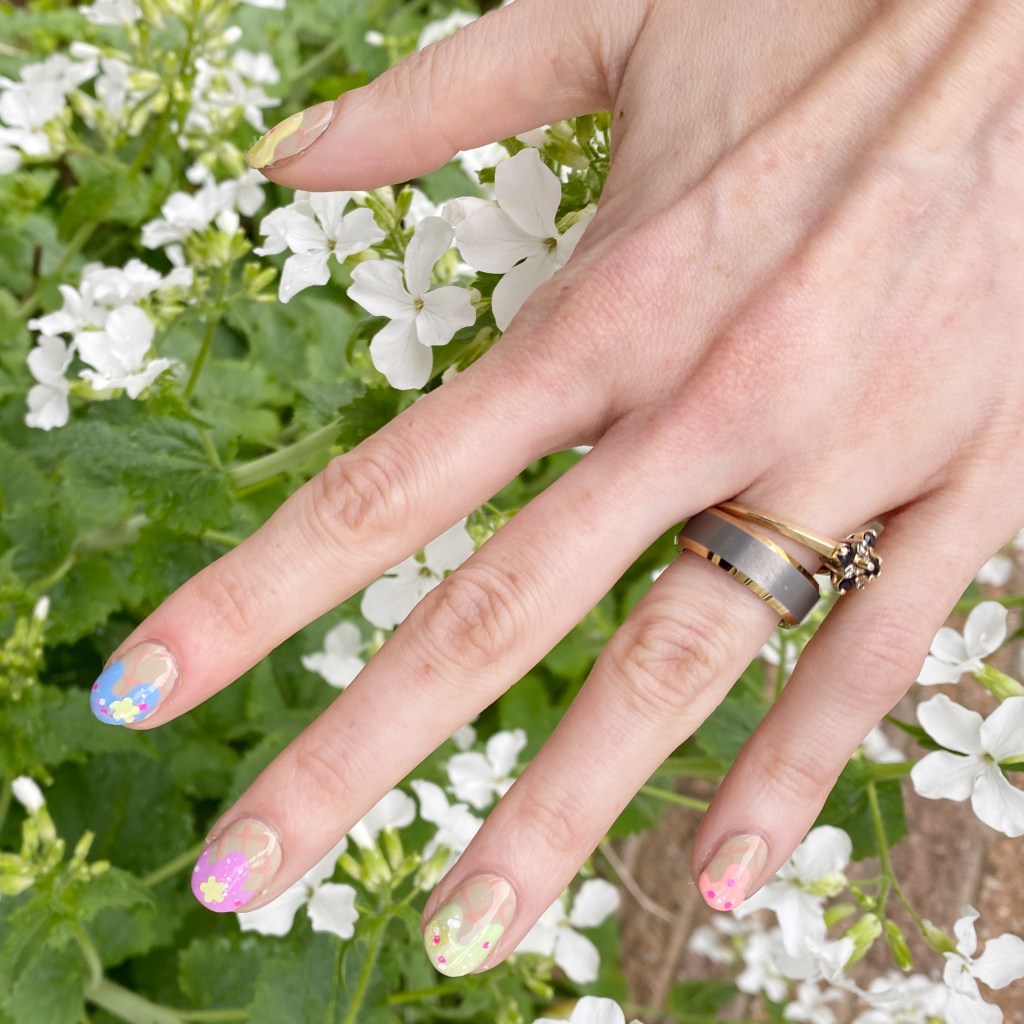
Today, though, I’m sharing a look I did a week or so back for a nail art collab I joined! You might remember I did another one last month, & it was so much fun I thought I’d do it again! This time the theme was Summer Treats. & my favourite treat of the Summer: ICE CREAM!

The polishes I used for this manicure are: 

  • Base Coat: Londontown KUR Nail Hardener & Base Coat 
  • Top Coat: Seche Vive Fast Dry Top
  • Sally Hansen Good. Kind. Pure. Almond Tan
  • Sally Hansen G.K.P. Rock Steady
  • Sally Hansen Miracle Gel Neons Peach Please
  • Sally Hansen MG Neons Electri-Lime
  • Sally Hansen MG Neons Violet Voltage
  • Sally Hansen MG Neons Lemon Chillo
  • Sally Hansen MG Sugar Fix
  • Claire’s Melon Mania
  • NailStuff.ca 16mm Striper Brush
  • Large Dotting Tool (NailStuff.ca Dotting Tool Trio)

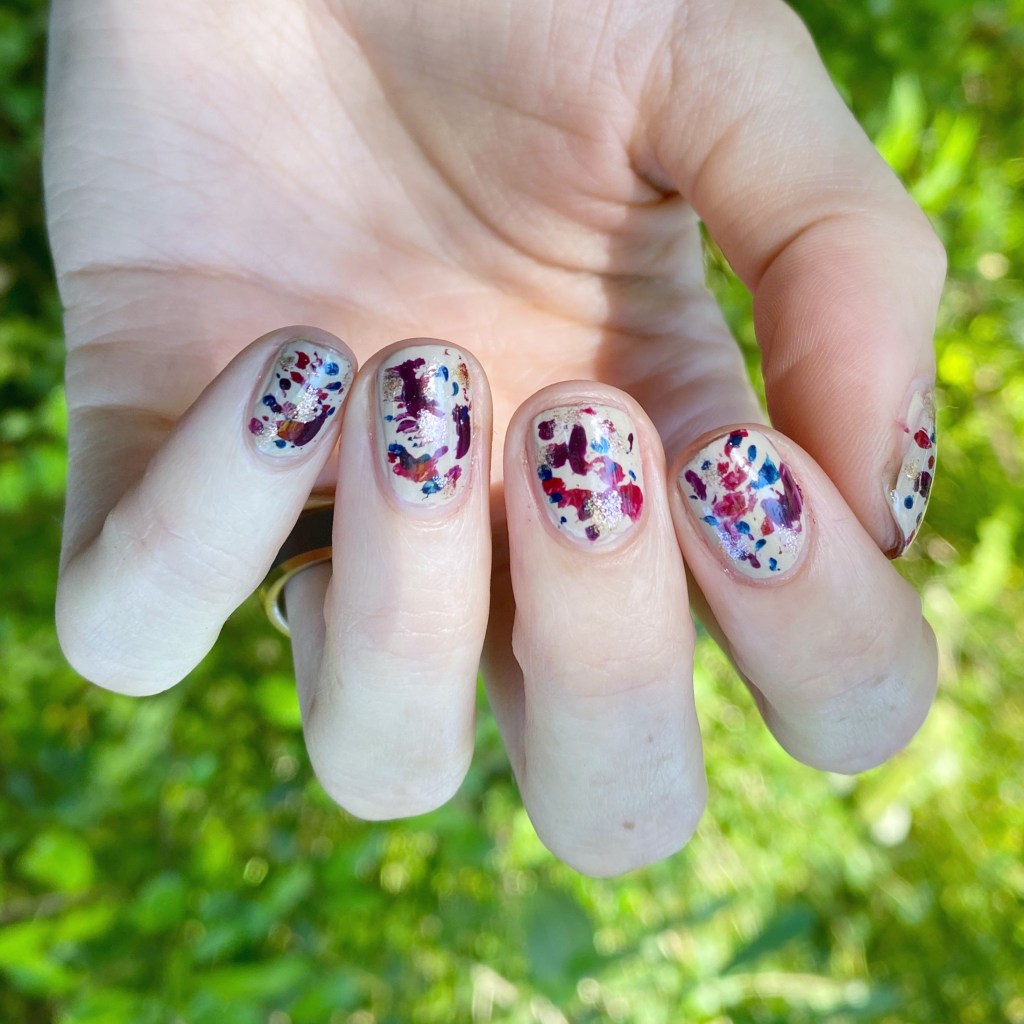
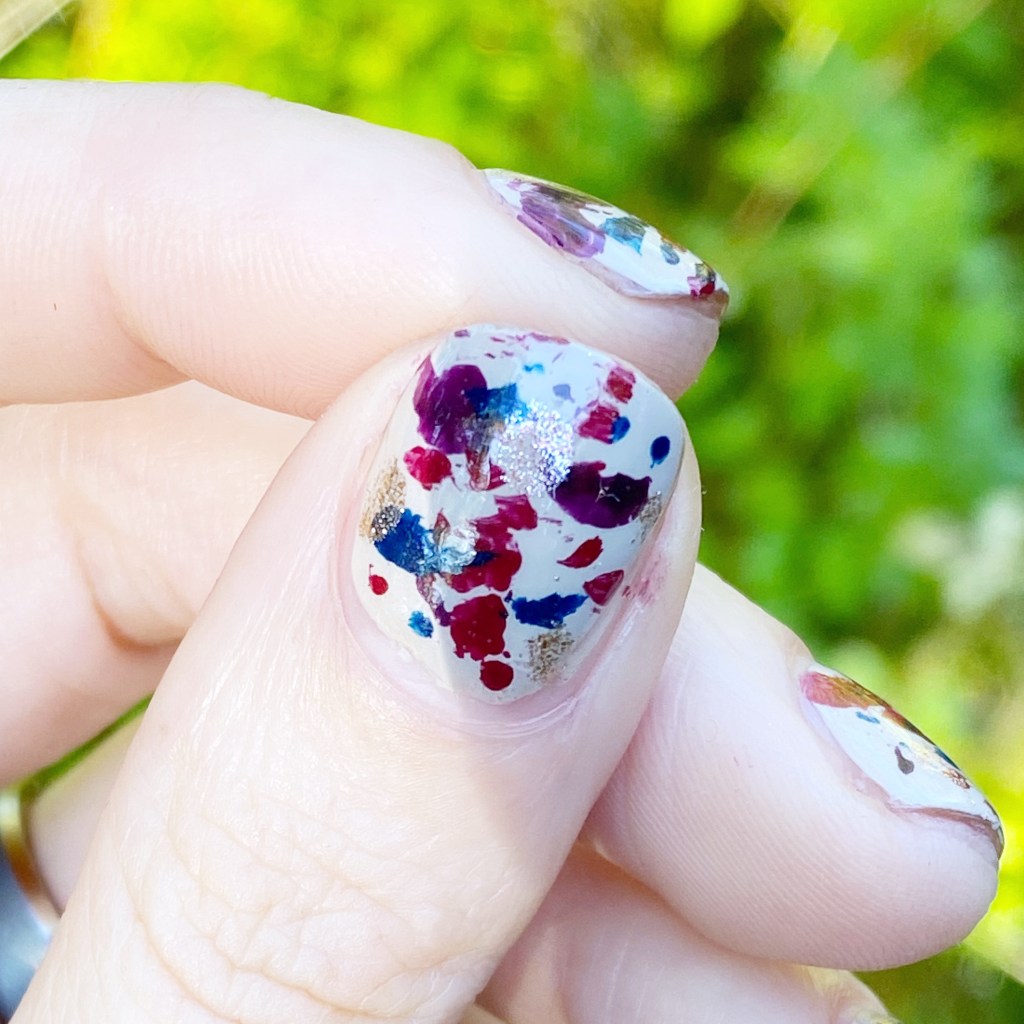
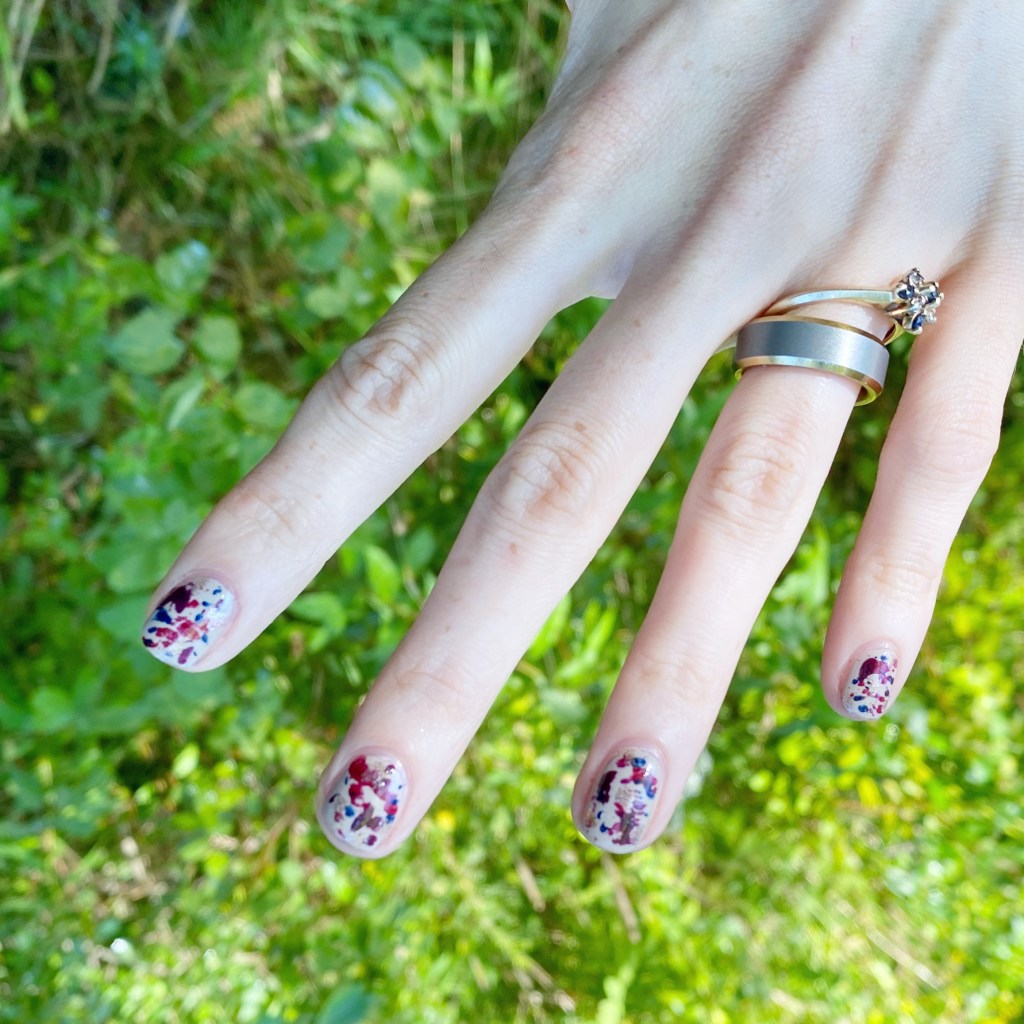
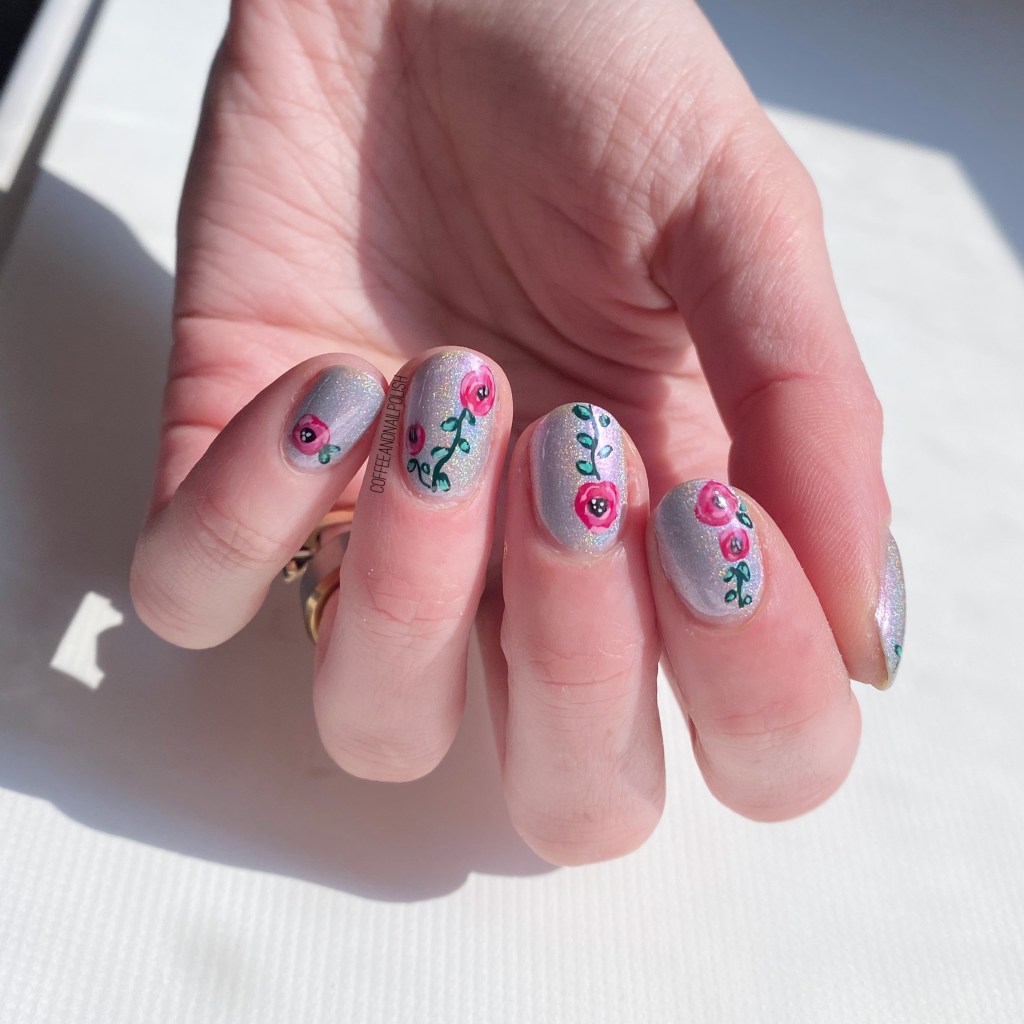
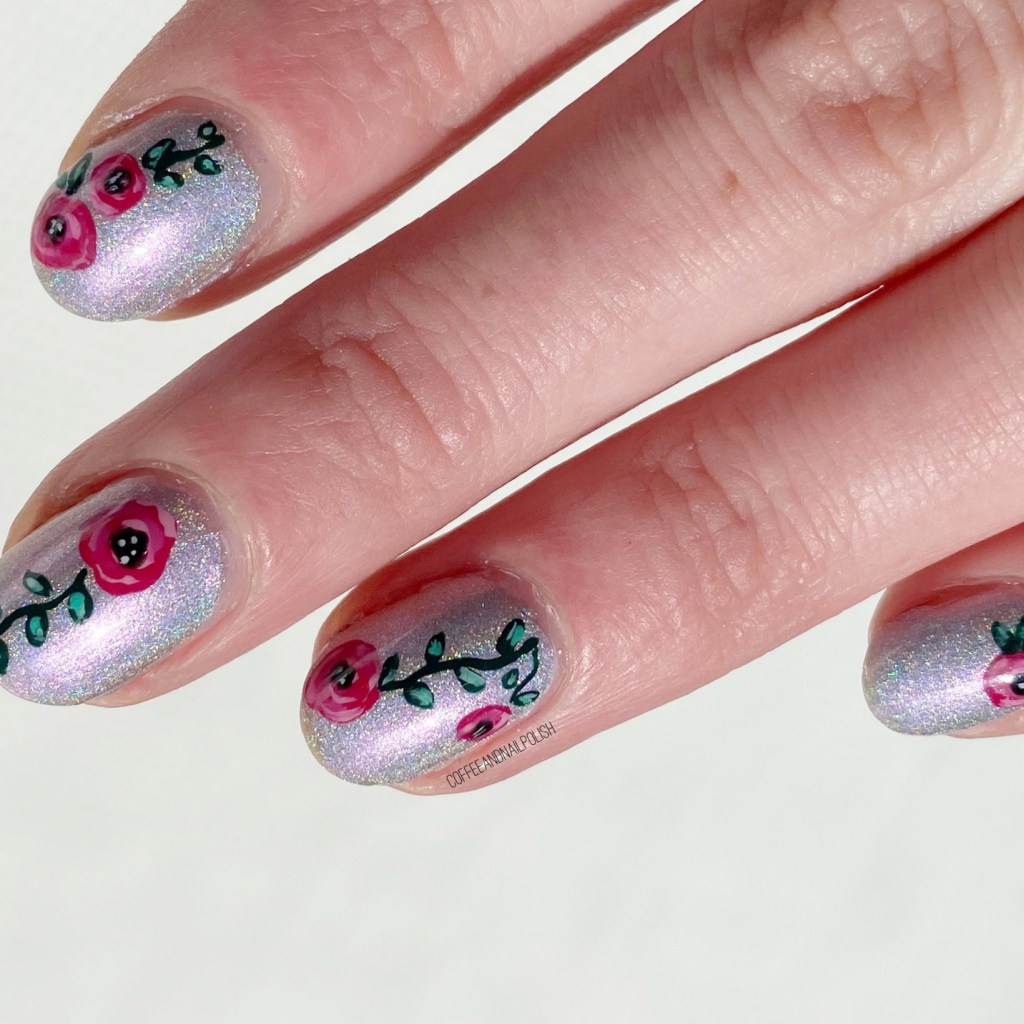
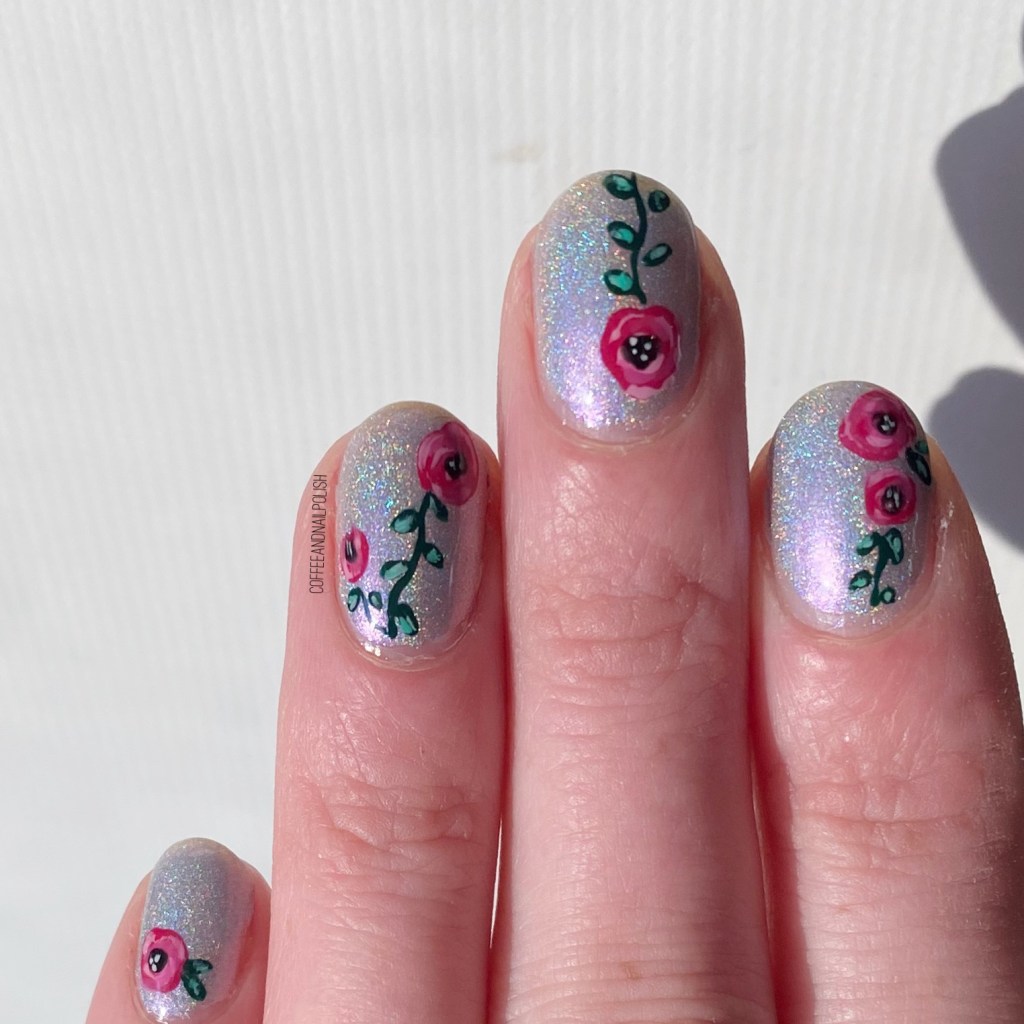
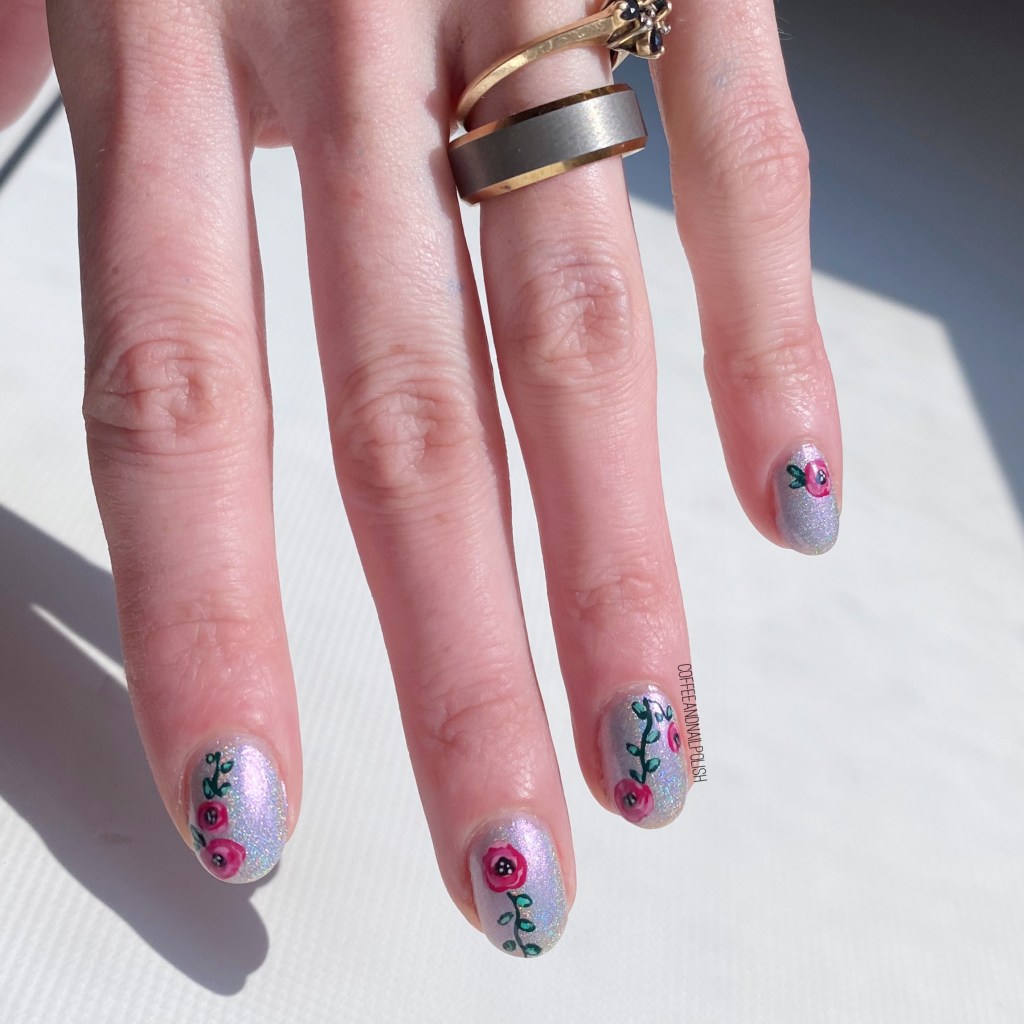
This is actually a recreation of a design I did all the way back in June 2016. I loved it so much the first time, I thought it would be perfect for this nail art collar — with some updates! I love the neon ice cream, I love my glitter “sprinkles”. I just think this whole look turned out too, too cute!

Don’t forget to check out all the beautiful designs on Instagram by checking out the hashtag #summertreatsnailartmanicollab2023 & see all the other beautiful designs that my fellow nail artist created! There are so many cute one!

Have a fantastic Friday! ♥︎

Autumn Fan Brush Splatter Nail Art

Hello lovelies & happy Thursday! We’re officially a full week into September, & the Autumn vibes have been strong — with the perfect early September weather to match. I’ve been fully immersing myself in all things pumpkin spice, while wearing my absolute favourite knee high boots.

So obviously, I need some nail art to match.

I’ve been rocking some serious shorties lately, thanks in part to a wicked break on my middle finger (hence why it’s so wonky). So I’ve been feeling a bit… uninspired nail art wise. One nail art look I have been loving though is splatter nails! They’re easy, fun, & I’ve never done one that I didn’t love.

The polishes I used for this manicure are: 

  • Base Coat: Essie Hard To Resist Glow & Shine 
  • Top Coat: Essie Gel Setter
  • Sally Hansen Complete Salon Manicure Know The Espa-Drille
  • Sally Hansen InstaDri Cinna-snap
  • Sally Hansen InstaDri Zip Wine
  • Sally Hansen InstaDri Midnight Drive
  • Sally Hansen Miracle Gel Golden Glow
  • Fan Brush Nail Art Brush (mine was purchased at either Claire’s or Icing)

How funky are these? I just love how fun this colour combination is together, & it’s combining all the colours I love for Autumn — but on a light base. I usually go with the Saran Wrap technique for my nail art, but I thought I would try out with a fan brush, & I’m really happy with the end result. They’re just so much fun!

What do you think about these splatter nails? Do you like this fun splatter design? Let me know what Autumn nail art you’re rocking right now — or if your holding onto Summer nails as long as possible.

Holo & Roses

Hello loves! Hope everyone is having a great week so far.

Last week I was feeling a bit off with the Winter blahs, so I decided to best way to make myself feel better would be with some new nail polishes! My local small Walmart has their Color Club holographic shades on sale for $5 right now… so naturally I needed to get myself a new one! After way too long pacing the nail polishes aisle I picked up this beauty: Color Club Bewitched!

& what is better than holo in your nails… holo with floral!

The polishes I used for this manicure are: 

  • Base Coat: Essie Millionails
  • Top Coat: Seche Vive
  • Color Club Bewitched
  • Essie Watermelon
  • Claire’s Matte Pink
  • Cosmetic Arts Unnamed Mint
  • Essie Off Tropic
  • Claire’s Matte Mint Green
  • Sally Hansen Miracle Gel Black-y O
  • Essie Blanc
  • NailStuff.ca 7mm detail brush
  • NailStuff.ca Dotting Tool Trio

Seriously, I don’t think there is a nail art look I love more than floral.

& with my patience for Winter dwindling more by the minute, I’m so ready for all floral, all the time. I thought about doing a more complicated floral, but once I did the roses, I was loving the simplicity of just a few roses & vines.

Also how can I get a phone case with a holo background & roses, because I think I need one! Like if I can get this replicated on a phone case, I would be so happy.

What do you think about this nail art look? Are you ready for Spring as much as I am? Let me know in the comments below!

Pastel Geometric Dry Brush

Hello lovelies & happy Thursday! I hope the weather is more beautiful where you are — here in Halifax we have rain, & clouds & an overall dreary day. Well at least yesterday was beautiful!

How about I brighten things up a bit with some new nails? I actually did this look a few weeks ago, but (again) didn’t get around to posting it. I’m really feeling this coral/purple/turquoise colour scheme right now, & I have been putting out these shades a lot. This look was kind of me just playing around, but it turned out to pretty I decided to wear it!

For this manicure, the polishes I used were:

  • Base Coat: Sally Hansen Good Kind Pure Hardener
  • Top Coat: Essie Speed Setter
  • Sally Hansen Miracle Gel Malibu Peach
  • Sally Hansen Miracle Gel Get Mod!
  • Essie Where’s My Chauffeur? 
  • Essie Play Date
  • Claire’s Matte Sorbet Blue
  • NailStuff.ca 16mm Striper Brush (COFFEE10 to save 10%)

I’ve been a little bit obsessed with dry brush designs lately, just because they make such a pretty back ground for nail art. I really like how the clean white lines stand out so much against the blurred pastel background. Originally I had thought about doing some more complicated tribal print, but I think the simplicity of a few geometric lines works way better. You see both the background & the graphic lines as well. I like it a lot. Plus it was a great excuse to work on free-handing straight lines, which is definitely something I find tricky.

Please excuse my horrendously dry hands. I’ve been struggling through finding the right hand creams to help under these extreme circumstances! I think I may have found my new favourite one, but I want to give it a couple weeks of real hands on testing before I make any posts about it. It’s actually one my Dad recommended to me. Got to love suggestions from Dad! Haha.


So what do you think about this design? Have you ever worn a dry brush design before? Do you like them on their own, or with nail art added on top. Let me know all your thoughts down in the comments below, & for fun, share what hand cream is currently saving your dry hands right now!

♥♥♥

Rainbow Easter Egg Inspired Accent Nail

Good morning lovelies & happy Thursday!

I hope everyone is having a lovely week, however you’re spending it. I did a fun yoga class last night (via zoom) so I’m feeling refreshed this morning. If there is one thing this home isolation has been doing for me, it’s been inspiring me to work out almost daily, which is awesome!

Today I gave an Easter inspired design to share with you. I wanted a look that would be perfect for Easter celebrations, but could also be worn just to celebrate Spring!

  • Base Coat: Sally Hansen Good Kind Pure Hardener
  • Top Coat: Essie Speed Setter
  • Claire’s matte Sorbet Blue
  • Claire’s matte Sorbet Mint
  • Claire’s matte Sorbet Purple
  • Claire’s matte Sorbet Pink
  • Essie Ballet Slippers
  • Sally Hansen Miracle Gel Get Mod
  • NailStuff.ca 4mm Micro Detail Brush (COFFEE10 saves you 10%!)
  • NailStuff.ca Dotting Tool Trio
  • TheBaseCoat Chevron/ZigZag (regular) Stencils

I really, really wanted to do something Easter-y on my nails, without going your typical bunny ears/Easter egg design. I started off on my ring finger by applying 2 coats of Ballet Slippers & my Essie Gel Setter to dry. Then I took my nail vinyls, & applied them to my ringer finger. Using a dotting tool, I started from the bottom of my nail, I worked quickly applied the alternating colours. All my shades were matte, which dry quickly, so I actually pulled off the vinyl one I had filled a section. Next up, I decided outlining would bring the look together, so I went through with my tiniest brush, & outlined all my chevrons with my white polish, as well as the outside of my nail.

& I feel like the end result looks so cool, & dainty, & just Easter-y enough. Like a “grown up” Easter egg design.

Seriously, I’m obsessed. It’s been a while since I pulled out the zig zag chevron nail vinyls, & oh man have I missed them! I guess one thing I can thank this whole situation for, is that I’m really putting more effort into my nail art, & love rediscovering all these old tools of mine. It’s a fun way to distract myself from all the craziness happening outside of the house — or from the fact that I really miss my extended family. Hopefully the world returns to some form of normalcy again, so we can all get together & celebrate all the events we’re missing out on.

Do you have a special manicure planned for your Easter? What is your favourite Easter candy? Let me know down in the comments below! (Mine are Peeps by the way, I know… I’m strange but I LOVE them!)