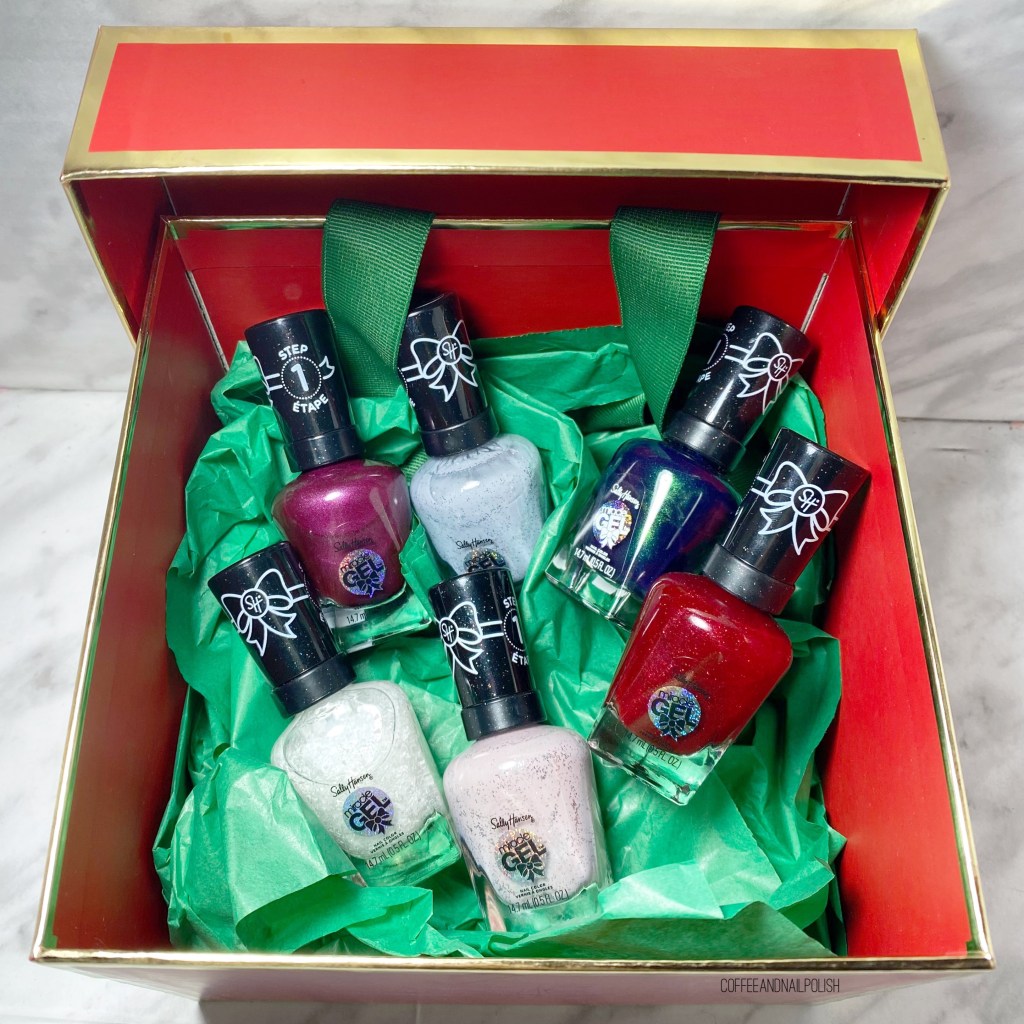
Hello lovelies & happy Sunday! & a very exciting Sunday at that because today we’re going full holiday mode with Swatches of the Sally Hansen MiracleGel Joy of Colour Holiday 2021 collection. You might have seen that Sally Hansen Canada was so kind as to gift me this collection, & I was like a kid on Christmas morning opening up the package! I’m always very excited when Sally Hansen releases a new collection, but add in some Christmas glitter, & I reach full on “I need to own this collection!” so I’m. very excited to share it with you today.
I’m super late posting these Christmas Present nails for #GlamNailsChallengeDec! I’ll blame it on a post Christmas sugar hangover haha. I can’t believe we’re already post-Christmas — this year is almost over. & we just have a few prompts left to go before this month (& year) is over!
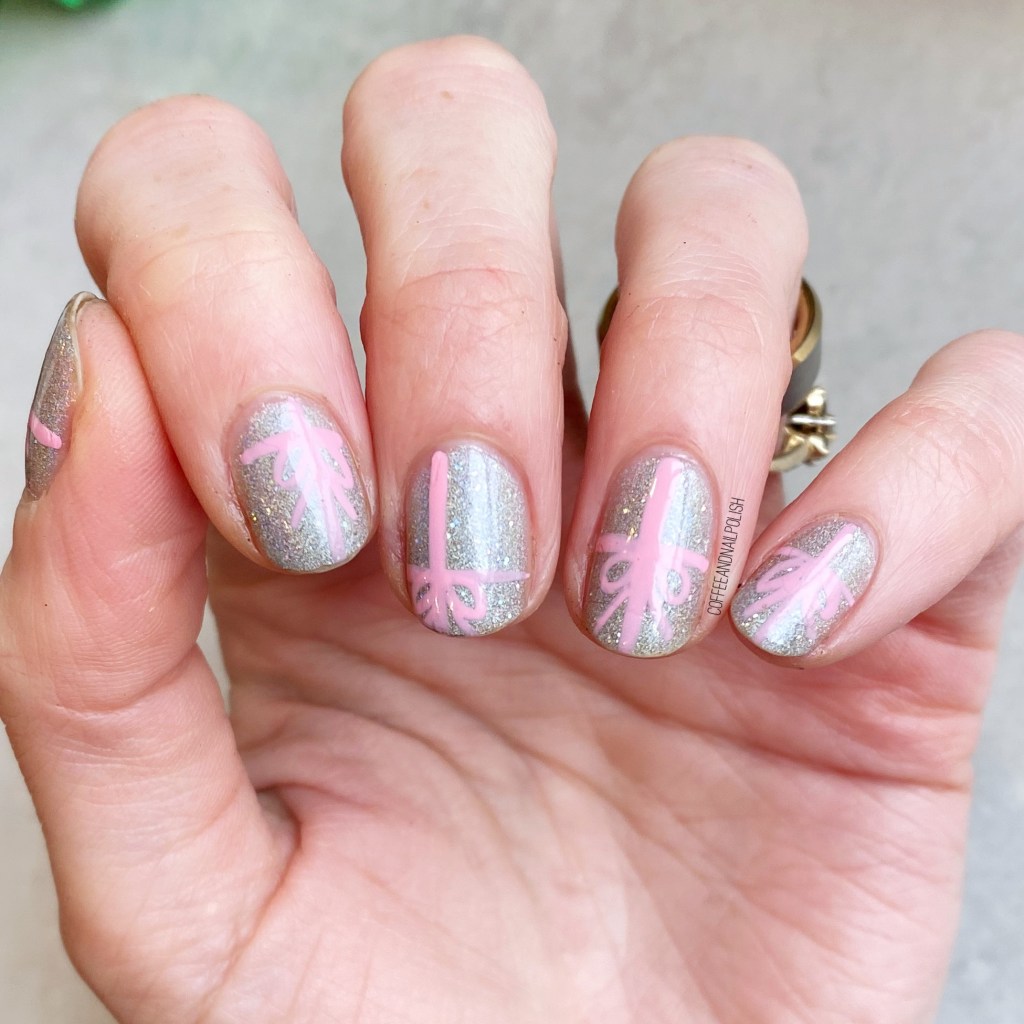
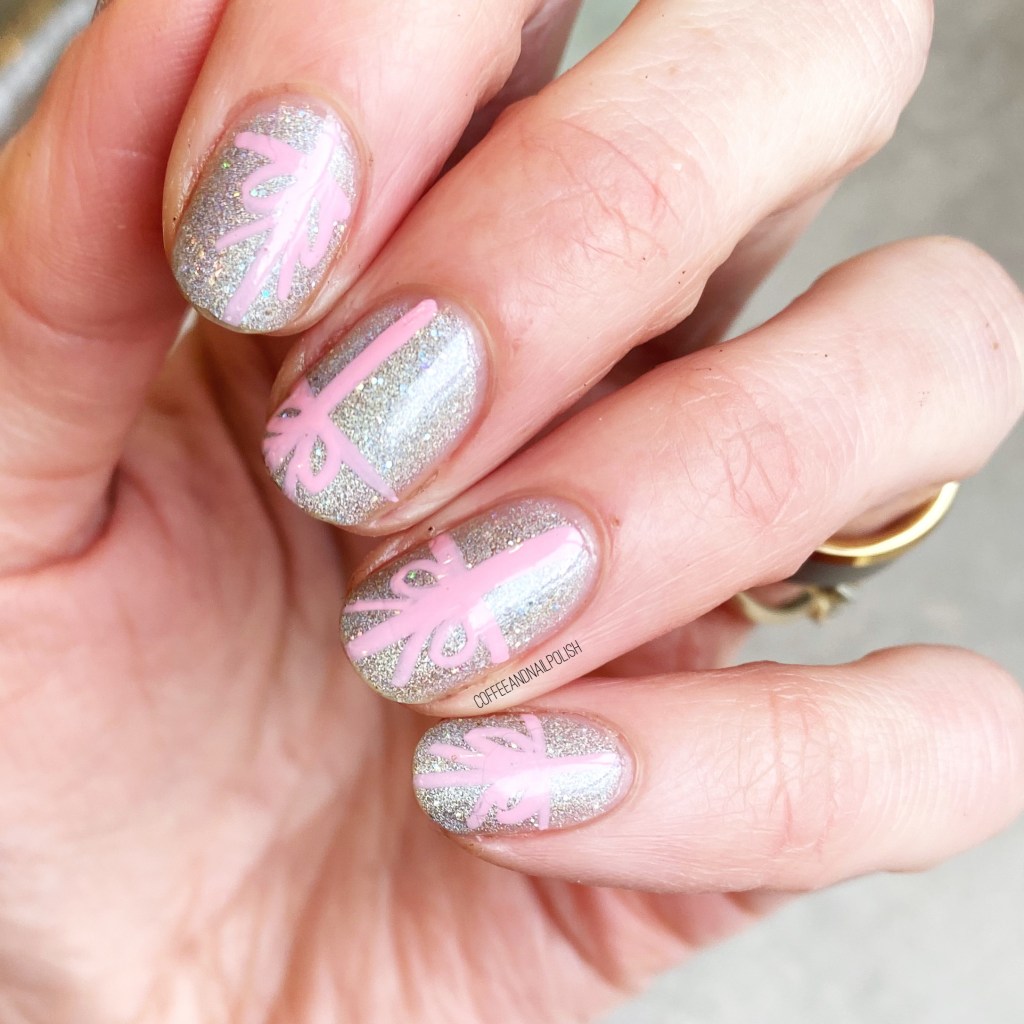
Today’s look is definitely a simple one (again, post Christmas sugar hangover/exhaustion) but I think the simple pink ribbon over the holographic base is exactly how I would love to find all my presents under my tree.
For this manicure, the polishes I used were:
Base Coat: Sally Hansen Hard As Nails
Top Coat: Sally Hansen Miracle Gel Shiny Top Coat
ORLY Mirrorball
Color Club Art Club Pink Pastel
This is probably one of the easiest nail art designs I’ve done this whole prompt! All you need is a nail art striper, & a steady hand. They were super quick to do too! & the colour combinations are endless—works for Christmas, birthdays, anything holiday involving presents. & I just adore it!
What do you think about this quick & easy Christmas Present nails? Have you been keeping an eye on all the beautiful designs on Instagram for #glamnailschallengeDec? There is just one prompt left to go, so stay tuned!
Hello lovelies & Merry Christmas Eve! Hope everyone is having a not too stressful start to their Christmas (or December 24th, for those who don’t celebrate.)
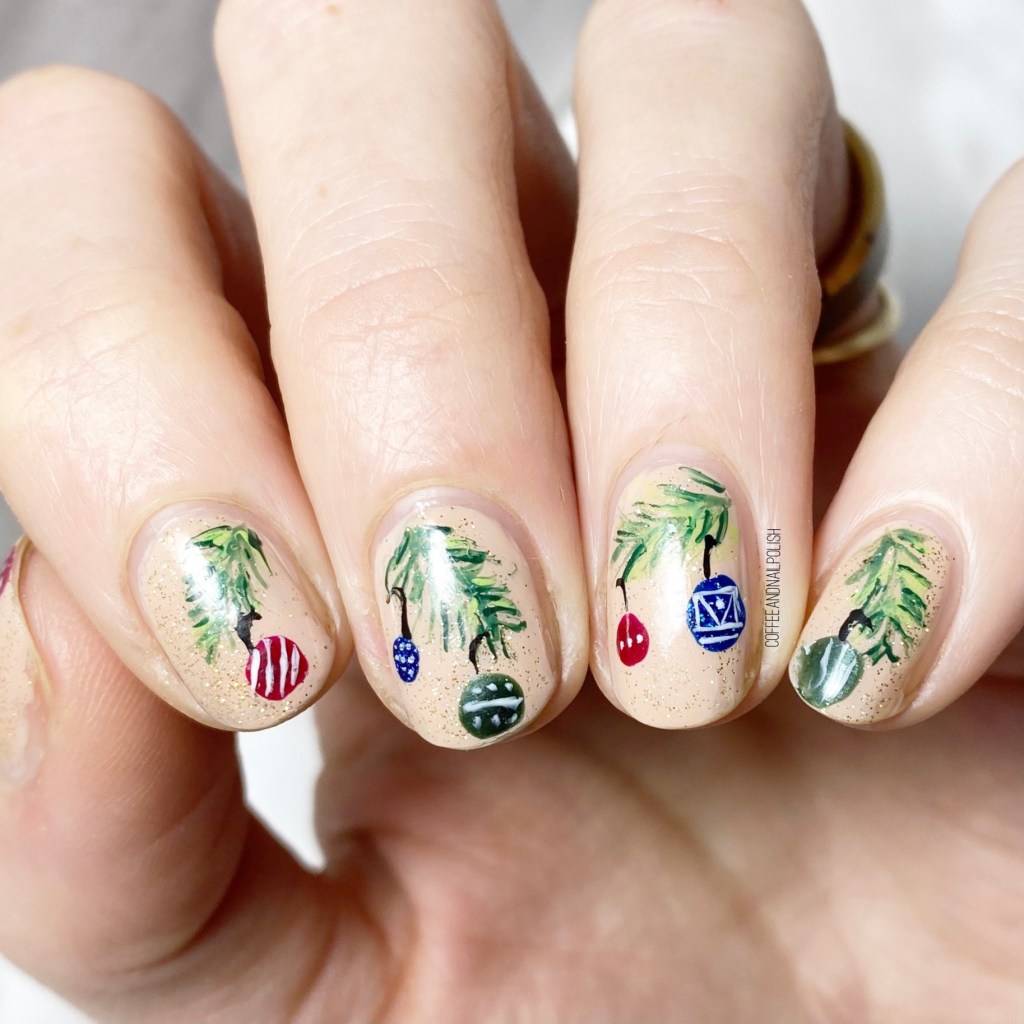
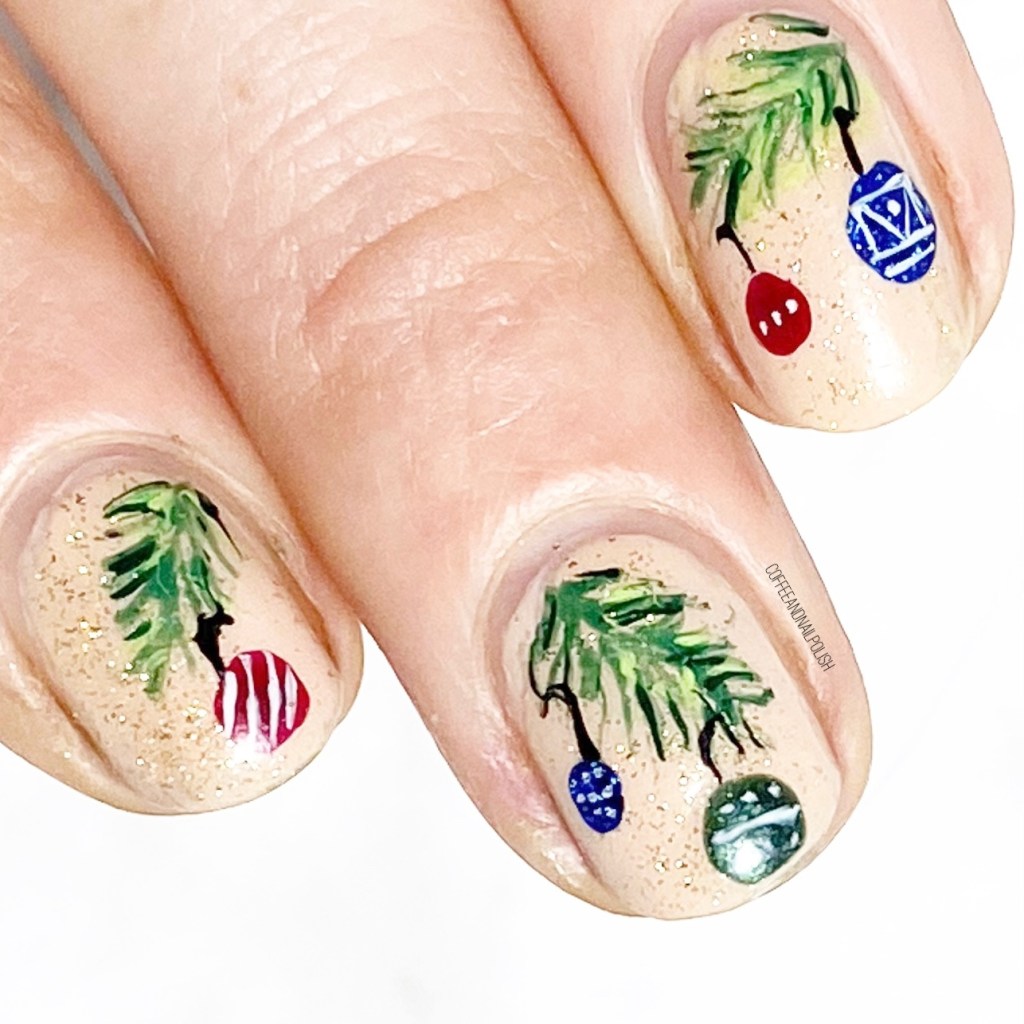
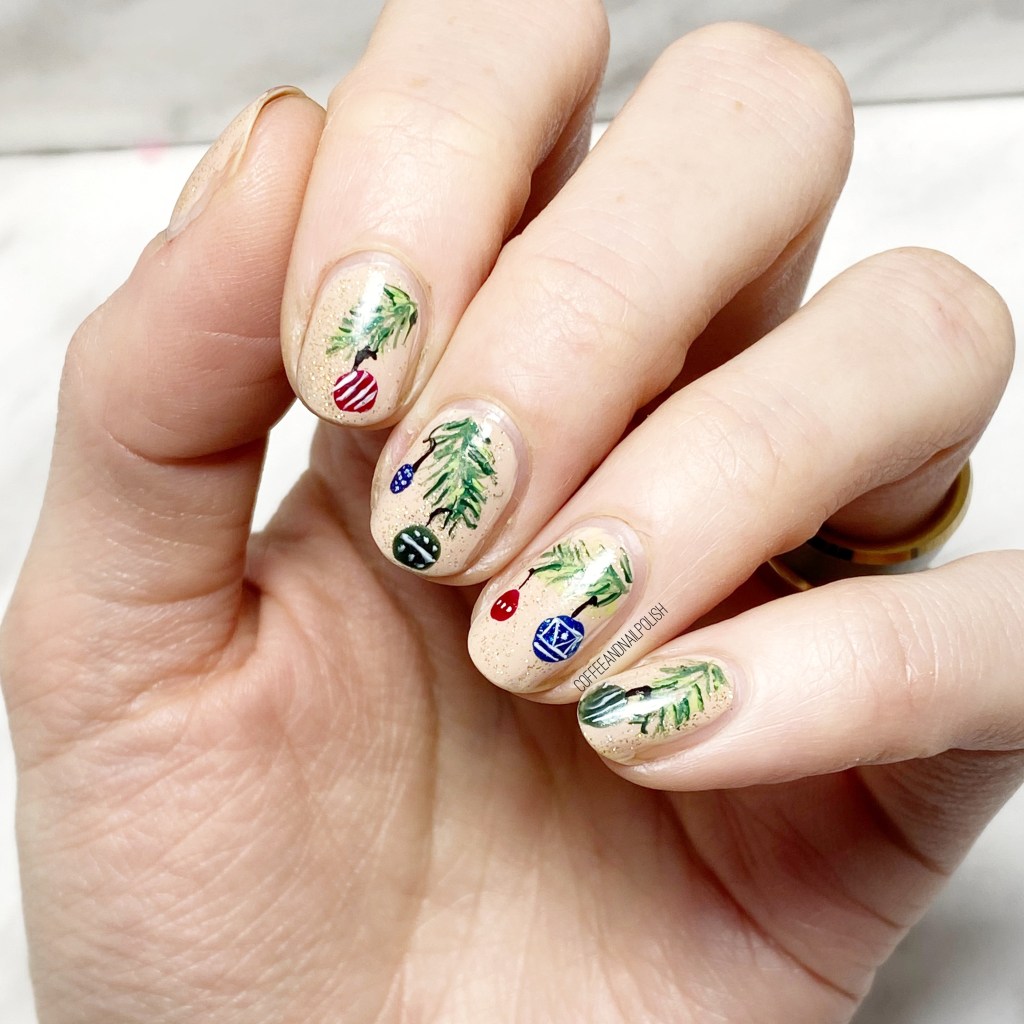
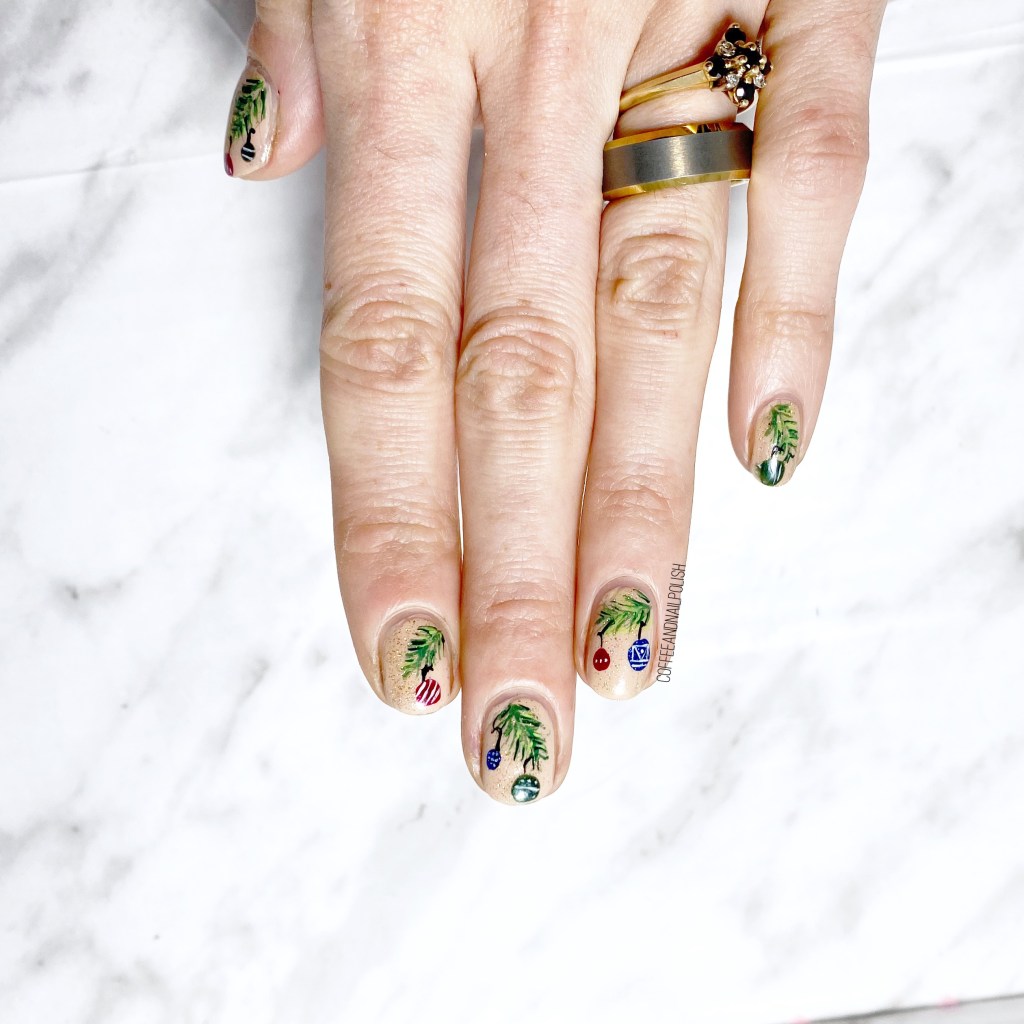
Today I have one final pre Christmas look to share with you — some Christmas ornament nails. This is actually a recreation/new take on a design I did five years ago. I thought a new version would be a fun design!
I’m actually obsessed with these. They turned out so perfect—-better than I had even imagined! I really wanted to do some kind of ornament design, & these just turned out so cute. I also didn’t have a ton of time to do my nails, & all the painting was (relatively) quick! Also I’m super proud of my teeny tiny little designs on the ornaments themselves, mostly because I was stumped on what designs to even put!
It’s the perfect Christmas Eve design, especially for the hours of wrapping I have to do tonight after the kids go to bed! Haha.
I hope everyone has the most lovely next couple days filled. I know this year is so much different than Christmas past, & so many people are away from the people they love most, but I’m sending love to all, & wishing no matter your situation, your days are filled with peace.
Good morning & happy Christmas Eve Eve. 2 more days until Christmas—can you believe it? Are you ready? Our tree is decorated, our presents still need wrapping, & hopefully we have all the fixings for Christmas dinner haha. But my nails… my nails are definitely ready!
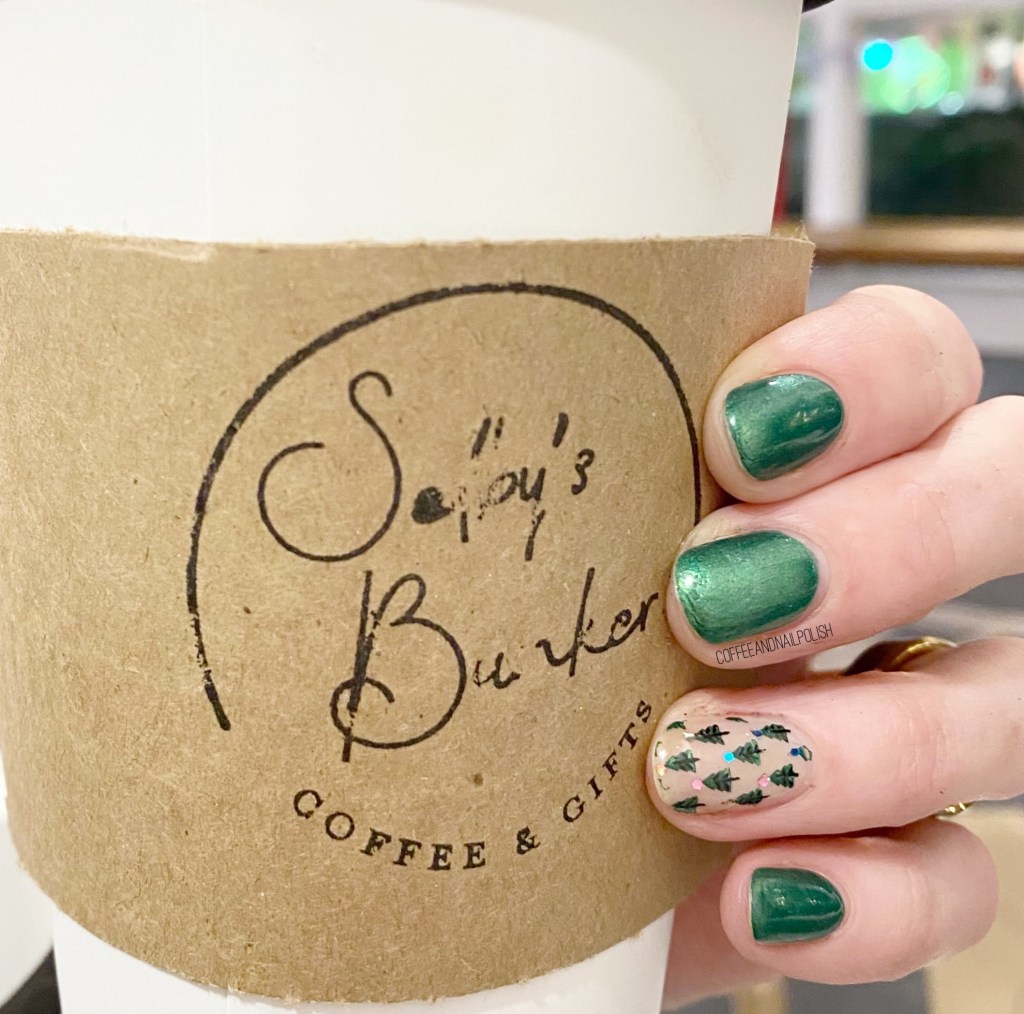
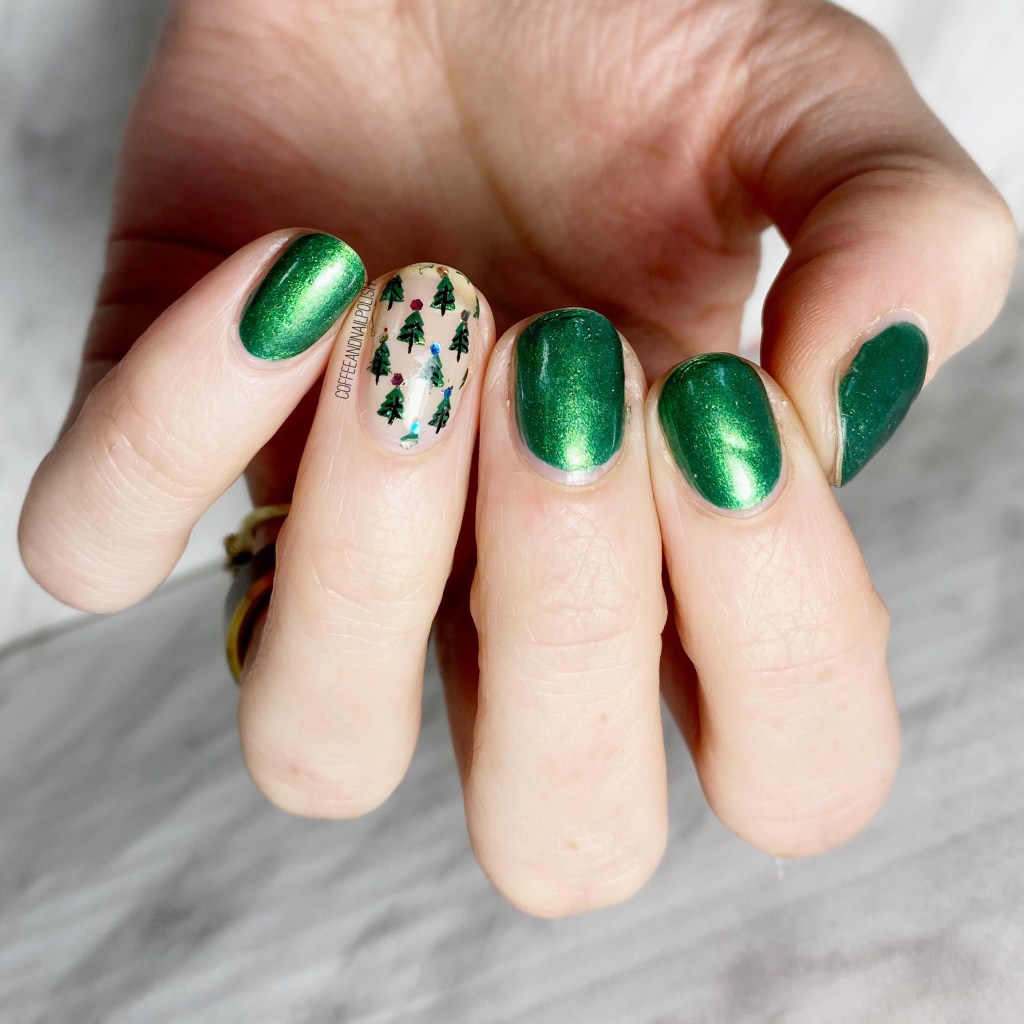
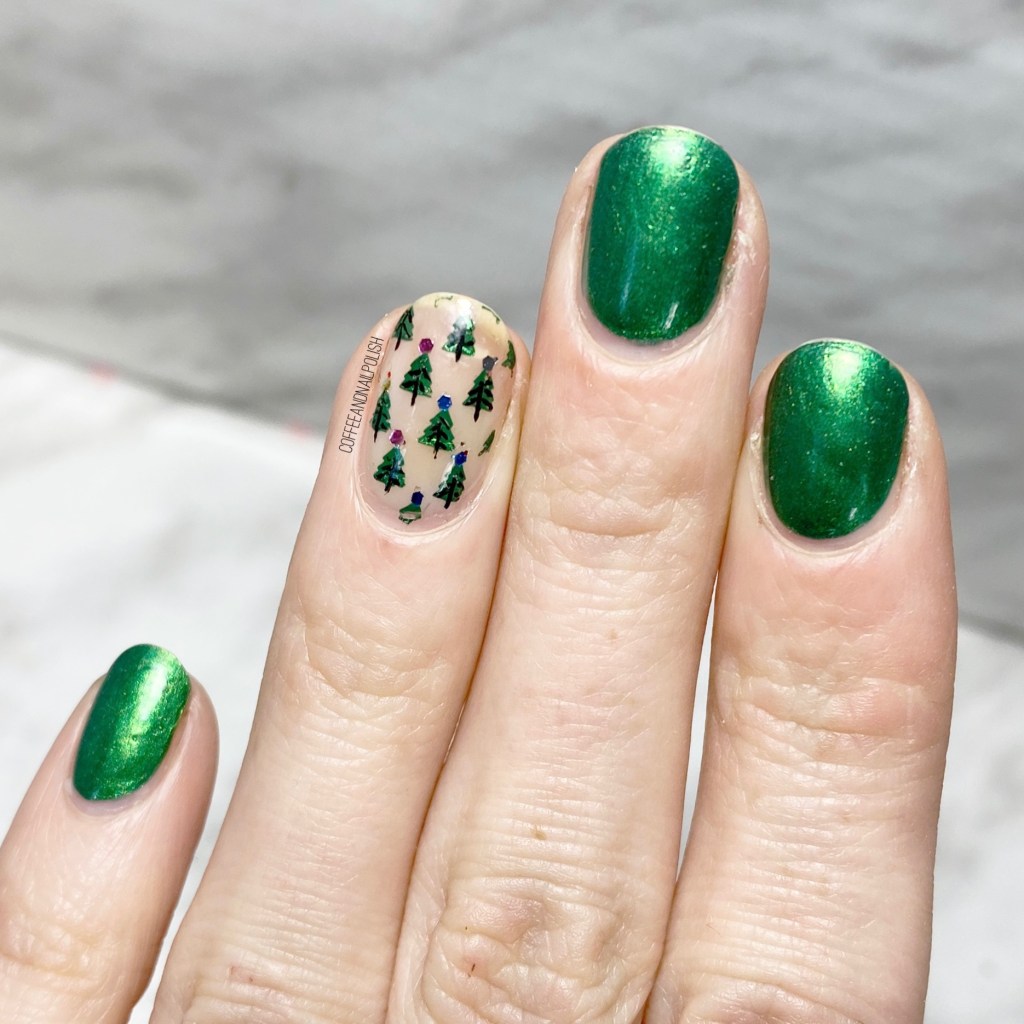
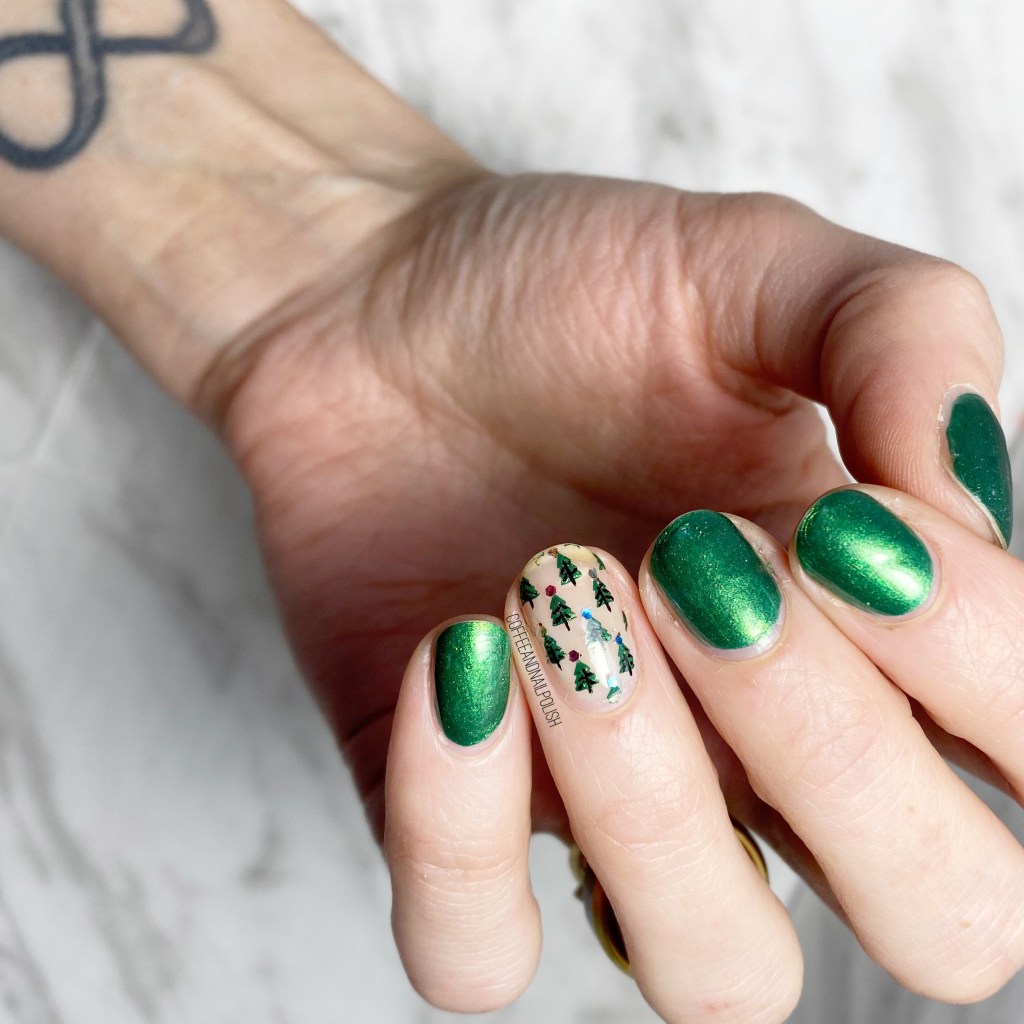
Today’s prompt for #GlamNailsChallengeDec is Christmas Tree, & I took some inspiration from a few designs I saw on Instagram for this dainty tree accent nail. This design has a little bit of everything — stamping, glitter, some teeny tiny freehanding. I’m super proud of how they turned out!
For this manicure, the polishes I used were:
Base Coat: Sally Hansen Hard As Nails
Top Coat: Sally Hansen Miracle Gel Shiny Top Coat
Rimmel London 60 Second Camouflage
Essie Off Tropic
Essence Give It Nude, Baby!
Starrily Vantablack
Born Pretty Store Stamping Plate (sadly no longer available)
I started off by stamping the Christmas tree pattern onto the nail with Essie Off Tropic, which isn’t perfect for stamping but worked. Then I went in with Camouflage & filled in some spots on the trees. Next I took my teeny micro detail brush from NailStuff.ca, & drew in the brand details over top. & finally, I used some glitters from my bottle of ORLY Glitterbomb to add a little bit of sparkle on top (which I think really completes the whole look!)
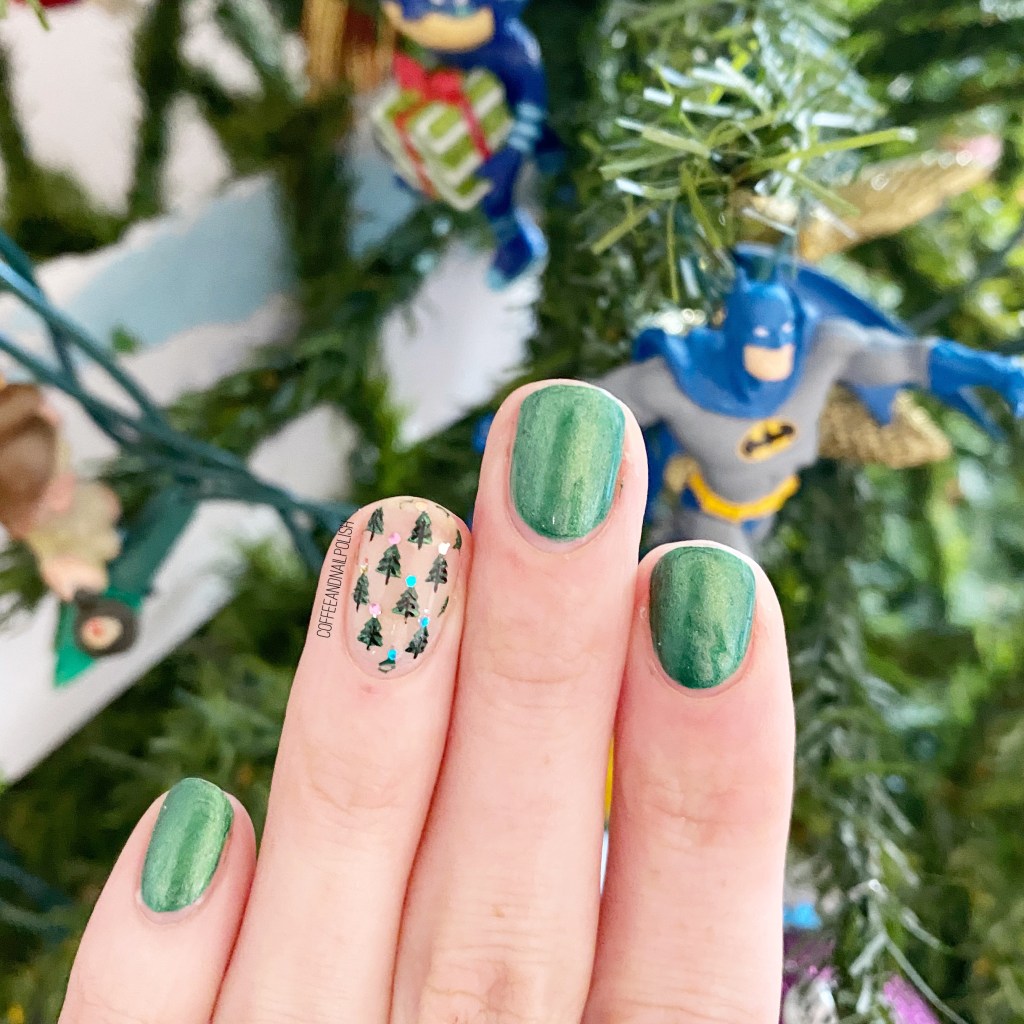
& of course, I needed a shot of my nails & my Christmas tree (& Batman ornament!)
What do you think of this Christmas tree look? Is this a cute Christmas Day look? Are you ready for Christmas? Let me know in the comments below!
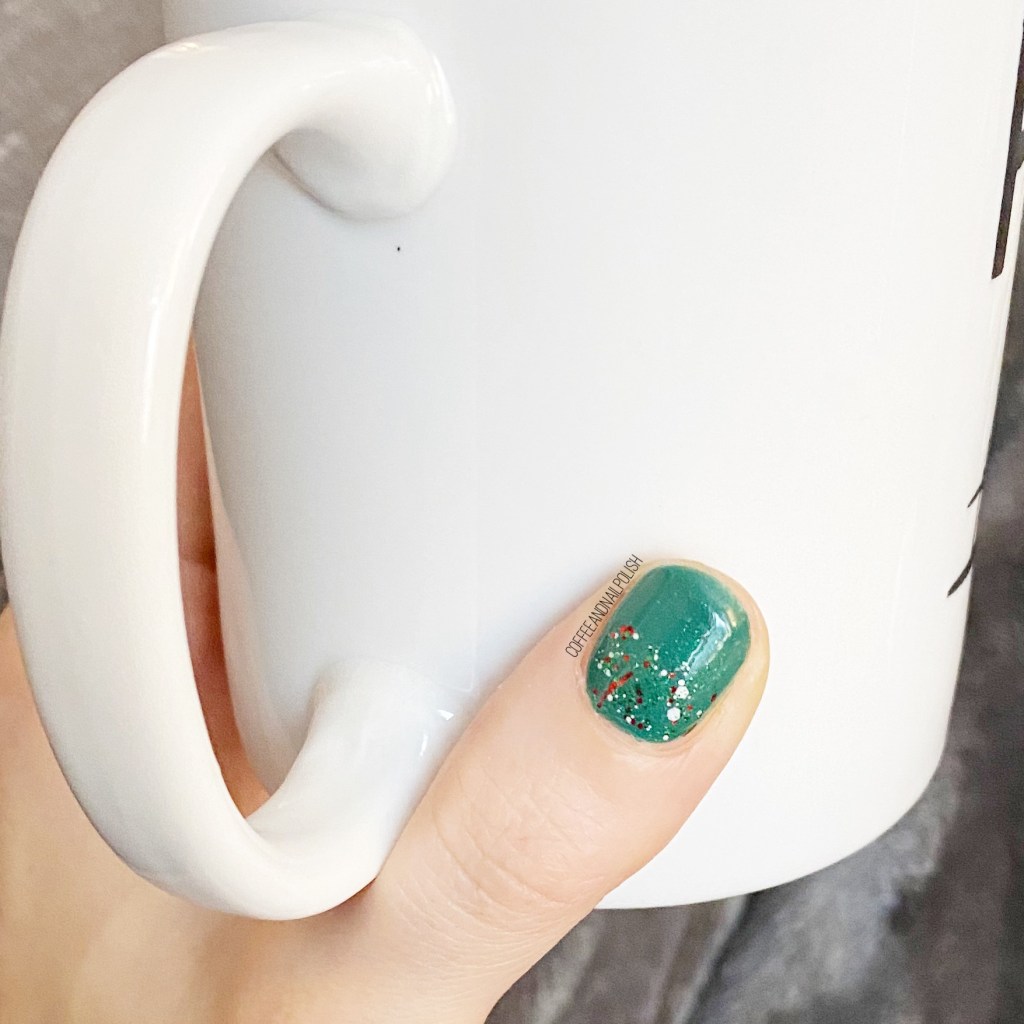
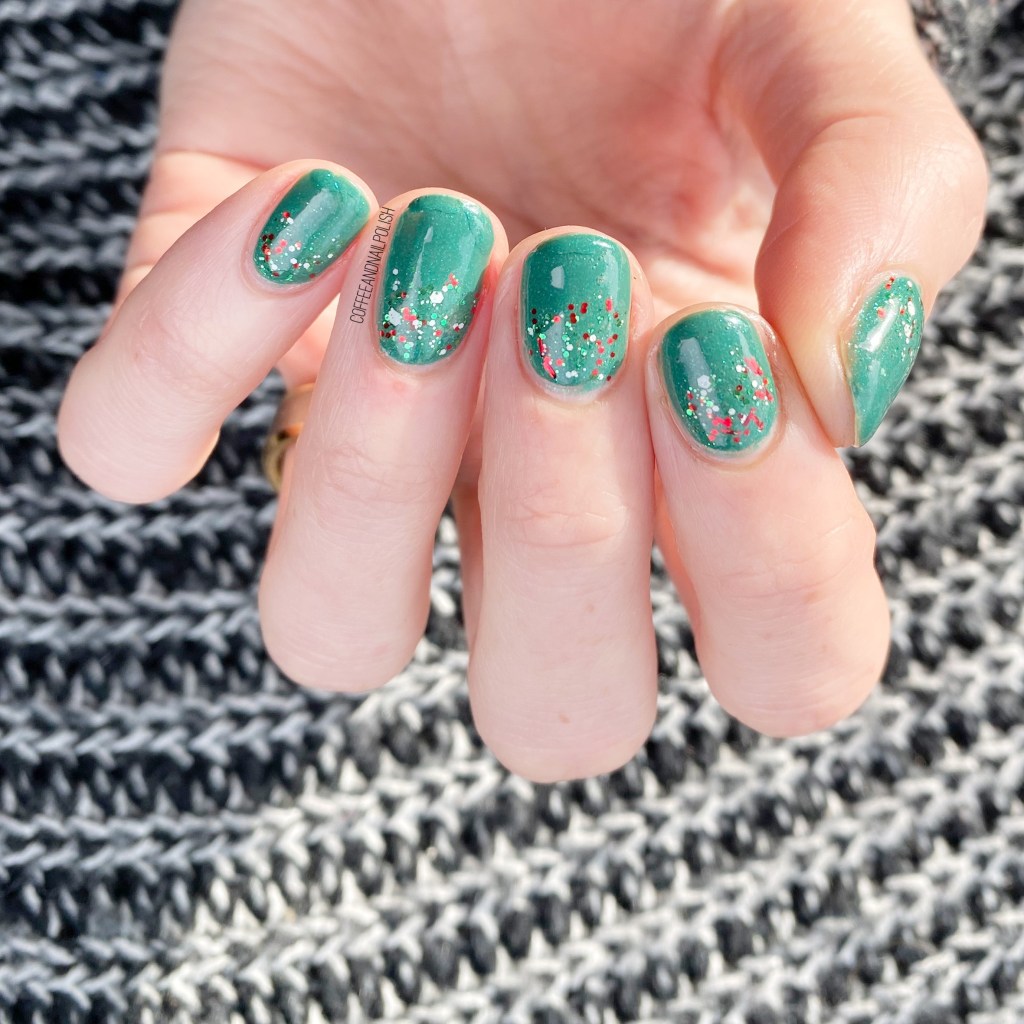
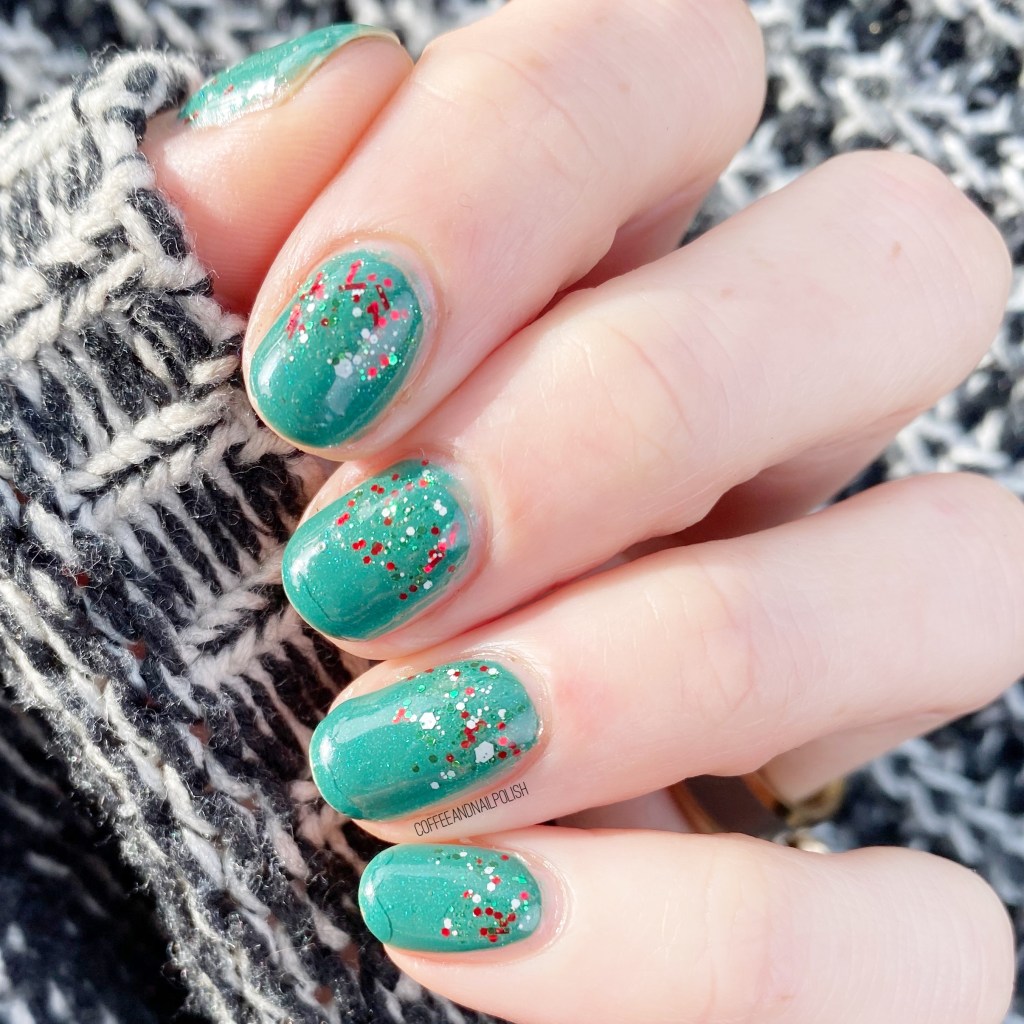
Hello lovelies & happy Tuesday! I know, I’m switching this thing up by posting on a Tuesday. I decided this week that I’m doing to (try) & post a Christmas design every day leading up to Christmas Eve! I just have so many design ideas I want to share!
Today is a simple but effect look — a glitter gradient. Glitter gradients are definitely one of the best I-have-no-time-to-do-nail-art-but-I-want-fancy-nails designs but they take virtually not extra time to do. This one especially doesn’t require any tools at all—I just dabbed the glitter on using the nail polish bottle brush.
For this manicure, the polishes I used were:
Base Coat: Sally Hansen Hard As Nails
Top Coat: Sally Hansen Miracle Gel Glossy Top Coat
Icing Emerald City
Icing Santa Baby
How cute is that glitter on top of the green of Icing Emerald City? This is one of my favourite Christmas glitters of all time (I shared swatches of it last year), & I’ve done some version of this glitter gradient every year, with different base colours, because it works so well.
Also the polish is scented like candy canes when dry, even 5 years after I bought it, which I think is so much fun! The glitter also has a variety of different shaped glitters, which I really like, because it gives good dimension to the gradient so that it pops on the nail! In fact, I had a lot of people comment on my nails at work, which always brings a smile to my face!
What do you think of this glitter gradient? Are you a fan of this type of easy nail art design? What holiday design/polish are you currently wearing? I’d love to know, so please share down in the comments below!