Jewel-toned fingers.

I am definitely in a bit of a nail art rut recently. I’m just hopeless with ideas right now… The other night I did my nails 5 times before giving up on doing anything pretty, and just going with a simple, but pretty, accent mani.

fallcolors2

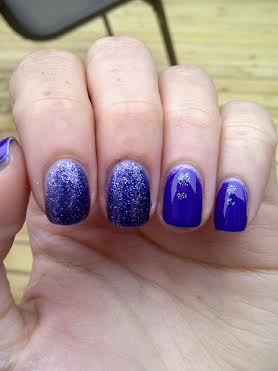
The polishes  I used for this (simple) manicure were:

  • Color Club Disco Dress.
  • China Glaze Skyscraper.
  • Seche Vite Quick Dry Top Coat.

I was surprised at how well Skyscraper and Disco Dress ended up going together. Both polishes were picked up on my mini haul this week of Fall toned colors. The scattered glitter in Skyscraper is absolutely fantastic. And I don’t think I own another purple in my stash anywhere close to Disco Dress. Truthfully, I bought it because of the name (I do that sometimes) but the color is just so rich. It’s amazing. I definitely will have to try a glitter gradient using these two polishes. They just go so well together.

fallcolors 

fallcolors4

fallcolors3

Yep–I’m in a full fall mode now. And even better? Starbucks Pumpkin Spice Latte is  being released early this year!

So what colors are you feeling the most for Fall? I haven’t made up my mind on what Fall polish collections I’ll need to splurge on, but I’m definitely feeling all the jewel tones (as you’ve probably noticed already).

Nautical themed Bridal Shower Nails.

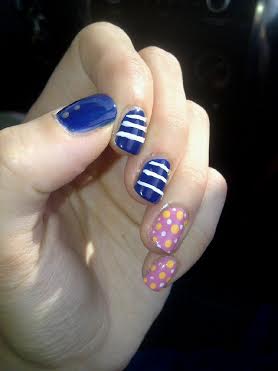
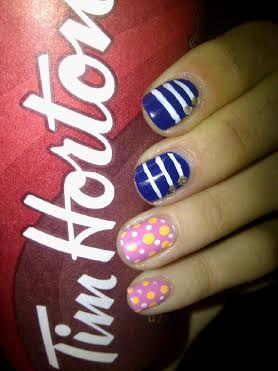
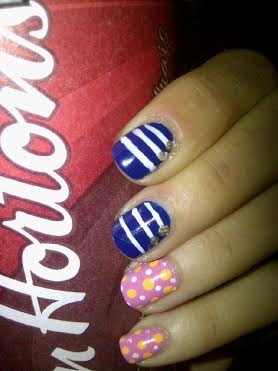
So I totally misjudged being on vacation. I am a lot busier than I thought I would be, but I guess that goes a long with being a bridesmaid. But I’m still managing to get some nail art time in! I decided to do something fun and nautical themed for my besties Bridal Shower (using her wedding colors, obviously), and this is what I ended up coming with.

bridalshower

bridalshower3

The polishes I used for this manicure were:

  • Maybelline Sapphire Siren.
  • ACO by Ardene Kiss by a Rose.
  • China Glaze Metro Pollen-tin.
  • ACO by Ardene Golden Luxery.
  • Mariposa Nail Design Striper in White.
  • Essie Good to Go Top Coat.

I’ve been browsing a lot of nautical themed nails on Pinterest, so I wanted to give it a quick try. I created my lines freehand, (and on the go) which is why some of them aren’t as straight as I hoped they would be. But they’re not so bad, and they went great with the dress I wore to the bridal shower!

bridalshower4

bridalshower5

bridalshower6

I can’t believe my best friend is getting married in 2 days! We used to make Spice Girl videos in my backyard way, way back in the day, and now she’s going to walk down the isle. If I don’t cry, I will be absolutely shocked.

Now, time to go play with some polish. I’m feeling some swatching today. I bought a bunch of new polishes in July I haven’t yet had time to share with you, so I figured now is a good time. With the exception of a little bridal lingerie shopping tonight with the bride to be, I’ve got the whole day to myself. And my stash is calling my name!

Have a great day lovelies!

Feeling a little dotty.

So today is our last day house sitting for my parents, and while it’s been fun I must say I’m excited to be able to go home. I miss my polish collection! Never the less, it has been fun playing with polishes that aren’t my own. My Mom has some fun colors in her mini stash. So in honor of our last day, I’m going to share with you a fun polka dot mani I did using some of her colors.

Is it just me, or is anyone else getting excited for fall. It feels like we just really got Summer, and yet (thanks to working in retail–we’ve already started receiving our fall collection) I keep dreaming of Autumn months… and pumpkin spice lattes! I can’t wait for pumpkin spice lattes! But fall nail polish colors are calling me, and this manicure should hold me over a little while.

polkadots

For this manicure, the polishes I used were:

  • Sally Hansen Complete Salon Manicure in Cherry, Cherry, Bang, Bang — base color.
  • Sally Hansen Complete Salon Manicure in Bittersweet — Grey dots.
  • Sally Hansen Xtreme Wear in Twisted Pink — pink dots.
  • China Glaze White on White — white dots.
  • Essence Gel Look top coat.
  • Essie Good to Go top coat.

polkadots2

polkadots

polkadots4

Please excuse some seriously dry cuticles… wow, I just noticed those as I went to post these pictures. That’s embarrassing! =/ Never the less, I’m loving this color combination. I did these polka dots using a bobby pin, as my dotting tools are still at my own house. It worked though! I know I shouldn’t be craving fall colors already, but man…. look at them. So dark and rich. It’s hard not to when they’re so pretty!

Also, it’s the boyfriend’s birthday today (he’s 31! Which I find hilarious but I guess that’s cause I’m not 30 yet)  so I must go smother him with love before I head to work. Just for fun, here’s a picture of the two of us from last Summer looking mysterious and just a little bit tipsy haha.

kenton

Enjoy your day my nail polish loving lovelies.

Wham! Pow! Justice League Nails!

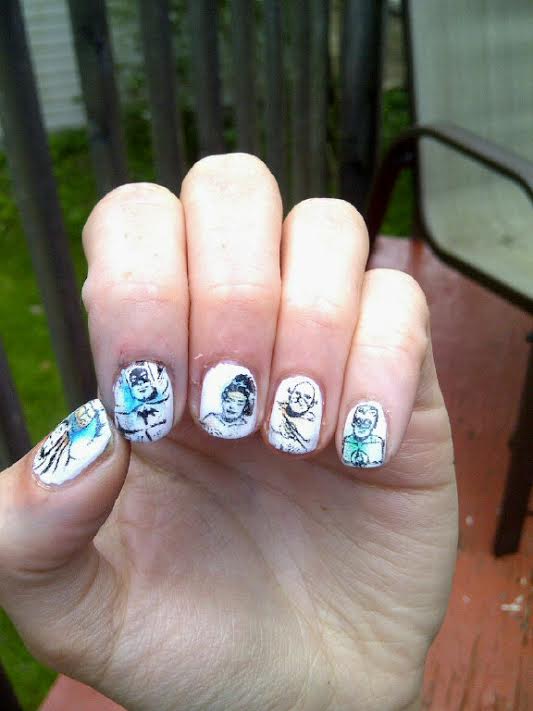
Like I promised, I have a fun manicure to share with you today. I’ve been itching to try a newsprint manicure as (1) it looked relatively easy and (2) I have never tried one before. But I didn’t want to just grab an old newspaper–I wanted to try something different. So I started Googling “paper transfer nail art” and found this link to an old blog post about making your own nail art decals by printing stuff off with your printer. It’s the same as a newsprint manicure, except instead of using newspaper you can use anything your heart desires!

And you know what my heart desires? Superheroes.

0

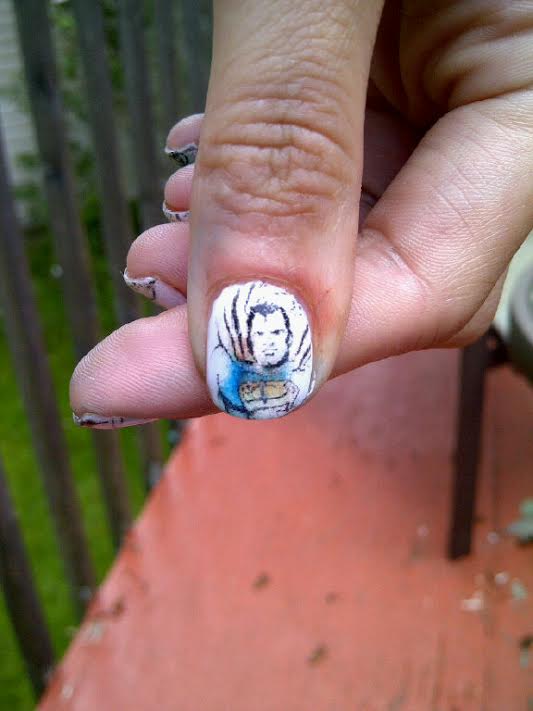
Basically I typed “Golden Age Justice League” into Google, found a picture I liked of the group that I felt like I could print out small enough, and still be able to place each individually, and then followed steps from the above tutorials. I had originally painted my nails the base color (China Glaze White on White) the night before, and tried placing them but the colors didn’t adhere at all. So I took that all off, repainted them my base, waited about 45 minutes and tried again. Bam! Pow! Wham! That definitely worked. And then end result?

justiceleague4

justiceleague

justiceleague3

Now obviously they’re not perfect mirrored images, but I kind of like the distressed look as it’s more resembles a comic book. Also only some of the color transferred over from the paper to the nail, but again I like how it turned out. (I also had a bit of paper stick to the nail when it transferred, but I just dabbed it down with the rubbing alcohol, and then applied two coats of  Essence Gel Look top coat and one coat Essie good top coat over each nail to seal it in.)  I’m always nervous trying something I’ve never done before, and it took me a couple tries to figure out how to make it work, but the initial frustration means nothing with such a pretty end result!

The only pain was cleaning up the ink off of my fingers after I had sealed in the nails. Oh man, Batman got me good–I had so much blue and black ink around my cuticles, which you can still kind of see in the pictures (and I scrubbed with nail polish remover to get rid of it!) Next time I would definitely cut closer to the top of the design so that way I don’t have to worry about covering my fingers in ink!

So what do you think of my Justice League? Have you ever tried a newsprint manicure, or one by printing off your own pictures? Now that I’ve done these I definitely think it is a cute way of getting detailed images on your nails that you might not always be able to paint yourself.  =)

Nails for Days.

Wow, I’ve been MIA again…. we’ve been house sitting for my parents which means I don’t have all my polishes (or nail art tools) at my disposal. However, I have still been painting my nails the last week so I thought I would share with you the simple manicures I’ve been playing around with. I’ve been testing out the combination of using Essence Gel Look top Coat with Essie’s Good to Go top coat, and I have to say it’s been working for me. Usually I have chips in my polish by the end of day 1 (or sometimes half way through), but most of these manicures I’ve worn for 2+ days with minimal chipping. Considering I’m not gentle on my hands, that is actually kind of amazing.


flying dragon3 flying dragon

The polishes I used for this manicure were:

  • China Glaze Flying Dragon (purple)
  • Essence Petal to the Metal gold topper.
  • Essence Gel Look top coat.
  • Essie Good to Go top coat.

Oh China Glaze Flying Dragon… how I love you. You are now, and will forever be my favorite nail polish color…. I just wish you didn’t chip so damn fast! Thankfully though, adding my top look combo gave me these nails for THREE days with very minimal chipping until day three (when it all went to hell). I do love the combination of the Essence Gold Topper over dark colors though… looks so regal. (Also makes me crave fall a little bit… some one slap me!)


crackle crackle2

The polishes I used for this manicure were:

  • Sinful Colors Be Happy (blue base color)
  • Icing Electric Graffiti (pink shatter)
  • Essence Gel Look Top Coat.
  • Essie Good to Go top coat.

I was feeling some crackle, since I haven’t used it in years. I used to love playing with crackle, and Icing’s Electric Graffiti was definitely my favorite of the ones I owned. That hasn’t changed. So bright, and so awesome.


ruffian2 ruffian

Polishes used for the manicure were:

  • Joe Fresh Latte (nude base)
  • Nicole by OPI Oy Oy Oyster (nude shimmer)
  • Essence Dive with me to the Island (teal ruffian)
  • Essence Gel Look Top Coat.
  • Essie Good to Go Top Coat.

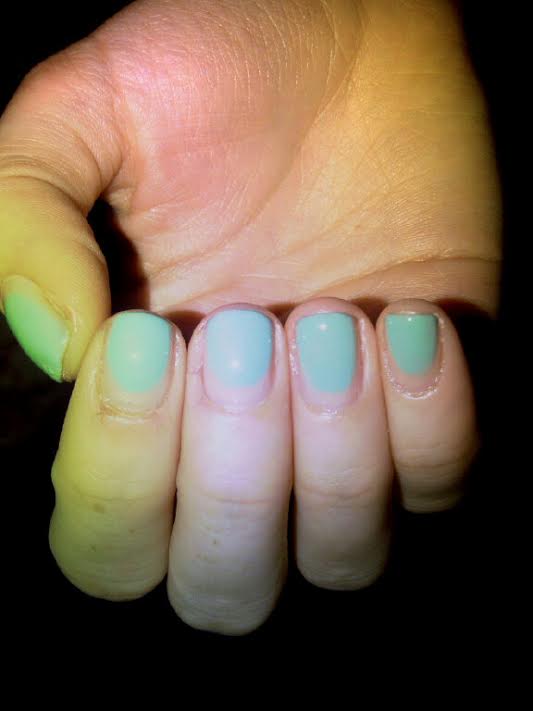
Oh man, I had such high hopes for the manicure… I had visions of a gorgeous nude and teal ruffian… except the nude color my mother owns (which is dark for her) blends PERFECTLY into my skin… so it just looked like I didn’t paint for enough down on my nail. And the shimmer I added didn’t show up enough. Next time I’ll definitely go with something not so perfectly matched to my skin tone.


So as you can see, I’ve still been playing around with polish I just haven’t been as nail art crazy as normal. I’m also still bumming hard about my shorties, but they’ll grown… unfortunately just not over night (I wish!) Next week I’m on vacation from work so it will be A LOT more nail art time. In fact, in honor of my best friend who is getting married next week, I think I’m going to do a whole week of wedding manicures, for both bride and bridesmaids. And then at the end of the week, I can share the manicure my friend is letting me do for her nails for the wedding. =)


coffee

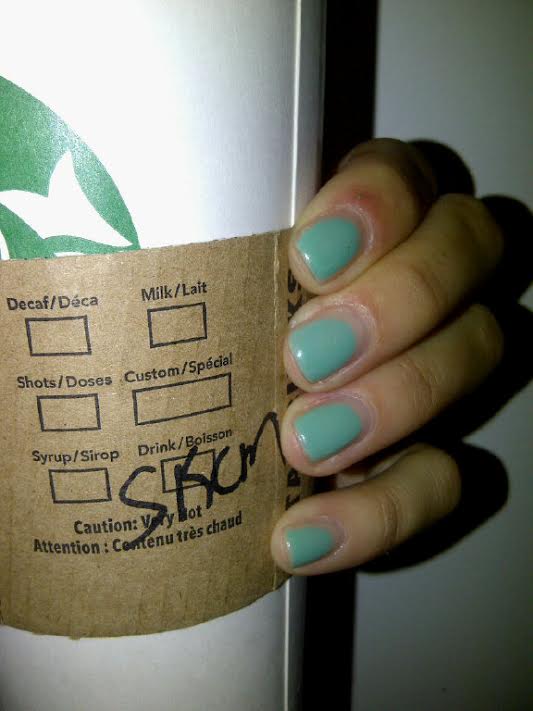
Now it’s time to finish my coffee, and get started on a super cool manicure I hope to share with you tomorrow.