My Nails & My Cup — Holo Gradient Nails

Are you guys sick of the holo yet? I certainly hope not because I have another mani to share–this time I created a Holo gradient to match my new-ish tumbler that I picked up at Claire’s on clearance for $2. It came with cute little manicure tools inside, so I had to have it!

I posted on Instagram the other day what nail art I should do on my naked nails, while holding the above cup, & received an overwhelming amount of responses saying I should match my cup… so that’s what I decided to do!

For this manicure, the polishes I used were:

  • Base Coat: Sally Hansen Green Tea & Bamboo Strengthener
  • Top Coat: Seche Vive
  • China Glaze BFF
  • Color Club Eternal Beauty
  • China Glaze 2Nite
  • Quo by ORLY Falling Star
  • Latex free make up sponge
  • Creating the holo gradient may have been one of the easiest gradients I’ve ever done! I don’t know if it’s the sparkle or formula or what, but I was as to sponge on each colour separately (which kept from making a big old mess around my cuticles) & they blended together seamlessly!
  • I know the cup has a whole bunch of rhinestones, but I definitely did not have enough on hand to apply to my fingers (or enough colours that would match) so I decided a couple coats of a scattered holo top coat could give a similar look, so I grabbed Quo by Orly Falling Star because I find the glitters larger than some of my other holo toppers (like China Glaze Fairy Dust). Gave off just enough extra sparkle on the nail without being distracting!
  • so what do you think of the holo gradient? Which colour combination do you think I should try out next? Share your thoughts down in the comments below!

    Blurple Holo Chevron Moons 🌙

    Good morning lovelies & happy Tuesday. It is Tuesday, right? Now that I’m off work & on baby watch, I’m struggling to remember what day it is haha. All I know is it is a beautiful sunny day, & I have some more holo nails to share!

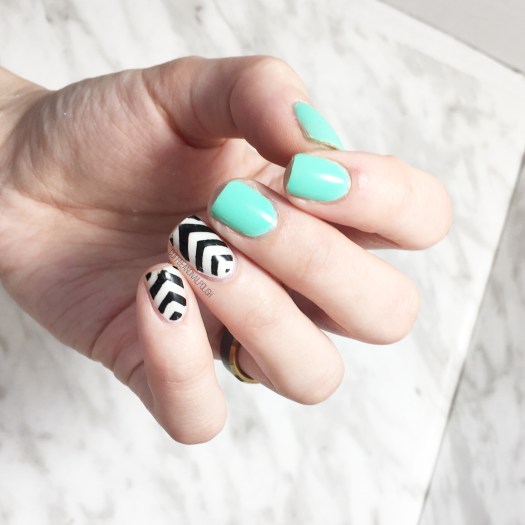
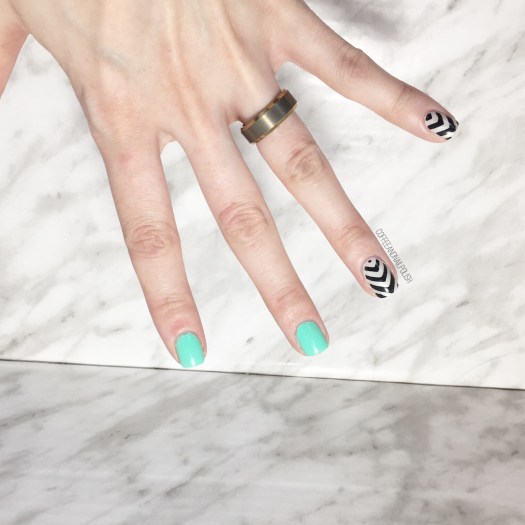
    If you follow me on Instagram, you would have seen my Instastories teasing this design. I was in the mood for some chevron half moons & some holo, so I combined the two into an awesome design!

    For this manicure, the polishes I used were:

    • Base Coat: OPI Nail Envy
    • Top Coat: Seche Vive
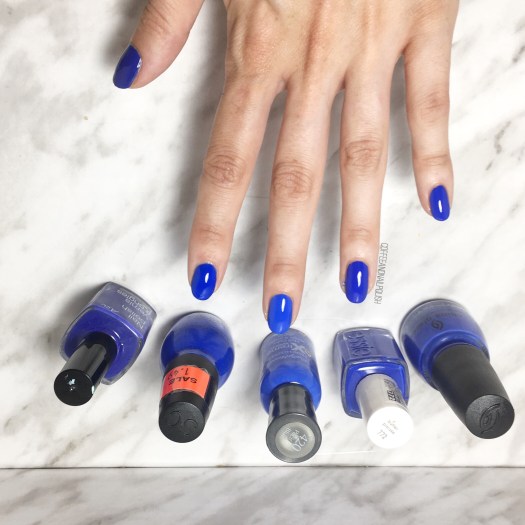
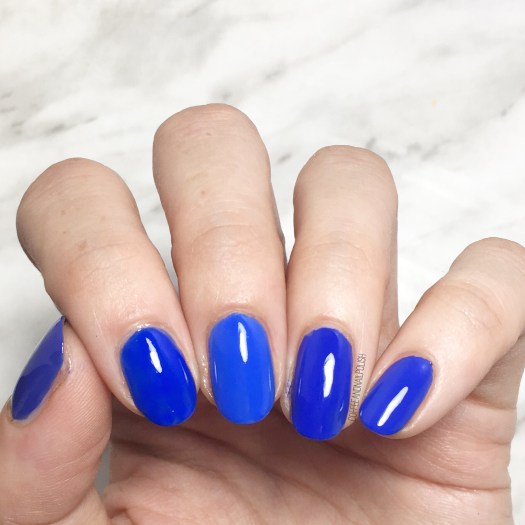
    • China Glaze 2Nite
    • China Glaze OMG
    • Kiss Nail Art Striper in Black
    • TheBaseCoat Stacked Chevron Nail vinyls

    Seriously, look at that holo beauty. I feel like warmer days & sunshine are reinvigorating my love for holo. Now I just need some neon holo polishes (are those a thing? We need to make them a thing) & I will be all ready for this Summer.

    & just for fun, I got an awesome sunshine shot of this manicure which just makes me love it even more. There is nothing better than holo in the sunshine. Look at that rainbow shift 😍

    What do you think of these holo Chevron moons? Let me know in the comments below!

    Now I’m off to paint my nails… but the question remains: holo or neon?! I need both!

    Gradient Cactus Nails

    Good afternoon & happy May everyone! Who else excited for warmer days. I feel like I’m saying this every post, but I’m just. so. ready. This winter has felt just so darn long & I’m craving neons & brights.

    I was also craving a gradient as it felt like absolute ages since I had created one, so I decided to go with a blue toned look. & to finish off the look I added these absolutely adorable cactus stickers that Victoria from NailStuff.ca sent to me because she knows my love for cacti! 🌵 Have you checked out her collection of nail stickers & nail decals? I’m obsessed. So many fun designs for easy nail art this Summer.

    For this manicure, the polishes I used were:

    • Base Coat: OPI Nail Envy
    • Top Coat: Seche Vive
    • Essie Fashion Playground
    • Sally Hansen Miracle Gel Sugar Fix {PR sample}
    • China Glaze I’ve Got A Blue Attitude
    • Sally Hansen MG Make It N-Ice {PR sample}
    • Edge Perfection Cuticle Barrier {PR sample}
    • Cacti Nail Stickers {gift from Nailstuff.ca}

    My gradient skills were a little rusty, but I love this look so much. The colours used almost give the gradient a thermal polish feel & obviously I couldn’t do a gradient without adding a little glitter. & finishing off the look with the stickers just made them a little more fun!

    What do you think of this look? Share your thoughts down in the comments below!

    Mini Egg inspired Easter Nails (yep… again!)

    Good morning lovelies, & happy Friday. Today I’m prepping for Easter festivities with a brand new Easter design… & showing off this Mini Egg inspired look. This is definitely not the first time I’ve created this design, & I seem to return to it every couple of years because it’s a fairly easy “design” to create but it gets the point across!

    Also who doesn’t love chocolate?

    This look is super simple to do–all you need are your egg colours, the spots (I used a brown polish & Saran Wrap–I’ve seen others create this look using a black & white glitter topper which was awesome) & some matte top coat.

    Easy Peasy. & awesome nails to rock for your Easter festivities which won’t cut into any family (or chocolate) time.

    For this design, the polishes I used were:

    • Base Coat: OPI Nail Envy
    • Top Coat: Seche Vive
    • Matte Top Coat: Sally Hansen Miracle Gel Matte Top Coat -{PR sample}
    • China Glaze Sun Upon My Skin
    • Claire’s Matte Sorbet Blue
    • Claire’s Matte Sorbet Pink
    • Claire’s Matte Sorbet Mint
    • Claire’s Matte Sorbet Purple
    • OPI How Great is Your Dane?

    Is the trick for me to get the spots right in the eggs is a light touch & minimal polish on the Saran Wrap. I crinkle it up extra & then don’t apply too much polish to the plastic so when I dab it down, you don’t apply too much polish to the area. You want just a few dots as opposed to a big splat.

    Every time I do & redo this look, I think I love it even more. It’s just such an easy way to do festive nails, & the only downside is you have to fight the urge to eat your nails!

    So what are you planning on wearing on your nails this weeekend? Share down below!

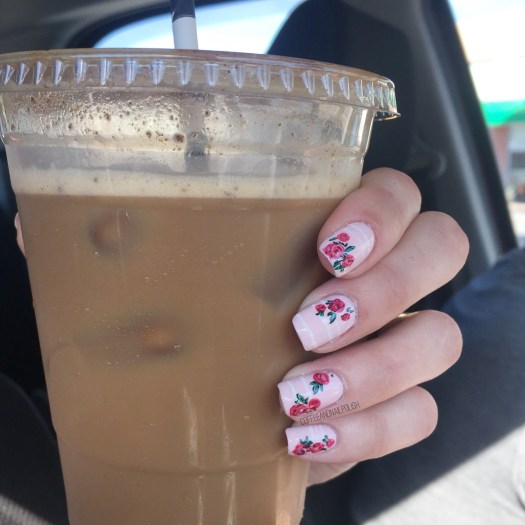
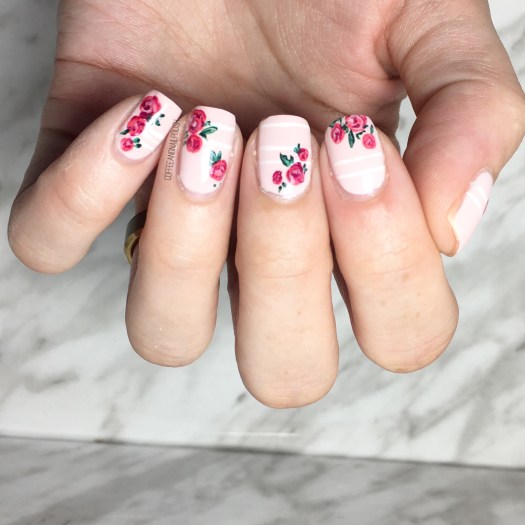
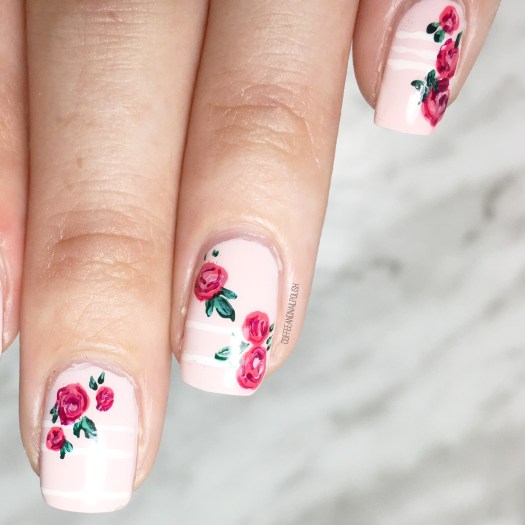
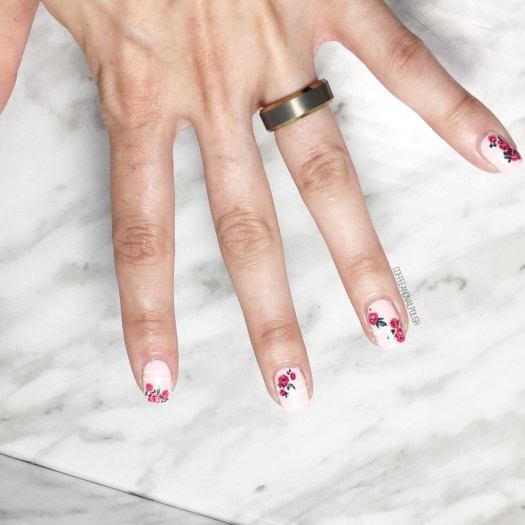
    Red Floral Nails for World Hemophilia Day

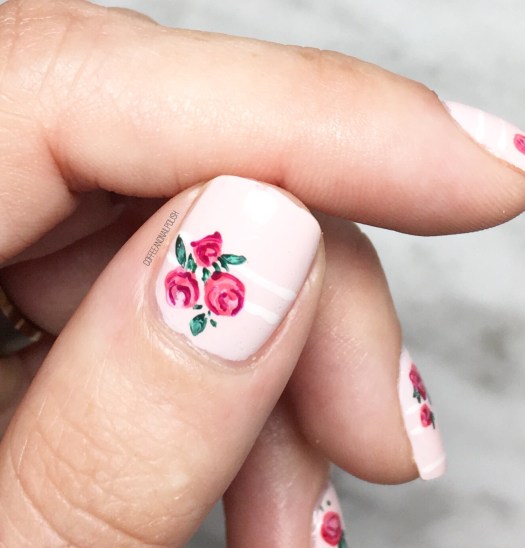
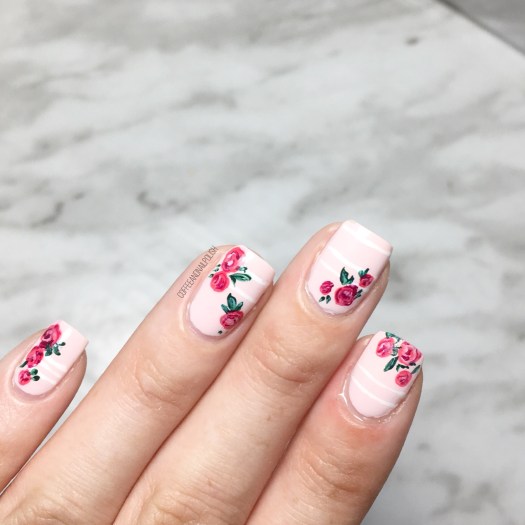
    Good morning lovelies! Today I’ve got some brand new nail art to share with you, which was created with a special cause in mind. Today, April 17th, is World Hemophilia Day & my friend Victoria from @hitchingsandstitchings reached out to her friends in the polish community to wear red nail polish (or nail art!) today as her two beautiful little guys have this condition. Even though my nail art has been sparse at best the last few months, I know I had to join in the help spread awareness for this cause!

    & obviously I couldn’t just wear red polish… there had to be some nail art involved. & what looks better with red polish than roses.

    For this design, the polishes I used were:

    • Base Coat: OPI Nail Envy
    • Top Coat: Seche Vive
    • China Glaze Seas the Day
    • Essie Blanc
    • Sally Hansen Red it Online
    • Sally Hansen Berry Fancy
    • China Glaze Life is Rosy
    • Sally Hansen Terracotta
    • Sally Hansen I ♥️ Nail Art Pen in Black
    • Essie First Timer
    • Essie Off Tropic
    • Quo by ORLY Detox my Socks Off
    • NailStuff.ca dotting tool
    • NailStuff.ca detail brush

    I love this combination of reds & even more I love that this nail art was done 100% with love for a great cause. ♥️ & if you’re wearing red nails (or just red in general today!) don’t forget to tag it with #redforHemophilia on Instagram!

    have a lovely Wednesday! ♥️