#GlamnailschallengeDec — Christmas Trees

90E81591-F97F-47D7-BA88-688F0DDC2AA8

Good morning lovelies & happy Monday! & happy Christmas Eve Eve! We are quickly approaching Christmas & the end of GlamNailsChallengeDec! Today’s prompt for this challenge is Christmas trees! Naturally I went to Pinterest to find a look I liked, & found this tutorial originally posted on Instagram by @thebasecoat.

F9B9169B-A898-44E1-807C-3431BE74FD8D

139A3F05-9E76-49C4-BBD4-18A1BB97B32E

For this manicure, the polishes I used were:

  • Base Coat: Sally Hansen Complete Salon Manicure Strengthening Base Coat
  • Top Coat: Essie Speed Setter
  • Icing Stores matte teal shimmer
  • Quo by ORLY Falling Star
  • China Glaze Ruby Pumps
  • Ardene Ice Mist
  • NailStuff.ca Dotting Tool Trio (COFFEE10 to save 10%)

.

043423A3-A3B7-4168-BE6E-279530536509

622D0E95-31F0-4DBD-AEB5-6B890051F1AC

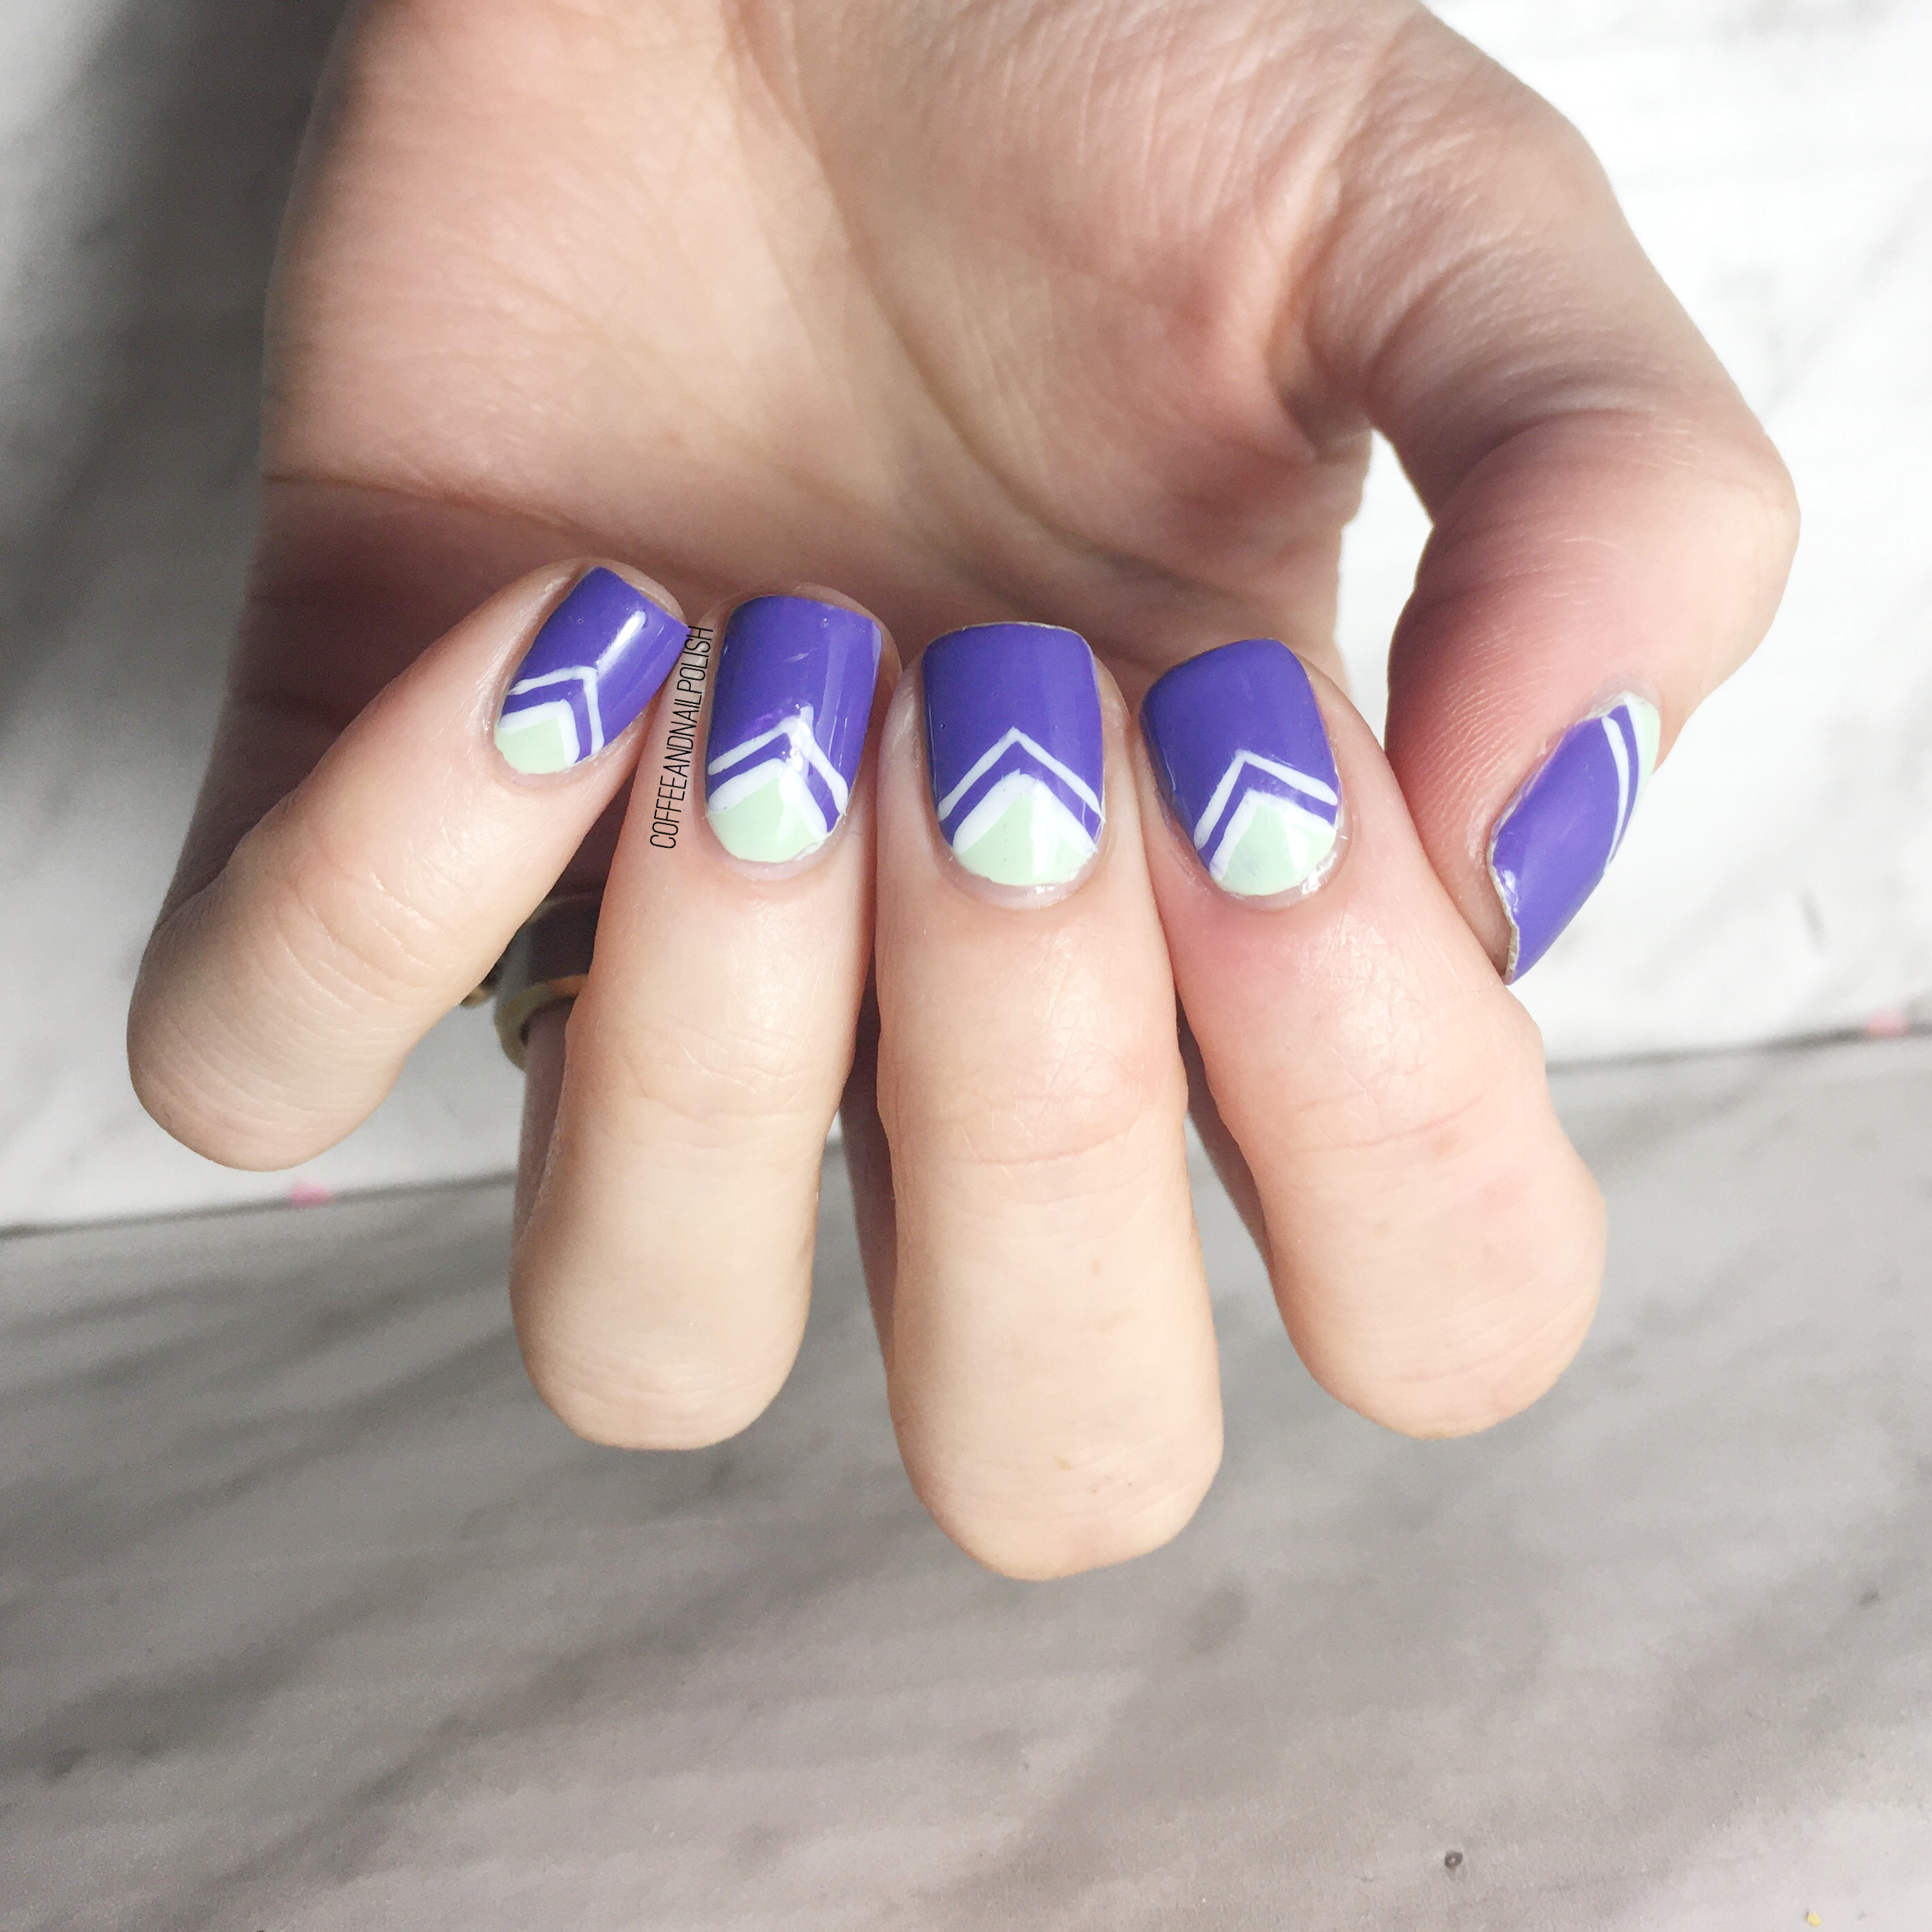
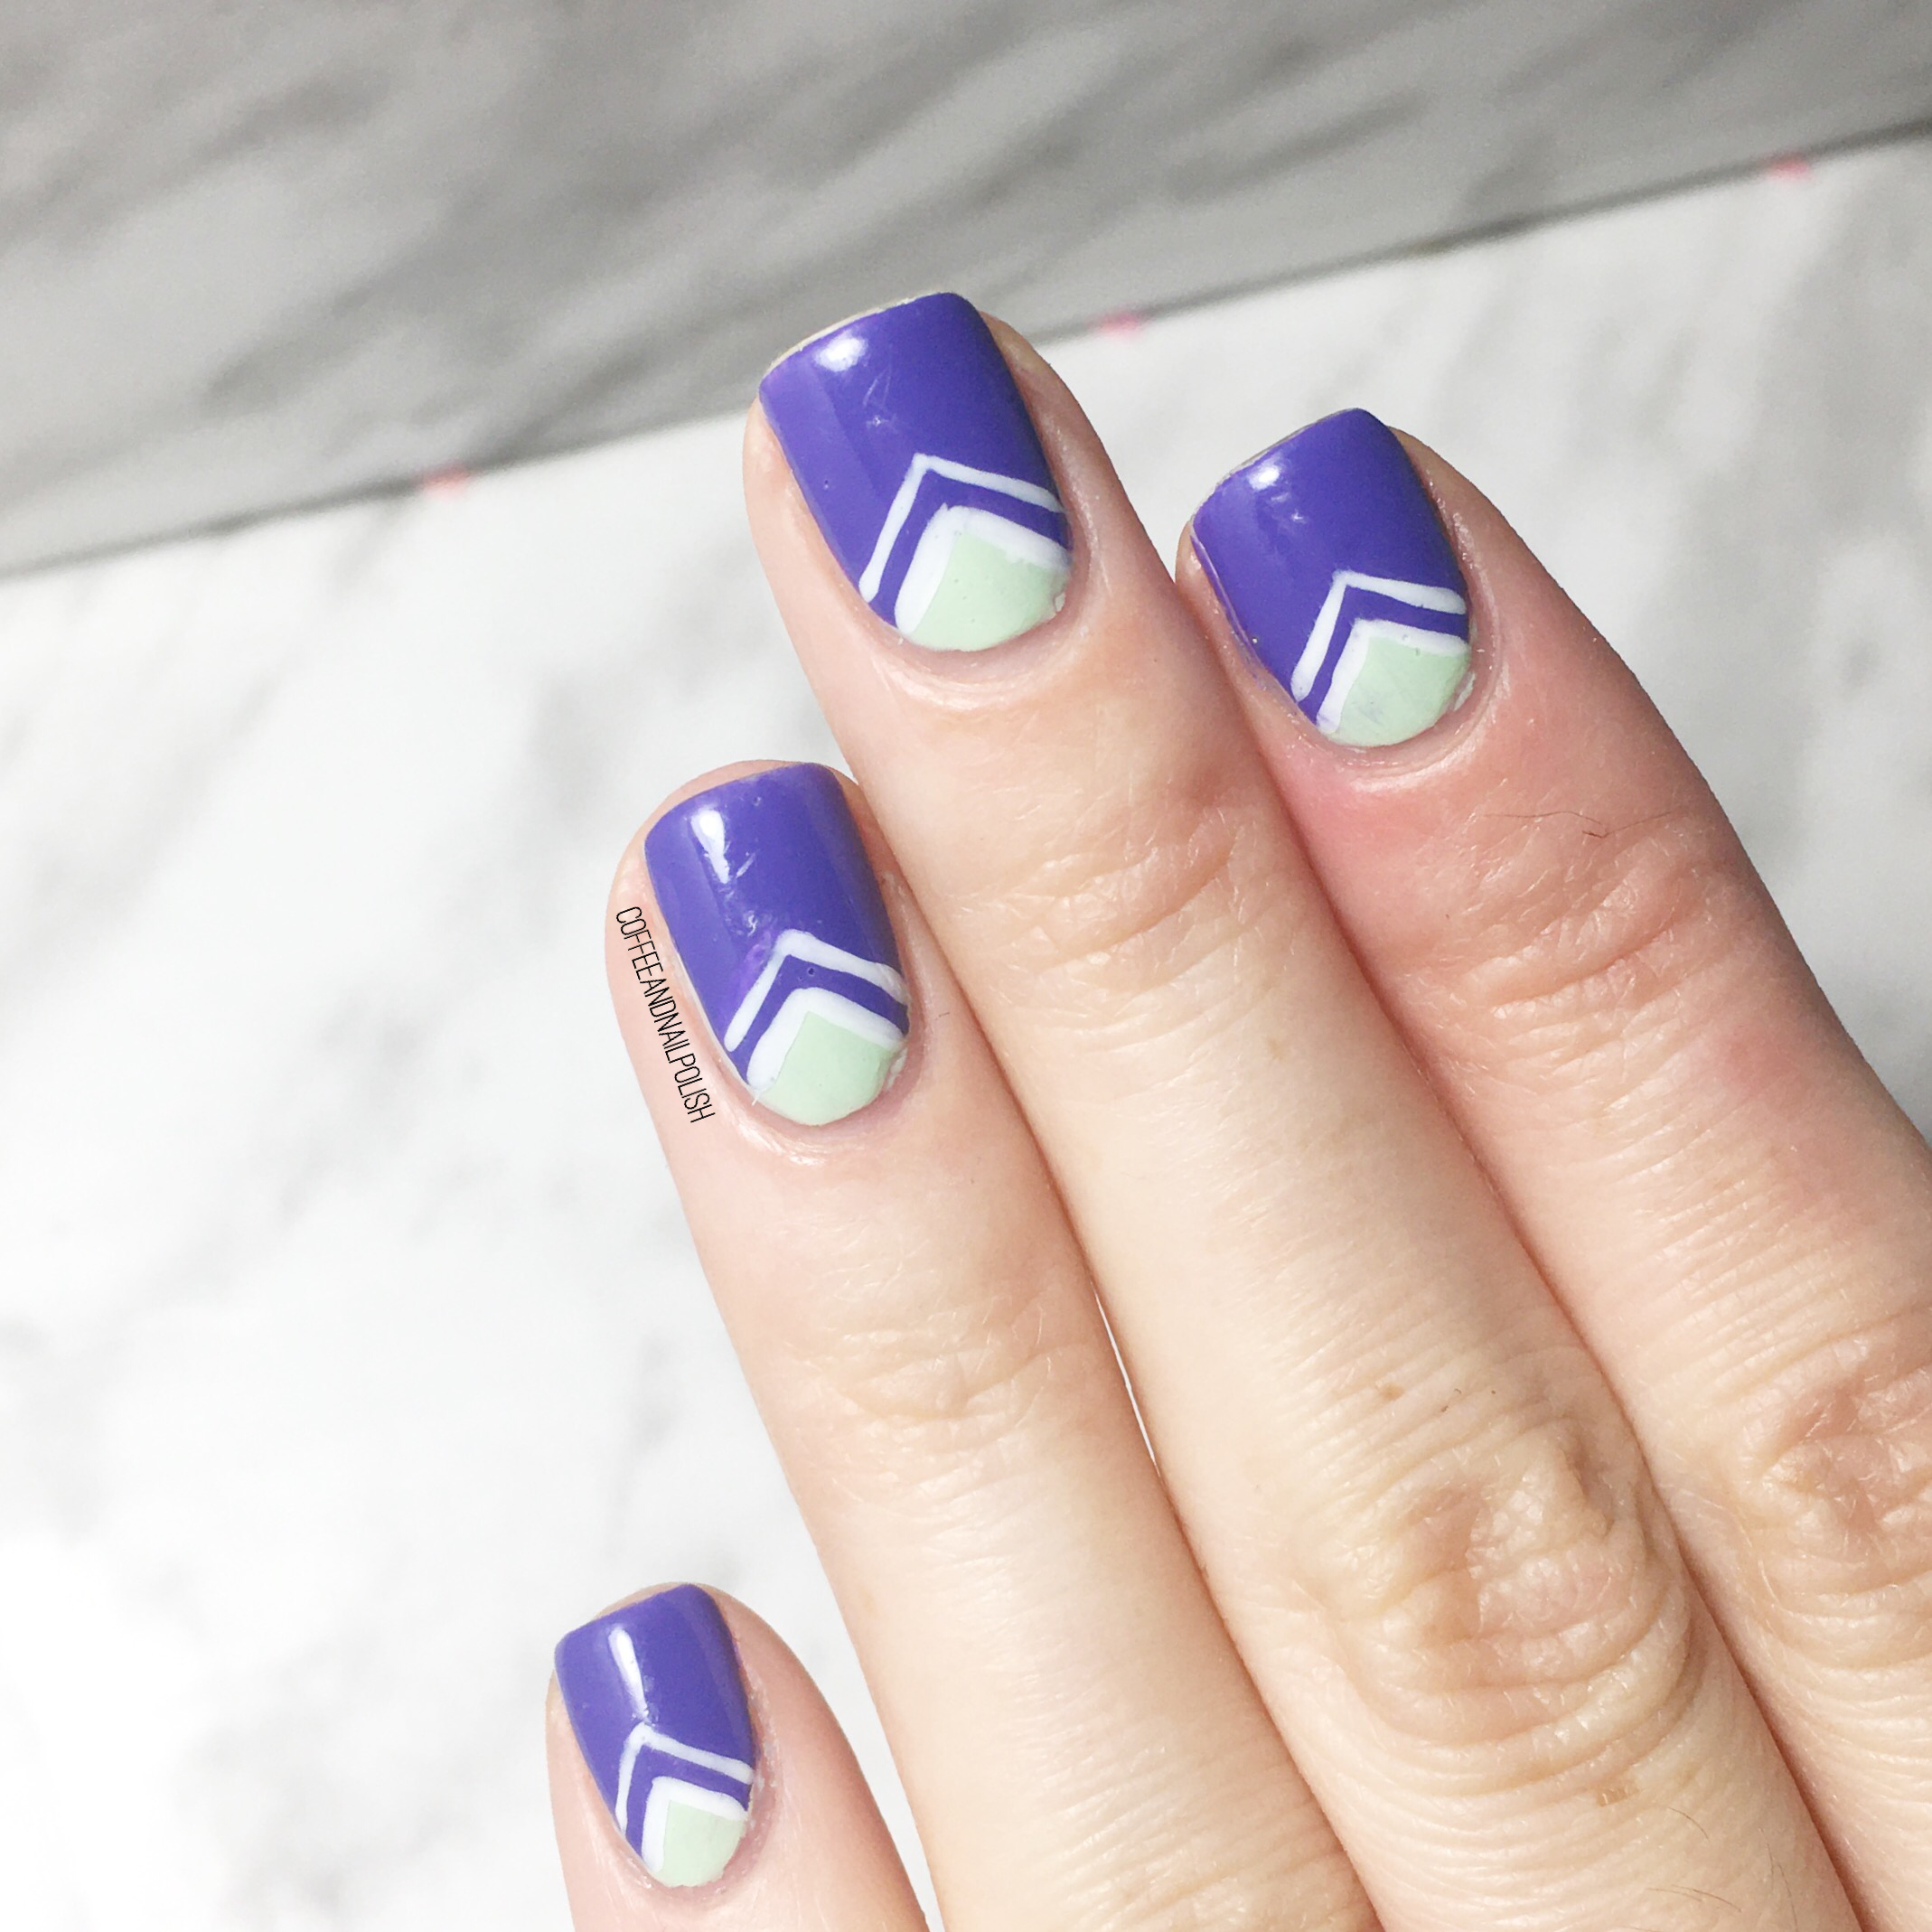
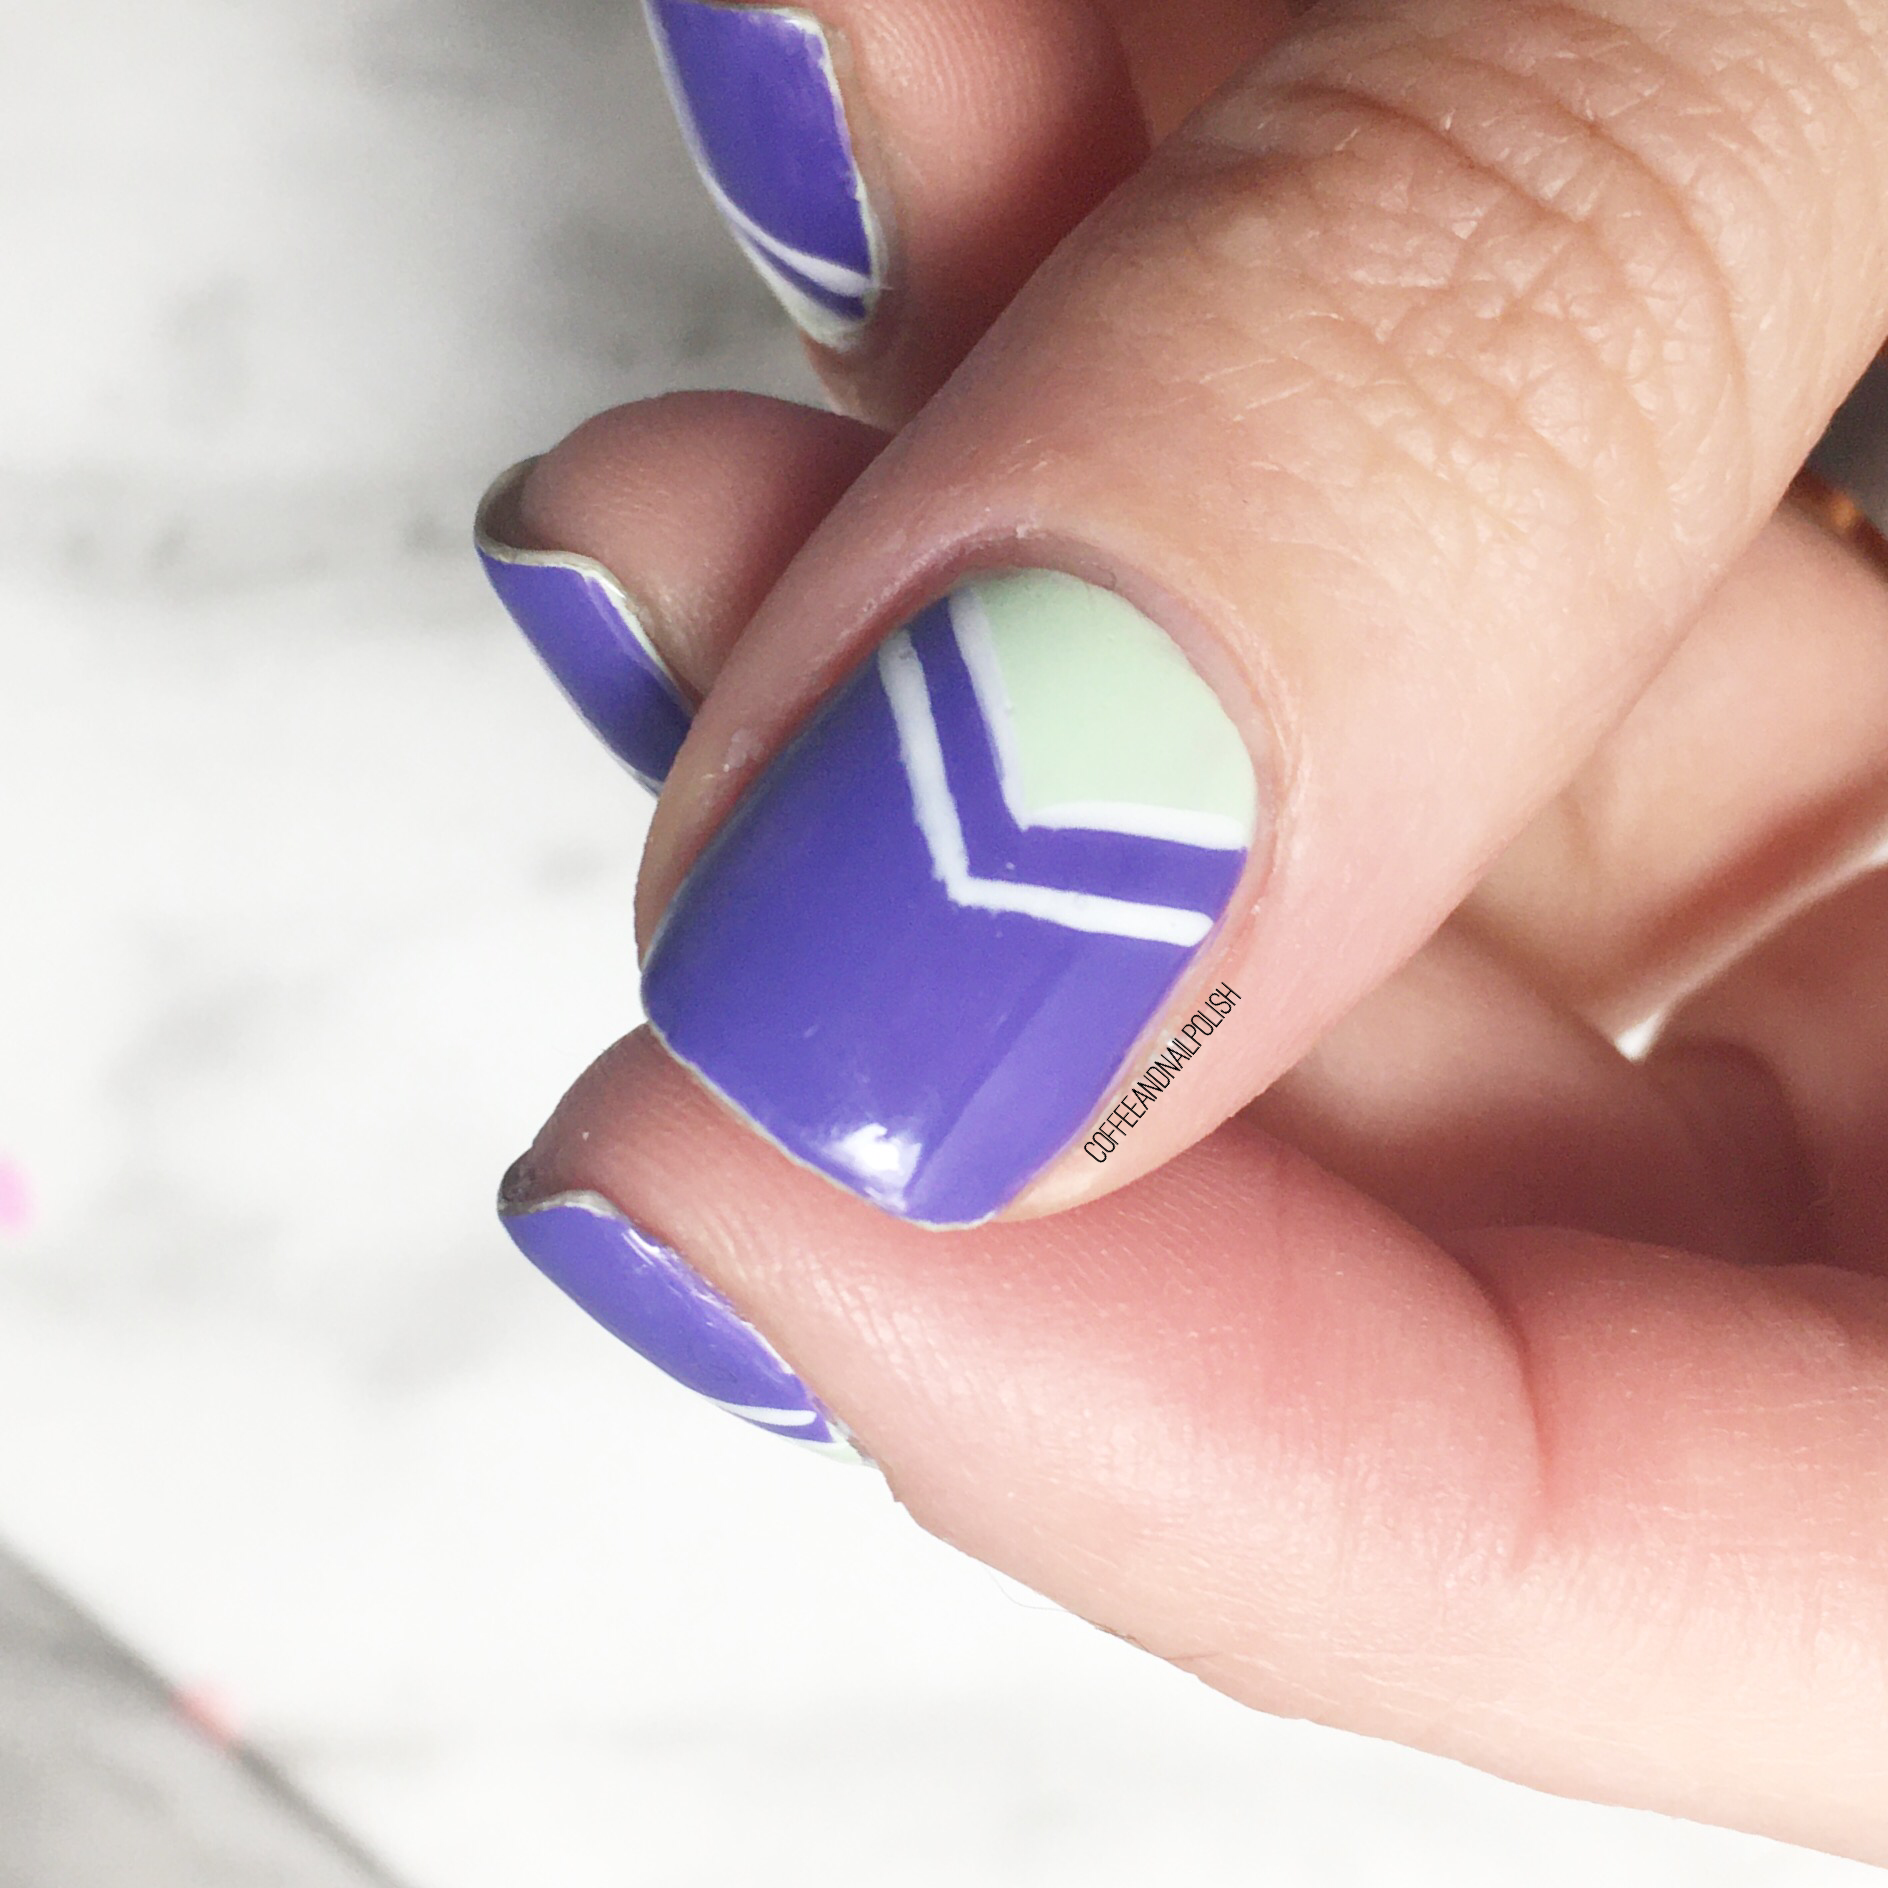
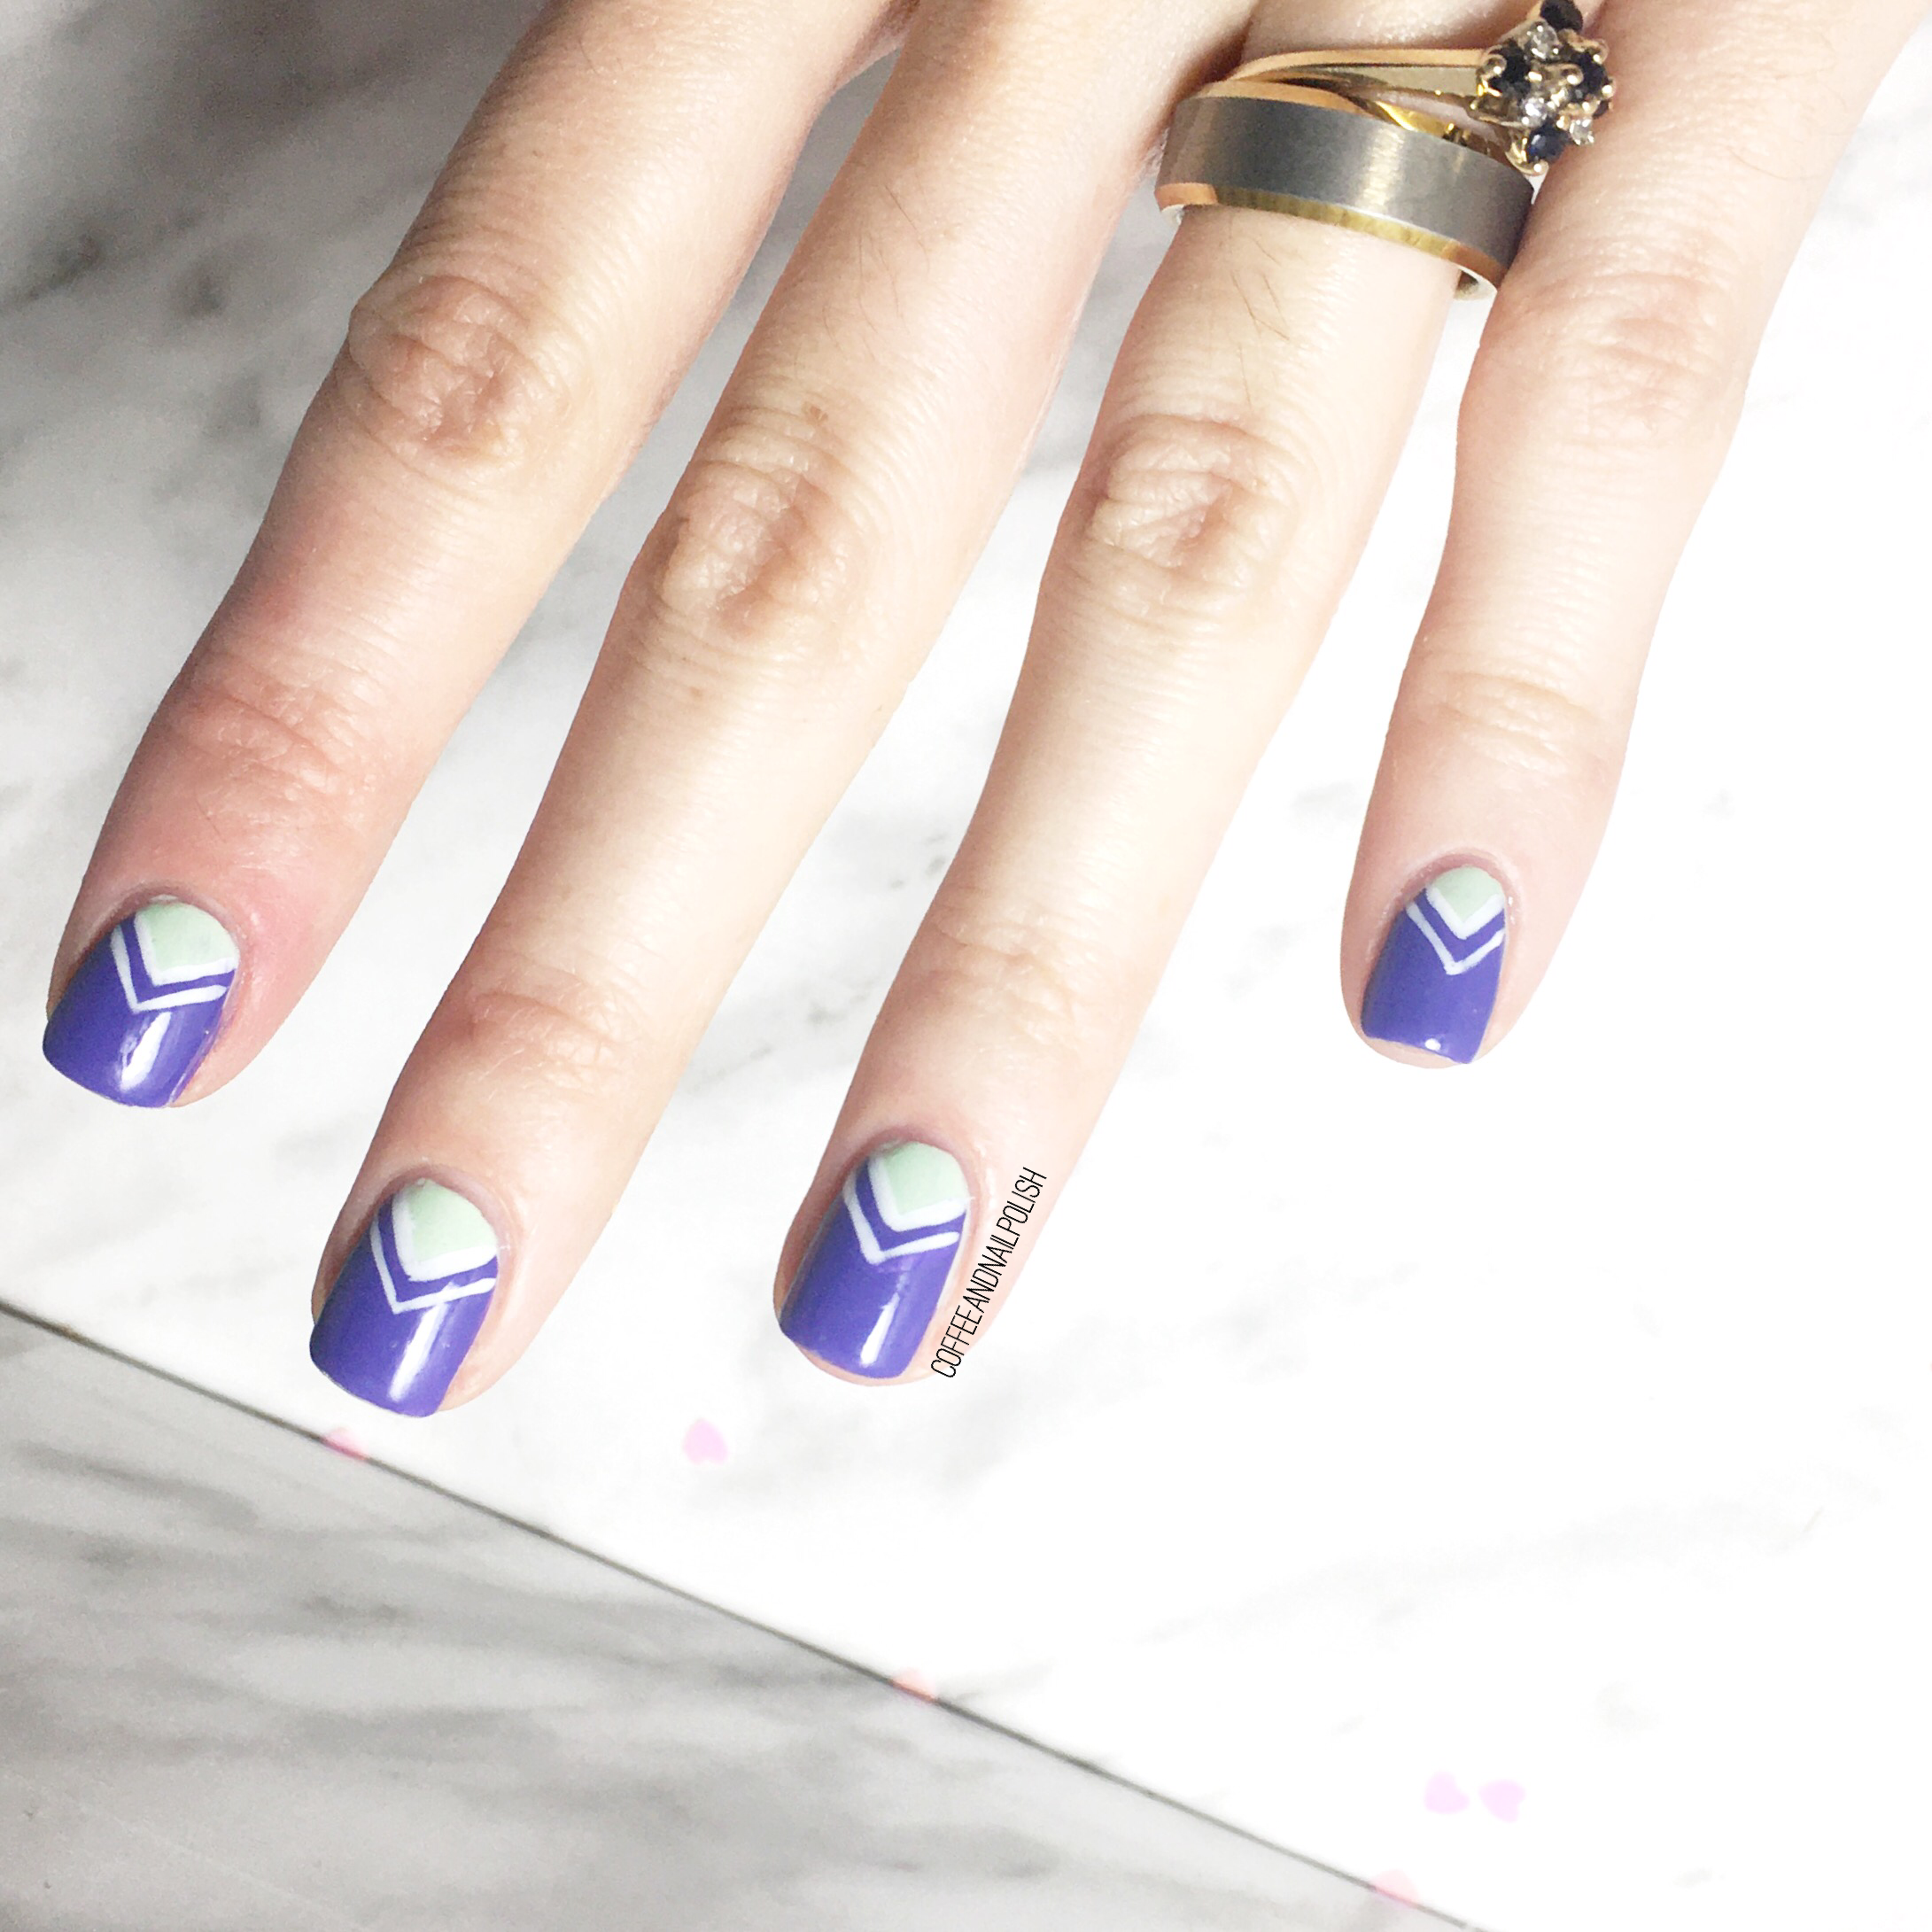
For this look I started off by applying the triangle nail stencil to my accent nail, then one at a time applied my colours to the empty spaces to create a triangle on the nail. I followed the Base Coat’s tutorial for colours. It was also way easier using a pre designed nail vinyl than attempting to position striping tape or straight nail vinyls into the same shape.

6E776060-74A2-42E1-8EE3-D4BD2621BCFC

33465D9D-CC61-4EAA-8062-A58925C74755

Honestly this look was too simple to do, but turned out so cute! I think this is such a perfect Christmas Day look—who doesn’t love Christmas trees! & the mixing of colours is very Christmasy. I absolutely lovely it!

74D0F345-1285-4AE1-9583-82D296AF7D97

What do you think about this design for Glamnailschallengedec? Have you figured out your Christmas design yet? Don’t forget to check out Instagram for all the other amazing look for #glamnailschallengeDec!

#GlamNailsChallengeDec — Poinsettias

6E2004E1-733B-44DC-9243-5DE209FEC791

Good morning lovelies & happy Wednesday. & happy week until Christmas, for those who celebrate! Is everyone else rushing around like a chicken with no head trying to finish up their shopping/organizing/wrapping, or is it just me? 😅

Today’s post is another entry into #GlamNailsChallengeDec — poinsettias. & fun fact: even though I love love love a good floral, I don’t think I’ve ever attempted a poinsettia design! Kind of crazy, but I was excited to give it a try.

8E1C47D9-2570-4EB8-A5EB-EB3CFE3C70C6

88F45EEE-9436-41DE-90B5-FC39EC4DB4EA

For this manicure, the polishes I used were:

  • Base Coat: Sally Hansen Complete Salon Manicure Strengthening Base Coat
  • Top Coat: Essie Speed Setter
  • China Glaze December to Remember
  • China Glaze Feeling Twinkly
  • China Glaze Fairy Dust
  • Sally Hansen CSM Red It Online
  • Sally Hansen CSM Berry Fancy
  • Sally Hansen Miracle Gel Good Cheer-y
  • Essie Off Tropic
  • Essie First Timer
  • Essence Black Is Back
  • NailStuff.ca 7mm detail brush (COFFEE10 to save 10%)
  • NailStuff.ca Dotting Tool Trio 

.

E7763034-087F-4827-9A4F-61C4CC4FBD05

3DB14FAD-ED59-4A07-ACC0-7869BAE25F11

5A2327E8-CC1E-410C-99FC-B5C0BA696E1D

So for this look, I started off by creating a super sparkly base using December to Remember, Feeling Twinkly & Fairy Dust. I really really wanted a super dense glitter for the poinsettias to pop against, I feel like the layering on these three shades really achieved that look. Next I hand painted my poinsettias using all nail polish. I know I’ve been using acrylic paint a lot lately, but I don’t actually have any red acrylic paint in my stash so I went old school & used nail polish.

It was a little time consuming, but the end result I feel like turned out really well. The only place I really struggled was with the leaves, & they’re definitely not perfect, but over all I think my design turned out pretty close to its inspiration!

C9BD3B51-F46B-49CC-97FF-527FE0C5B90C

C0818A1E-9280-4845-8965-669DA2ED09D1

Is there ever such a thing as too much sparkle during the holidays? I don’t think so. The only downside is glitter removal, but thanks to peel off base coat, if you just want extra glittery nails for a night, you are in luck! Can’t go wrong with that!

5C5EB3CE-D233-41B6-B5F1-36B9D79AFC4D

Absolutely loving these poinsettias & excited to finally mark this off my bucket list! If you like this look, hop over to Instagram & let me know. & while you’re there, check out the other beautiful poinsettia looks as part of #glamnailschallengeDec. I love going through & seeing everyone’s interpretations of the same prompt! It’s so much fun!

GlamNailsChallengeDec — Reindeer Nails

0F64D285-43A7-4B64-AA8E-F9A4538339F0

Good morning lovelies & happy Monday! We’re officially moving onto our next prompt of GlamNailsChallengeDec which is reindeer! How Christmas-y, am I right? & who is the most famous reindeer of all? Rudolf of course! 🦌🔴 so naturally I wanted to create a manicure with a little nod to him.

C65C4231-A934-4123-A9B9-93EF4E65C7EA

36CC14D3-1836-42A3-8D0A-0FEE13C43C51

For this manicure, the polishes I used were:

  • Base Coat: Sally Hansen Complete Salon Manicure Strengthening Base Coat
  • Top Coat: Essie Speed Setter
  • China Glaze Don’t Get Elfed Up
  • L’Oréal Feeling Kilty
  • China Glaze Ruby Slippers
  • Nailstuff.ca clear stamper & scraper set (COFFEE10 to save 10% off your purchase!)
  • Born Pretty Store Stamping plate BP-L032 (item #23268)
  • An old Born Pretty Store plate that’s no longer available. Similar patterns here: BP-L018 (item #19373)
  • Small dotting tool

.

E14FAAA0-B36D-4F2B-B565-269781BDA20D

6DD66137-7DC2-493E-A4A9-B6FBBF5E3E78

061BFD40-09F9-4B0D-8EC0-261C798BD9B0

How absolutely adorable did this Rudolf turn out? I liked pairing it with the sweater pattern on my nails too, because it reminded me of a pair of leggings that are my favourite to wear for Christmas, but more grown up. Not that I have any issue with wearing silly or crazy nail art–because I don’t–but I like to share a little bit of everything. A simple reindeer accent nail would definitely work for someone who just wanted a little bit of Christmas nail art on their nails. & if you didn’t want the sweater nails, you could do something like a glitter gradient or gradient dotticure on your other fingers. That what’s I love about nail art: you can adjust it to suit whatever style you have, whether it’s crazy over the top or more muted & subdued. There is something for everyone & every mood.

D757862B-F64B-4F32-9555-0399C4809E42

D1278B20-34B6-419B-AEE6-0F037968E173

Seriously, how cute is this rudolf? I’m obsessed. Also I think I use this particular image so much between November & March. It’s one of my absolute favourites. So many manicure options! Also I think the red nose would be even cuter with an itty bitty red rhinestone (which was my original plan) but I couldn’t find my rhinestones so I had to settle with red glittery polish.

DF2985C0-3808-4D57-A154-83B79FC5580A

What do you think about this Reindeer look? Who is your favourite reindeer?

Don’t forget to check out #glamnailschallengeDec over on Instagram to stay up to date with all the manicures & prompts to come! & if there is any Christmas nail art ideas you’d like to see, let me know & I’ll try to get them done before Christmas!

SWATCH SUNDAY — China Glaze Peppermint To Be & Don’t Get Elfed Up (Holiday 2015)

EE95F15C-B3D1-47FB-91C1-3F2C53C62A9E

Hello lovelies & happy Sunday! Crazy to believe we’re already celebrating the second Sunday of December! I thought I would keep the holiday polish trend going by sharing two of my favourite holiday themed polishes from collections past: China Glaze Peppermint to Be & Don’t Get Elfed Up! from the 2015 Holiday Cheers collection. The original collection contained 12 beautiful metallic & glittery shades (plus one cream!) I bought 6 of the shades in a mini set from Marshall’s, & a big bottle of Ugly Christmas Sweater (which I feel like I need to share in a post all its own.)

For today’s post I decided to share the two polishes I seem to gravitate to most: Don’t Get Elfed Up which a is deep dark teal-y metallic shade with super intense turquoise shimmer & Peppermint To Be which is a vibrant pink toned red, again super shimmery.

So onto the swatches!

Continue reading “SWATCH SUNDAY — China Glaze Peppermint To Be & Don’t Get Elfed Up (Holiday 2015)”

Halloween Patchwork Nails (recreated from @thelittlecanvas!)

8A565967-9C12-442C-8608-6102A0C3AF0E

Hello lovelies & happy Tuesday! Today I have some more Halloween nails to share with you, this time a recreation of a design by Alaina aka @thelittlecanvas! If you follow her, you might have seen she recently recreated my ghost design, as well as my candy corn dotticure , so I really wanted to recreate one of her past Halloween nail art designs! & I found the perfect look in this patchwork design from 2 years ago!

FEE657FF-3511-4CDE-80F9-FC22CE286DD3

468F4136-06BD-423B-99F6-E203CBFAC9DA

For this manicure, the polishes I used were:

  • Base Coat: Sally Hansen Green Tea & Bamboo Strengthener
  • Base Coat: Duri Rejuvocate
  • Top Coat: YSL Beauty Quick Dry Top Coat
  • Sally Hansen Miracle Gel Get Mod
  • China Glaze Be More Pacific
  • Essie Flowerista
  • Sally Hansen CSM Fiery Island
  • Black Acrylic Paint
  • NailStuff.ca 11mm Liner Brush

.

10AEB632-DFC5-4AA0-9EEA-048E1241E328

8C1C0877-2A94-430A-852C-C4C81D5E52DD

Oh my gosh you guys, this look is so fun & so easy! I started with a base of white, because it was easiest to make colours pop, & then created my blocks of colour. I did my green & orange first, & then filled in the middle with my purple. You don’t have to be too concerned with perfectly straight edges because you’ll be adding the black stitching, so I didn’t see the point in using tape. Then to finish my design, I took black acrylic paint & one of my NailStuff stripers, & added the black stitching along the edges. Finish off with top coat, & your nails are all ready for Halloween!

704962CA-71CA-465C-99C0-00A19C27B2FC

648C057D-0BA3-448F-9A0B-966E0F5FD209

This patchwork look is perfect for a variety of different Halloween costume ideas, & you can definitely change up your colours depending on needs–this would be perfect for a Bride of Frankenstein, Zombie, Scarecrow, etc. Lots of fun ideas, but super easy to do, even for a nail art beginner. & using acrylic paint for your lines vs nail polish also makes things a little easier, because if you mess up you can erase the lines without wrecking your whole nail.

840C102B-7CA0-490E-8302-3160049737D0

5DFB116B-E28A-4ED0-955F-ACC708F0A20F

What do you think about this nail art look, recreated from @thelittlecanvas? Did I live up to the original? & hop over to Alaina’s blog today to see her version of another one of my nail art looks!