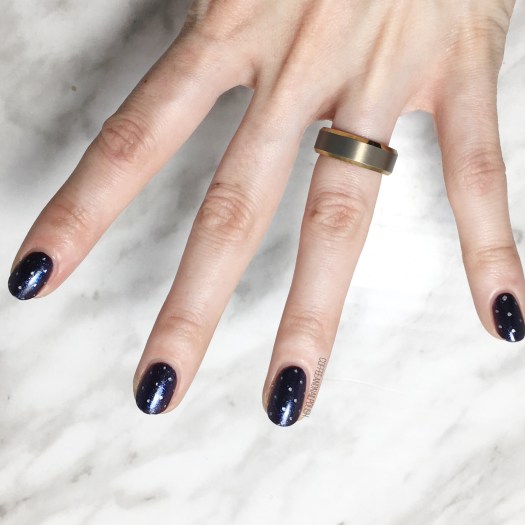
Good morning lovelies & happy Saturday! Today I’ve got a brand new design to share with you because I was finally able to do some real nail art. I know… I’ve been lacking in the nail art blogging work. Work & winter have been killing my nails so I’ve got some serious shorties to contend with & no real motivation to do my nails other than a single colour.
But I’ve started using Nail Envy (again…) so hopefully that will bring my nails to life again! & I’ll actually feel like creating some lovely nail art looks again.
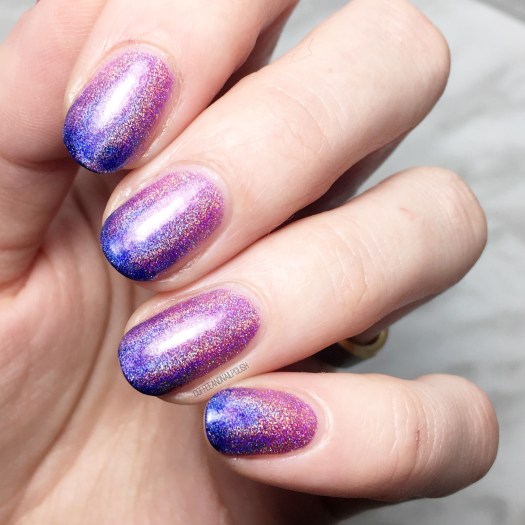
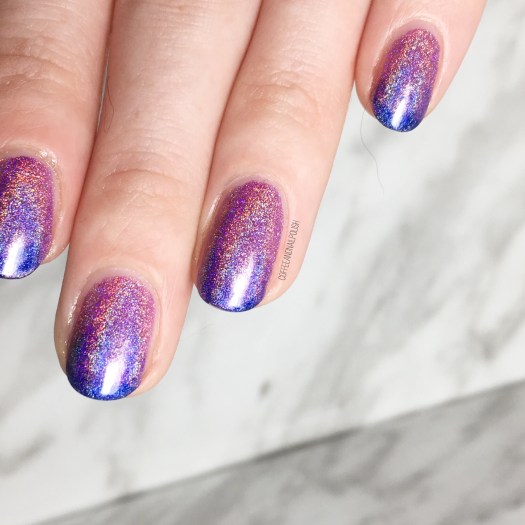
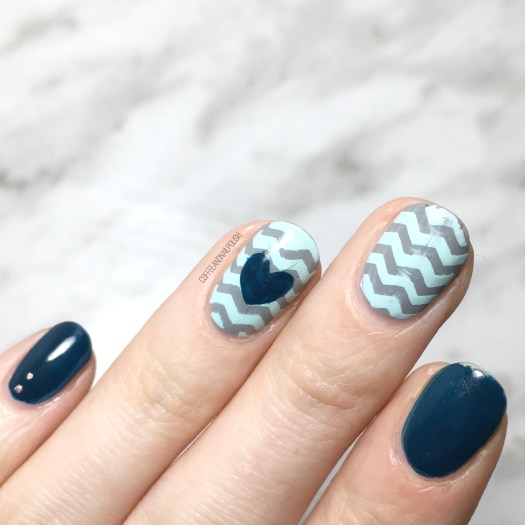
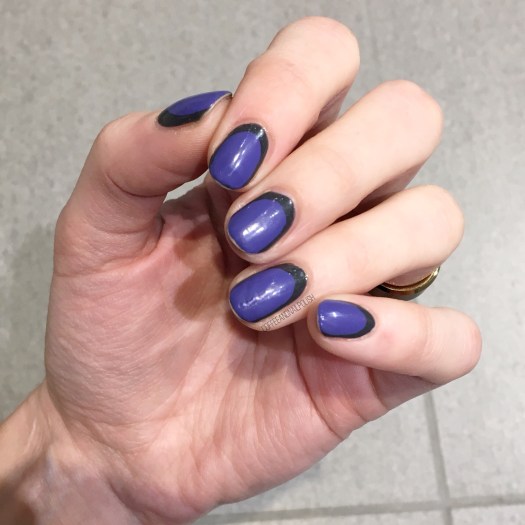
For this manicure, the polishes I used were:
- Base Coat: OPI Nail Envy
- Top Coat: Essie Speed Setter
- Essie High Class Affair
- Essie Peach Daiquiri
- Essie Cashmere Bathrobe
- Essie Where’s My Chauffeur
- The Base Coat Nail Vinyls Stacked Chevrons Vinyls.
- NailStuff.ca small 7mm liner brush

Ooooh this look reminds me why I love chevron moons so much. Also, I wasn’t sure how I was going to feel about this colour combination — I wanted to try & do something that channeled Spring but also worked with all the snow we currently have — & I’m actually just so in love with how these colours compliment each other.
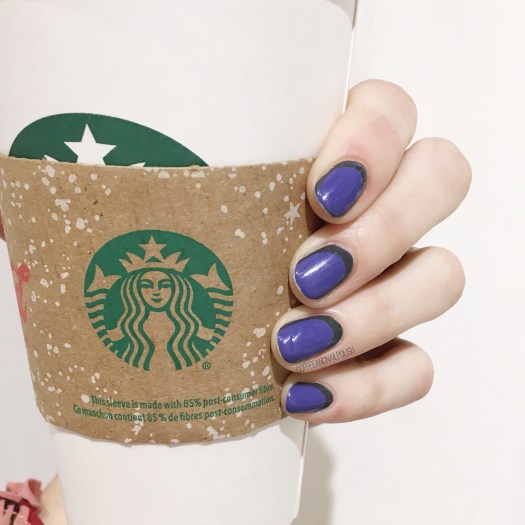
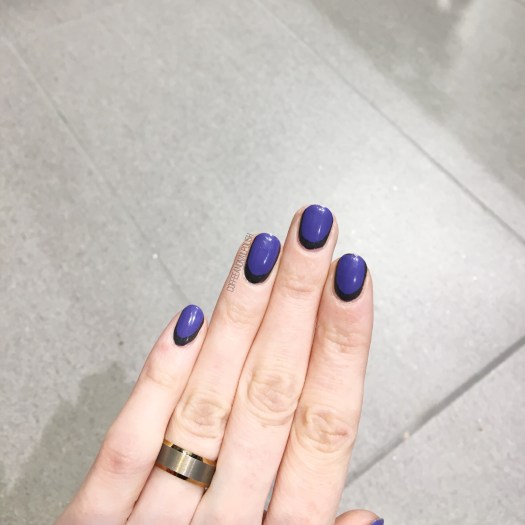
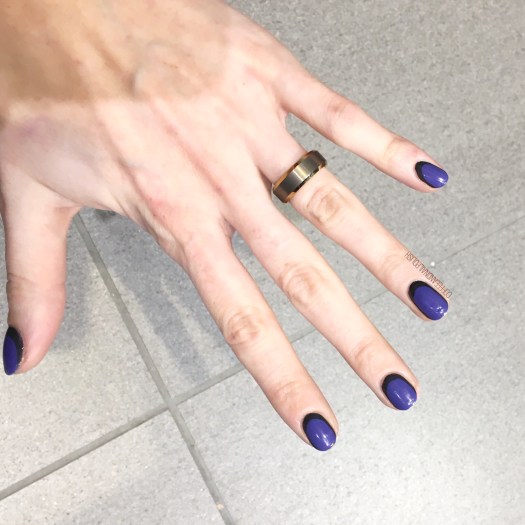
It makes me so sad that they chipped like an hour into work. Like, why is it always the nail art looks I love? I mean, it gives me an excuse to paint my nails again, but then I also need to get the energy to do them again, & that’s the true struggle.
Does anyone else struggle with nail art slumps? How do you cope? Let me know down in the comments below!