Chasing Waterfalls… again.

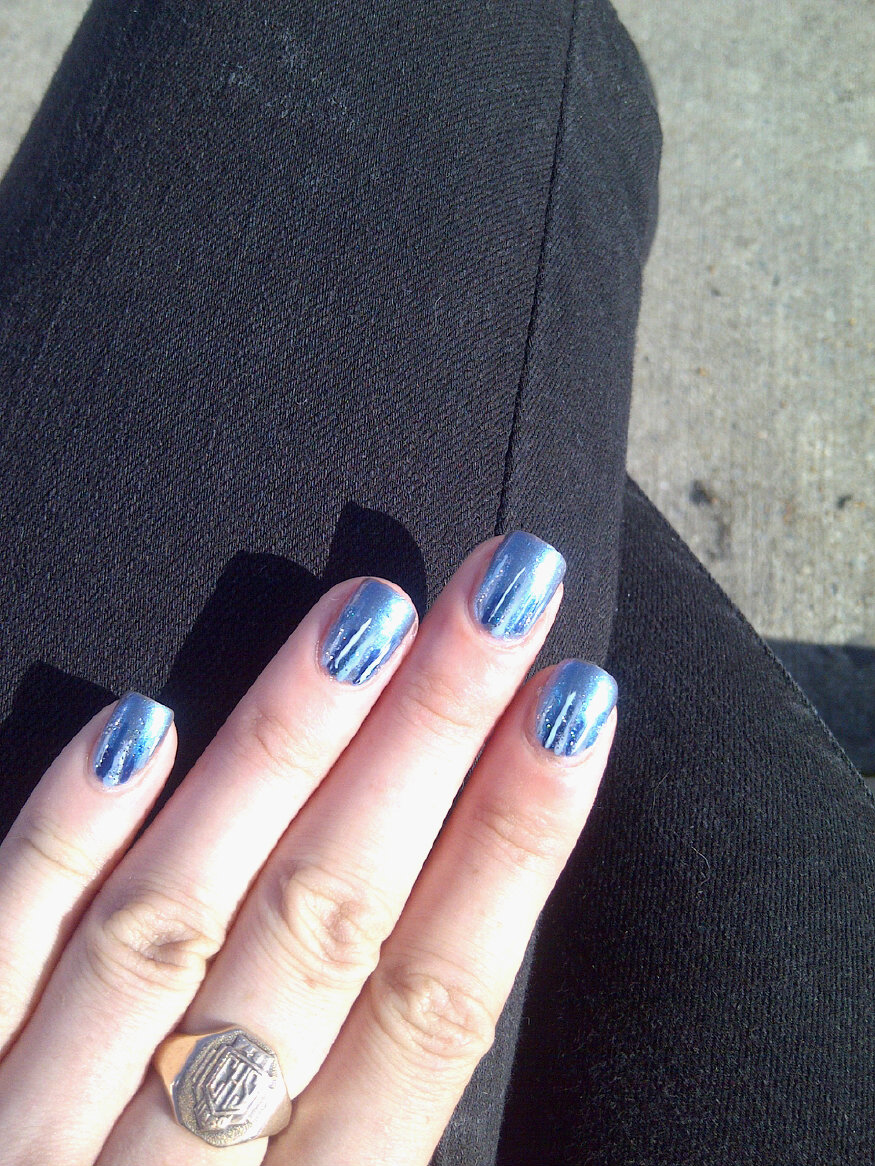
Today’s manicure is almost kind of aredo to one I did a few months back. I really love the look of waterfall manicures, and so the other night when I was struggling with nail art ideas I decided why not create another one. I had already painted my nails using Revlon’s I’m Electro, which is a beautiful blue duocrome from the Amazing Spiderman 2 collection, so I grab a bunch of my blue polishes and went to work.
IMG-20140825-02108_1408969217617_n

The polishes I used for this manicure were:

  • Revlon I’m Electro — base color.
  • Revlon Superpowered.
  • Icing Starlight.
  • Sinful Colors Hip to Be Square.
  • Art Club Nail Art Duo in Baby Blue
  • Quo by ORLY Falling Star.
  • Essie Good to Go Top Coat.

IMG-20140825-02107_1408969091083_n

Pretty, aren’t they. I wasn’t quite happy with my waterfall nails the last time I attempted them–and with a couple tweeks I think I’ve made a vast improvement. It doesn’t hurt my nails have quite a bit more length to them now, as opposed to last time. I think using a darker base color (but not too dark) also helped make them pop as well.  =)
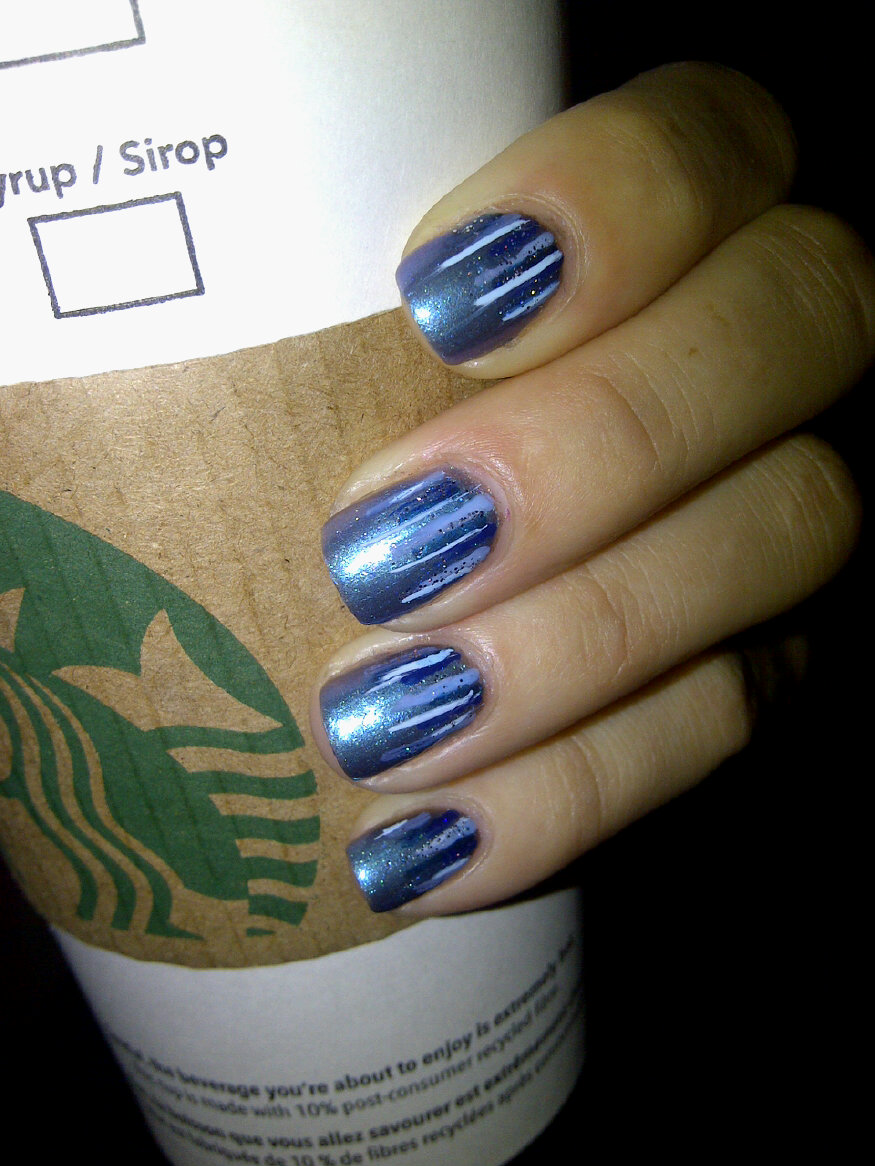
IMG-20140825-02109_1408984143369_n


So is anyone else as excited as me about Starbucks releasing their Pumpkin Spice Latte’s today. You apparently need a special code to unlock the drink, so I’ve got mine already to go. I have a Halifax Adventure day planned with my best friend, which always means COFFEE! We’re going to soak in the last of Summer before he goes back to finish his degree and it gets too chilly for our adventuring.

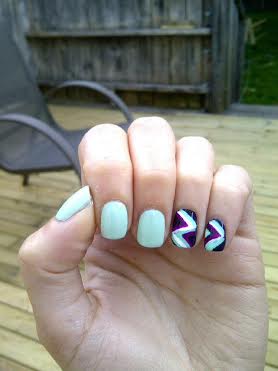
Zig Zag accent nails.

Today I’m sharing a NOTD with you I created on a whim. I was in the mood to do something a little bit different–and keep away from doing another dotticure. Since I have some fun new stripers, I decided to give them another go. I’m also trying to work on creating straighter, cleaner freehand lines so I need all the practice I can get!

zigzag2

zigzag


The polishes I used for this manicure were:

  • Essence Bloom Me Up! in Blow my Mint.
  • OPI in Miss You-Niverse.
  • Mariposa Striping Polish in White.
  • Mariposa Striping Polish in Mint.
  • Art Club Striping Polish in Paisley Paradise.
  • Seche Vite Quick Dry Top Coat.


zigzag3

zigzag4

zigzag5

So what do you think of these zig zags? I went with colors that were a little darker, as like I’ve said I’m just craving fall colors. Also, I absolutely love Blow my Mint by Essence. I scored it for a DOLLAR earlier this year at Shoppers, and couldn’t say no. Also… my nails are getting long again! Yes! Yes! Yes!

Color block — take two.

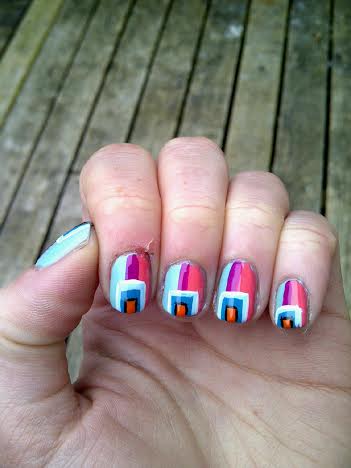
As you’ve kind of noticed, I’ve been killing color block manicures lately. Sometimes I have a hard time deciding on just one bright color, so I have to used them all. (Haha, maybe not all. I own 300 polishes so that would be quite a time consuming manicure.)

Today’s bright and colorful manicure is a combination of some fun Summer colors. It took me a little while to get done, but I love the finished product. I painted everything completely free hand, so my lines are not perfectly straight–but I find that adds to the charm.

geometric

The polishes I used for this manicure were:

  • Sinful Colors in Be Happy.
  • Sally Hansen Xtreme Wear in Coral Reef.
  • Art Club Striping Polish in Paisley Paradise.
  • Essence Color & Go  in Let’s Get Lost!
  • Art Club Nail Art Duo in Baby Blue.
  • Stripe Rite Striping Polish in white.
  • Stripe Rite Striping Polish in orange.
  • Stripe Rite Striping Polish in black.
  • Sally Hansen Diamond Flash top coat.

geometric3  geometric2

I really, really love the look of these. They’re just really fun! And the best part about a manicure with this many colors is that I can pretty much match it to any outfit. =) We’ve still got some serious grey skies happening right now, so at least my nails are spring-like.

Crayon Nails.

Just a quick manicure post today.

I did these nails last night, as I was trying to come up with something pretty to put on my nails. My original inspiration came from pinterest,  although I used a different color scheme and used striping polish instead of tape. I was going off what I had remembered seeing, so it didn’t turn out exactly how I was hoping. In all honesty, these nails really remind me of crayons haha.

crayonnails

The polishes I used for this manicure were:

  • Sinful Colors in Be Happy — base color.
  • Stripe Rite striping polish in black.
  • Art Club striping polish in Paisley Paradise.
  • Sally Hansen Diamond Flash top coat.

Stripes make your nails look longer, right?

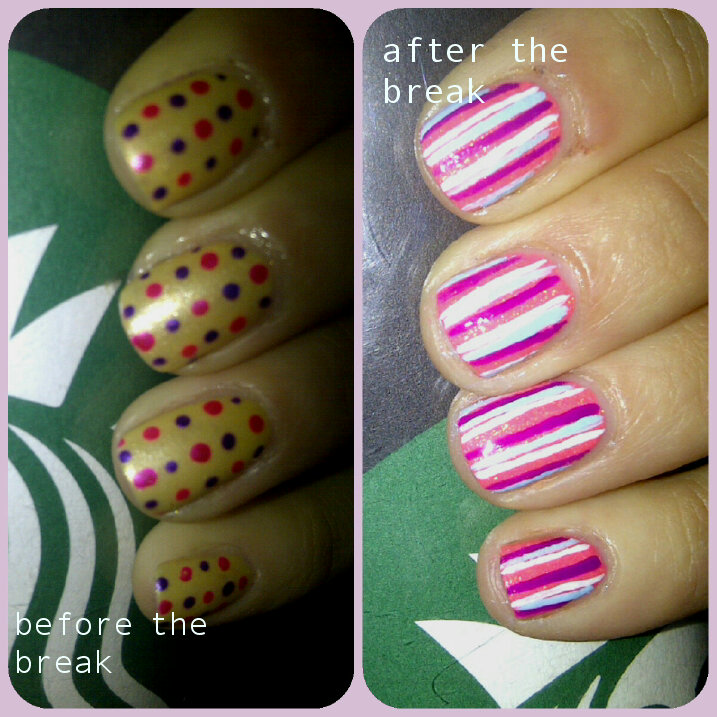
With my new short stubs, I wasn’t feeling very inspired for nail art. =( But I wanted to do something, as I just can’t deal with naked nails. They make me even sadder than short nails. I tried doing a bright gradient but it just didn’t work the way I wanted. I haven’t played much with my striping polishes lately, excluding my unlucky outline nails, so I decided to pull a bunch of them out and do some stripes. (Truthfully I was hoping maybe the stripes would give me the optical illusion of longer nails.)

stripes3

stripes

stripes2

The polishes I used for this manicure were:

  • ACO by Ardene in Sugar Champagne.
  • Art Club striping polish in Paisley Paradise.
  • Art Club Nail Art Duo in Baby Blue.
  • Stripe Rite striping polish in black.
  • Sally Hansen Diamond Flash top coat.

I always rely on my striping polish for creating lines. I’m not very good when it comes to striping tape… I’ve used it a couple times but I much prefer drawing the lines myself. I find that with most manicures it’s much easier, and saves on time because I don’t have to wait for my base color to dry completely before creating my stripes.

Also I must share my excitement over how my lines are becoming much smoother and steadier. When I got my first striping polishes a couple years ago, my freehand lines definitely did not look like that! Now if only I could find a way for my nails to never break. =(

Oh, I created a little before-and-after comparison just to show the difference. =( Stupid table.

IMG1400371233551_1400371238864_n