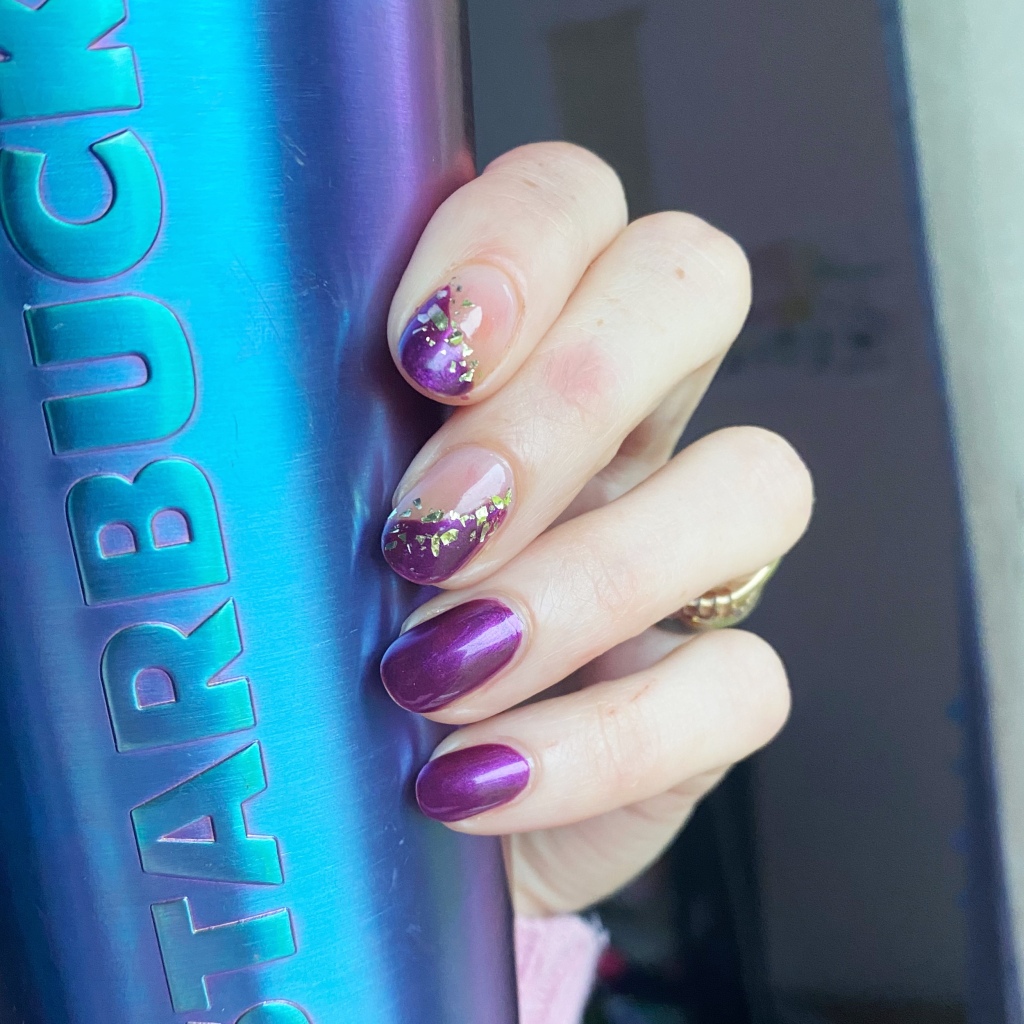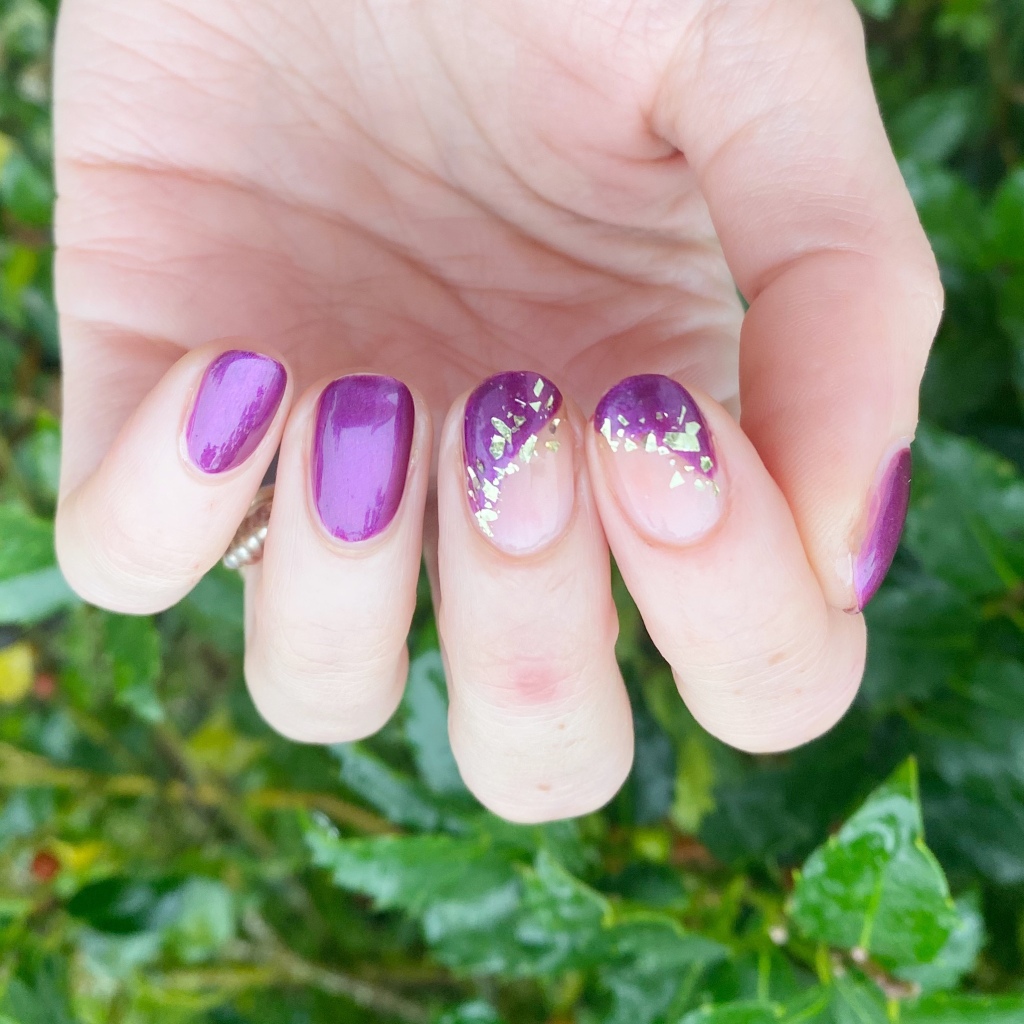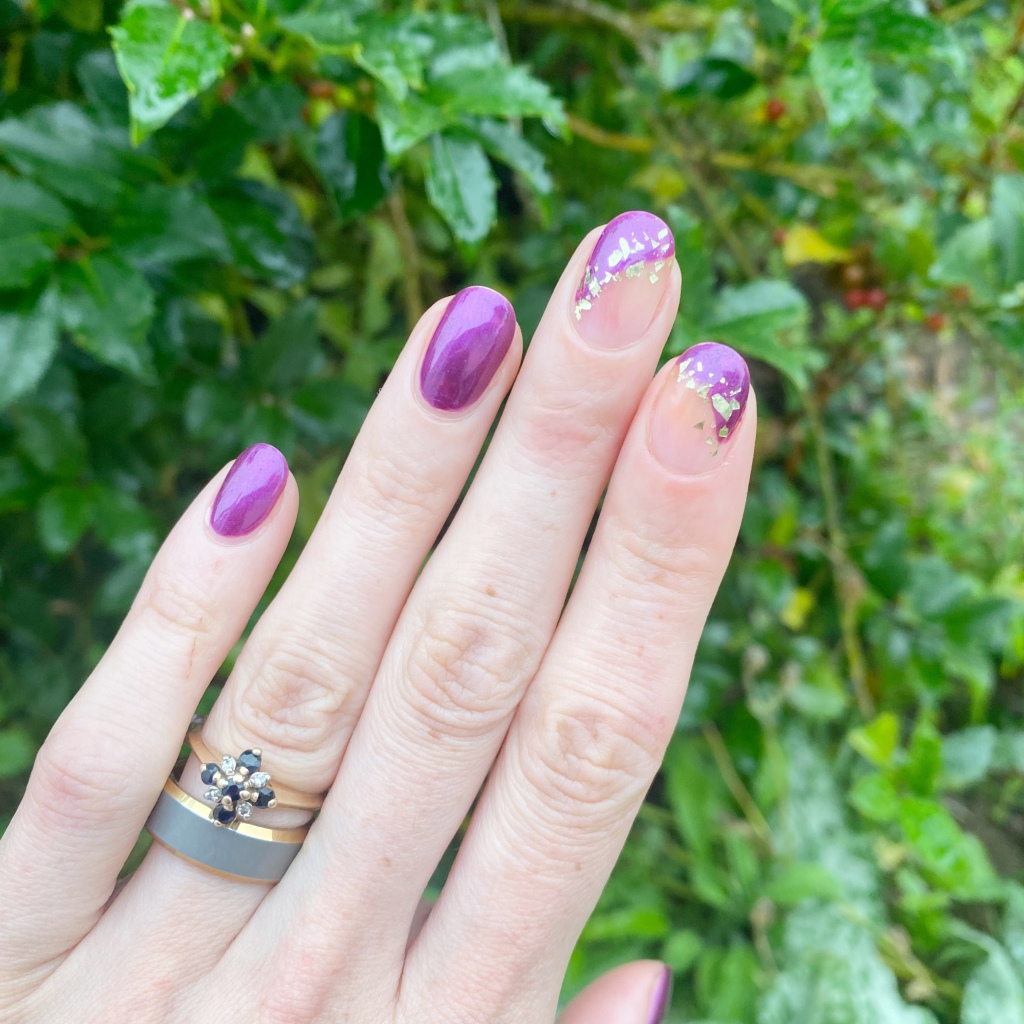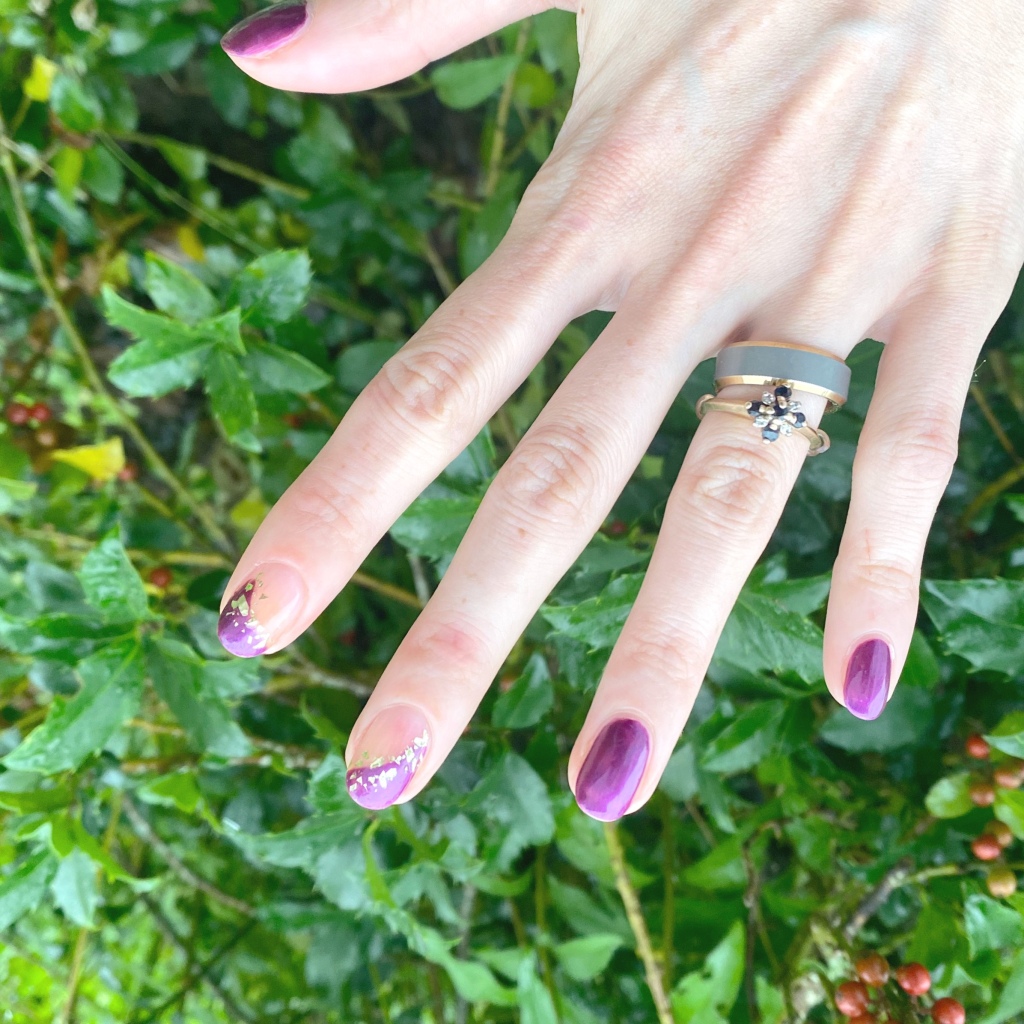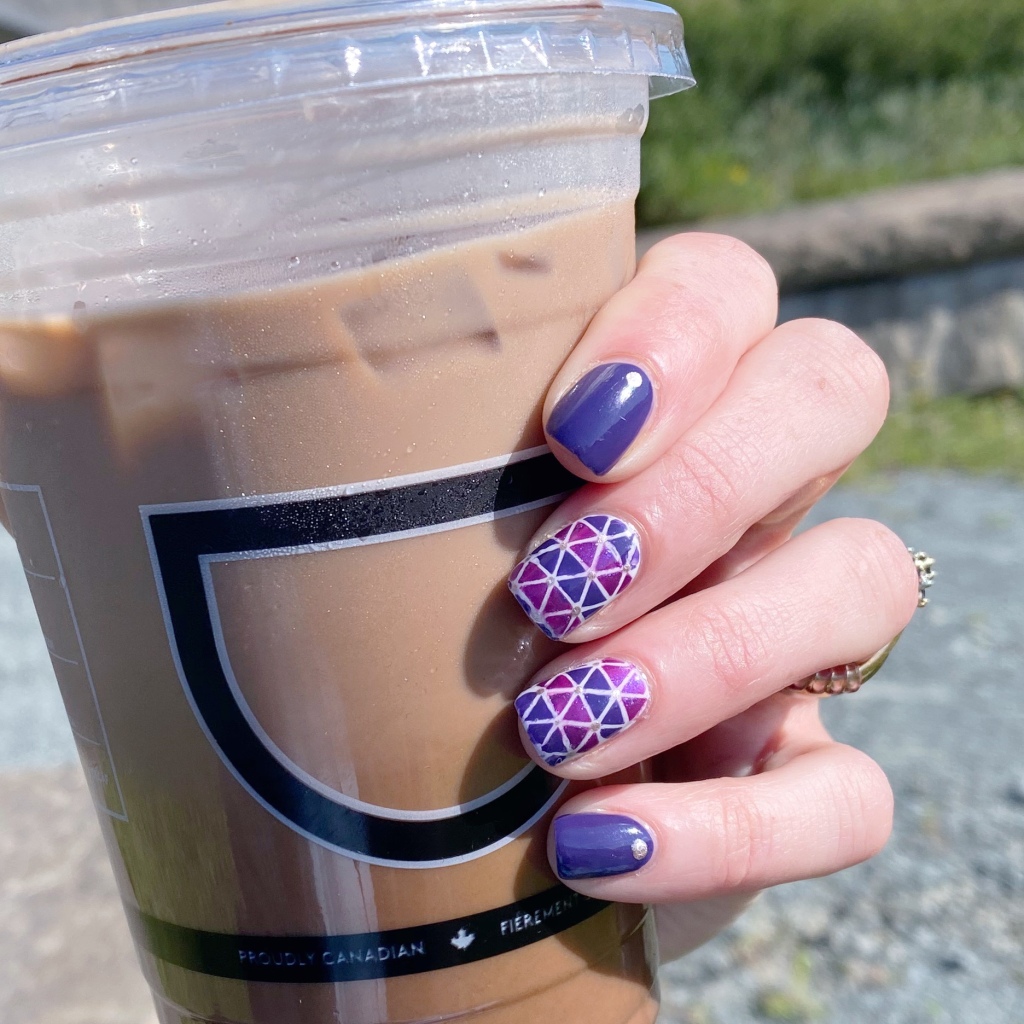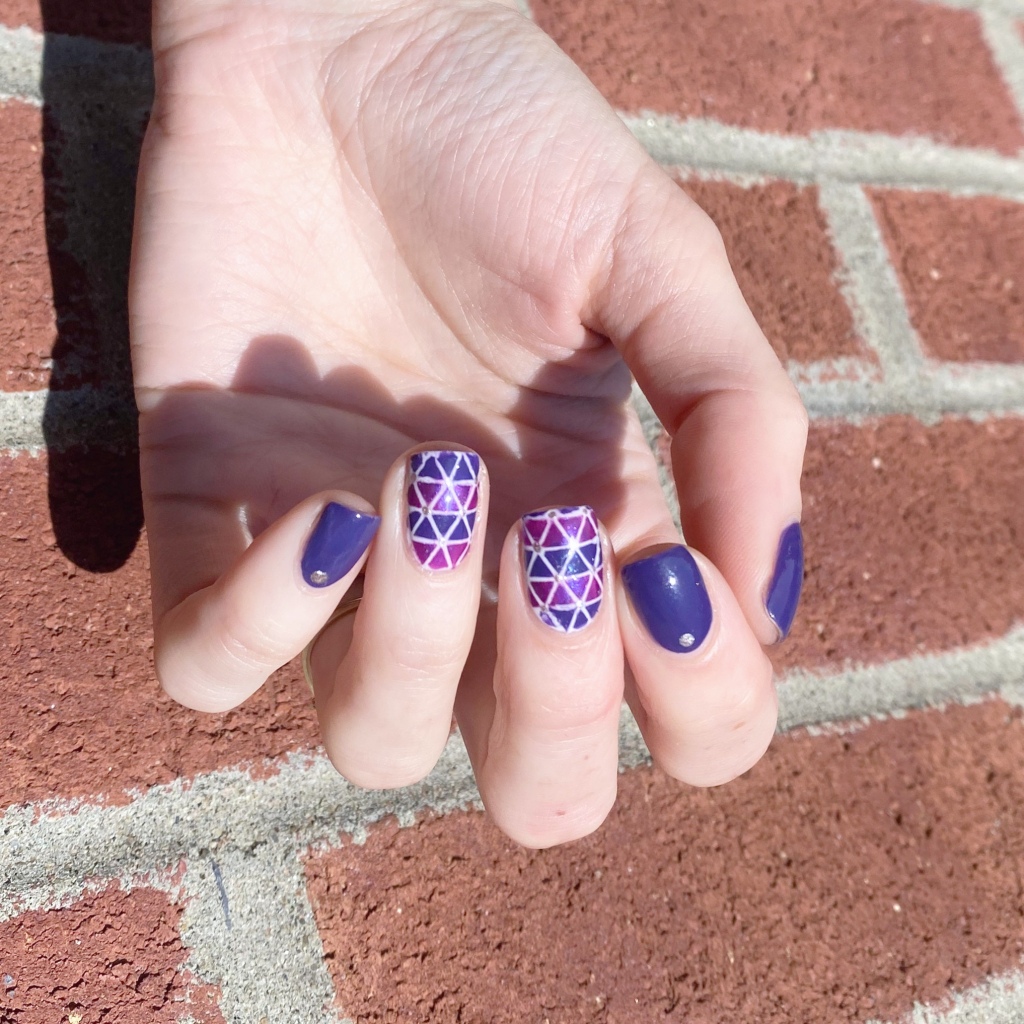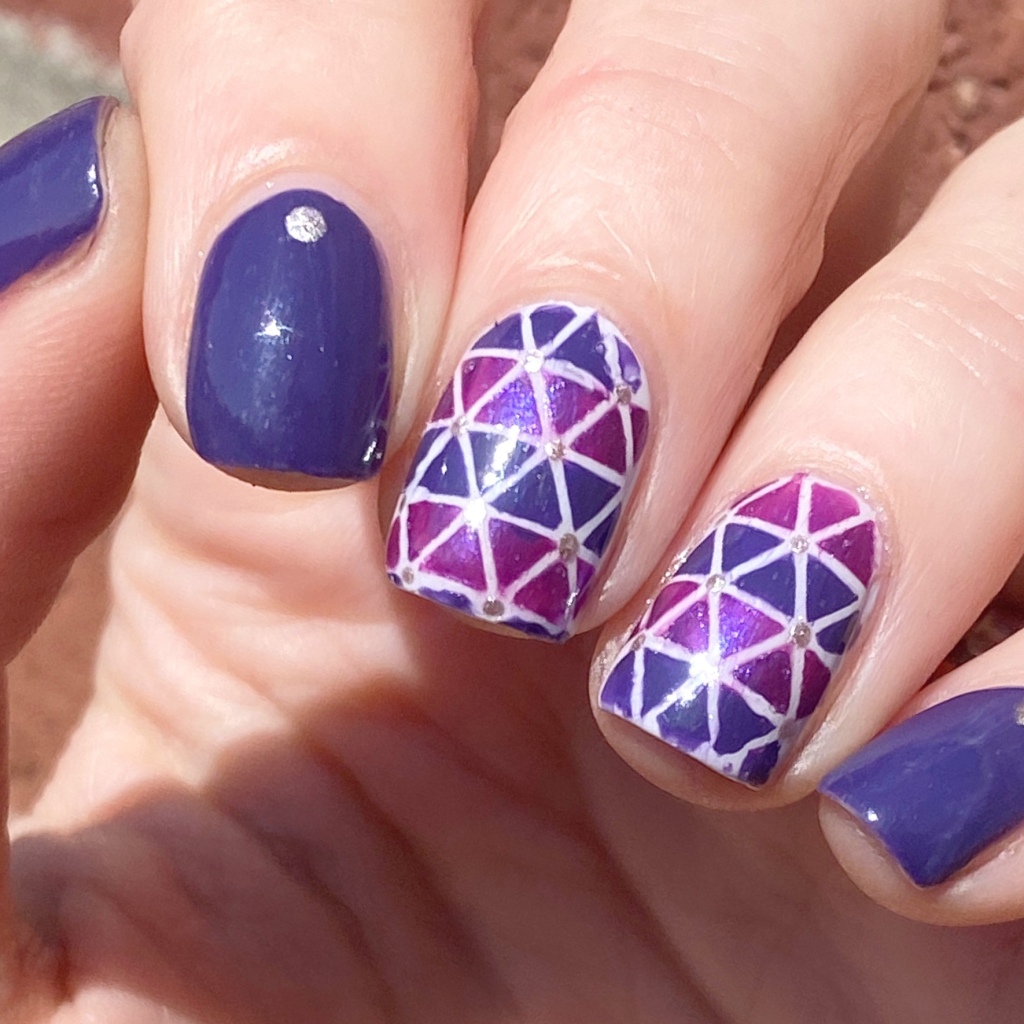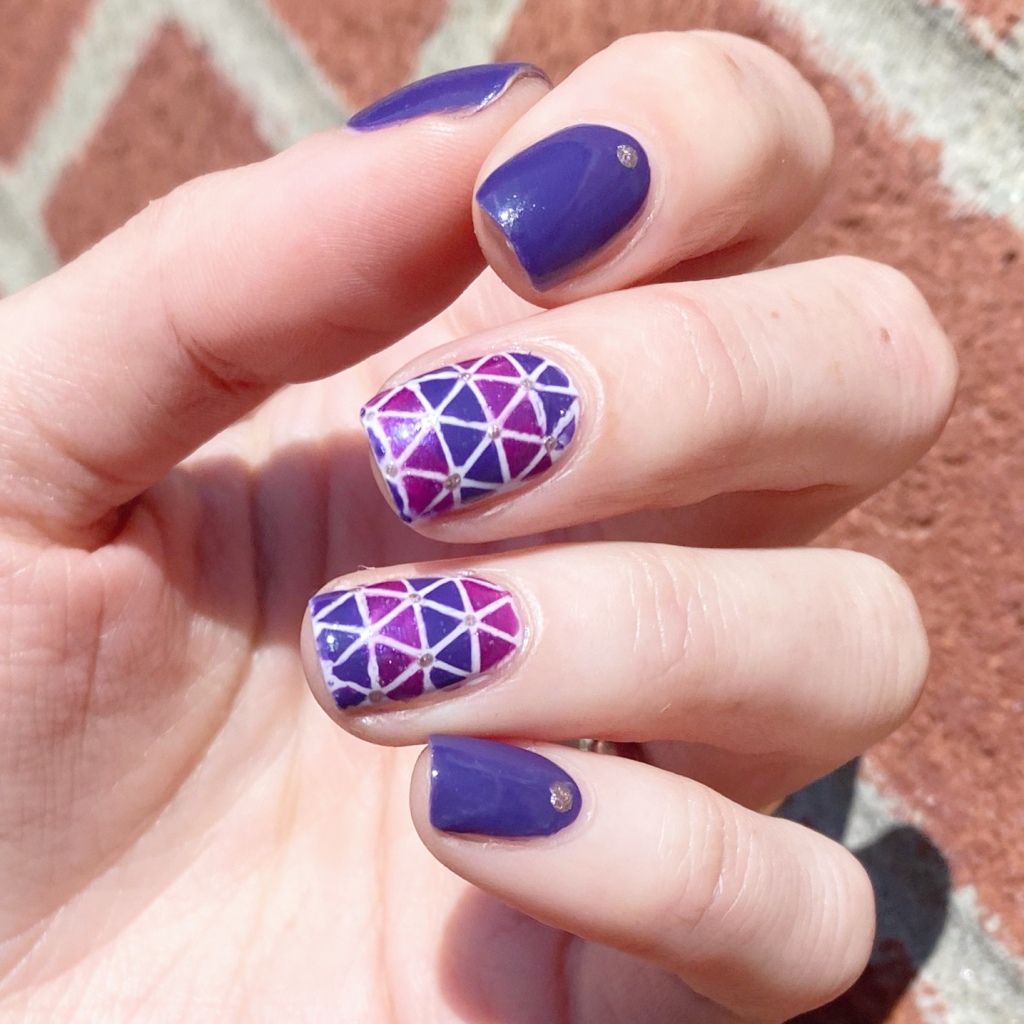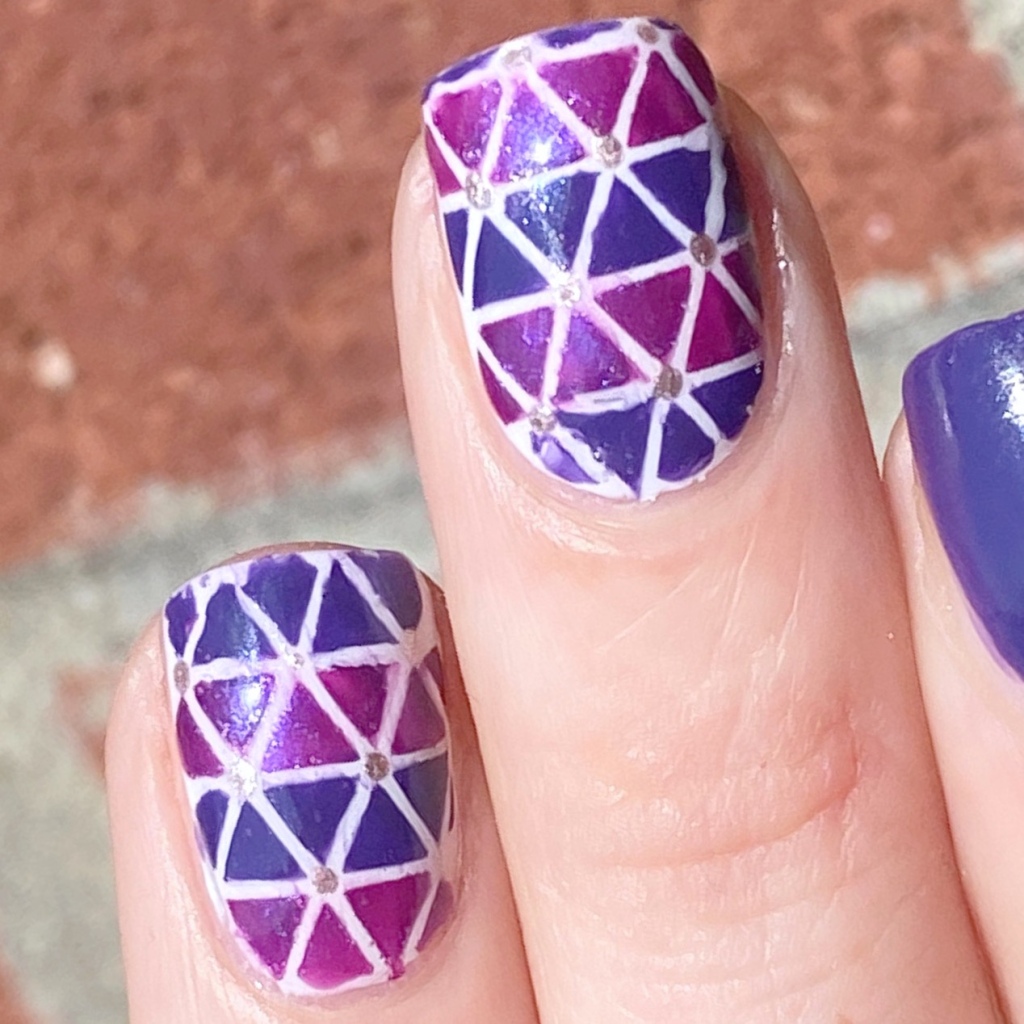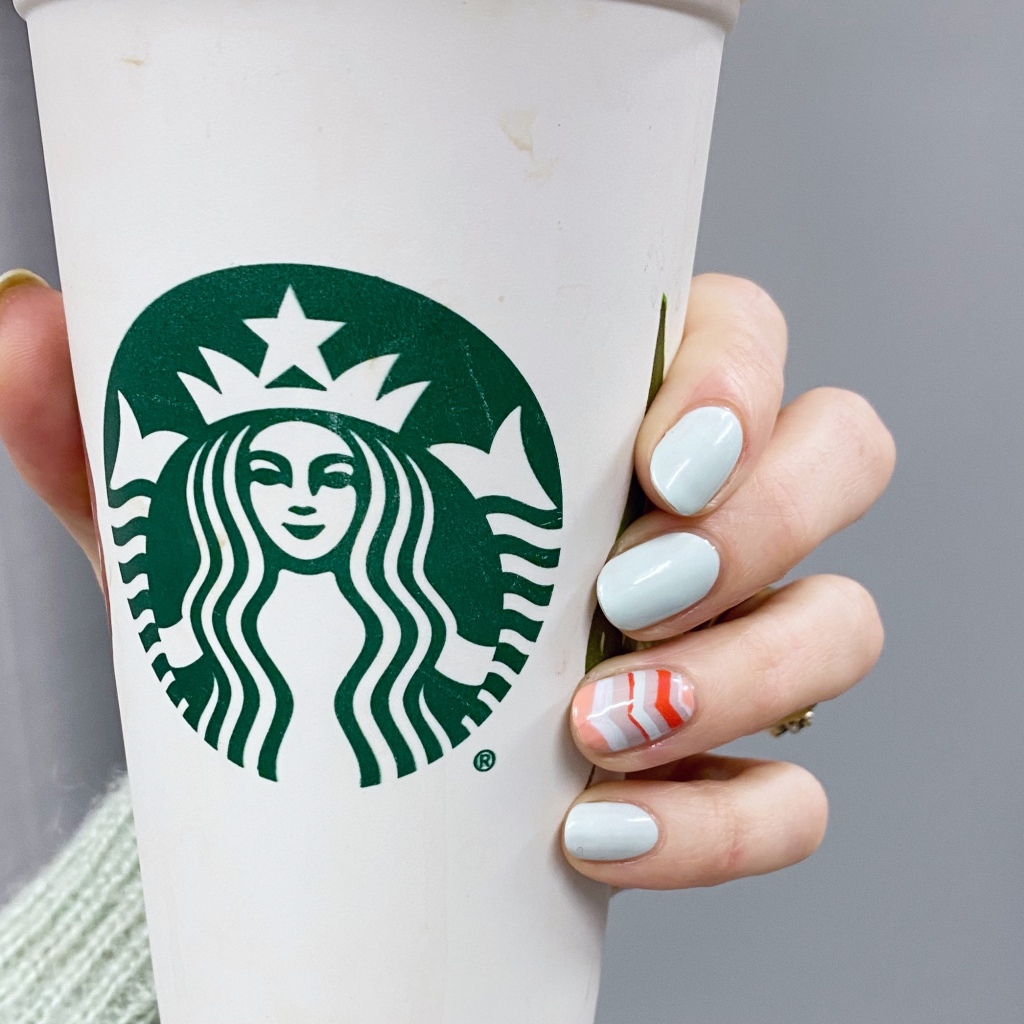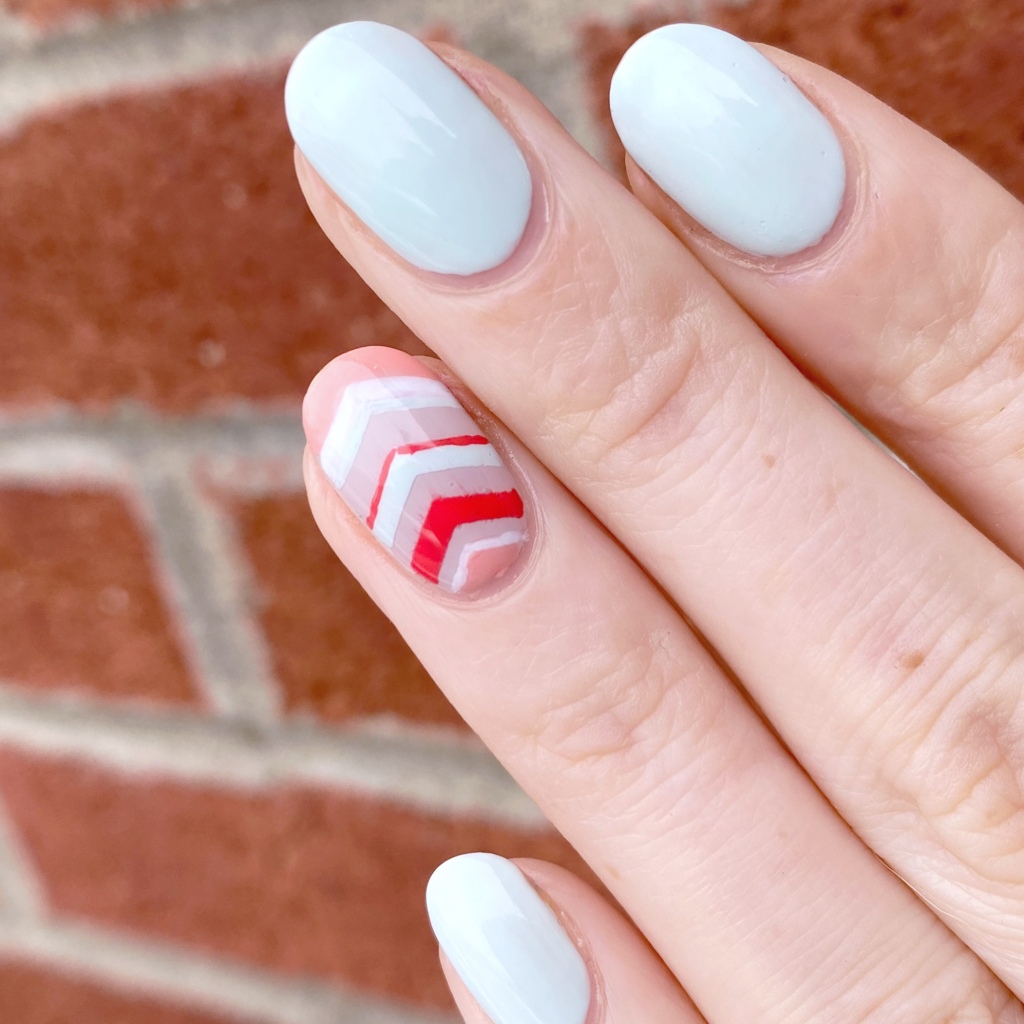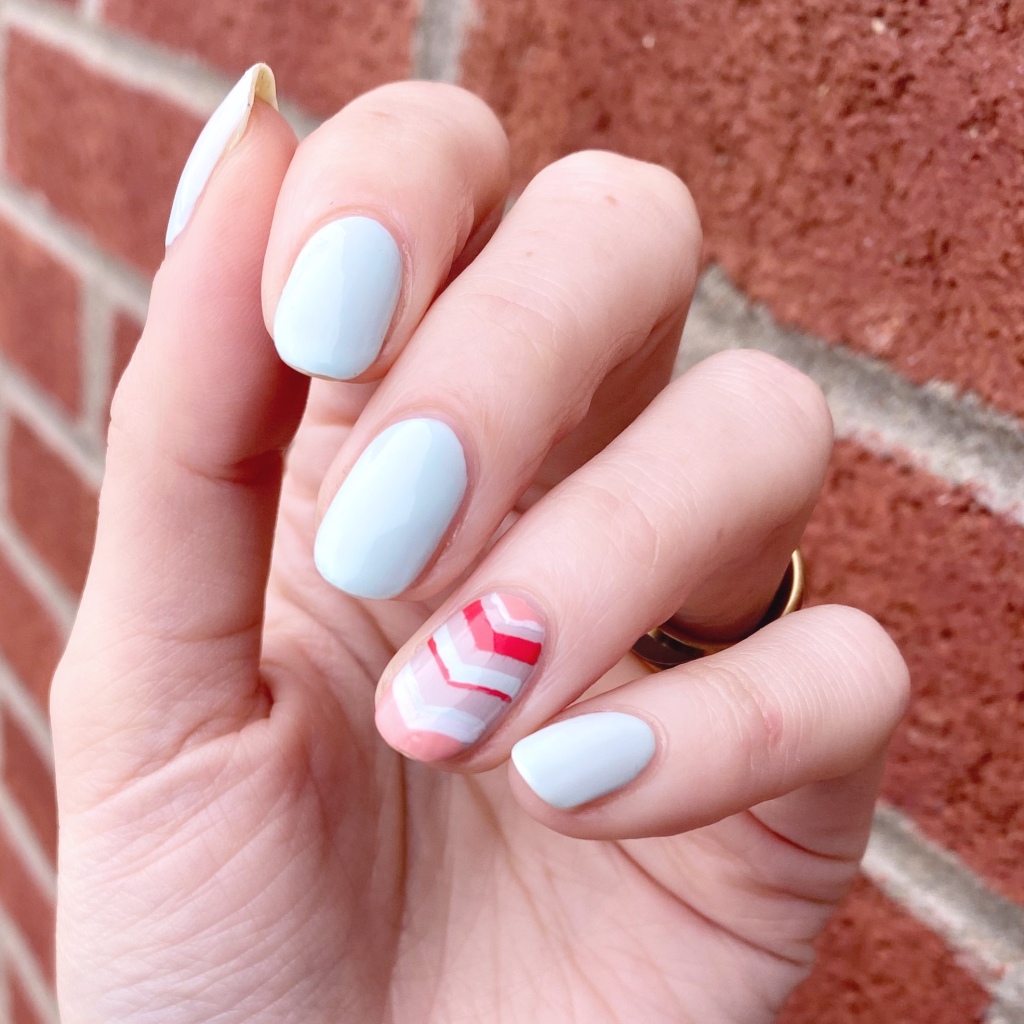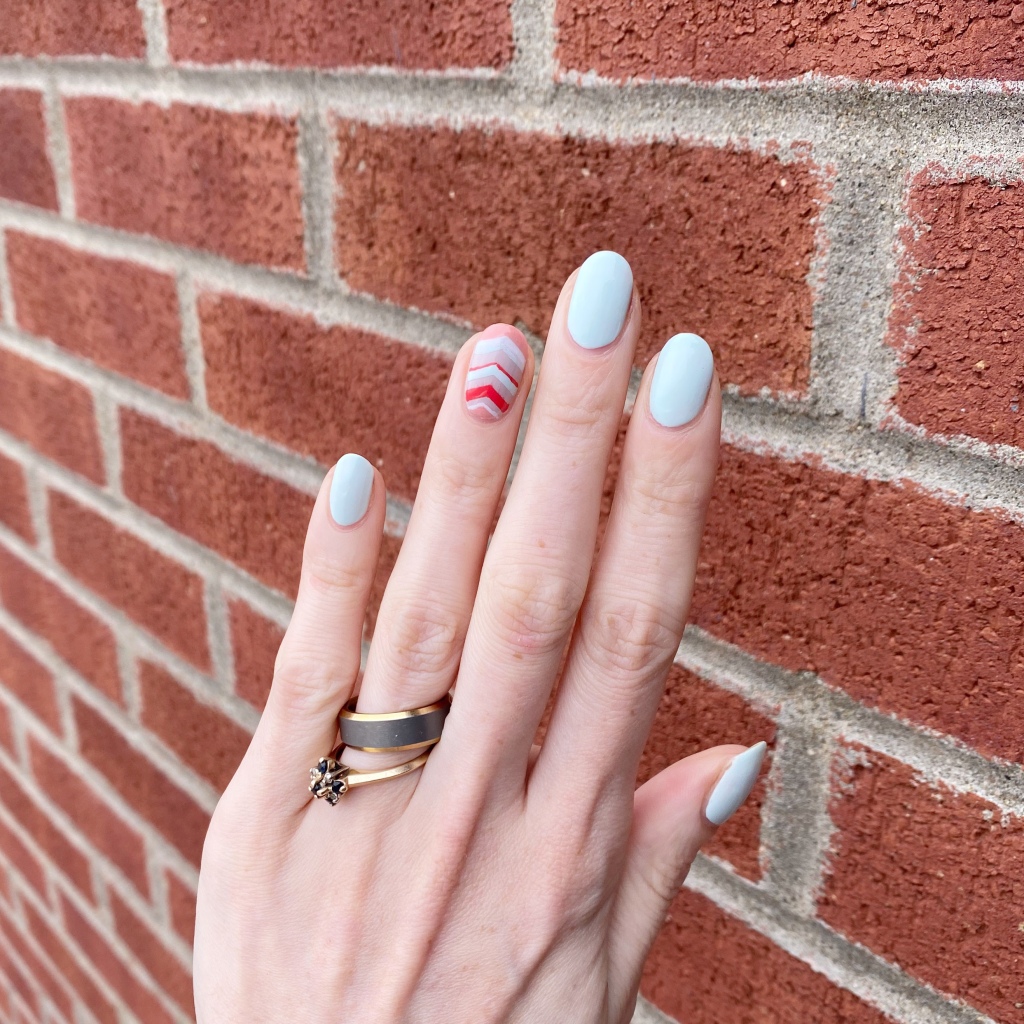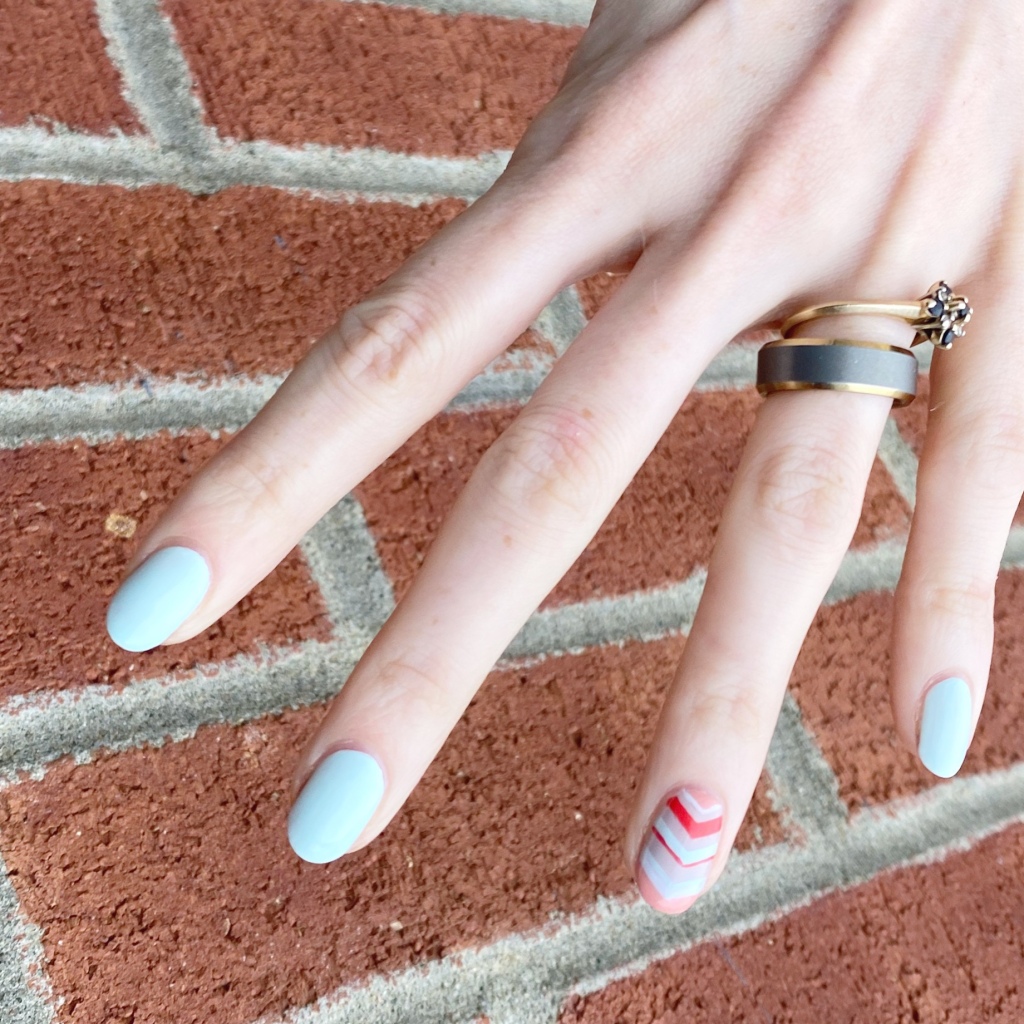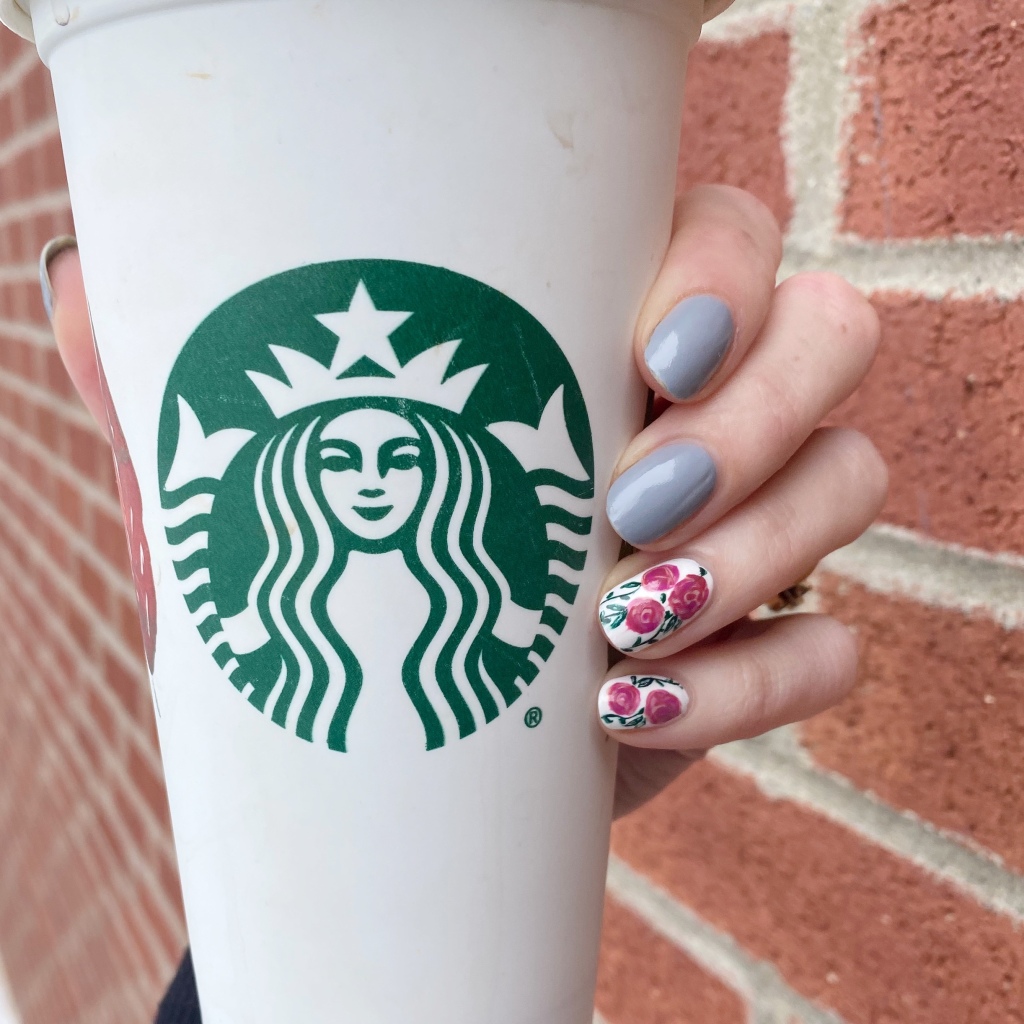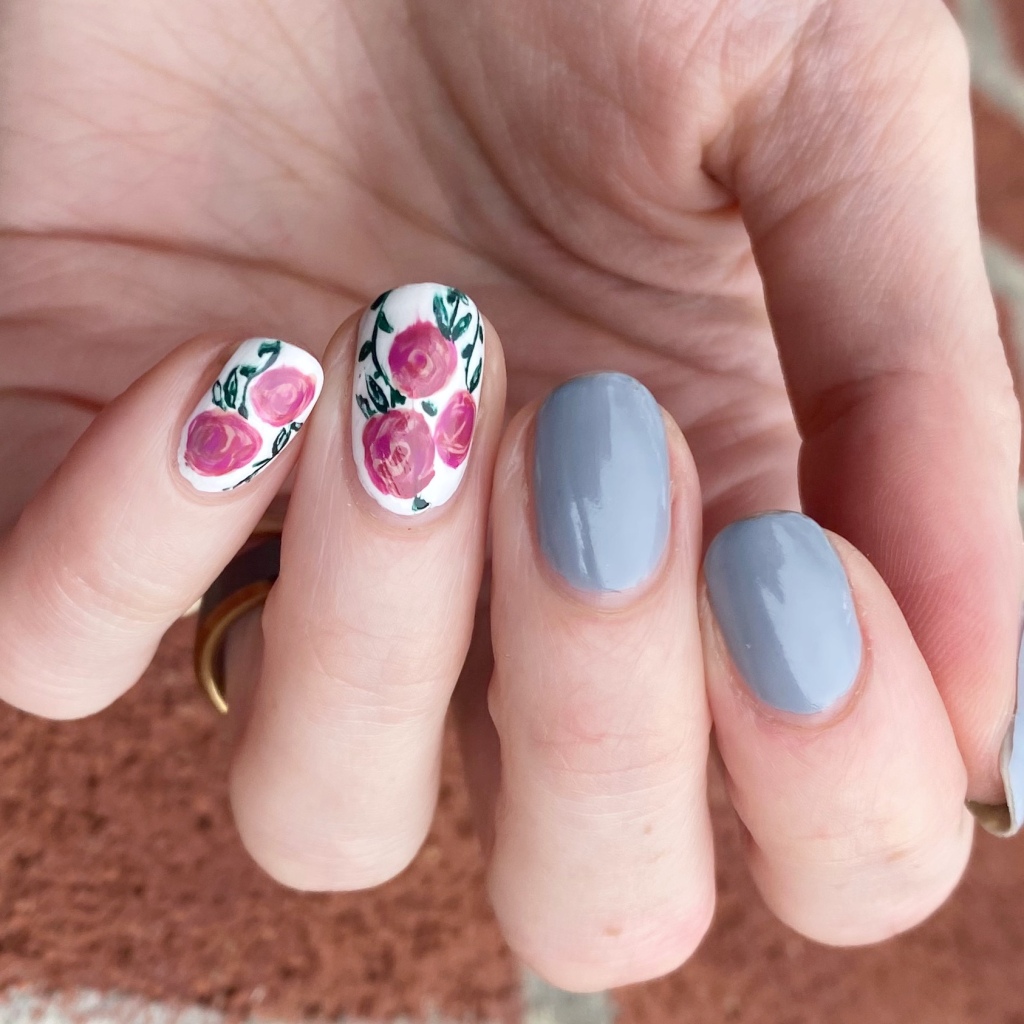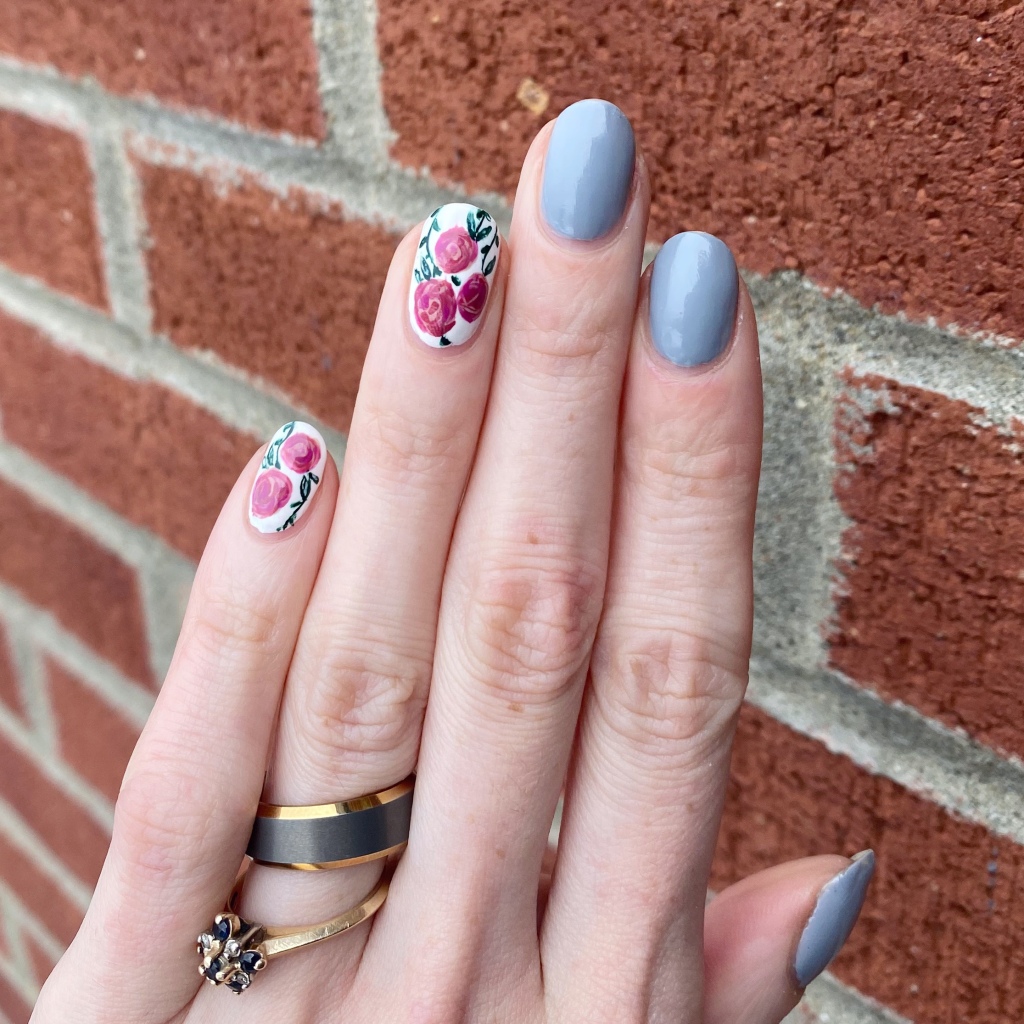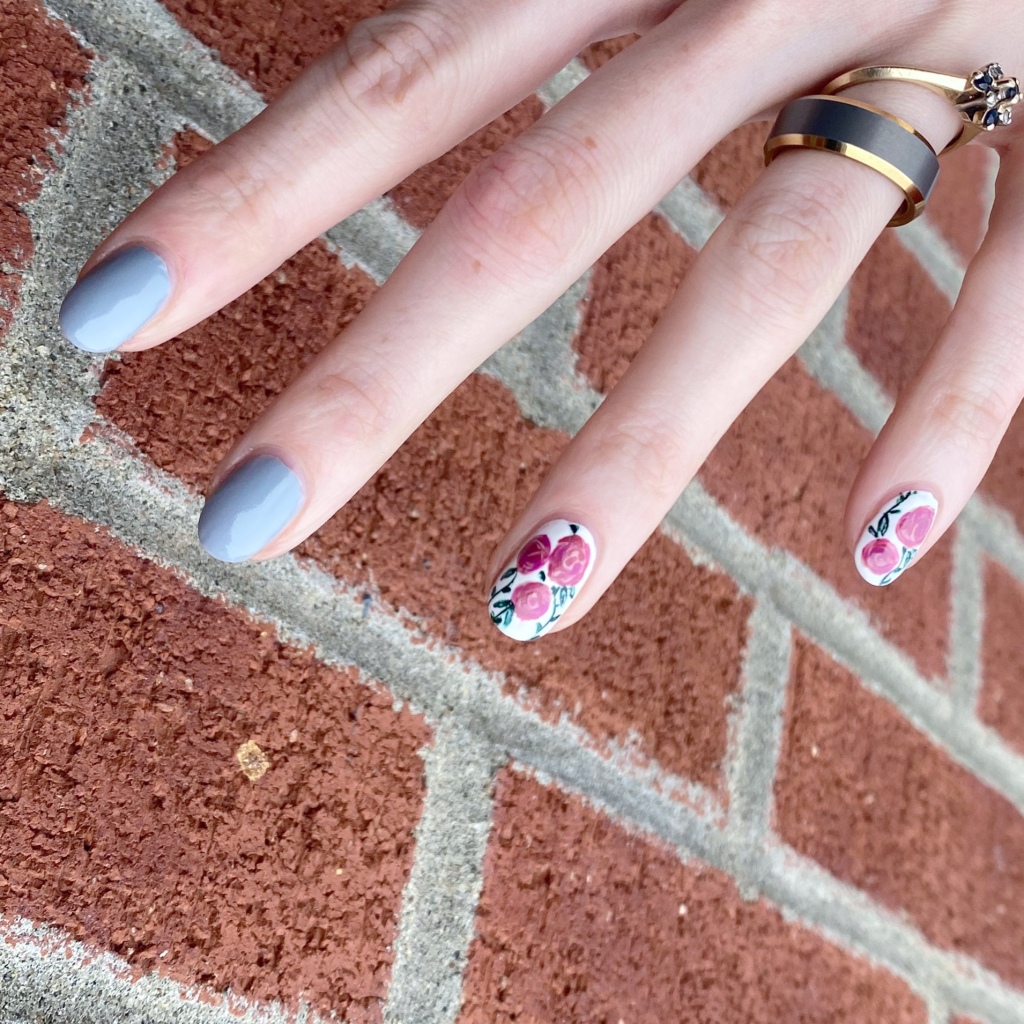
Hello loves & happy Thankgiving Monday! I hope everyone. had the most fabulous weekend, & is enjoying their Monday so far — especially if you happen to be off today. I’m excited to share off the next manicure for Glam Nails Challenge October, especially because I found this one a bit tricky… no pun intended. Haha. Here are my Trick or Treat nails.


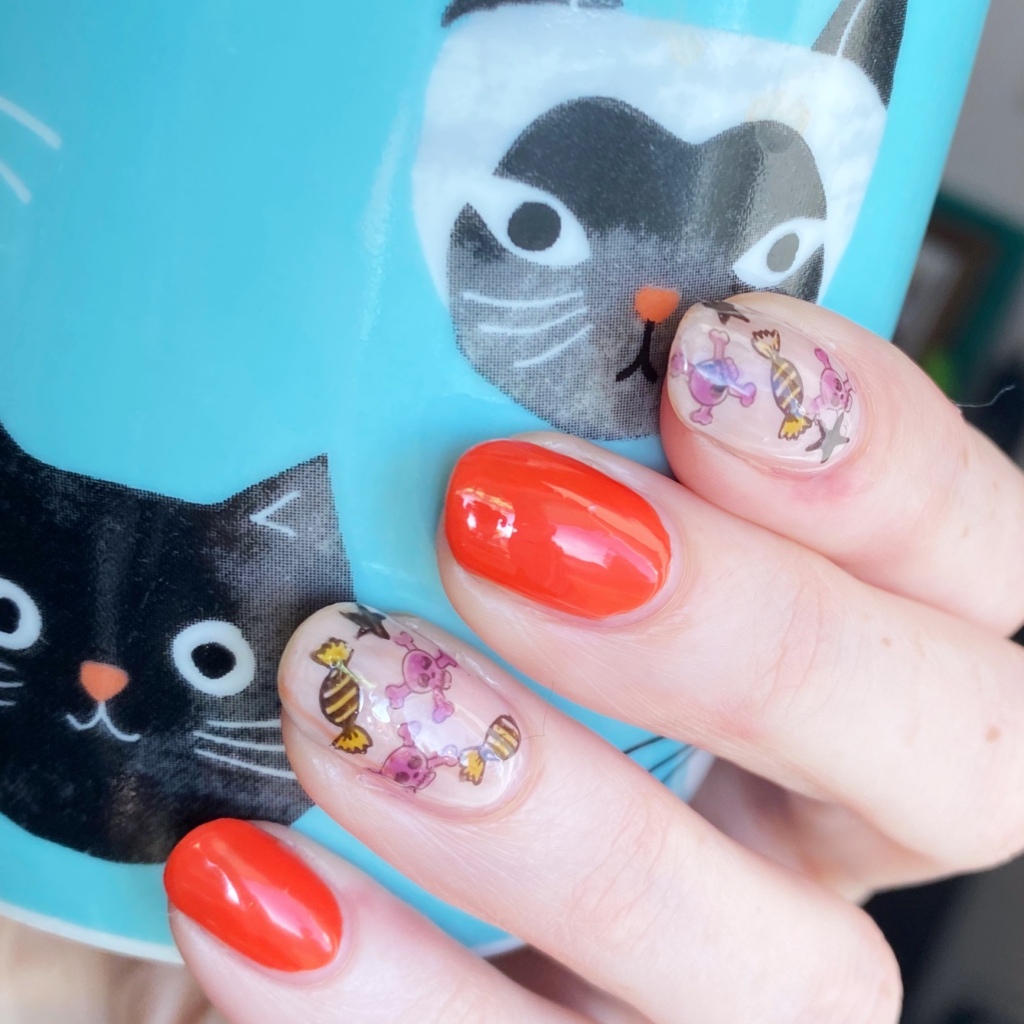
The polishes I used for this manicure are:
- Base Coat: Sally Hansen Miracle Gel Colour Grip Primer Base Coat
- Top Coat: Sally Hansen Insta-Dri Top Coat
- Sally Hansen Complete Salon Manicure Fiery Island
- Sally Hansen CSM Blush Around the World
- Sally Hansen InstaDri Ghouls Night Out
- Essie Amuse, Myself
- Essie No Shrinking Violet
- Essence “Stamp It!” Stamping plate
- Color Club Skull Stamping Plate
- NailStuff.ca Clear Stamper & Scraper Set
- NailStuff.ca 4mm Micro Detail Brush


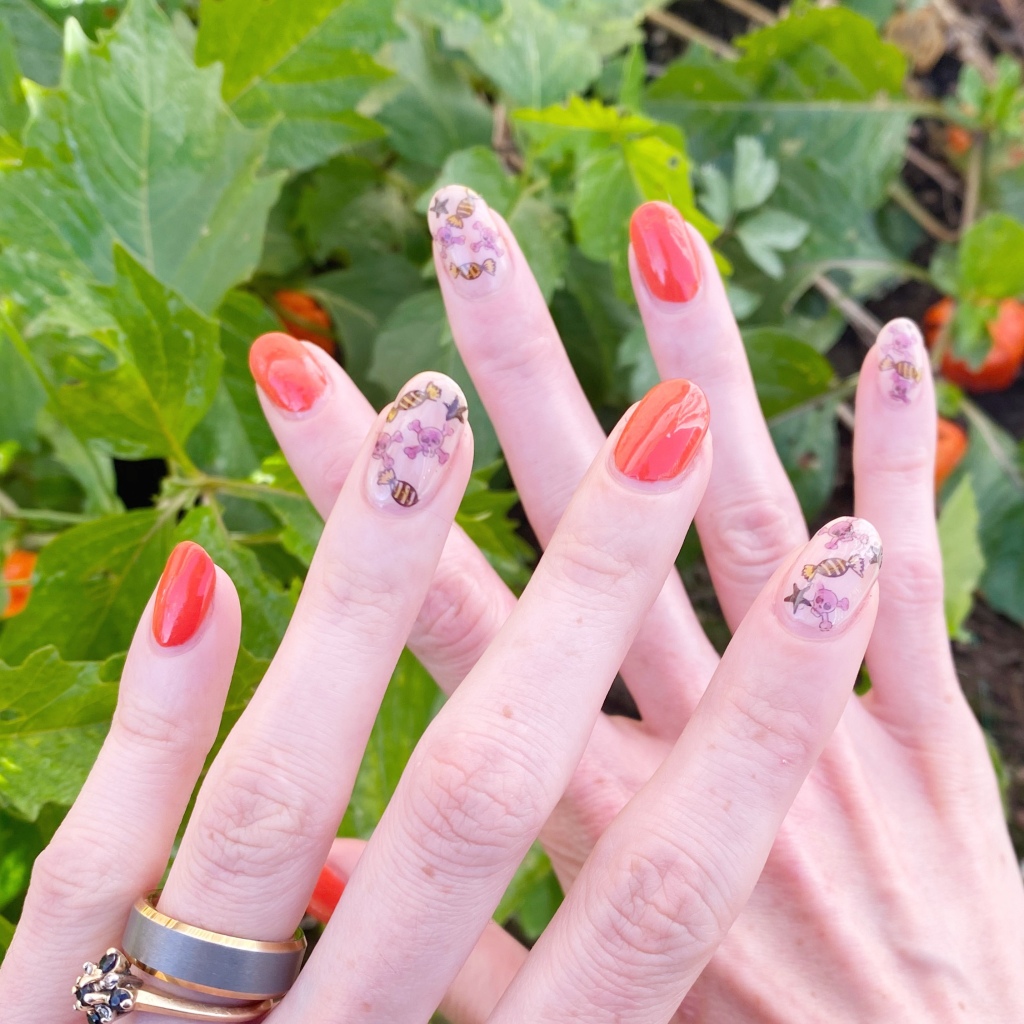
I had this idea of combining something sweet (like Candy) with something scary & spooky to convey the idea of Trick or Treat, & I think I was successful. Originally, I had just the black stamping my nails but it seemed a bit plain, so I went in with the two Essie water colour shades to fill them in & add a little bit of extra pop & I think it was exactly what it needed!
I cannot say enough how much I love these. A fun little manicure, perfect for Halloween.
What do you think about this trick or treat design? Did you get it as soon as you saw it? Let me know all your thoughts down in the comments below, & let me know what your favourite Halloween candy of all time is! If I had to choose, I would probably say sour patch kids!
♥︎