
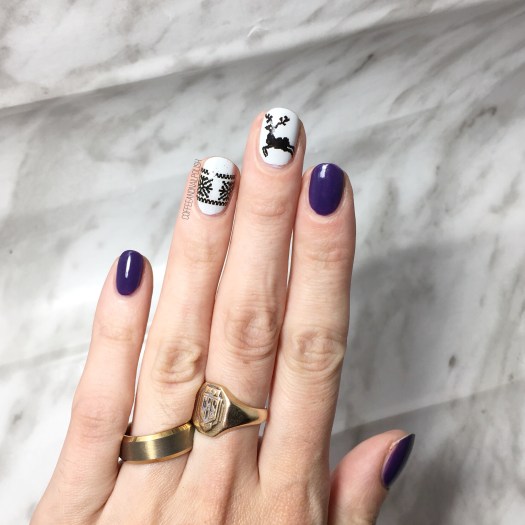
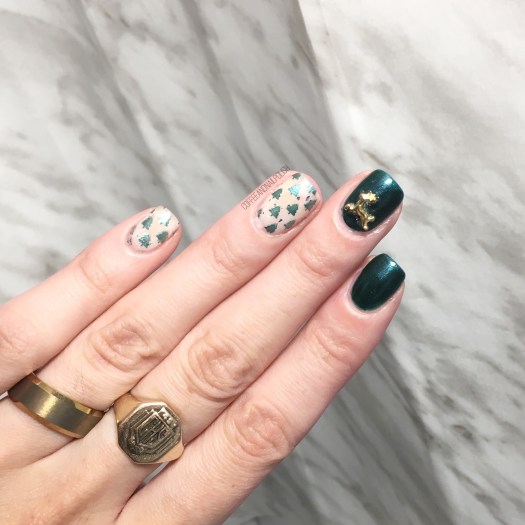
I’ve written before about my obsession with creating sweater nails. It’s one of my favourite styles for this time of year! So when I received these water nail decals from NailStuff.ca, I couldn’t wait to have a new way to create sweater nails, especially ones that I could do a bit faster (& a little less messier).
You can find my first experience with water decals–also from NailStuff.ca–here.

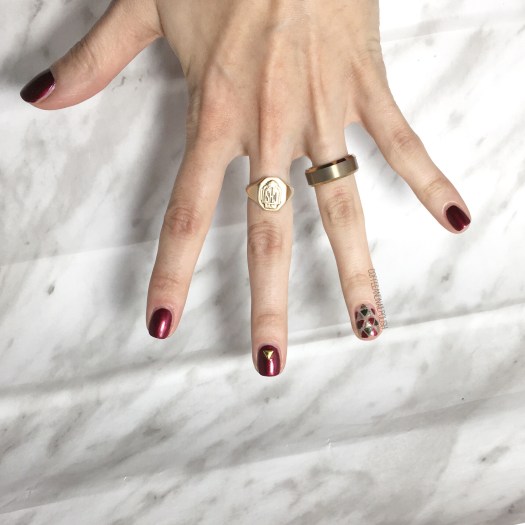
For this manicure, the products I used were:
- Base Coat: Nailtek 2
- Top Coat: Seche Vive
- Revlon Elusive
- Quo by ORLY Breathable Power Packed
- NailStuff.ca Christmas Fair Isle Water Decal in Grey/Black


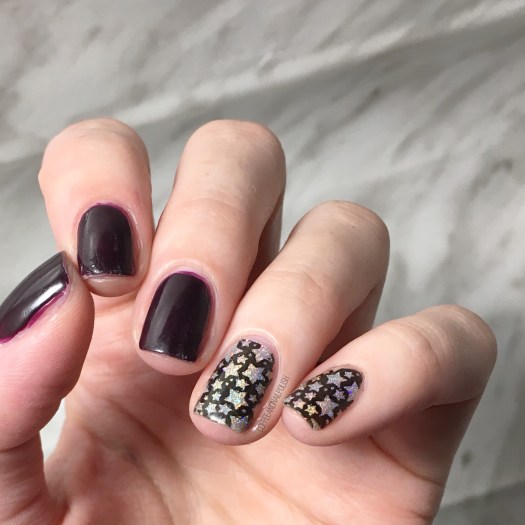
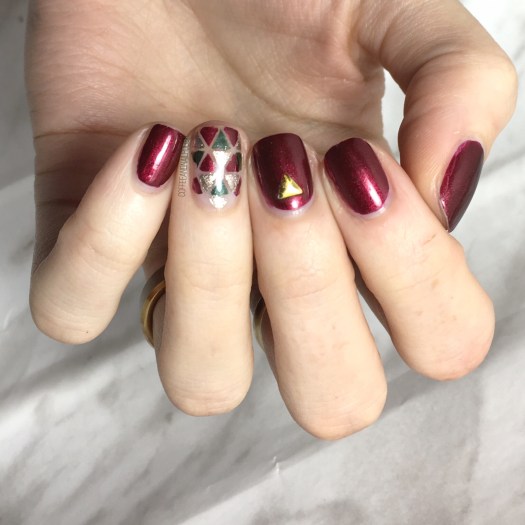
These decals were super easy to use. There are a whole bunch of different designs you can chose from, & you can pair different ones together or wear just wear the decals alone.
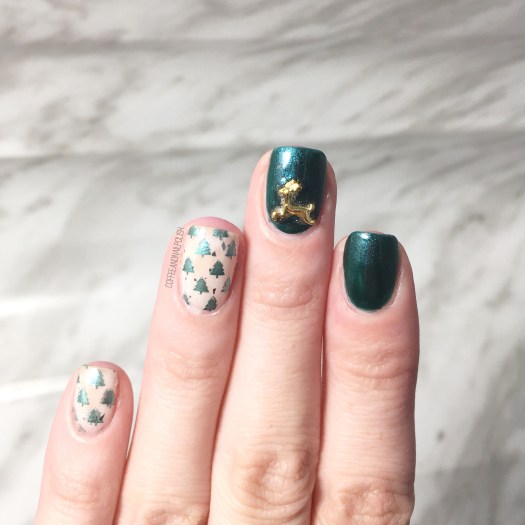
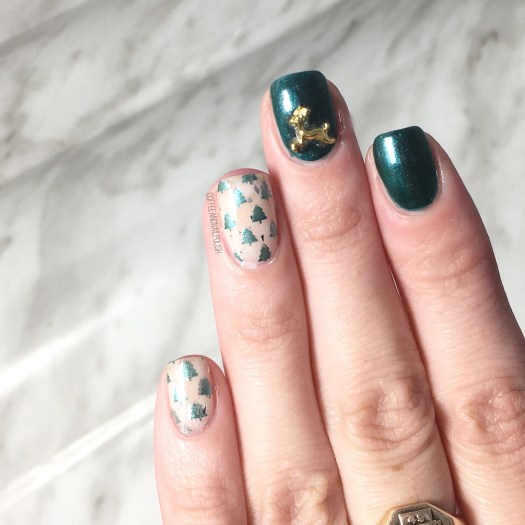
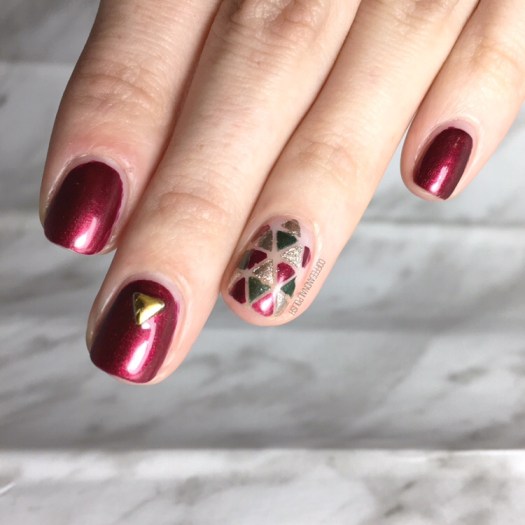
My only struggle was applying top coat–you want to make sure you’re using enough top coat when you seal in your design. My Seche Vive was a little low so I dragged the same spot twice & it pulled on the decal a little bit (on my ring finger). Also I found that sealing in your design with top coat was best before trying to clean up any excess with acetone so you don’t accidents pull your water decal sideways on your nail (if it isn’t dry enough). Since I’m still relatively new to these decals, these issues are definitely all on me. I think as I practice more, I’ll learn more of these little application tricks.

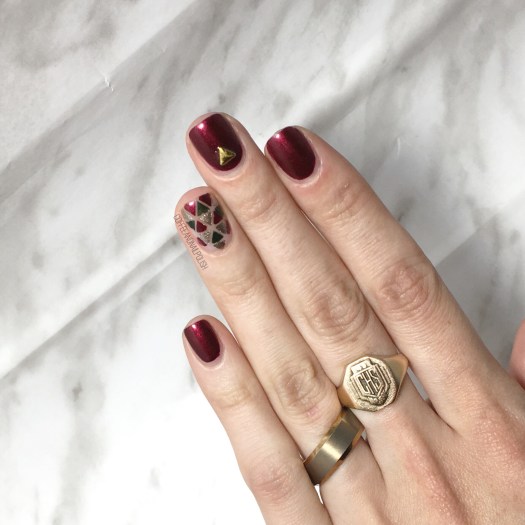
what do you think of these water decals? Would you try out this sweater nail look? Let me know what you think in the comments below! ❄️
*PR SAMPLE* Some of these items were sent to me for review. However, all opinions are my own


 <<<<<
<<<<<
 <
<


 <
<
 <<<<<<<><<

