Christmas Penguin accent nails!

Good morning lovelies! I’m back again, & I have another Christmas-y design to share… after all it’s only 3 more days until Christmas. (When did that happen?) Today’s look is a surprisingly easy look that I’ve done & redone over the years & always come back to.

I actually did this nails last weekend, but anyone else who works in retail this time of year probably understands the craziness which is my life right now… barely any time to breathe, let alone write a blog post… just counting down the days to my two days off over Christmas. It’s going to be GLORIOUS!

For this look, the polishes I used were:

  • Base Coat: Essie Grow Stronger
  • Top Coat: Essie Gel Couture Top Coat
  • Sally Hansen Miracle Gel Sprinkled With Love
  • Sally Hansen Miracle Gel Make It N-ice
  • Sally Hansen Hard As Nails Black Heart
  • Sally Hansen Hard As Nails Let’s Snow
  • Sally Hansen Miracle Gel Good Cheer-y
  • Sally Hansen Complete Salon Manicure Fiery Island
  • Small dotting tool
  • Small nail art brush (obsessed with my collection from www.nailstuff.ca

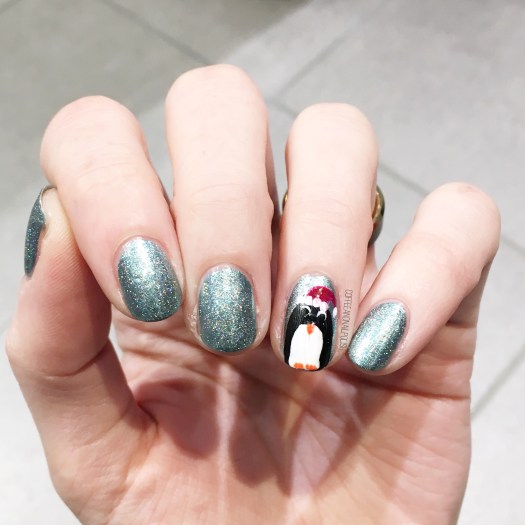
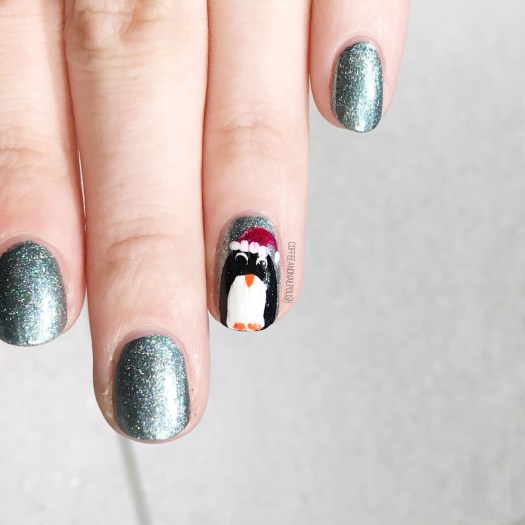
First I started off by laying Make It N-ice over Sprinkled with Love for a little extra sparkle…. because tis the season. & then I freehanded my little penguin over top on both my ring fingers to make my look more festive. I first saw this look on Pshiiit Nails (via Pinterest) & just loved how it looked so I needed to recreate. & obviously I had to add a little a festive Christmas-ness with some Santa hats!

My only complaint is that my top coat smeared my penguins a little. I’ve been testing out the Essie Gel Couture Top Coat & while the lasting power is amazing, it’s not my favourite top coat for putting over nail art because it does seem to smear designs. Guess I’m still on the hunt for the perfect one!

what do you think of this penguin design? Have you figured out what you’re wearing for Christmas? Let me know down below!

Cactus Accent Nails 🌵💅🏻

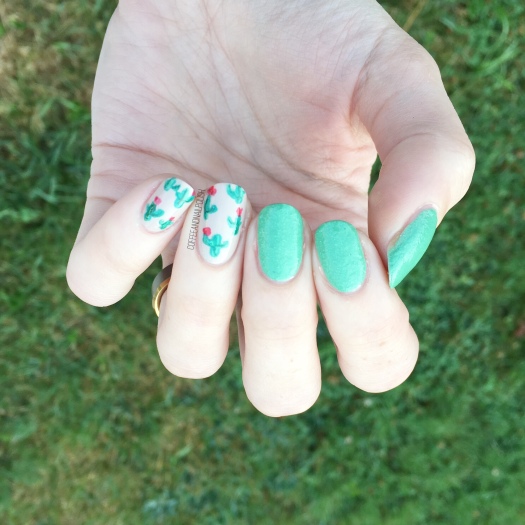
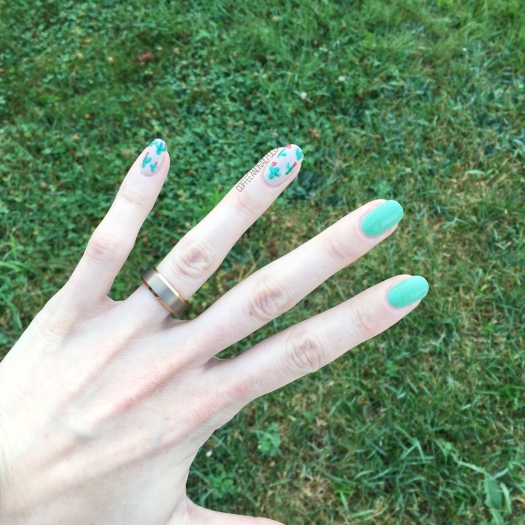
Happy Thursday! It’s been a while since I rocked any cactus nails, & I was craving some vibrancy. I don’t often reach for green polish when painting my nails, but I’ve been trying to get out of my comfort zone. Keeping with that, I decided to pull a green (textured) polish from deep in my stash that I haven’t worn in too many years to count, & paired it with some cute cacti on my accent nails!

Polishes I used for this design were:

  • Base Coat: OPI Nail Envy
  • Top Coat: Essie Speed Setter
  • LA Girl Sand Blast Nail Polish in Green Island
  • China Glaze What’s She Dune?
  • Essie First Timer
  • Essie Off Tropic
  • Deborah Lippmann She Drives Me Crazy
  • Essie A-List
  • OPI I Eat Maine-ly Lobster
  • Small detail brush (from Bundle Monster)
  • Small dotting tool (from Bundle Monster)

Sadly I kind of hid the texture of LA Girl Green Island with my top coat, but it came through a bit. This was my very first textured polish, back in the very early days of my nail art. It was also the beginning of my obsession with finding nail polish deals at Lawton’s—I remember scoring it & a blue Sand Blast Polish for only a dollar. & so began my obsession with finding old polishes at awesome deals. & I still hate spending full price for polish to this day!

Also I love creating these little freehand cactus. Still on the search for some cactus nail vinyls, because I’m a little cactus obsessed, but in the meantime I don’t mind freehanding my cacti. I also just picked up a new stamping plate from Essence with a cactus on it, so stay tuned as I plan on trying it out soon (hopefully this weekend!)

What do we think of this design? Do you still have any textured polishes in your stash? Let me know down in the comment below!

Mani Swap with @mugglenails

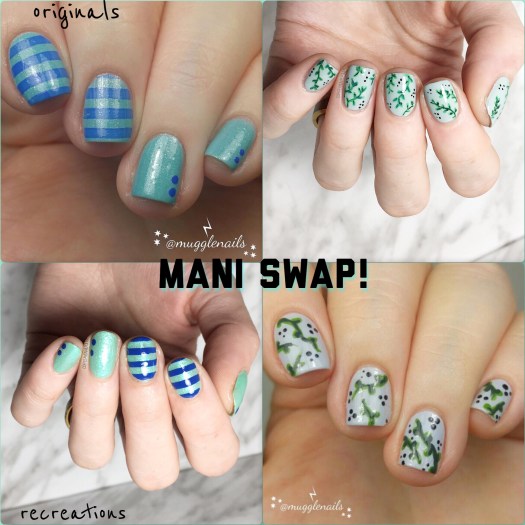
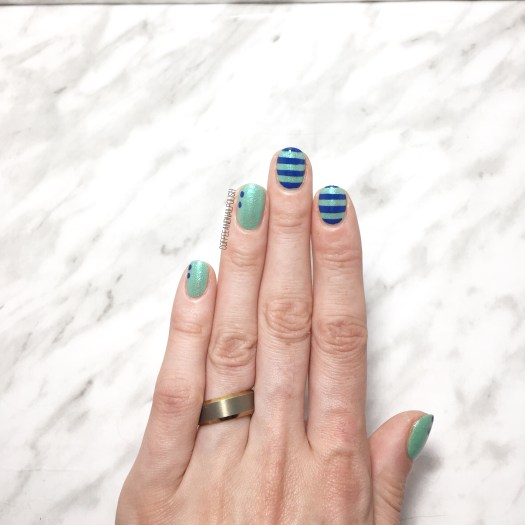
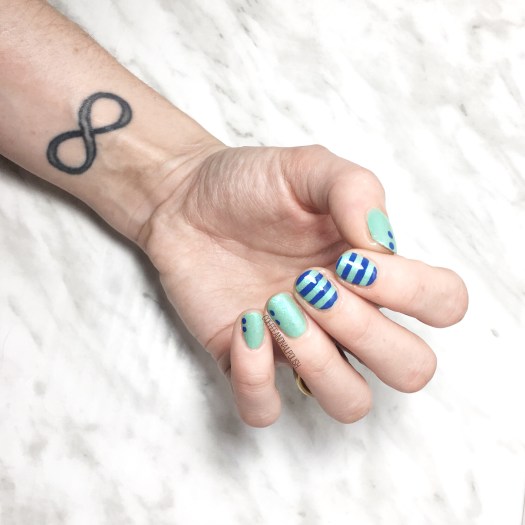
It feels like forever since I had to opportunity to join one of my fellow nail art addicts in a mani swap. So I was super excited to be able to team up with a fellow Canadian nail polish addict @mugglenails in a fun design swap. Meghan always comes up with such creative nail art patterns & colour combinations. So it was really fun to scroll through her feed to pick a design to recreate!

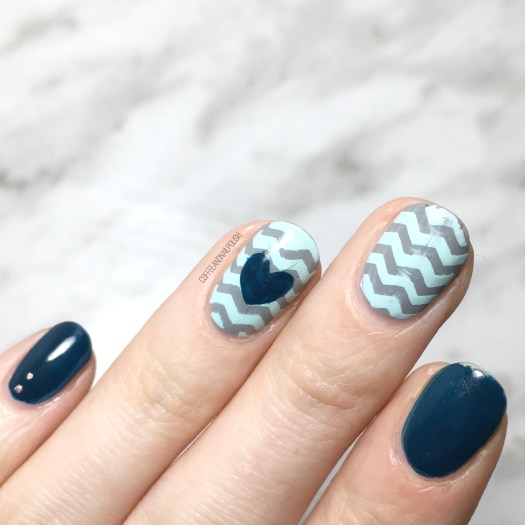
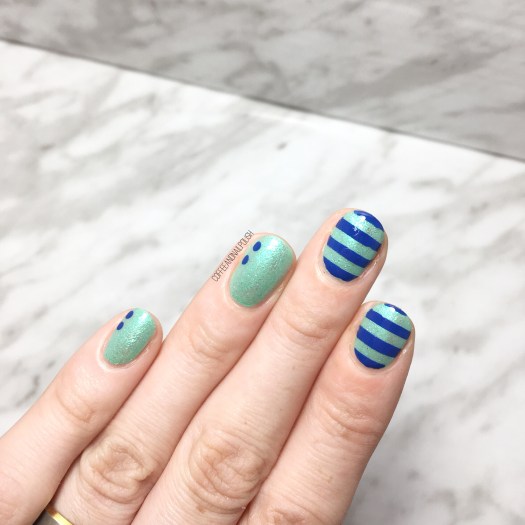
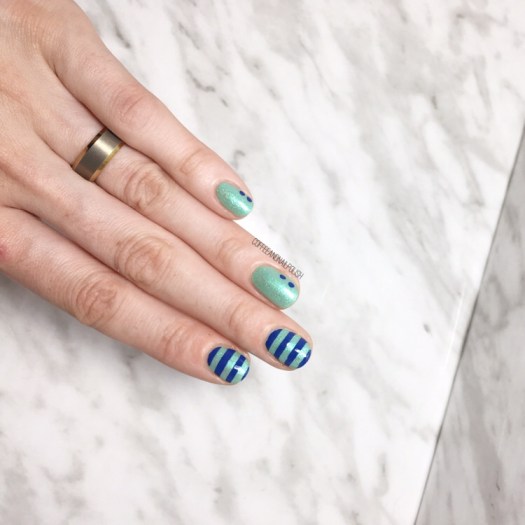
I had narrowed it down to two designs of hers, but in the end I kept coming back to this blue & aqua design. There is something about the colour combination which felt so nautical, I just couldn’t get it out of my head. Very, very Summery! For her design, Meghan recreated my green vine design from a few months back.

For this design, the polish I used were:

  • Base Coat: OPI Nail Envy
  • Top Coat: Essie Gel Setter
  • Essie First Timer
  • Icing Stores Mermaid Mint
  • Essie All the Wave
  • Born Pretty Store Aurora Rainbow Nail Striping Tape (item #40423)
  • Medium sized dotting tool

There is something about this colour combination that just makes me swoon. Maybe because it feels so Summer-y & reminds me of the ocean. I mean, I’m an East Coat Girl… the ocean is in my veins. I will always adore a nail design with a nautical theme. All this design needs is a quick accent anchor for it to go full nautical. But I kind of like the fact that it’s kind of subtle–it makes this design a much more everyday look. This colour combo isn’t my everyday choice, & yet I’m completely obsessed with it!

What do you think of this mani swap? Do you think my recreation was successful? Share your thoughts down in the comments below!

Get Canada Day 🇨🇦 Ready with Nail Polish Canada

Hello lovelies & Happy Thursday. This week is certainly speeding by… & so is this month!

Can you believe that it’s only 17 days until Canada Day? Which means that it’s time to start thinking about what I’m going to do on my nails for the occasion! Thankfully Nail Polish Canada has once again teamed up with some bloggers to share the Canadian love & help make it easier for you to create some Canada Day nails.

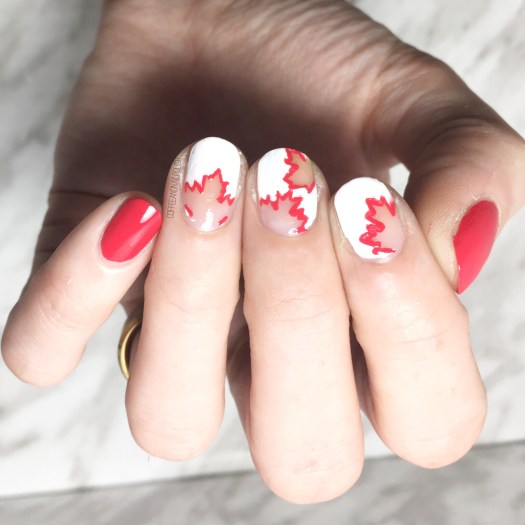
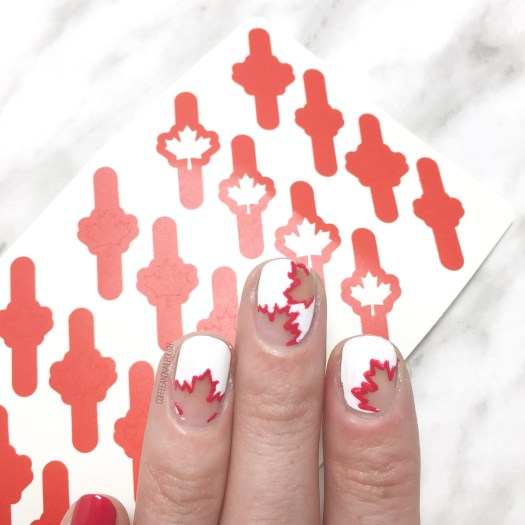
When trying to come up with some Canada Day nails, I had this idea of doing negative space nails with a red maple leaf outline. Instead of using the stencil, I decided to apply the maple leaf vinyl to my nail & paint over top to create the maple leaf outline & then go back over top with red. What it created was this cool negative space maple leaf design.

The polishes I used for this manicure were:

  • Base Coat: Sally Hansen Green Tea + Bamboo Strength
  • Top Coat: Essie Gel Setter
  • Sally Hansen Hard As Nails Hard To Get
  • Sally Hansen Complete Salon Manicure Killer Heels
  • Nail Polish Canada What’s Up Nails Canada Flag Nail Stencils
  • Bundle Monster Small Detail Brush

These stencils are so easy to use! I was nervous about using them this way, just because I didn’t want my polish bleeding underneath & making me have to start all over again. The end result was almost exactly what I had pictured in my head–a little bit different Canada Day design besides your typical flag design! This would definitely be a fun look to wear for whatever plans you had for your Canada Day celebrations… hopefully for me it will involve Barbecue & fireworks!

So for all my Canadian friends who want to come up with some cute Canada Day designs, you’re in luck! You can get your very own Canada Fay Maple Leaf stencils for free! I have a code from Nail Polish Canada which will score 10 of my readers free vinyls!

My coupon code: Q72RLBNQQM

If you go to Nail Polish Canada (click here) you can add that special code & get your Canada Day Vinyls for free!

& if you give this negative space look a try with your vinyls, tag me so I can see!

Have a happy Thursday lovelies! ♥️

Floral & Gold Nails inspired by @thelittlecanvas

Happy Saturday! & Happy Royal wedding day! Who else was up early watching all the Royal wedding coverage? The Bubs had me up at 5:30am, but I was already planning on getting up to watch coverage of the event.

I don’t have royal themed nails to share with you today, although personally I think this floral design would be perfect for any wedding! Today’s design was inspired by a manicure @thelittlecanvas posted back in March. I loved everything about it (Alaina always does the prettiest accent nail designs!), so naturally I had to recreate. Plus it was an opportunity to pull out one of my favourite vibrant blues that I haven’t worn in a while.

For this manicure, the polishes I used were:

  • Base Coat: Nailtek 2
  • Top Coat: Seche Vive
  • ACO by Ardene Whacky
  • OPI My Favourite Ornament
  • OPI Chiffon My Mind
  • Sally Hansen Miracle Gel Pretty Piggy
  • Sally Hansen Miracle Gel Super Charge
  • Essence The Green & The Grunge
  • Sally Hansen I ♥️ Nail Art Pen in Black
  • Bundle Monster detail brush
  • Bundle Monster large & small dotting tools

I love that event though this is a relatively easy design to create, the combination of everything just makes your nails look so fancy. Plus they look way more complicated than they actually are. I’m still trying to find more floral designs to do that aren’t just my typical roses that I can pull out when I’m feeling floral on my nails. Which, lets be honest, is 95% of the time.

What do you think of this floral? Do you think I stayed true to my inspiration? & if you’re on the hunt for new nail art inspiration & haven’t already discovered Alaina, definitely check out her Instagram & blog because she always come out with the most amazing patterns & designs!