Blue Abstract Swirly Stripes

Hello lovelies & happy Tuesday! & happy February. One month of Winter down, only a few more to go. & we’re officially into another favourite month of mine for nail art — bring on ALL the Valentine’s Day nail art.

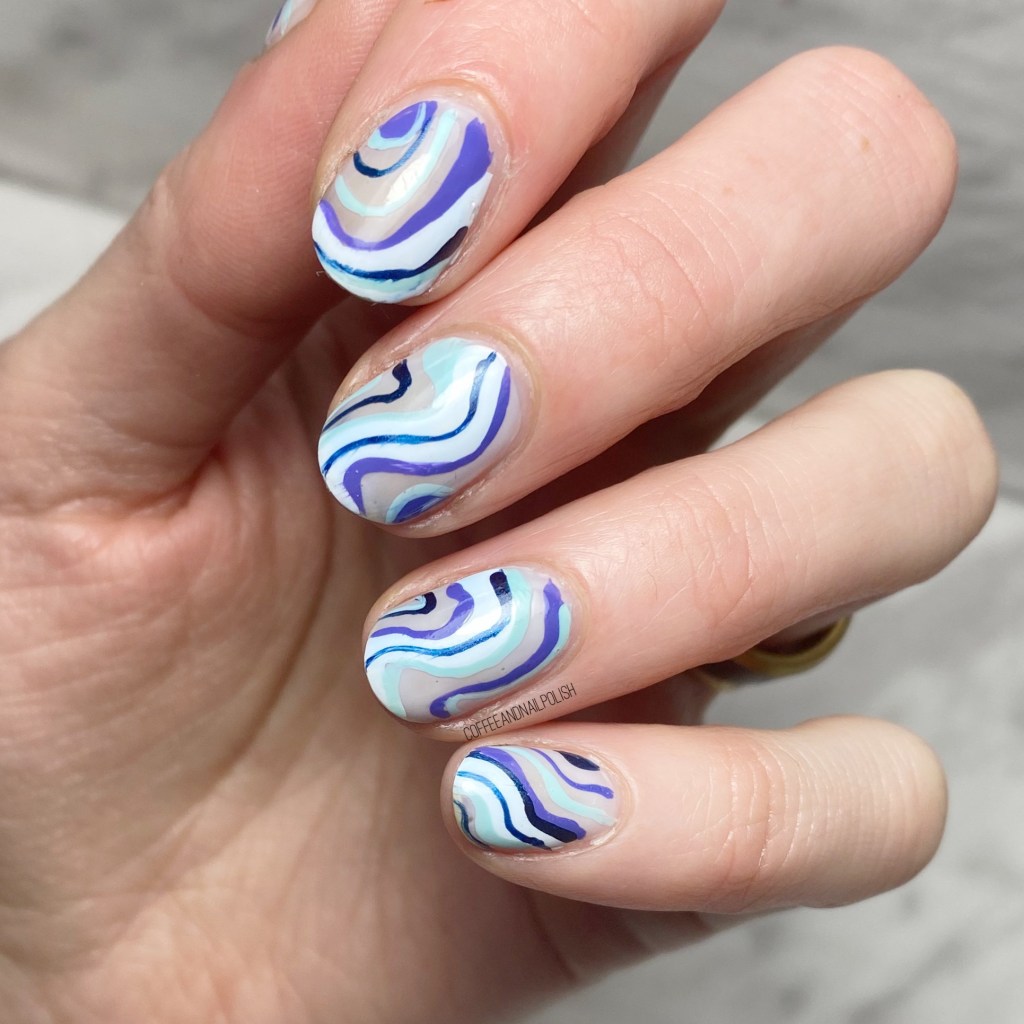
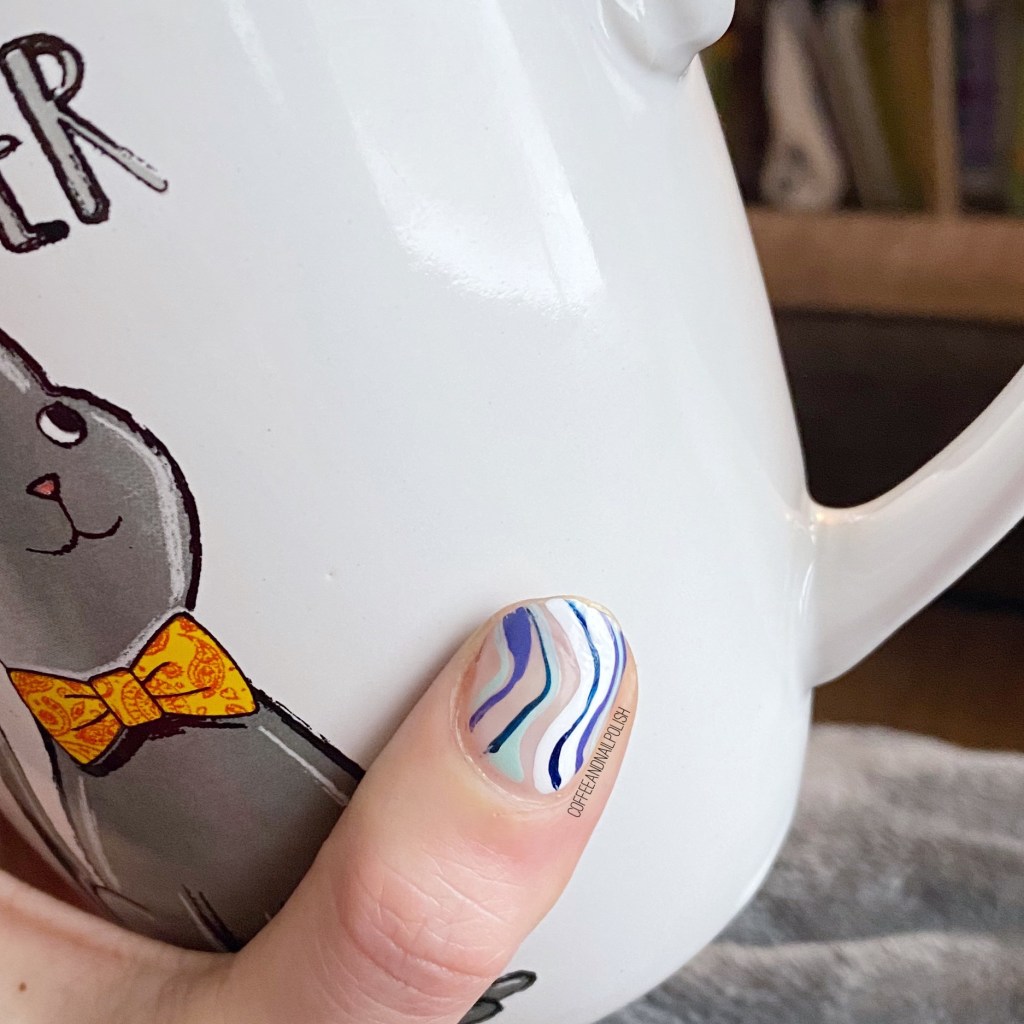
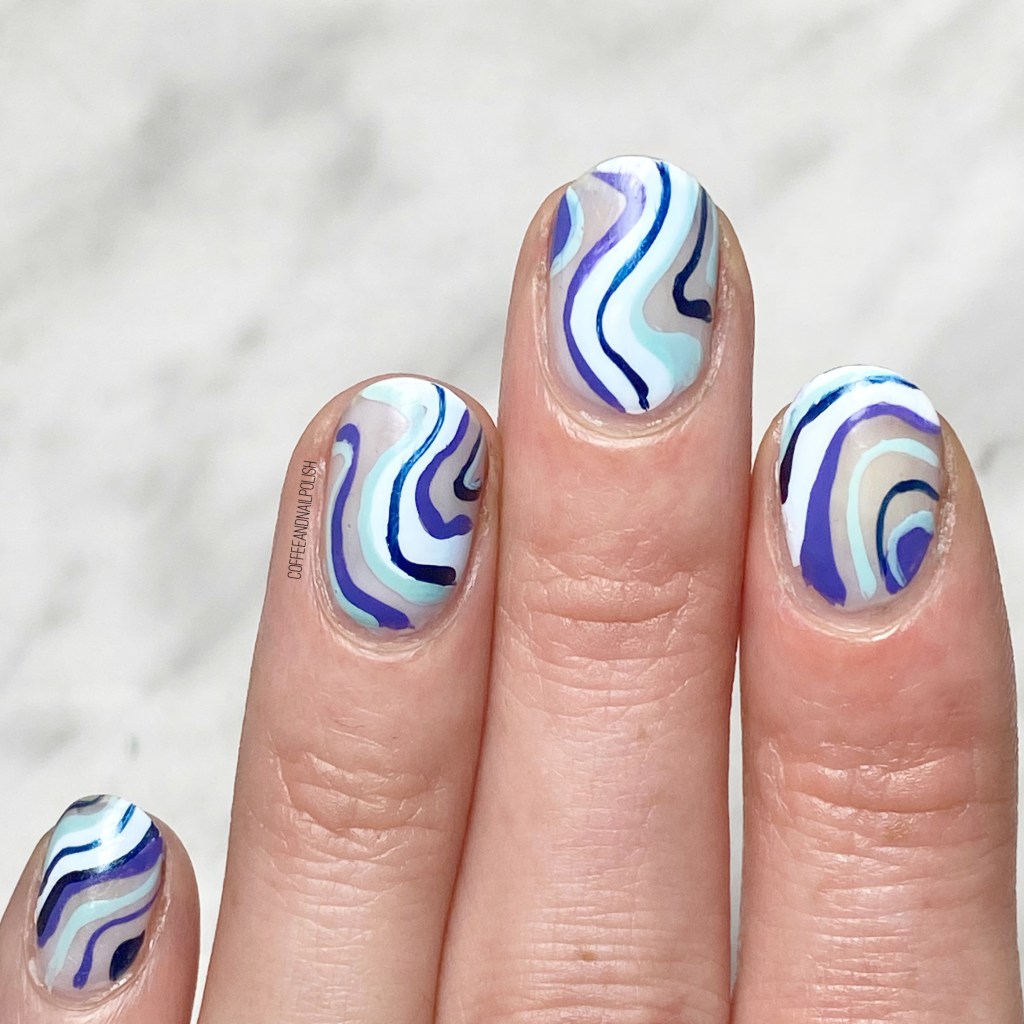
However, before I jump full tilt into all pink all the time, I thought I would share this fun blue swirly look I recently did on my nails. I’ve talked endlessly about my love for these swirly abstract stripes, so when I’m stuck on inspiration I always turn to this look. & yep — went with blue again! I was feeling some fun Essie blues, & I feel like they pulled everything together so well.

The polishes I used for this manicure are: 

  • Base Coat: Essie Millionails
  • Top Coat: Seche Vive
  • Essie Ballet Slippers
  • Essie Blanc
  • Essie Suite Retreat
  • Essie Bell Bottom Blues
  • Essie Mint Candy Apple
  • NailStuff.ca 16mm Striper Brush

The best part of this style is how easy it is to muck it up. You just add more layers, & (usually) it’ll bring everything together. The sheer base of Essie Ballet Flats, which I haven’t worn in a really long time, just helps the colours pop out a bit. You see the lines a bit better, I find, with a more sheer, or naked base.

I also did a cute version on my daughter who loved mine so much she wanted to match. I shared a Reel on instagram of them, if you’re curious. Also, this is a surprisingly easy look to do on a two year old, if you can get them to sit still long enough haha.

What do you think about these blue swirly stripes? Are you still a fan of this style of nail art — I know they’ve been really, really popular on Instagram lately, but I don’t think I’ll ever be sick of them. They just are too easy, & too cute! They make me very happy.

Have a lovely Tuesday, & stay warm!
Abstract Candy Cane Accent Nails

Hello lovelies & happy Tuesday!

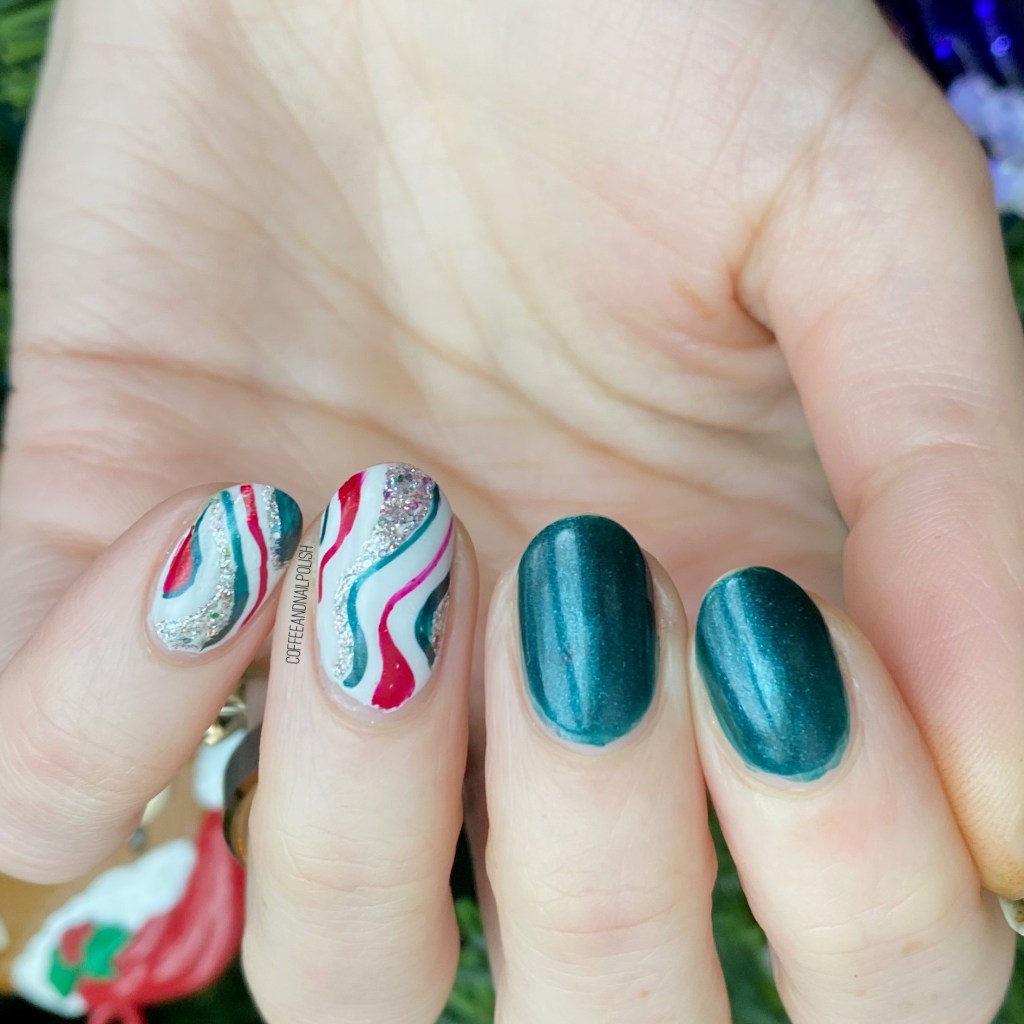
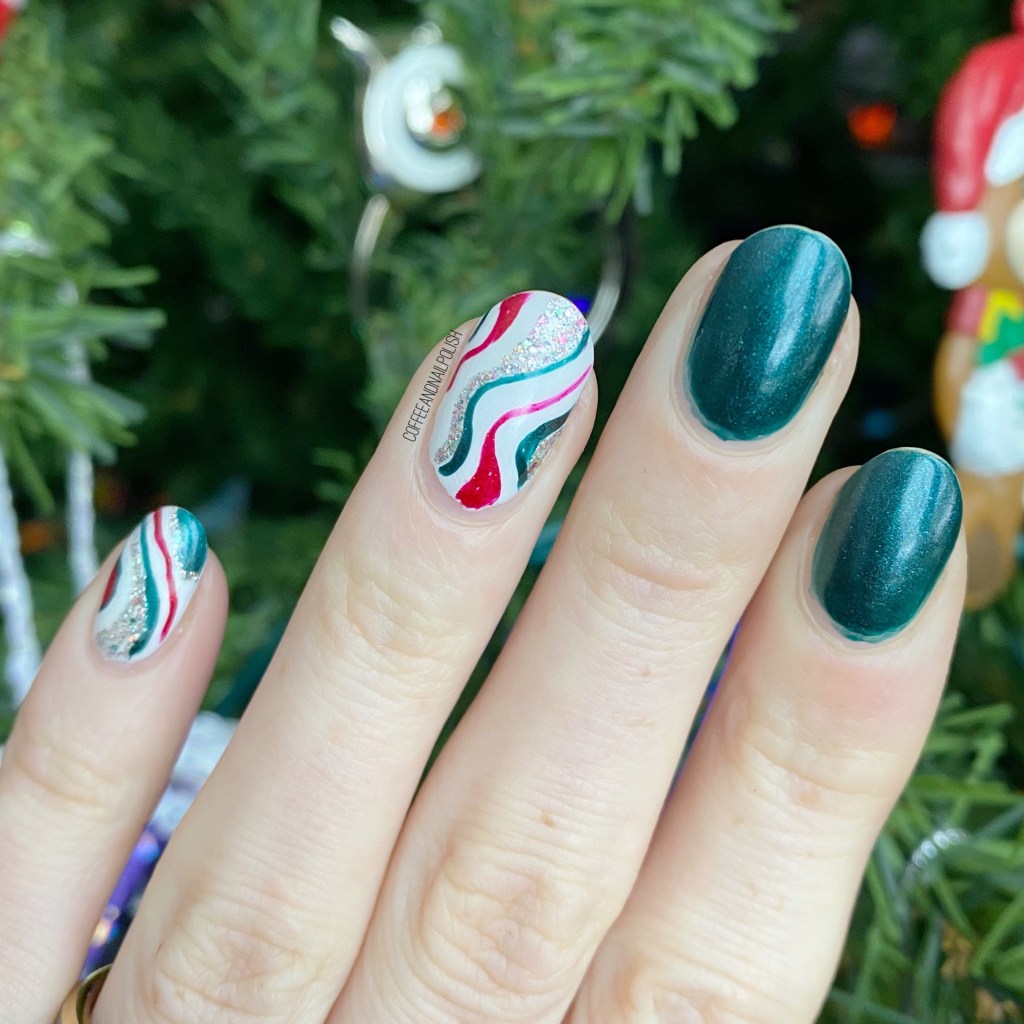
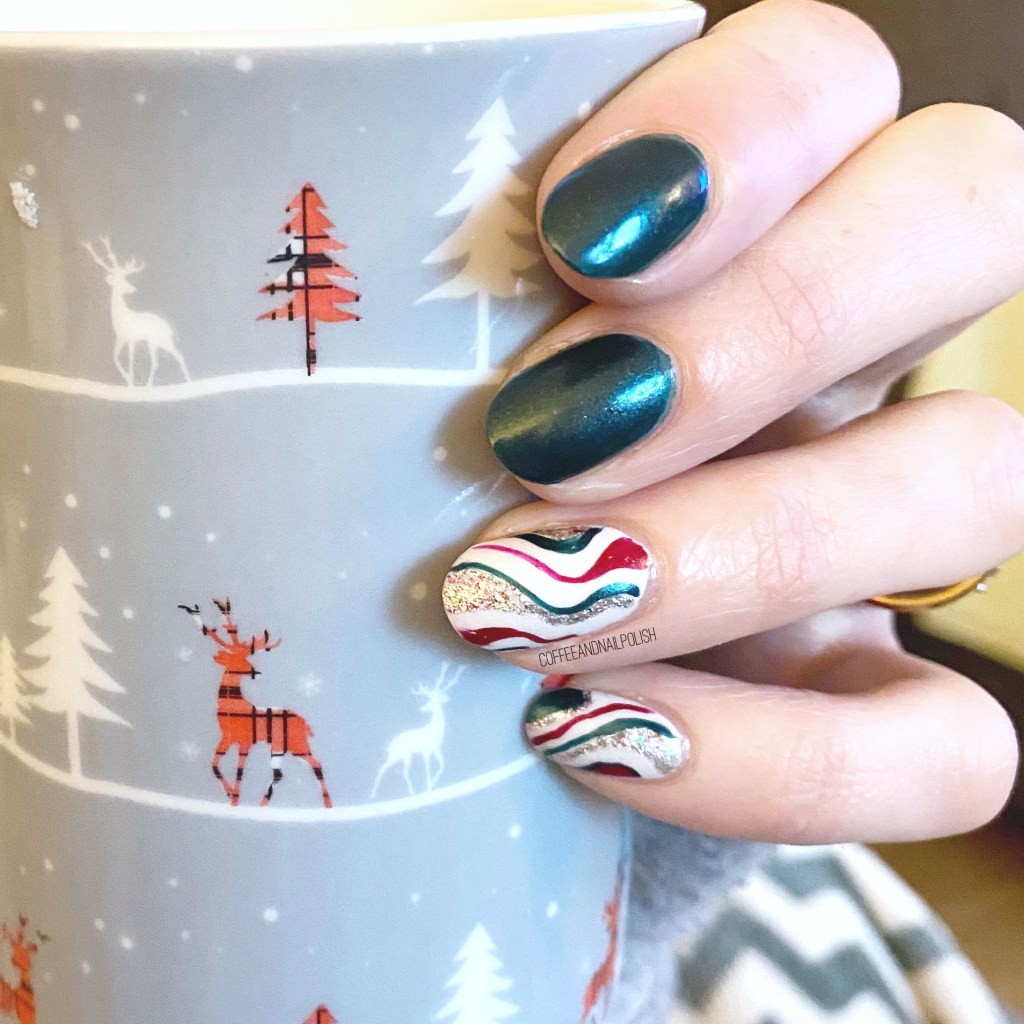
I’m seriously dedicated to sharing a Christmas design everyday until Saturday. Today’s look is funky abstract candy cane accent nails.

The polishes I used for this manicure are: 

  • Base Coat: Essie First Base
  • Top Coat: Seche Vive
  • China Glaze Emerald Fitzgerald
  • China Glaze Friends Forever Right
  • China Glaze Ruby Slippers
  • China Glaze Polarized
  • NailStuff.ca 16mm Striper Brush

These were super easy to do! I used my long striper brush from NailStuff which made painting my lines so much easier. Originally I was going to do something with these colours & nail vinyls, but I was too lazy to wait for my nails to dry, so I decided to abstract stripes was the

What do you think about this Christmas-y look? Let me know all your thoughts down in the comments below!

Neon Dry Brush

•pr•

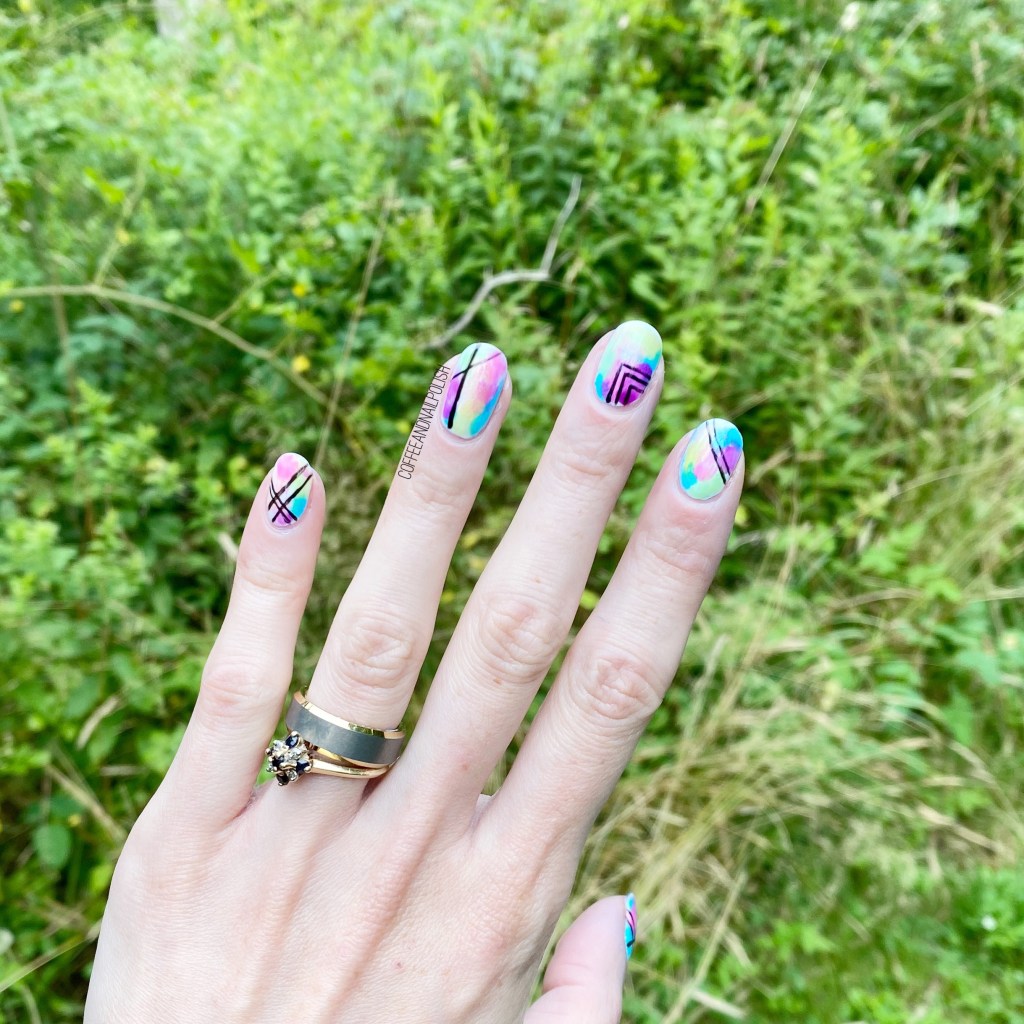
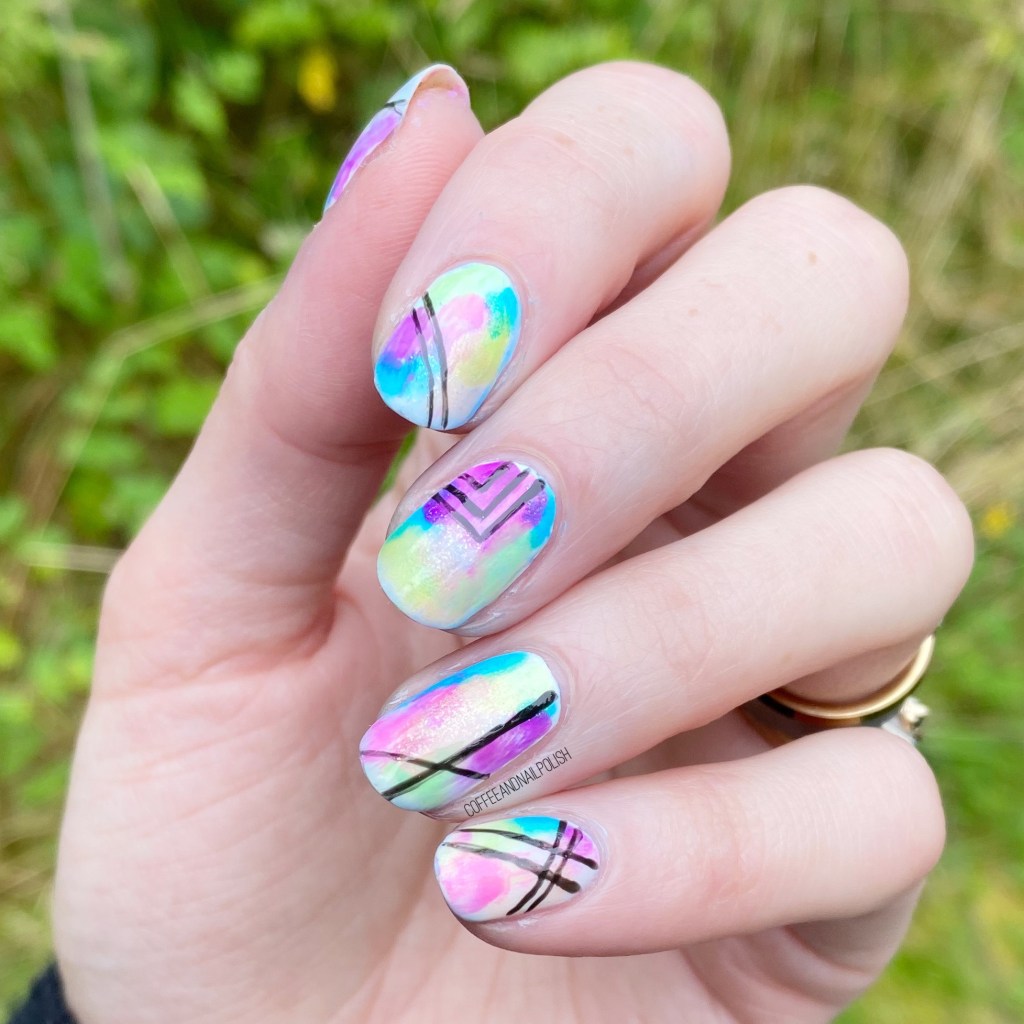
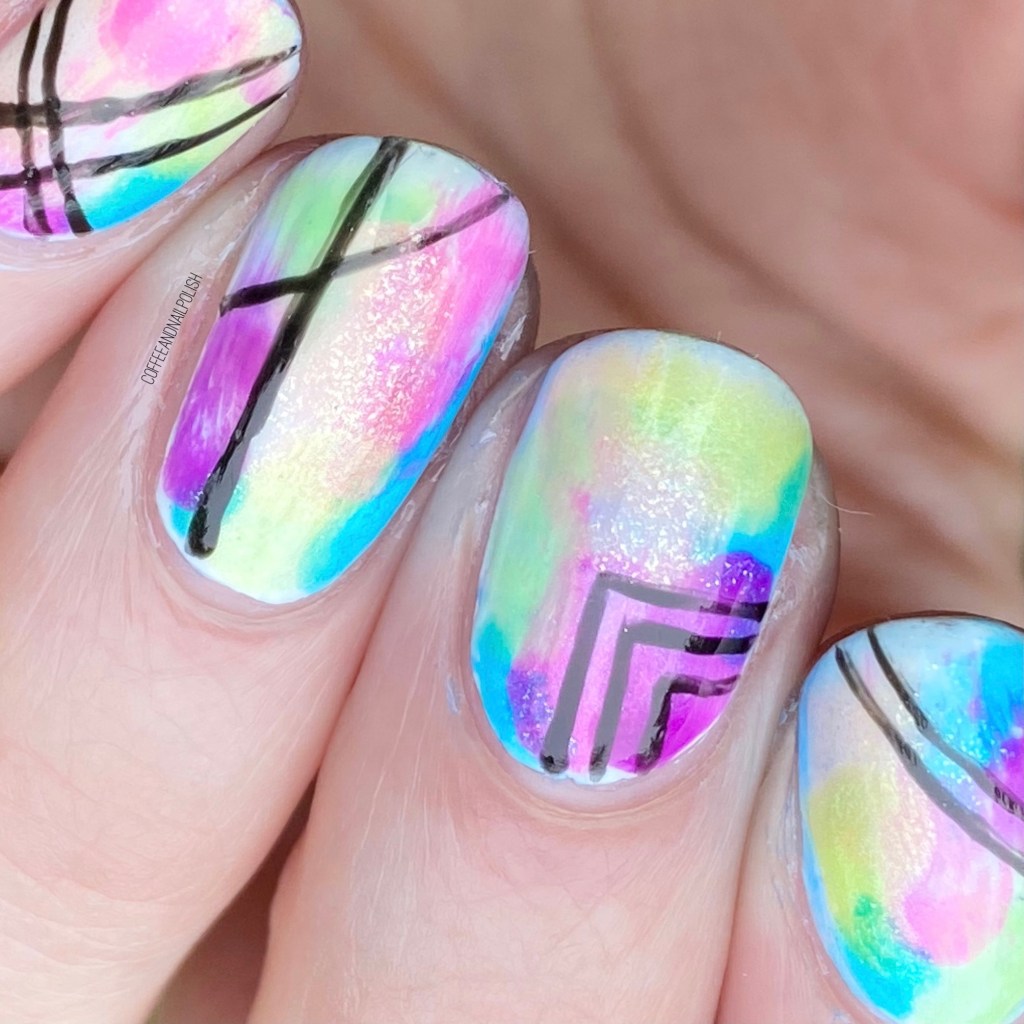
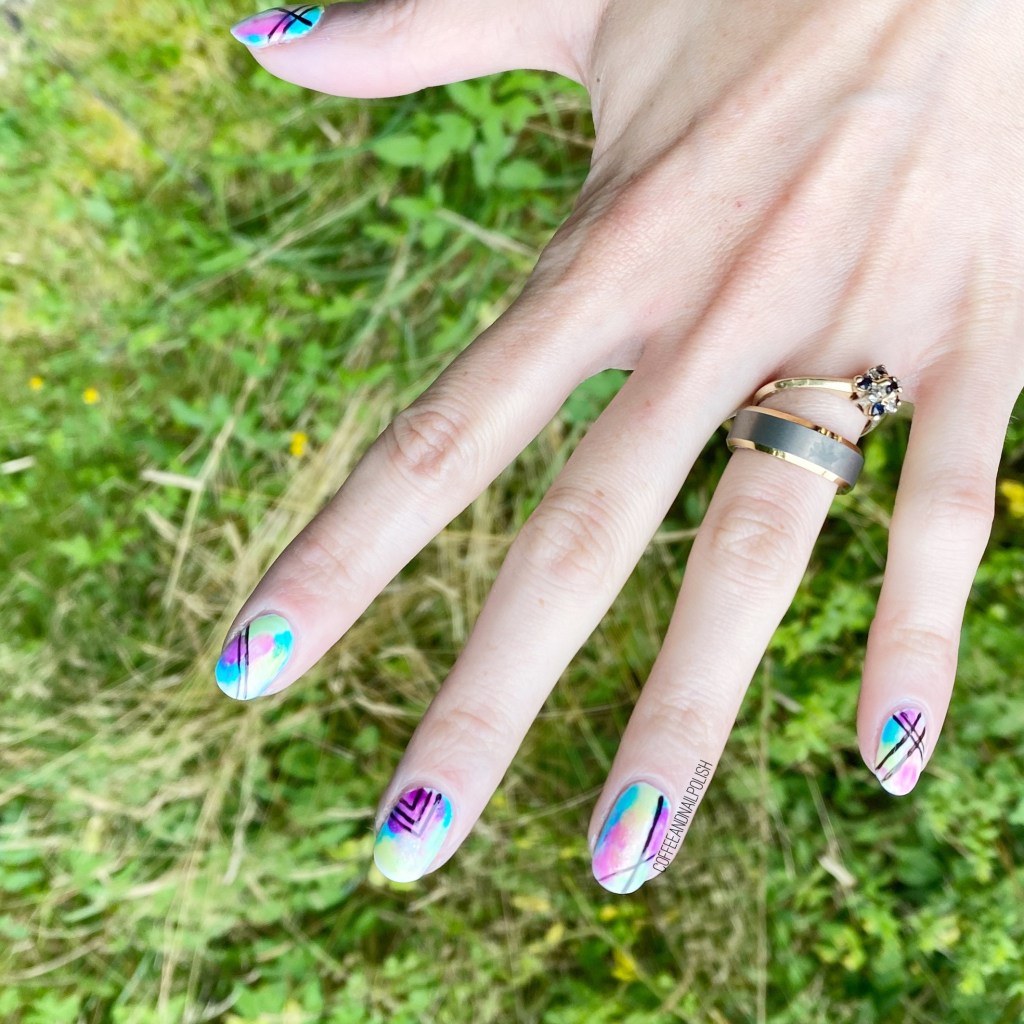
Hello lovelies & happy Friday. It’s almost the weekend! & today I’m keeping the Summer time vibes up with a neon dry brush design featuring the new Sally Hansen neons I recently shared!

As much as I want Fall designs, it’s kind of hard to think of Fall of when it feels like 38 degree outside. So I guess I’ll keep the Summertime vibes going just a wee bit longer — at least until the cooler temperatures forecasted this weekend.

The polishes I used for this manicure are:

  • Base Coat: Essie First Base
  • Top Coat: Essie Gel Setter
  • Sally Hansen Miracle Gel Get Mod
  • Sally Hansen Miracle Gel Sun-Shine On
  • Sally Hansen Miracle Gel Squeeze the Day
  • Sally Hansen Miracle Gel Floresc–Pink
  • Sally Hansen Miracle Gel Feeling Grape
  • Sally Hansen Miracle Gel Chill Out
  • Sally Hansen Miracle Gel Electri-Lime
  • Sally Hansen Miracle Gel Blacky-O
  • NailStuff.ca 16mm Striper Brush

Seriously, how much fun are these?

The Miracle Gel neons are perfect for this kind of design because of the thinner formulas—especially to get them to smudge when applying your top coat. You get that blended effect, which I adore. & obviously I had to add some graphic lines over my base to complete the whole look—it just adds something to the manicure overall; gives it a little extra POP!

What are we thinking about this neon look — yey or nay? Let me know down in the comments below.

& stay tuned because I have a ton of Fall/Autumn worthy shades (just ordered the China Glaze Autumn Spice collection yesterday!) coming soon.

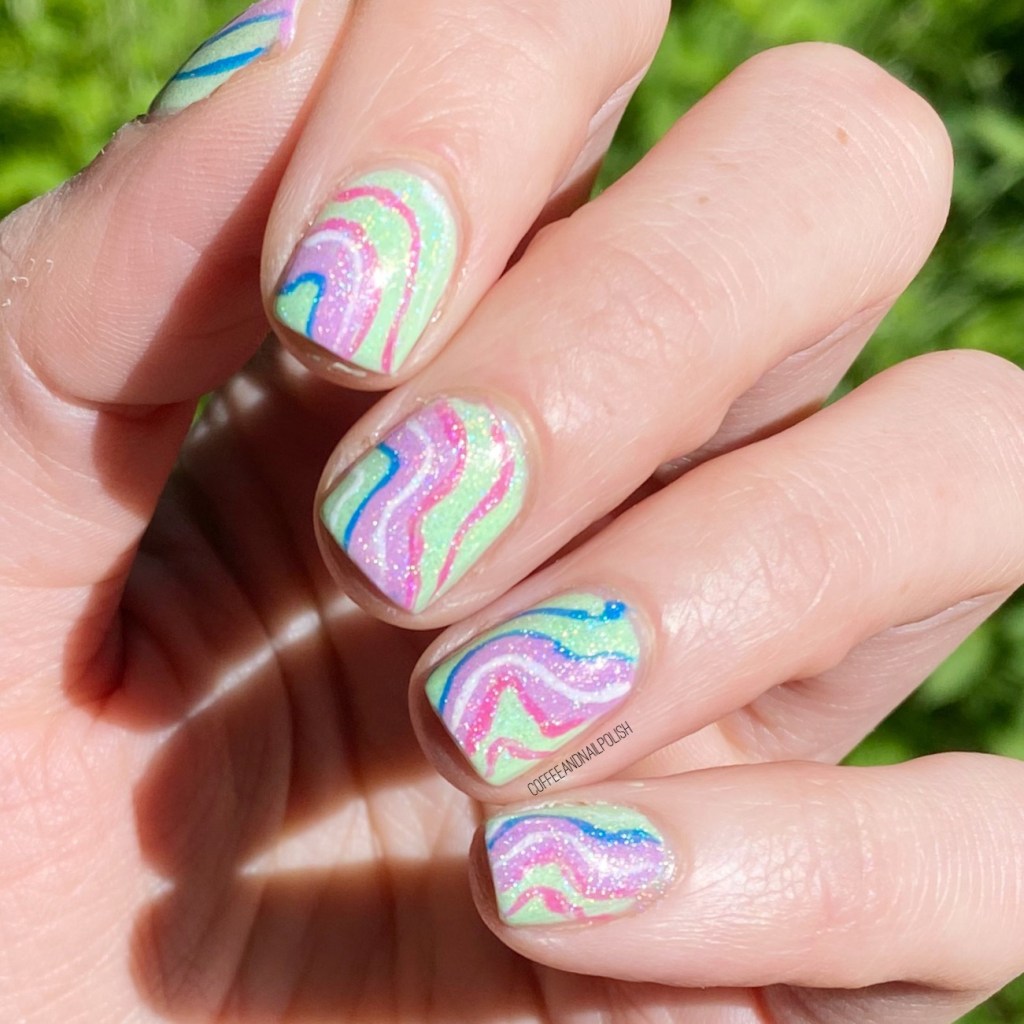
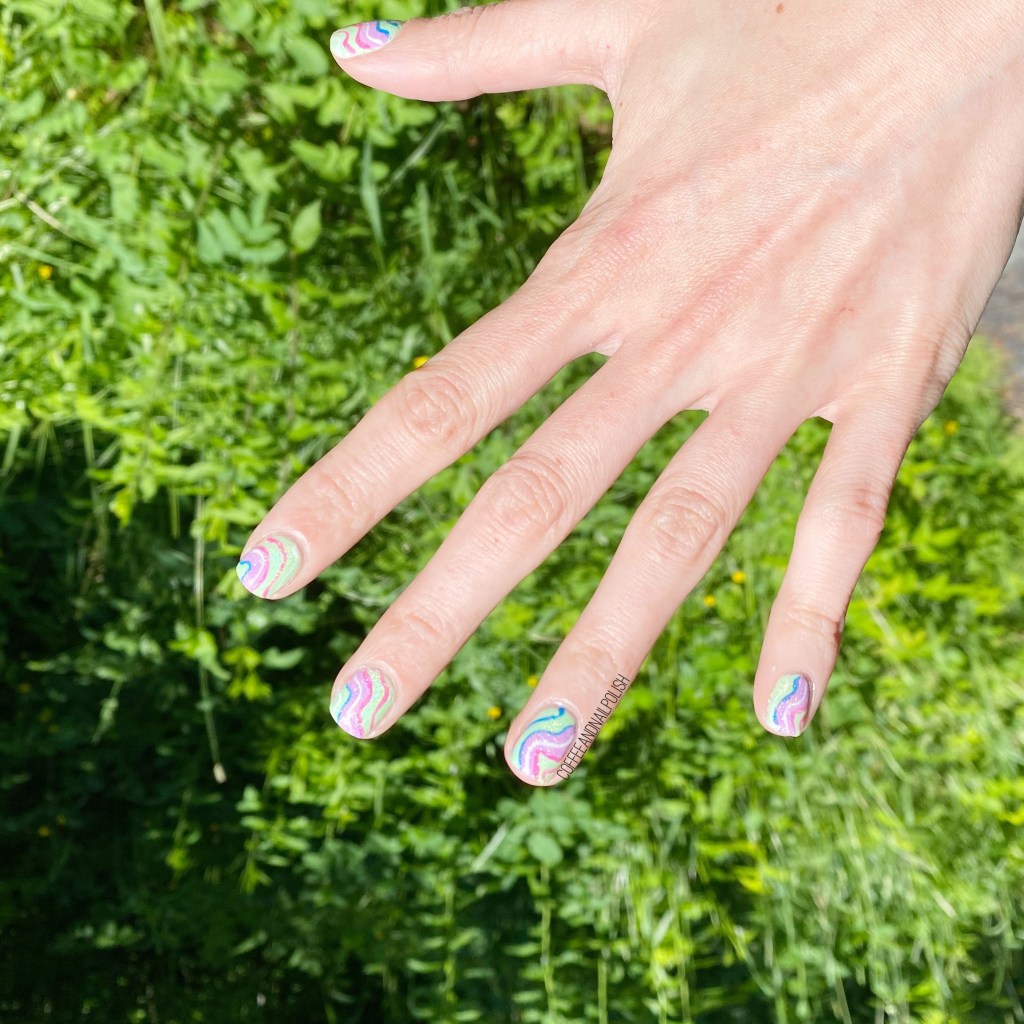
Neon & Scattered Holo Abstract Stripes

Hello lovelies & happy Wednesday.

I know I’ve been very quiet on the blog front this week as my Mum & Dad finally made it down to visit, after being away for the last 9 months. So between soaking in visiting time, & working a ton, posting has been slacking. I’ve got a few nail art looks to share, so I’m definitely going to sit down & concentrate on getting my posts written! First up, some fun neon & scattered holo abstract stripes.

For this manicure, the polishes I used were:

  • Base Coat: Sally Hansen Nailgrowth Miracle
  • Top Coat: Essie Speed Setter
  • Holographic Top Coat: Starrily Eclipse
  • Ardene Sour Apple
  • Essence Violet Vibes
  • Sally Hansen MG Fushcia Fever
  • Sally Hansen Insta-Dri Cerulean
  • Sally Hansen MG Get Mod!
  • NailStuff.ca 16mm Nail Art Striper Brush

I’m really loving how these turned out. I’ve been seeing so much neon, I needed to do another neon look (plus I just bought this “pastel neons” shade from Essence, so I needed to do a manicure with it!)

Originally I just had the abstract stripes, but it was such a sunny beautiful day, I needed to add some holo. I’ve been applying the Starrily holographic top coats I have (Space Debris & Eclipse) to basically every pedicure I’ve done in the last 3 weeks, so I figured I should try it over nail art.

What do you think about this neon & holo look? I feel like I often overthink applying holographic top coat over any neon shades, but I’m definitely going to make a more conscious effort to do it more often! Because I really, really love the end result.

Let me know what you think down in the comments below!

Pastel Rainbow Accent Nail (with Sally Hansen Rainbow Lights)

{Features Gifted Product}

Hello lovelies & happy Tuesday!

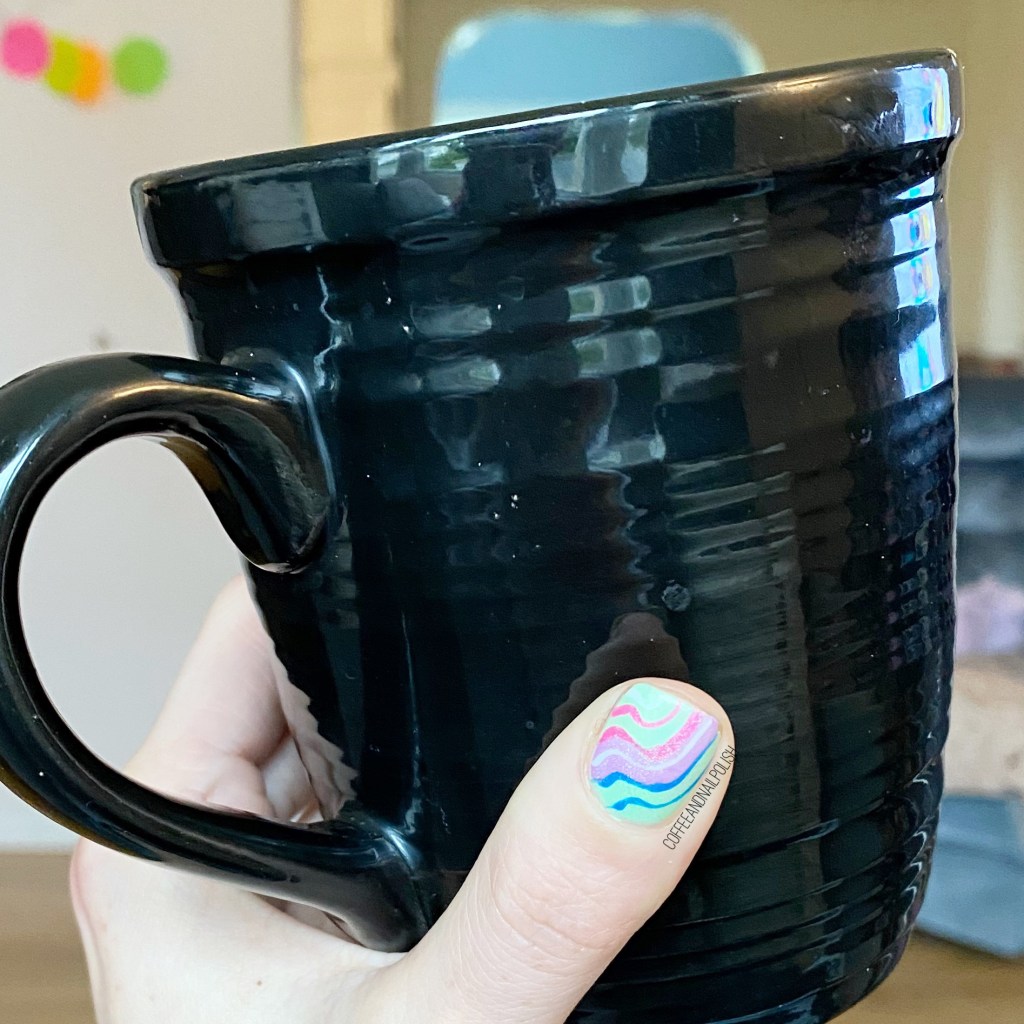
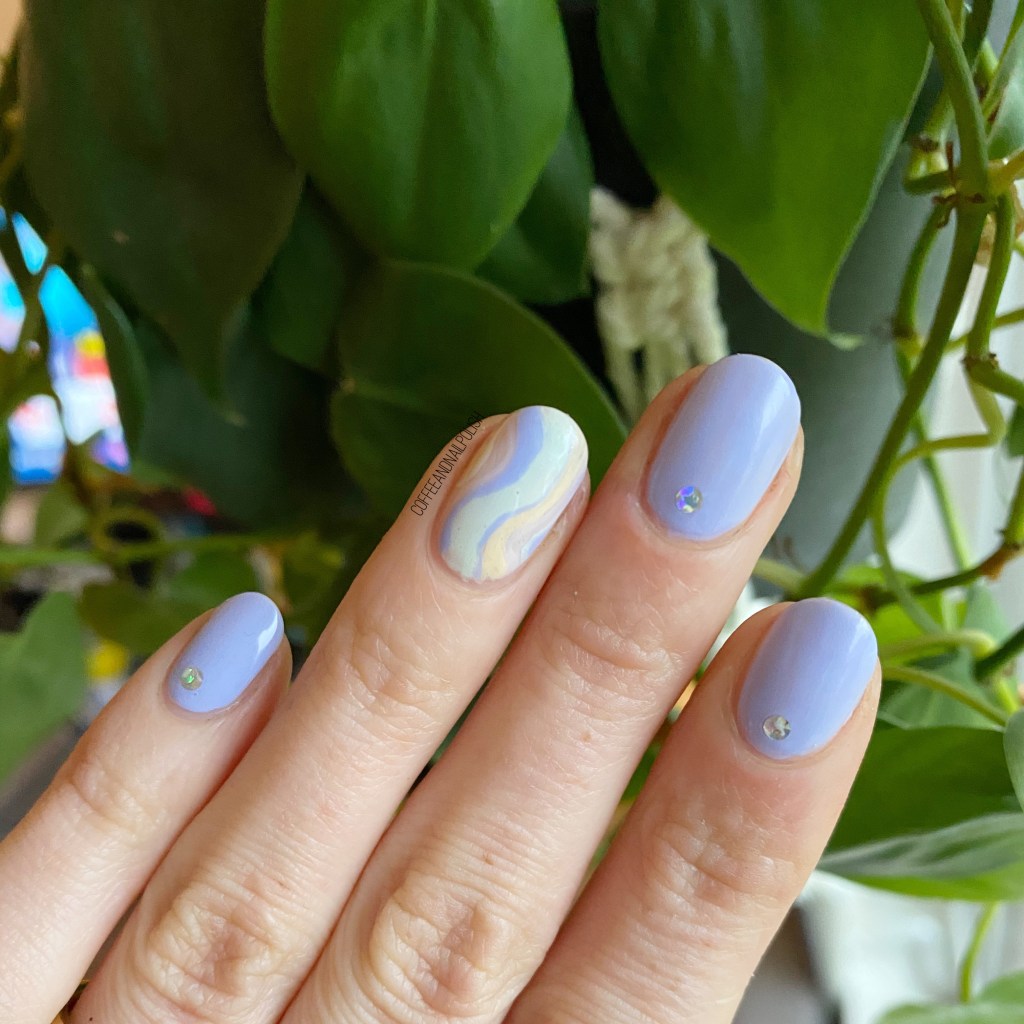
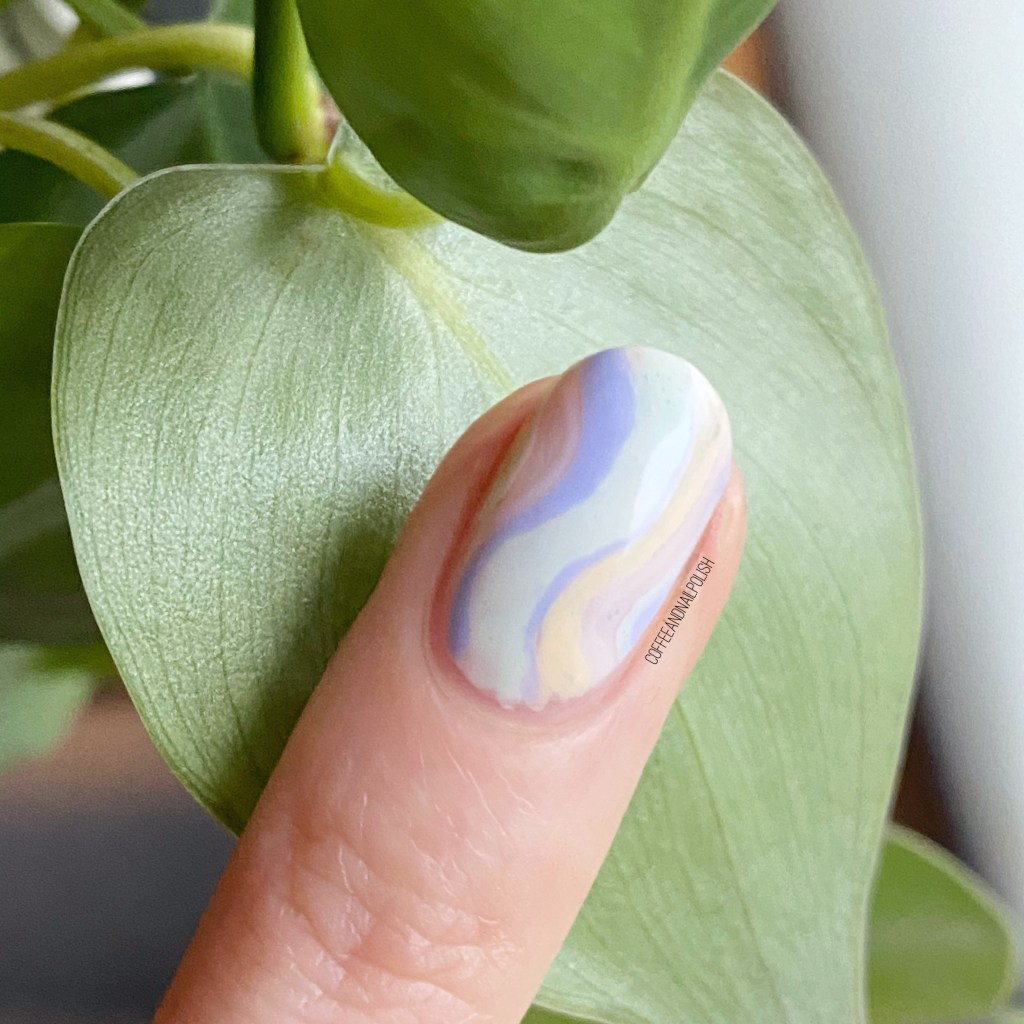
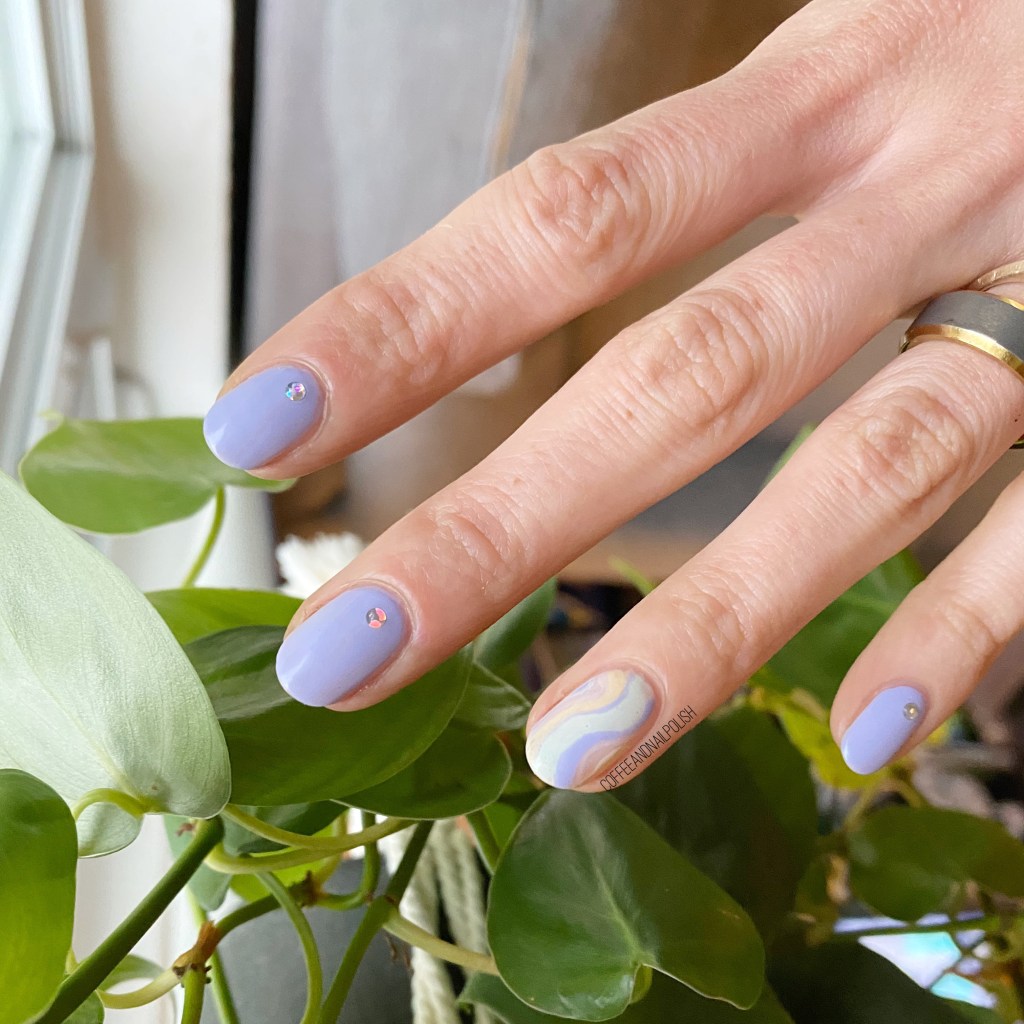
Today I have done pretty rainbow nail art to share with you, inspired by the new Sally Hansen Rainbow Lights collection! I’m really, really loving this new collection, & the pastel shades, so I was inspired to create this swirly rainbow accent nail. This is also super easy nail art that I feel anyone with a mail art brush could create this look!

For this manicure, the polishes I used were:

  • Base Coat: Sally Hansen Nailgrowth Miracle
  • Top Coat: Sally Hansen Miracle Gel Shiny Top Coat
  • Sally Hansen Miracle Gel Crying Out Cloud
  • Sally Hansen Miracle Gel Tutu The Ballet
  • Sally Hansen Miracle Gel Sweet Pea
  • Sally Hansen Miracle Gel Sun-shower
  • OPI I Snow You Love Me
  • NailStuff.ca 16mm Striper Brush

Look how cute that accent nail is? Like I said in my Swatch Sunday post, I really love the pastel rainbow shades. & I really love how all these shades compliment each other so well! I also wanted to add a few rhinestones to my nails, but since I was wearing this to work & didn’t want rhinestones popping off in people’s coffees, I decided to pull out my bottle of OPI I Snow You Love Me! This polish has always been a favourite because of the tiny round holographic glitters. A great rhinestone alternative.

What do you think about this pastel rainbow accent nail? Would you create easy nail art like this? Let me know all your thoughts in the comments below!