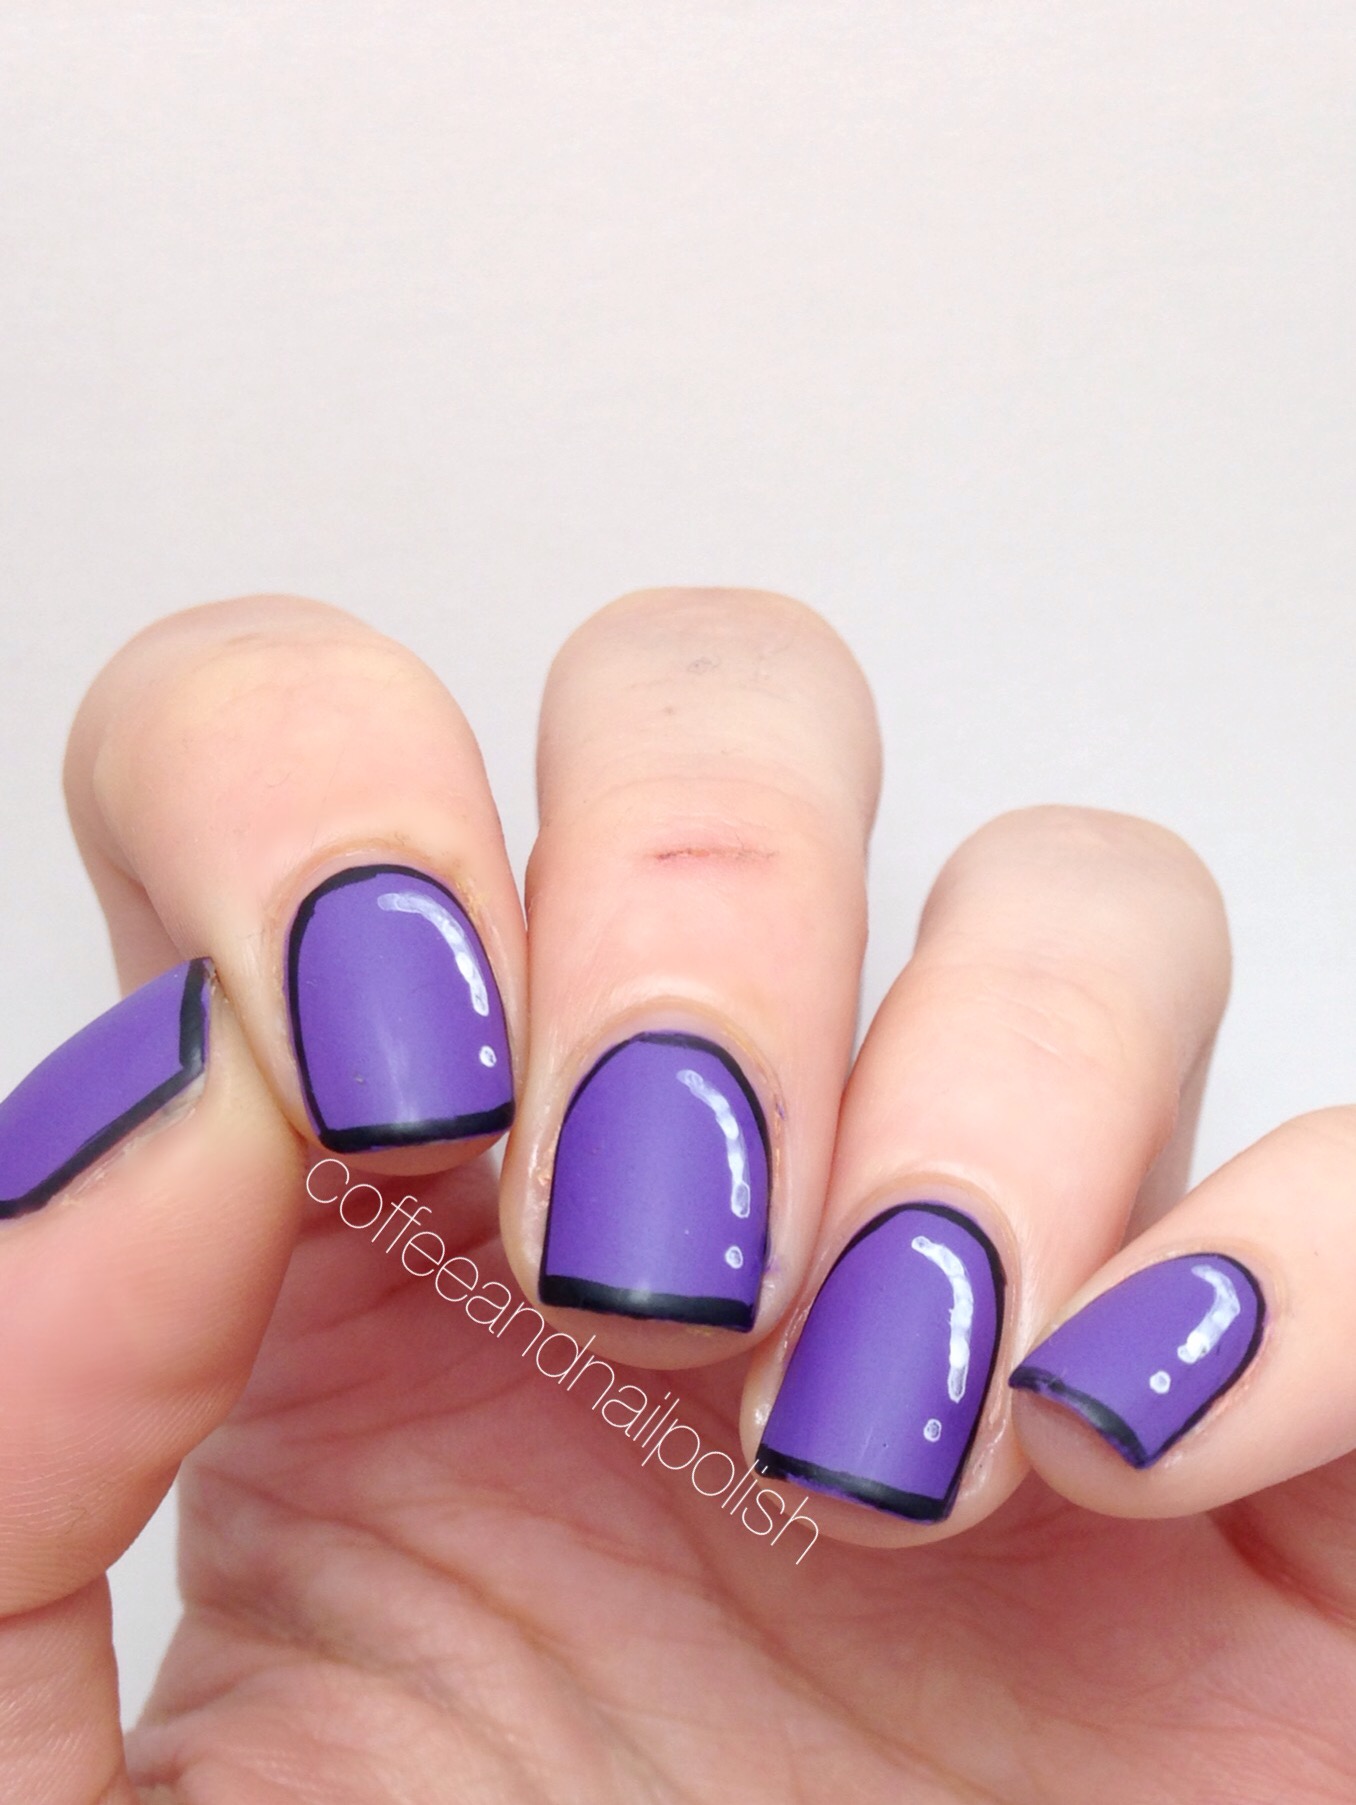
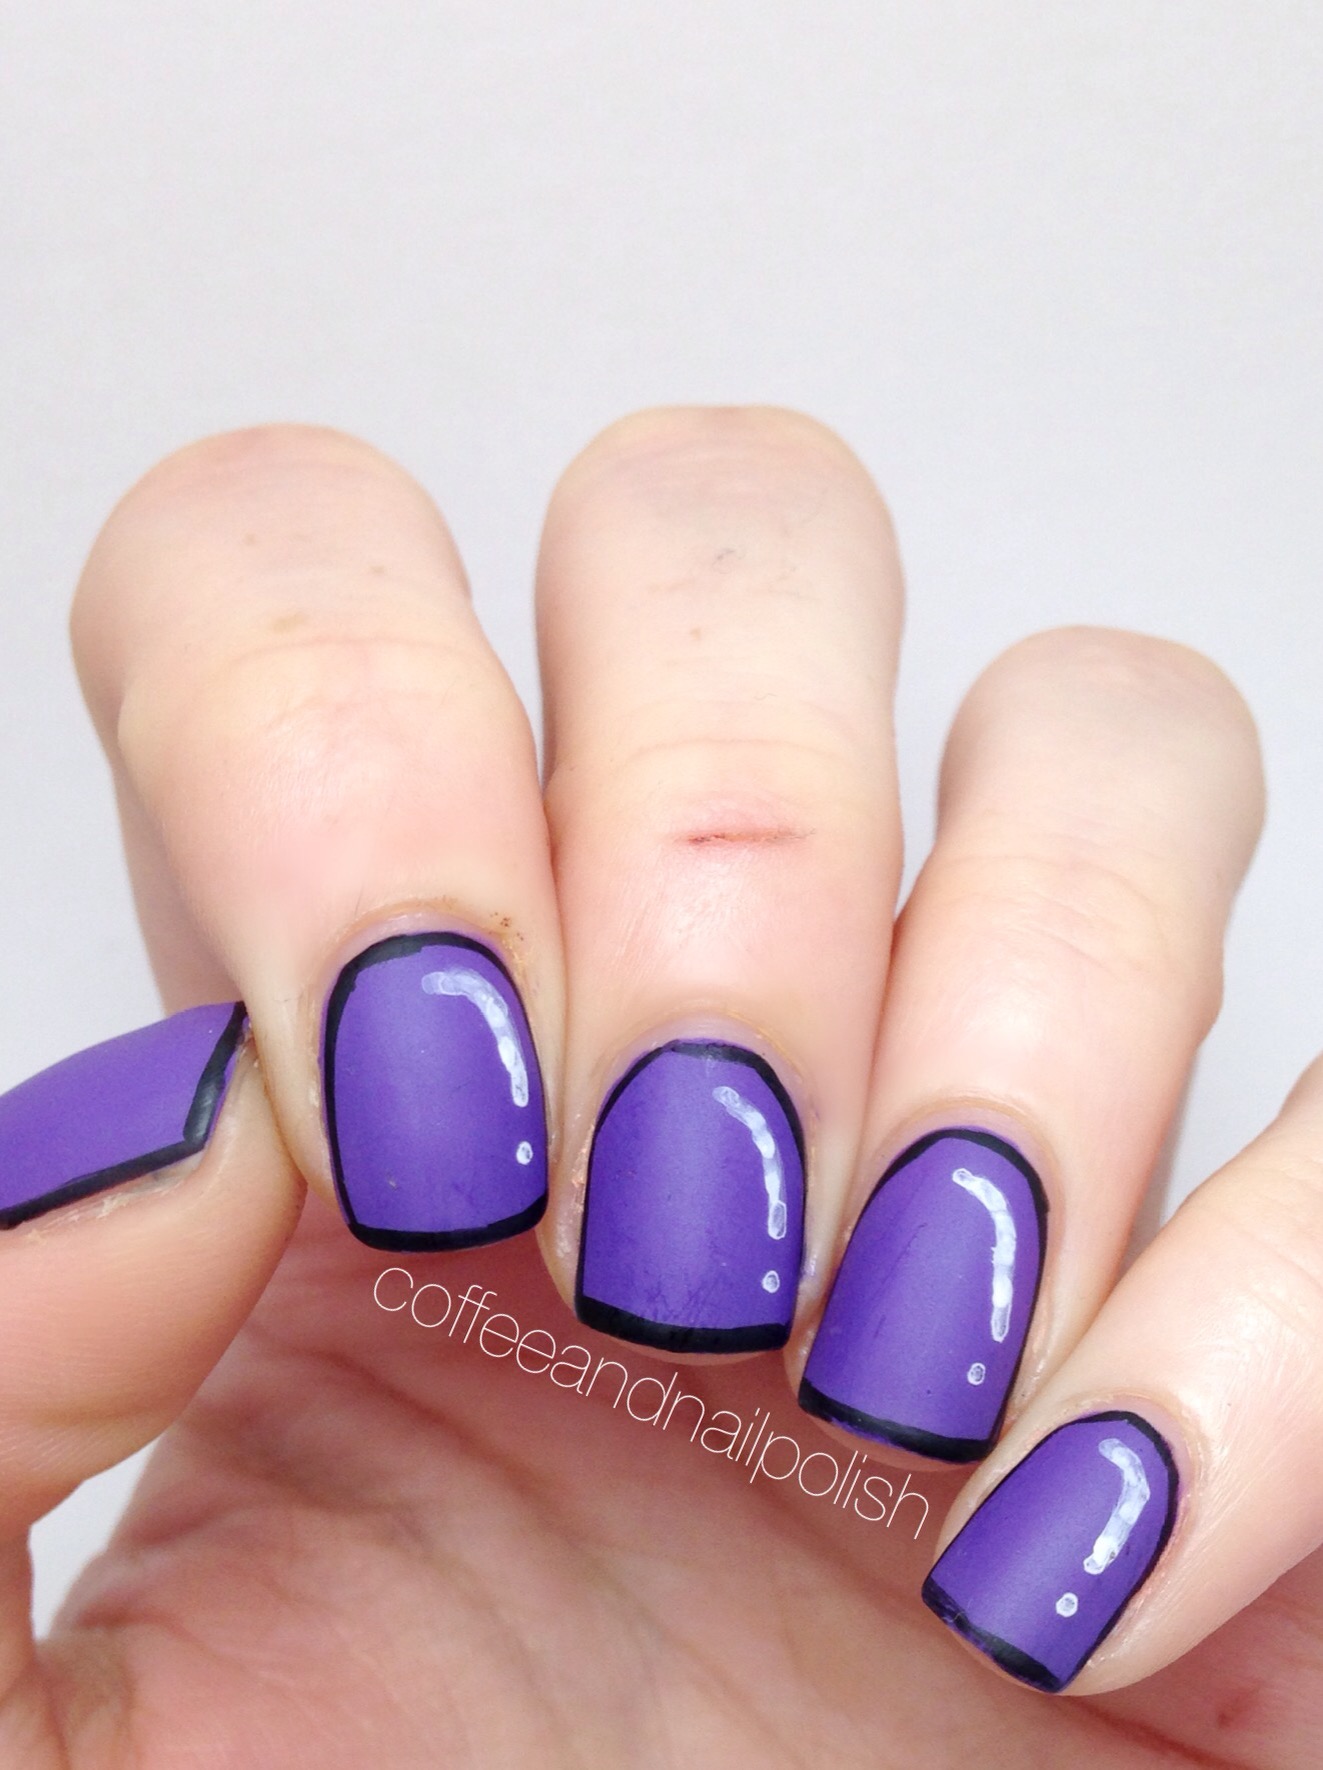
Another round of Bestie Twin nails and pretty herringbone nails.

IMG_1425


I’ve been having a blast doing Bestie Twin Nails with all the fellow girls I’ve been meeting on Instagram, so today I’m going to share another fun #bestietwinnails I got to do with one of my fellow nail girlies, @bene_loves. I’ve been dying to do a herringbone designs on my nails for a while, and I’m so excited she joined me in on it! We decided on the colours Dark Purple, Light Purple and Dark Pink then went to work creating our designs. (To check out what polishes she used for her design, just click on her name and check out her Instagram. She’s amazingly talented!)

IMG_1390

IMG_1392


IMG_1413

For my manicure, the polishes I used were:

  • Sally Hansen Complete Salon Manicure I Lilac You — my favorite light purple!
  • China Glaze Grape Juice — dark purple.
  • Essence Color and Go Girls Night — dark pink.
  • LA Colors Art Deco Striping Polish — black.
  • Seche Vite Rapid Dry Top Coat.

Oh my god, can I just say how freaking much I love this design! Like I said I’ve been really wanting to give the herringbone design a try, but last time I tried my striper was not my friend and I got frustrated and gave up. So glad I didn’t give up this time, because WOW! I used the tutorial by @DiamondNailArt which was a huge hope in getting this right. =) I still had a couple issues with my striper gunking up on me while I was doing this (hate that!) I think the next time I try this manicure, I’m going to use my Essence Nail Art Tattoo pen which I just picked up! I bet I could create a much smaller herringbone pattern.

IMG_1412

Oh look! My nails match my scarf! =)

What do you think of this Herringbone design? I’m so in love with it! I’m definitely already thinking up a whole variety of different designs… I can definitely see me doing another one using Christmas colours! Because Christmas is quickly approaching, and now that Remembrance Day is over, I’m already planning my Christmas manicures!

#itonlytakesone

IMG_1406


If you’re hanging around Instagram, you may have noticed an whole bunch of happy face manicures popping up on your feed. @ohmygoshpolish has ignited a movement by encouraging her fellow nail girls to create these manicures to raise awareness and take a stand against bullying, hashtagging the manicures with #itonlytakesone.

Bullying is an issue that hits home with me–like so many, I’ve experienced my share of bullying. In junior high, that bullying came in the form of girls “innocently” teasing me about my weight. Unfortunately the taunts I heard influenced my poor body image, which eventually spiraled into a serious eating disorder that I’ve dealt with for the majority of my teenage and adult years. Thankfully I’ve embraced recovery, but I still struggle with the effects of that bullying daily, even 16 years later. I doubt those girls thought what they were doing was serious, but bullying is: what you say has consequences, and bullying is never okay. Ever. In today’s society, with the prevalence of smart phones and social media, bullying is at an all time high–it’s easy to break someone down when you have the protection of a screen. That’s why it’s important that when we see it happening, we take a stand against it.

One person can (and does) make a difference.


IMG_1405


For my #itonlytakesone manicure, the polishes I used were:

  • Sinful Colors Snow Me White.
  • Essence Nail Art Tattoo Pen (black)
  • Essie Watermelon (pink accents)
  • Seche Vite Quick Dry Top Coat.

IMG_1407

IMG_1408

You can check out Bystander Revolution for more information–They have some great videos that I think everyone should take a minute to watch. And if you’re on Instagram, I encourage you to create your own #itonlytakesone manicure, and show that you will stand up against bullying. =)

Poppy nails in honor of Remembrance Day.

IMG_1293(1)

Today, November 11th, is Remembrance Day and in honor of that I did a special manicure.

I grew up as part of a military family — both past and present generations have served in the Air Force, Army and Navy. I even have a Great Uncle who was held prisoner in a POW camp during WW2.  Because of that I’ve always made sure to take the time to stop, reflect, and remember those who have fought so hard to defend our freedom–those who came, those who didn’t, and those who were forever changed all in the name of Peace and Freedom. I wanted to do a simple Poppy manicure in memory and remembrance, and I think they came out perfectly.

IMG_1294


The polishes I used for this manicure were:

  • ACO by Ardene Day Dreamer — base color.
  • ACO by Ardene Strawberry Fields — red.
  • Mariposa Black.
  • OPI My Boyfriend Scales Walls — white.
  • Seche Vite fast dry top coat.

IMG_1301

IMG_1303

IMG_1372


So what do you think of these Poppy Nails in honor of Remembrance Day?How do you mark the day? I went to my local Remembrance Day services this morning with my father (who is retired from the Air Force) and the boyfriend and it was amazing to see everyone gathering together to pay tribute.

SWATCH POST: Crazy Fancy Love by Essence Cosmetics!

Sorry about my absence last week. The boyfriend and I moved and my computer charger got mixed up in the chaos so I’ve been without my trusty MAC ever since. Well things are finally getting back to normal, and I’m ready to get back into the swing of blogging.

Today I have some swatches of a gorgeous polish that I just recently picked up: Essence Color and Go 164 Crazy Fancy Love.   IMG_1325

You may have noticed there are two things I absolutely love when it comes to polishes: gold, and multi-chromes. Crazy Fancy Love is the best of both worlds. I picked it up a Shoppers Drug Mart that carries a more extensive collection of Essence polishes for the awesome price of $1.99. I was drawn first to the gorgeous bronze-y gold colour, but quickly fell in love with the multi-chrome effect. In the right light, it pulls a variety of colours including pinks and greens. They’re subtle, but they’re there. The formula was awesome–I’ve never had issues with my Essence polishes and this one is no different. The polish applied in two easy, thin coats and if you applied it a little thicker you could definitely get away with just one!

IMG_1322

As you can see from my shots (which I took in my brand new light box I built over the weekend) you can really see the shift in colour in the bottle. On the nail, I find the pinks come out depending on how you shift your hand. Never less, I’m loving Crazy Fancy Love. This is a great polish for Fall, and even into the quickly approaching holiday season. I can see this colour pairing really well with not just some deep reds, but blue and green polishes as well. It’s a soft gorgeous polish, and I’m totally in love with everything about it.

IMG_1324

IMG_1323

So what do you think of the Essence Color and Go polishes? I love their whole range. Their special edition polishes are always must haves for me, but the permanent collection is so full of so many amazing polishes that I have quite a few added to my stash.

Also I don’t know if you may have noticed but I changed my nail shape! I was feel a crazy change, and I’ve been obsessed with almond shape nails lately. Right now I’m rocking some serious round nubs, but as they grow I plan on shaping them more almond. This is actually the FIRST time I’ve changed my nail shape since I was about 12 and started filing my nails, so it’s taking some getting used to but I actually LOVE how they look! =)


Have a great day lovelies!


Happy Halloween Nails! part two–Blood Dripping Nails.

IMG_0900

Is there anything more Halloween-y to wear on your nails than dripping blood? I was feeling another Halloween manicure the other day, and decided I should give the blood drip manicure a try. I decided to go with a very simple base color (Essence Color and Go Dare it Nude! with a coat of China Glaze Fairy Dust over top) before adding my dripping blood to the tips of my nails. I did the dripping blood using ACO by Ardene Strawberry Fields, and dragged it down my nails using a dotting tool. Everything was topped with Essie Good to Go Quick Dry Top Coat.

And BAM! An awesomely creepy manicure, perfect for Halloween festivities.

IMG_0905

IMG_0909

I’m loving seeing all these different Halloween manicures popping up on Instagram and Pinterest. I move the end of this week (Halloween in fact) but I’m hoping to have a couple more Halloween themed manicures to share before the week is over. =)