Purple and blue chevron nails. 

Do you have favourite colour combinations? One of my favourite combination of colours is definitely baby blue and purple. They just compliment each other so well! That’s probably why I love this mani so much! 

For this mani, the products I used were:

How pretty are these? I used the inside part of the stencils from The Base Coat instead of the stencil themself, but I think they turned out so well!

Now it’s off to do some more nail art, while I still can.  Baby Taco is due in just a few days so it’s time to trim the claws down! They’re definitely not newborn compatible at their current length haha. 

Grey Saran Wrap splatter nails. 

Happy Friday everyone! Who doesn’t love Friday?

 Today I have one of my favourite easy nail art techniques to share with you–Saran Wrap splatter! I’ve featured this technique a couple times, and I’m always in love with how they turn out. It really is one of those designs where you can’t really mess up (unlike water marble which I can’t not mess up!) because you can just keep dabbing polish on until you get a look you love. 

For this manicure, I used:

  • Essie Coat Couture
  • Essie Find Me An Oasis
  • Essie Gel Setter 
  • Crinkled up plastic bag. 

To achieve this look:

  1. Paint your nails with your base coat of choice, and then apply your base colour (I used Essie Coat Couture). 
  2. Apply a layer of top coat and let dry. I wait about 5-10 minutes. 
  3. In the mean time, take your Saran Wrap and crinkled up. You can also use a plastic grocery bag or any other crinkly plastic. I always use what I have on hand. 
  4. Once your base colour has dried enough you won’t ruin it, apply your second colour directly to your crinkled up plastic and dab onto your nail one at a time. Applying liquid latex around your nails helps minimize clean up. 
  5. If you feel like you’ve put too much of your secondary polish on your nail, you can go back with your base colour and dab again. Keep going until you like how your nail looks. 
  6. Once you look how your “splatter” looks, seal in your design with top coat. 

So what do you think of this technique? Have you ever tried out this design or would you try out this design? Let me know in the comments below! And if you do try out this technique, tag me on Instagram so I can see. ❤

Negative space stripes. 

I’ve written before about my love for all things involving negative space nail art, and today I have a quick negative space accent nail to share. I’ve been trying to do my nails as much as possible while I still can, while also coming up with ideas for quick nail art I may be able to do after baby comes. Thank god for nail vinyls, am I right? Going to need to order a bunch before baby comes for those days I can actually do my nails! 

These negative space stripes are definitely perfect for a quick accent nail. They look way more complicated then they actually are! Thankfully you don’t have to wait near as long to use tape or vinyls when you’re only applying it over base coat. 

For this manicure I used: 

  • Essence Rock Your World!
  • Sally Hansen Cherry Cherry Bang Bang 
  • Kiss Products Nail Art Striper in Black. 
  • Striping Tape
  • Essie Gel Setter 

I really love the combination of grey and pink–they just always go so well together! 

What are your favourite accent nail designs? Let me know in the comments below! I’ve also been thinking about maybe starting to do some tutorials, so if that is something you’d be interested in seeing, let me know. 

Holo Half Moons

I’ve been a very bad blogger. You’d think being on leave I’d have all the time for keeping up with this blog, but it turns out preparing for a new baby is very time consuming! We’ve got two weeks to go now, and everything together, so I’m going to try and get on some blogging while I can! After baby comes—hopefully I’ll still be able to keep up after things slow down some. 

And now onto some nails! (Because that’s why we’re all here after all.) 

It’s been a little while since I wore my beloved half moons, and I thought hey! Why not some holo half moons–because obviously holo makes everything better. As I’ve written before, I love half moon manicures because they’re so easy and so versatile–just so many colour combinations, and so easy to do. I used actual nail tip guides from Kiss for this particular design, but it’s just as easy to use paper hole reinforcers to accomplish the same look. (I usually buy mine from the Dollar Store and they last forever!) 


Polishes used for this mani are: 

  • Layla Cosmetics Hologram Effect Retro Pink
  • Layla Cosmetics Hologram Effect Ocean Rush 
  • Kiss Products nail guides 
  • Essie Gel Setter top coat. 

So what do you think of this design? What is your favourite nail art design you always go back to? For me it’s obviously a toss up between regular half moons and chevron moons! Both are so easy and always look fancy on the nail! 

QUO by Orly Holiday 2016 Perfectly Painted collection 

Good morning lovelies! Finally getting these swatches up after meaning to for  way too long! These polishes were kindly sent to me for review and are part of the holiday collection released by QUO. 

For each of these swatches I used a base coat and top coat. Also most of these polishes took 3 coats per nail with the exception of the glitters. 


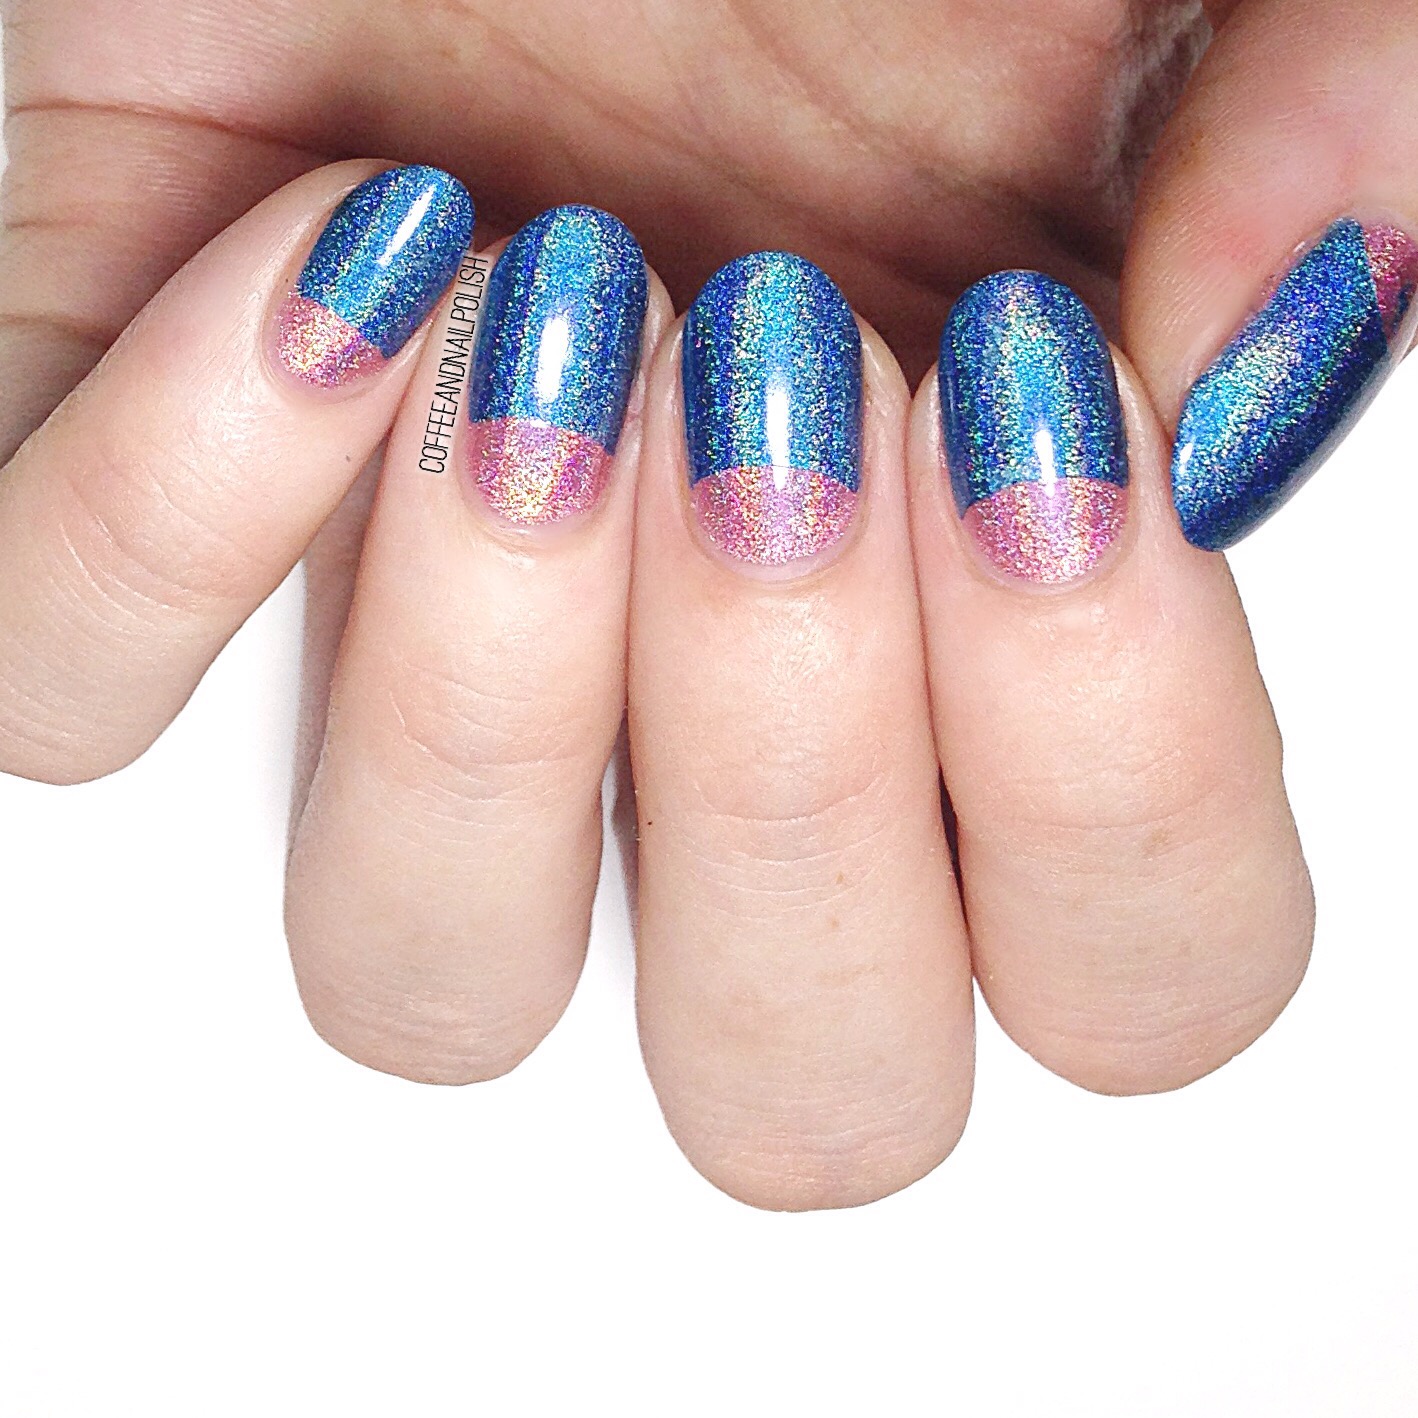
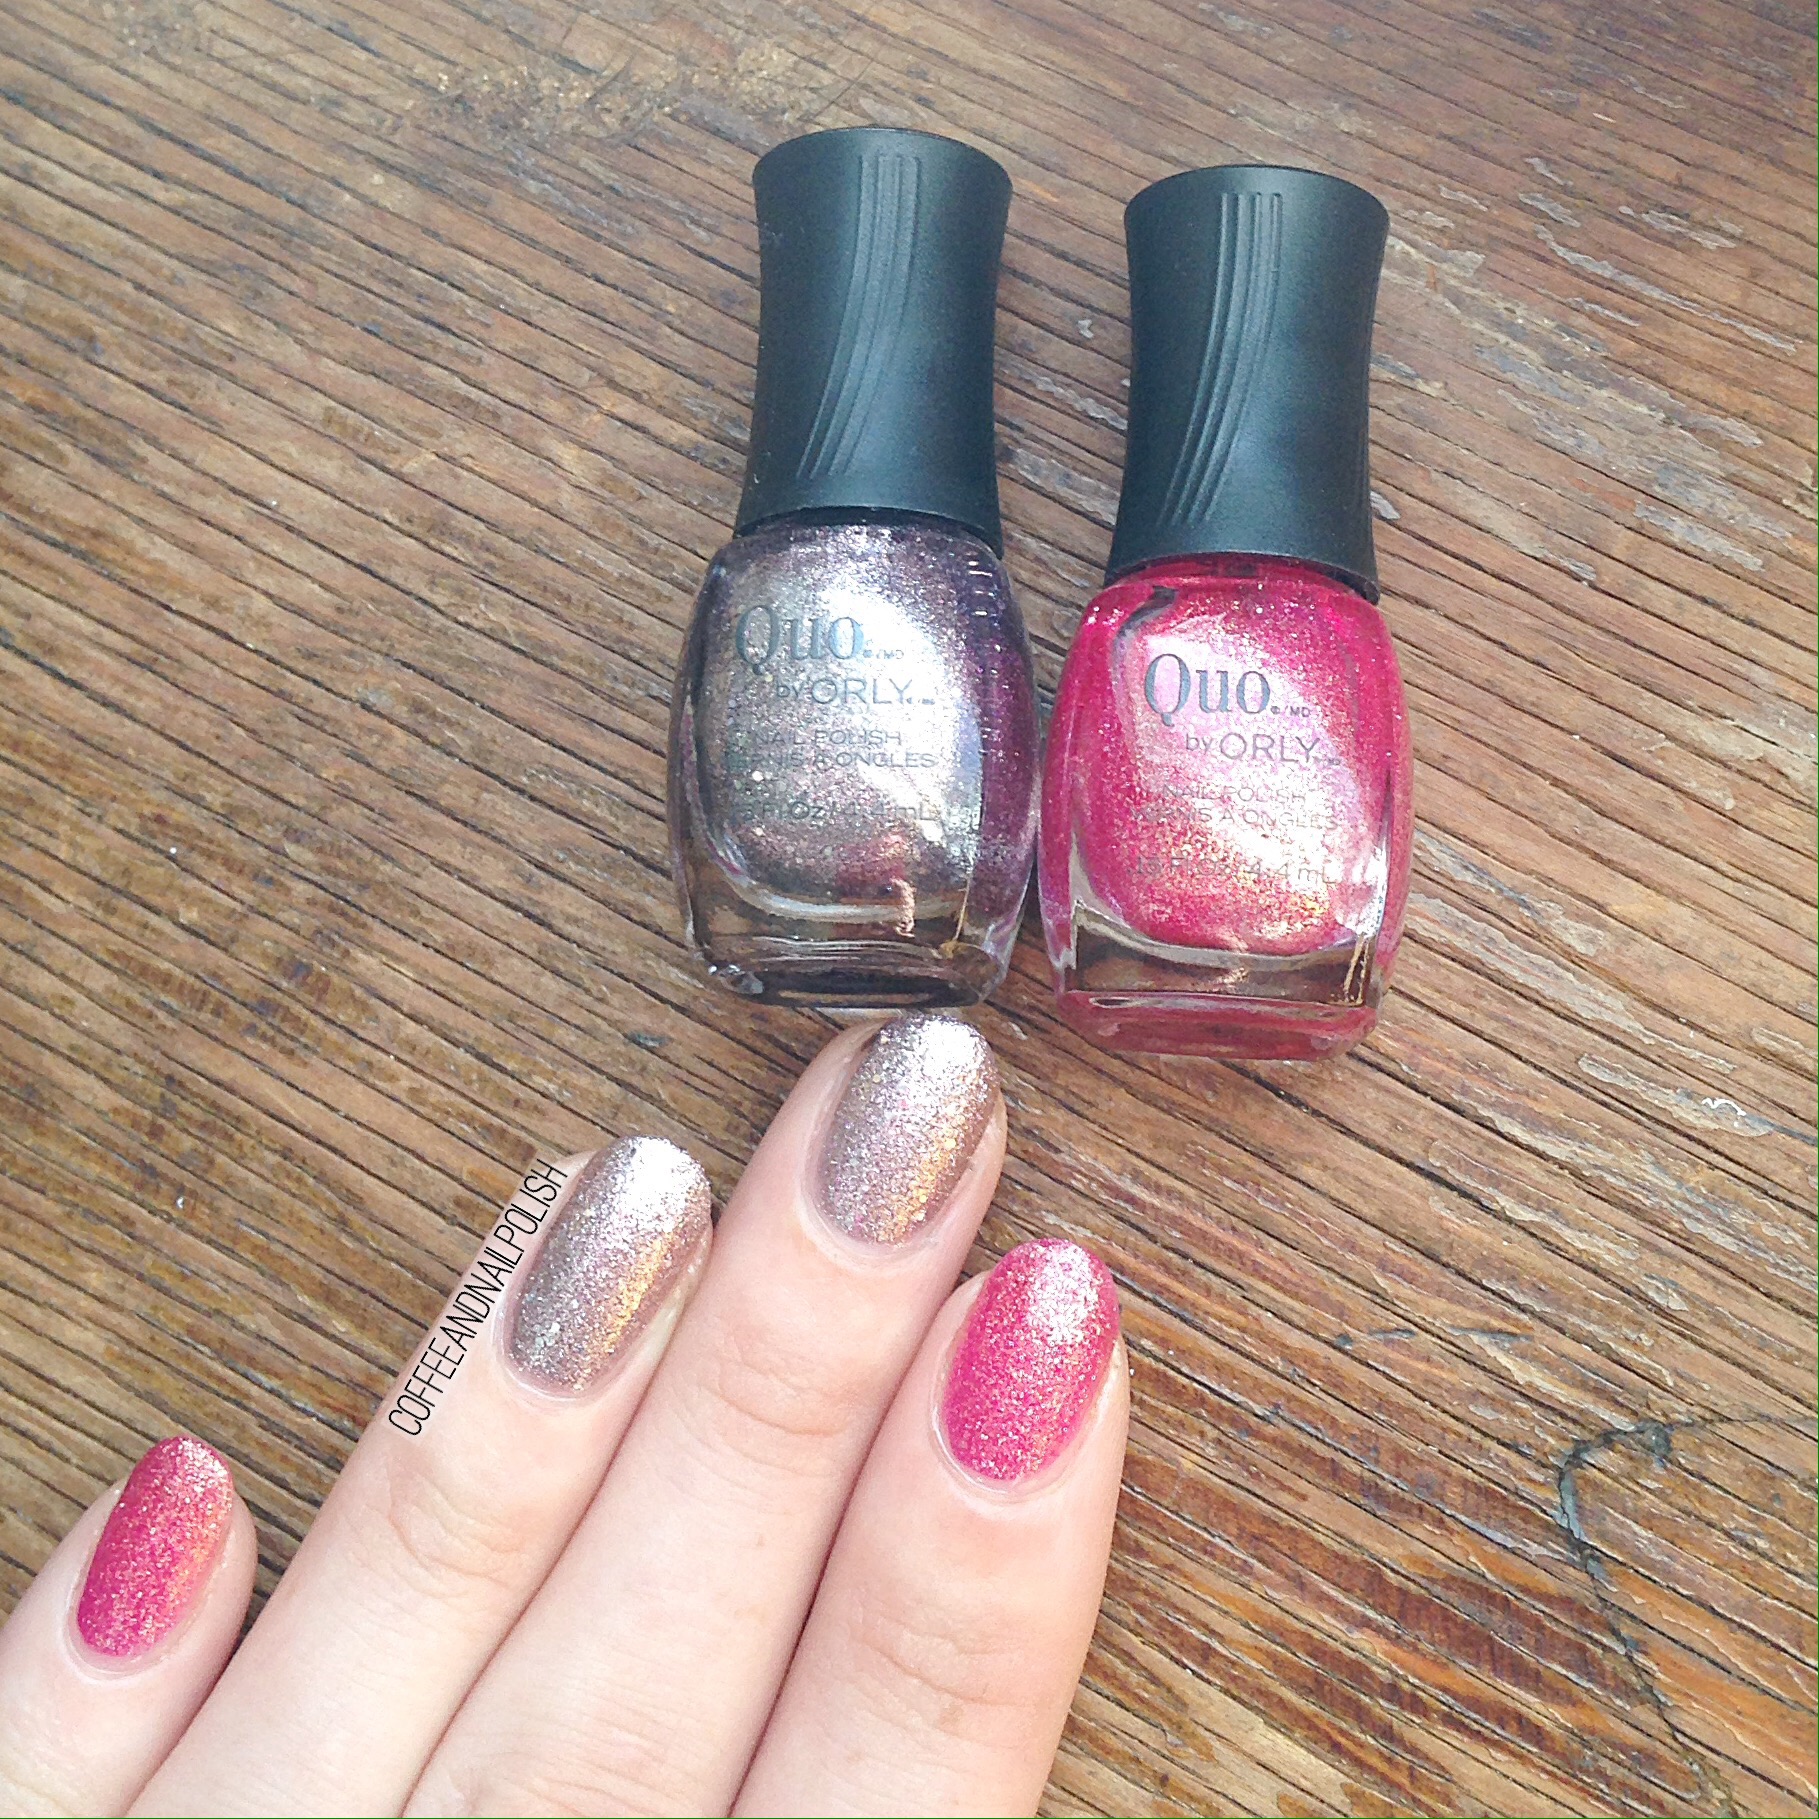
First up, we have the glitters in the collection, one pink and one more of a rose gold. Both of these polishes went on easily, in two coats. They look more textured than they actually are but the sparkle is amazing. These are fun colours to play around for Christmas. 


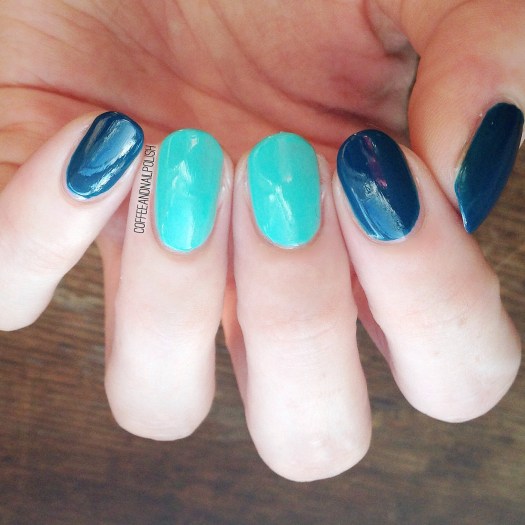
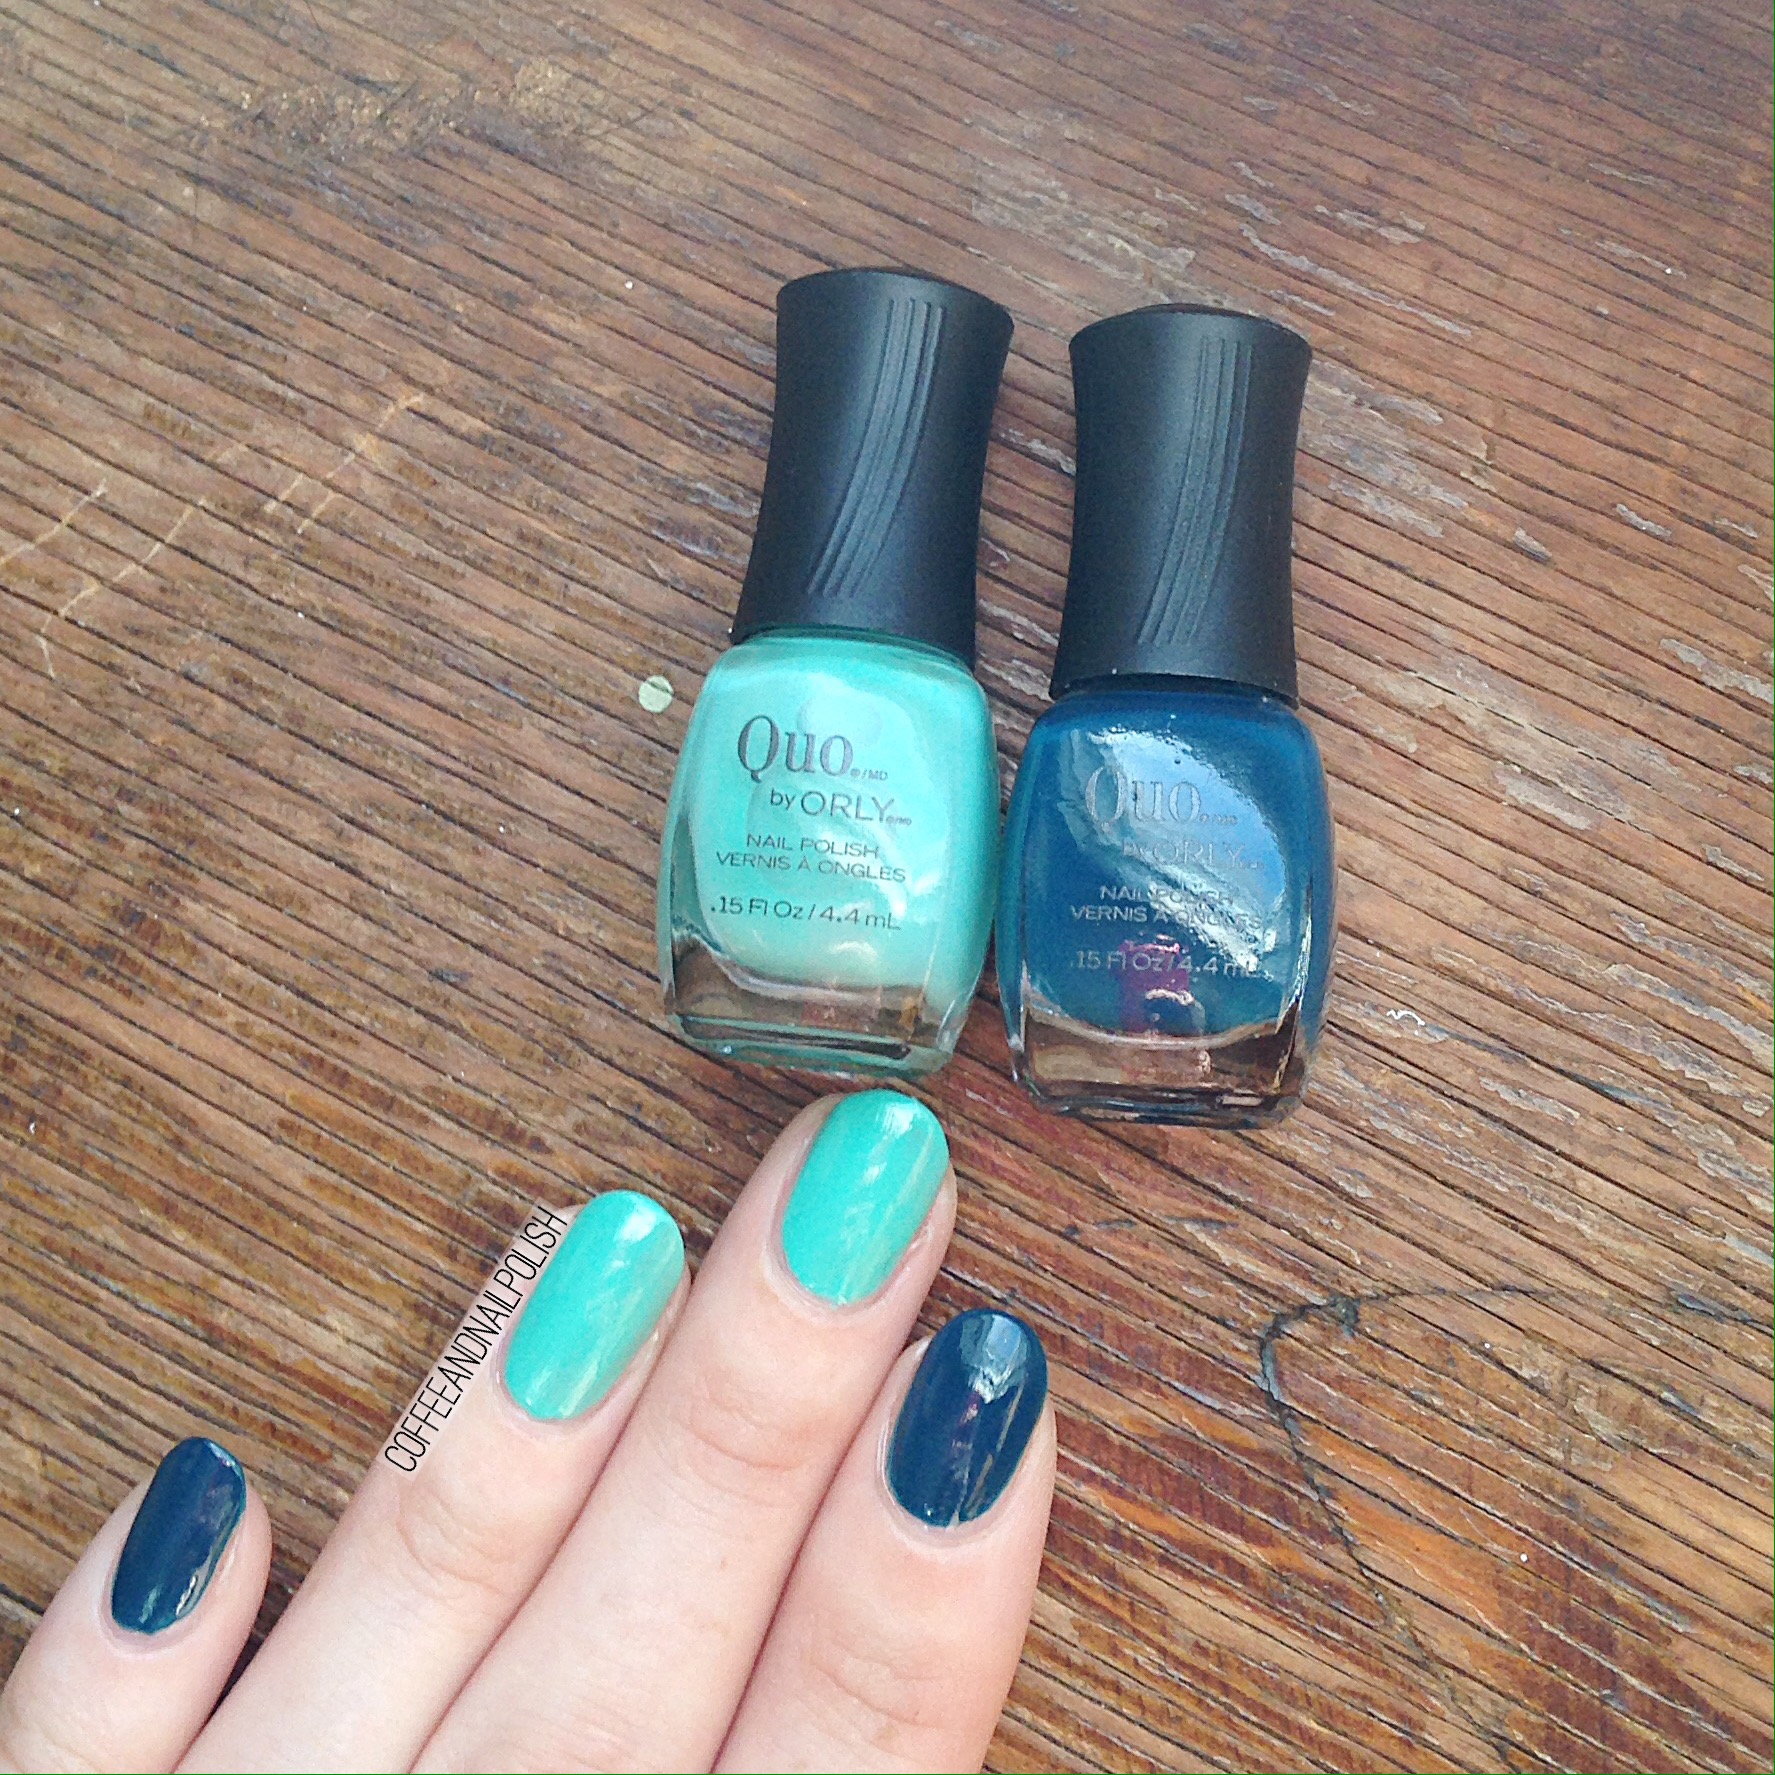
Next up we have the two blues in the collection. Both polishes required three coats to cover any patchiness. These two colours go quite well together, although I wouldn’t call them Christmas colours. I also love the fact this 12 pack has a really good selection of different colours to choose from. 


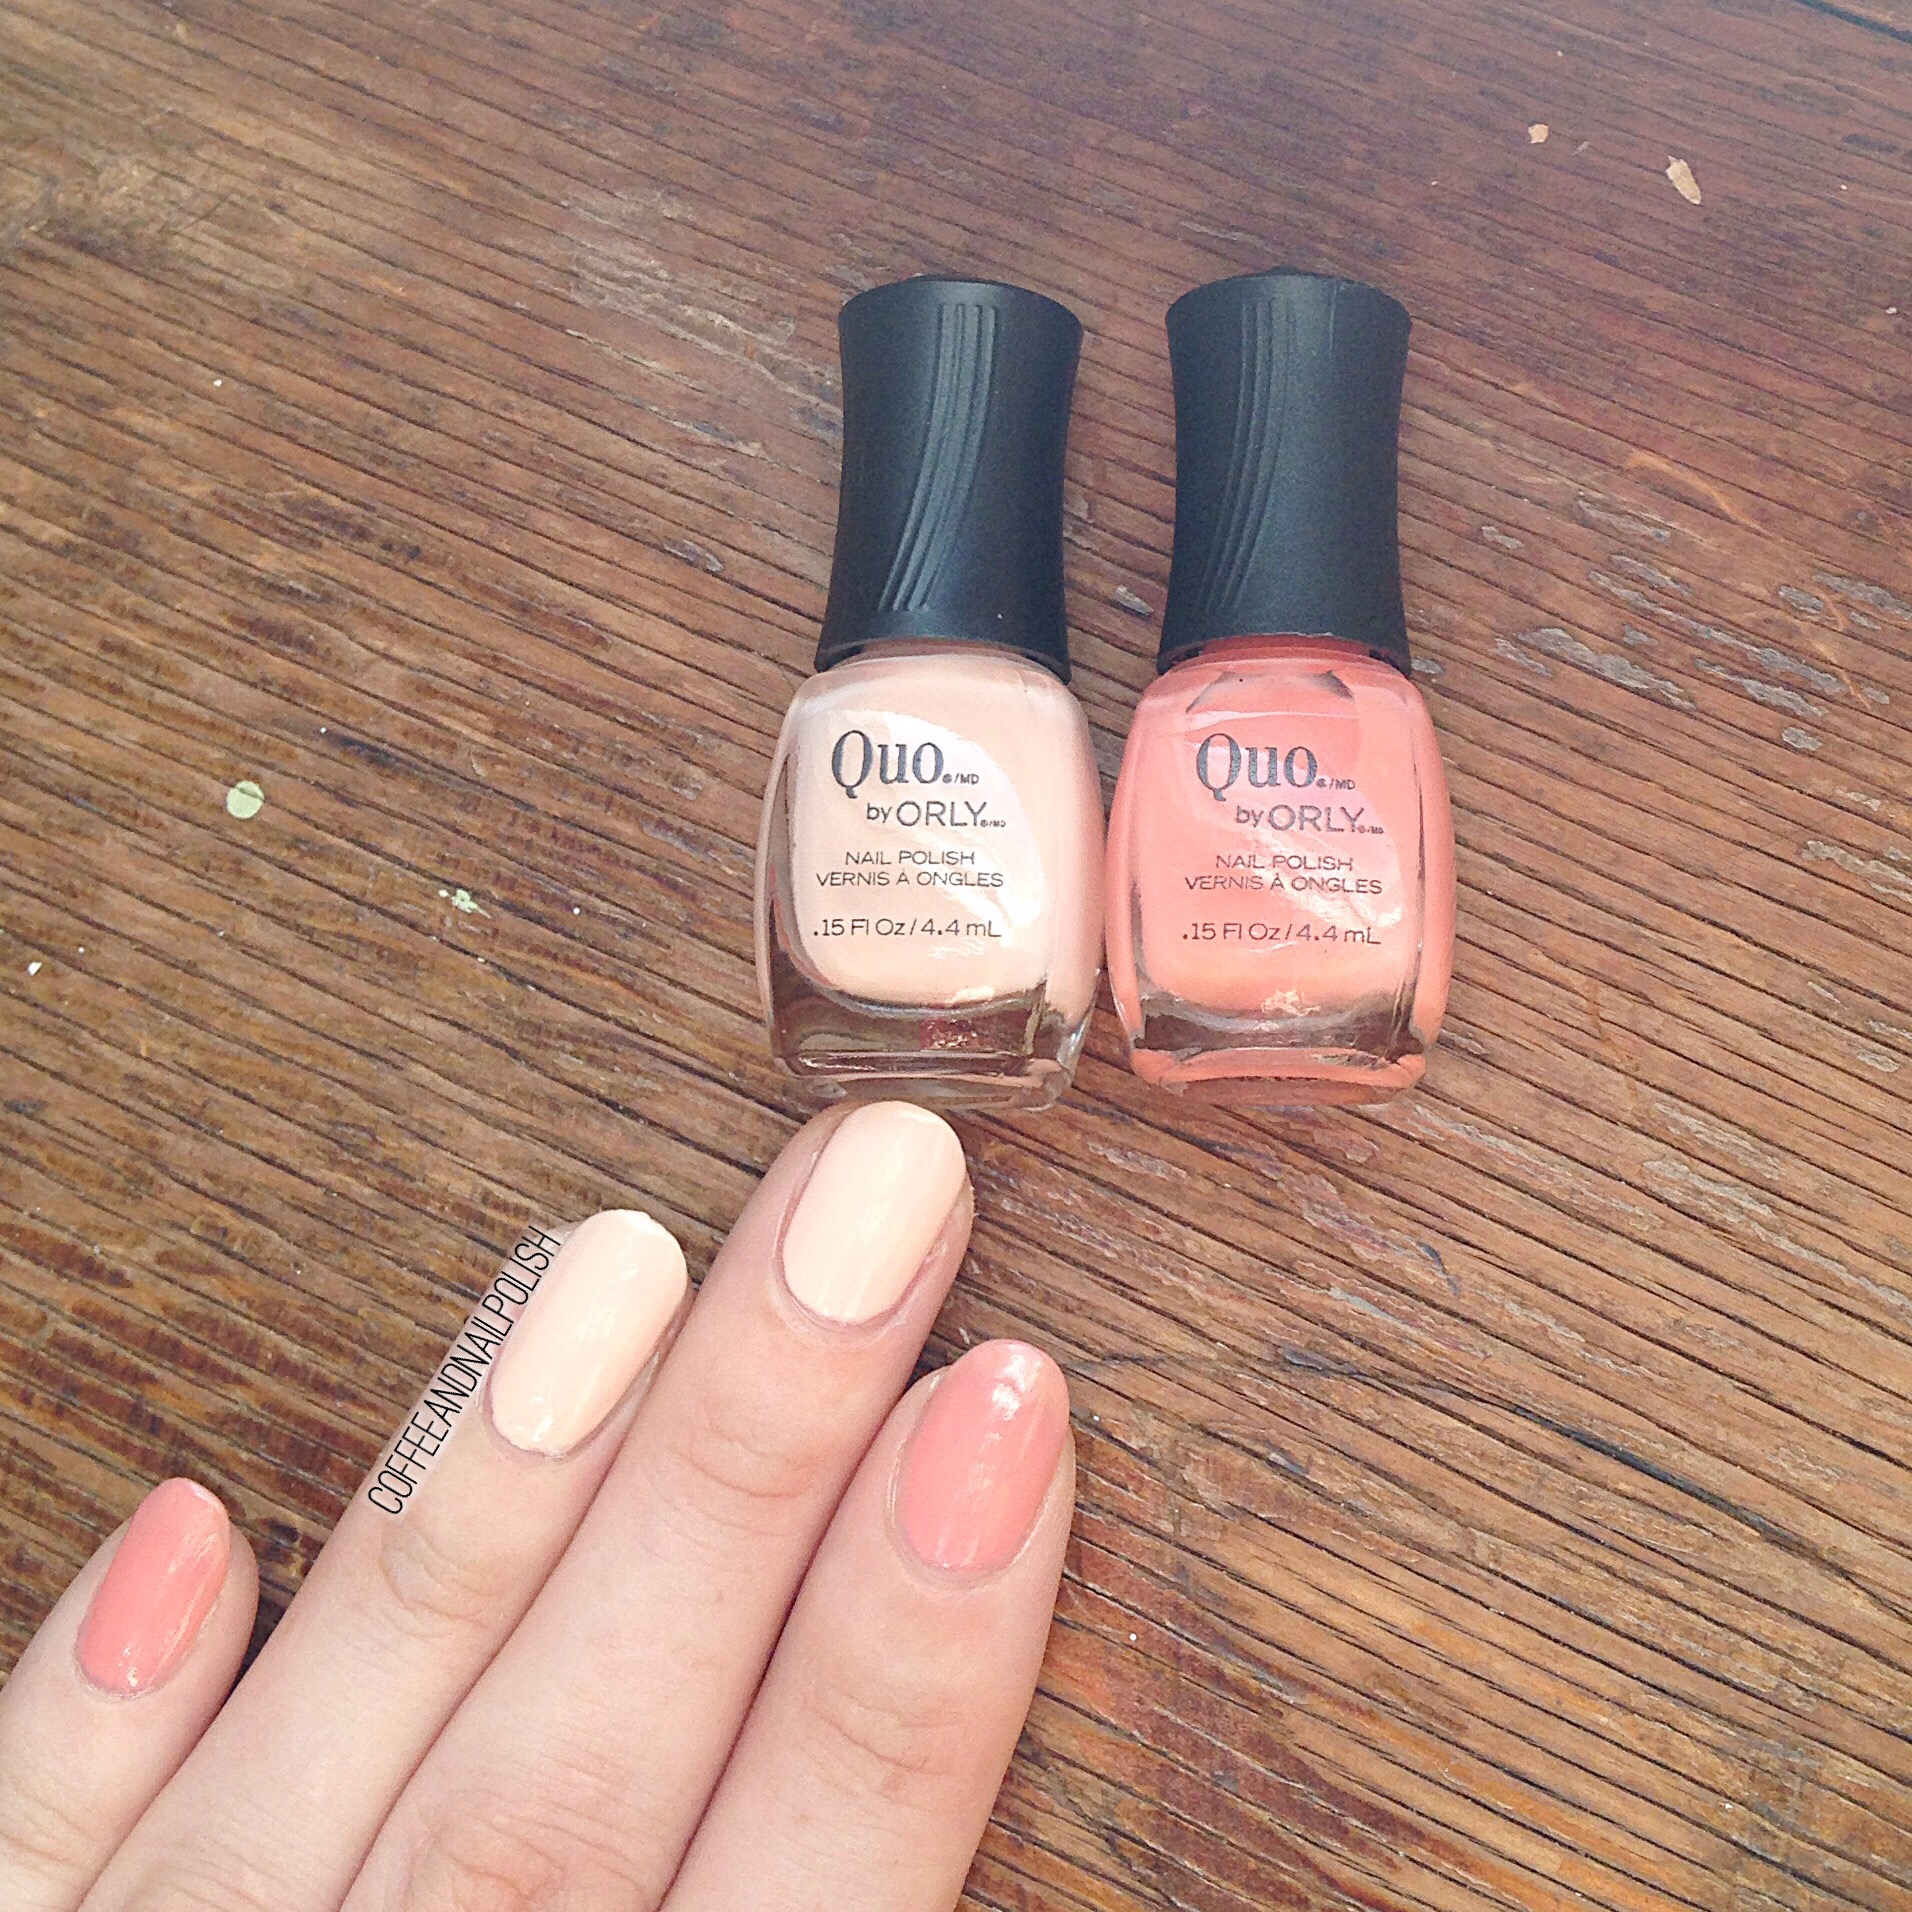
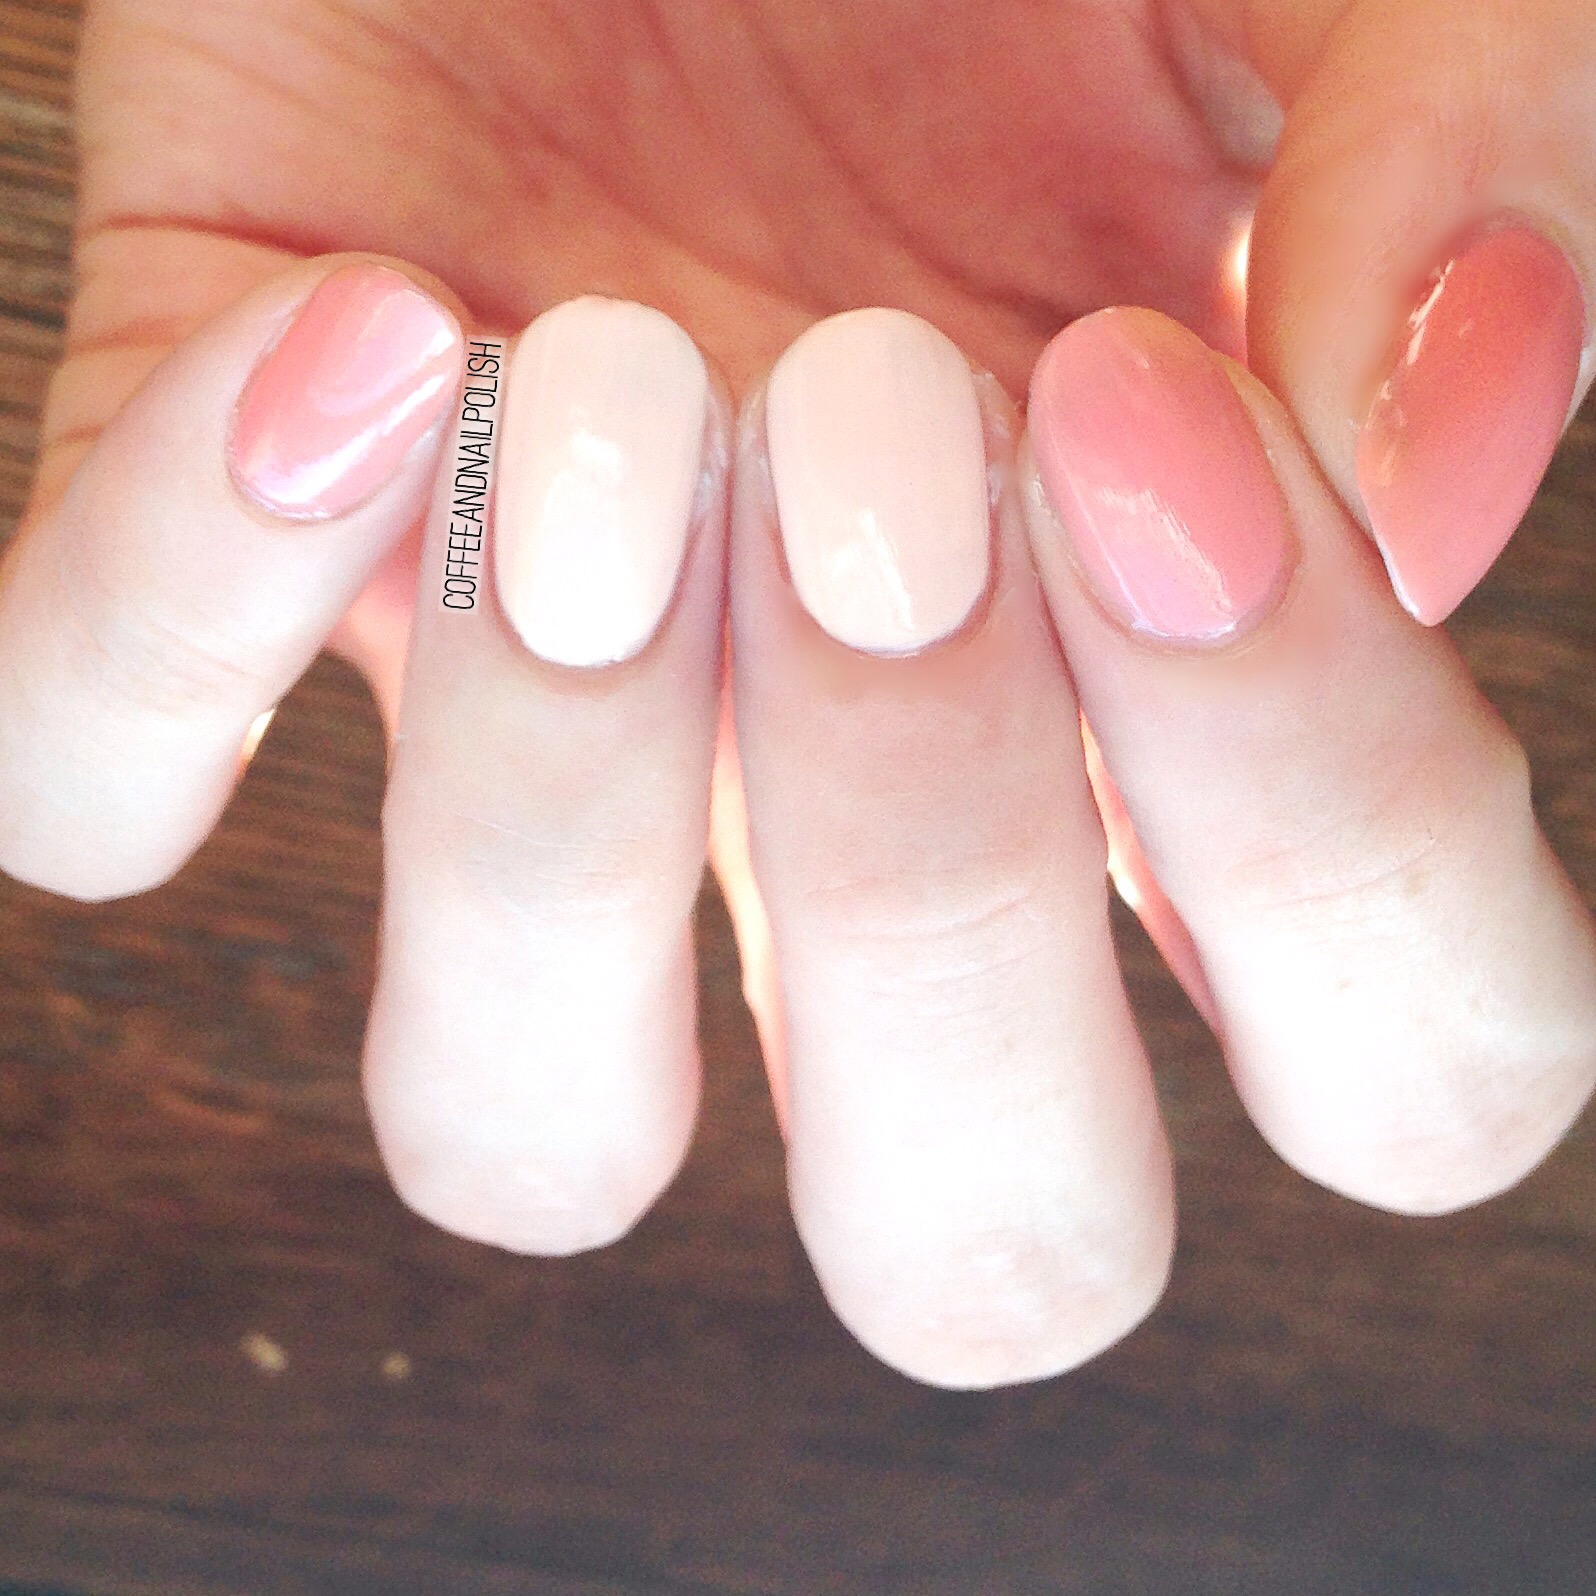
The 3rd set of colours I have to show off are the pinks and peaches. Again, these two colours took three coats to fully cover. The darker was much more sheer and even though you can’t see it, barely covered my visible nail line.  These are great neutrals, and definitely great colours when you need something more subtle.  


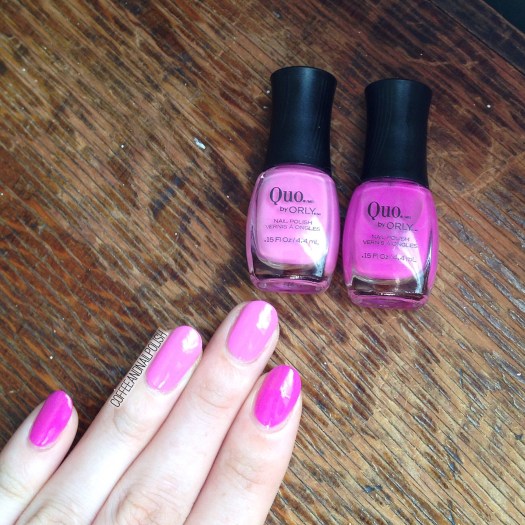
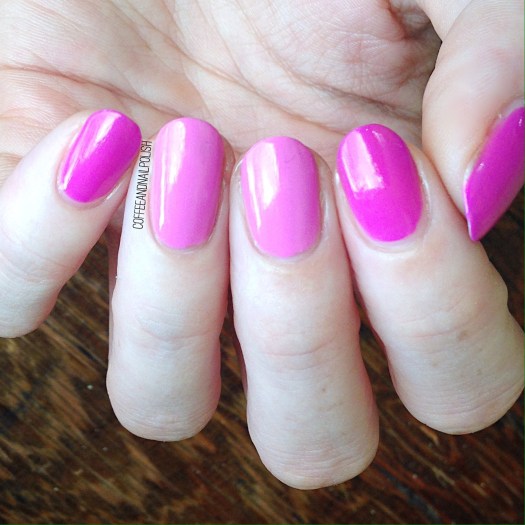
Up next we have some pinks! Like all these colours, I found 3 coats best covered. And again, I find these colours not so much Holiday colours (they would be great for Summer!) but I really love these shades. 


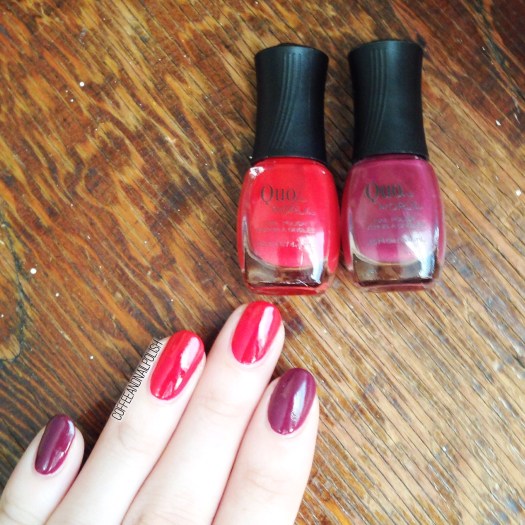
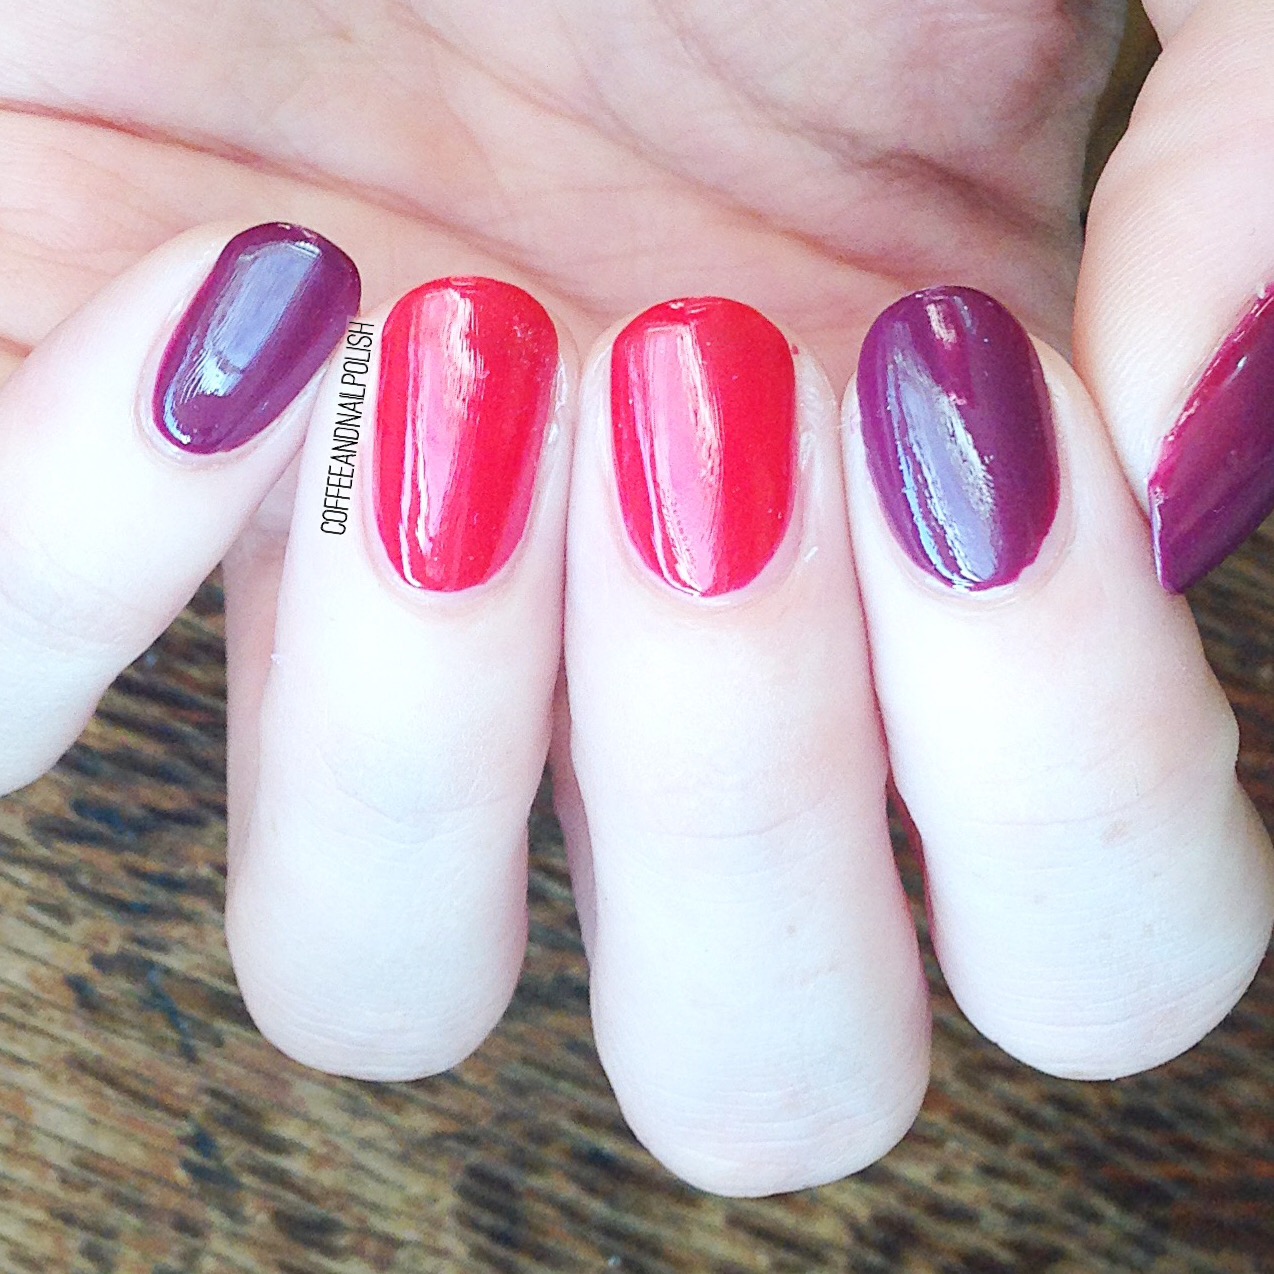
Onto the reds… you know how much I love red nail polish. I’m pretty sure these are also featured in the 6 pack collection also for Holiday 2016. But never the less I don’t mind having extras of these pretty colours! 


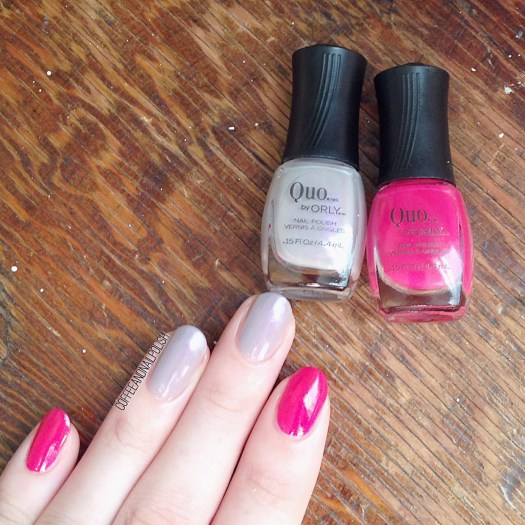
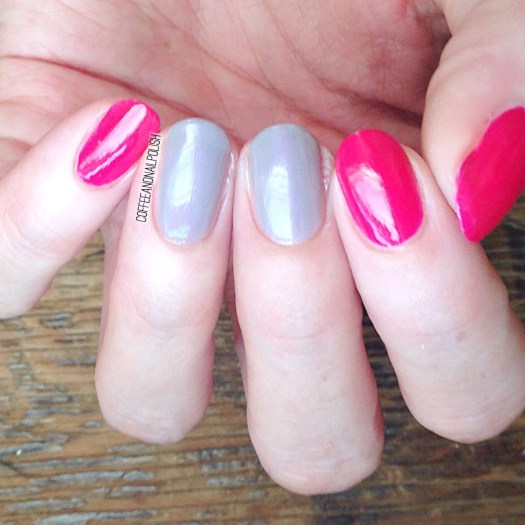
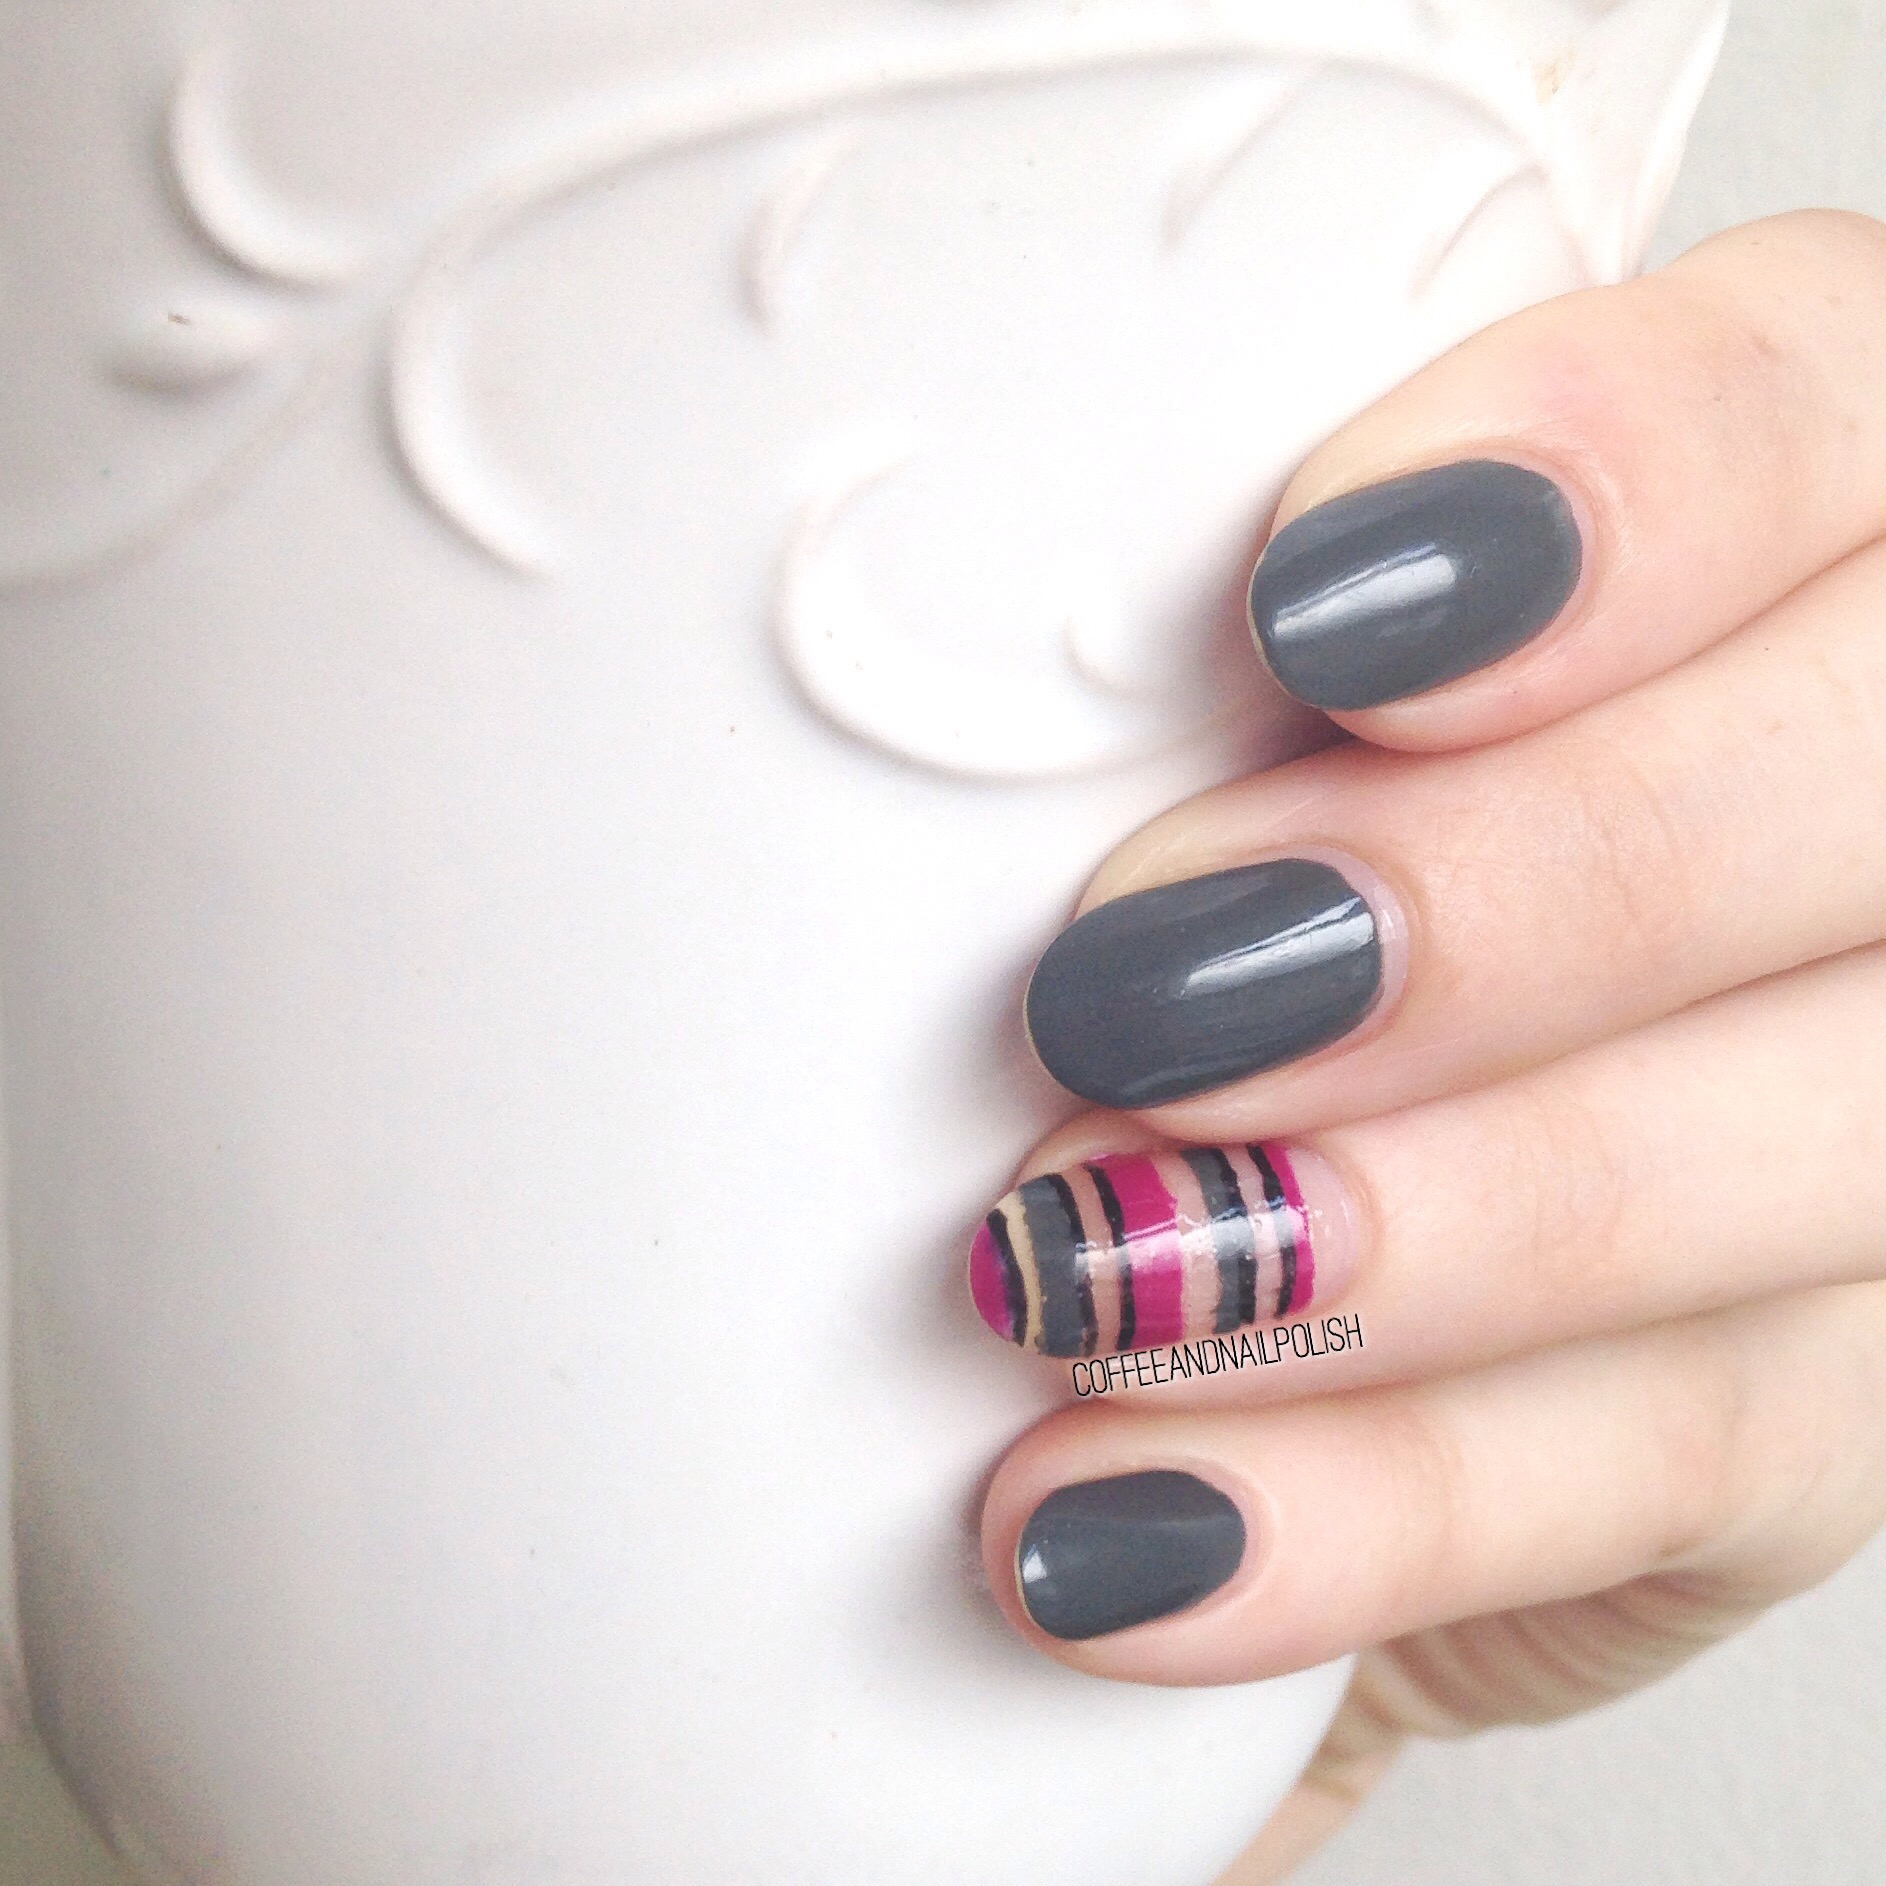
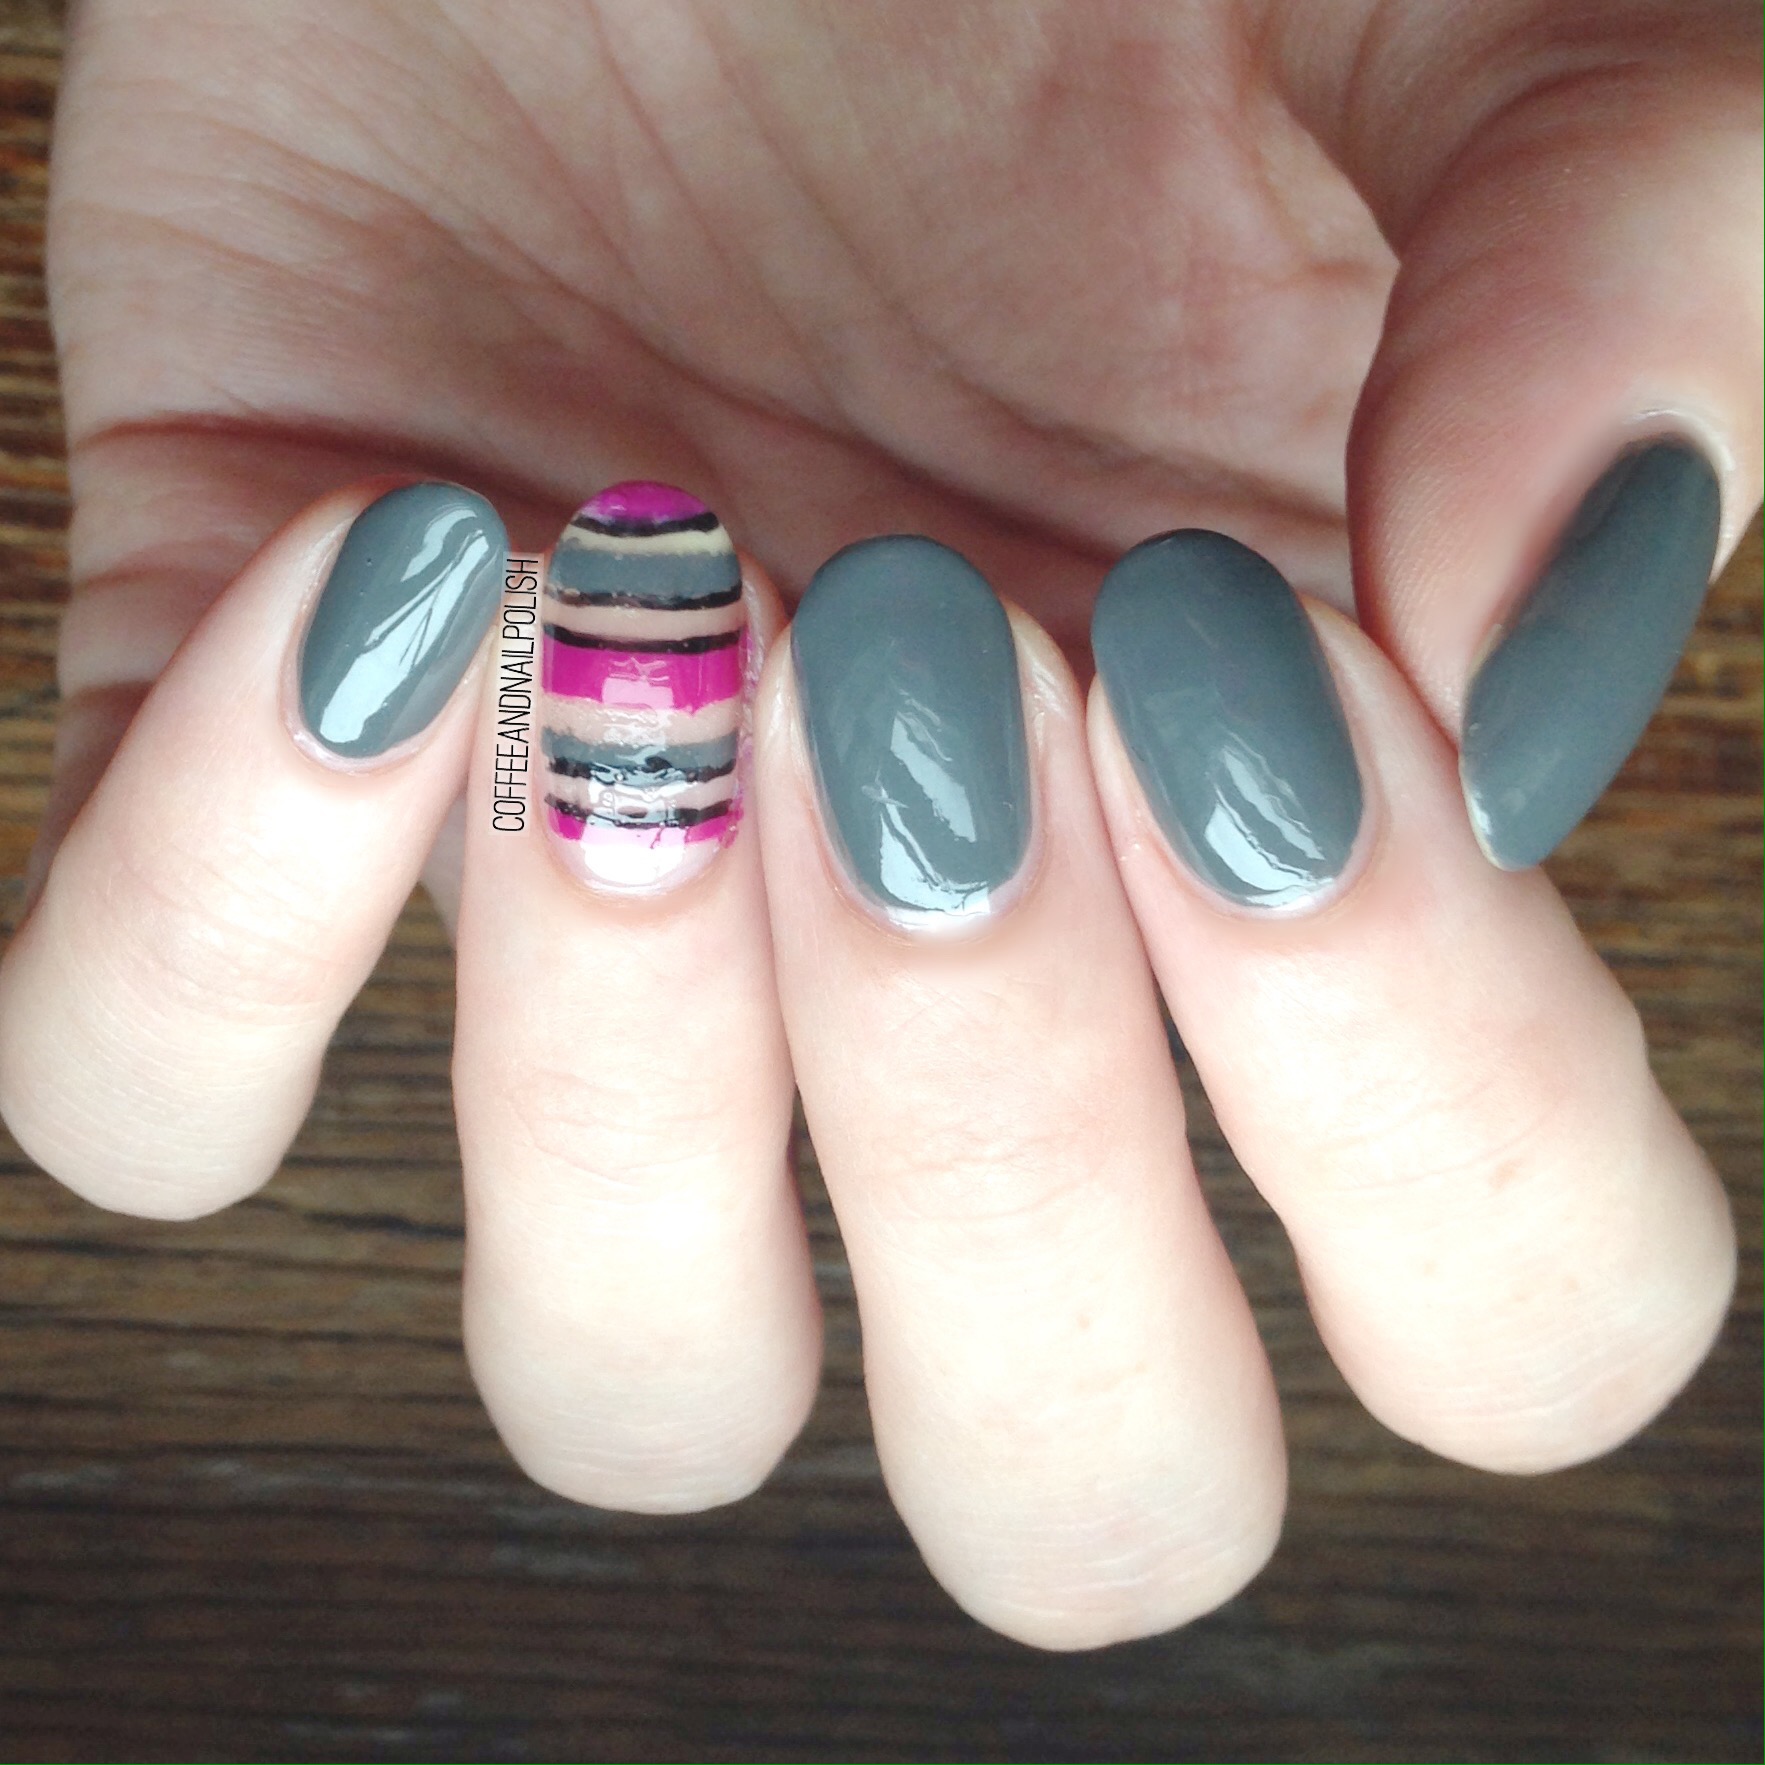
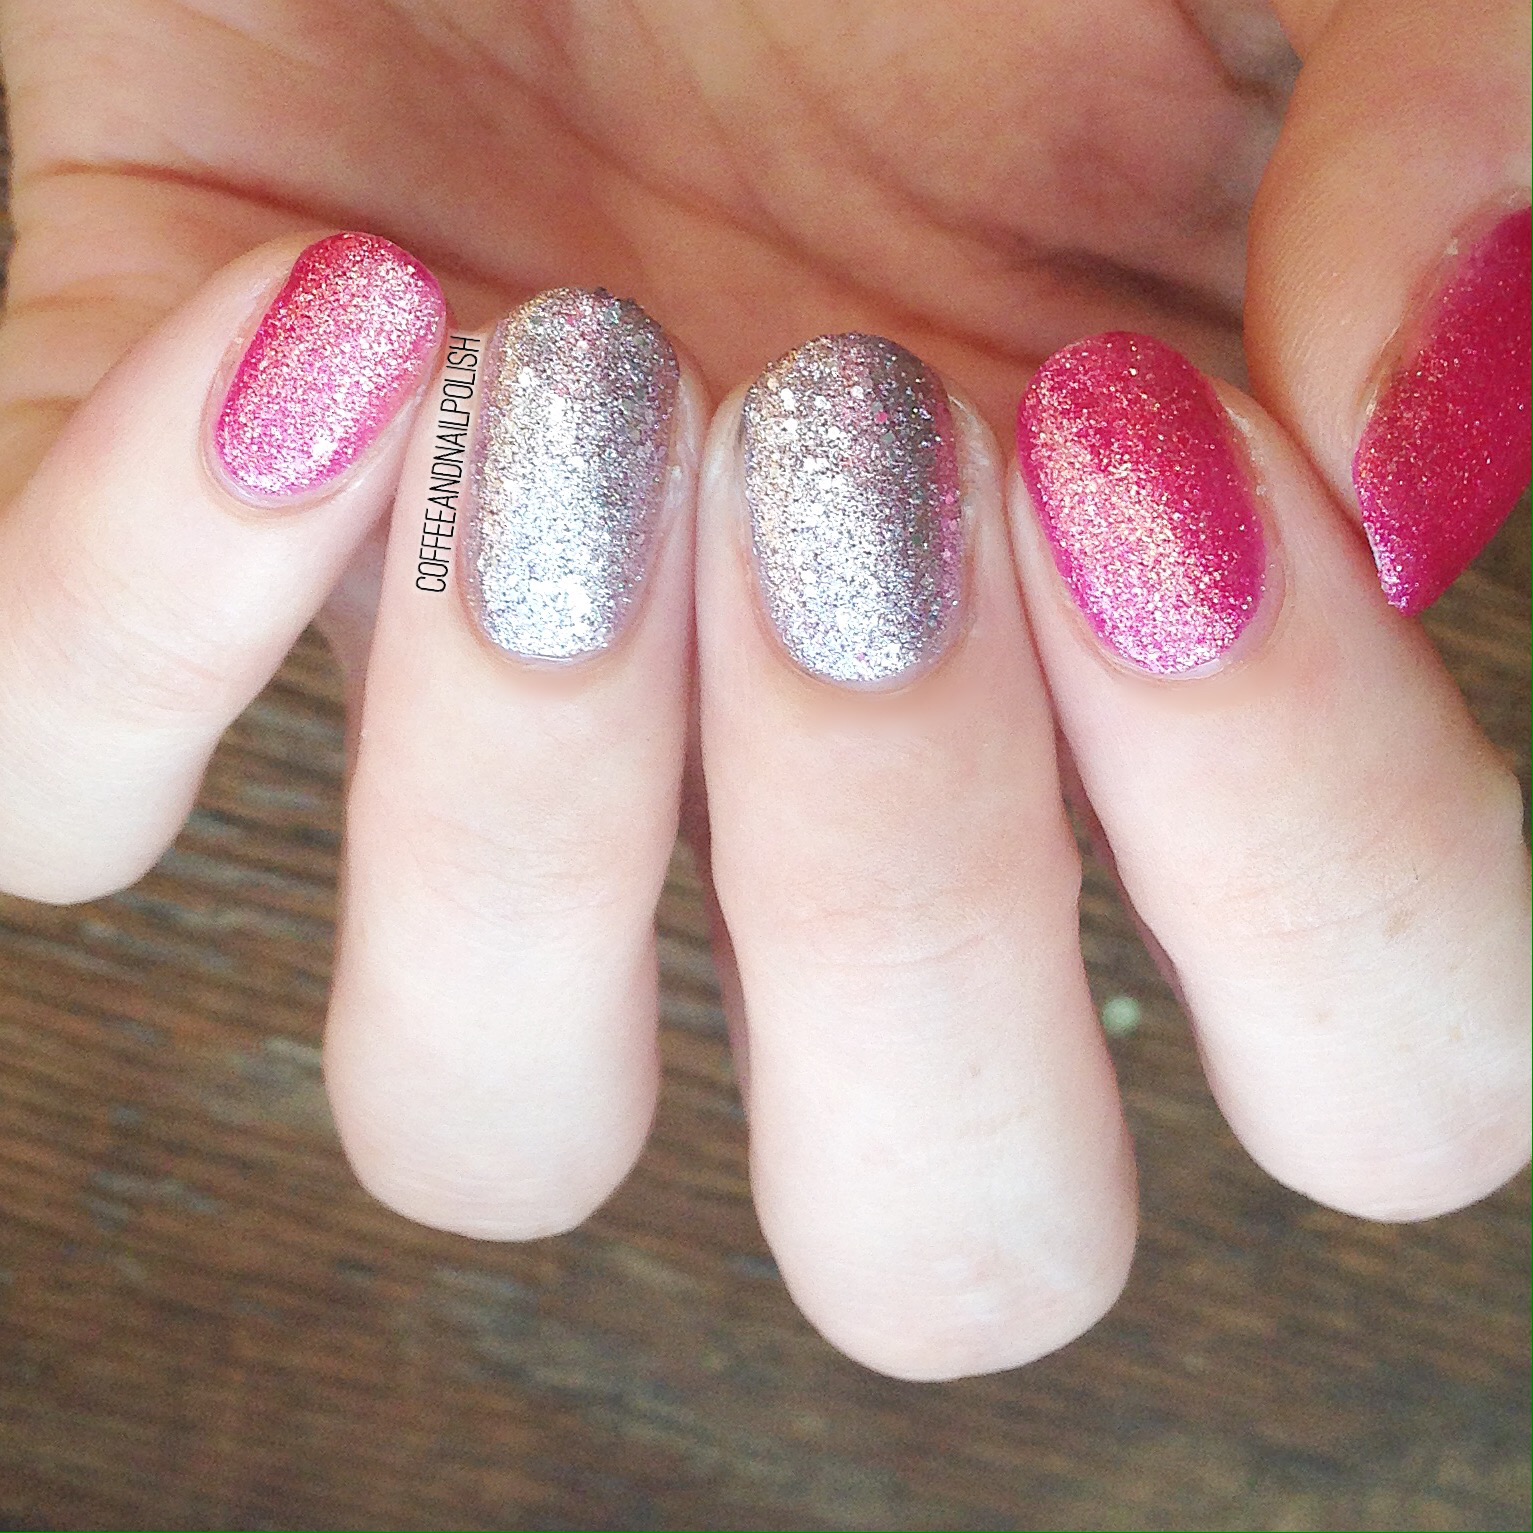
And last (but not least) we have the last two polishes which are not similar in any way but I think look great together. I’ve been using the grey polish (middle and ring nail) a lot lately! The fushia is also a great bright polish. Again, it took three coats for each for perfect application. 

So which colour do you like the most? Has anyone else picked up this set yet, or any of the other QUO Holiday items.  Let me know in the comments below!