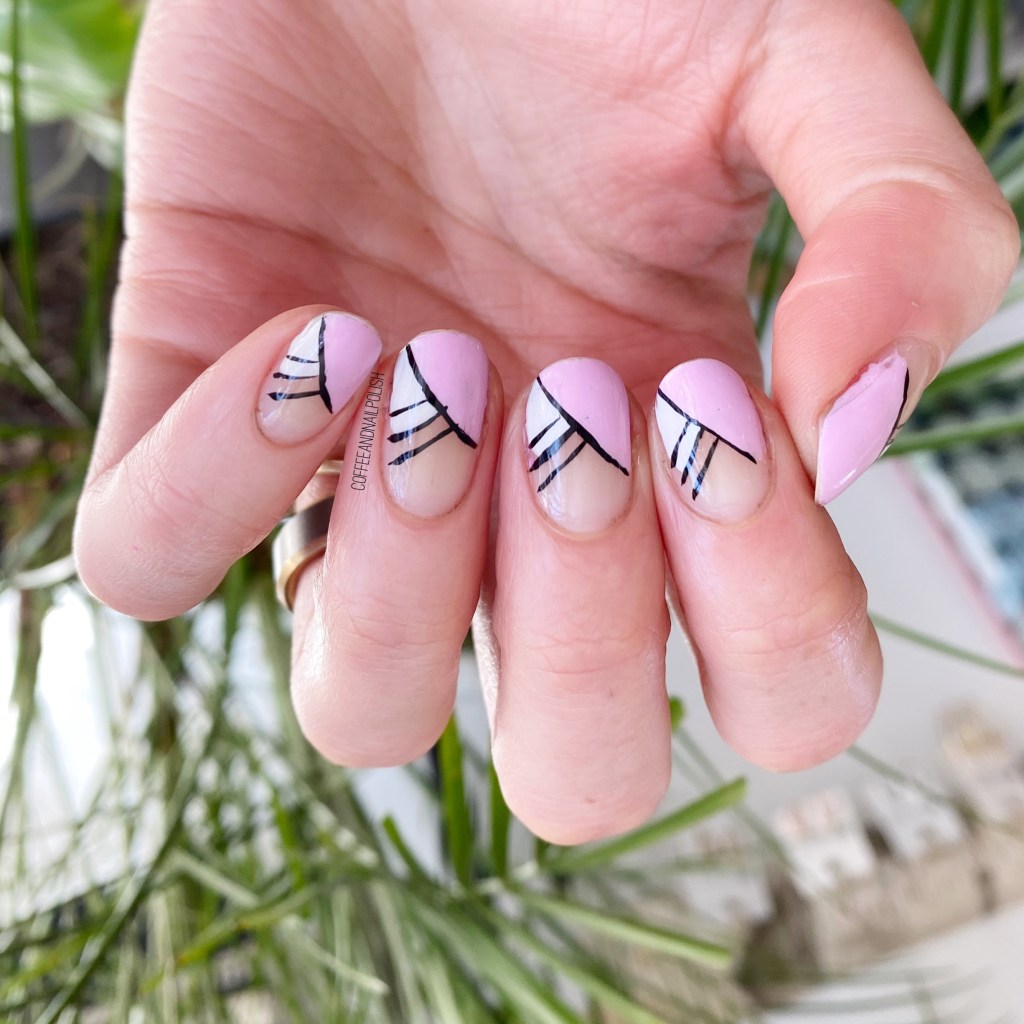
Peach Herringbone Nails

Hello lovelies & happy Tuesday!

I hope everyone had an awesome weekend. I worked all weekend, but the weather is beautiful. It’s officially Summer as of yesterday, which is also very exciting. Of course, here on the East Coast we’re awaiting the remains of a Hurricane which means it’s soggy & gross.

But at least my nails look cute! I did these herringbone nails last week, when I wanted nail art but I was short on time (& inspiration). I feel like I’ve been doing a lot of line work like this lately because I can do it without having to wait for my base to be fully dry.

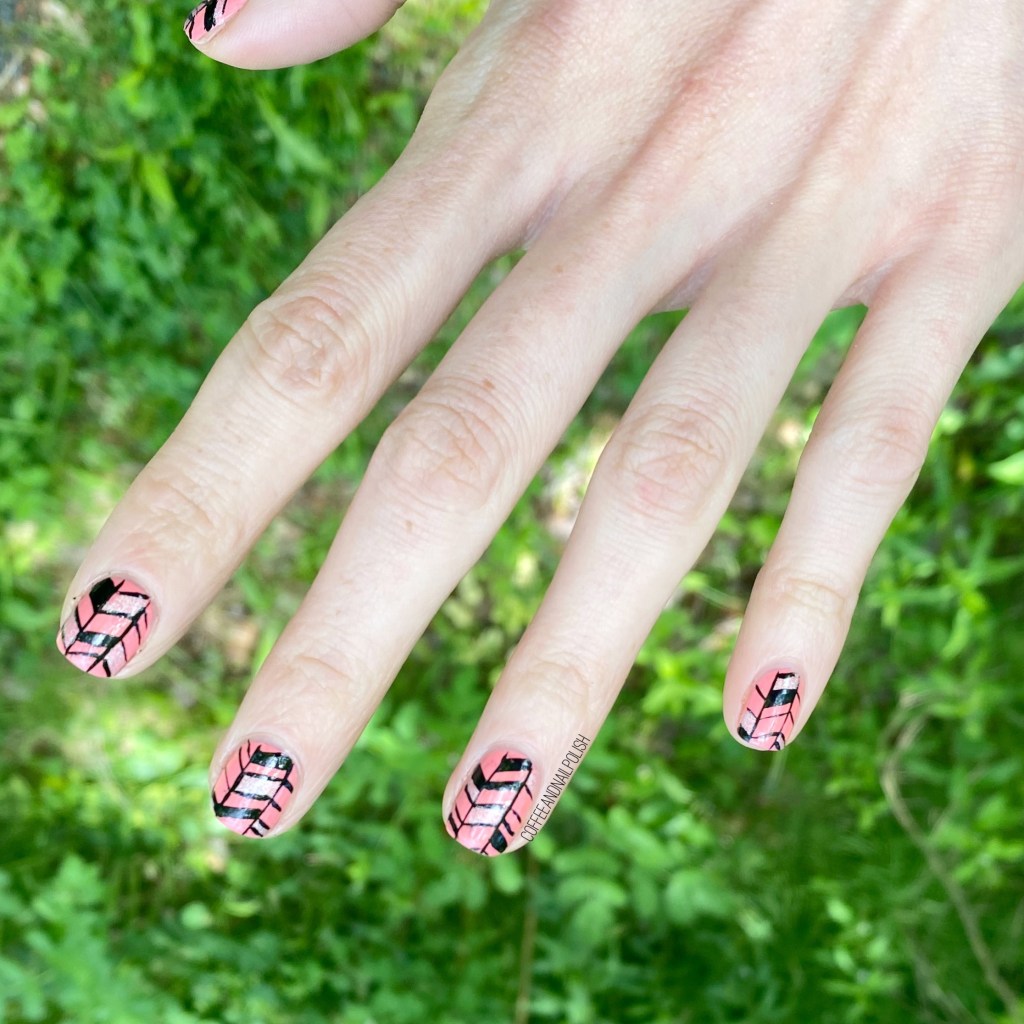
For this manicure, the polishes I used were:

  • Base Coat: Sally Hansen Nailgrowth Miracle
  • Top Coat: Essie Speed Setter
  • Essie Lounge Lover
  • Starrily Vantablack
  • Essence Outta Space Stories We Will Spock You
  • NailStuff.ca 16mm Striper Brush

Ah, like riding a bike. I’ll be honest, at night when I first did these I wasn’t 100% sure if I liked how they turned out; they seemed messy & awful at 10pm. But I was tired, so I left them on, because awful nails are better than no nails at all (& I was way too tired to repaint them). But as soon as the sun came up, & I took another look I actually really liked how they looked, & they didn’t seem as messy as I originally had thought.

& I really kind of love them.
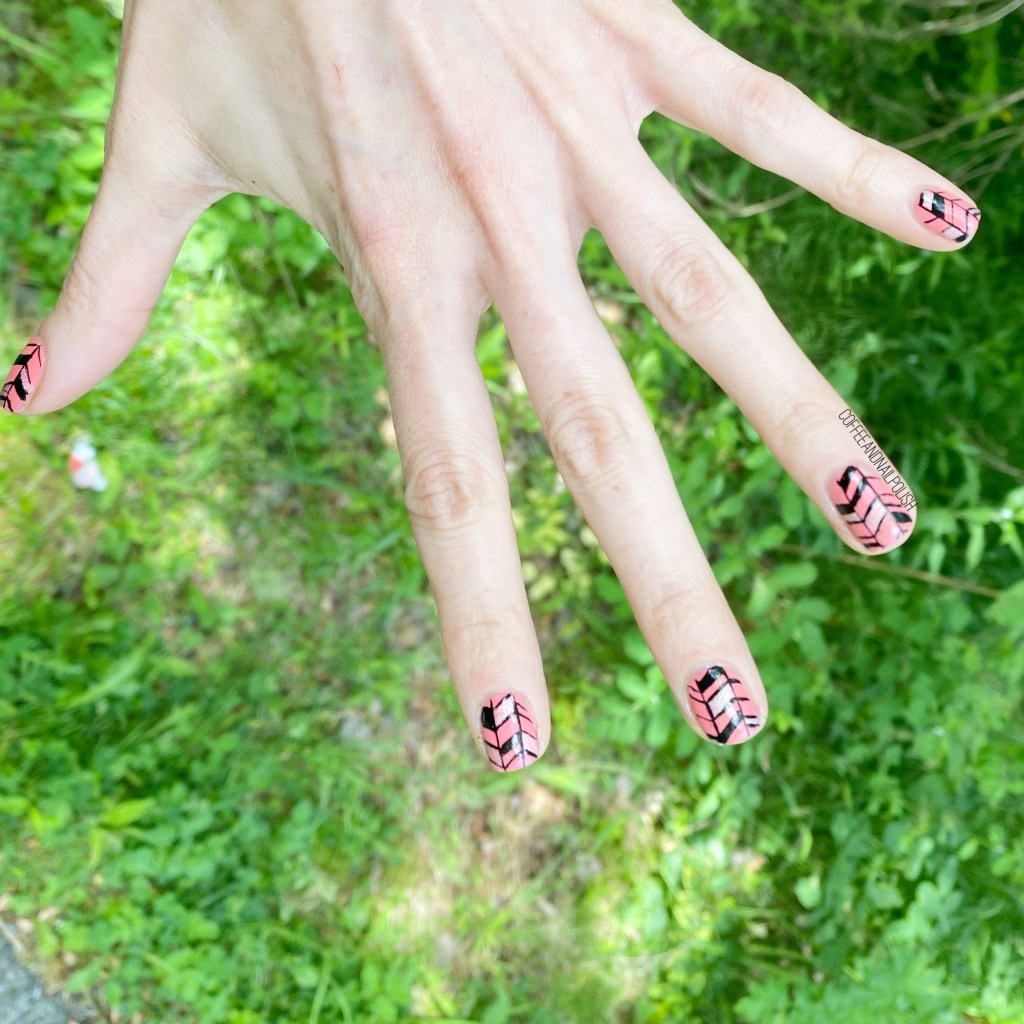
What do you think about this herringbone look? What nail art designs have you been living for lately? Let me know in the comments below!

Negative Space Colour Blocking

Hello lovelies & happy Thursday! 💜Hope everyone is enjoying their week (& hopefully everyone is ready for the Easter bunny this weekend).

Today’s look is one I did last week on a whim, which I actually totally ended up loving. I used to do these negative space colour block designs a lot around Spring/Summer 2016, & I think it’s about time I bring them back!

For this manicure, the polishes I used were:

  • Base Coat: Sally Hansen Nailgrowth Miracle
  • Top Coat: Essie Good to Go
  • Sally Hansen Miracle Gel Get Mod!
  • ORLY Scenic Route
  • Starrily Vantablack
  • NailStuff.ca 16mm Striper Brush

Like I had mentioned, I did this manicure on a whim. I had started another design, mucked it up, & then had needed something quick to do. & I’m so glad I decided on these! I ended up getting so, so many compliments on them while at work, which is kind of the reason I’m thinking I should start rocking them more!

I did everything freehand—mostly because I was short on time, & didn’t feel like waiting for multiple layers to dry. & I really really love the end result. Just a fun, simple look that anyone can wear, with any length nails. & I’m going to prove it because I just had a major nail catastrophe, I’m back to itty bitty short nails.

So stay tuned!

What do you think about this nail art look? Would you wear a colour block design like this? What colours would you pair together? Let me know all your thoughts in the comments below!

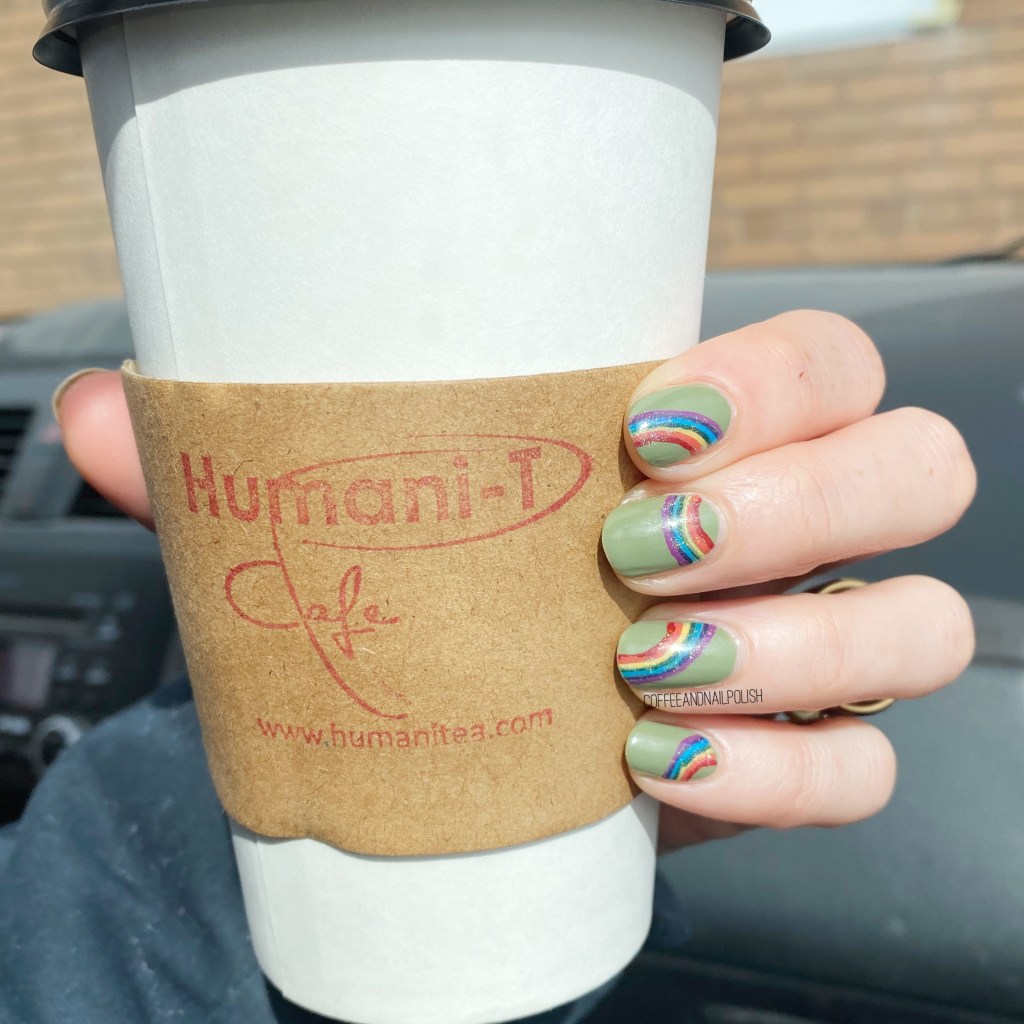
St Patrick’s Day Rainbows 🌈🍀

Hello my loves, & Happy St Patrick’s Day! I

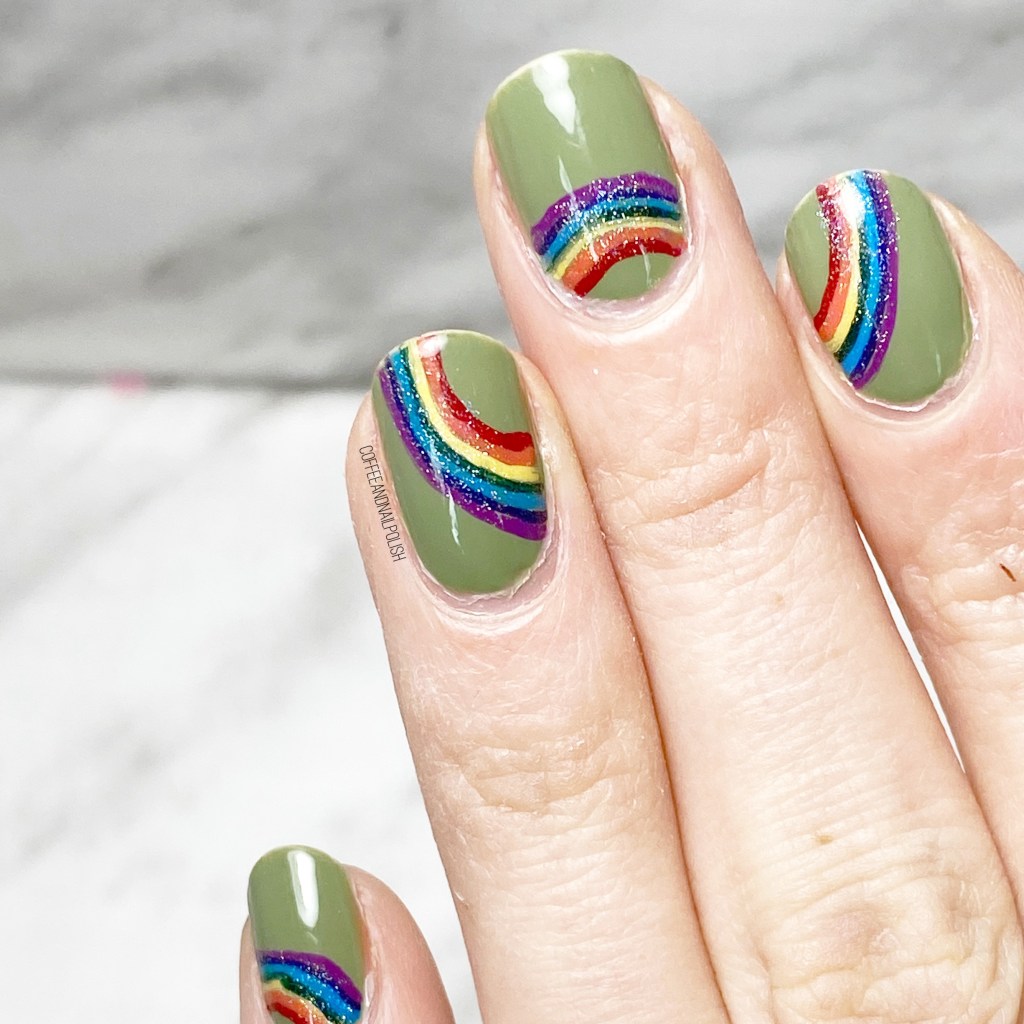
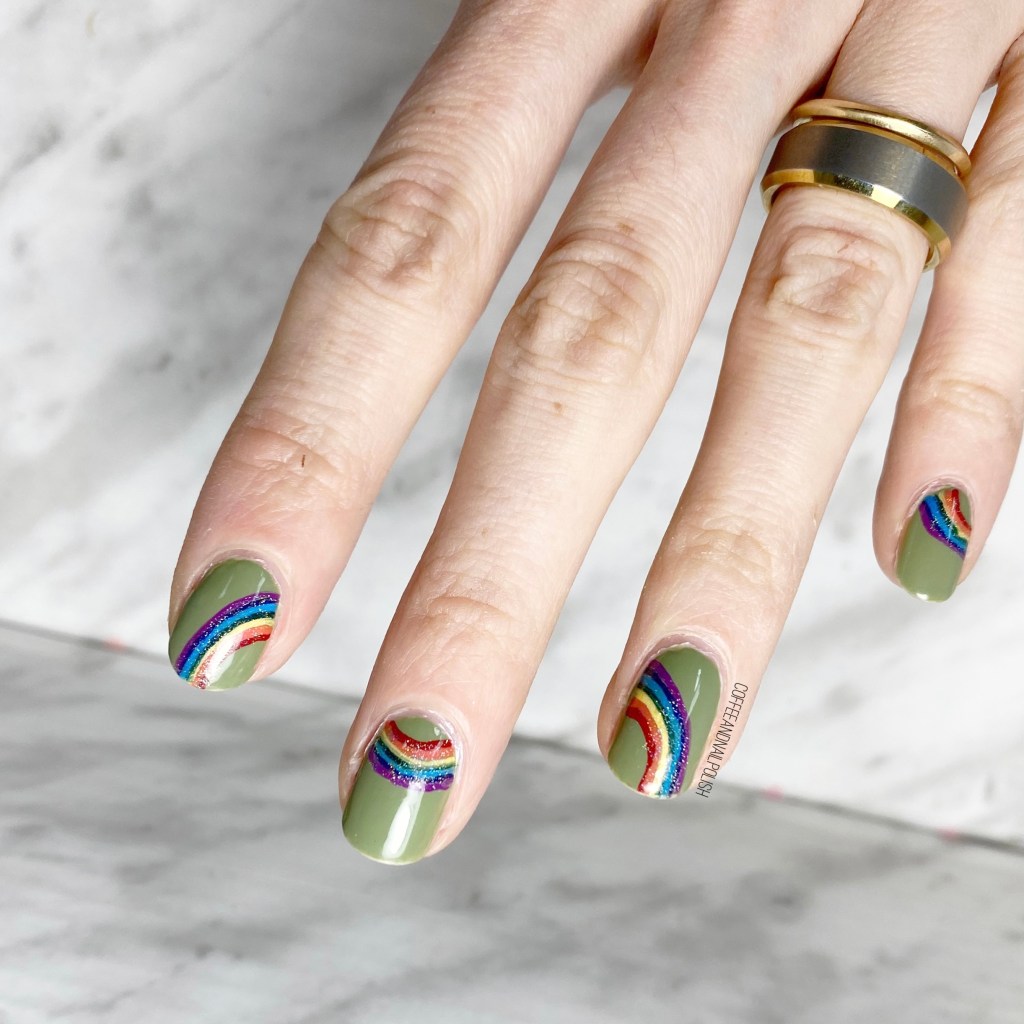
t’s another quiet year, obviously, but I had to do something fun on my nails. I had this image in my head of a rainbow over a pretty green, & I think that the end result turned out exactly how I had pictured. I even managed to sneak in a little holo too.

For this manicure, the polishes I used were:

  • Base Coat: Sally Hansen Nailgrowth Miracle
  • Top Coat: Essie Good to Go
  • Wrenn Polish I Know Guac Is Extra
  • Deborah Lippmann It’s Raining Men
  • Essie Sunshine State Of Mind
  • Essie Check Your Baggage
  • Essie Off Tropic
  • Sally Hansen Cerulean
  • Essie No More Film
  • Sally Hansen Insta-Dri Va Va Violet
  • Starrily Eclipse
  • NailStuff.ca 16mm Striper Brush

I love how these turned out, even though they were super time consuming haha. Who know 7 stripes of colour could be so much work. I also totally did my colours backwards, but you know what… I still think they’re awesome, & I hope you do too! & of course, I had to add a little holo to really bring my rainbow to life!

What do you think of my St Patrick’s Day rainbow nails? Are you wearing a special green design today? Let me know in the comments below! 🌈🍀💗

#GlamNailsChallengeDec — New Years Celebration

Hello lovelies & happy Wednesday! We’ve officially made it — the last day of #GlamNailsChallengeDec! Can you believe it? That means we’re just a few days away from 2020 being the past, & hopefully 2021 will hold exciting things.

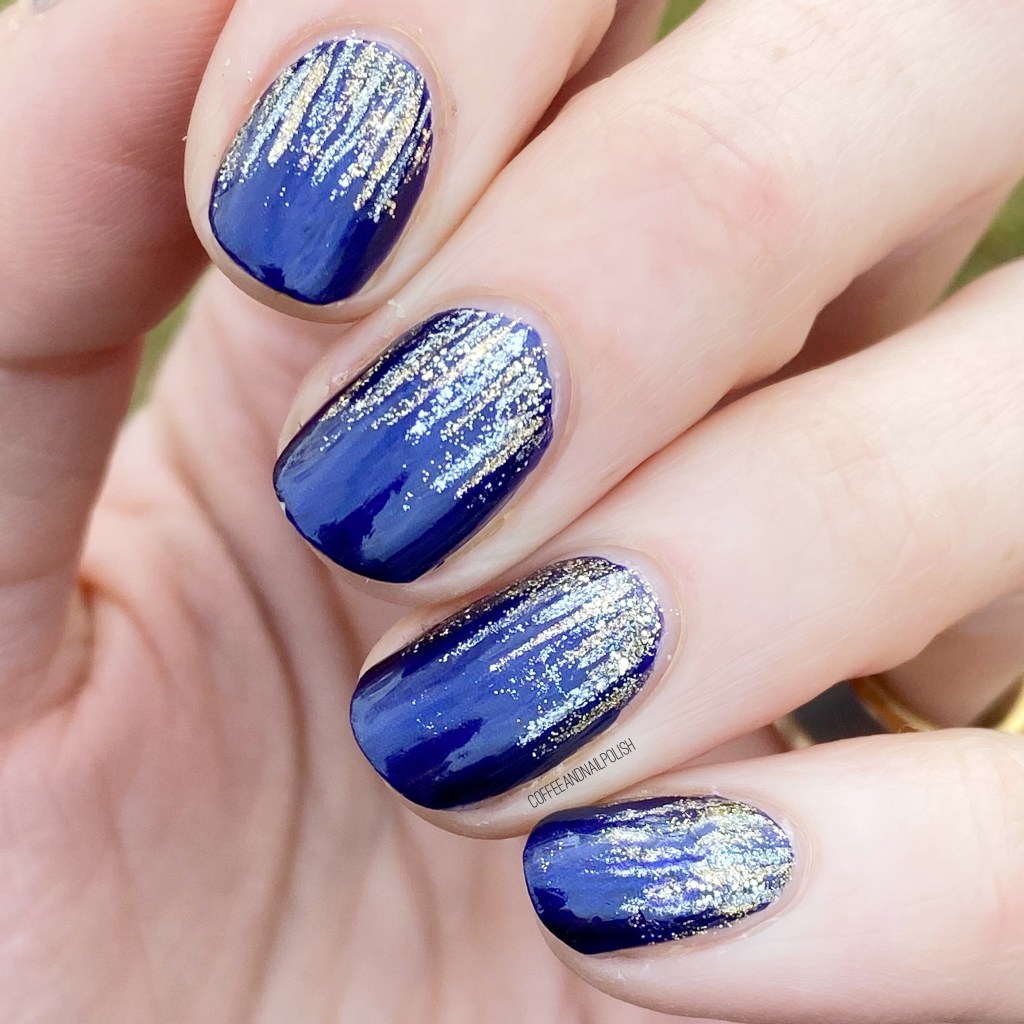
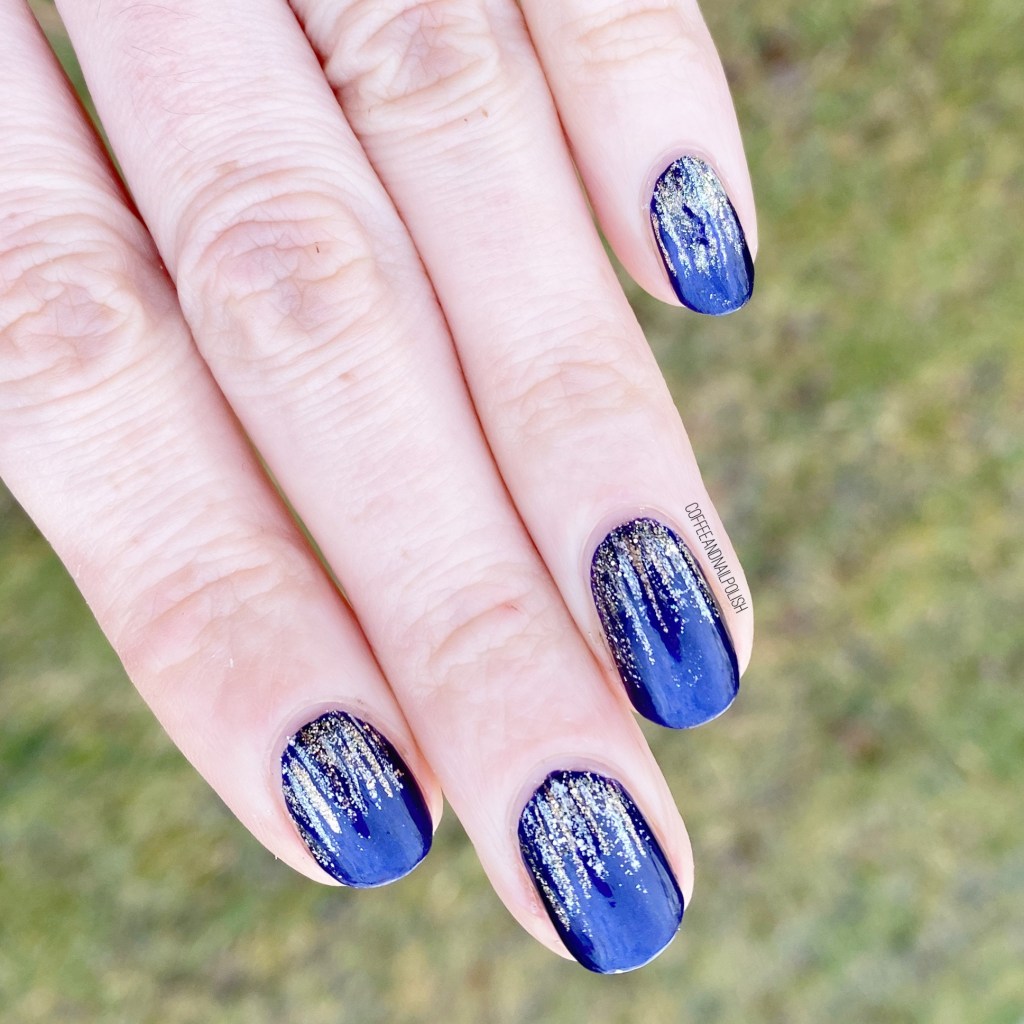
But first we need some New Years Eve nails! Today’s prompt is New Years Celebration, & I was inspired my fireworks! Who doesn’t love setting off fireworks on New Years Eve — my dad always used to set off a grand show during our yearly celebrations, & they make me so happy! I can’t wait until my kids are a bit older, & we can set a few fireworks off in our backyard at midnight. In the meantime, I’ll celebrate with my firework inspired waterfall look.

For this manicure, the polishes I used were:

  • Base Coat: Sally Hansen Hard As Nails
  • Top Coat: Sally Hansen Miracle Gel Shiny Top Coat
  • China Glaze New Year, New Boo
  • Essie Mosiac On Down
  • Sally Hansen Miracle Gel Buffalo Nickel
  • Sally Hansen Miracle Gel Five Golden Blings
  • Starrily Space Debris
  • NailStuff.ca 16mm Striper Brush (COFFEE10 saves you 10% on your purchase!)

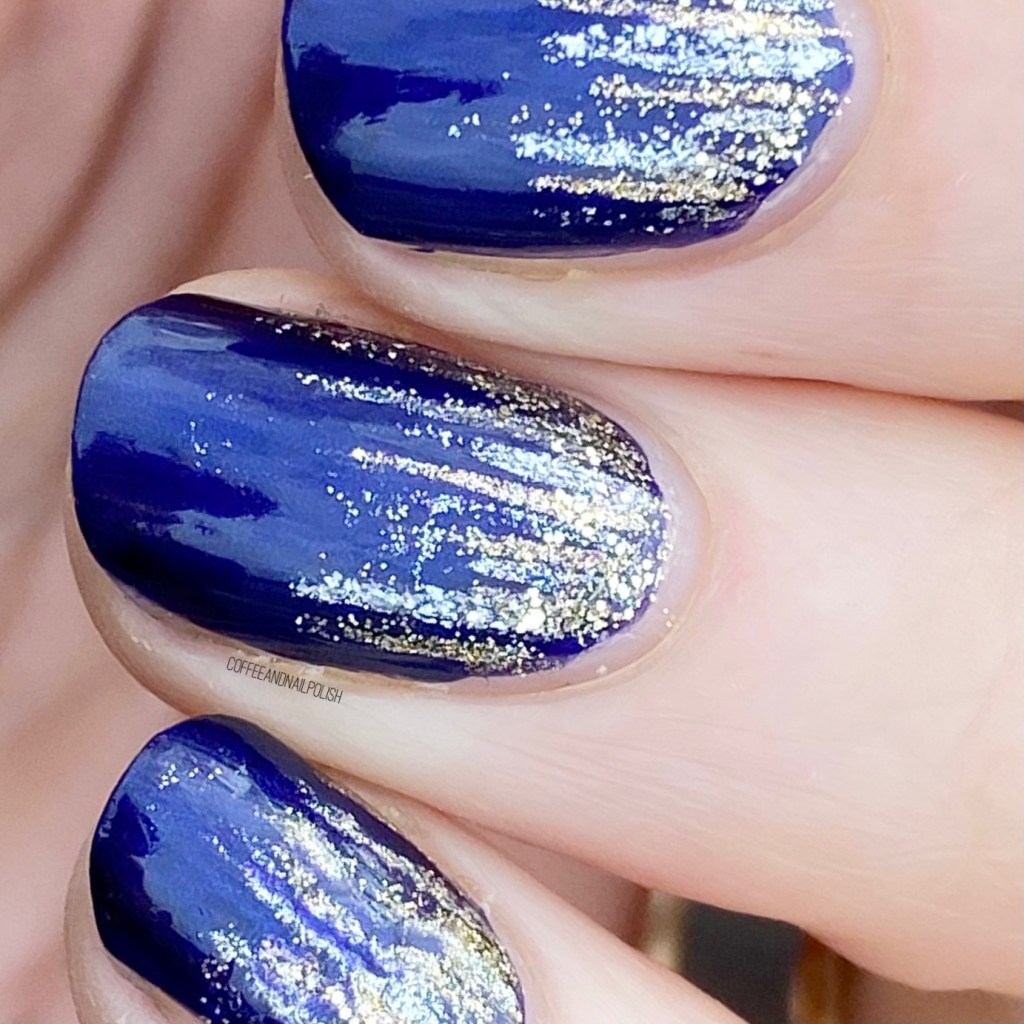
Does that not totally look like cascading fireworks?! I love the waterfall look, & I haven’t done one in a while. I thought the combination of gold & silver over the navy blue would be the perfect New Years combination. & I got a ton of compliments on this look when I wore it to work, so I feel like I was successful!

This is probably one of my favourite New Years Eve looks I’ve ever done.

& with that, we’re officially done with #GlamNailsChallengeDec — which prompt was your favourite? Do you enjoy these challenges? Let me know in the comments below!

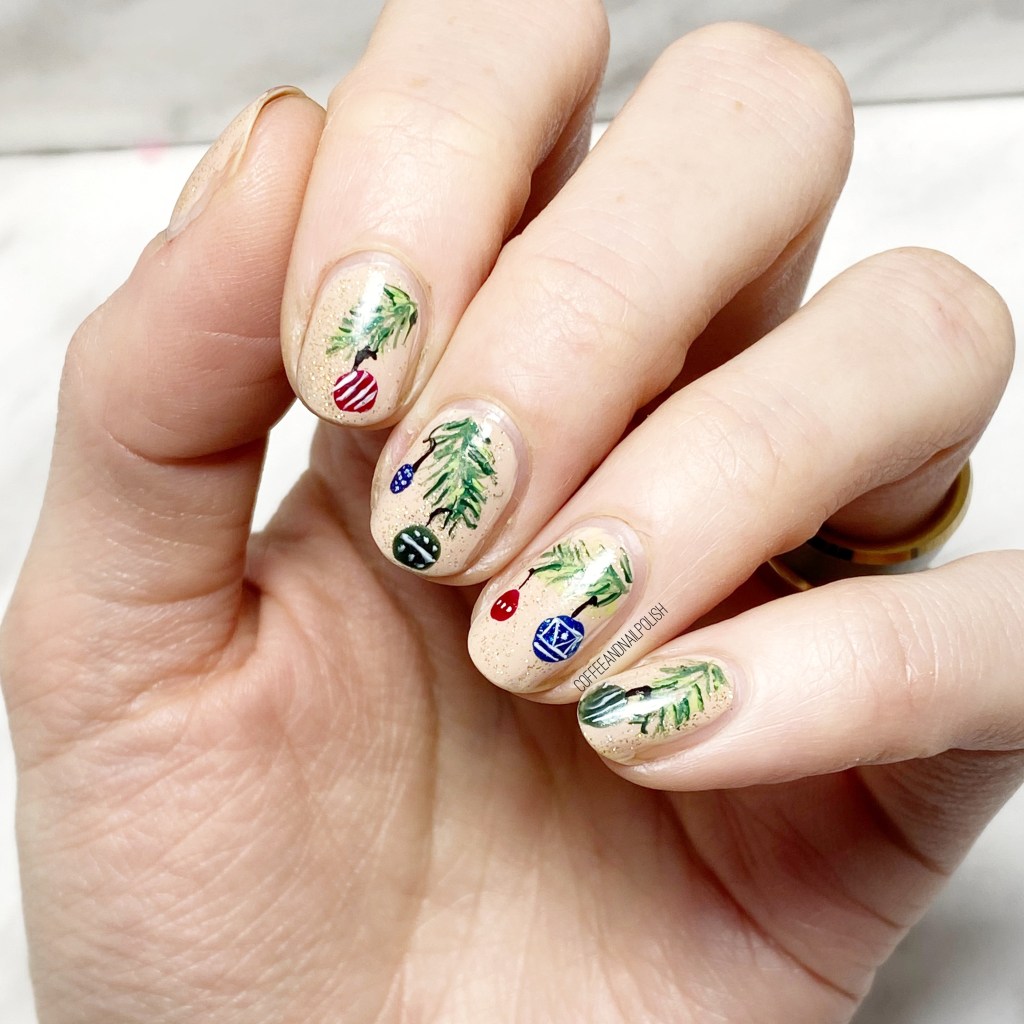
Christmas Eve Ornament Nails

Hello lovelies & Merry Christmas Eve! Hope everyone is having a not too stressful start to their Christmas (or December 24th, for those who don’t celebrate.)

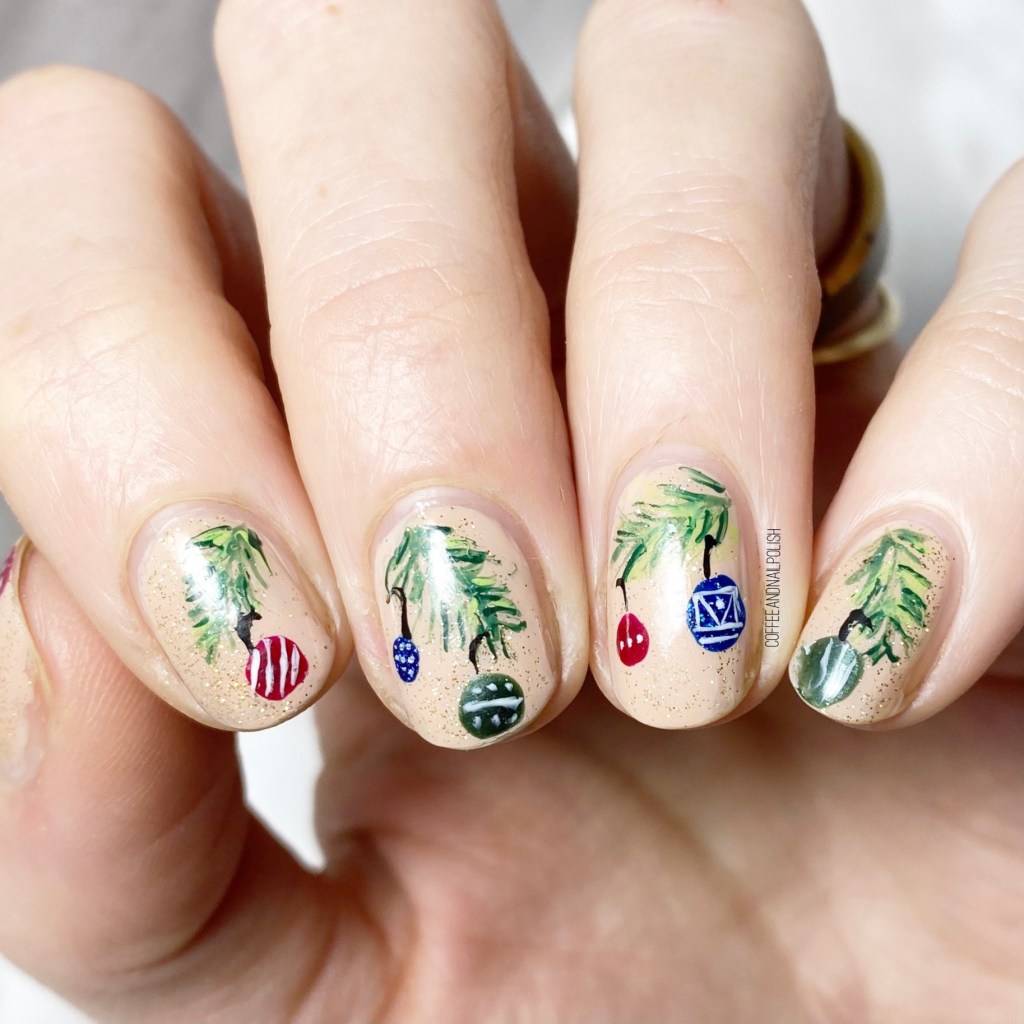
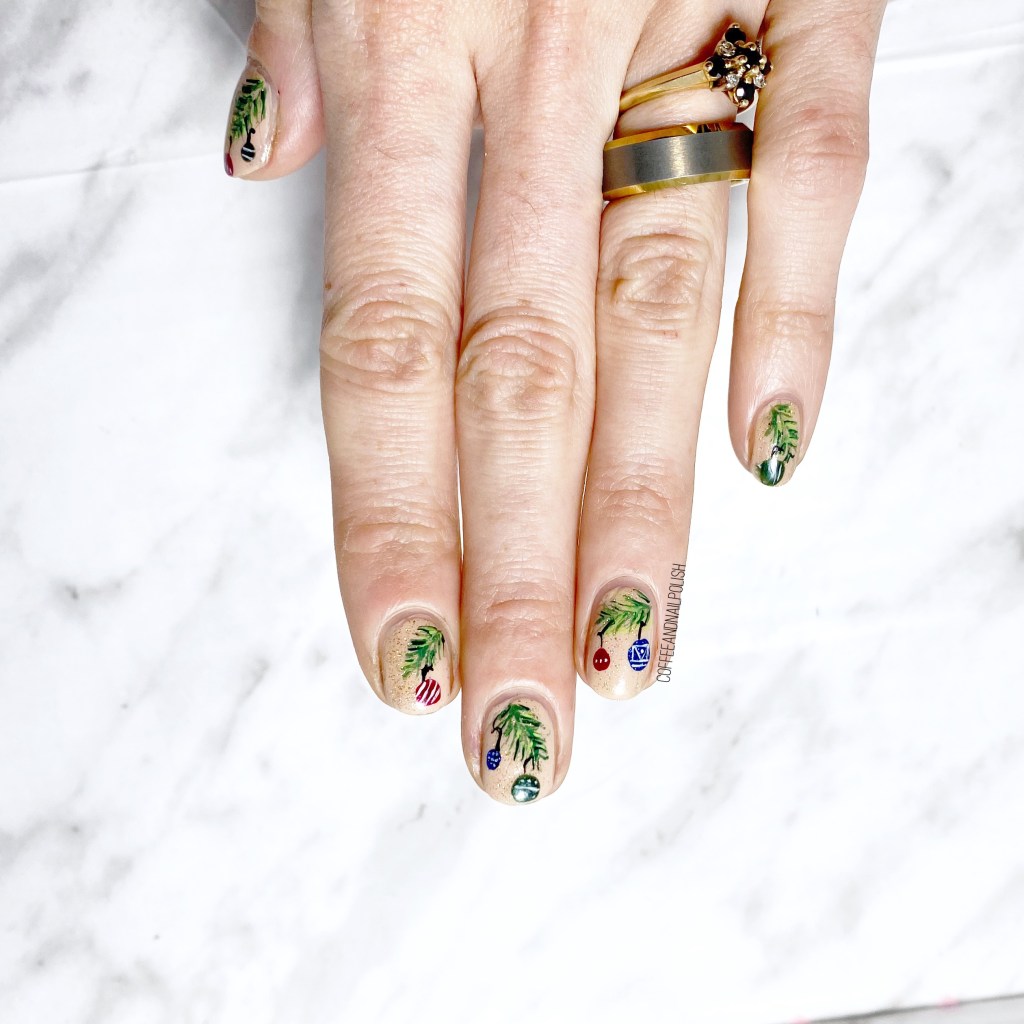
Today I have one final pre Christmas look to share with you — some Christmas ornament nails. This is actually a recreation/new take on a design I did five years ago. I thought a new version would be a fun design!

For this manicure, the polishes I used were:

  • Base Coat: Sally Hansen Hard As Nails
  • Top Coat: Sally Hansen Miracle Gel Shiny Top Coat
  • Sally Hansen Good Kind Pure Almond Tan
  • Sally Hansen Miracle Gel Five Golden Blings
  • Icing Emerald City
  • Essie Off Tropic
  • Random icky green (haha)
  • Sally Hansen Miracle Gel Can’t Beet Royalty
  • Starrily Diamond Rain
  • Zoya Ray
  • Starrily Vantablack
  • Sally Hansen Miracle Gel Get Mod
  • NailStuff.ca 4mm Micro Detail Brush (COFFEE10 saves you 10%!)
  • NailStuff.ca Dotting Tool Trio

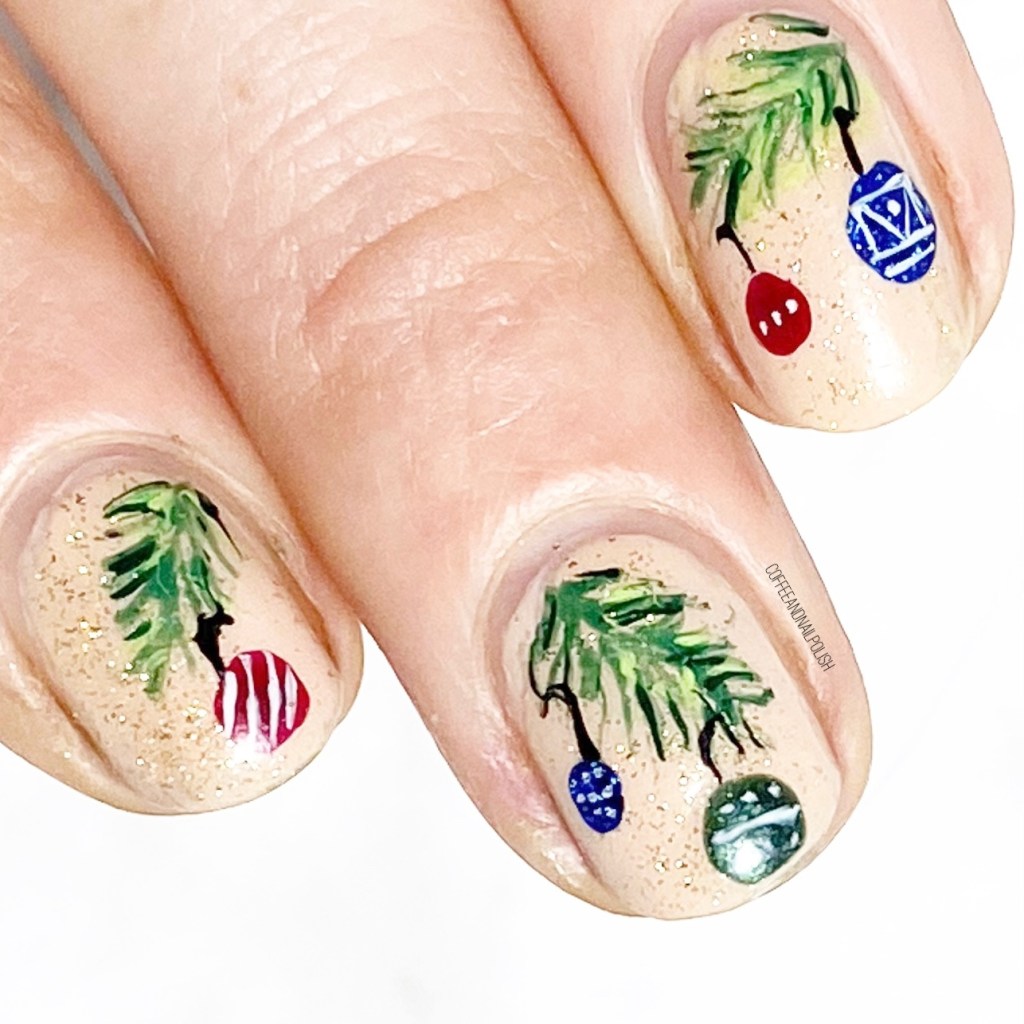
I’m actually obsessed with these. They turned out so perfect—-better than I had even imagined! I really wanted to do some kind of ornament design, & these just turned out so cute. I also didn’t have a ton of time to do my nails, & all the painting was (relatively) quick! Also I’m super proud of my teeny tiny little designs on the ornaments themselves, mostly because I was stumped on what designs to even put!

It’s the perfect Christmas Eve design, especially for the hours of wrapping I have to do tonight after the kids go to bed! Haha.

I hope everyone has the most lovely next couple days filled. I know this year is so much different than Christmas past, & so many people are away from the people they love most, but I’m sending love to all, & wishing no matter your situation, your days are filled with peace.

Merry Christmas & Happy Holidays lovelies! 💗🎄