Hello loves & happy Sunday! I hope everyone is having a lovely weekend (& staying warm if you happen to be suffering under that arctic vortex taking over right now!) Today, I’m sharing a beautiful polish I can’t believe I haven’t swatched yet!
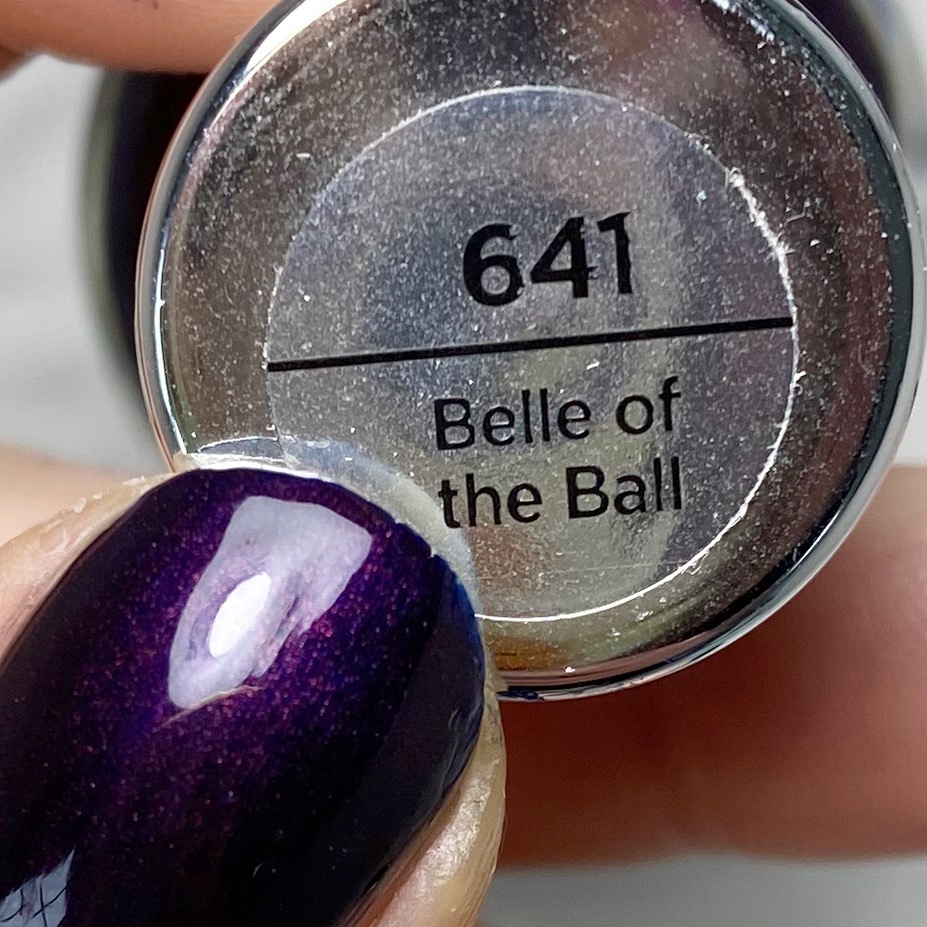
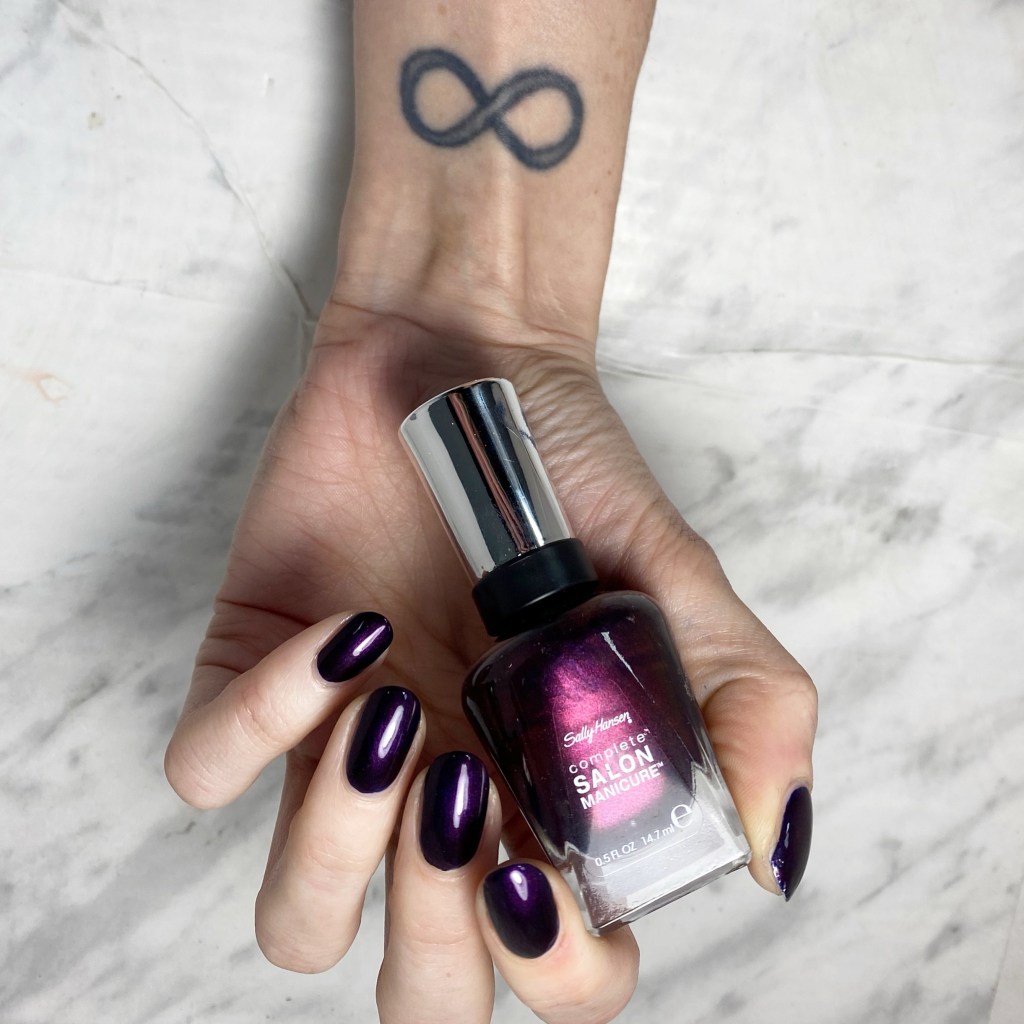
This is Sally Hansen Complete Salon Manicure Belle of the Ball. I was originally gifted this by Sally Hansen in 2018 as part of their REDesign Collection, but as I was newly pregnant & constantly sick, I didn’t get a chance to swatch the whole collection. However, this shade found it’s way into Sally’s permanent CSM line up — & is still in rotation!
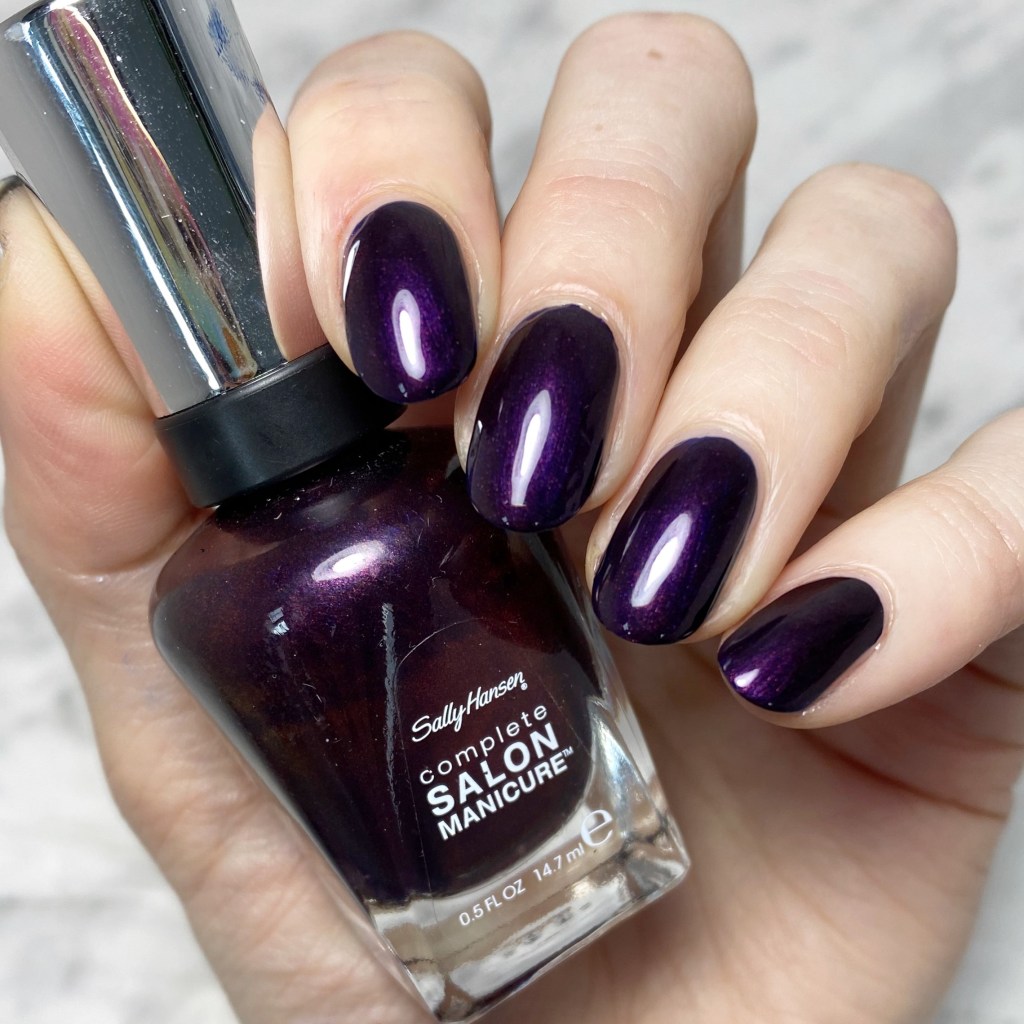

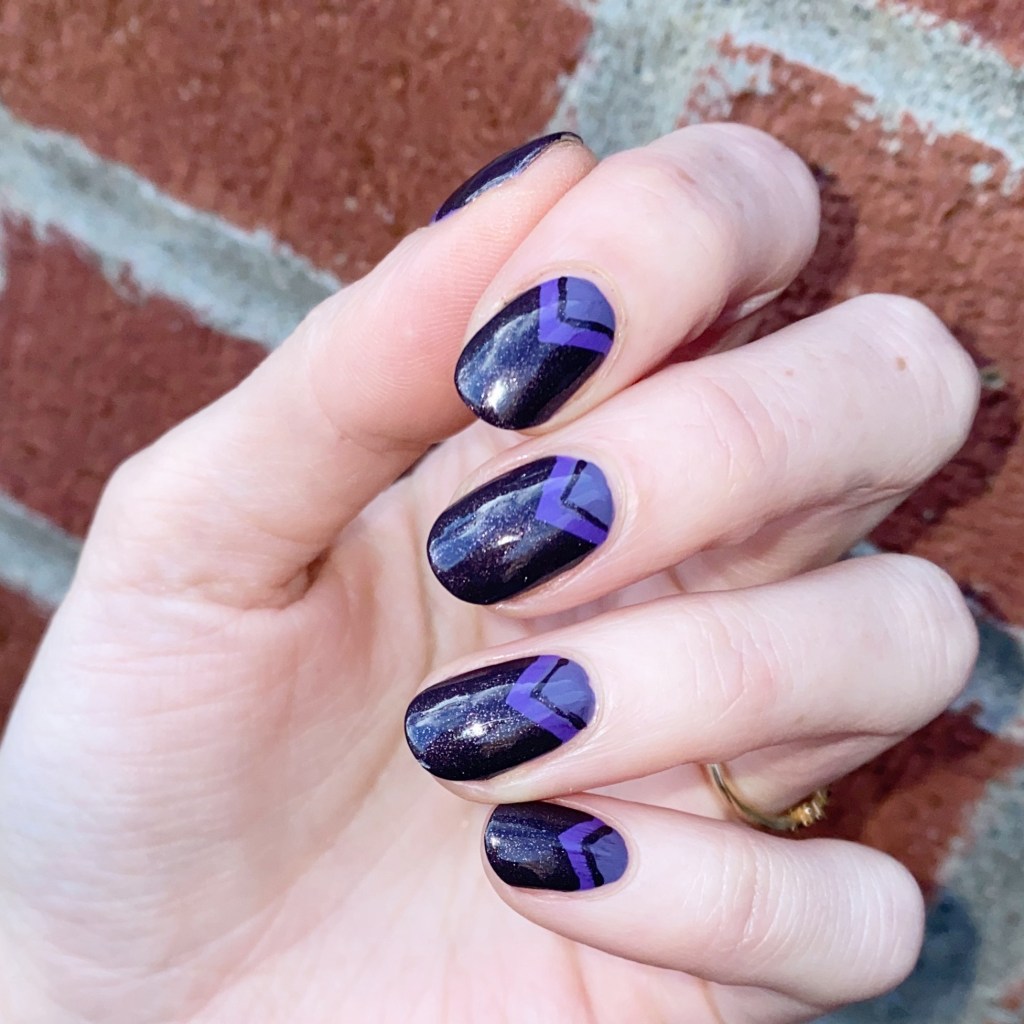
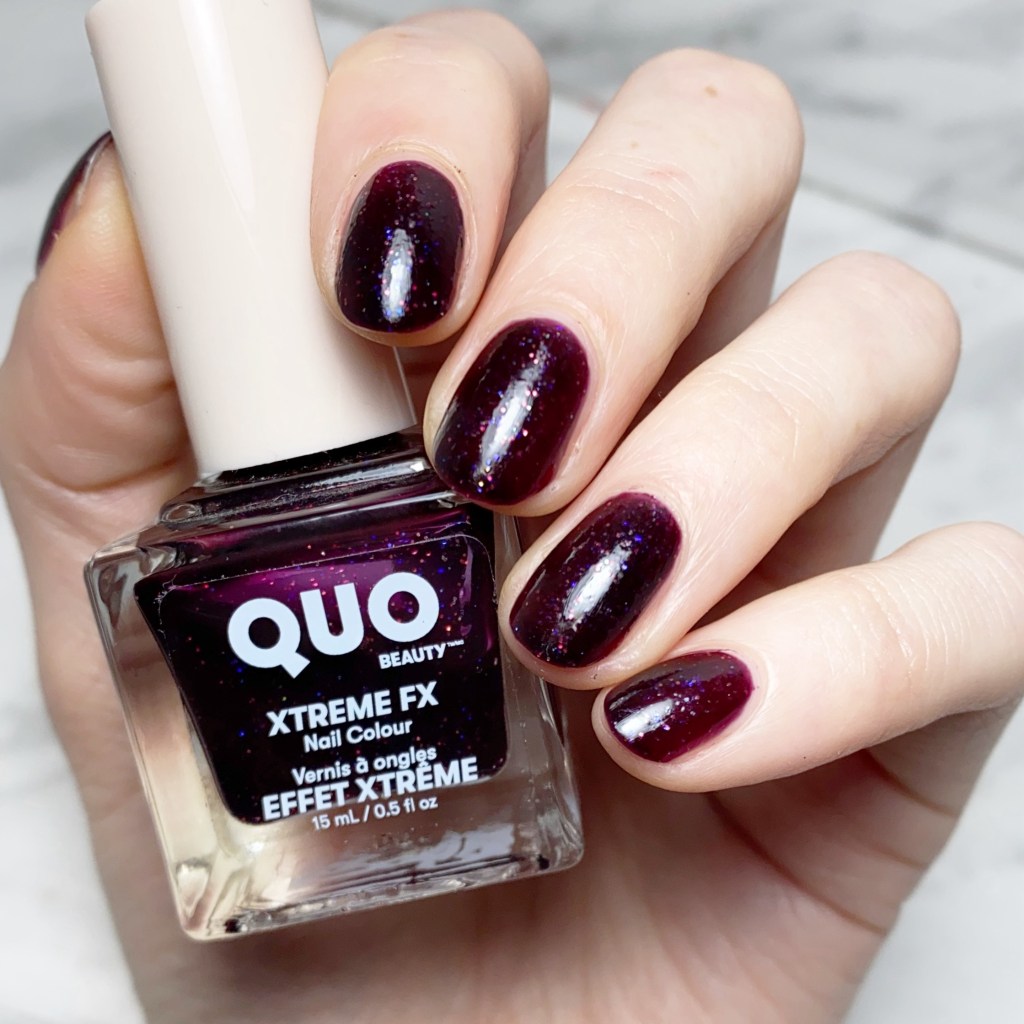
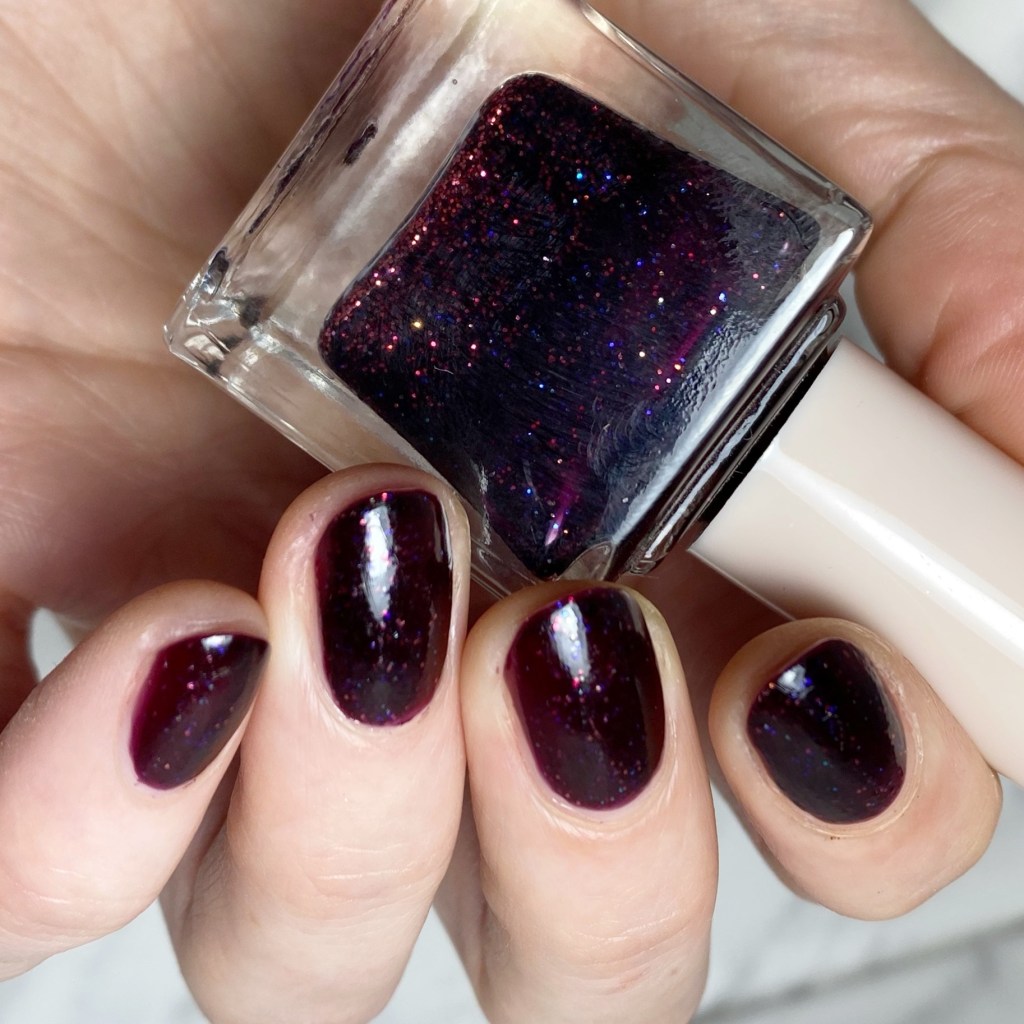
2 coats + top coat
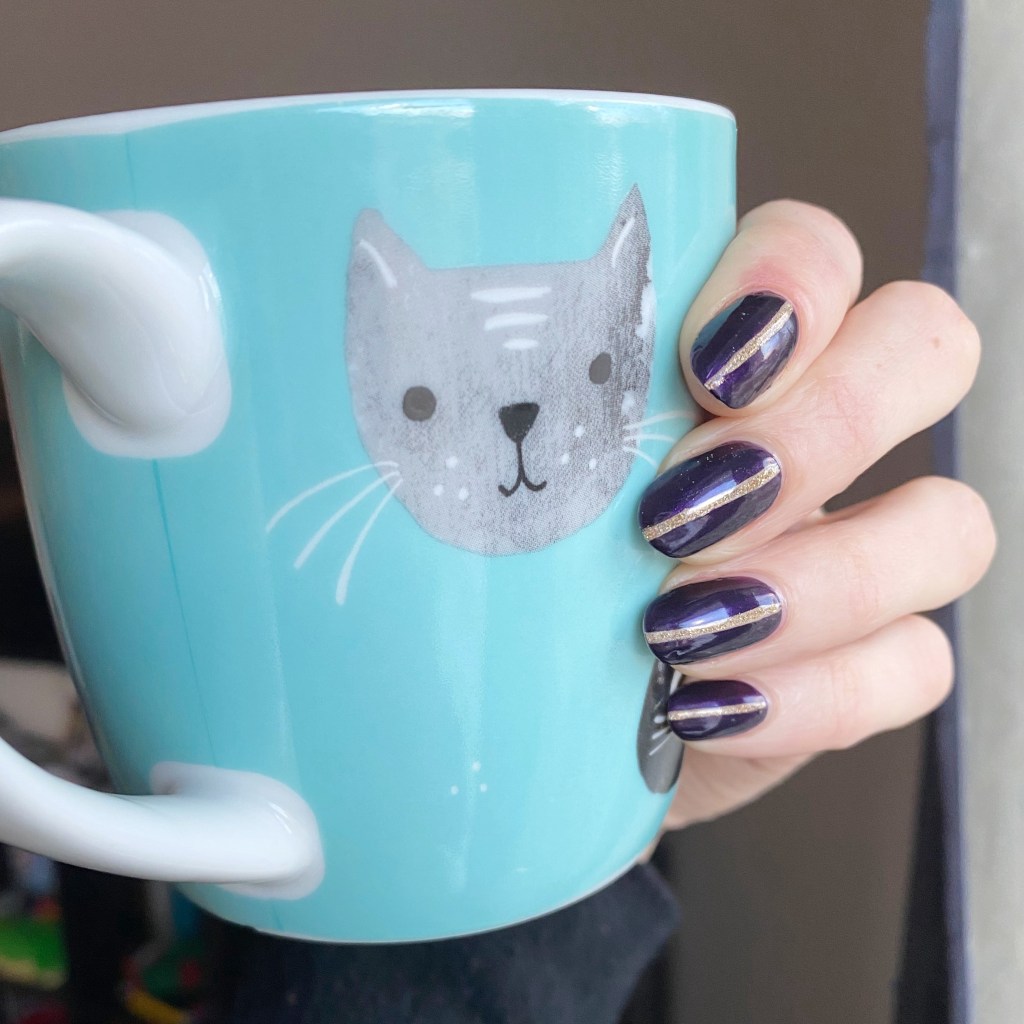
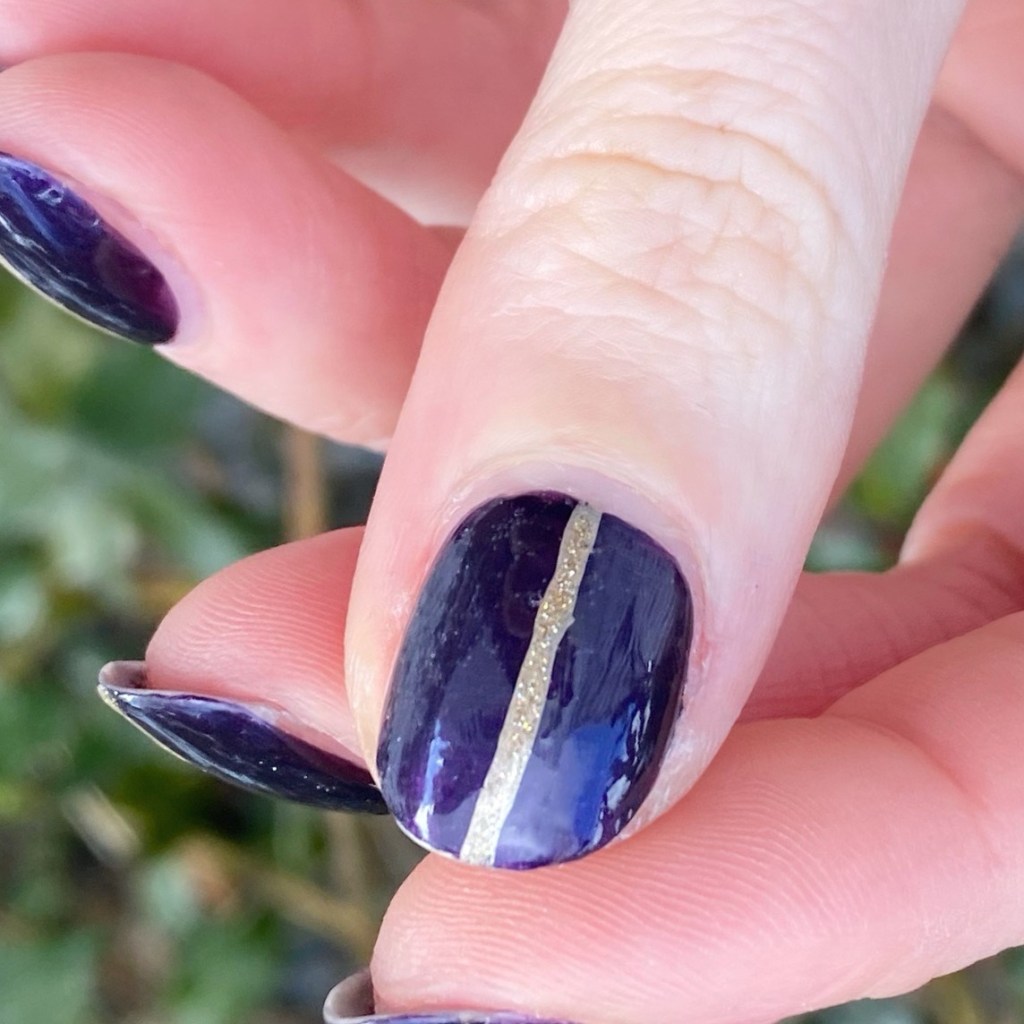
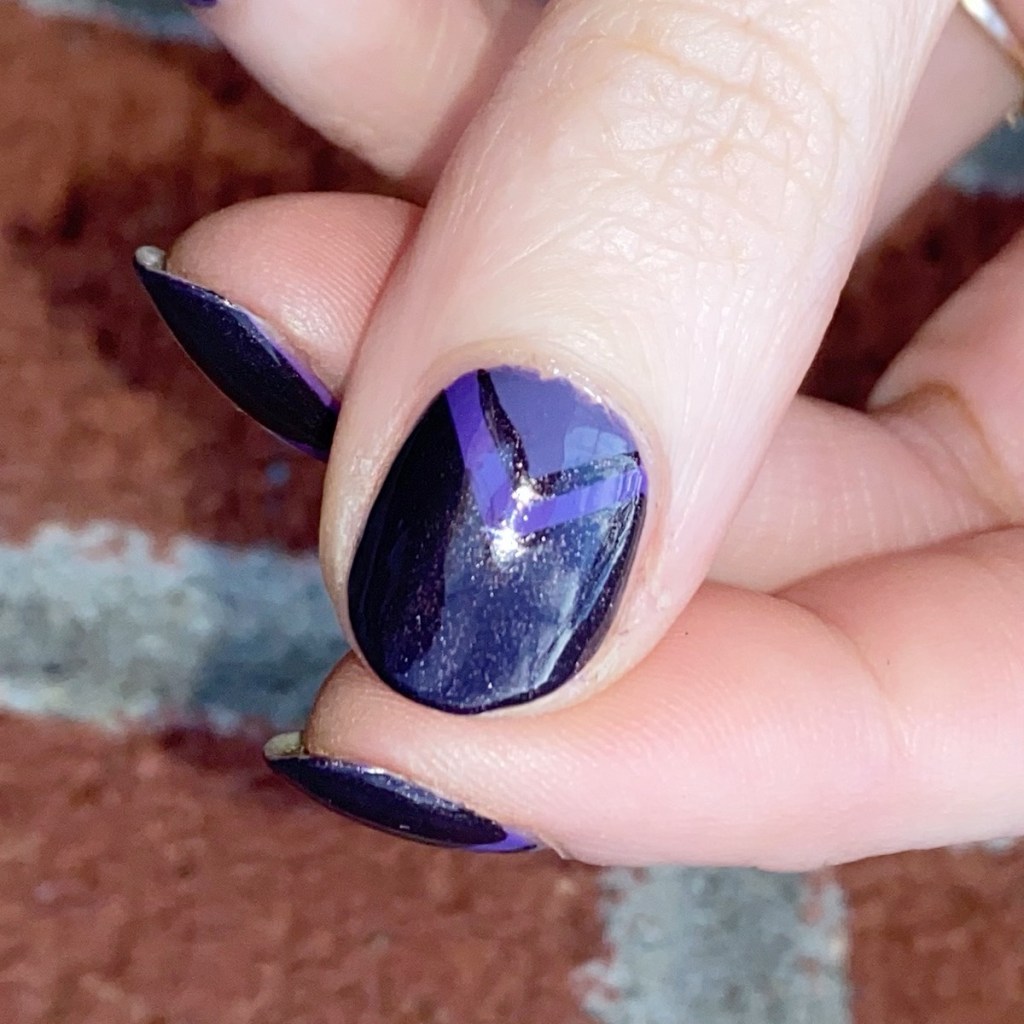
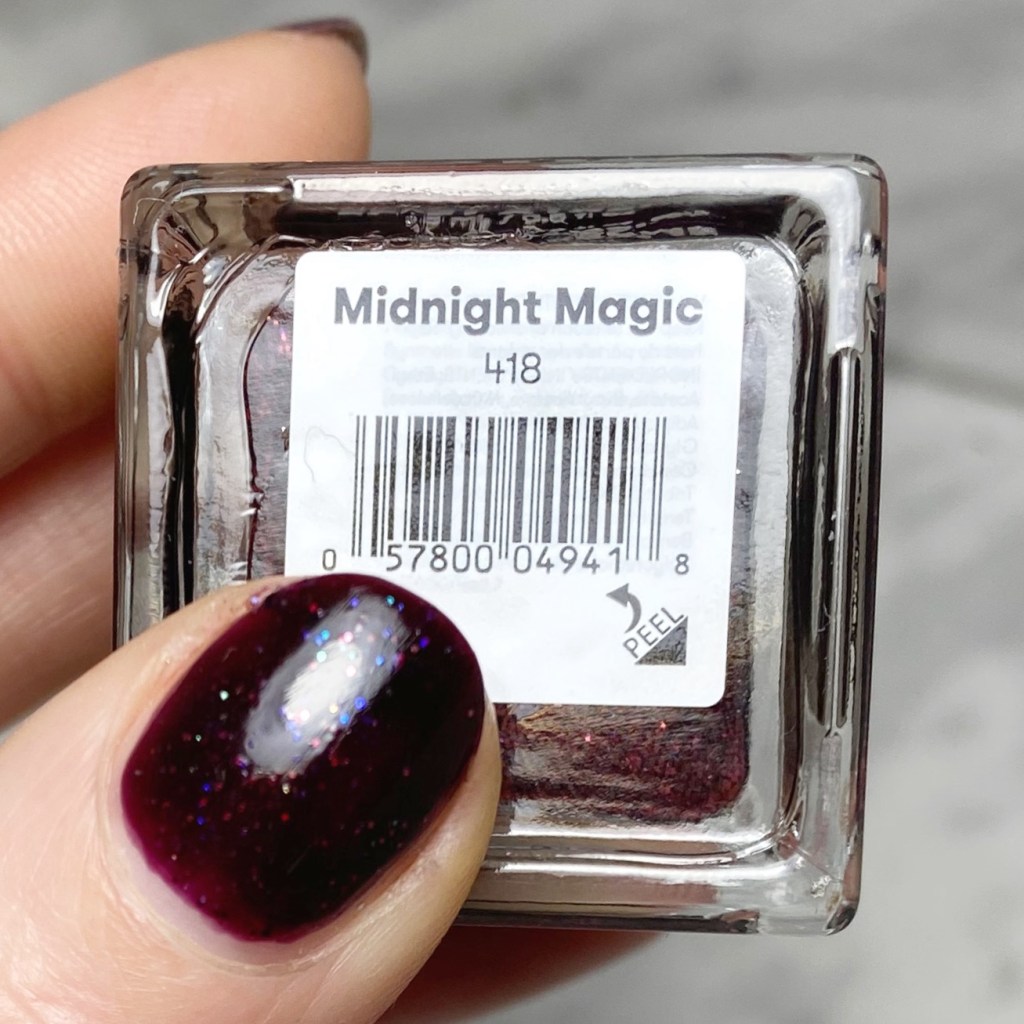
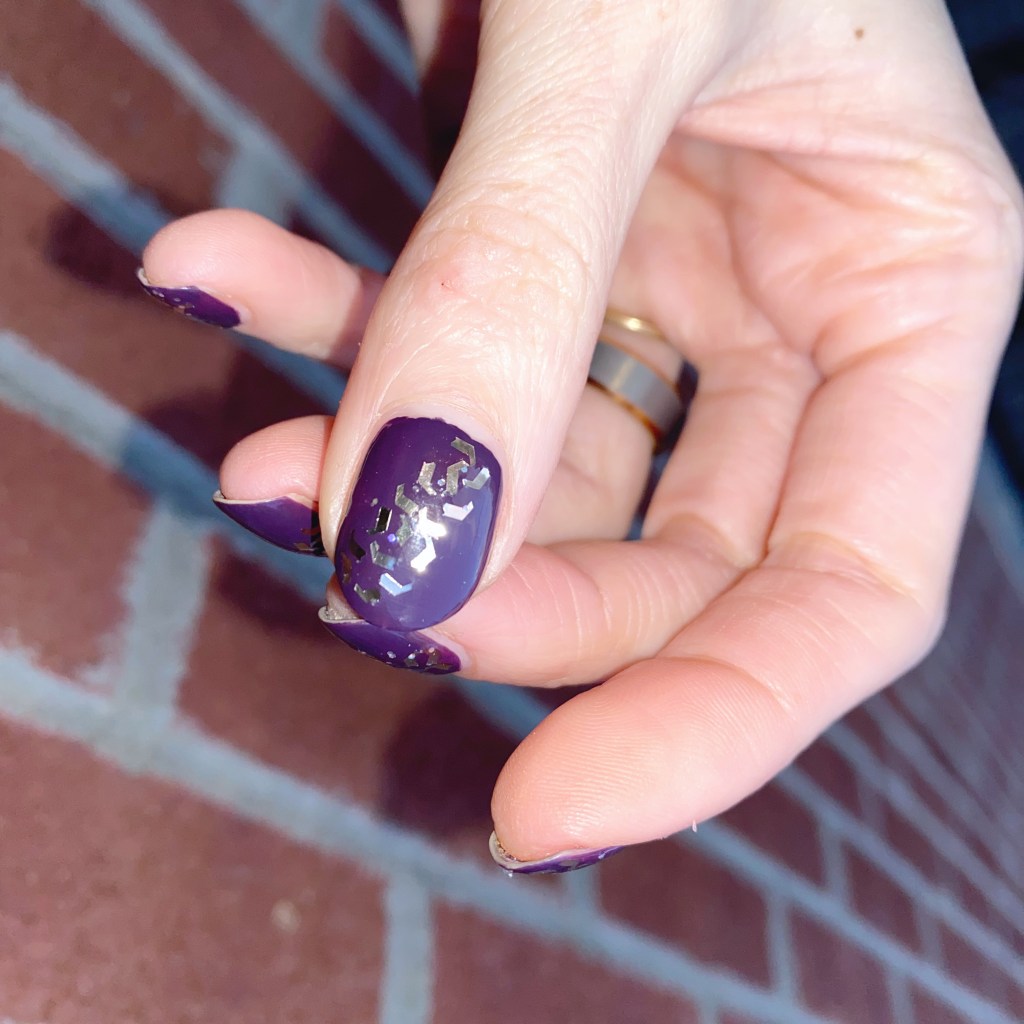
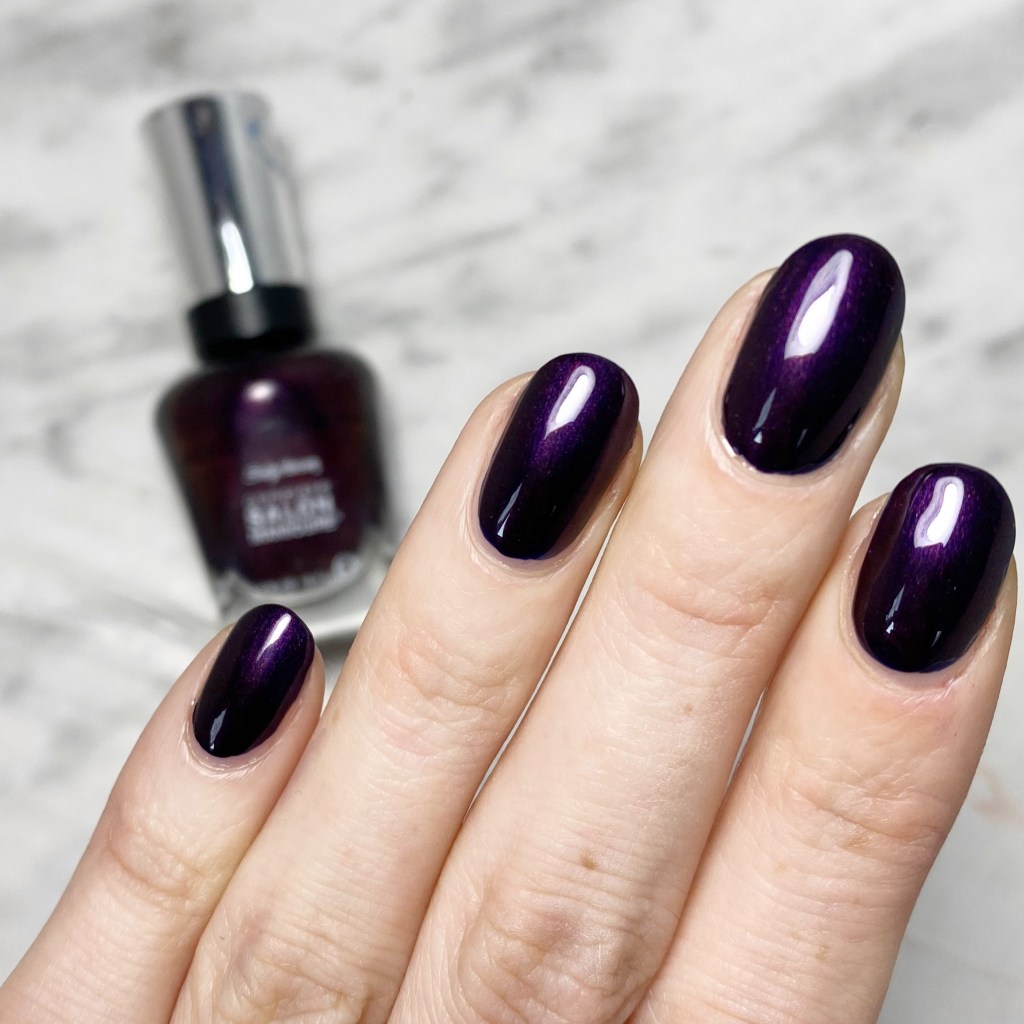
This beautiful darkened plum is packed with a surprising red shimmer that looks beautiful depending on you move your fingers. It gives the polish a beautiful dimension which makes it more than just a simple purple nail polish. It was originally released as part of the Sally Hansen REDesign collection, but I was always confused by that as I don’t consider it a red (personally).
But it’s very, very pretty. & even after 5 years the formula in bottle is easy application perfection. Smooth, easy to build opacity. & thanks to those wide brushes, takes barely any time to apply at all. I also found the dry time, even before I applied my quick dry top coat, to be pretty speedy — I had no issues with polish bleeding onto my top coat brush when I applied it.

As mentioned, this shade is still in rotation (at least in Canada), & can be found with other Sally Hansen CSM polishes. For my fellow Canadians, Sally Hansen can be purchased c/o: Shoppers Drug Mart for $13.49 CAD. It can also be found on Amazon.ca. I’ve also seen it at my local Walmart as well.
Sadly, I didn’t find this shade listed on the actual Sally Hansen website, so I hope it’s not on the verge of being discontinued, because it really is stunning!
What do you think of Sally Hansen Complete Salon Manicure Belle of the Ball? Is this a shade that you would wear on your own nails? Are you a fan of the Sally Hansen CSM line? I do have quite a few of this line in my stash, & I’ve always been a fan.
Happy Sunday ♥︎