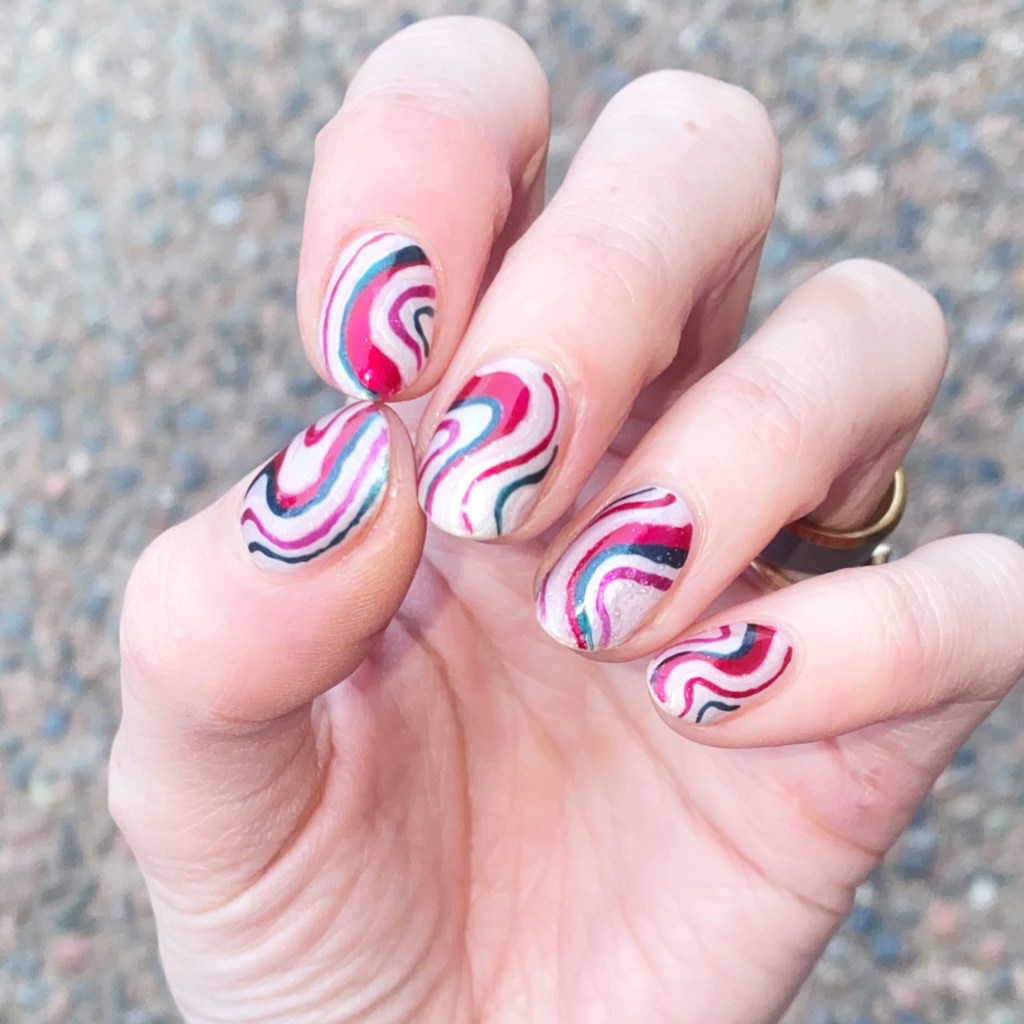
Hello lovelies & happy Sunday! It’s a beautiful sunny–but chilly–day here on the East Coast. They keep telling us that Spring is on its way, but I won’t like… it’s getting harder, & harder to believe it. (Especially when they’re calling for over 20cm of snow at the end of the week)
But never the less, I’ll keep trying to summon Spring with whatever is on my nails, & today I was feeling something pink! Pink is not a colour I often reach for as a single manicure, but it does feel very Spring-y to me, so I thought I would grab for one in my stash. & as soon as I saw this sparkly pink looking back at me, I knew it would be perfect for today’s Swatch Sunday post.
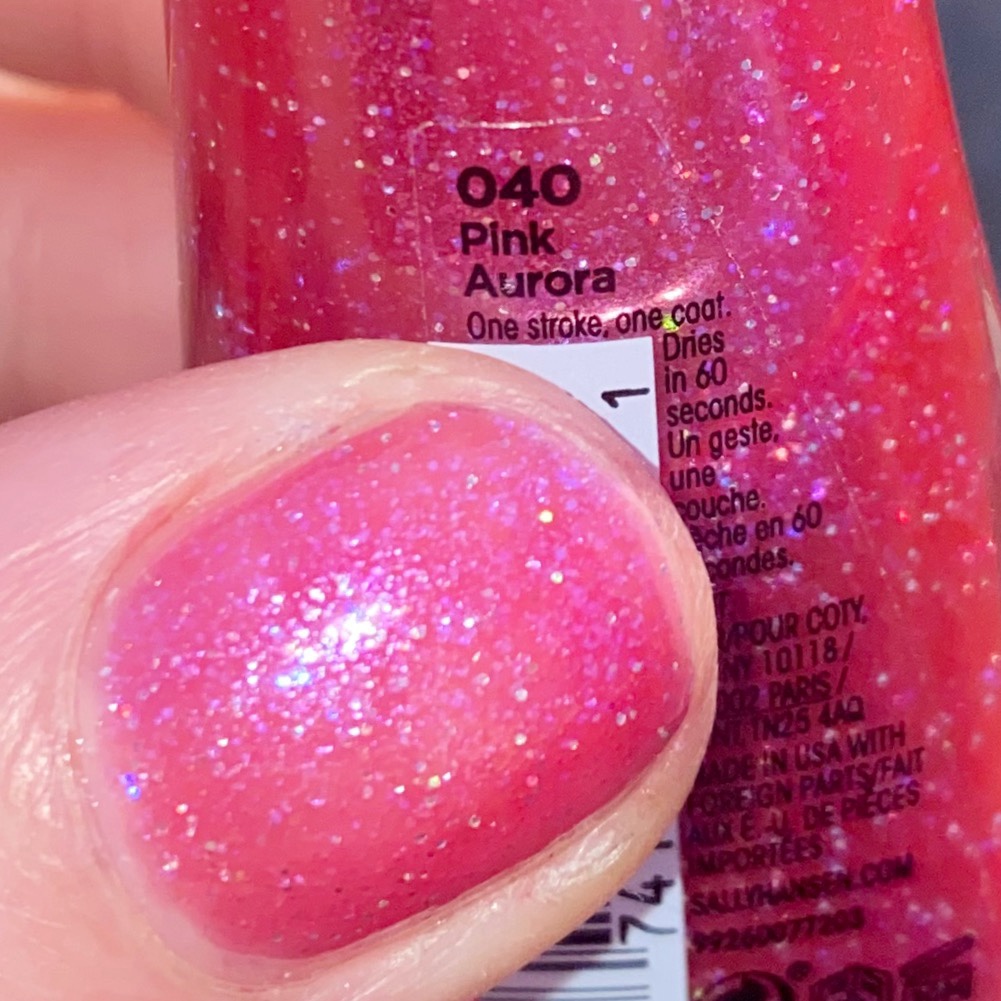
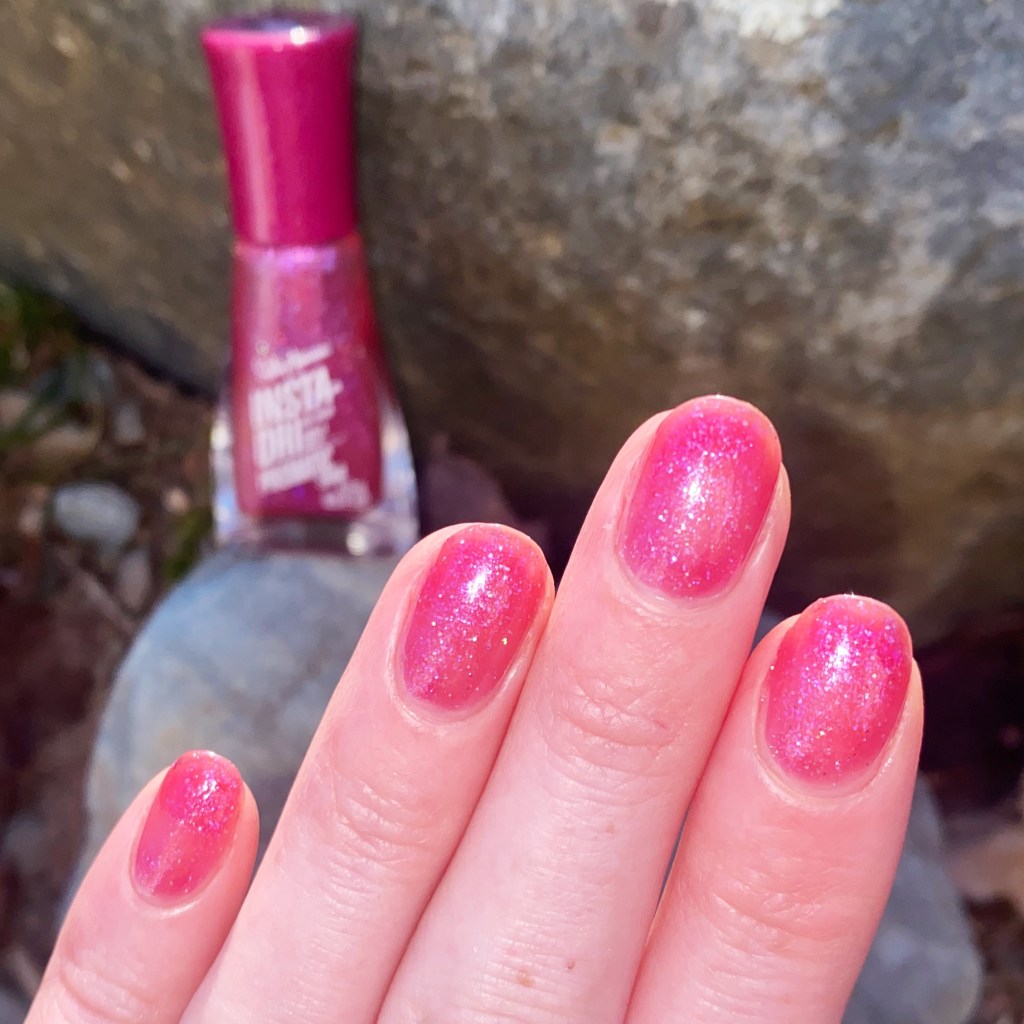
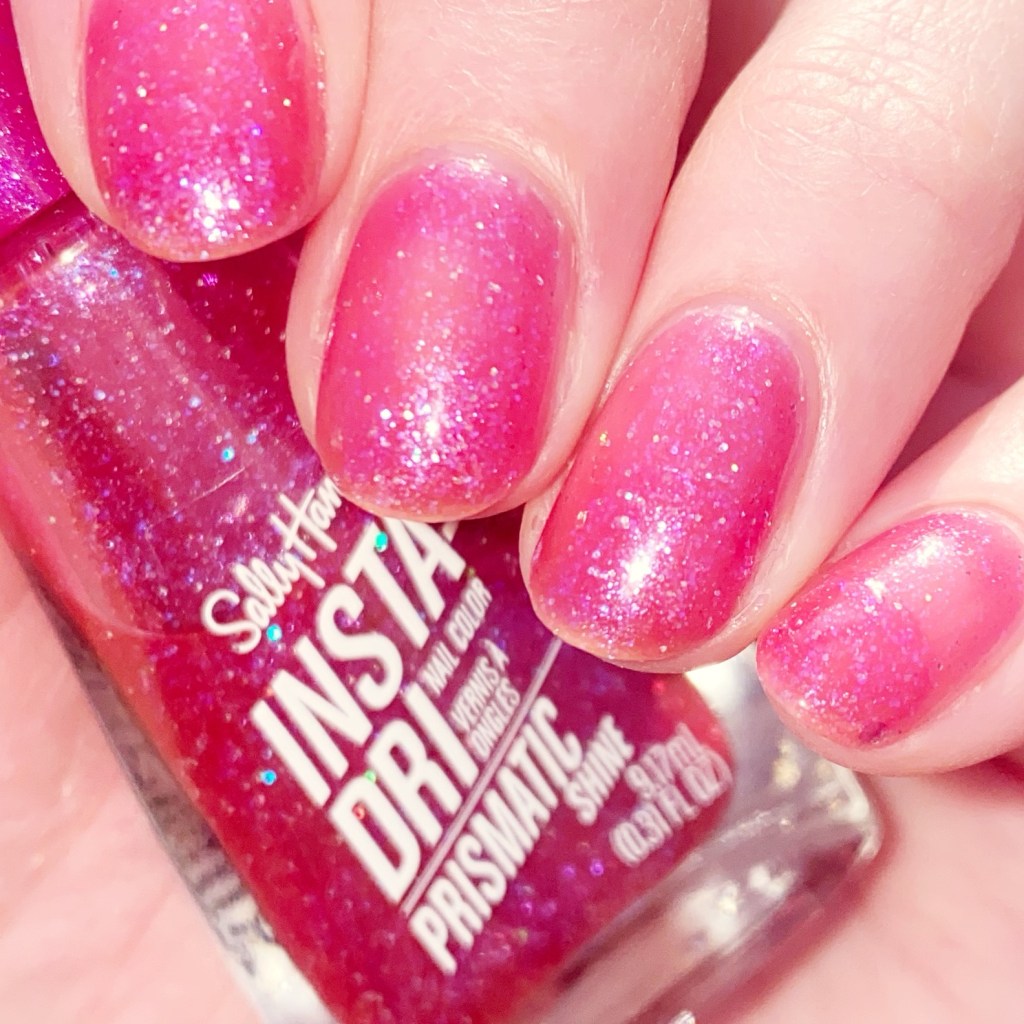
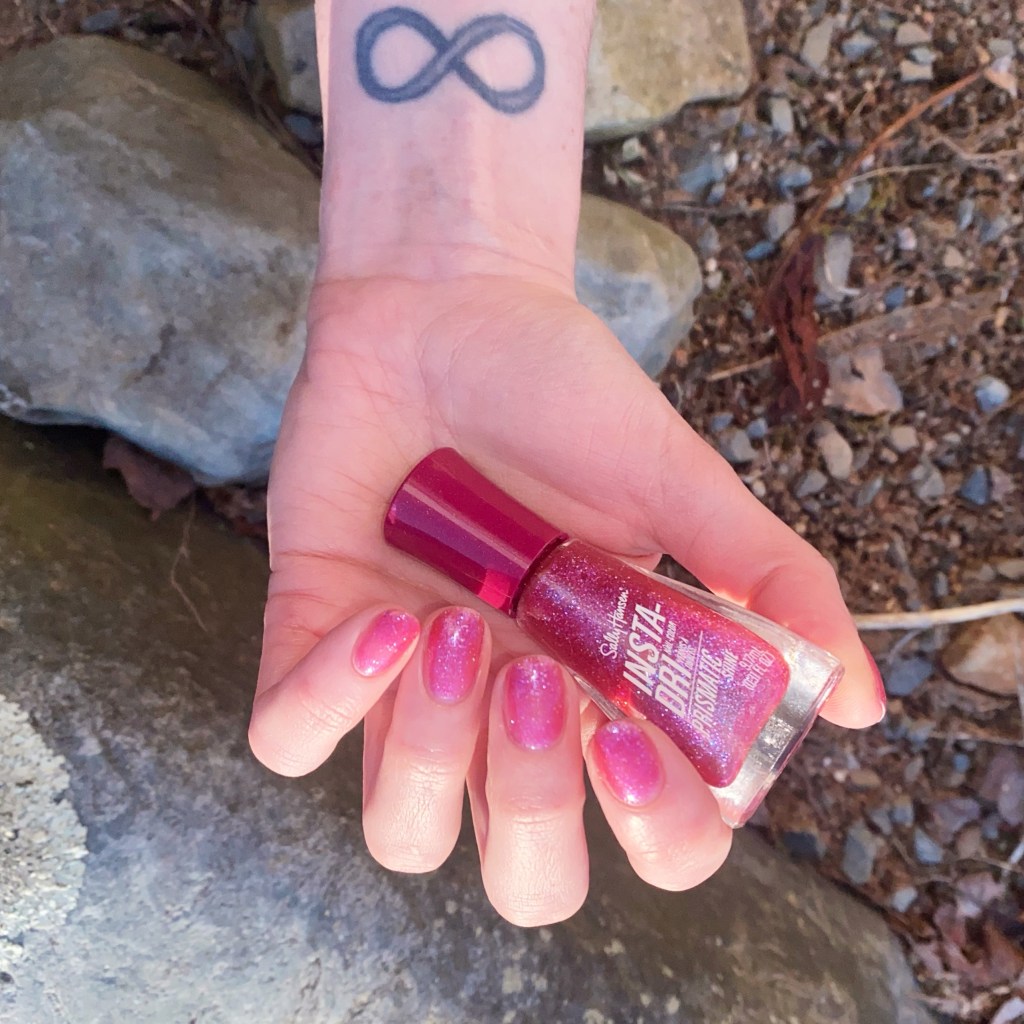
This is Sally Hansen InstaDri Pink Aurora.
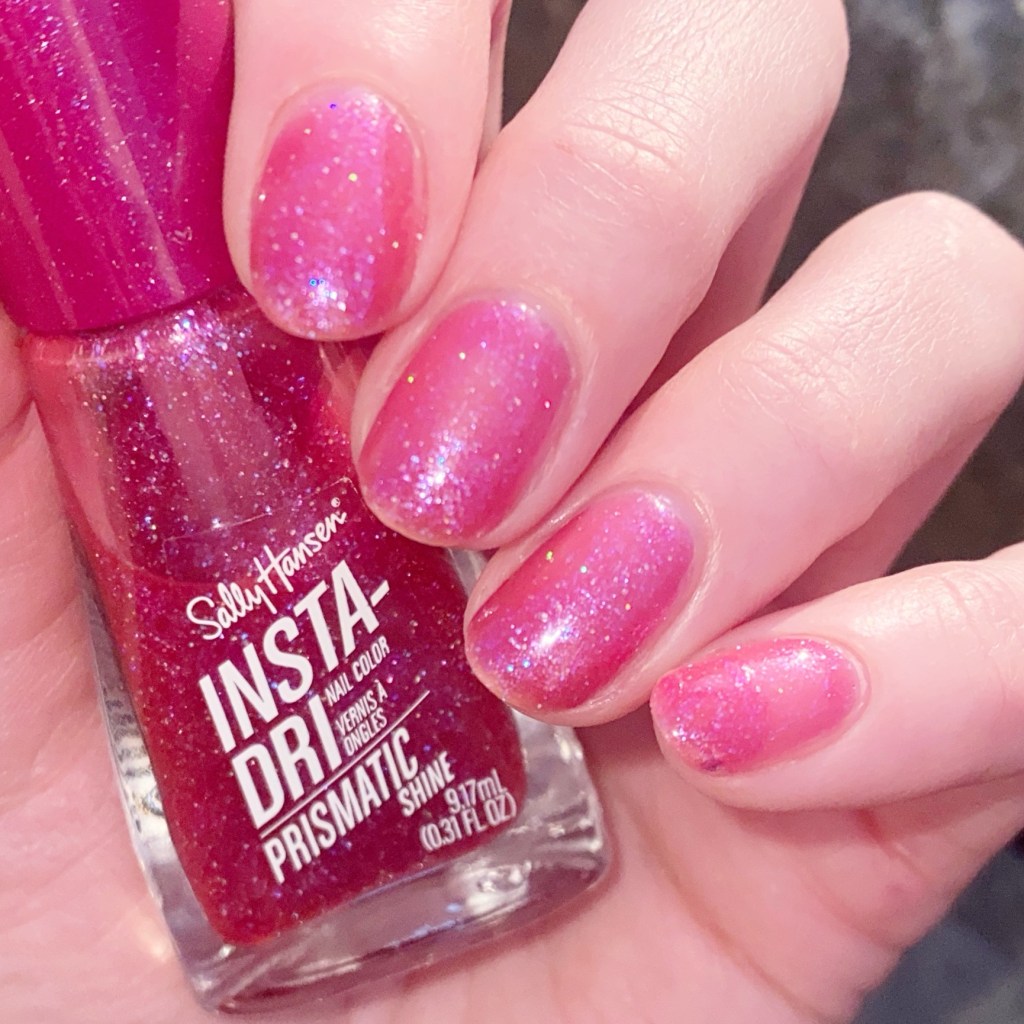
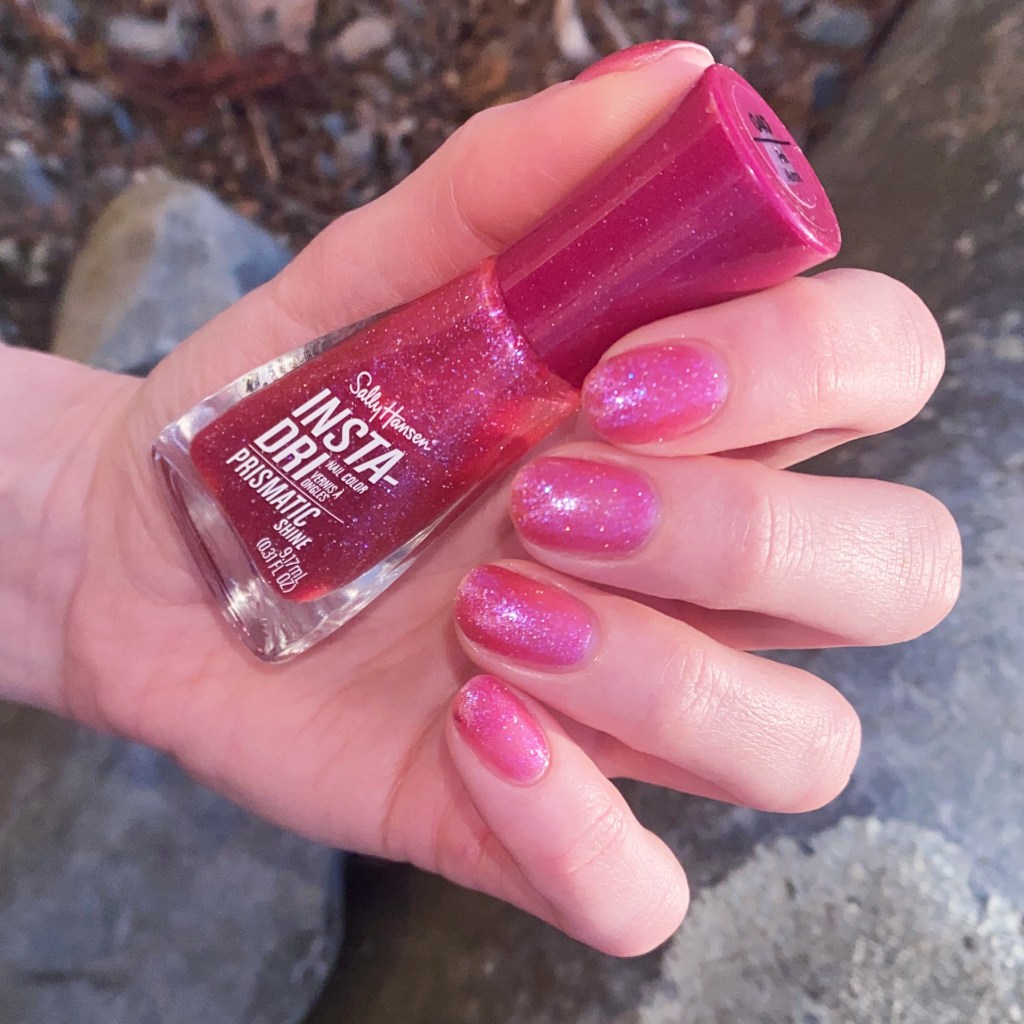
3 coats + top coat
I always do love a sparkle, & this sheer pink jelly is full of iridescent & holographic glitters. The jelly base is thin–very thin–so multiple coats as necessary for even a hint of opacity. Personally, I feel like I’m more likely to use this as a glitter topper rather than on its own, but I wanted to swatch it as it comes.
The sparkle on this beauty is lovely. I feel like from far away, it could come across as more subtle, but you can see it much more prominently unclose. I will say though –this shade was not easy to photograph at all. I tried in both my lightbox & outside & it was a struggle.
This shade is part of the Primsmatic Shine line of InstaDri, & I’m pretty sure I picked up my bottle 2+ years ago. I’m not sure if it’s still available in store, but I did find it on the Sally Hansen website–however it didn’t have an option for buying, so I’m thinking it’s probably discontinued unfortunately.
(I also found this Reddit thread looking for dupes which has some great alternative polish options.)
What do you think of Sally Hansen InstaDri Pink Aurora? Do you like this sheer sparkly pink? Would you wear this shade on its own, or as a topper over another pink?
Let me know all your thoughts down in the comments below!
Happy Sunday
♥︎