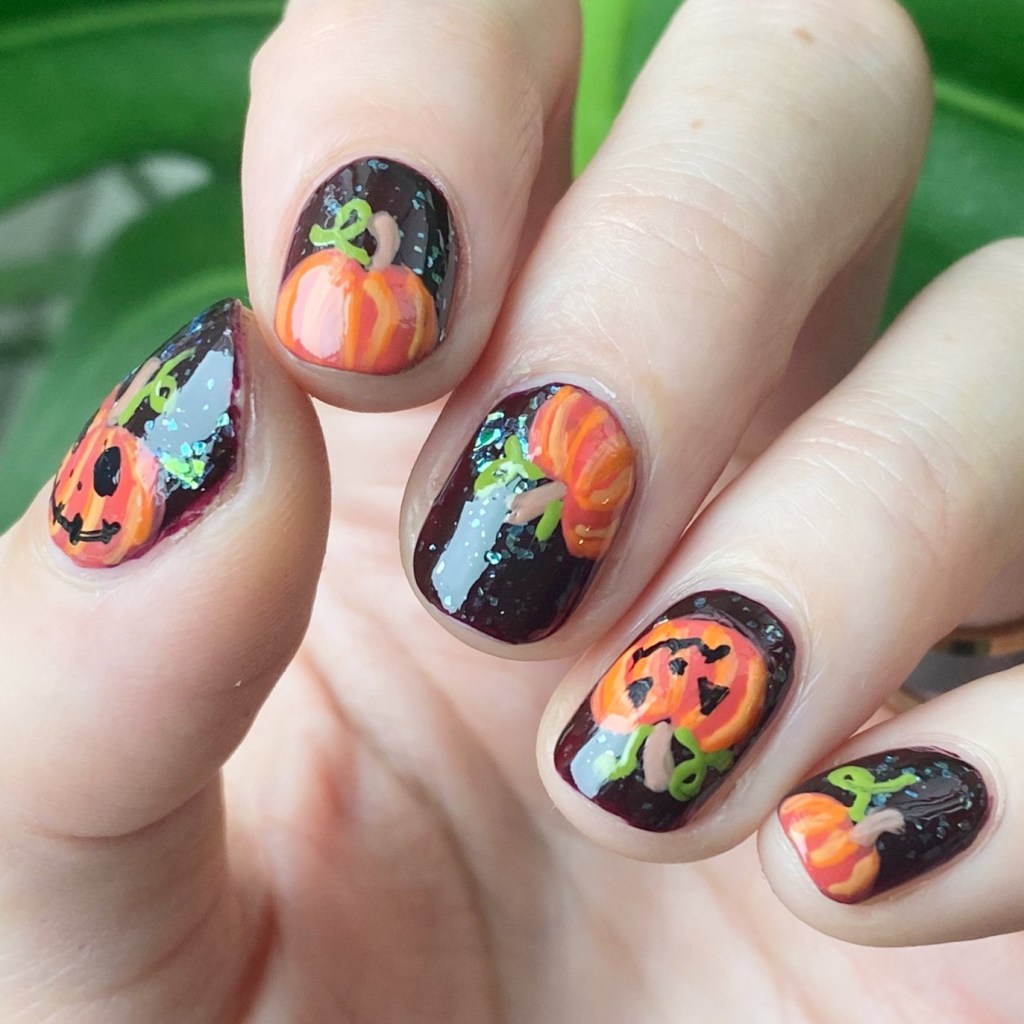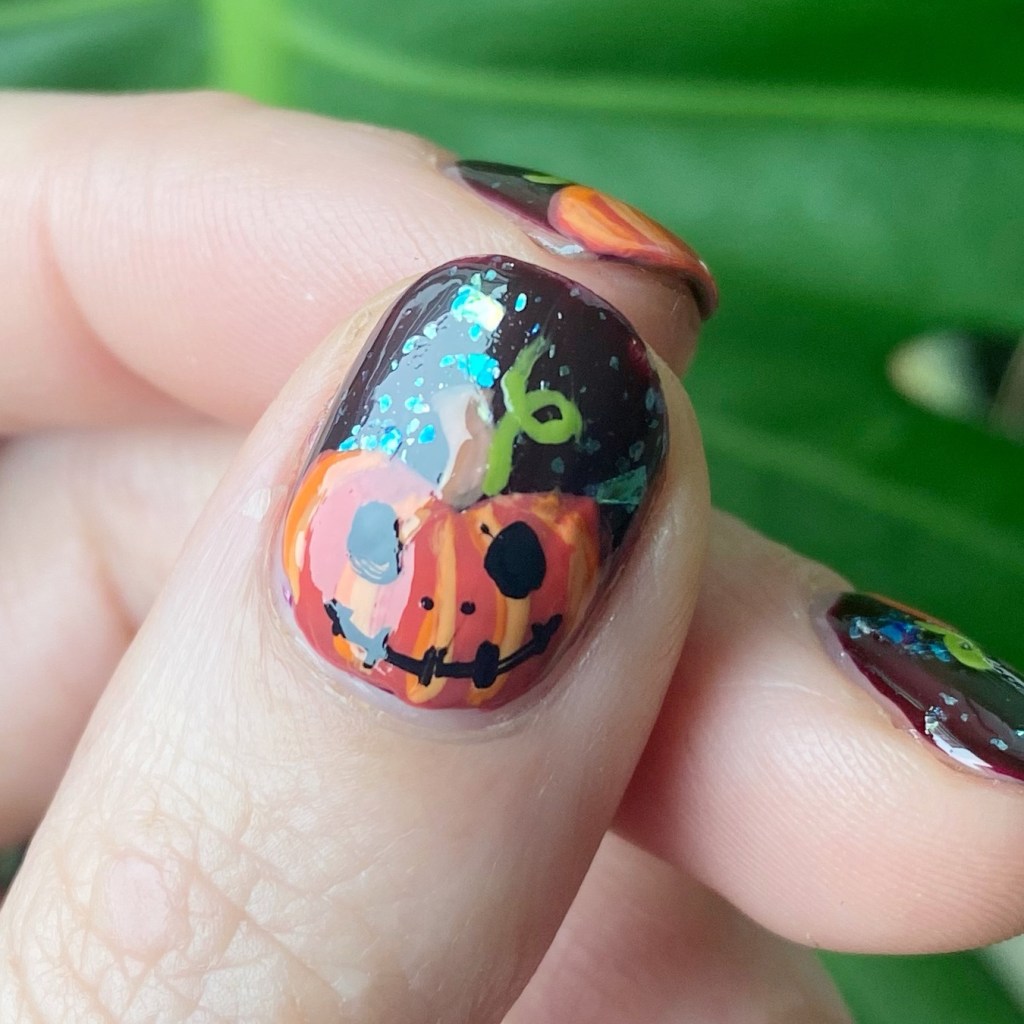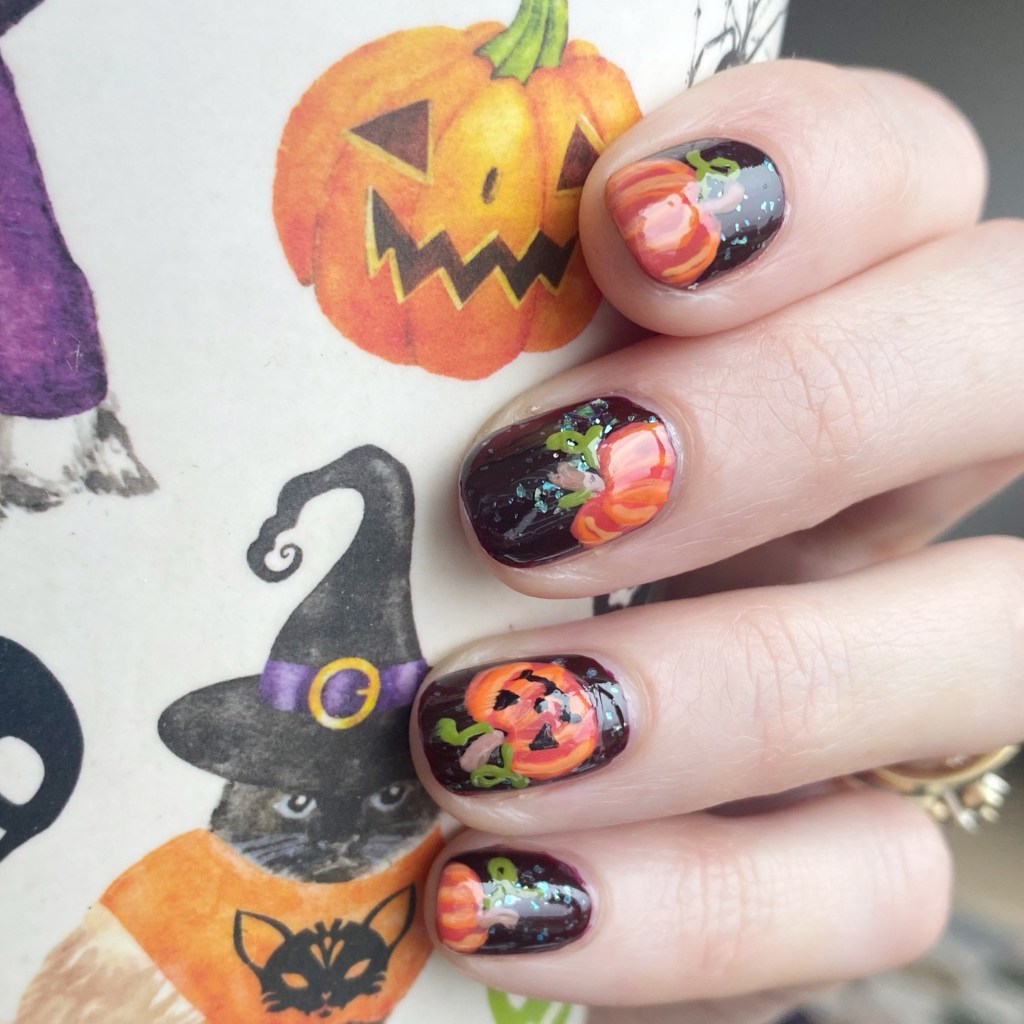
Hand-painted Jack O Lanterns 🎃✨

Hello lovelies & happy Tuesday.

I know my posting schedule is all over the place, but between life, family, sickness & work, I’m just trying to make sure this blog gets my attention — even if it’s not on the same schedule I have been posting! Especially this month, my favourite month. I have been busy busy busy on Pinterest saving a lot of Halloween nail art ideas, & then enviably spending a lot of time narrowing down which one I want to do first.

Naturally, I decided to start with pumpkins. I’m a basic bitch who loves her pumpkin spice, so it just felt very fitting.
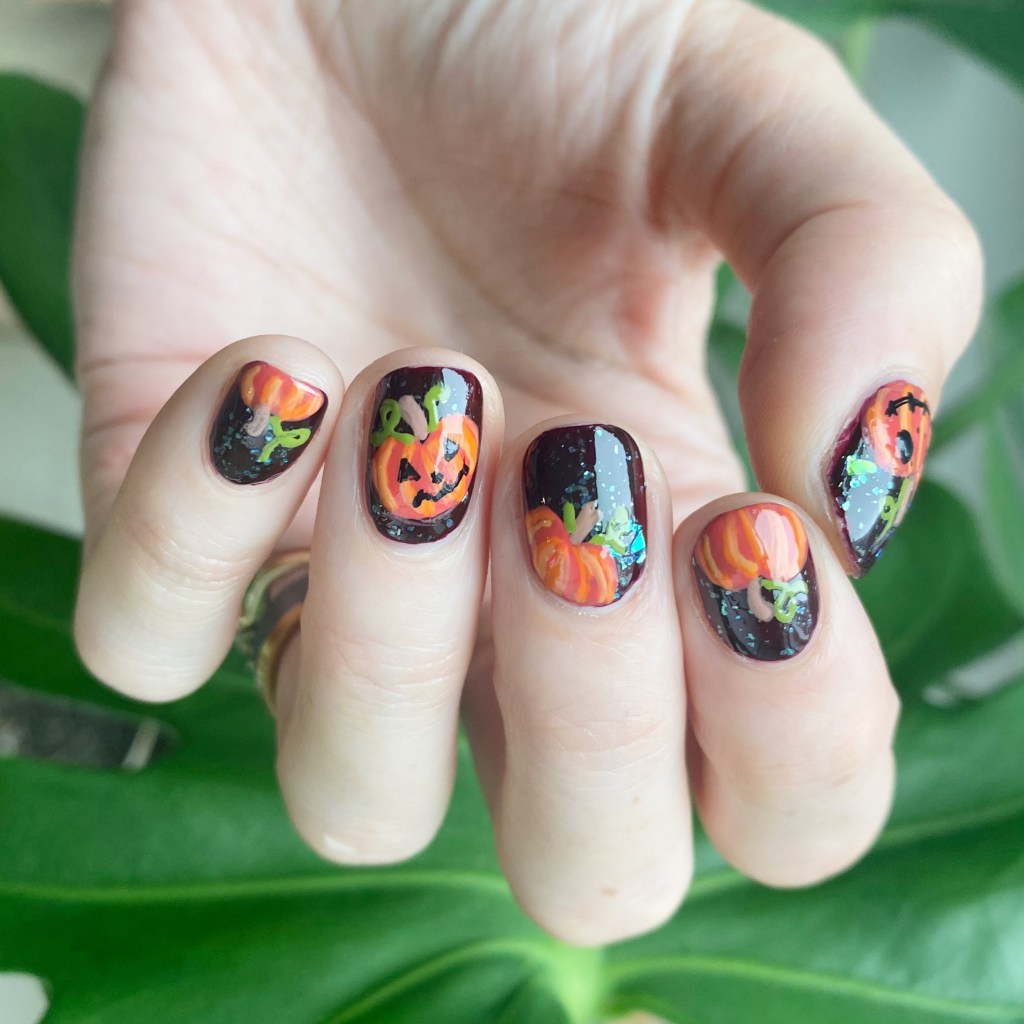
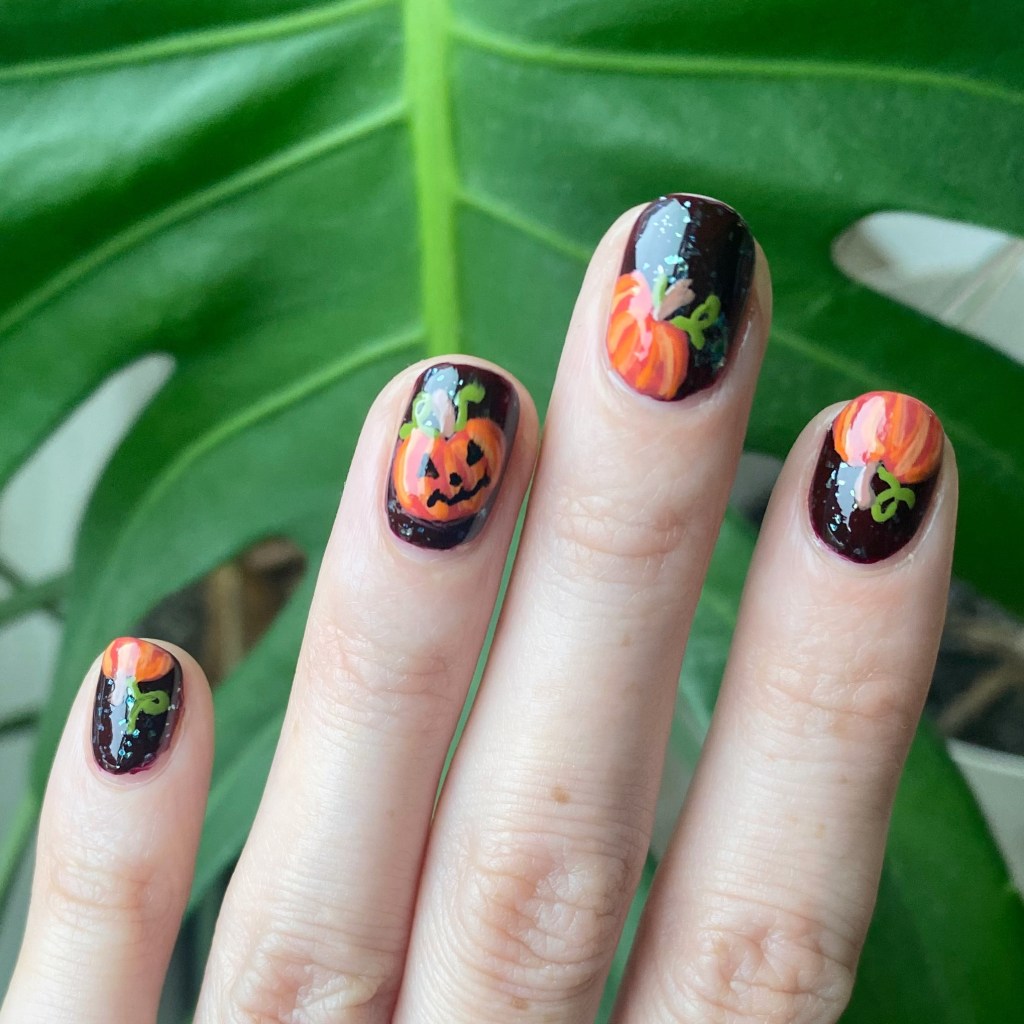
The polishes I used for this manicure are: 

  • Base Coat: Sally Hansen Maximum Growth Base Coat 
  • Top Coat: Sinful Colors Power Paint Top Coat + Sally Hansen Insta-Dri Top Coat
  • OPI I Sing In Color
  • Essie Sparkle On Top
  • Essie Handmade With Love
  • Essie Fall for NYC
  • Essie Willow in the Wind
  • OPI Barefoot in Barcelona
  • Essie Cliffhanger
  • NailStuff Essentials Raven
  • NailStuff 7mm Liner Brush

I created my base with Sparkle on Top over I Sing In Color, & then sat back & tried to think what would look best over top. But pumpkins/jack-o-lanterns just felt like the obvious choice. I painted my pumpkins first, & then decided a few of them needed faces, so added them after the fact.
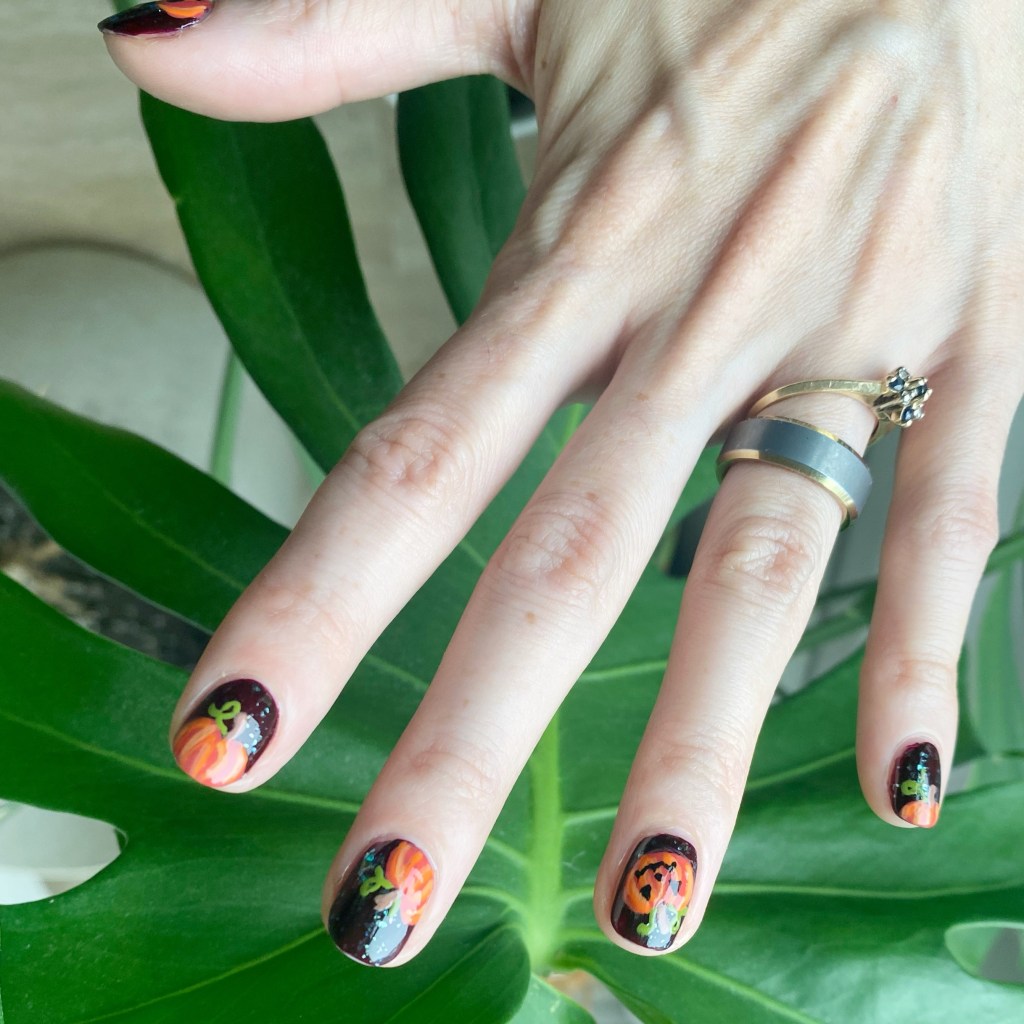
What do you think of these Halloween jack-o-lanterns? Do you like this handprinted design? I’d love to know what you think about this look & if you would wear this design on your nails!

To me, it’s the perfect look for spooky season!

♥︎

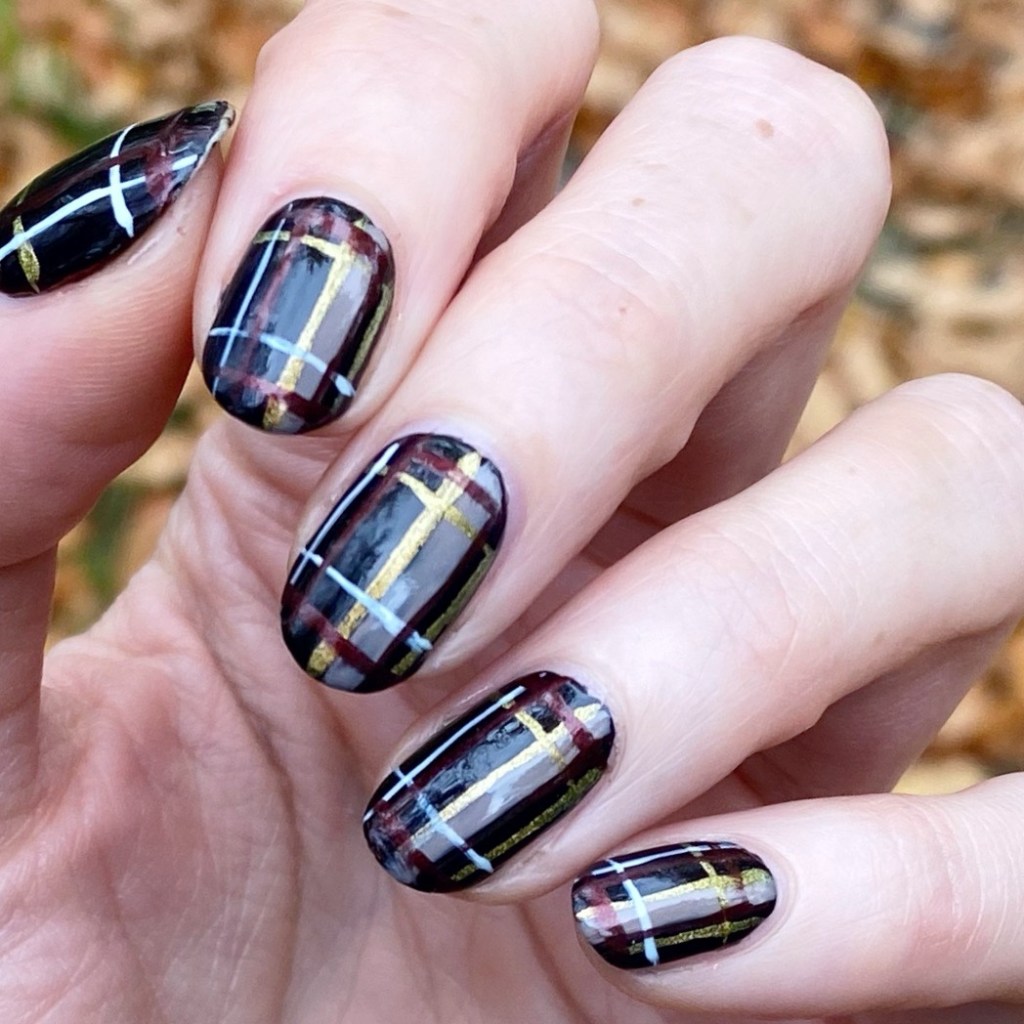
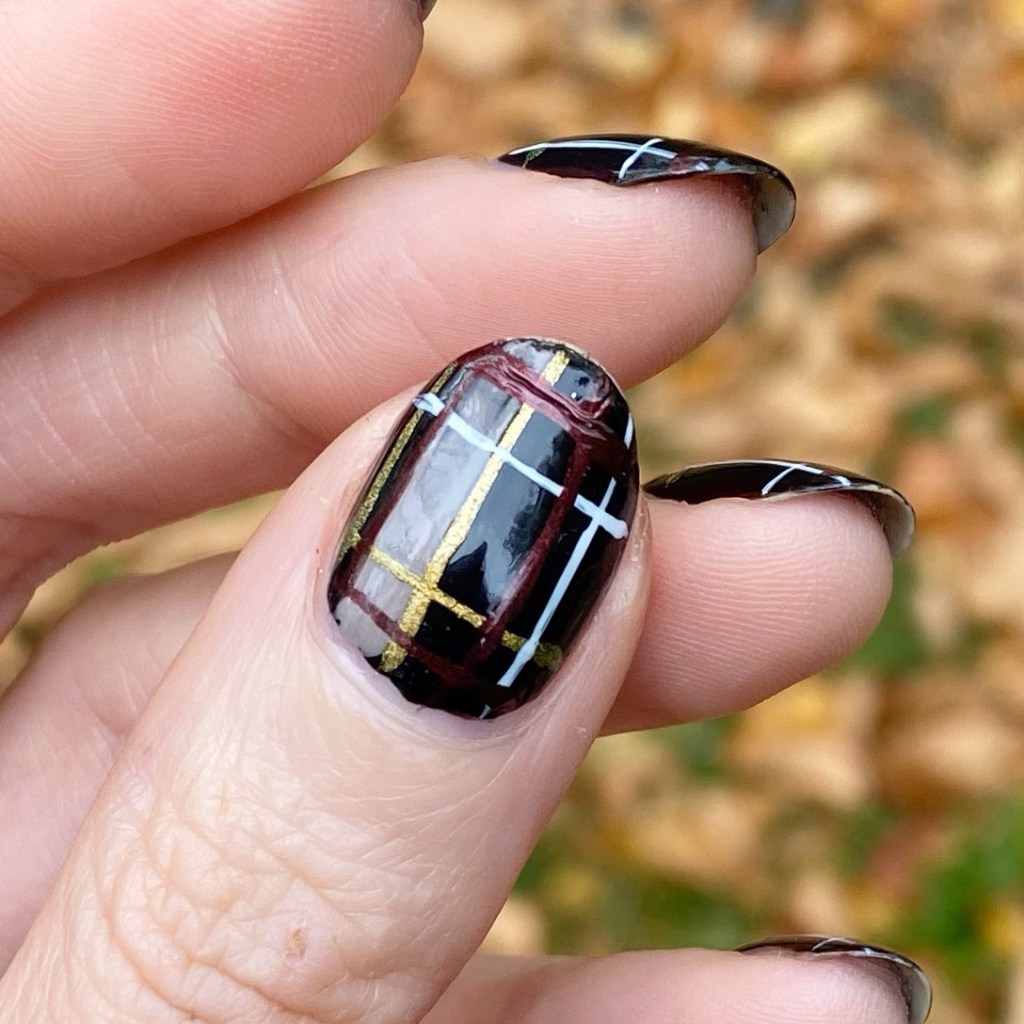
Cosy Autumn Plaid🧣

Hello lovelies & happy Friday! & happy Thanksgiving Weekend to my fellow Canadians celebrating this weekend. It’s officially shifted into Fall weather (almost in overdrive) & the days are feeling cool, & the leaves are feeling crunchy!

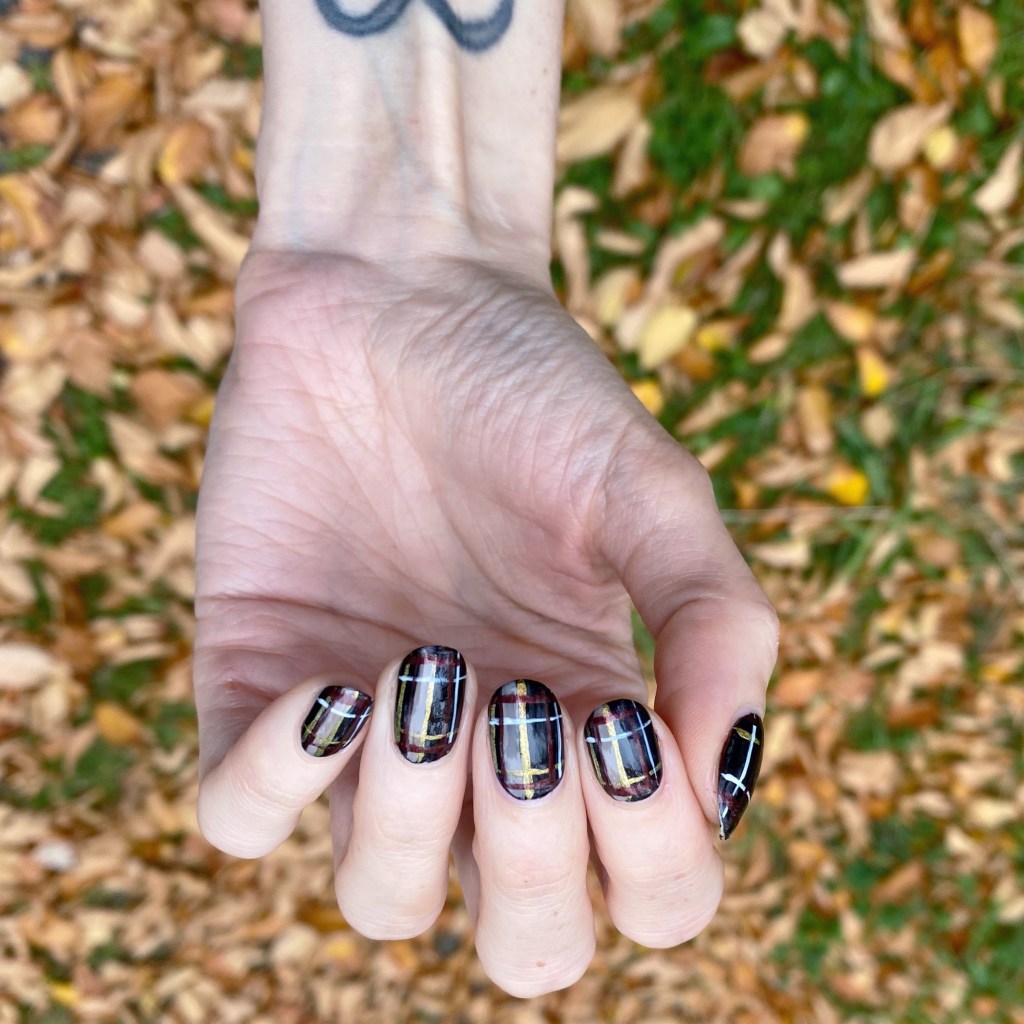
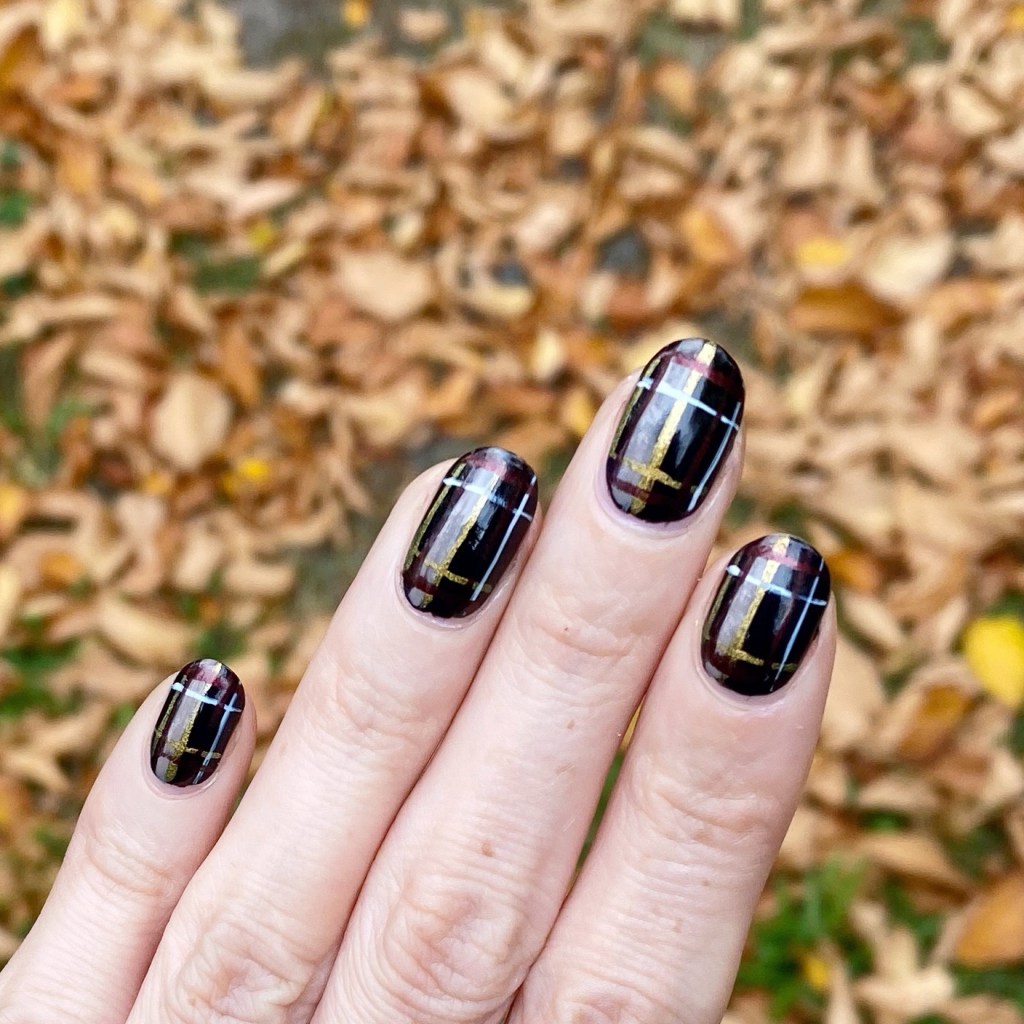
Today’s look is one I’ve done a million (plus) times, but still remains a favourite. Nothing screams Autumn to me more than a plaid nail art look.

The polishes I used for this manicure are: 

  • Top Coat: Sally Hansen InstaDri Top Coat (red bottle) 
  • Base Coat: Essie Hard to Resist (purple)
  • NailStuff.ca Essentials Raven *pr
  • OPI Icelanded A Bottle of OPI
  • Color Club What’s The Matte-r
  • OPI I Cannoli Wear OPI
  • Revlon Devine
  • NailStuff.ca 16mm Striper Brush

I wanted to start off with a super dark base, so I went with my bottle of NailStuff Essentials Raven. Such a good black! (& I’ve been loving black lately.) Then using my other colours, I layered on lines to create the woven plaid look. Super easy, & comes out beautifully.

What do you think of my cosy Autumn plaid? Do you like these seasonal designs that aren’t necessarily Halloween centric designs? Let me know all your thoughts in the comments below!

🖤

GLAM NAILS CHALLENGE AUGUST (2024) — Moroccan Tile

Hello lovelies & happy Wednesday! I hope you’re having a beautiful week. Today is the 2nd prompt of Glam Nails Challenge August & I’m very, very excited for this prompt & manicure! The next prompt is Moroccan Tile & I think this stamped design perfectly incapsulates that!

The polishes I used for this manicure are: 

  • Base Coat: LA Colors Mega Grow Treatment
  • Top Coat: Essie Gel Setter
  • Joe Fresh Quartz
  • Essie No More Film
  • Starrily Space Debris
  • Born Pretty Store stamping plate B-12
  • Nailstuff.ca clear stamper & scraper set
  • NailStuff.ca dotting tool from Dotting Tool Trio

Oooooh I’m so so so in love with this manicure! It turned out so much better than I even imagined it could be. Sadly, the new base coat I used did not agree with my body chemistry so these started popping off (the full nail!) half way through work! To say I was devastated would be an understatement — I had fully intended to wear these for a few days.

Thankfully, I still got some great pictures of this design. 🖤

What do you think of this Moroccan Tile design? Do you love them as much as I do? I hope you’ll keep following along with the challenge this month & all the fun designs I’ll be sharing. You can also follow along with the hashtag #glamnailschallengeaug24 on Instagram.

Enjoy your Wednesday!

🖤

Barbiecore Nails 💗

Hello lovelies & happy Friday! I hope everyone’s week went went. It’s been a busy one for us. I feel like this whole month is speeding by quickly! It feels like Summer is almost half over; just crazy.

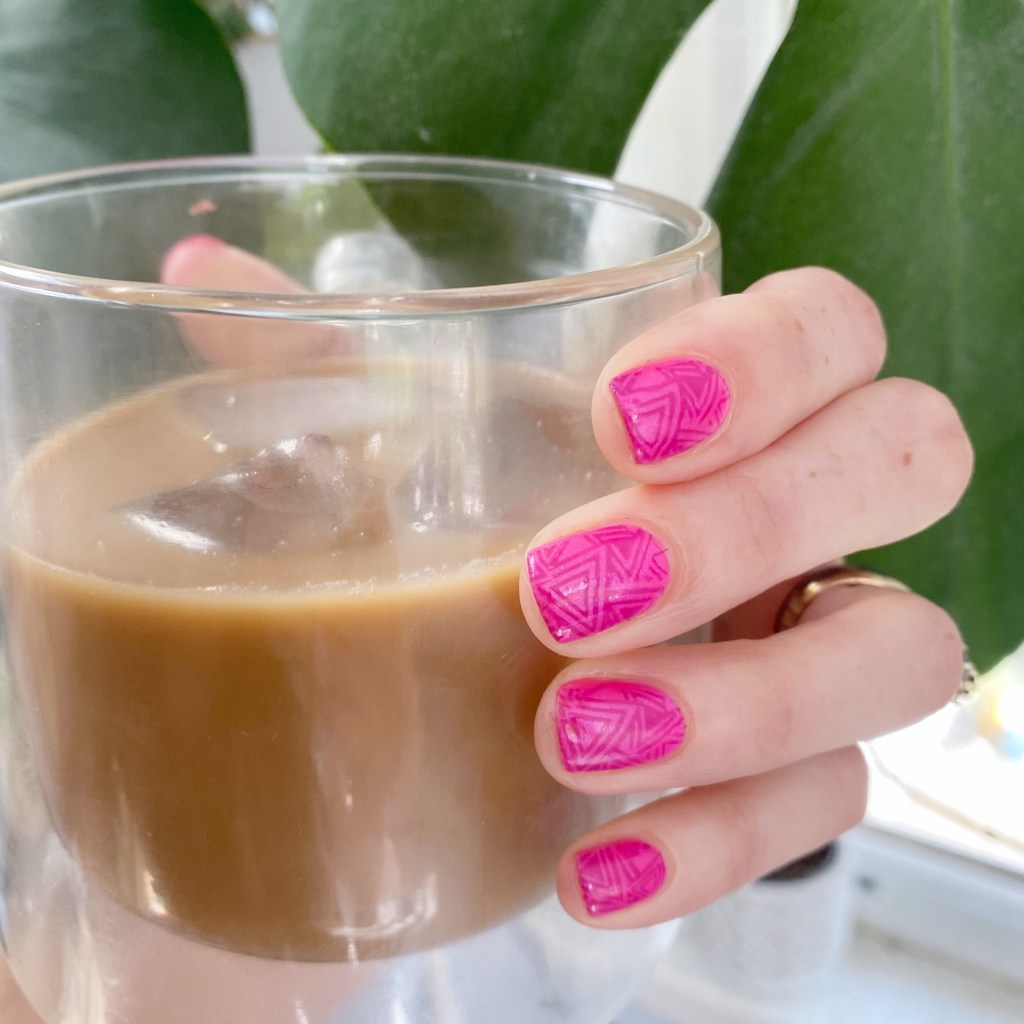
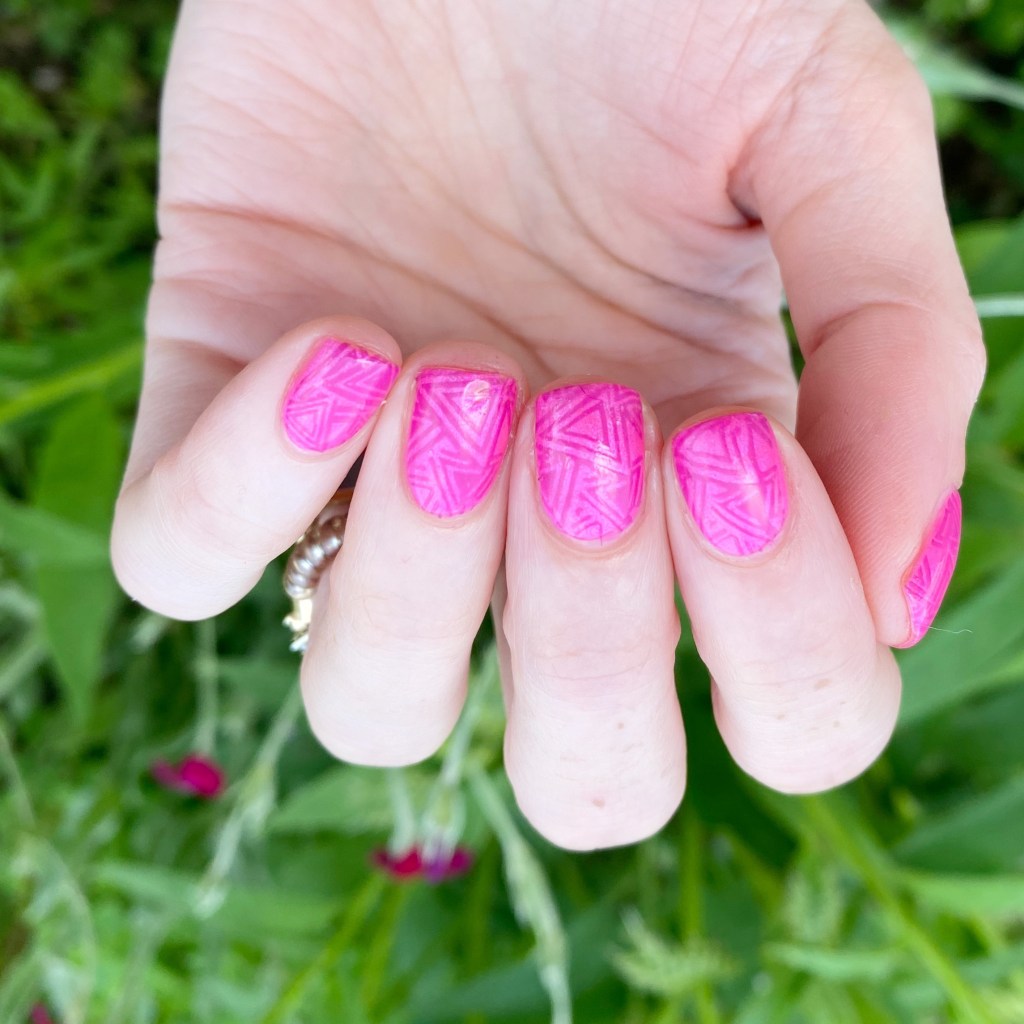
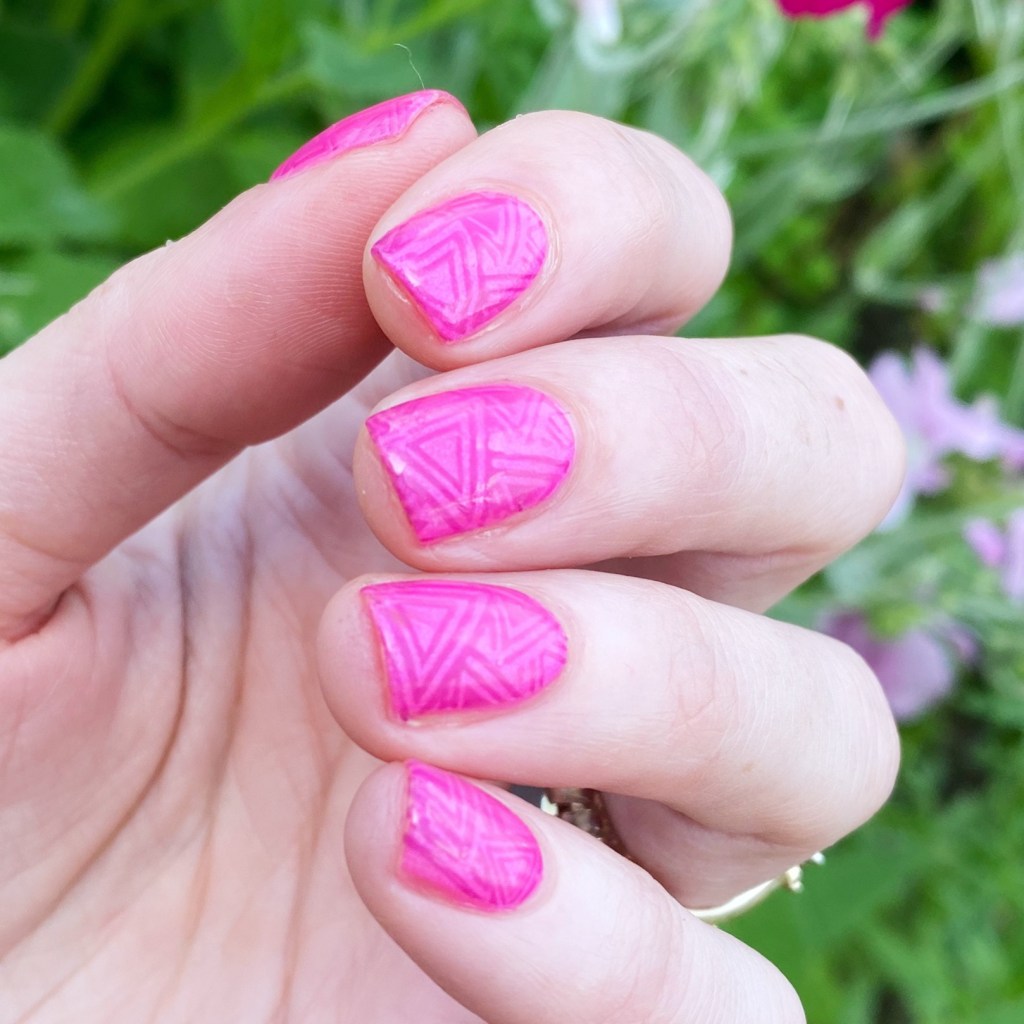
Today I’m pumped to show off a fun new design, just in time for the Barbie movie being released next week. Barbiecore nails have been all over my Instagram & Pinterest, so I needed to try out the theme for myself. I don’t wear all pink nails on their own too, too often, but maybe I should. These nails were very, very fun to wear!

The polishes I used for this manicure are: 

  • Base Coat: Londontown KUR Nail Hardener & Base Coat 
  • Top Coat: Olive & June Long Lasting Top Coat
  • Sally Hansen Miracle Gel Neons Fuchsia Fever
  • Sally Hansen MG Neons Floresc-pink
  • Sally Hansen MG Lilac Insomniac
  • Born Pretty Stamping Plate — no longer available
  • NailStuff.ca Clear Stamper 

This pattern is reminding me of the dress Totally Hair Barbie wears, which was definitely inspired by Margot Robie’s look on the Barbie promotion tour. I thought the pattern would definitely give off 90s Barbie vibes, which was the look I wanted to portray with this manicure. I wanted you to look at it & your mind just immediately go to Barbie… which I think I managed to accomplish!

Plus it gave me an excuse to pull out some older Sally Hansen Miracle Gel Neons which was great timing because I just received a PR package featuring the Sally Hansen Miracle Gel 90s collection! & I can’t wear to play around with those asap.

What do you think of this Barbiecore nail design? Are you a fan of the current Barbiecore trend? Are you looking forward to seeing the new movie?

Let me know all your thoughts down in the comments below.

Happy Friday loves!

Lush Green Dotticure 🌿💚

•PR/Gifted•

Hello loves & happy Tuesday! I know, a post on a Tuesday…. not my usual posting schedule. But the rain & grey has me all out of sorts, so I ended up skipping posting yesterday. I just was not feeling it.

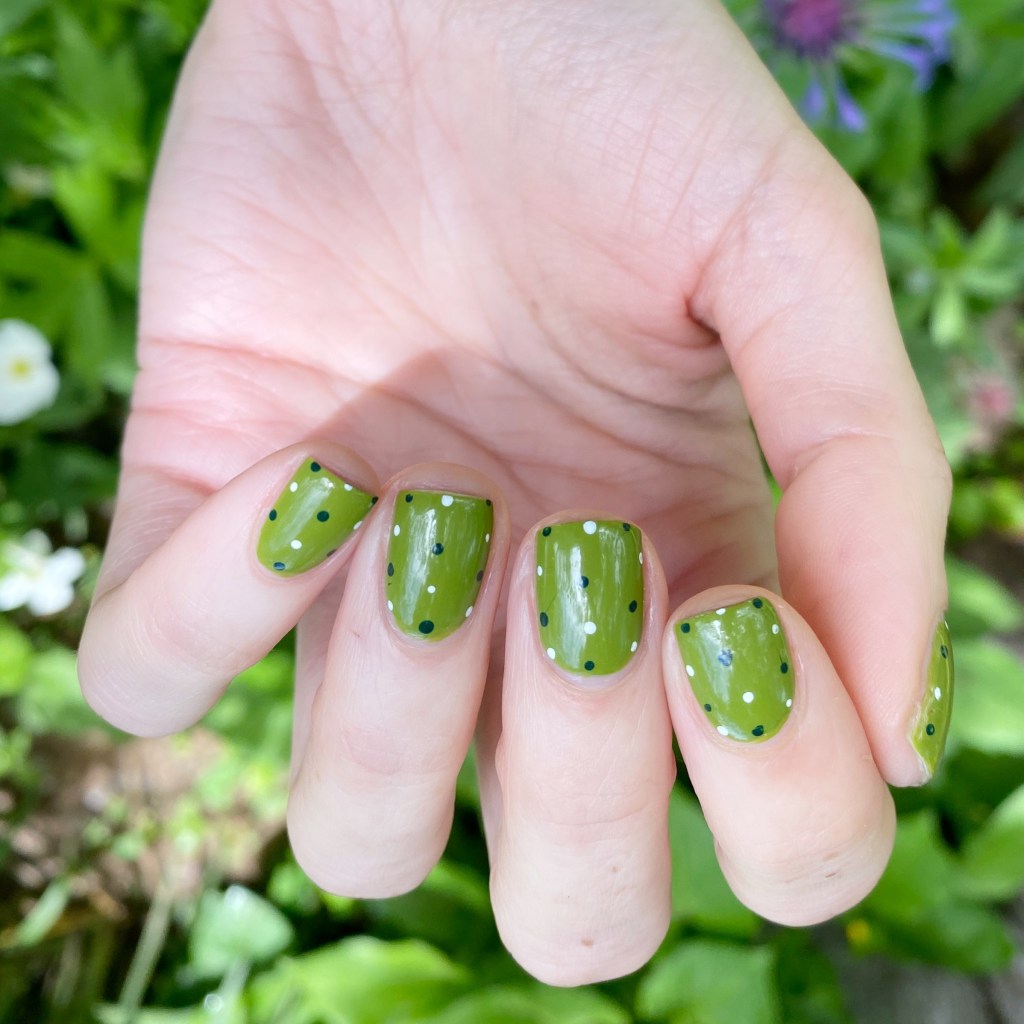
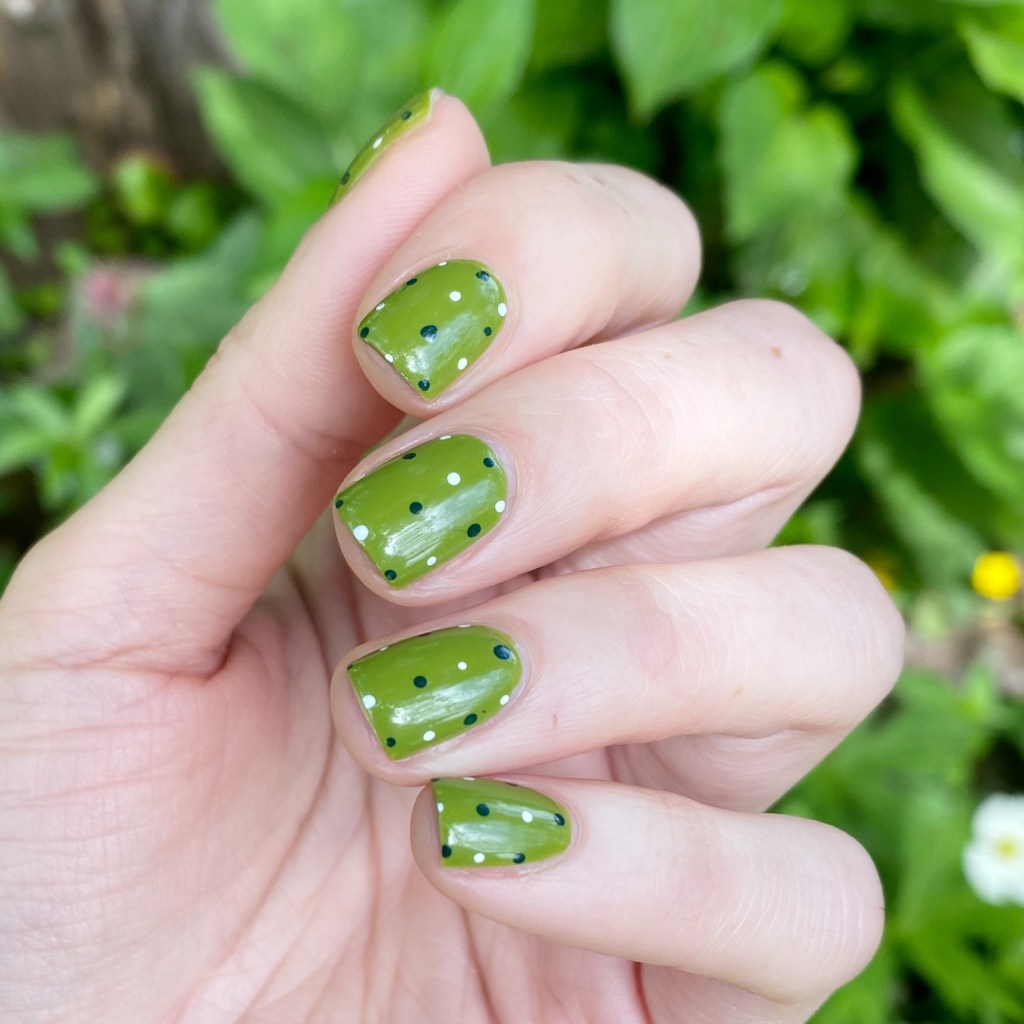
I’m back today though, & I have a cute & easy dotticure to share with you featuring on of the new Essie shades I received recently. I’m still obsessing over this beautiful green Willow in the Wind & I decided to use it as the base for a luscious green dotticure. \

The polishes I used for this manicure are: 

  • Base Coat: Londontown KUR Nail Hardener & Base Coat 
  • Top Coat: Seche Vive Fast Dry
  • Essie Willow in the Wind
  • Essie Off Tropic
  • Essie Blanc
  • NailStuff.ca small dotting tool (NailStuff.ca Dotting Tool Trio)

Yes, I’m still obsessed with this green. I don’t know what it is about it — it’s just a very Summer-y green & I really love it. I haven’t yet had a chance to use it in a floral/cactus look yet — which I very much want to — but I thought it worked so well for this simple dotticure.

What do you think of this green dotticure? Are you a fan of Essie Willow in the Wind as much as I am? Let me know all your thoughts in the comments below, & what you think about a simple dotticure!

Enjoy your Tuesday!

Products featured in this post were provided in exchanged for content.  All thoughts are honest & my own.