Good morning lovelies & happy Sunday! & happy early Canada Day to all my fellow Canadians. We’re looking at a very, very rainy Canada Day which is kind of lame, but that’s Nova Scotia for you.
I am very excited because I was at the thrift store on Friday & they sometimes have barely used nail polish there, so I always check it out. That’s when I stumbled across this beauty: this is OPI Big Apple Red.


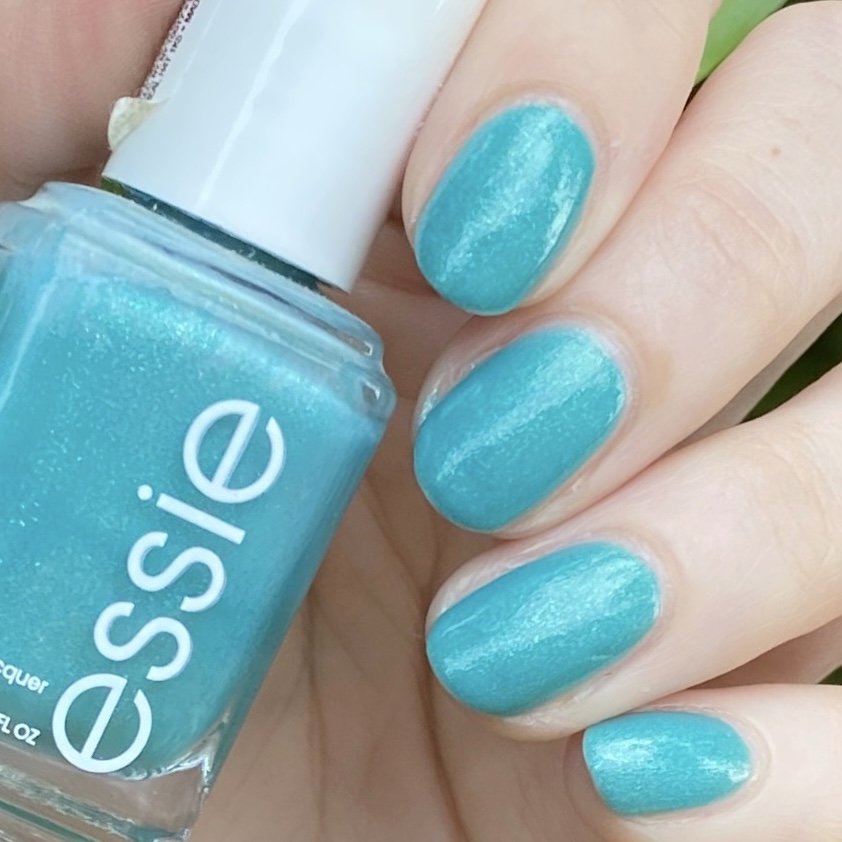
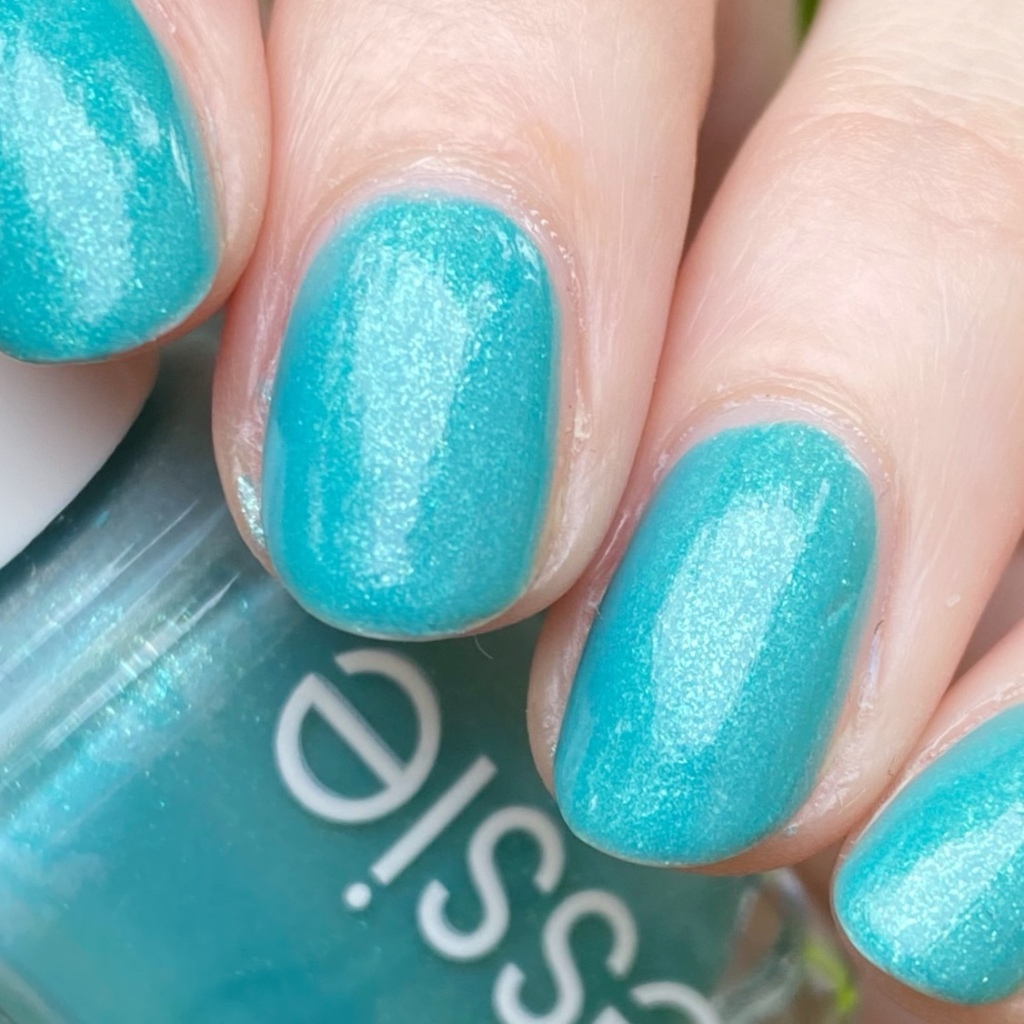
2 coats + top coat
In a surprising turn of events, OPI Big Apple Red is one of those red nail polishes that I didn’t yet own. It’s a gorgeous cherry red nail polish, which a smooth application & cream finish.
According to Google, Big Apple Red was voted as the most iconic red nail polish of all time — so the fact I didn’t yet own this shade is actually a crime.


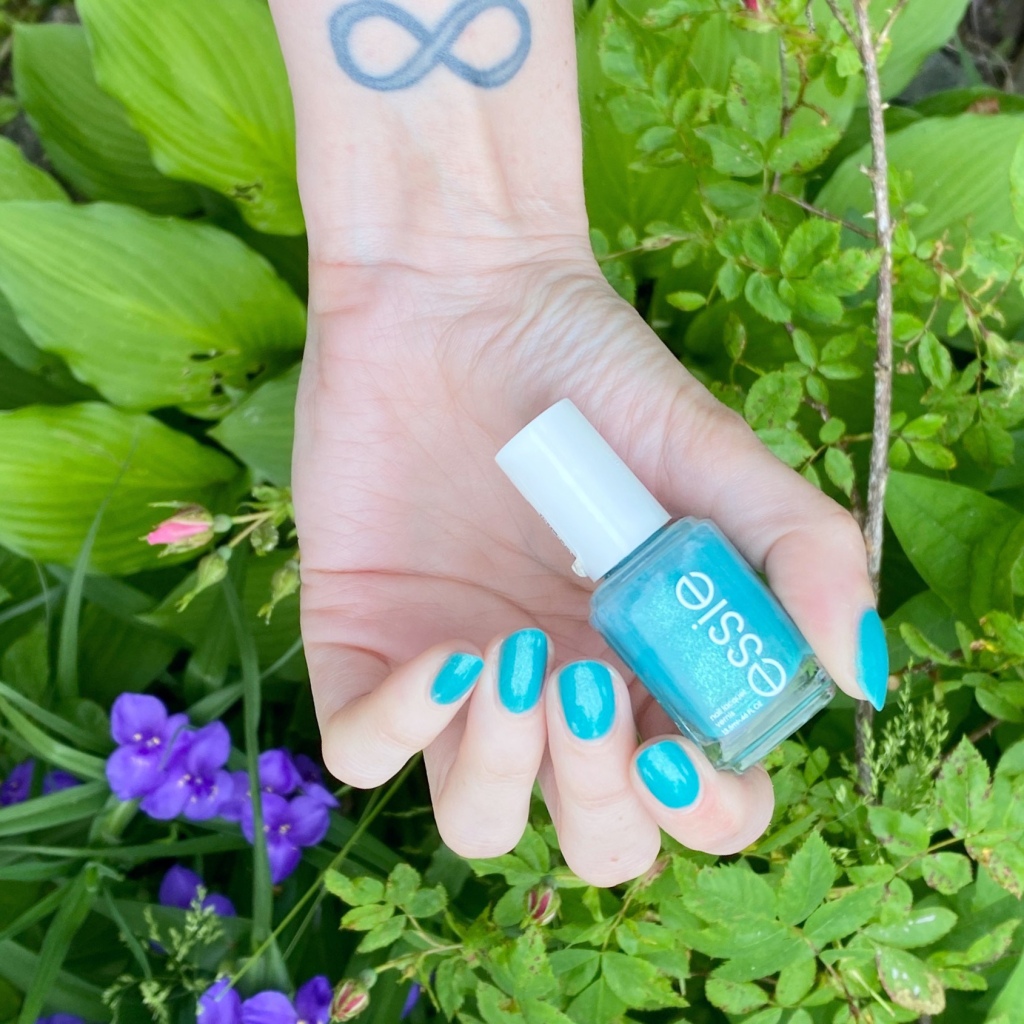
We all know red is definitely my favourite nail colour, & this is an absolutely stunning red. It had perfect coverage in two coats, which I’m all for when it comes to a red. It also garnered a ton of compliments & “nice nails” while I was at work, so that is always an indication of a beautiful polish.

What do you think of this iconic OPI red? Do you have Big Apple Red in your collection? Let me know all your thoughts down in the comments below & what nail polish shade you consider “iconic”!
🖤