Good morning lovelies & Happy Monday! Today is officially the last day of #GlamNailsChallengeDec & the prompt is Fireworks/confetti. I can’t believe this is the final prompt of this month, & the final prompt of this year! I’ve had so much fun stepping out of my comfort zone to join in on these challenges, & I’m really hoping to keep going into the new year!
For today, in honour of New Years Eve tomorrow, I naturally had to go with the fireworks inspiration because who doesn’t love fireworks!

For this manicure, the polishes I used were:
- Base Coat: Essie Treat Love & Colour Strengthener
- Top Coat: Essie Speed Setter
- Essie In Hot Purse-uit (Rebecca Minkoff collection)
- Sally Hansen Miracle Gel Goldie Rocks
- Sally Hansen MG Good As Gold
- Sally Hansen MG Five Golden Blings
- NailStuff.ca 7mm detail brush(COFFEE10 to save 10%)
.
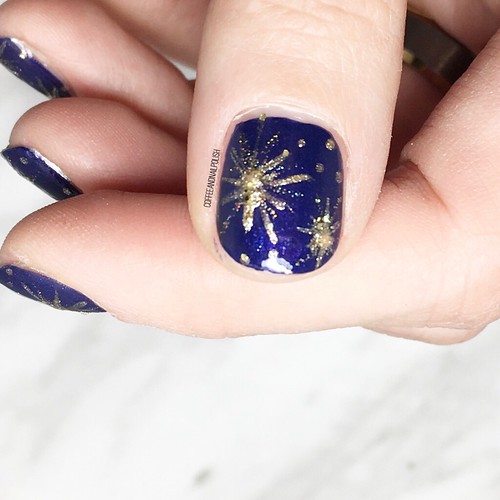

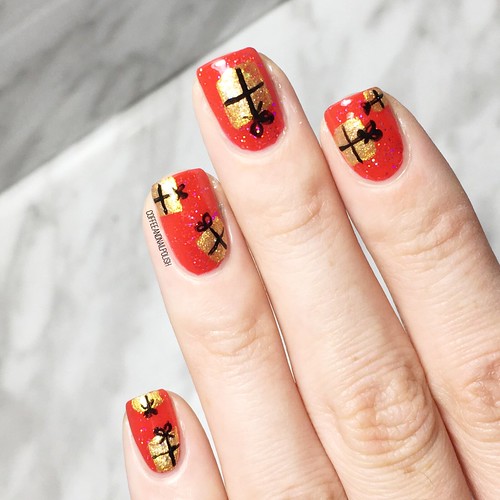
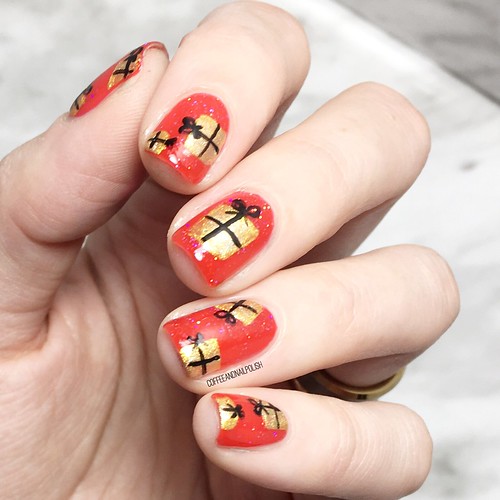
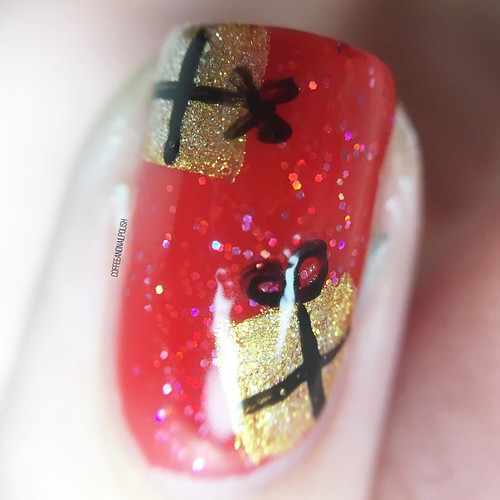
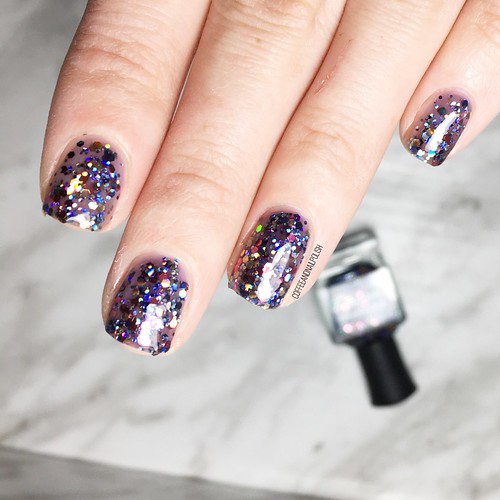
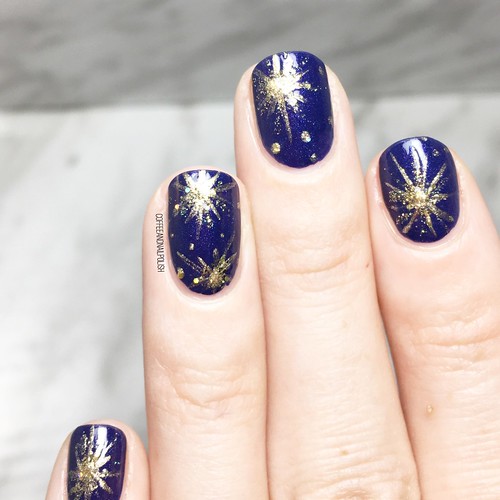
I’ve attempted fireworks designs before, a few times, but they have never quite turned out as good as I pictured in my head… but I actually quite love how these look. I started off by drawing with my most opaque polish (Goldie Rocks), then my thinner holo glitter (Five Golden Blings) & then added some gold glitters in the middle (Good As Good). I really wanted these to look glittery, like how fireworks look right after exploding in the sky. & I think I achieved that!


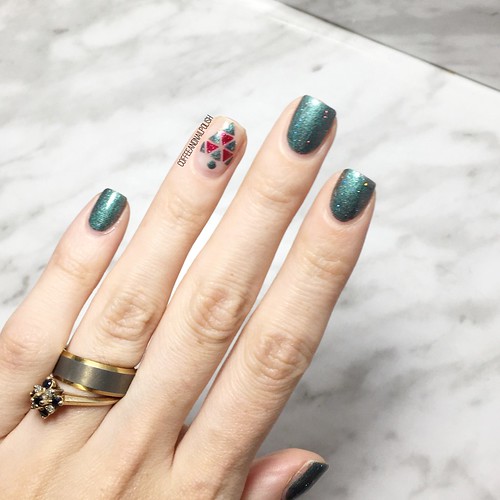
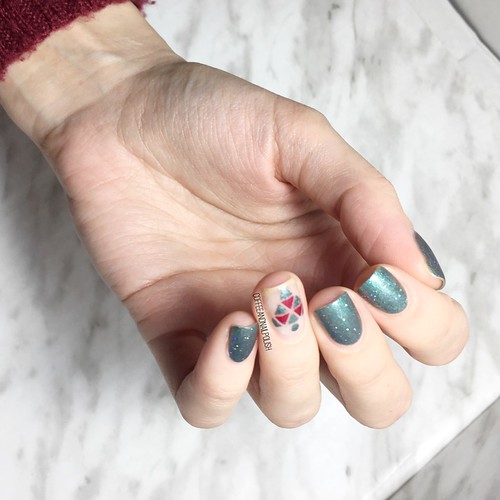
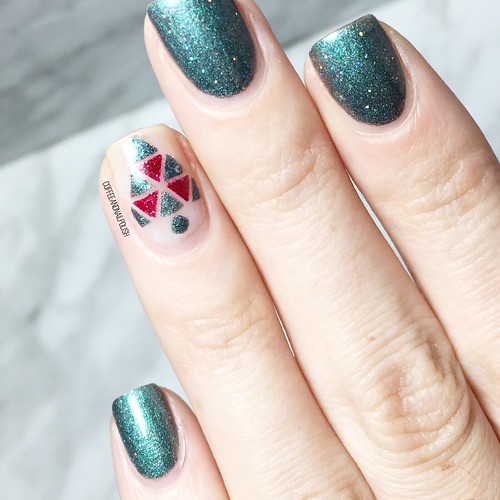
How pretty is this gold against the blue. I got the Essie Rebecca Minkoff collection from my Mum for Christmas, so obviously I couldn’t wait to dive right in & try them out. & can I just say this is one coat of this blue shade! I mean… that’s amazing & it makes such a perfect base for my golden nail art!

What have you thought of this months challenge? Don’t forget to check out #glamnailschallengeDec for everyone’s final looks for this month!
I must say, even though Christmas made me fall a little behind, I had so much fun coming up with designs that I may not have come up on my own. & I love feeling inspired for nail art again!