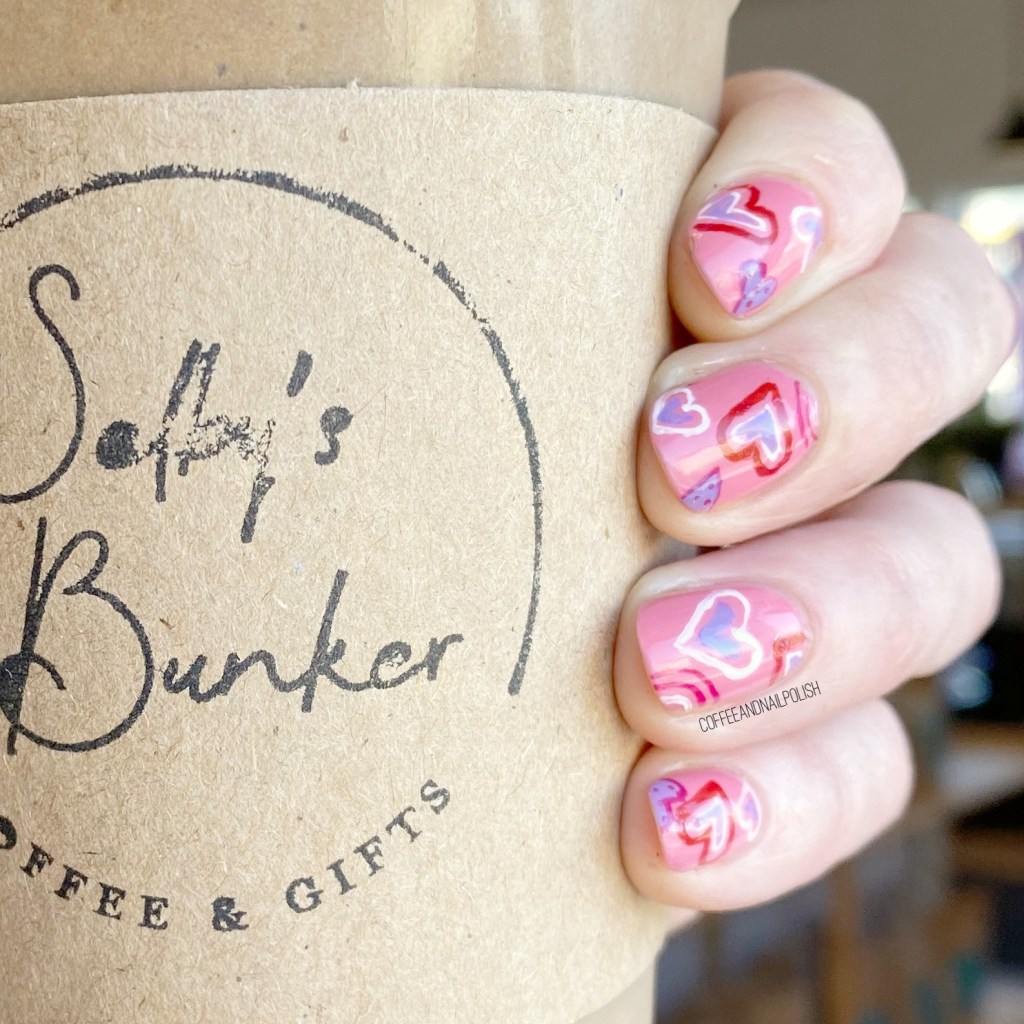
Hello lovelies & happy Thursday. I’m another day late on posting this prompt for #GlamNailsChallengeFeb, so I apologize. It’s been one of those busy kind of weeks!
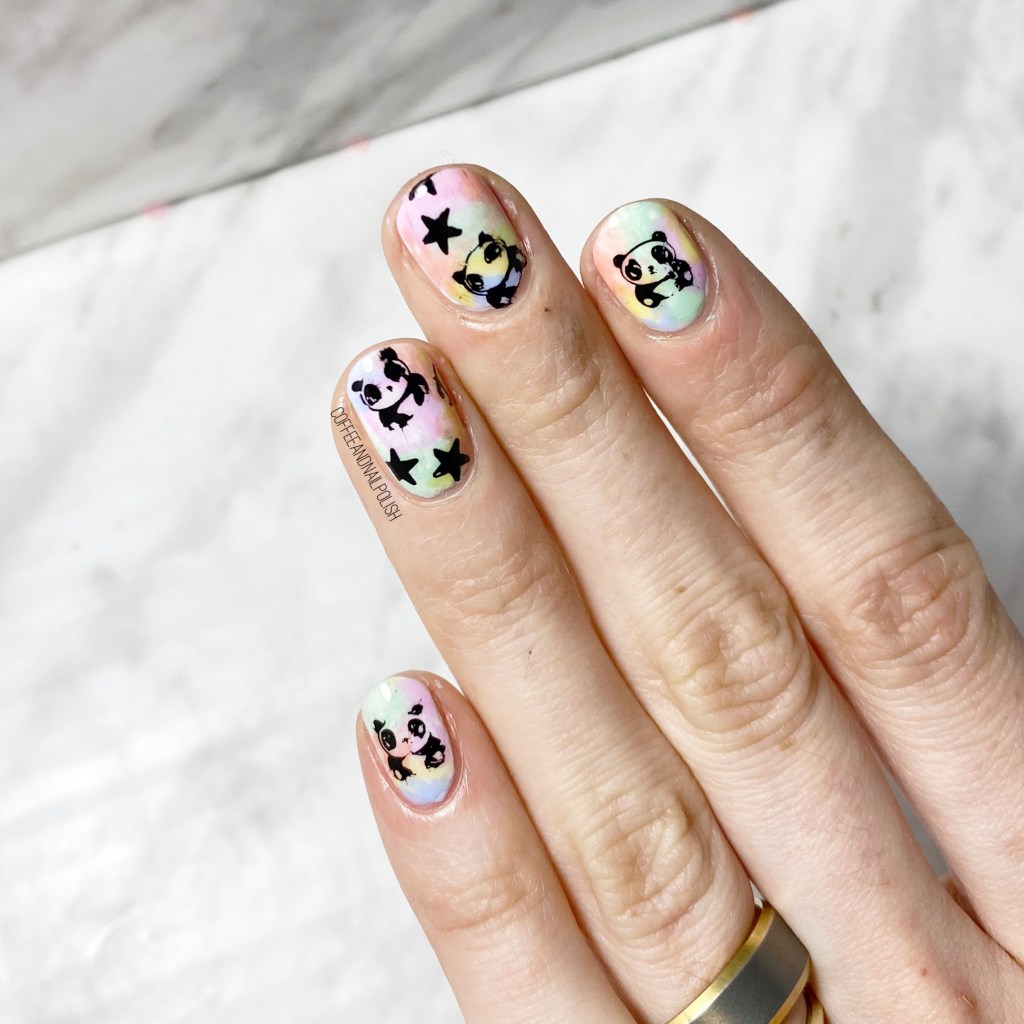
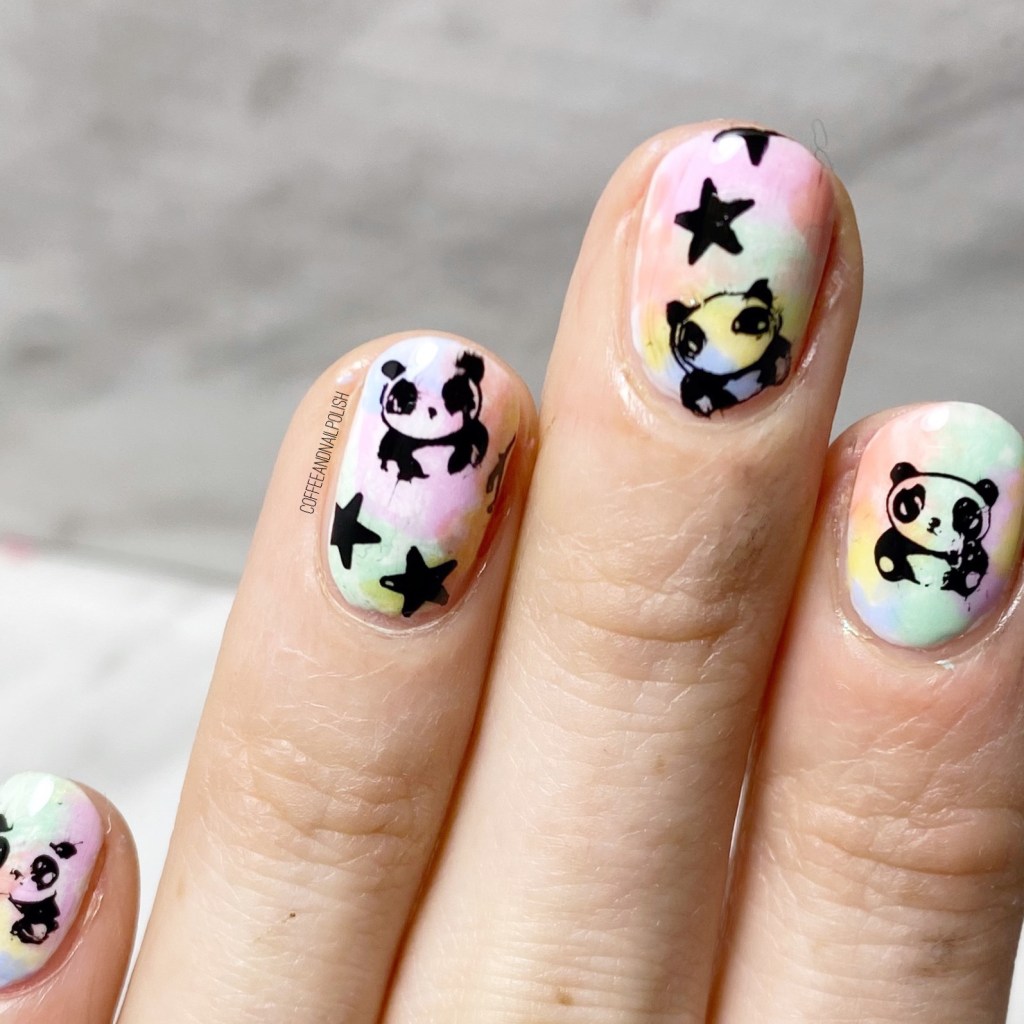
The latest prompt for #GlamNailsChallenge is Bears. I don’t think I’ve ever done a “bear” design before, but I had this cute panda image on a stamping plate I bought from Essence a few years ago, so I decided it would be perfect for this design!
For this manicure, the polishes I used were:
- Base Coat: Sally Hansen Nailgrowth Miracle
- Top Coat: Essie Good to Go
- L’Oréal Color Riche Blanc De Lune
- Sally Hansen Miracle Gel Malibu Peach
- Sally Hansen Miracle Gel Orchid-ing Aside
- Zoya Daisy
- L’Oréal Color Riche Pistache Royal
- Starrily Vantablack
- NailStuff.ca Clear Stamper (COFFEE10 saves you 10%)
- Essence Stamp It Stampy Design Plate (no longer available)
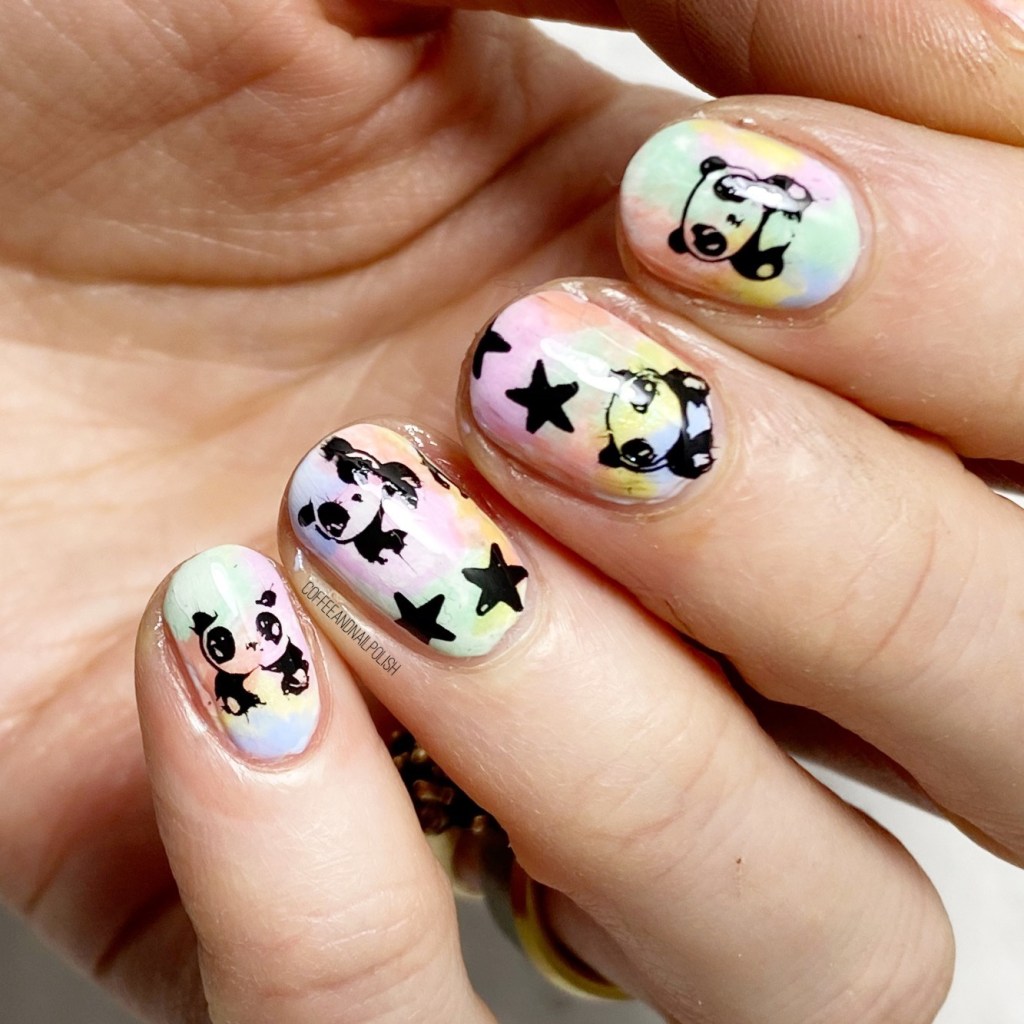
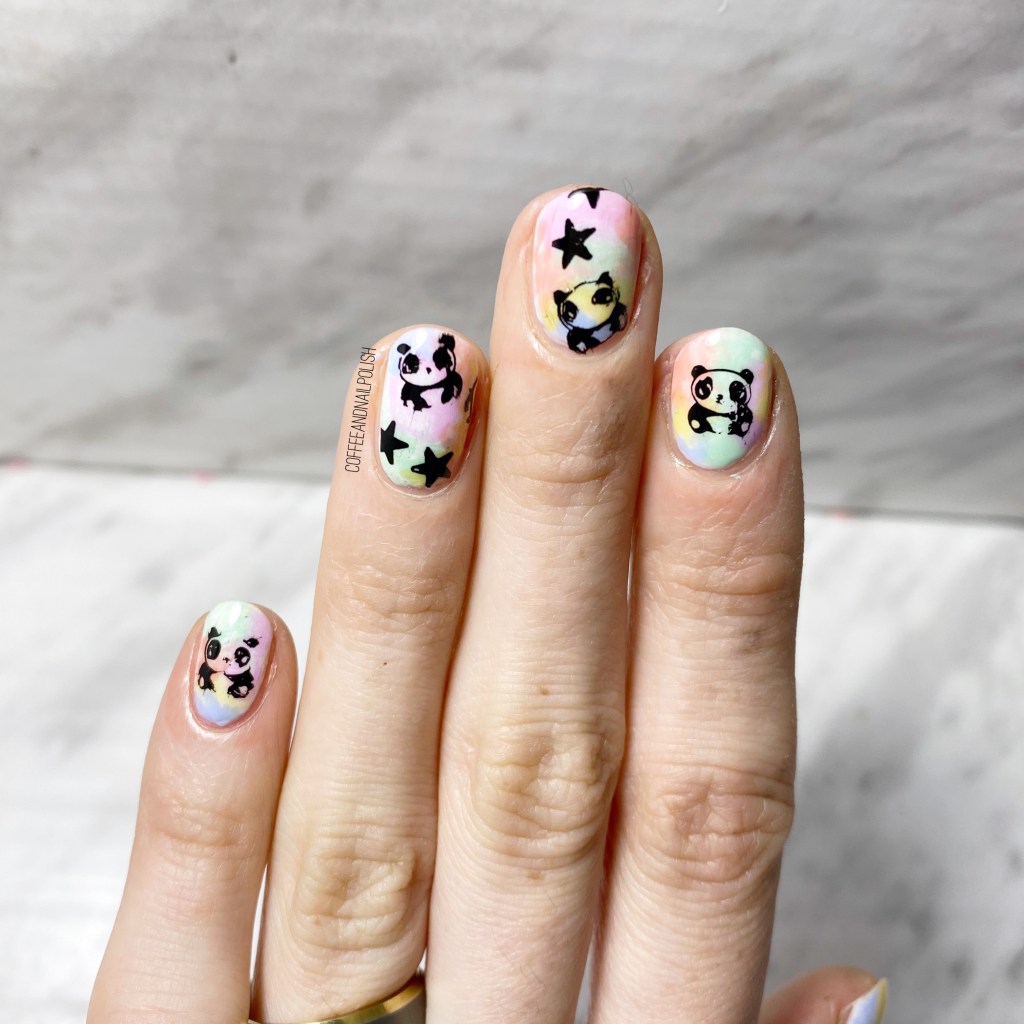
I started off with my tie dye base & then decided to stamp the panda over top. I figured pastel was more fun than simple black & white! I thought it was a fun look. The image was so teeny it was a bit difficult picking up completely, but it turned out cute over all!

What do you think about this bear design for #glamnailschallengeFeb? Are you a fan of my pastel tie dye background? Let me know all your thoughts down in the comments below!