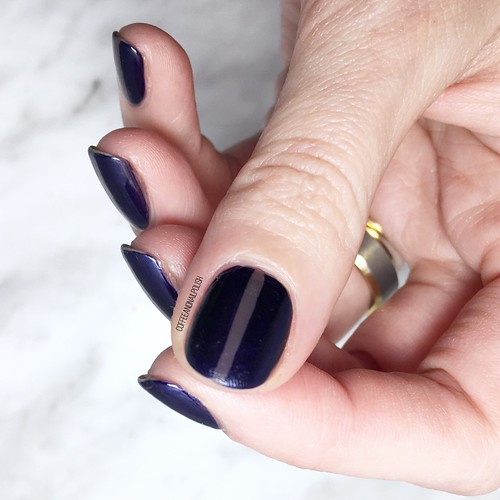
#GlamNailsChallengeOct — Black Cats

Hello lovelies & happy Wednesday! Today I’m sharing another design for the GlamNailsChallenge for October which is Black Cats 🖤

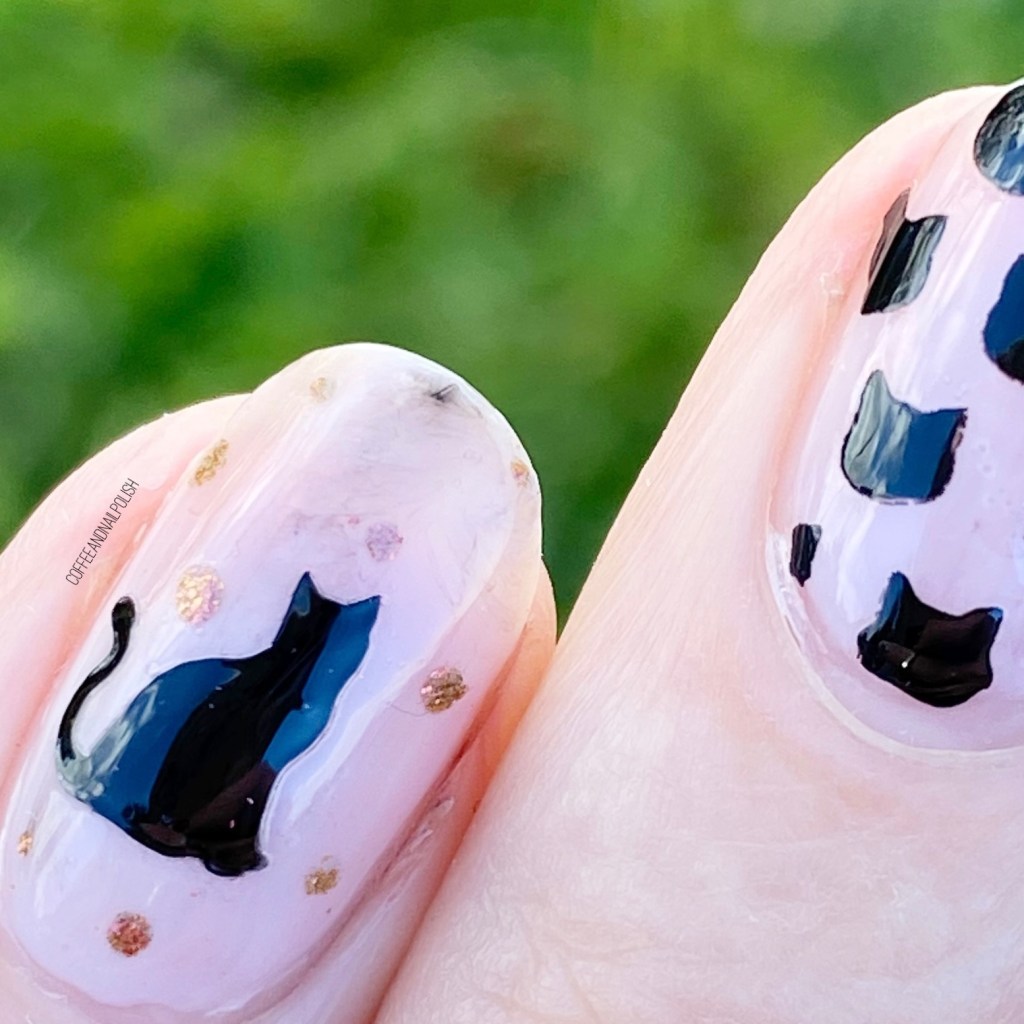
If you don’t know, I absolutely adore black cats, & I’m lucky enough to have a beautiful black furry baby. So I was very excited to create some black cat inspired nails. I thought about going full spooky Halloween with this look, but I decided to go a little understated & more glam (but still channeling Autumn.)

For this manicure, the polishes I used were:

  • Base Coat: Sally Hansen Hard As Nails
  • Top Coat: Essie Speed Setter
  • ORLY Brilliant Boysenberry (aka ORLY Space Cadet)
  • Essie Ballet Slippers
  • Starrily Nails Vantablack
  • the Base Coat cat vinyls
  • MyNailsDid Black Cat Decal
  • NailStuff.ca Dotting Tool Trio (COFFEE10 saves you 10%!)
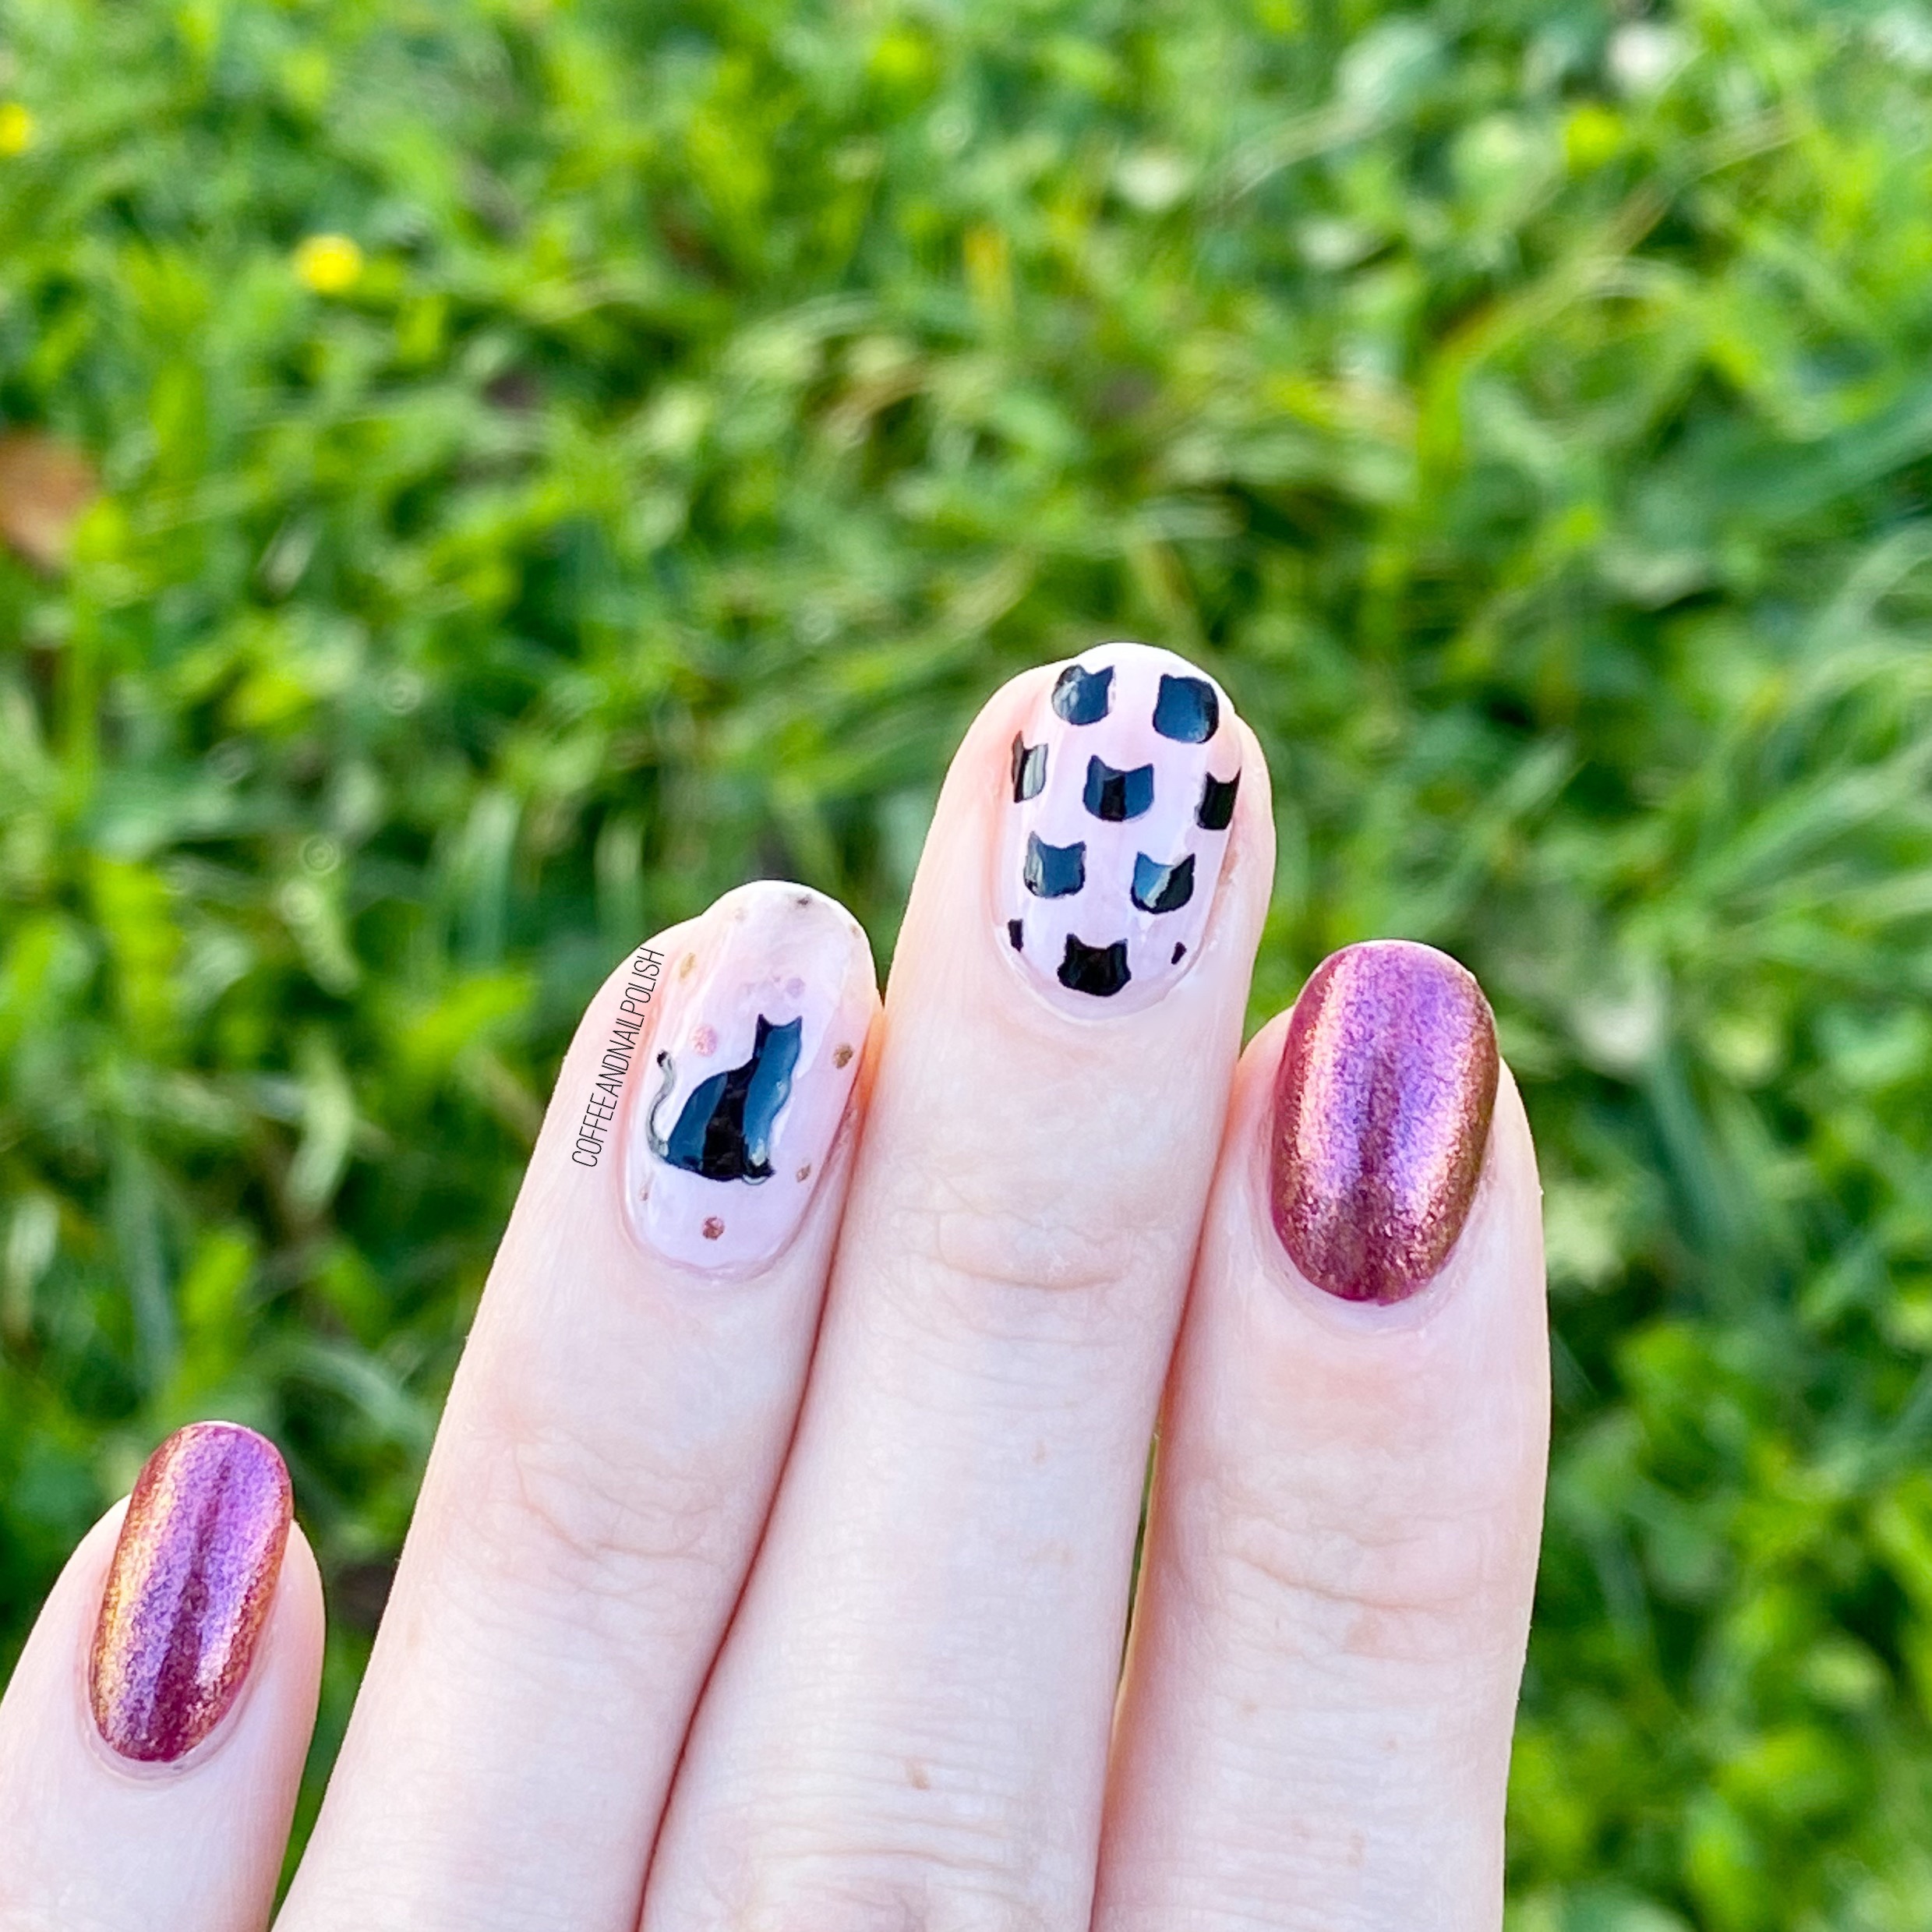
Again, I know I say this all the time, but I’m totally obsessed with how these nails turned out! My little accent kitties just make me so happy, & I like the minimalistic look of the cats against my base of Essie Ballet Slippers. I have to say, I think I’m going to need it pick up a big bottle of it because it’s becoming one of my favourite bases for nail art. The pale base just makes my little kitties jump out!

Also loving the black & white against the shiftiness of ORLY Brilliant Boysenberry. I honestly own a few bottles from different brands that are all dupes of this shade, but it’s such a good reddish/burgundy duochrome that I can’t help but buy more!

What do you think about my black cat design? Would you rock this design on your nails? Let me know down in the comments below!
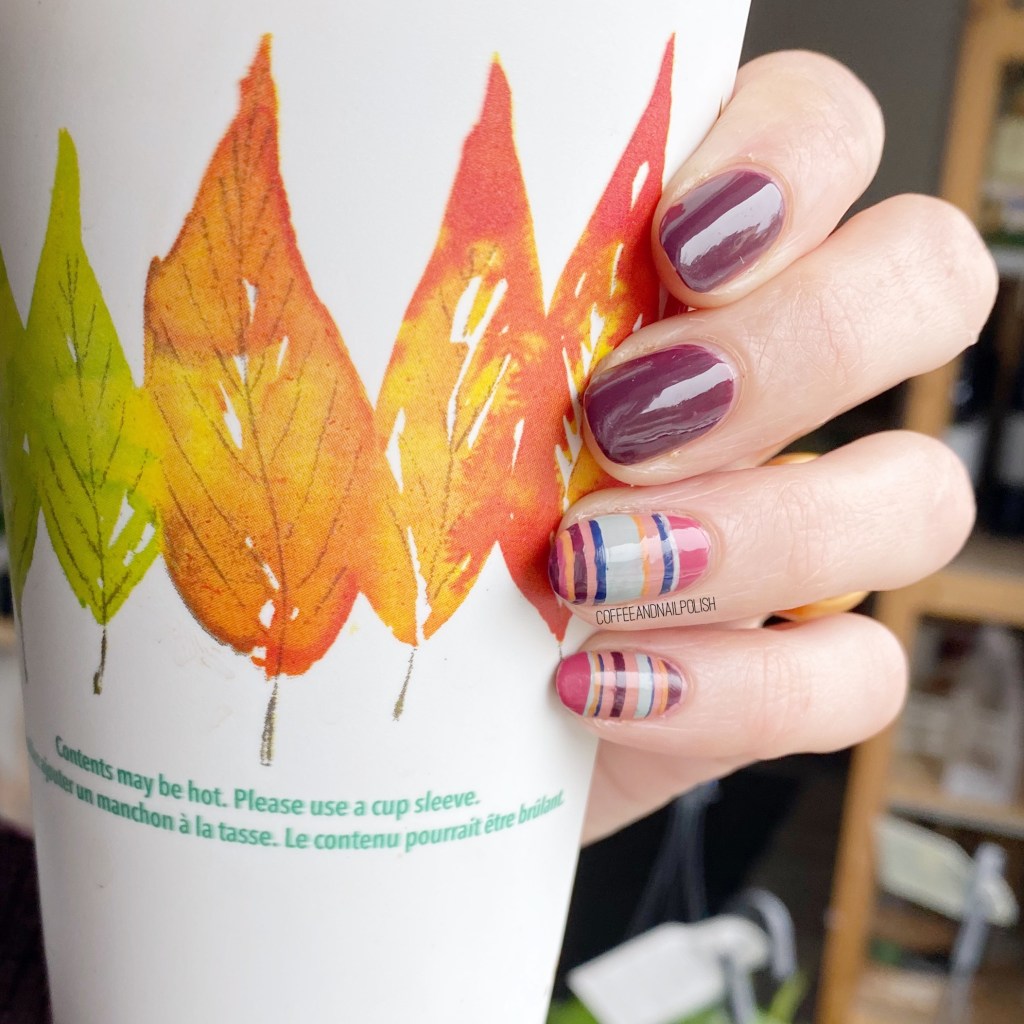
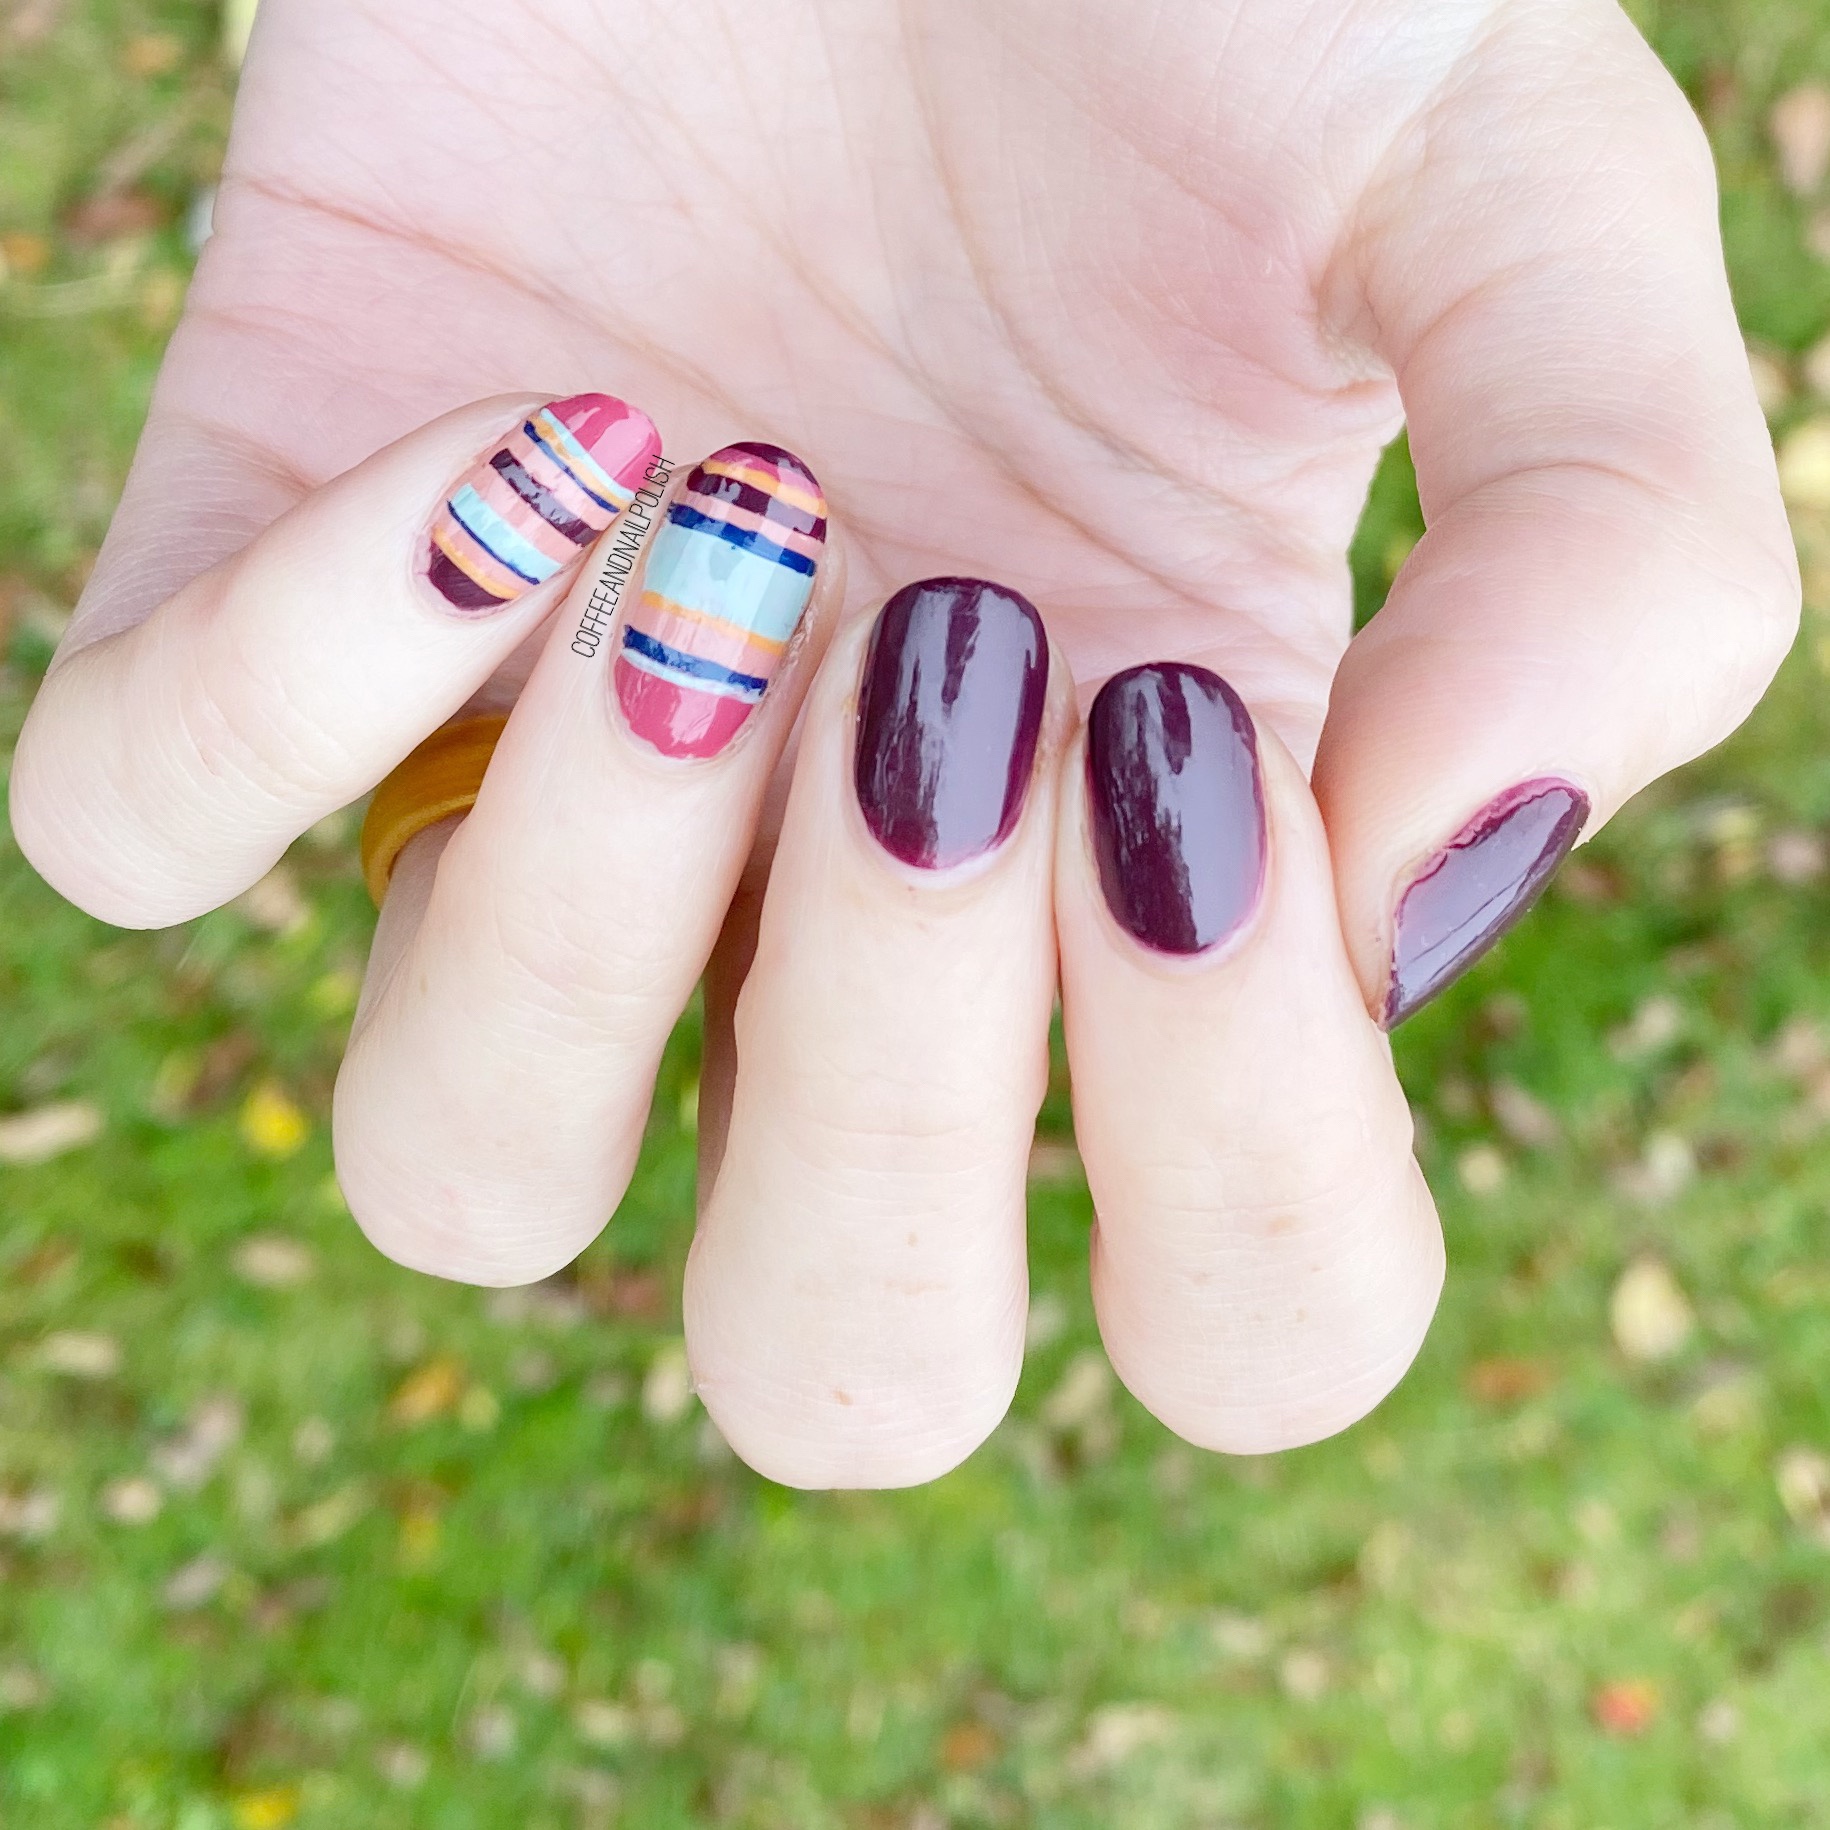
Autumn-esque Horizontal Accent Stripes

Hello lovelies & happy Thursday! & Happy October 1st. It’s officially the first day of my birthday month & Halloween month! October is definitely my favourite month of the year & the BEST month for nail art!

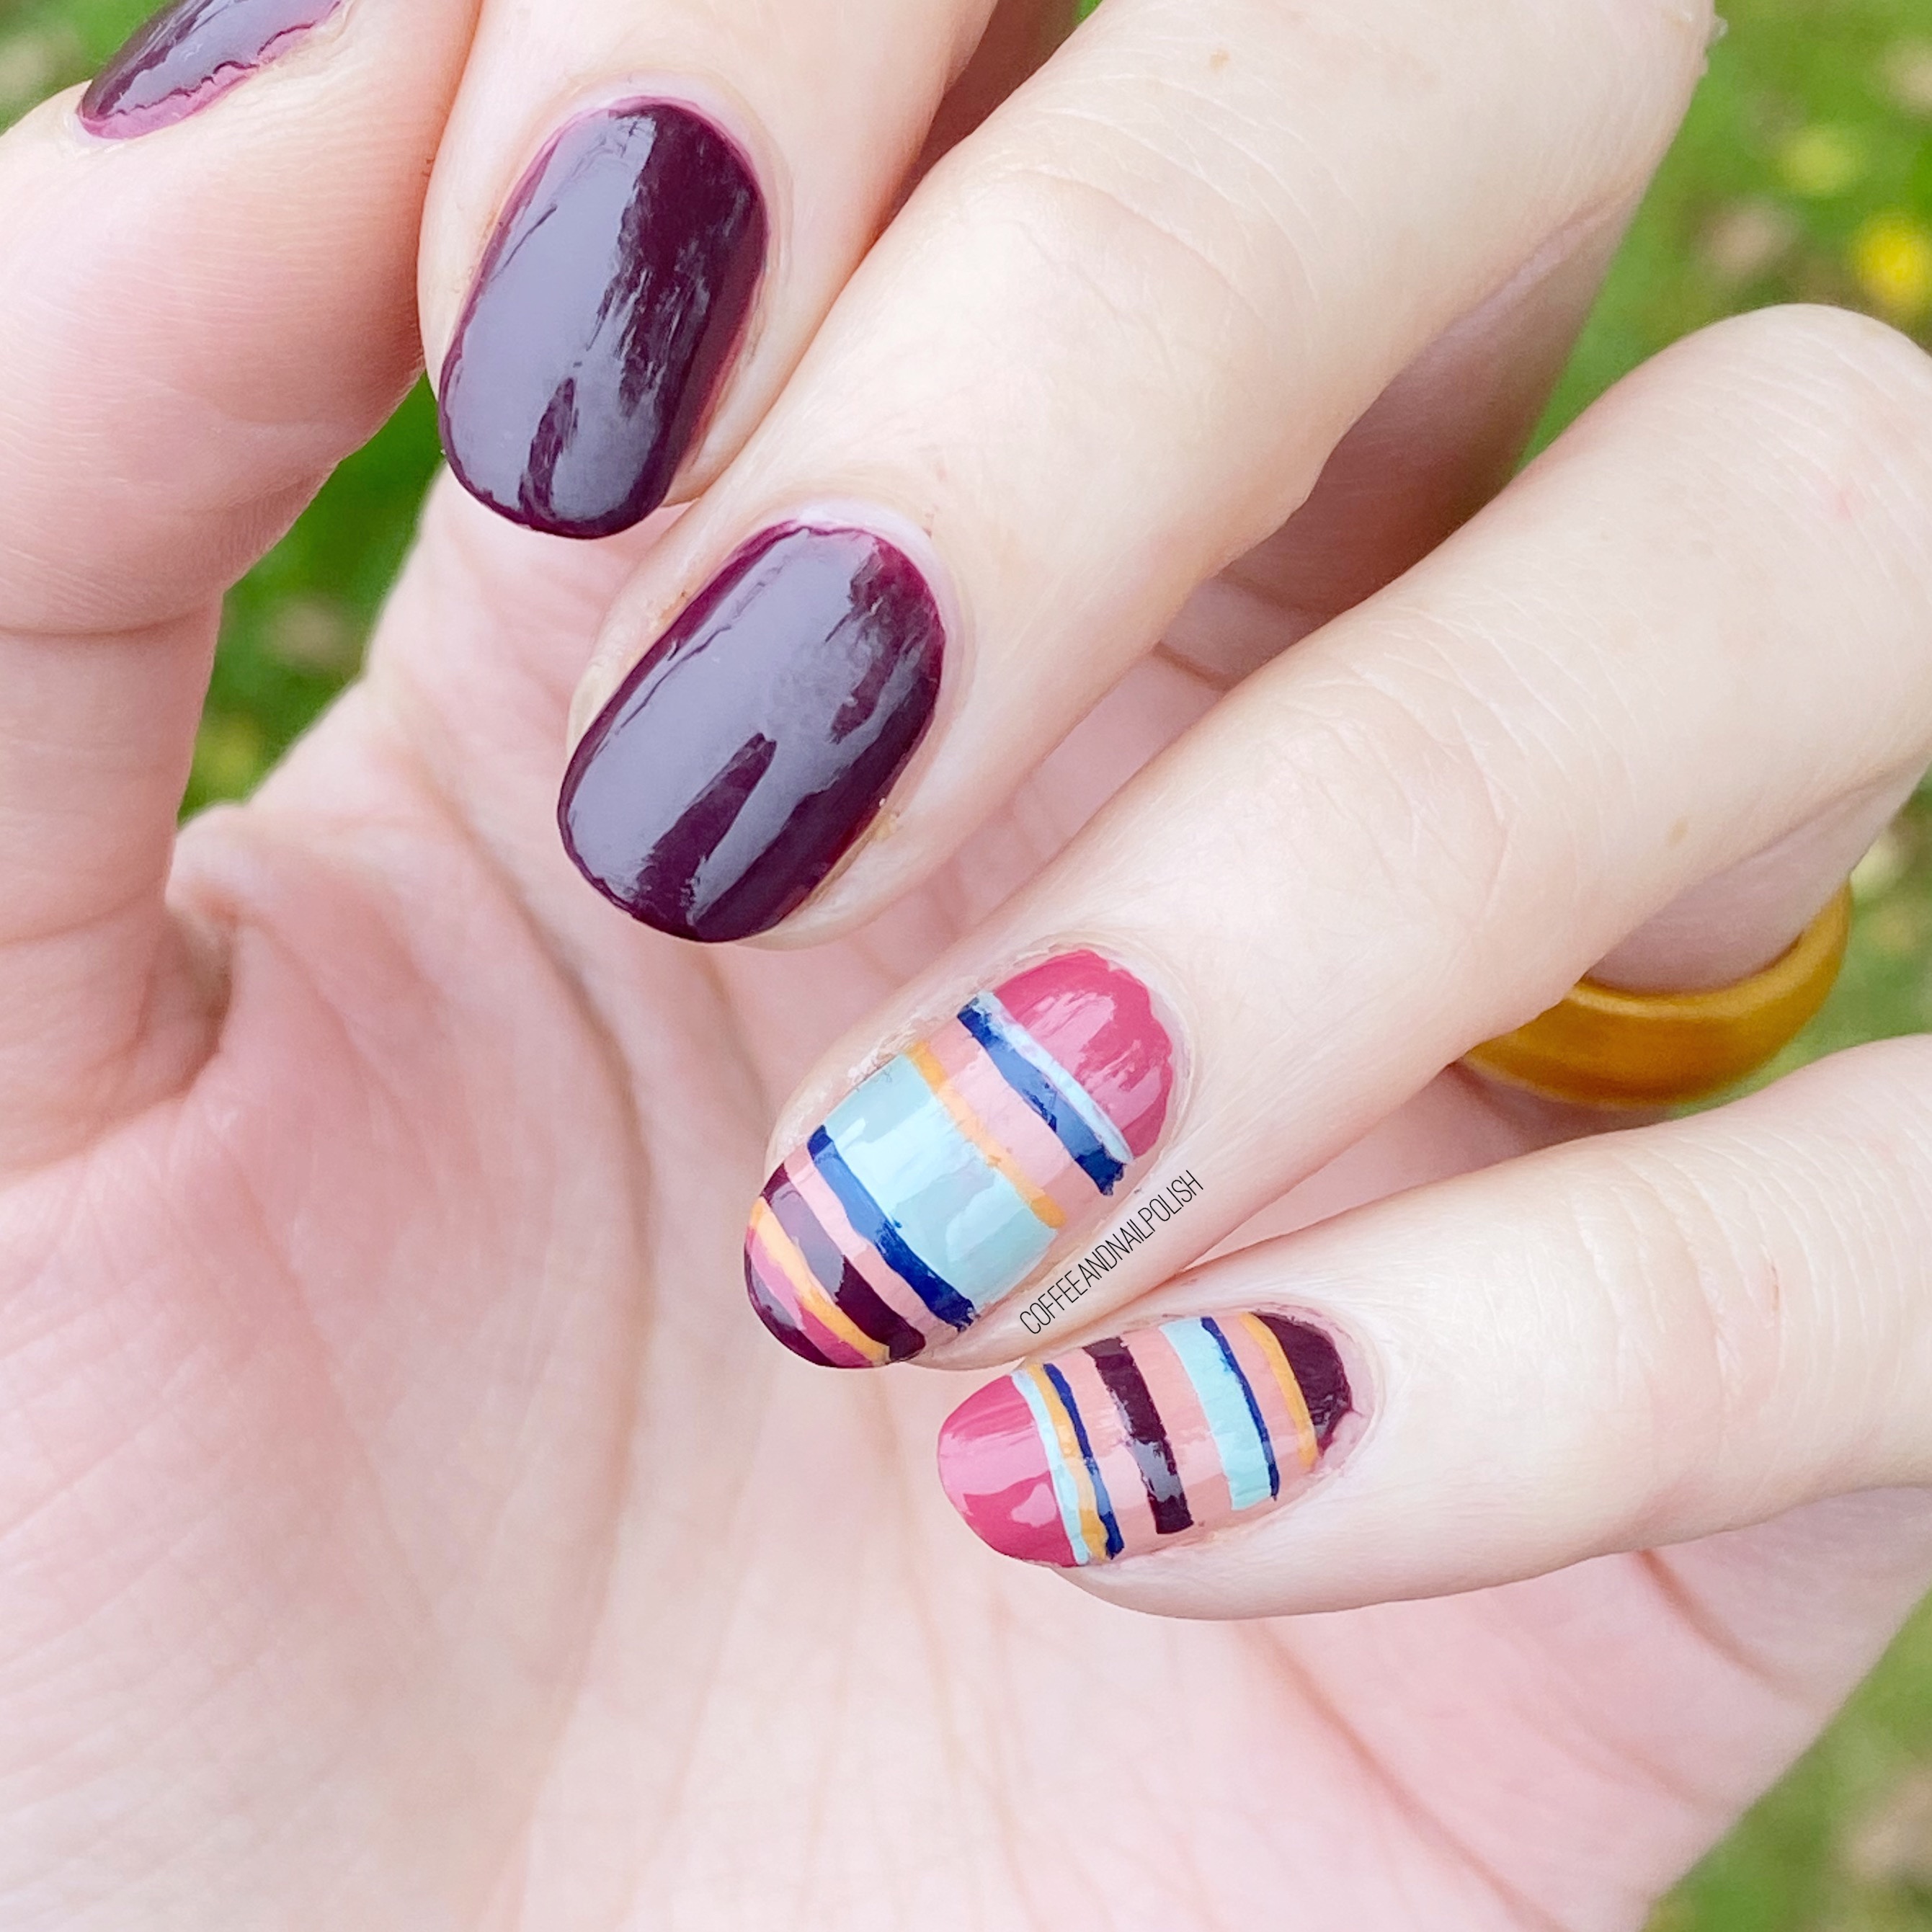
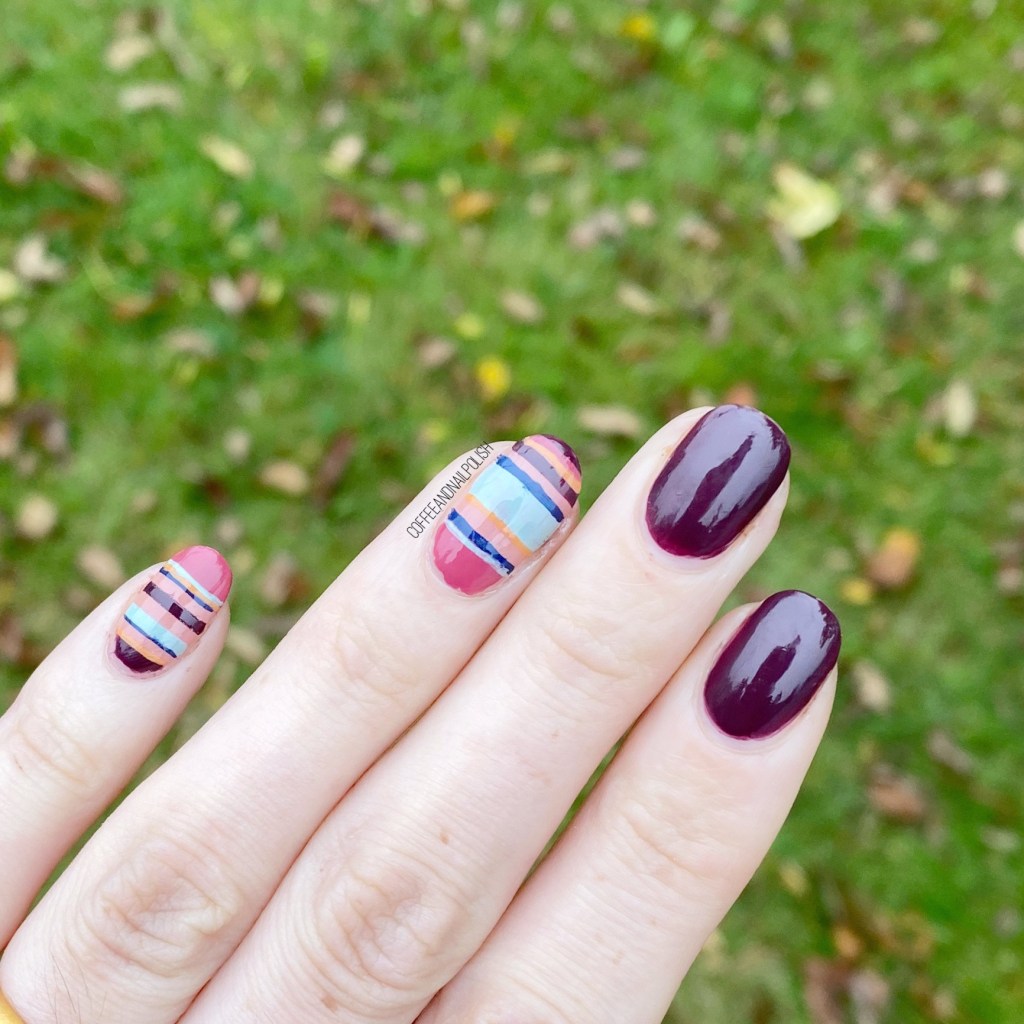
Starting things off with some horizontal Autumn inspired accent nails. I’ve really been loving accent nail designs lately because sometimes you just don’t have time to do all of your nails. & lately, that has been my life. So accent designs are my lifeline!

For this manicure, the polishes I used were:

  • Base Coat: Sally Hansen Hard As Nails
  • Top Coat: Essie Speed Setter
  • Sally Hansen Good Kind Pure Beet It
  • Sally Hansen Good Kind Pure Pink Cardamom
  • Sally Hansen InstaDri Thyme is Money
  • Essie Fall for NYC
  • China Glaze First Mate
  • Straight Nail Vinyls
  • NailStuff.ca 16mm Striper Brush (COFFEE10 saves you 10%!)

For this look, I used some straight nail vinyls to create my initial blocks of colour. Then I went in with my NailStuff striper brush to create more lines, kind of overlapping each other which gives the lines of a bit of a fuller look (& it’s way easier to create straight lines when you’re following already straight lines!).

This look & colour combination is giving me 90s retro vibes — it’s giving me some serious Willow from Buffy sweater vibes, & I’m loving everything about it. I’ve definitely been spending too much time stalking the BuffytheOutfitSlayer instagram! Haha. But I am not complaining, because this nail art design turned out too cute!

What do you think about these stripe-y accent nails? What colour combination would you chose for an accent nail look like this? Let me know what you think down in the comments below (& let me know what October activities you’re looking forward to!)

Purple Fall Leaves 🍁

Hello lovelies & Happy Tuesday!

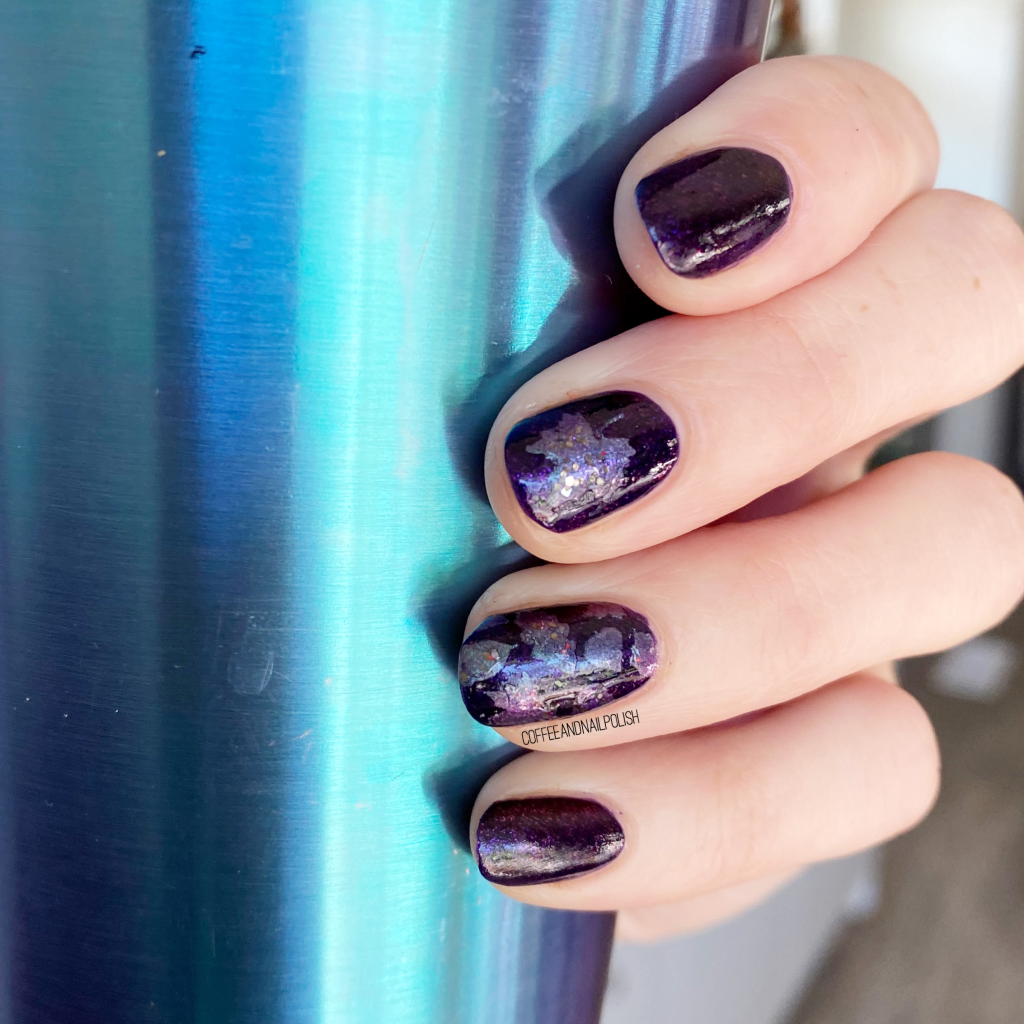
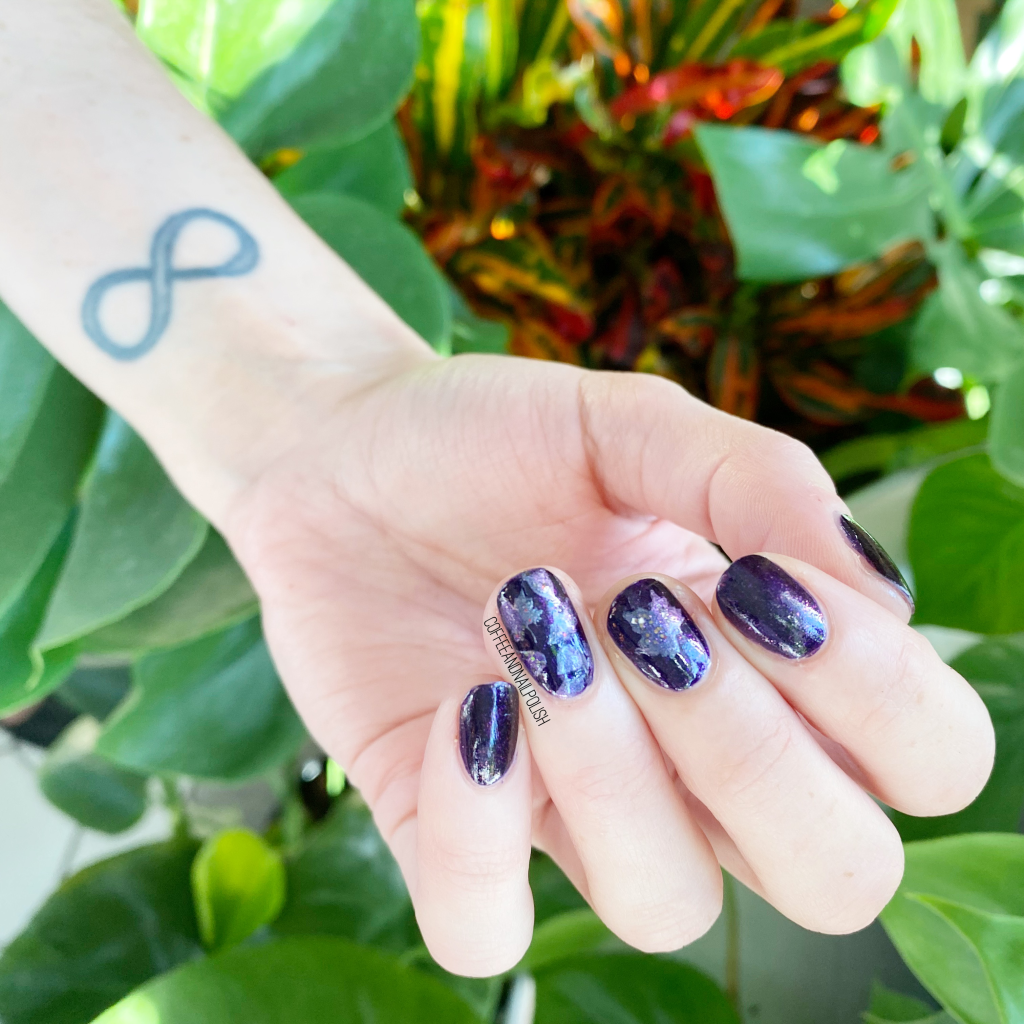
We’re eight days into September & I’m in full dark polish swing. While Summer shades are awesome, I feel like Fall polish makes my heart the happiest. I’ve also really been looking forward to pulling out my Fall leaves nail vinyls again! It’s been forever since I played around with vinyls, & I’ve missed them for sure.

For today’s look, I knew I really wanted to grab my bottle of Sally Hansen Slicks & Stones because it is such a lovely campus shade for this time of year. & I wanted to add some Fall leaves but I didn’t want to do gold or bronze or anything like that.

So I decided to go an untraditional route.

For this manicure, the polishes I used were:

  • Base Coat: Sally Hansen Hard As Nails
  • Top Coat: Essie Speed Setter
  • Sally Hansen Color Therapy Slicks & Stones
  • Essie For The Twill Of It
  • Quo by ORLY Kaleidoscope Haze
  • The Base Coat Fall Leaves Nail Vinyls

Seriously living for this purple-y colour combination. The shift in For The Twill Of It is just so gorgeous, & it really suits the dark purple of Slicks & Stones. I’m really loving the combination so much.

What do you think about this Fall mani? Are you loving the dark shades now? Let me know in the comments below!

Rainbow Easter Egg Inspired Accent Nail

Good morning lovelies & happy Thursday!

I hope everyone is having a lovely week, however you’re spending it. I did a fun yoga class last night (via zoom) so I’m feeling refreshed this morning. If there is one thing this home isolation has been doing for me, it’s been inspiring me to work out almost daily, which is awesome!

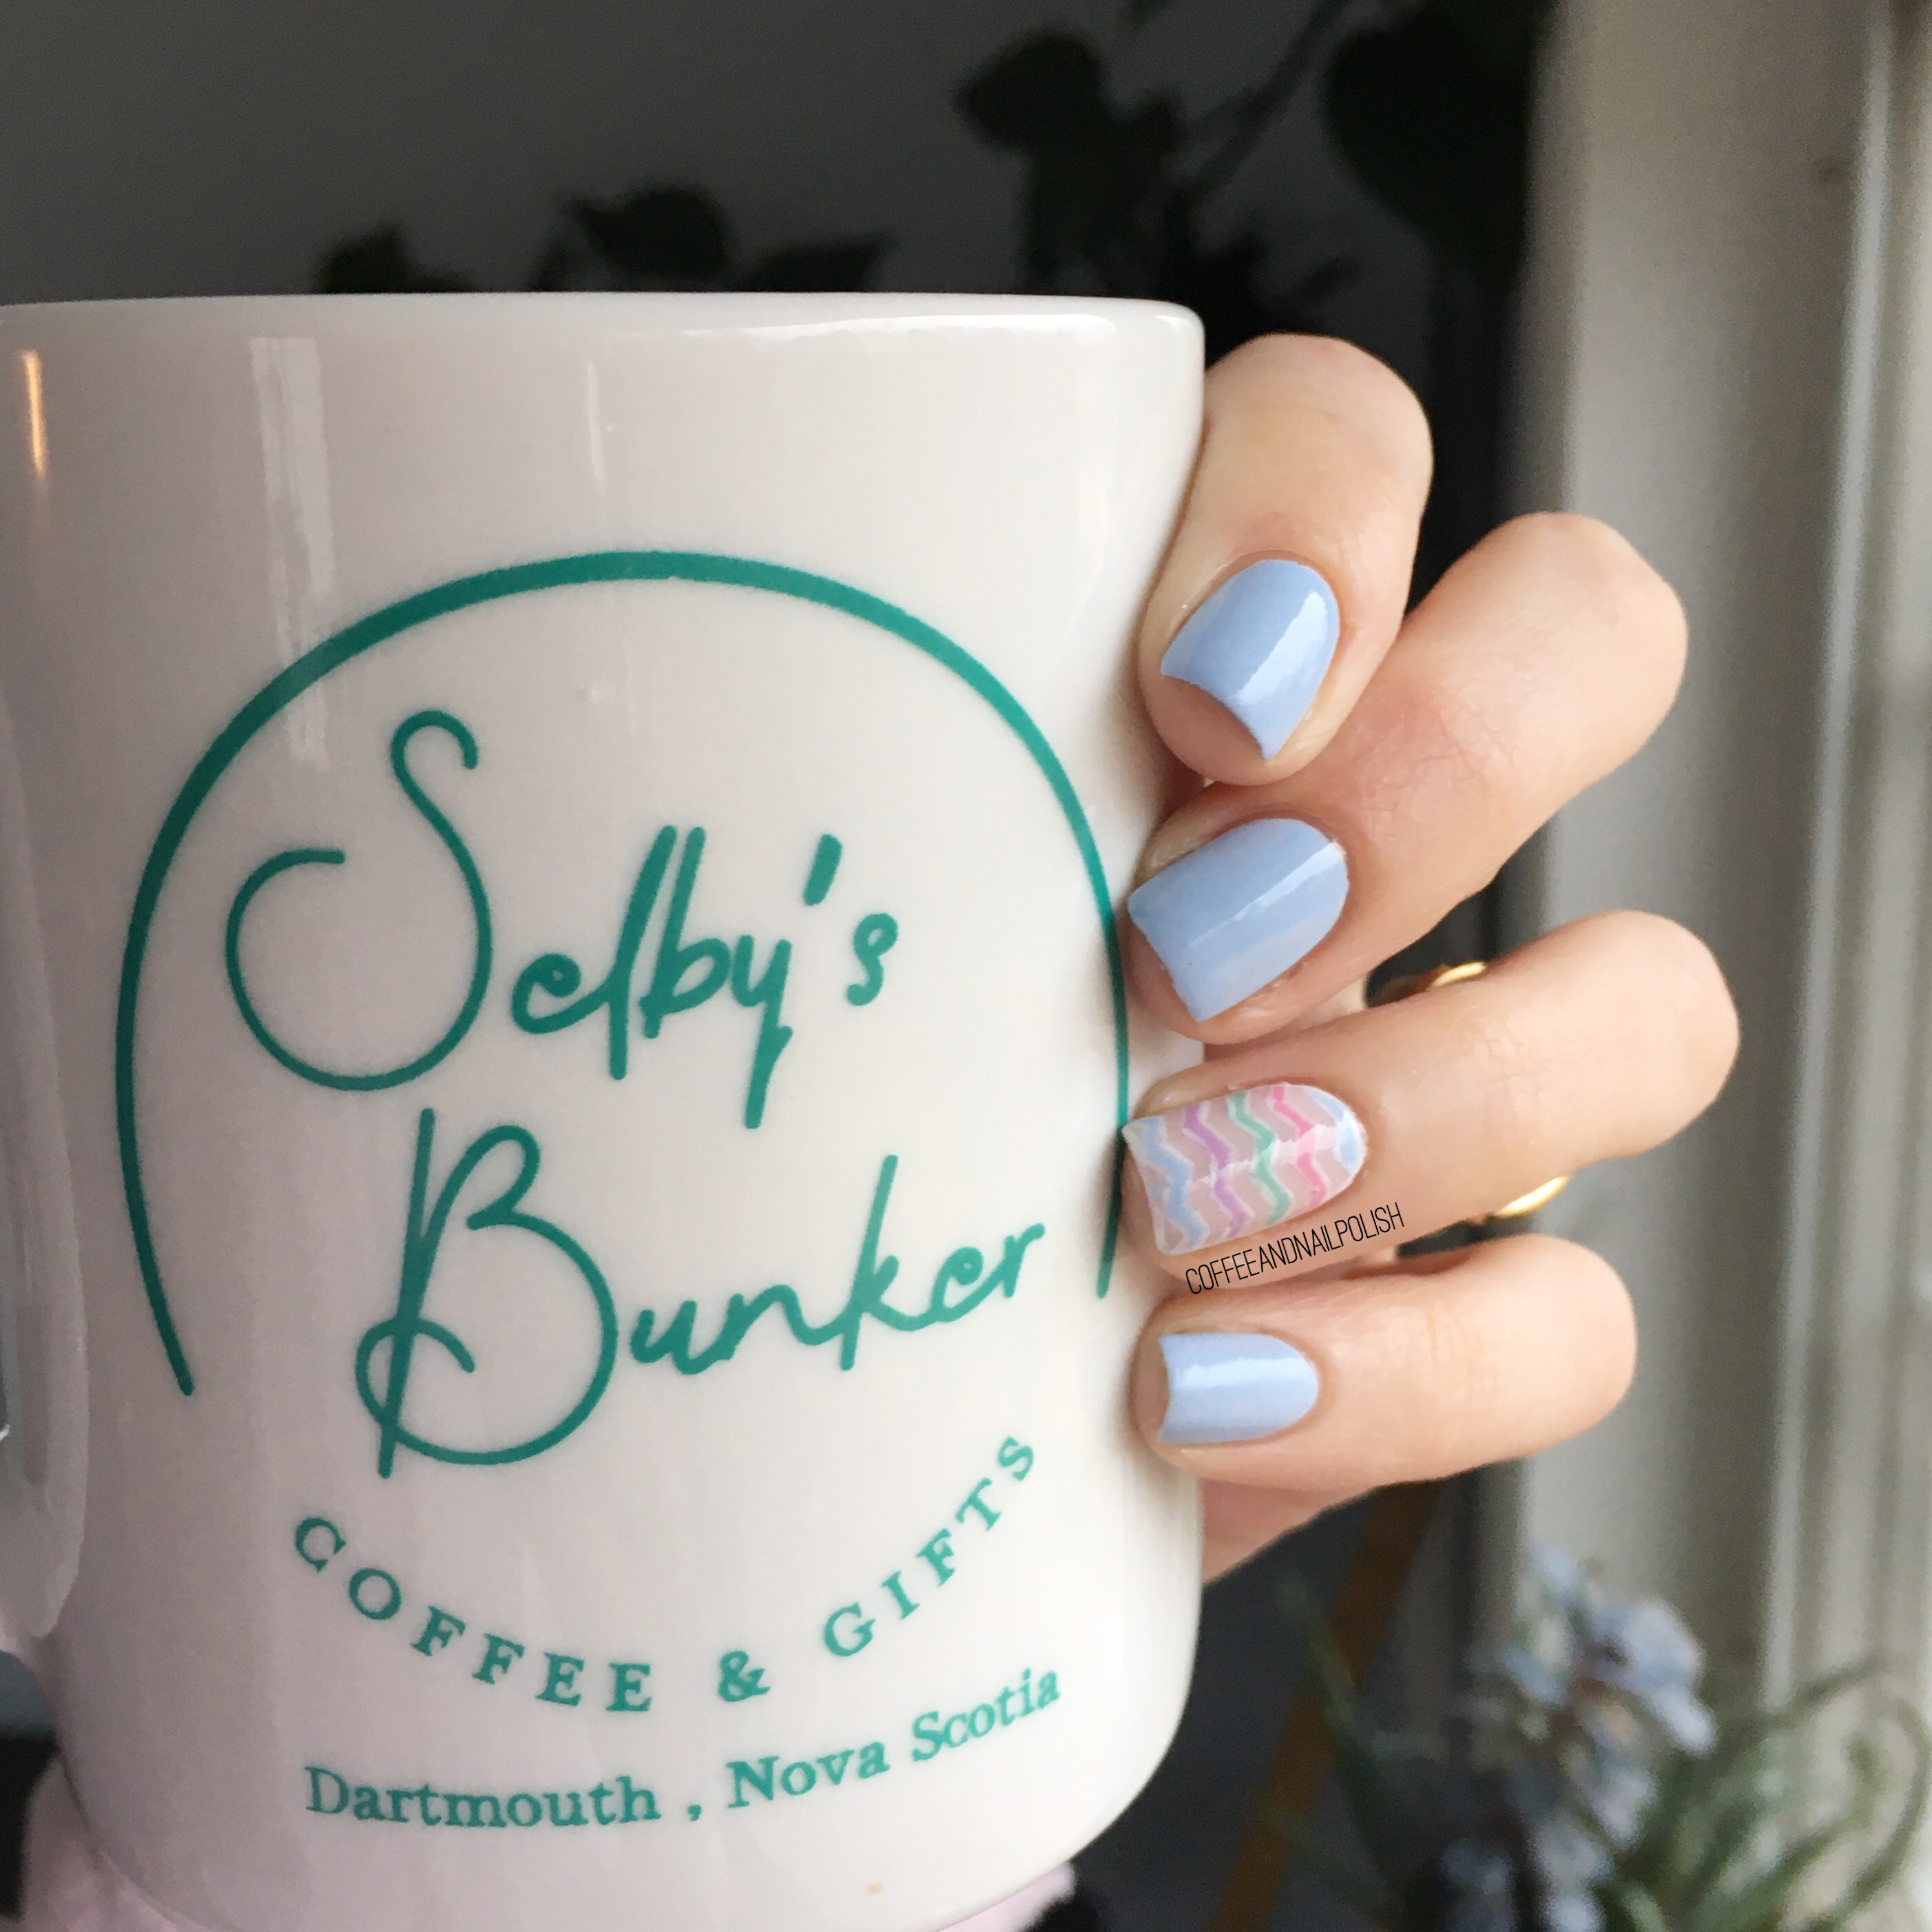
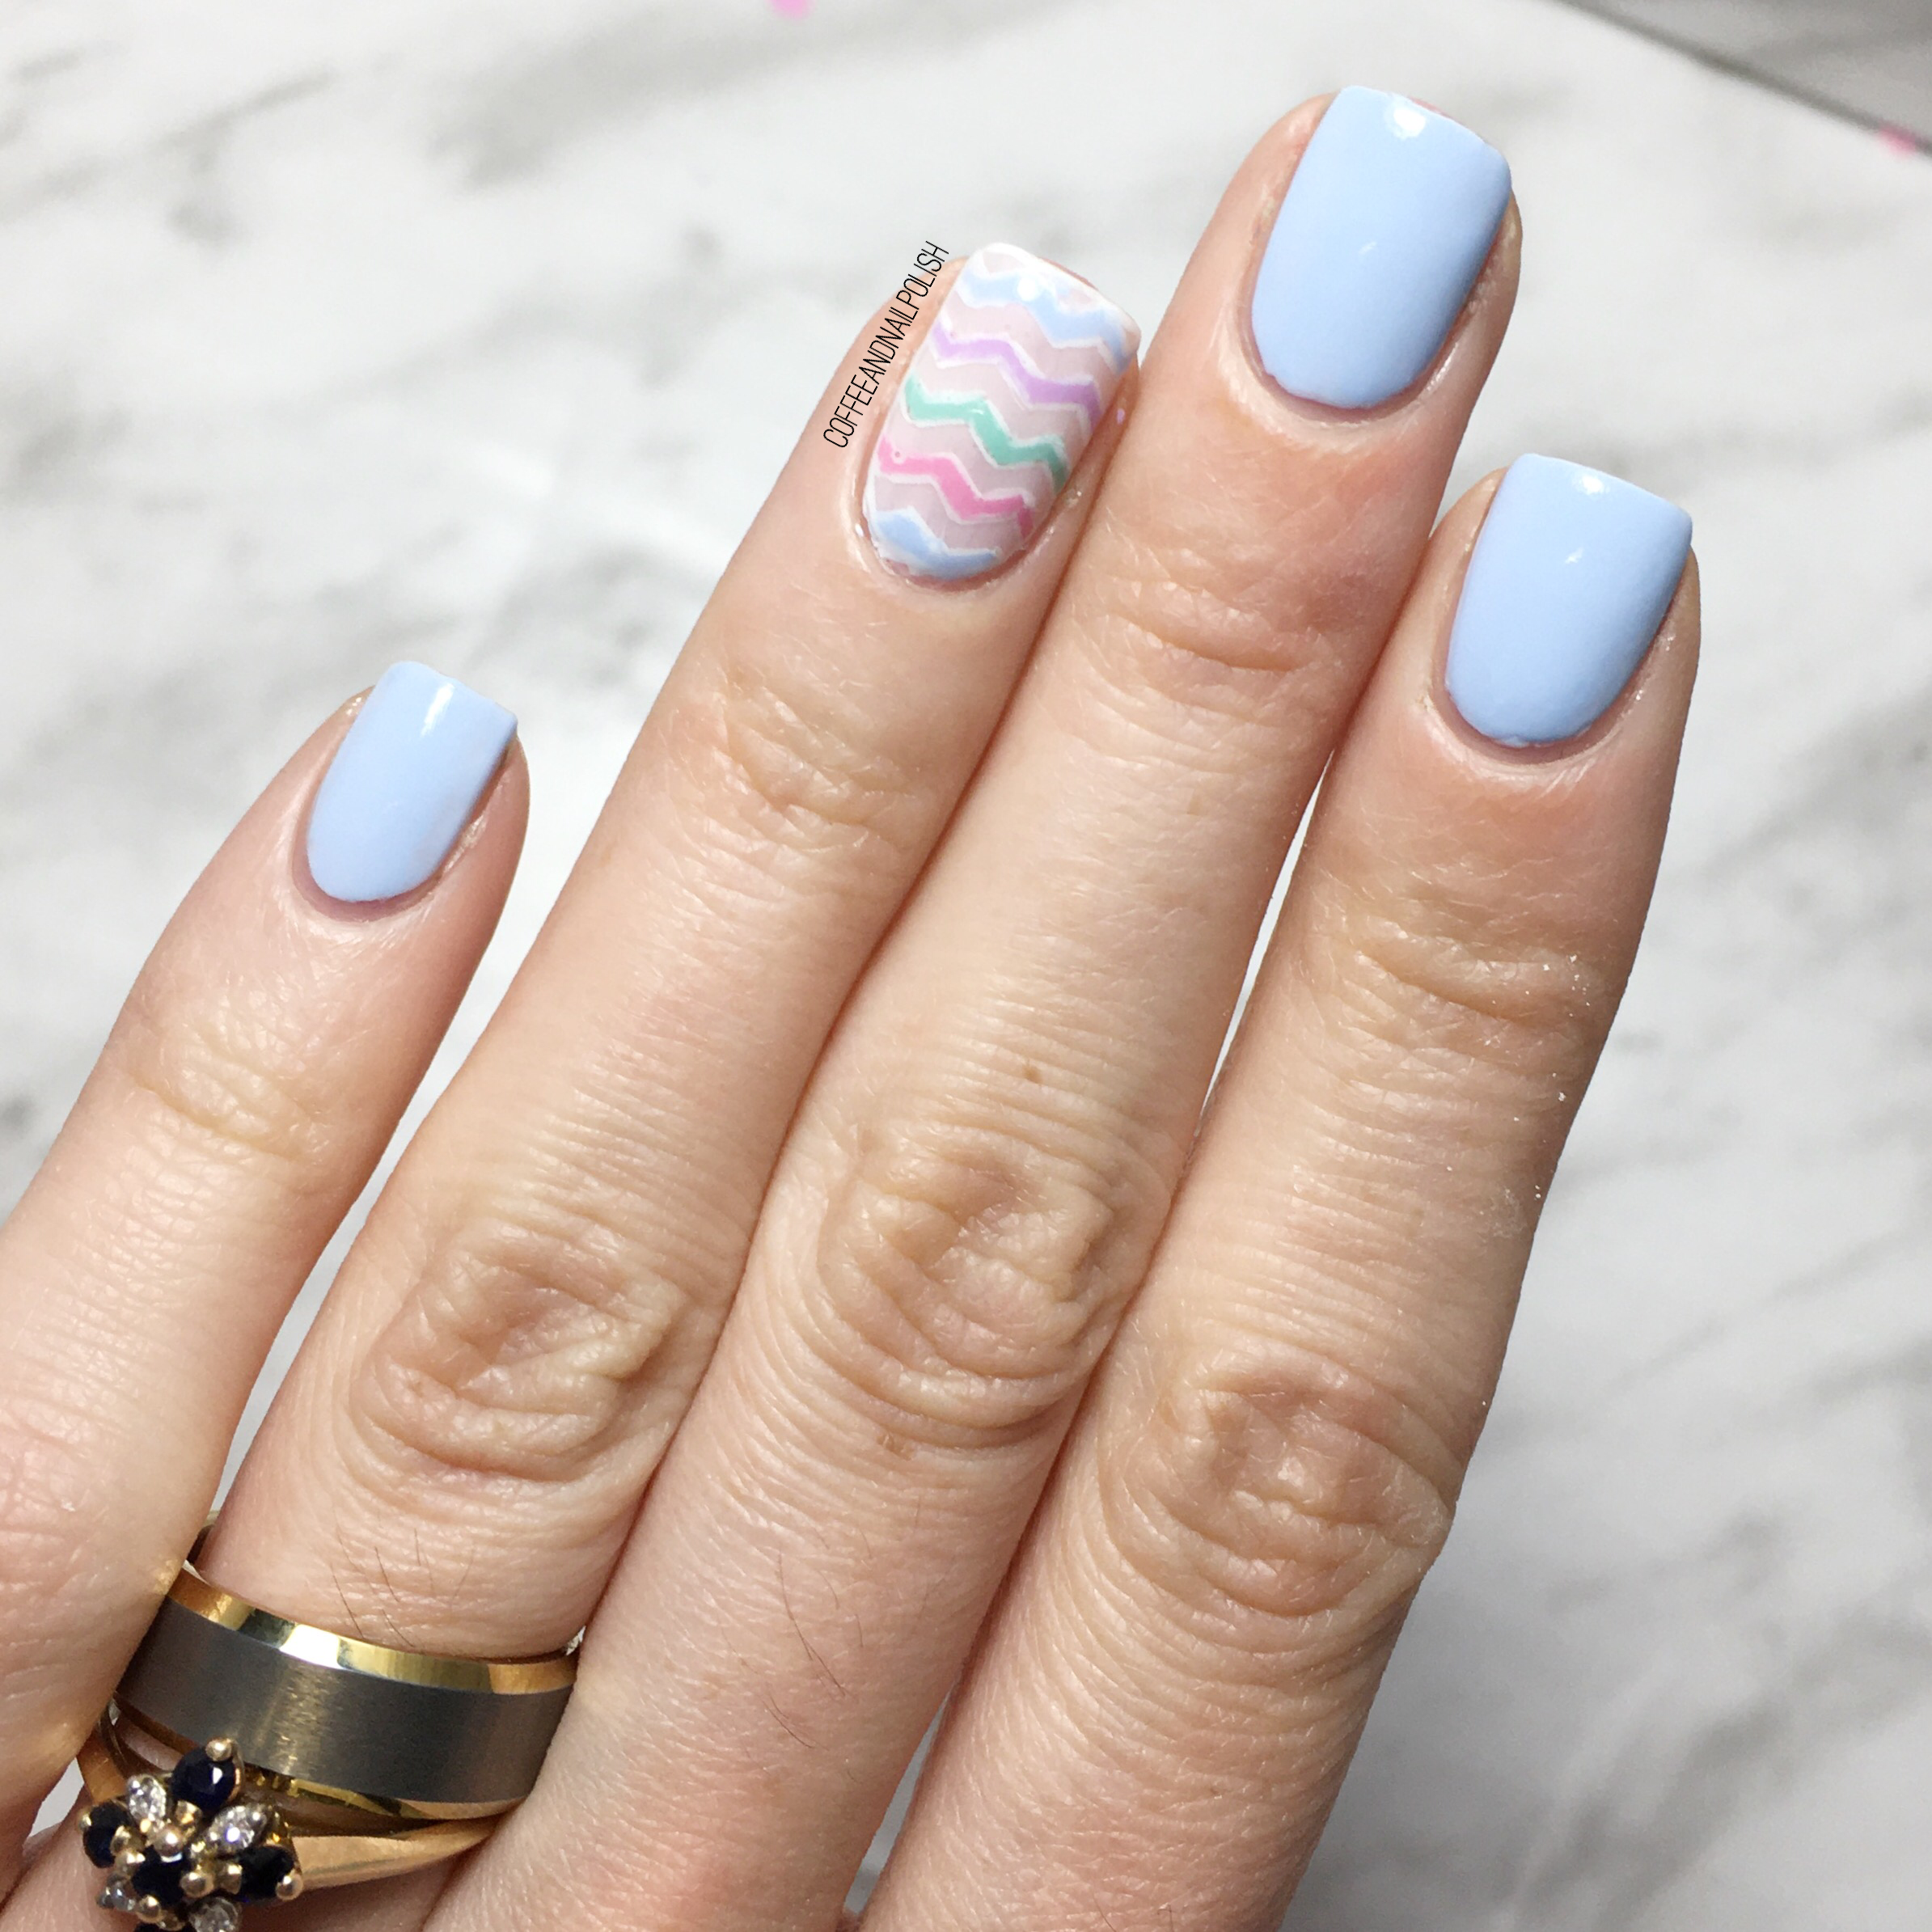
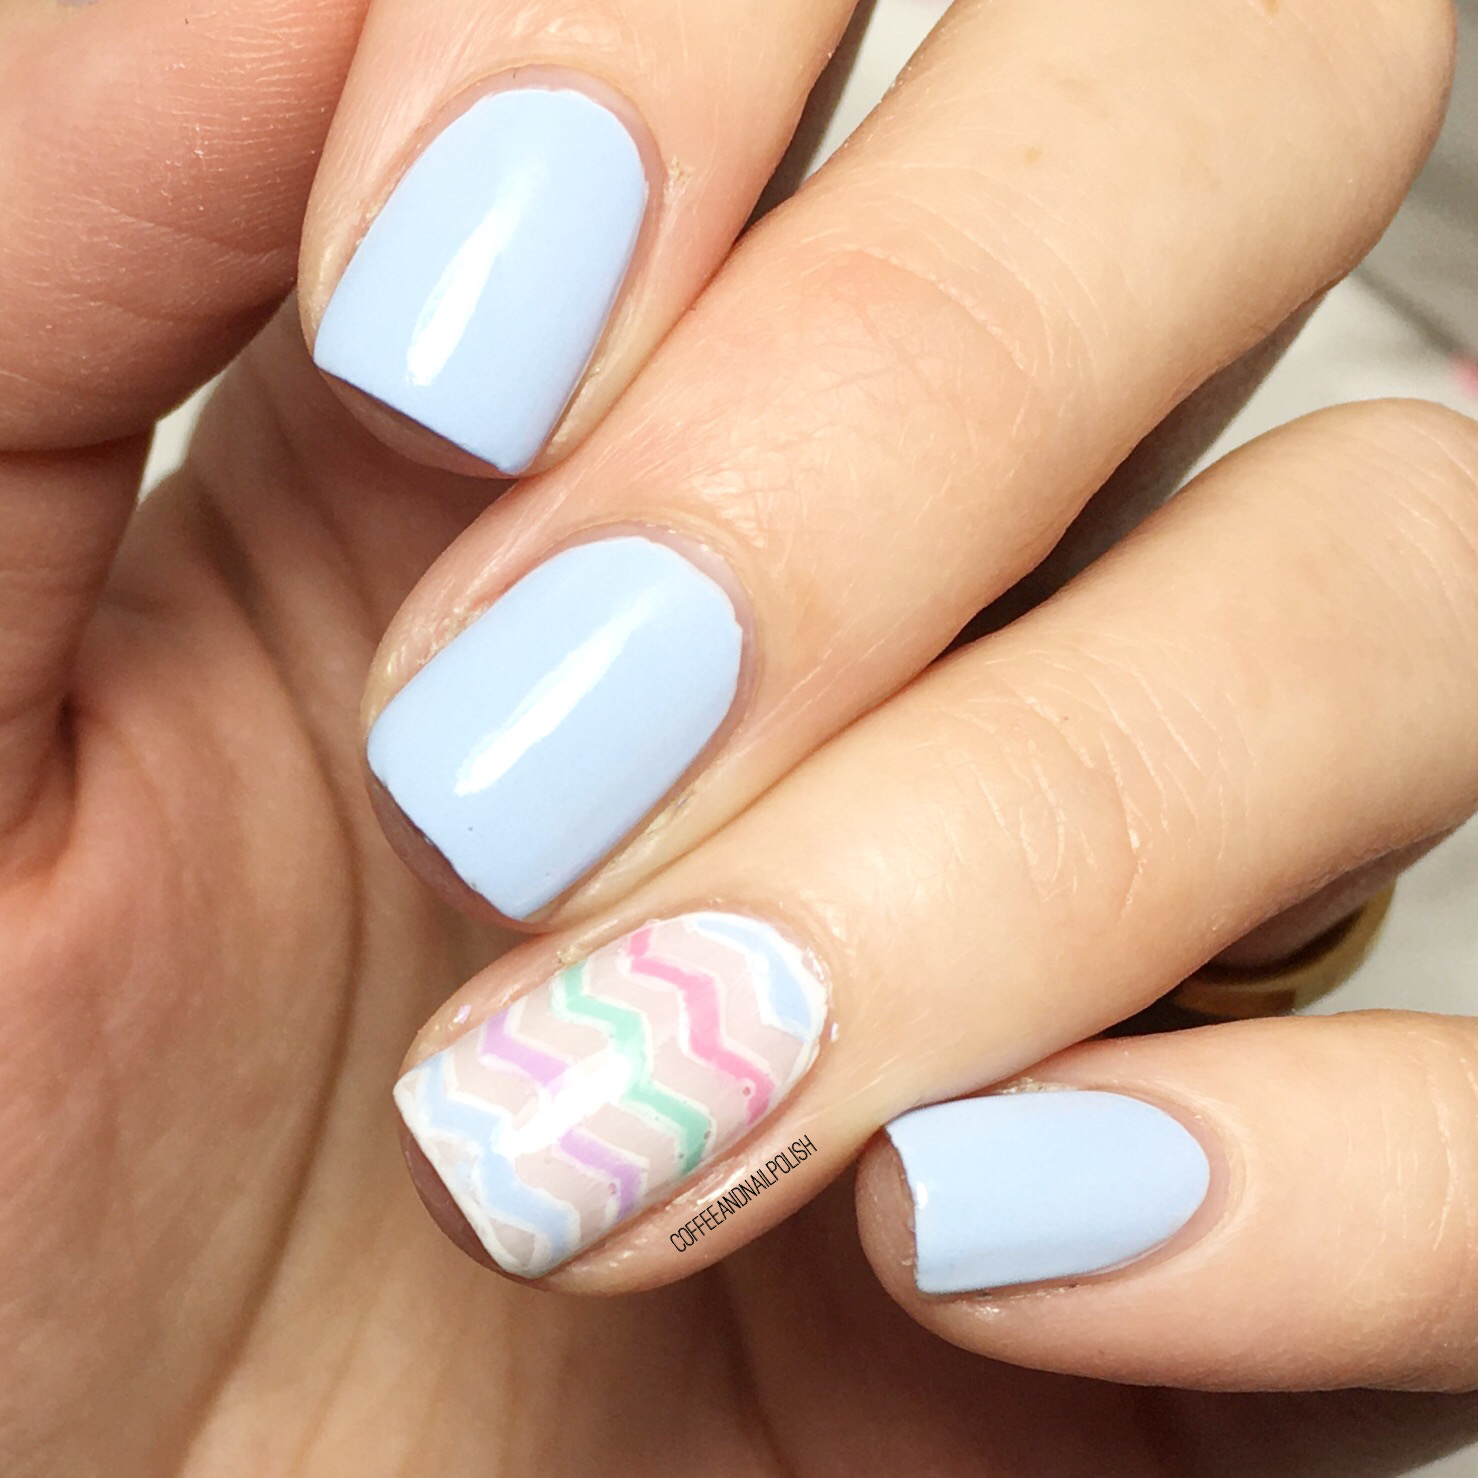
Today I gave an Easter inspired design to share with you. I wanted a look that would be perfect for Easter celebrations, but could also be worn just to celebrate Spring!

  • Base Coat: Sally Hansen Good Kind Pure Hardener
  • Top Coat: Essie Speed Setter
  • Claire’s matte Sorbet Blue
  • Claire’s matte Sorbet Mint
  • Claire’s matte Sorbet Purple
  • Claire’s matte Sorbet Pink
  • Essie Ballet Slippers
  • Sally Hansen Miracle Gel Get Mod
  • NailStuff.ca 4mm Micro Detail Brush (COFFEE10 saves you 10%!)
  • NailStuff.ca Dotting Tool Trio
  • TheBaseCoat Chevron/ZigZag (regular) Stencils

I really, really wanted to do something Easter-y on my nails, without going your typical bunny ears/Easter egg design. I started off on my ring finger by applying 2 coats of Ballet Slippers & my Essie Gel Setter to dry. Then I took my nail vinyls, & applied them to my ringer finger. Using a dotting tool, I started from the bottom of my nail, I worked quickly applied the alternating colours. All my shades were matte, which dry quickly, so I actually pulled off the vinyl one I had filled a section. Next up, I decided outlining would bring the look together, so I went through with my tiniest brush, & outlined all my chevrons with my white polish, as well as the outside of my nail.

& I feel like the end result looks so cool, & dainty, & just Easter-y enough. Like a “grown up” Easter egg design.

Seriously, I’m obsessed. It’s been a while since I pulled out the zig zag chevron nail vinyls, & oh man have I missed them! I guess one thing I can thank this whole situation for, is that I’m really putting more effort into my nail art, & love rediscovering all these old tools of mine. It’s a fun way to distract myself from all the craziness happening outside of the house — or from the fact that I really miss my extended family. Hopefully the world returns to some form of normalcy again, so we can all get together & celebrate all the events we’re missing out on.

Do you have a special manicure planned for your Easter? What is your favourite Easter candy? Let me know down in the comments below! (Mine are Peeps by the way, I know… I’m strange but I LOVE them!)
 

Subtle Vertical Stripes

37B77646-2A11-4CA7-B412-8D3CF7AE185C

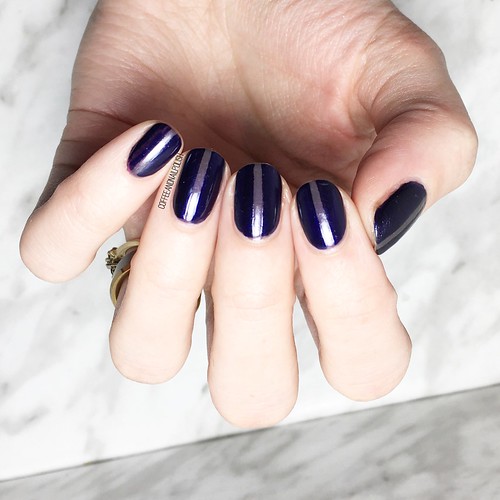
Hello lovelies & happy Thursday! We’re back into our nail art routine & I have another fun look to share. Two things I’ve been trying to do this year: wear more of my polishes from deep in my stash, & bring my manicures back to the beginnings. Sometimes it’s fun just to go a little more simple. I’ve been seeing a few looks of simple vertical stripes — @xglitzandpolishx & @apolishedcolleen recently did beautiful versions that I’m obsessed with.

So I decided to do my own version!

228B2628-AD28-4B46-893E-F10AA04FE8F1

For this manicure, the polishes I used were:

  • Base Coat: Essie Treat Love & Color Gloss Fit (clear)
  • Base Coat: OPI Nail Envy
  • Top Coat: Sally Hansen Miracle Gel Top Coat
  • China Glaze Jungle Queen
  • China Glaze Up All Night
  • Straight Nail Vinyls

.

7A15D9C3-6E5F-47C7-B69B-C4C8D9E46851

For this look, I decided on two shades that would compliment each other really well, but was kind of a subtle look. First I grabbed Jungle Queen because it’s a gorgeous shade which I don’t wear nearly enough & the grey-ness of it is something I love in the depth of January. It is a bit of a darker shade, so I needed to find something dark that it would still pop against. China Glaze Up All Night has been in my stash for a long time (since before baby #1) but I haven’t worn it… ever. That’s kind of crazy because it’s SUCH a pretty shade.

EFCC5BE0-CBB2-453C-8A26-AA48D6131CFB

I think my only regret with this look is a wish I had gone with skinnier nail vinyls/striping tape. But I think these single stripe nails are so chic, & they end up making your nails look SO long. Such a fun look to wear, & there are so many different ways to wear it & so many different colour combinations.

BEFA91D5-2CAA-40BF-94A0-32E324F79D52

Have you done this single stripe design yet? What do you think about this subtle version of this look? Hope over to Instagram (since my blog comments don’t seem to want to work), & let me know what you think & what colour combinations you would rock.