Good Morning Lovelies! & happy Monday.
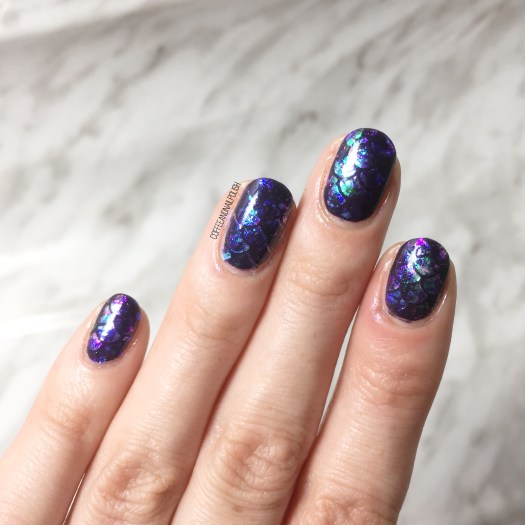
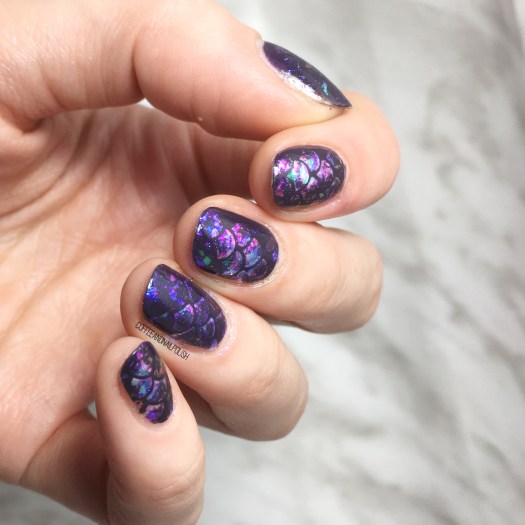
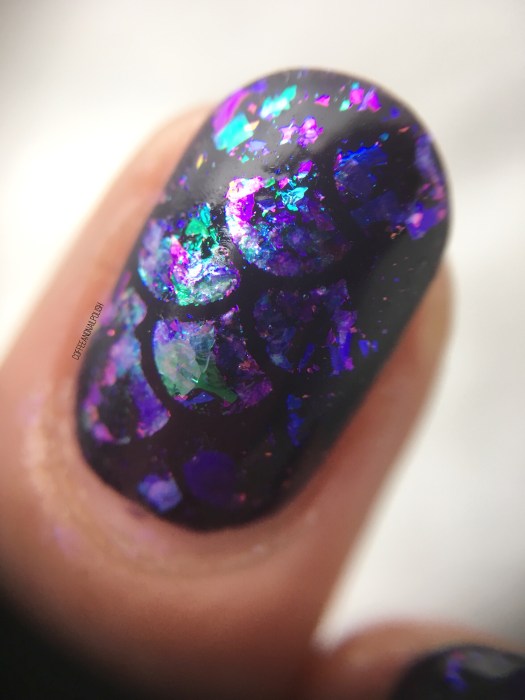
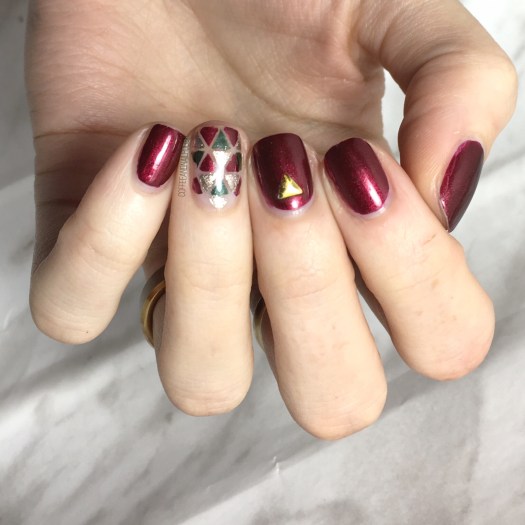
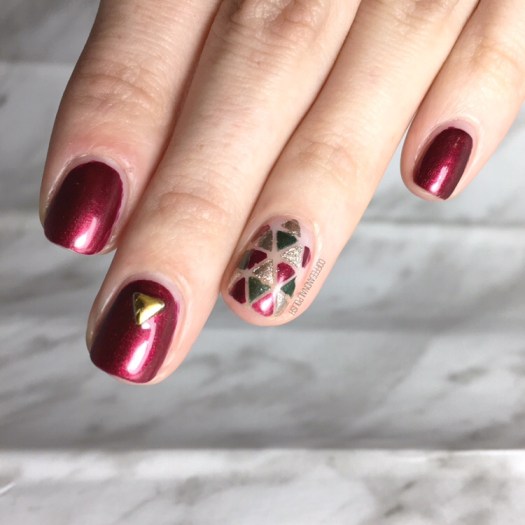
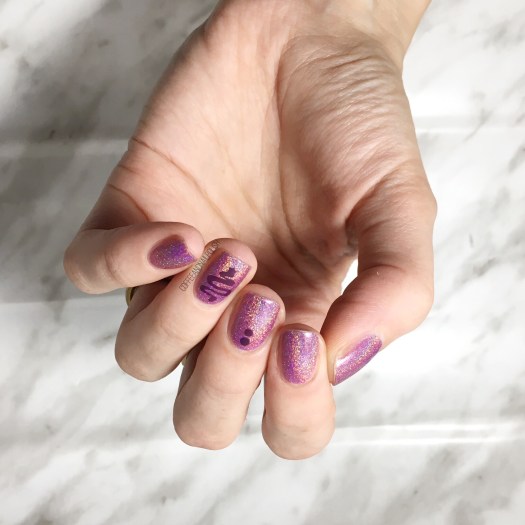
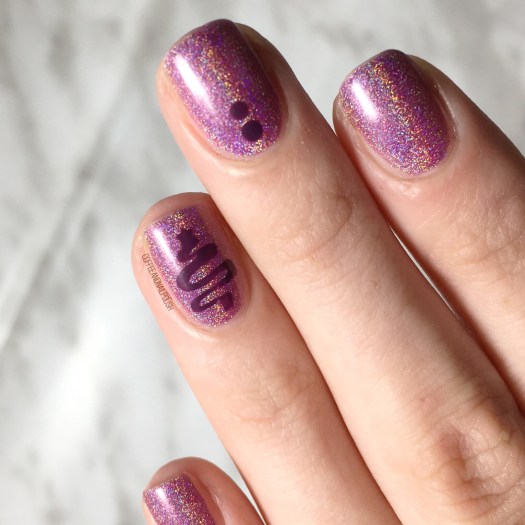
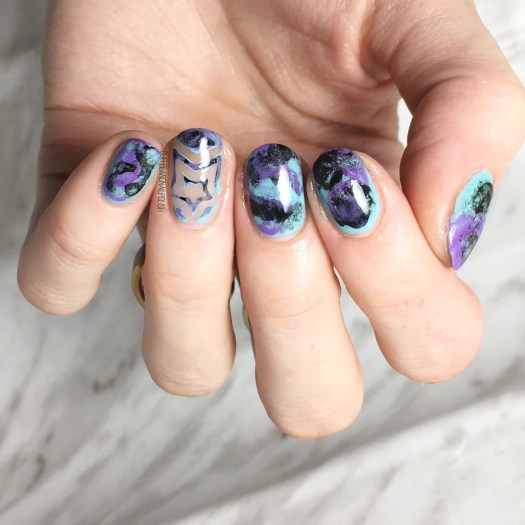
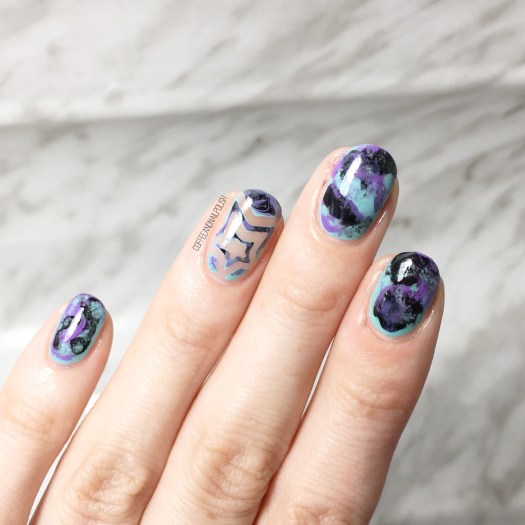
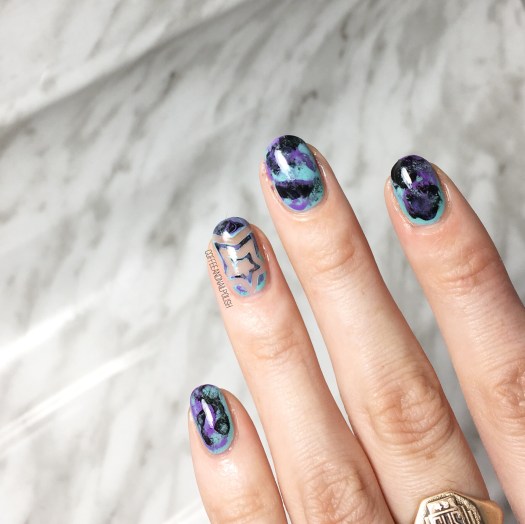
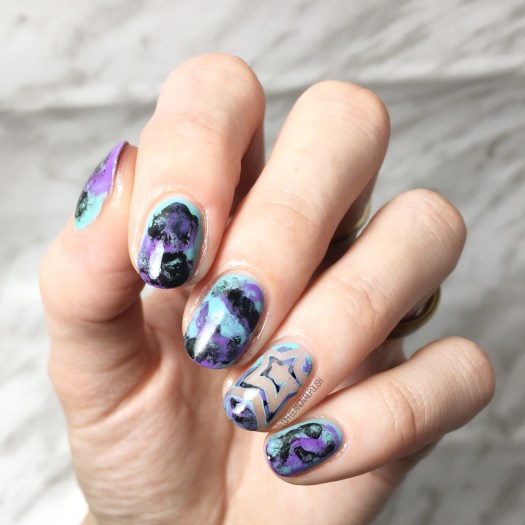
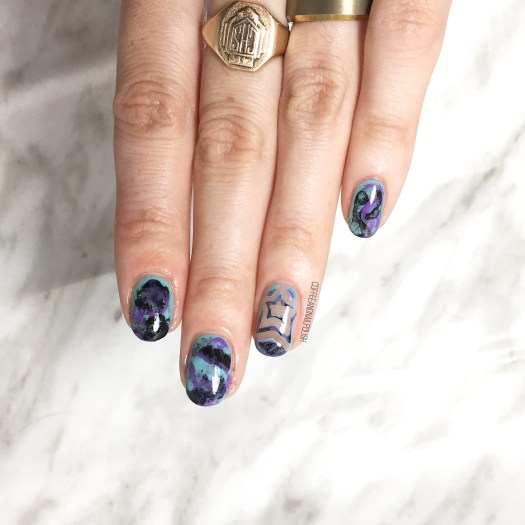
Today I have a have nail art design to share with you. I’ve written before how I love playing around with different techniques, & lately I’ve been really into marbled nails & the many ways to create them. For today’s design, I created a marble design using polish & acetone–a technique that I’ve shown off before.
For this manicure, the polishes I used were:
- Base Coat: Nailtek 2
- Top Coat: Seche Vive
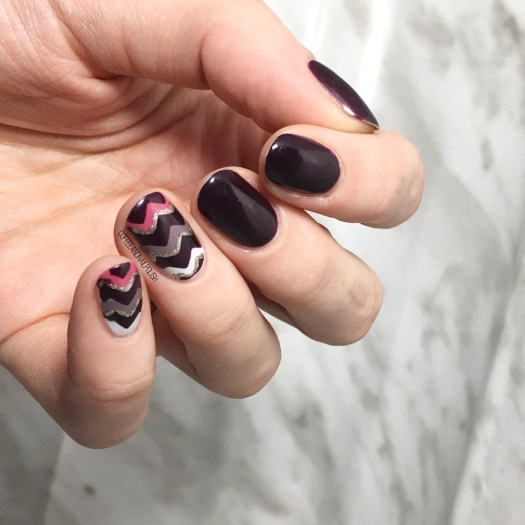
- China Glaze For Audrey
- Quo by ORLY Feeling Free
- Sally Hansen Hard As Nails Black Heart
- Xroma Polish & Vinyls Spiral Star
- Acetone
- Q-tip
Obviously the easiest way to show you how to create this design was with a tutorial, so check out below!

I just really, really love this colour combination. There is something about turquoise & purple that goes so well together. Also why don’t I grab China Glaze For Audrey more often? It was my very first ever China Glaze shade, & now I remember why I fell in love with it. Just so pretty!

So what do you think of this marble design? Let me know your thoughts in the comments below!