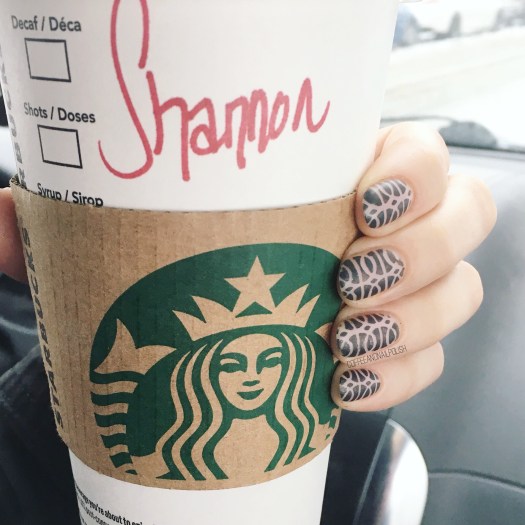
Good morning lovelies! It’s currently 6:33am as I write this & I’m sitting here waiting for my bright & early flight to Ottawa–my first time on an airplane in 9 years & my first time being away from the little guy. I figured I would distract myself from reality by posting! I have quite a few manis saved up that I haven’t posted yet, so even though I won’t be doing my nails this week I’ll still have lots of content to share.
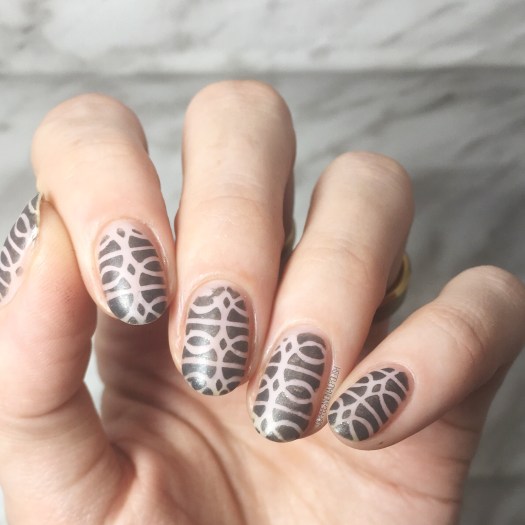
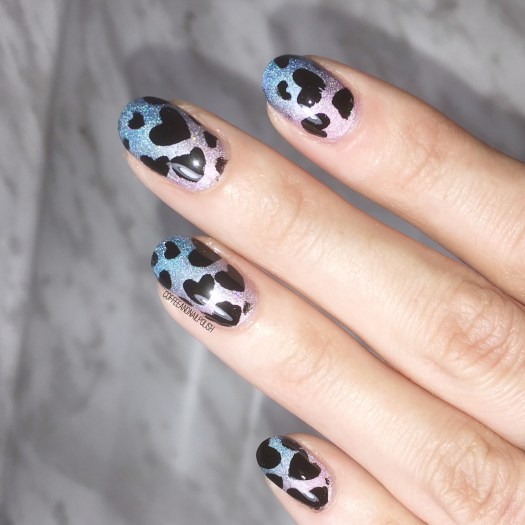
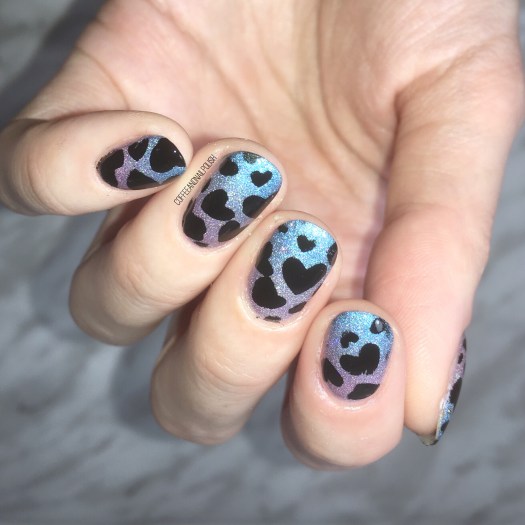
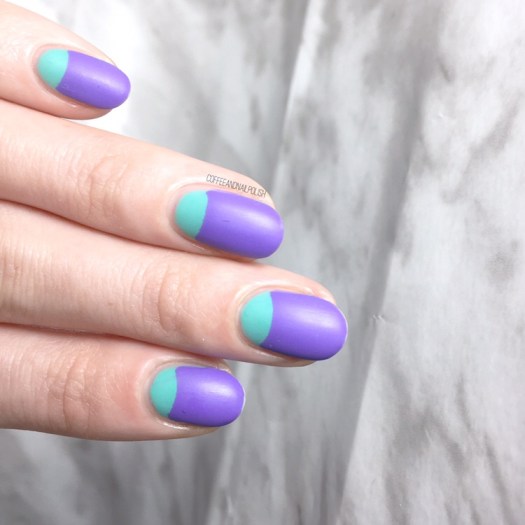
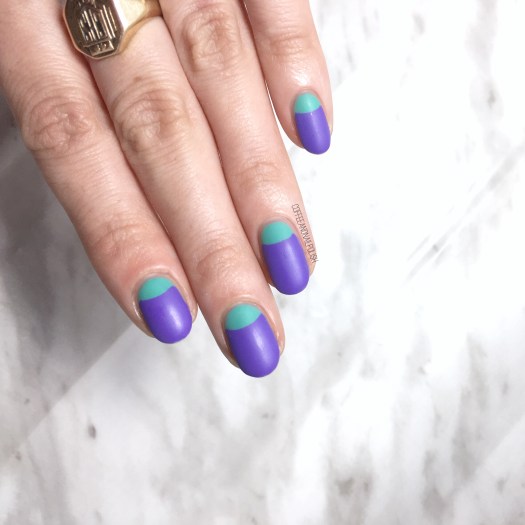
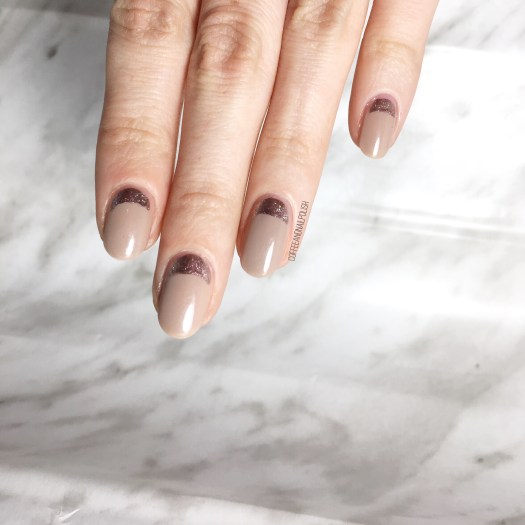
Today’s design is a design that I’ll be thinking about in my head for a while. I did them when I started out my job search & was trying to come up with interview/office appropriate designs. Sometimes you just want a little more than plain nude nails, but don’t want to push it too far.
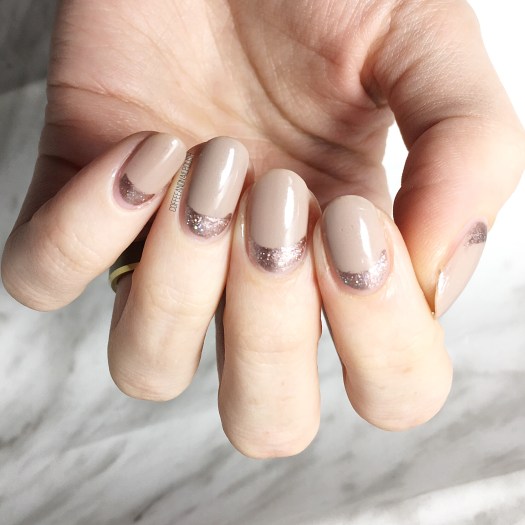
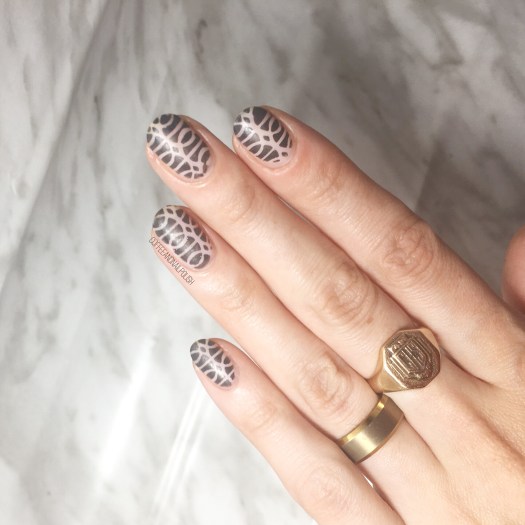
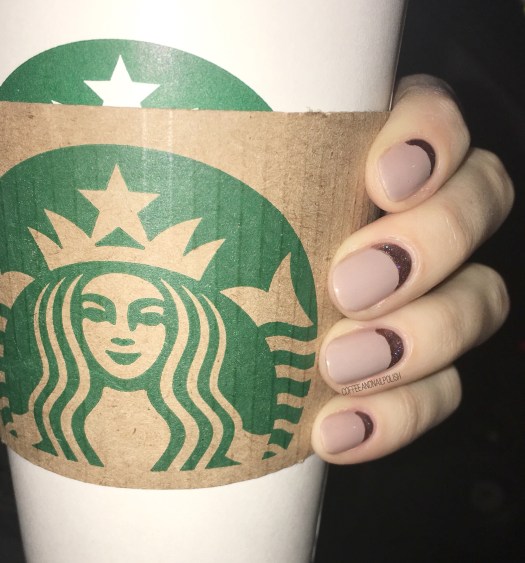
For this manicure, the polishes I used were:
- Base Coat: Quo by ORLY Breathable Kiss Me, I’m Kind
- Top Coat: Seche Vive
- Essie Topless & Barefoot
- L’Oréal Feeling Kilty
- Quo By ORLY Fallen Star
- Paper Hole reinforcements

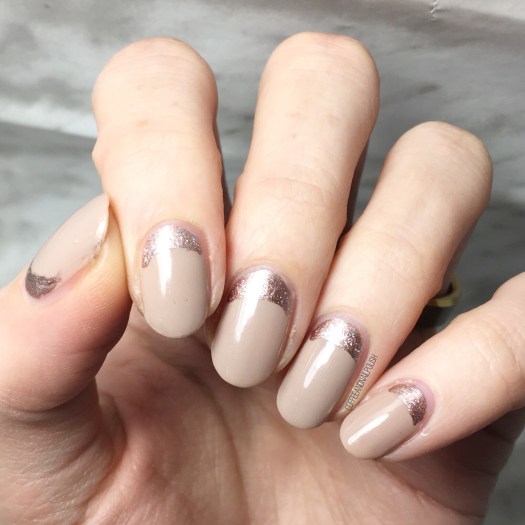
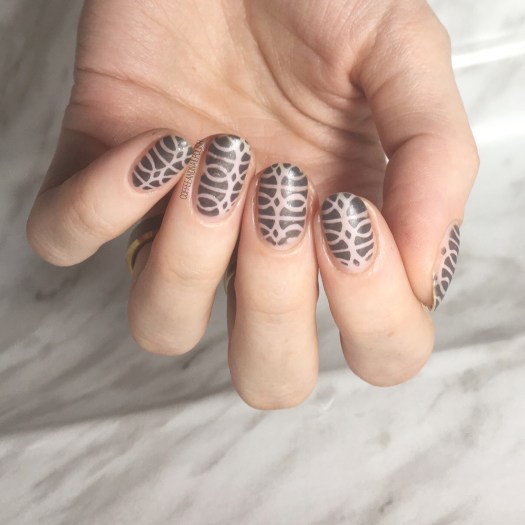
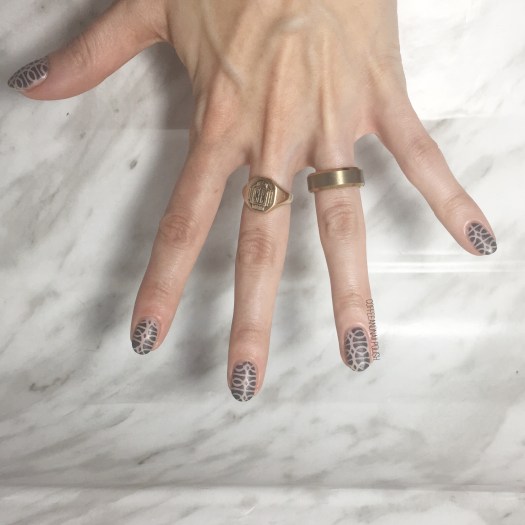
Oh man, I love ruffian designs but sometimes they can be tricky to get right. Using the paper hole reinforcements means you can create the look with barely any trouble. This was the first time I’ve tried it this way, & I’ll definitely be “cheating” & using them from now on. Just like my favourite half moons, it’s just so much easier. & I like easy.

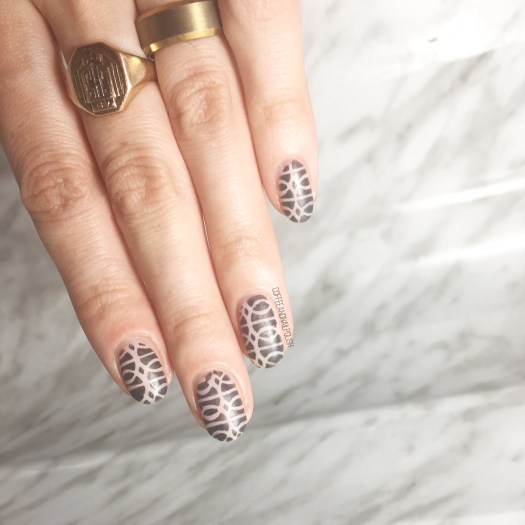
What do you think of this design? Have you tried this technique for creating ruffian designs? Do you find freehand or nail vinyls/guides easier? share your thoughts in the comments below!
Now I’m off to Ottawa, so I will see you later! Have a great Monday!