Halloween Nail Art Stickers 🕸️👻

Hello lovelies & happy Wednesday!

It is absolutely freezing today, which is crazy because I feel like this time last year it wasn’t nearly as cold. At this rate, we’ll be wearing our winter coats for Trick or Treating on Saturday (just like when I was a kid).

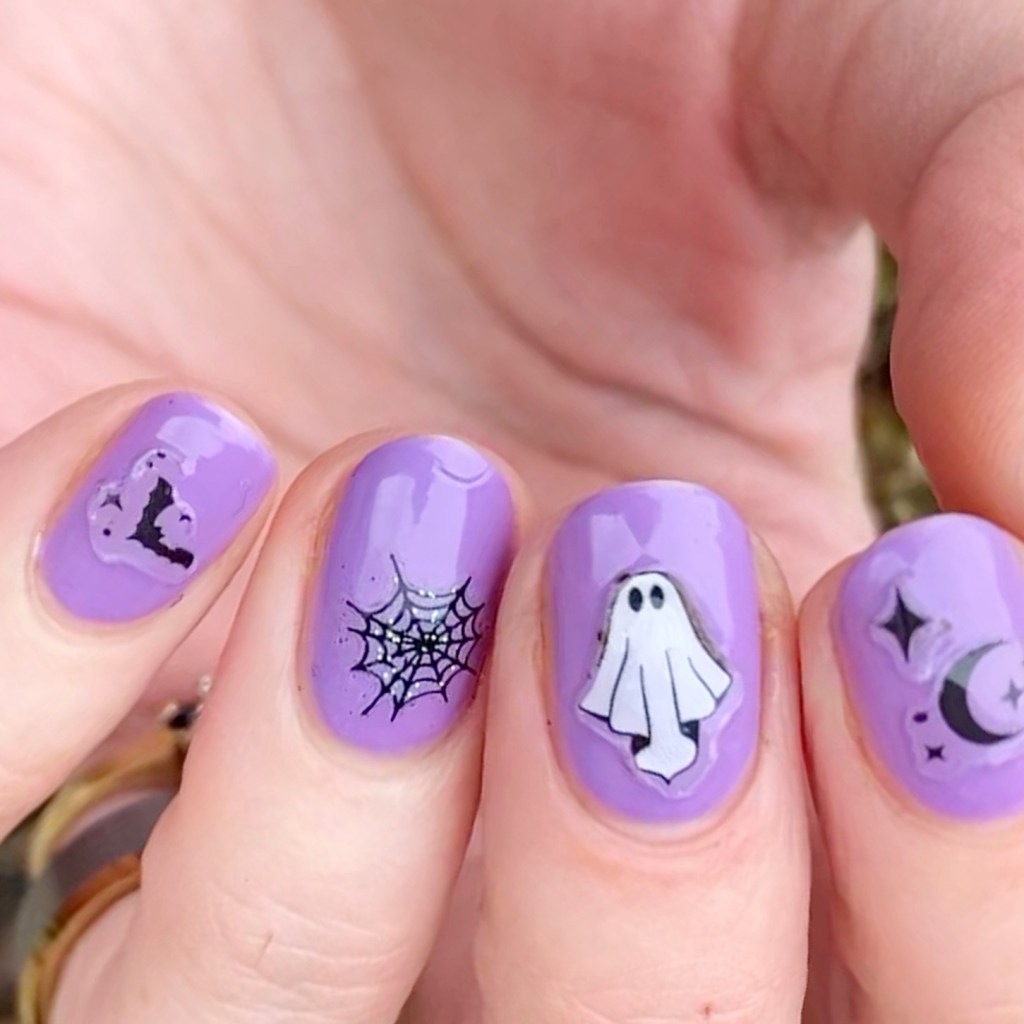
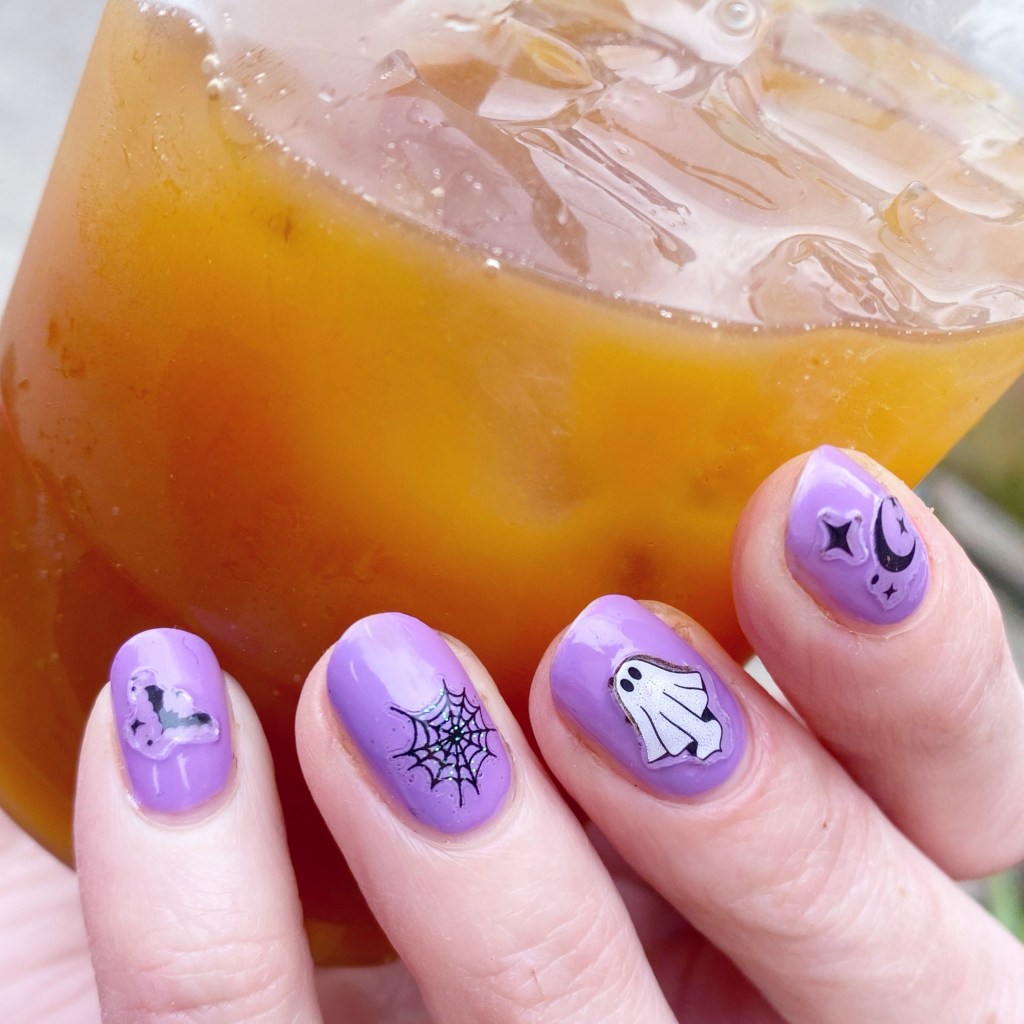
Today though, I have some quick & easy Halloween nails I recently did, using a selection of nail art stickers from Wet N Wild’s Halloween release. We all know my love of nail art stickers for easy manicures, so I was excited when I stumbled across their new release.
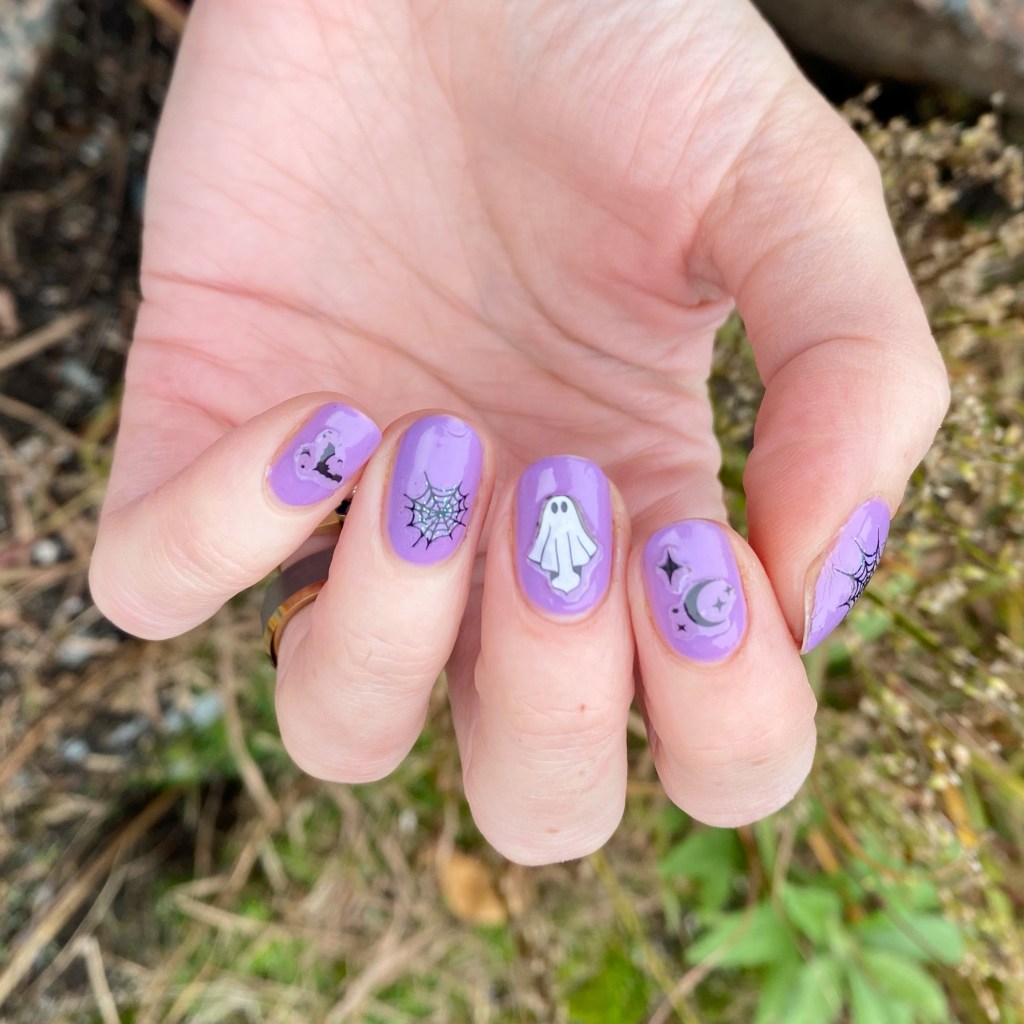
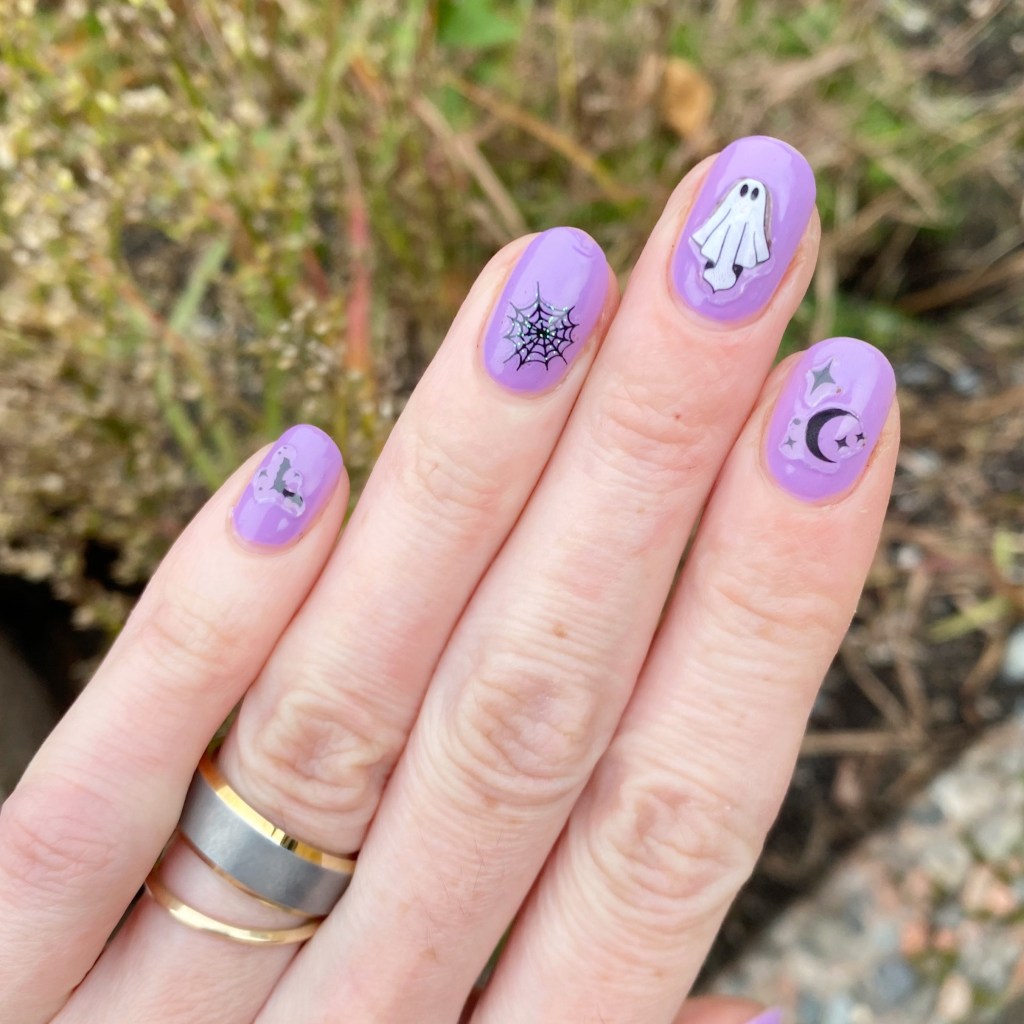
The polishes I used for this manicure are:

  • Base Coat: Sally Hansen Maximum Growth Base Coat
  • Top Coat: Sinful Colors Power Paint Top Coat + Sally Hansen Insta-Dri Top Coat
  • Essie Worth The Tassel
  • Wet N Wild Fantasy Makers Boo-Niverse Nail Art Stickers
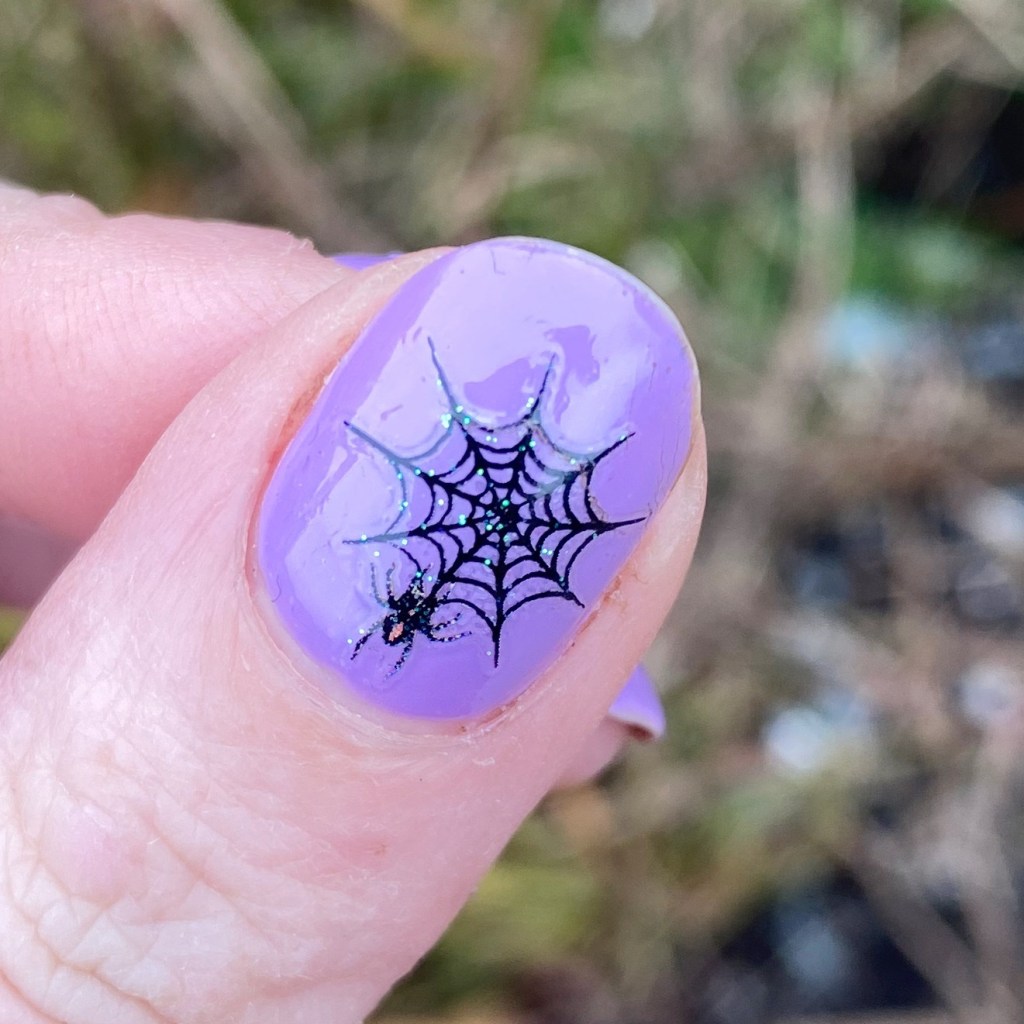
  • Dollarama Spiderweb stickers

I’m always on the hunt for Halloween nail art stickers to add to my collection, so when I saw the Wet N Wild Fantasy Makers stickers at my local Lawtons, I had to get them. Shoppers had the Alien ones, which didn’t feel as Halloween-y to me, so I needed the spooky ghost stickers!

I started with a purple base, because I really wanted my stickers visible on the nail. Then I picked one (or two) sticker for each nail. I decided to add some spiderwebs from my Dollarama collection, because I felt like it matched the vibe.

Over all, I liked these stickers — they held up well against a very busy cafe shift (minus a few coffee grounds under my ghosty). I do find you can kind of see the outline of the stickers, but I feel like an extra coat of thick top coat would help with that.
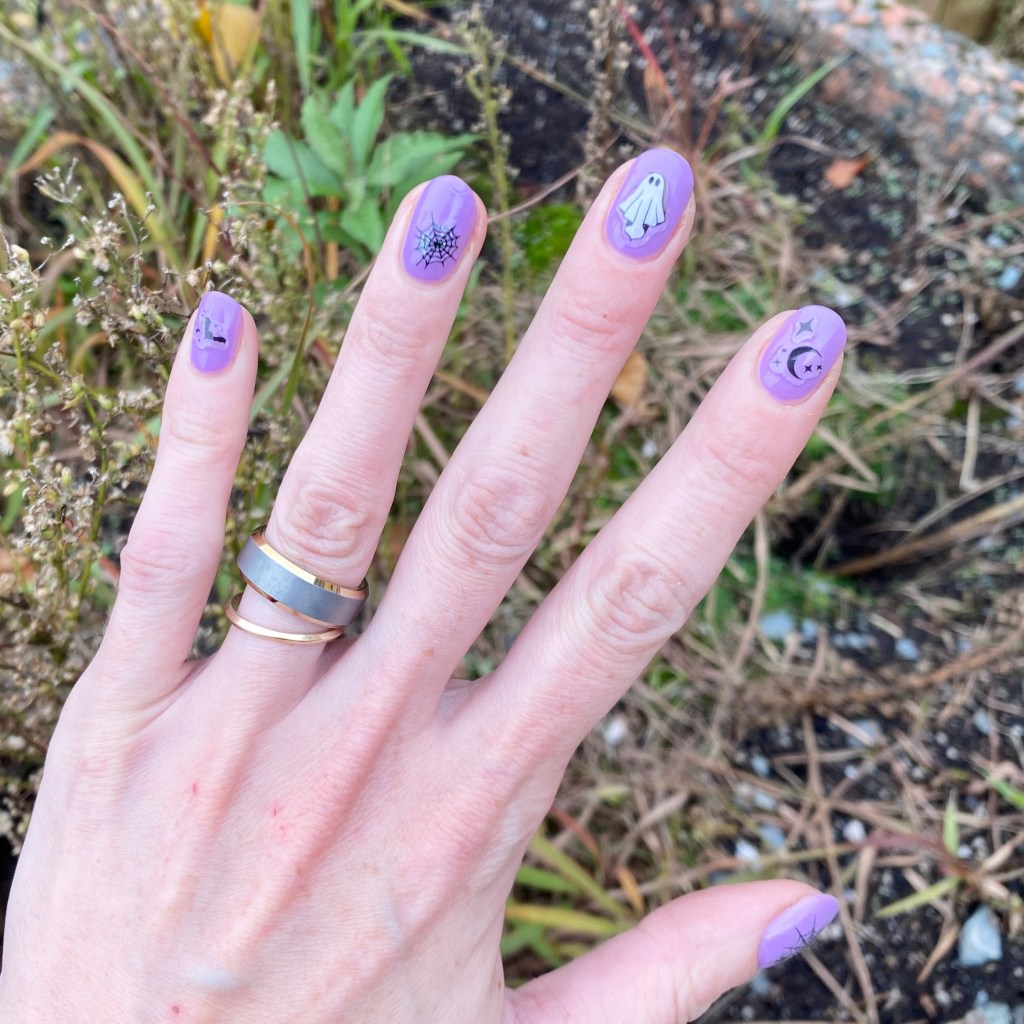
What do you think of this look? Like I said, I love nail art stickers because they make doing my nails quick & easy when I don’t have a lot of time for hand painting, or it creates designs I might not be able to freehand on my own.

Happy Wednesday!
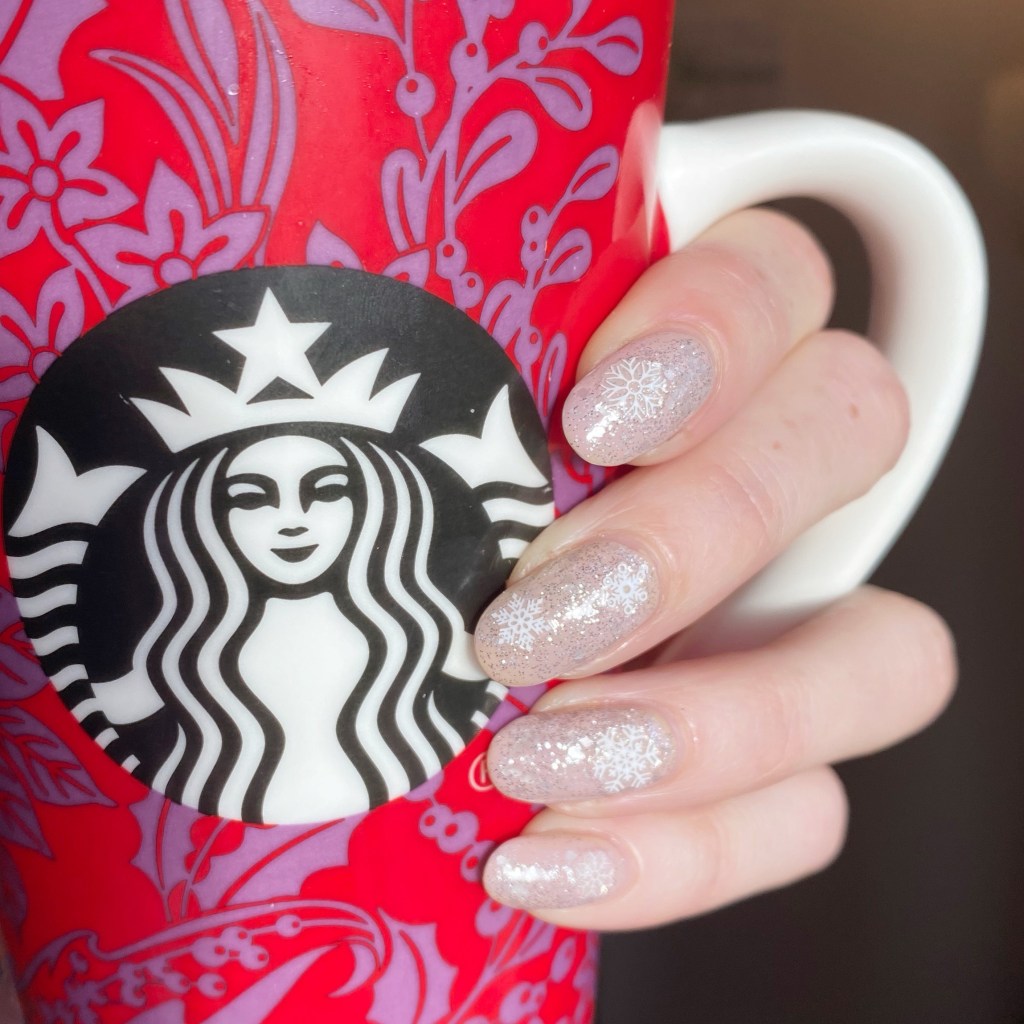
Glittery Snow Globe Inspired Nails ❄️❄️❄️

Hello loves & happy Wednesday! A chilly, icy, windy Wednesday here. Winter is quickly approaching, so I feel like some snowflake nails aren’t completely out of the realm of possibility.

I’m officially going all in on the holiday nails so if you have any requests for fun nails, let me know! I’m always up for creating some fun holiday looks to inspire people.

The polishes I used for this manicure are: 

  • Base Coat: NailStuff Essentials Base Coat *
  • Top Coat: Nail Stuff Essentials Quick Dry Top Coat *
  • Sally Hansen Miracle Gel Living in the Presents
  • OPI Pirouette My Whistle
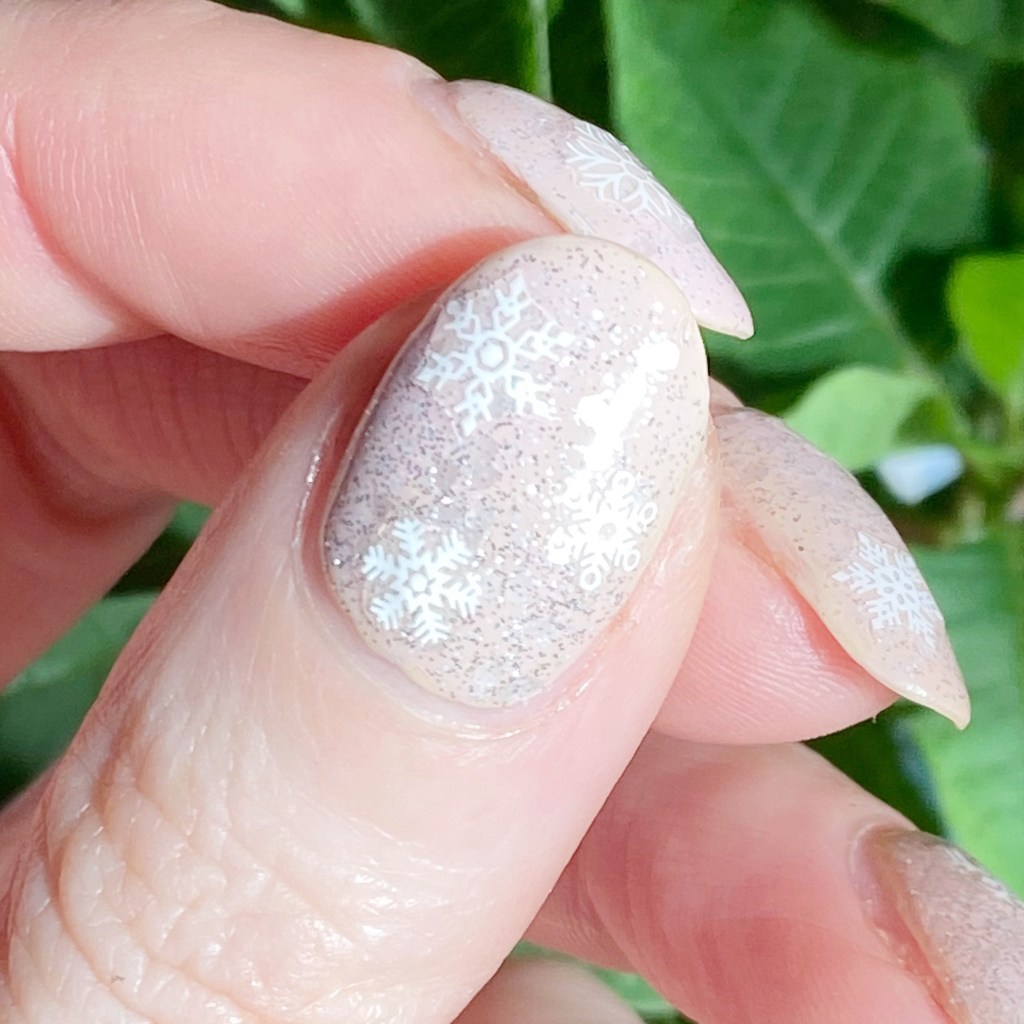
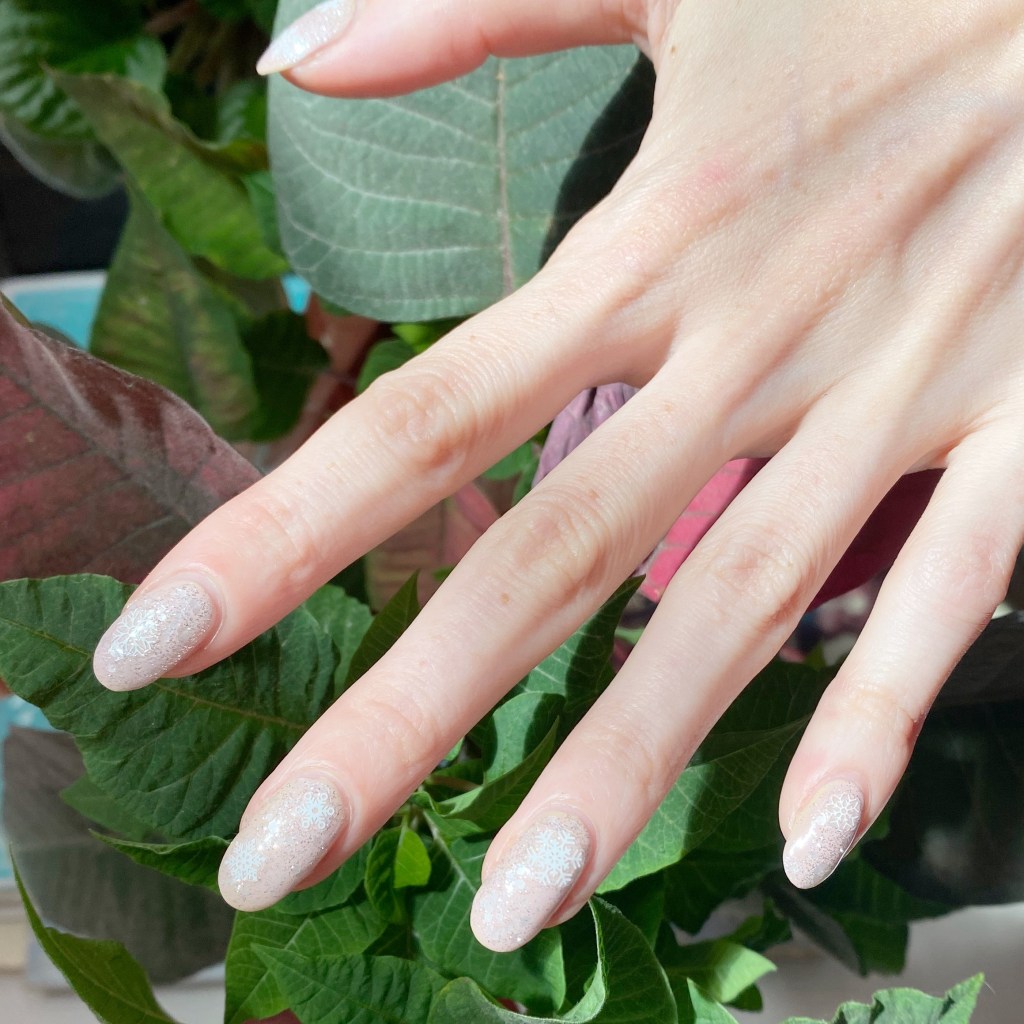
  • NailStuff.ca Snowflake stickers

*PR/Gifted

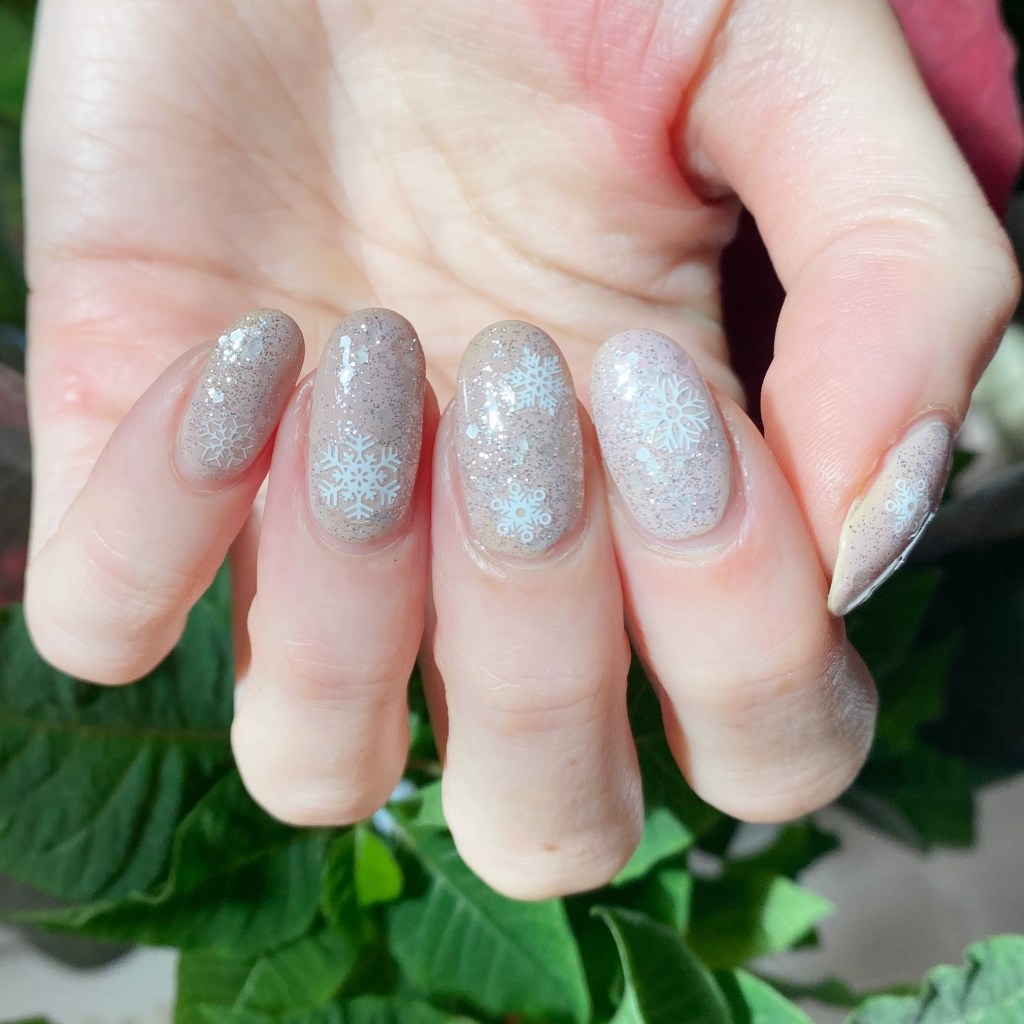
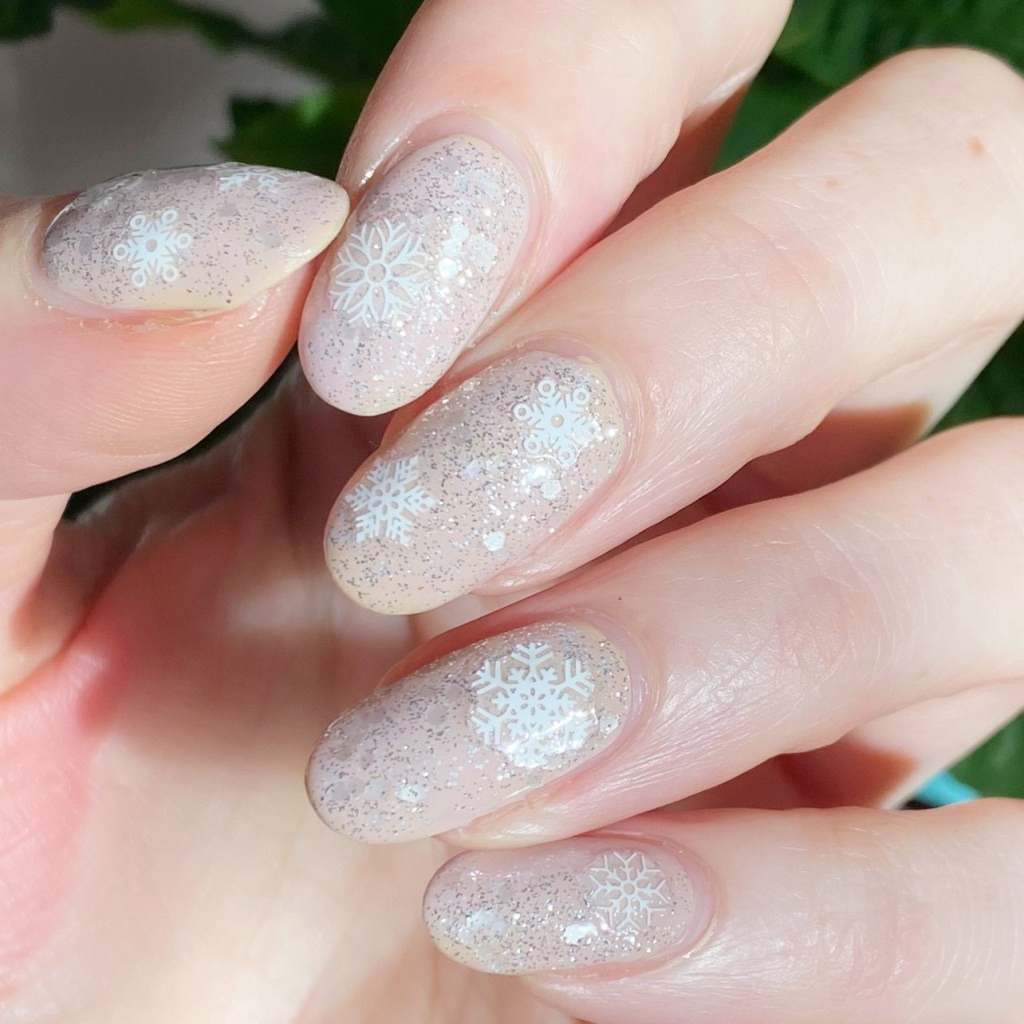
Don’t these just remind you of a snow globe? I love how they turned out. These were so super easy to do, & I love how beautiful they look. Plus the thick glossy top coat from NailStuff Essentials really sealed in the stickers so you don’t have to worry about any edges sticking up.

They just turned out so beautiful, & I love how that the colours are more subdued but then you also get the fun glitter.

What do you think about these glittery snowflake nails? Sadly, this was the last manicure I did with long nails — I had a pretty awful break after I wore them, & am now rocking some serious shorties. But they’ll be fun to do some Holiday nail art looks on my shorties, & also inspire those with shorties as well!

Happy Wednesday!

♥︎

Holo & Snowflakes (featuring some NailStuff.ca goodies)

Features Gifted Product

Hello lovelies & happy Tuesday!

It’s officially a little over a month until Christmas, can you believe it? I feel like I should really start thinking about Christmas shopping soon, but things have been in this weird adjustment period, I really haven’t had a lot of time to think about anything holly or jolly.

I was feeling some nail art the other night, but I was also feeling super tired — I recently started a new job, so after a few weeks off, I’ve been adjusting back into work life. & I’m tired, haha. But I wanted some cute nails, so I decided to grab some of my nail goodies from Nailstuff.ca. I thought some snowflake nails might, just, inspire me to feeling festive.

The polishes I used for this manicure are: 

  • Base Coat: Essie Hard To Resist Glow & Shine 
  • Top Coat: Sally Hansen Insta-Dri Anti-chip Top Coat
  • Dimension Nails Great Blue Heron (c/o: NailStuff.ca)
  • Starrily Eclipse (c/o: NailStuff.ca) (Holographic Top Coat)
  • NailStuff.ca snowflake stickers (not currently available but she does have other cute Christmas stickers right now)

So I definitely applied these stickers when my base shade was still a bit too wet, hence a bit of a 3D effect on some of my nails. But I think these little snowflakes look so cute over the blue holographic base. I wanted something kind of dusty, but with a holo kick, & this combination was perfect! Also, somehow, I think this is the first time I’ve worn Dimension Nails Great Blue Heron as a full manicure, & that’s kind of crazy. It’s such a beautiful blue!

What do you think of my easy snowflake nails? Do you like seeing easy manicures like this, or do you prefer more complicated nail art? I have a few more “easy” looks to share, & then we’ll be jumping into Glam Nails Challenge December so stay tuned! I plan on having something for everyone.