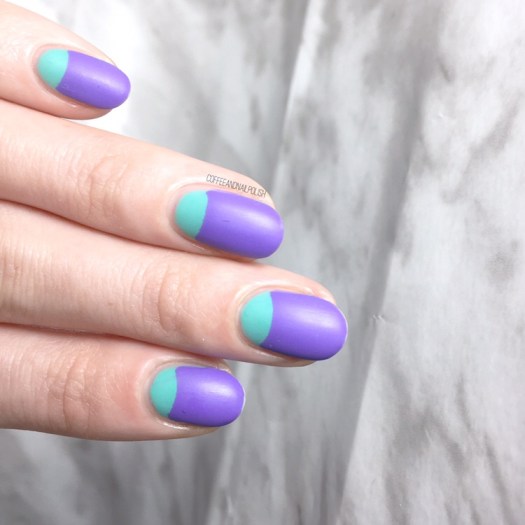
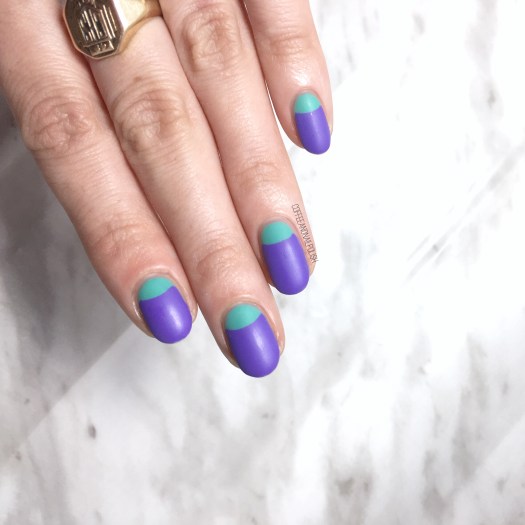
Happy Thursday lovelies! & happy first day of February. Seriously, how is the first month of 2018 already over?! That’s kind of amazing in a way. It also means we’re 2 weeks away from Valentine’s Day, so it’s time to start getting my love-themed manicures started.
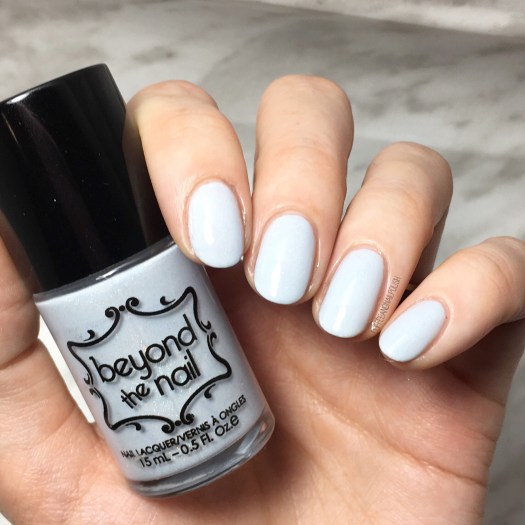
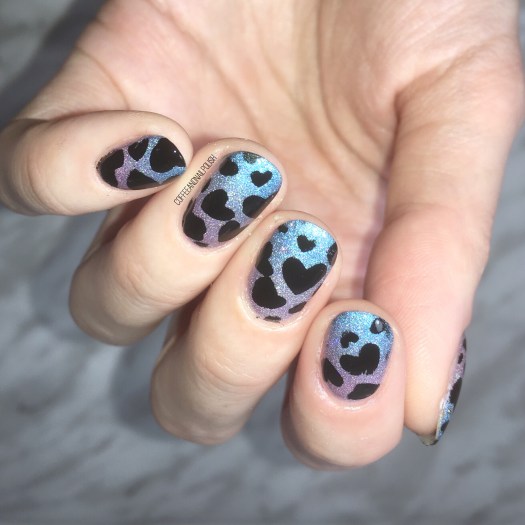
When it comes to Valentine’s Day, I feel like hearts are kind of a necessity. For this design, I decided to skip the pink (there will be lots of pink to come, don’t worry) & used silver, purple & blue holo shades instead. You still get that Valentine’s Day feeling without going too overboard.


For this manicure, the polishes I used were:
- Base Coat: Nailtek 2
- Top Coat: Seche Vive
- Layla Cosmetics Hologram Effect Mercury Twilight
- Layla Cosmetics Hologram Effect Ultra Violet
- Layla Cosmetics Hologram Effect Ocean Rush
- Sally Hansen Hard As Nails Black Heart
- KaylaRayLoves Nail Vinyls Tumbling Hearts Vinyls
- Edge Perfection Cuticle Barrier
- Latex Free Make Up Sponge
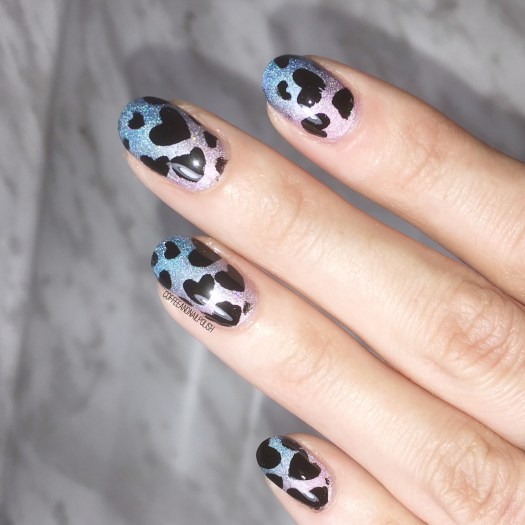

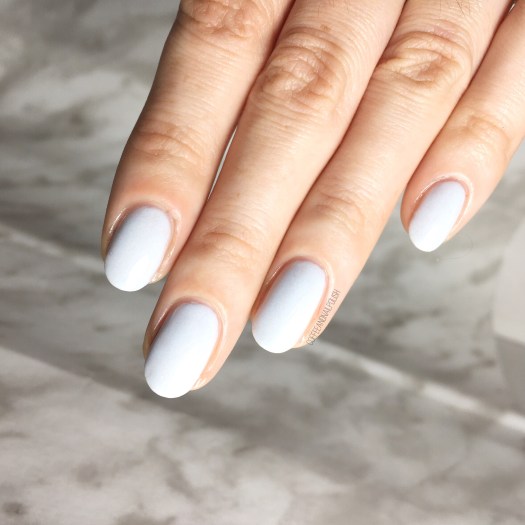
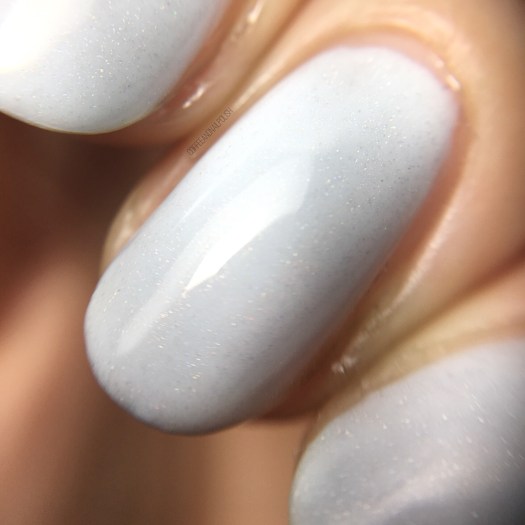
I really, really love how these turned out. The gradient + the hearts just looks so good together! You could definitely go with more pink shades if you wanted these nails to be extra girlie (which I could see myself doing for actual Valentine’s Day). Also I was really impressed with how well these holo polishes blended together to create a gradient! I feel like I haven’t been doing enough gradients lately, & that seriously needs to change. Yeah, they can be kind of messy, but that’s why they invented liquid latex.
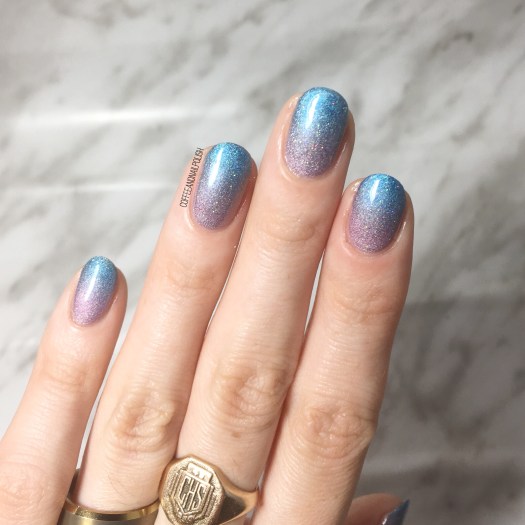
Below, I have a couple of shots of the gradient before I added the hearts. I really need to do more holo gradients because the end result is just so pretty!


what do you think of this manicure? Would you wear it for Valentine’s Day? Let me know your thoughts in the comments below!

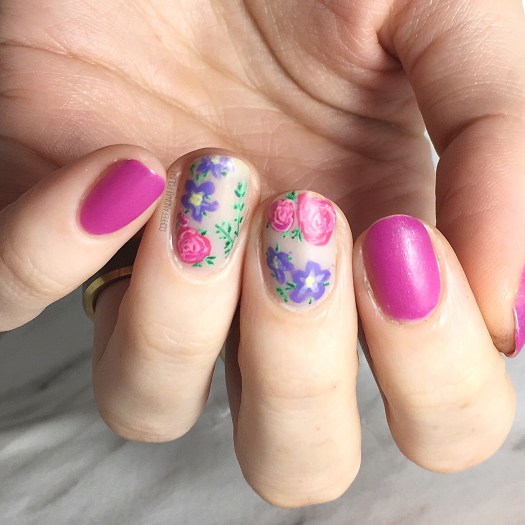
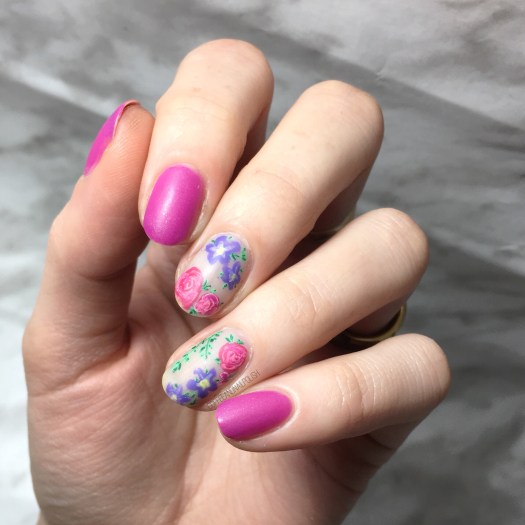


 What are your thoughts on today’s floral design? Are you a fan of floral nails? Let me know your thoughts in the comments below!
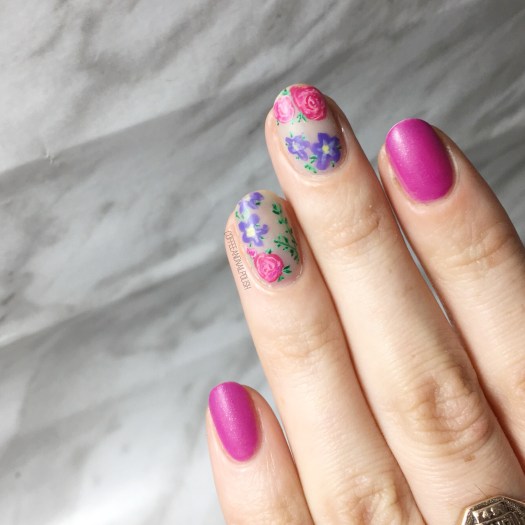