SWATCH SUNDAY— OPI Gelato on My Mind

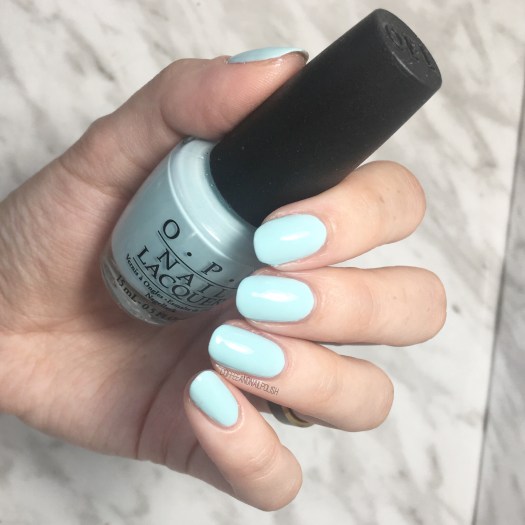
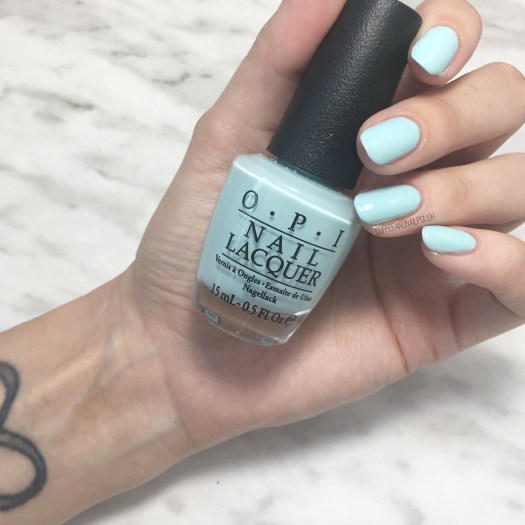
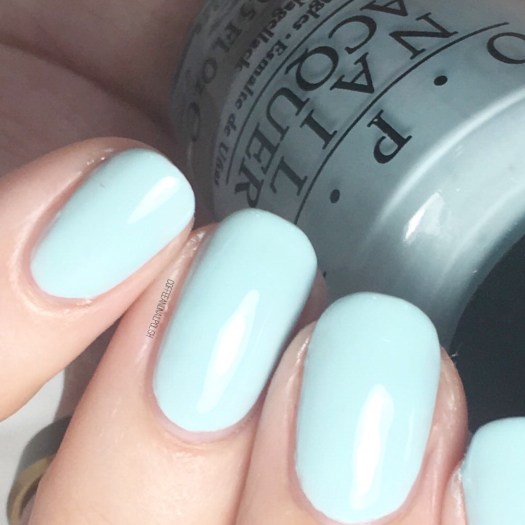
Good morning loves! Hope everyone is enjoying their Sunday & well caffeinated! ☕️ Today I have another oldie but goodie swatch to share with you: OPI Gelato on My Mind.

This minty shade was originally released as part of the OPI Venice collection for Fall/Winter 2015 & was the first shade I bought from that collection as you know I’m a sucker for any shade of blue. Also I remember that the name was just too cute, which was part of the reason I NEEDED to own this shade. (It’s also the reason I had to own OPI Pineapples Have Peelings Too.)

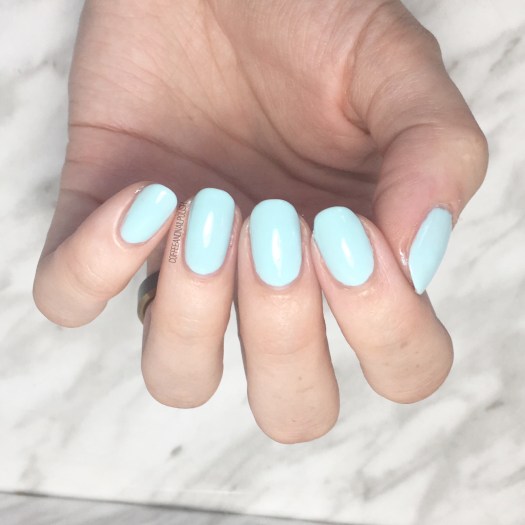
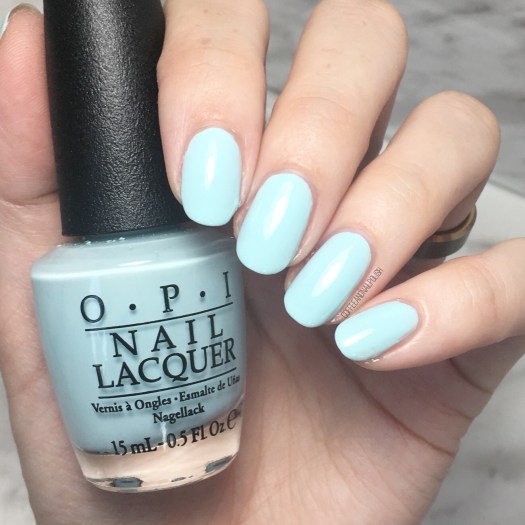
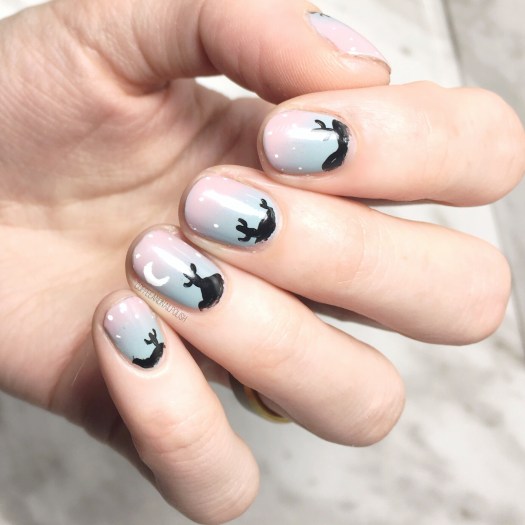
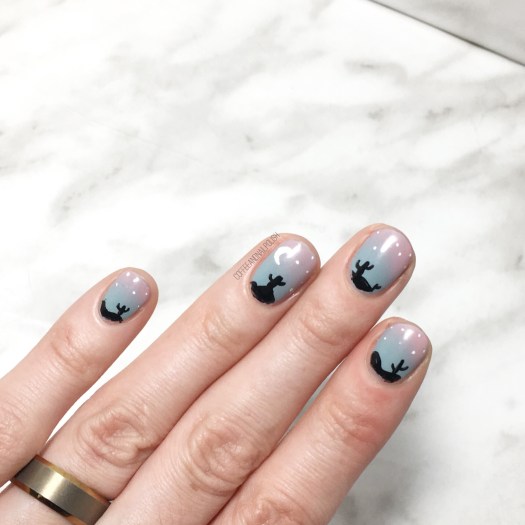
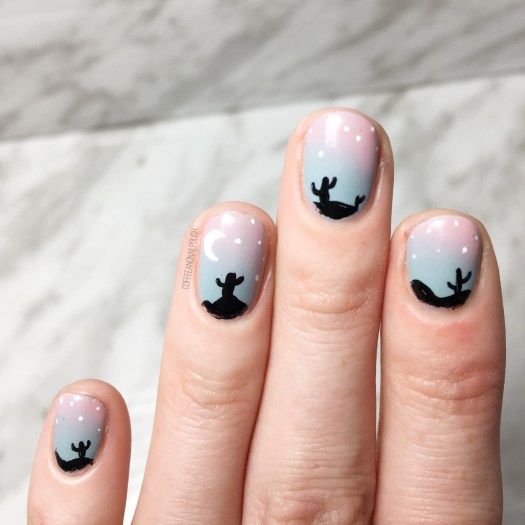
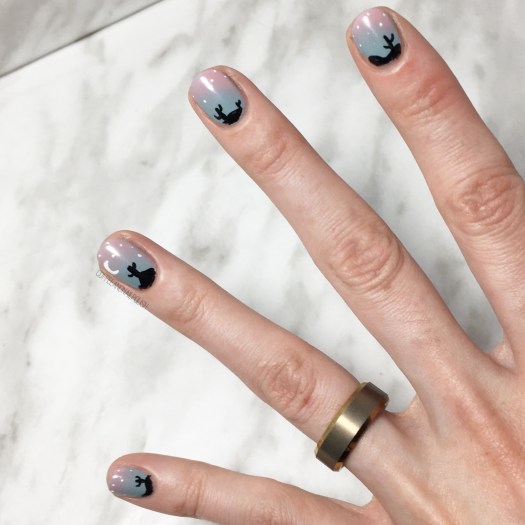
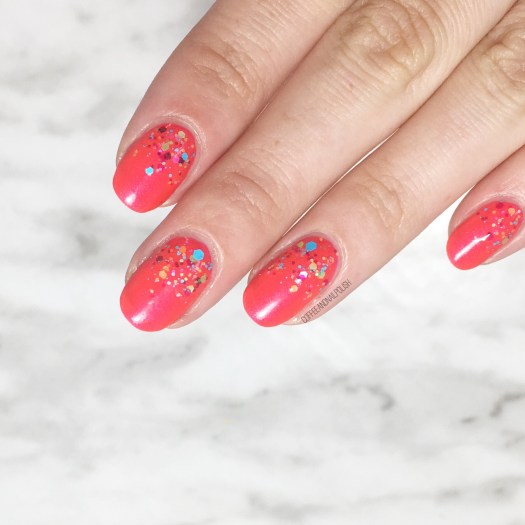
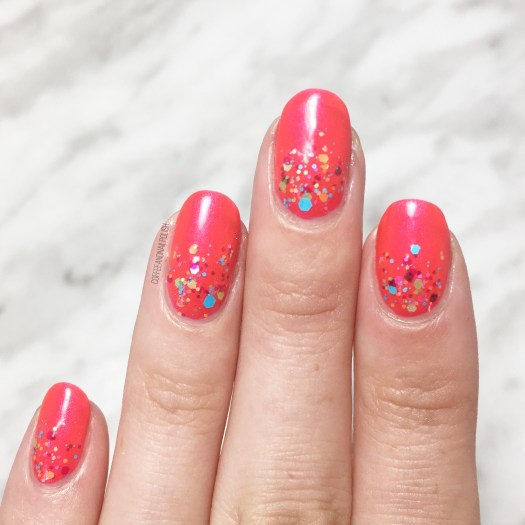
For my swatches I did two coats over my base, followed by top coat (Essie Gel Setter). You have great coverage in two coats, but like a lot of light/pastel shades the levelling on this shade wasn’t great, so I needed that top coat to give you a nice glossy finish & eliminate any potential streakiness. Maybe if you’re more careful you can get it to level out, but I couldn’t & needed my nails to dry quickly so a glossy top coat always works for me.

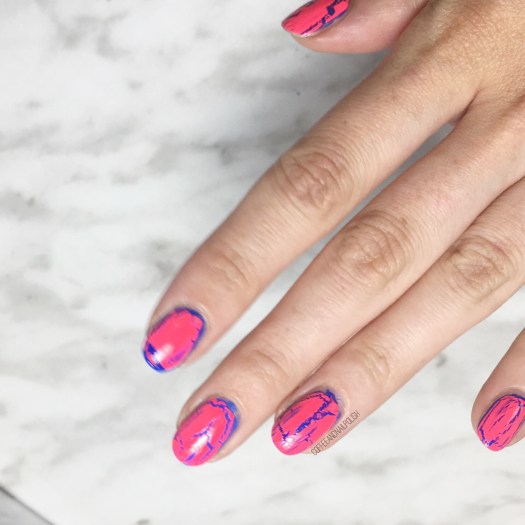
As I mentioned, this shade was originally released as part of the OPI Venice collection, which was for Fall/Winter 2015. Personally, to me this is more of a shade I lean towards for Spring but I can also see pairing this with a few darker/vampy colours for a fun Fall design as well. I definitely can see myself doing another fun tribal design (similar to this look) but with much darker, vampier colours.

What colour are you currently rocking on your nails? Which polish do you think I should pick for next week’s Swatch Sunday feature–something Summer-y or Fall-esque? Share your thoughts down in the comments below!

Gradient Desert Scene

Hello lovelies & happy Thursday!

Today I’m doing sort of a throwback Thursday post as today’s manicure is one I did a while back but never shared. I was scrolling through my phone last night, & stumbled across this design & knew I had to post it! Especially because I have no idea what I wouldn’t have shared them in the first place. Thankfully I kept a list of the polishes I used, so even though these were done a while ago, I could still share exactly what I used to create this look!

For this manicure, the polishes I used were:

  • Base Coat: OPI Nail Envy
  • Top Coat: Seche Vive
  • Essie Parka Perfect
  • Sally Hansen Complete Salon Manicure Rose to the Occasion
  • Essence Black is Back
  • Sally Hansen CSM Let’s Snow!
  • Nailstuff.ca mermaid tail detail brushes
  • Edge Perfection cuticle barrier
  • Latex free make up sponge (I buy mine at Dollarama)

I love love love doing these landscape gradient nails. It’s kind of like a galaxy nail, but less work. & of course I added cacti in the distance, because they’re my favourite.

Seriously, I cannot understand why I never shared this design when I originally did them. The gradient looks nice, my freehand work isn’t awful. Maybe I was just saving it for right now (without realizing it?) Either way I’m happy to share this look with you now!

What do you think of this gradient landscape look?

Would you like to see more of these designs on the blog?

Hit like if you’re into this kind of nail art & share down below what else you’d like to see me do!

Rainbow Glitter Gradient (Party on my Nails!)

Hello lovelies! Hope everyone is having a fantastic week so far. I’m super excited today because I finally did something other than just a single colour on my nails! 🎉 I managed to add a fun glitter gradient to my Swatch Sunday shade for this week & I’m loving how much fun this simple nail art turned out!

Seeing as it is Pride Week here in Halifax, I thought a colourful rainbow glitter gradient would be perfect for the occasion.

For this manicure, the polishes I used were:

  • Base Coat: Sally Hansen Complete Salon Manicure Strengthening Base Coat
  • Top Coat: Essie Gel Setter
  • ORLY Fireball
  • China Glaze Point Me To The Party
  • ACO by Ardene DAFUQ

I know I’ve written before my love for glitter gradients–they’re just so easy to do! & for those of us who might not have a lot of time, they can give you fun & fancy nails with minimal effort.

For this look, I started with my base colour & then took my first glitter (China Glaze Point Me To The Party) & after brushing off some of the polish, started at my cuticle line & brushes the glitter upwards. I went over the same spot a few times to build up the glitter amount. Finally I decided that we needed some blue, so I grabbed a blue glitter topper (ACO by Ardene DAFUQ) & dabbed on some blue glitters as well. Lastly, I sealed everything in with a thick coat of Essie Gel Setter to give this look some lasting power.

& now my nails are ready to party! 💅🏻

I’m really digging the combination of Fireball with this glitter. Makes me think of a fiesta, & feels very Summer-y to me. & even though I won’t be able to partake in any of the amazing Pride events happening this week, my nails are totally ready (just in case).

What do you think of this design? Where would you wear this design? Let me know down in the comments below! & share any nail art you’d love to see me do now that I’m (slowly) getting back my posting mojo.

🌈

SWATCH SUNDAY — ORLY Fireball 🔥

Hello lovelies & Happy Sunday! That’s right, another week & another swatch post! Trying my best to find time to pain my nails when I can so I can keep my posting semi consistent-ish.

Today’s Swatch pick is an older polish from my stash but such a great Summer shade: ORLY Fireball. I found this beauty as part of a two-pack at Winners or Marshall’s (I can’t remember which) a few years ago, but according to Google it was originally released as part of the Summer 2015 Adrenaline Rush collection.

Fireball is a super vibrant neon coral which leans very red, & has a gorgeous fuchsia shimmer. For my swatches, I did 2 coats of polish over base coat, & finished with Essie Gel Setter Top Coat. On its own, like most Neons, Fireball does dry down to a semi matte finish, but because I was trying to be quick (& adding nail art) I decided to top coat it. Originally I though this shade was going to need some white undies, but I was impressed that this formula was opaque in 2 coats.

Above you can see the fuchsia shimmer both in the bottle & a close up on my nails. I love how it looks because it takes what could just be a coral neon & transforms it to a something little extra which gives it a serious POP! on the nail. & I also think it makes this polish a great transitional shade for the end of Summer as well–this paired with a maroon or darker Fall shade in a half moon or chevrons would make for an awesome almost Fall design.

& lets be honest… it’s almost that time of year where my obsession for Fall becomes real, so I’m already thinking about Fall manicure ideas.

According the Internet, you can still pick up this polish on the ORLY website, Amazon, & NailPolishCanada so if you need his polish in your collection (& seriously, if you love these kinds of shades you really do) you can order them there!

So what do we think of ORLY Fireball? Share your thoughts down in the comments below!

Blast from the Past — Crackle Nail Polish

I’m sure if you’ve been a part of the nail polish community for any amount of time, you’ve seen quite a few nail polish trends come & go: feather nail polish, magnetic nail polish, textured nail polish & of course… crackle nail polish.

For those who don’t know what crackle nail polish is, it was a kind of topper you would apply over already painted nails, that would crack as it dried, revealing the base colour underneath. I was first introduced to crackle nail polish back with the Katy Perry Teenage Dream collection from OPI, & though it was the most genius idea, so naturally my obsessive brain had to own as many crackle polishes as possible! Thankfully, even nail polish company & their friend seem to come out with their own version of crackle so it was easy to get my hands on a whole slew of brands, colours & finishes!

Most of my shades have long since dried up & are pretty much impossible to use, but every so often I get the urge to pull out one of my bottles still holding on & play around with it. Thank you nostalgia.

For this manicure, the polishes I used were:

  • Base Coat: Sally Hansen Bamboo & Green Tea Strengthener
  • Top Coat: Essie Gel Setter
  • My blues from my cobalt blue comparison post
  • Icing Shatter nail polish Electric Graffiti

As you can see, even though this polish is about 7 years old, it still works semi well in terms of the crackle effect (minus my pointer finger… I have no idea what happened there!) Like I said, I collected quite a few of these shades during the heigh of their popularity, but only a few of them still work to this degree. & now that my nail art techniques have improved over the years, I don’t really grab these shades like I once did.

& just for fun, I wanted to share the very first mani I ever did using this fun polish. Please excuse the awful quality in all regards (painting, photography, ect)

As you can see, the actual cracking abilities of Electric Graffiti has dwindled over the years, but for a polish way past prime, I’m impressed I can still get any crackle out of it. I feel like because the formula has thickened up a lot, that’s the reason the shatter is different. A thinner application would definitely give me a reaction much more like my throwback manicure… wondering if adding a bit of thinner to the bottle would revive it. I’m curious to find out.

what are your thoughts on the crackle/shatter nail polish trend from years past? I know some people have very strong feelings about these polishes (& how much they hate them). Let me know if you’re team crackle or hate it?