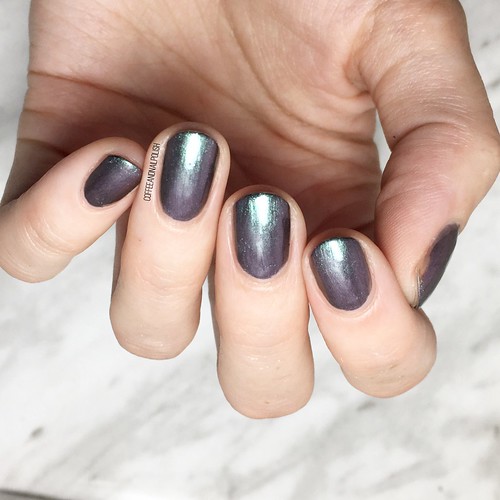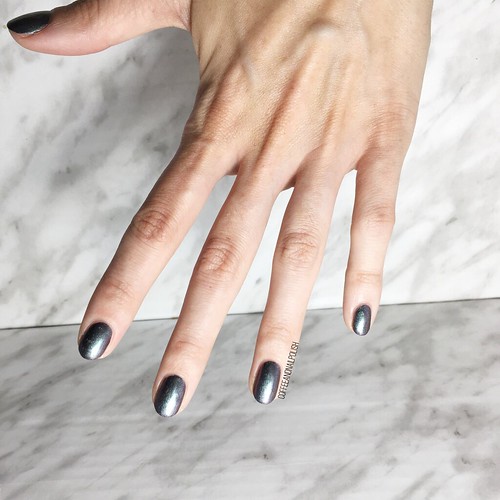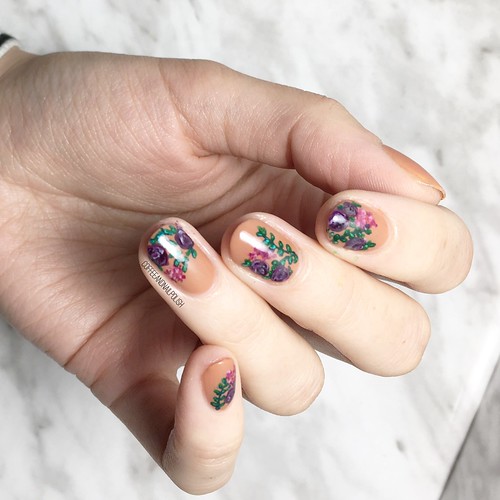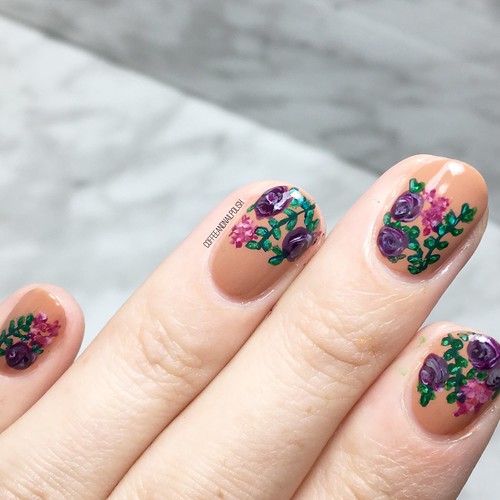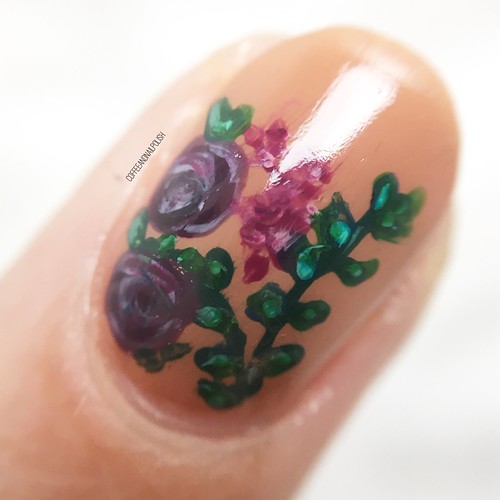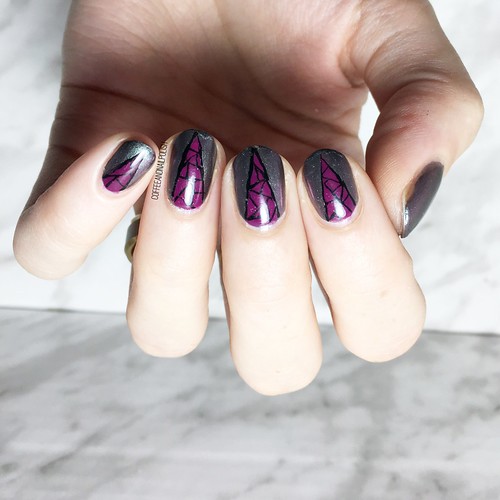
Hello lovelies! Hope everyone is having a lovely week. I’ve been MIA this week, but it’s just been one of those weeks. I do have some new nail art to share, although I’ll be honest these looked better in my head. I had this cool idea about doing these funky geometric shatter pattern, but the colours just didn’t match up properly to make it pop.


For this manicure, the polishes I used were:
- Base Coat: Sally Hansen Green Tea Bamboo Strengthener
- Top Coat: YSL Beauty Quick Dry Top Coat
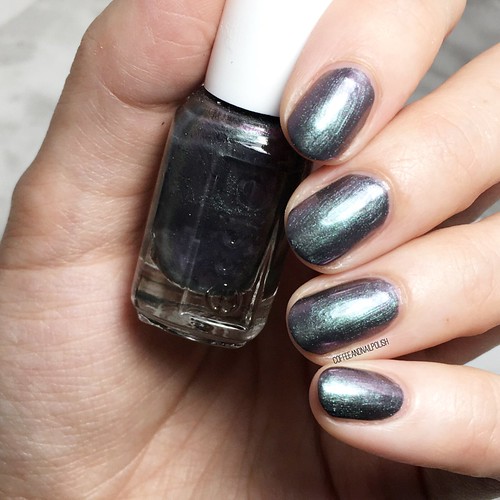
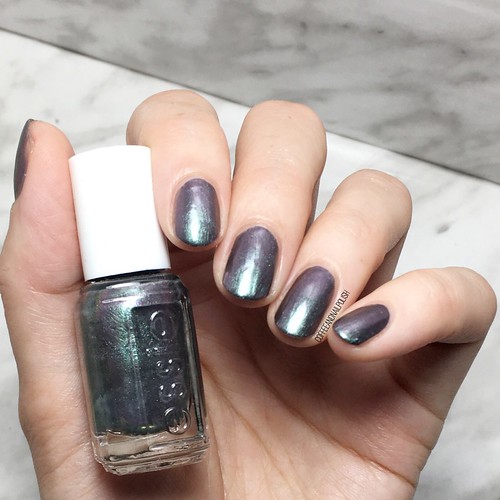
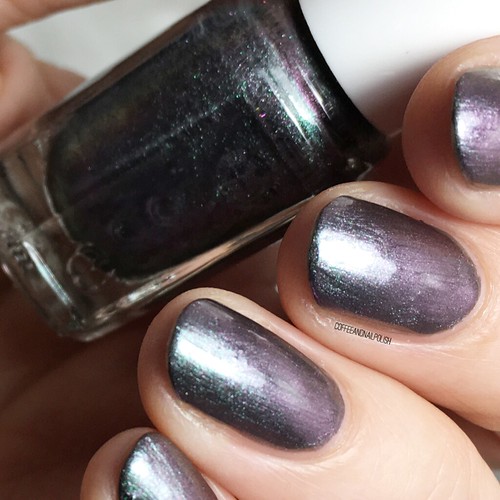
- Essie For The Twill Of It
- Sally Hansen Miracle Gel Lilac Insomniac
- Deep Chevron nail vinyls
- NailStuff.ca 7mm liner brush (from Mermaid Brush Trio)
- Black Acrylic Paint
.

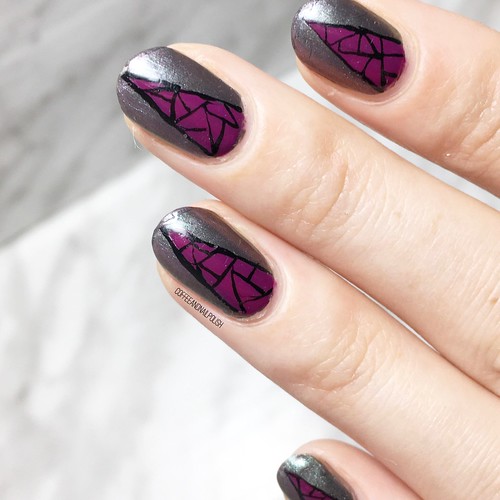
Gosh, I wanted to love this design so much, & I did wear them for 4+ days, but they just didn’t turn out how I had pictured in my head & it made me sad. Made if my base colour & chevron colour was lighter, the black paint would have popped better. I also thought about adding a few blocks of gold, but I just didn’t have enough time so I left them plain. Maybe next time I try this look, I’ll go with some lighter colours so my design pops more.


What do you think about this design? What colour combination would you like to see me do next? Let me know in the comments below!