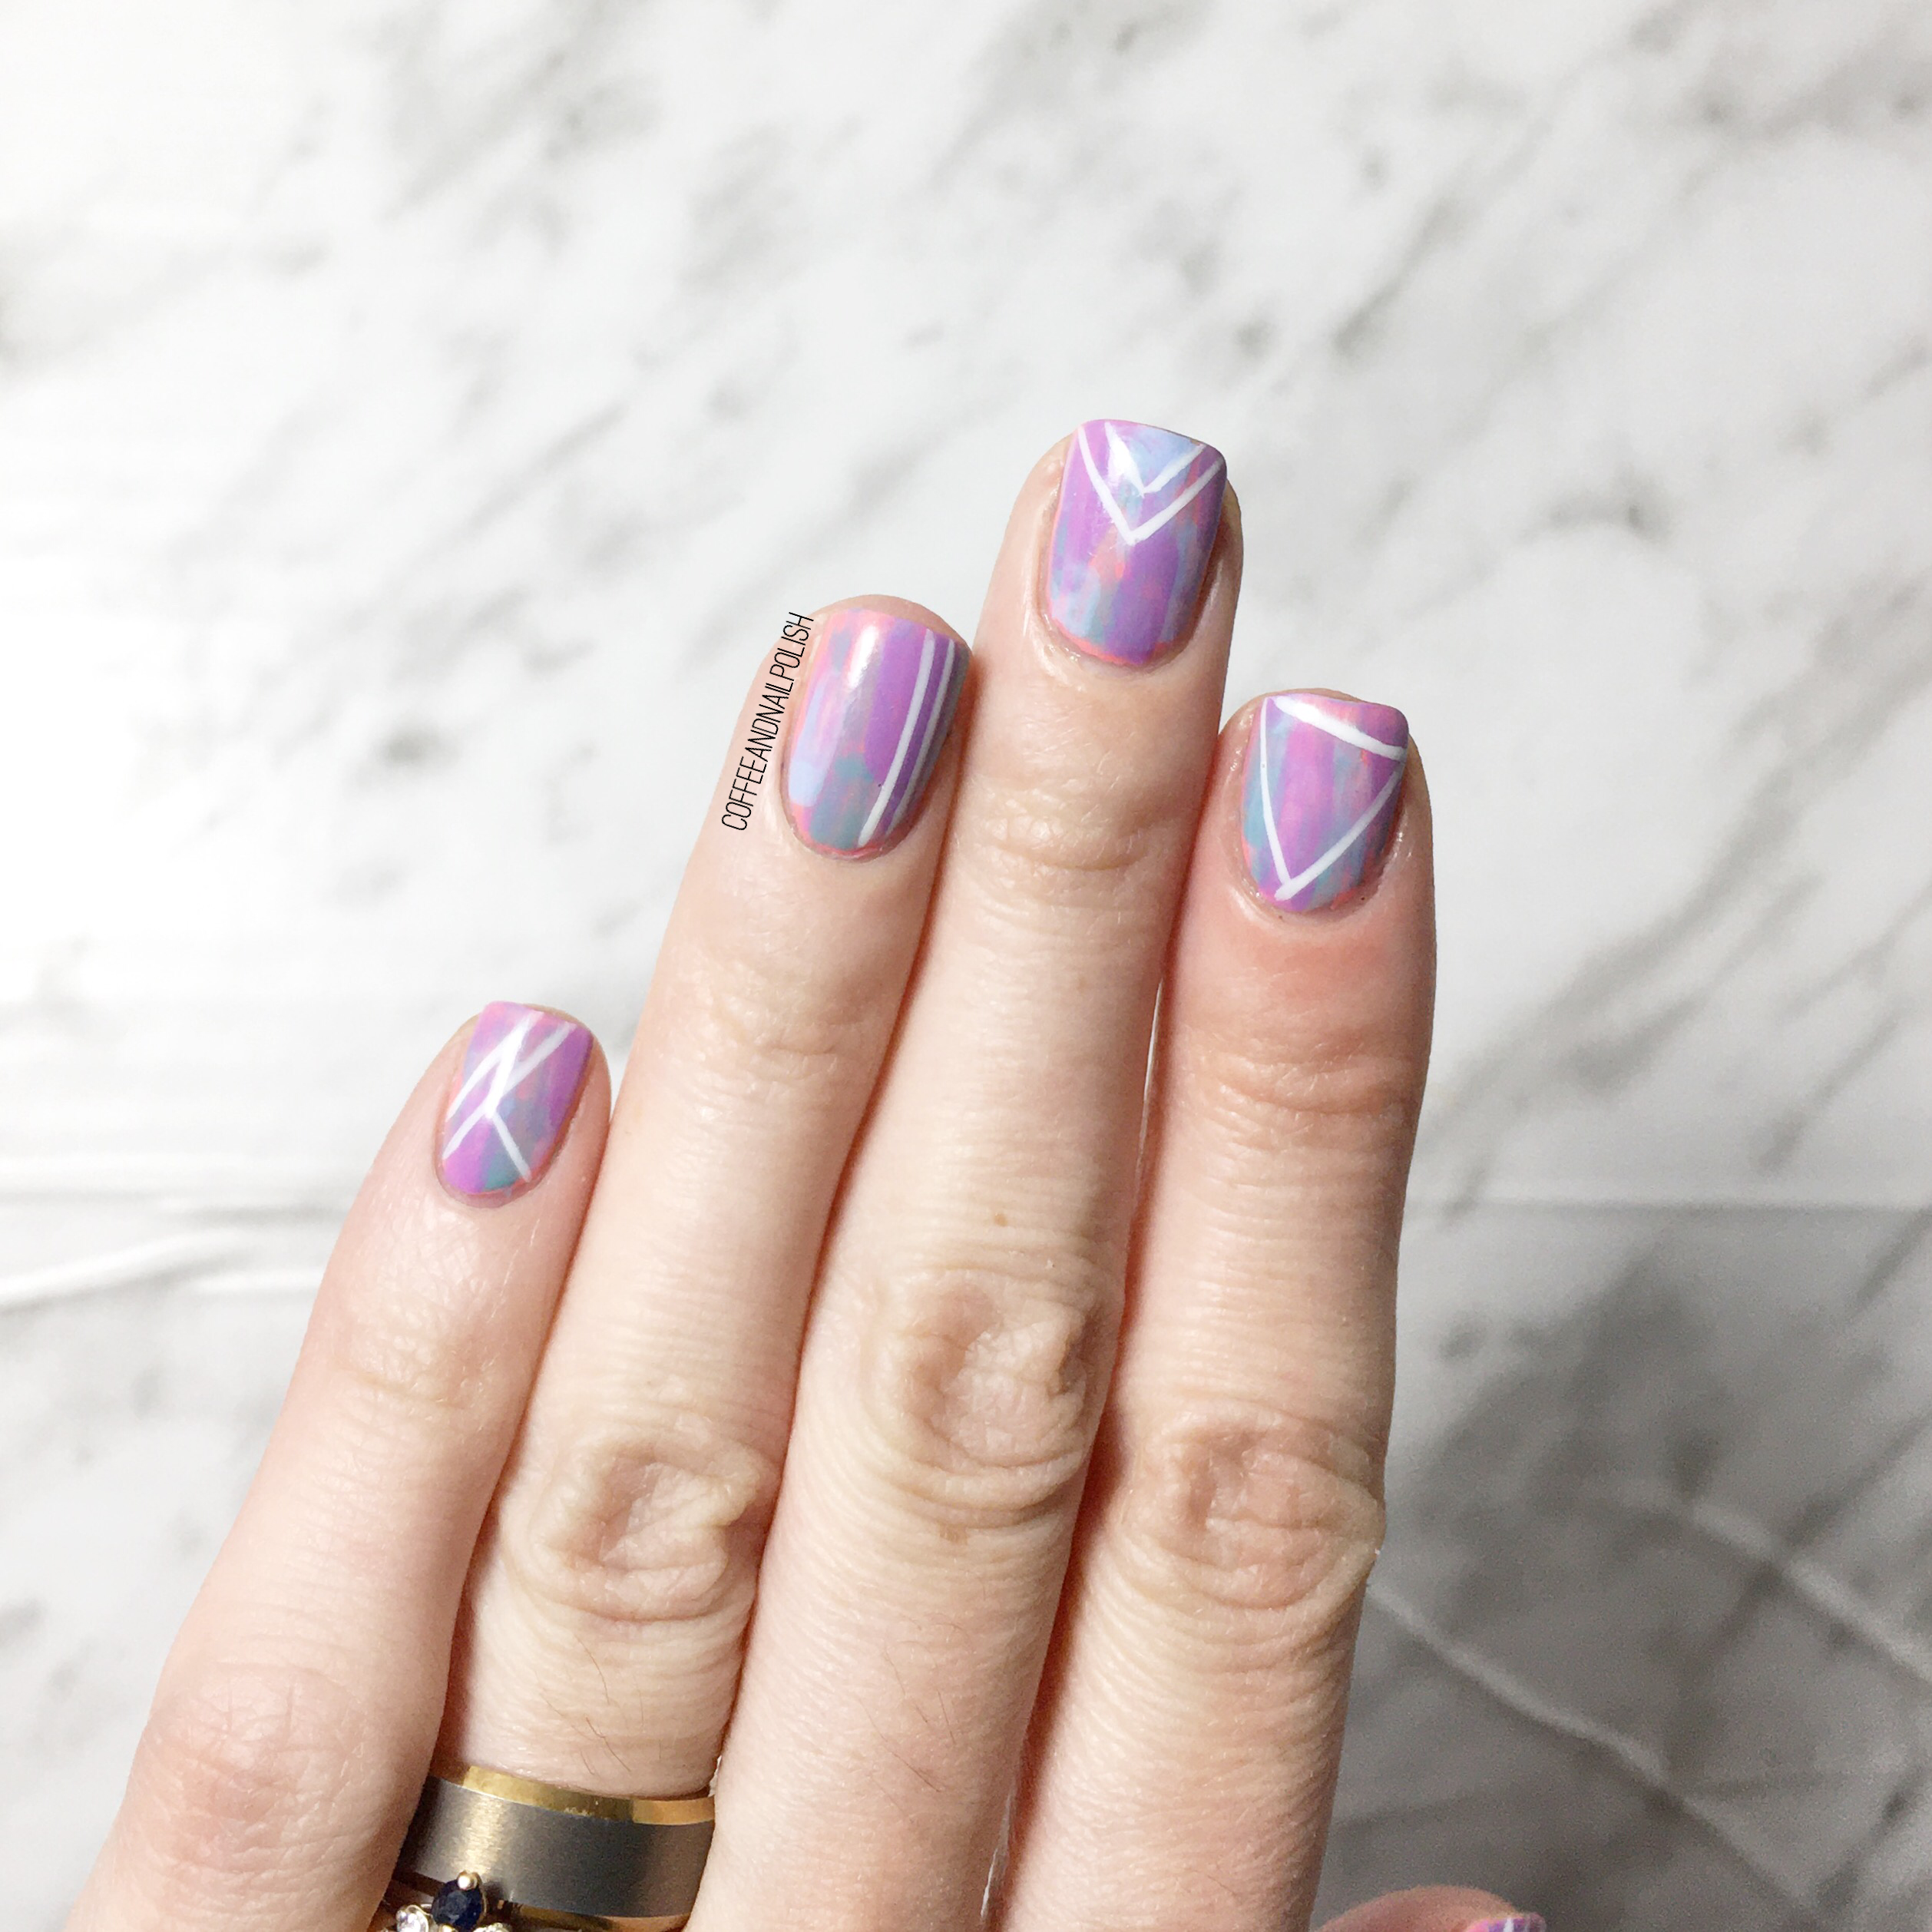
Hello lovelies & Happy Wednesday.
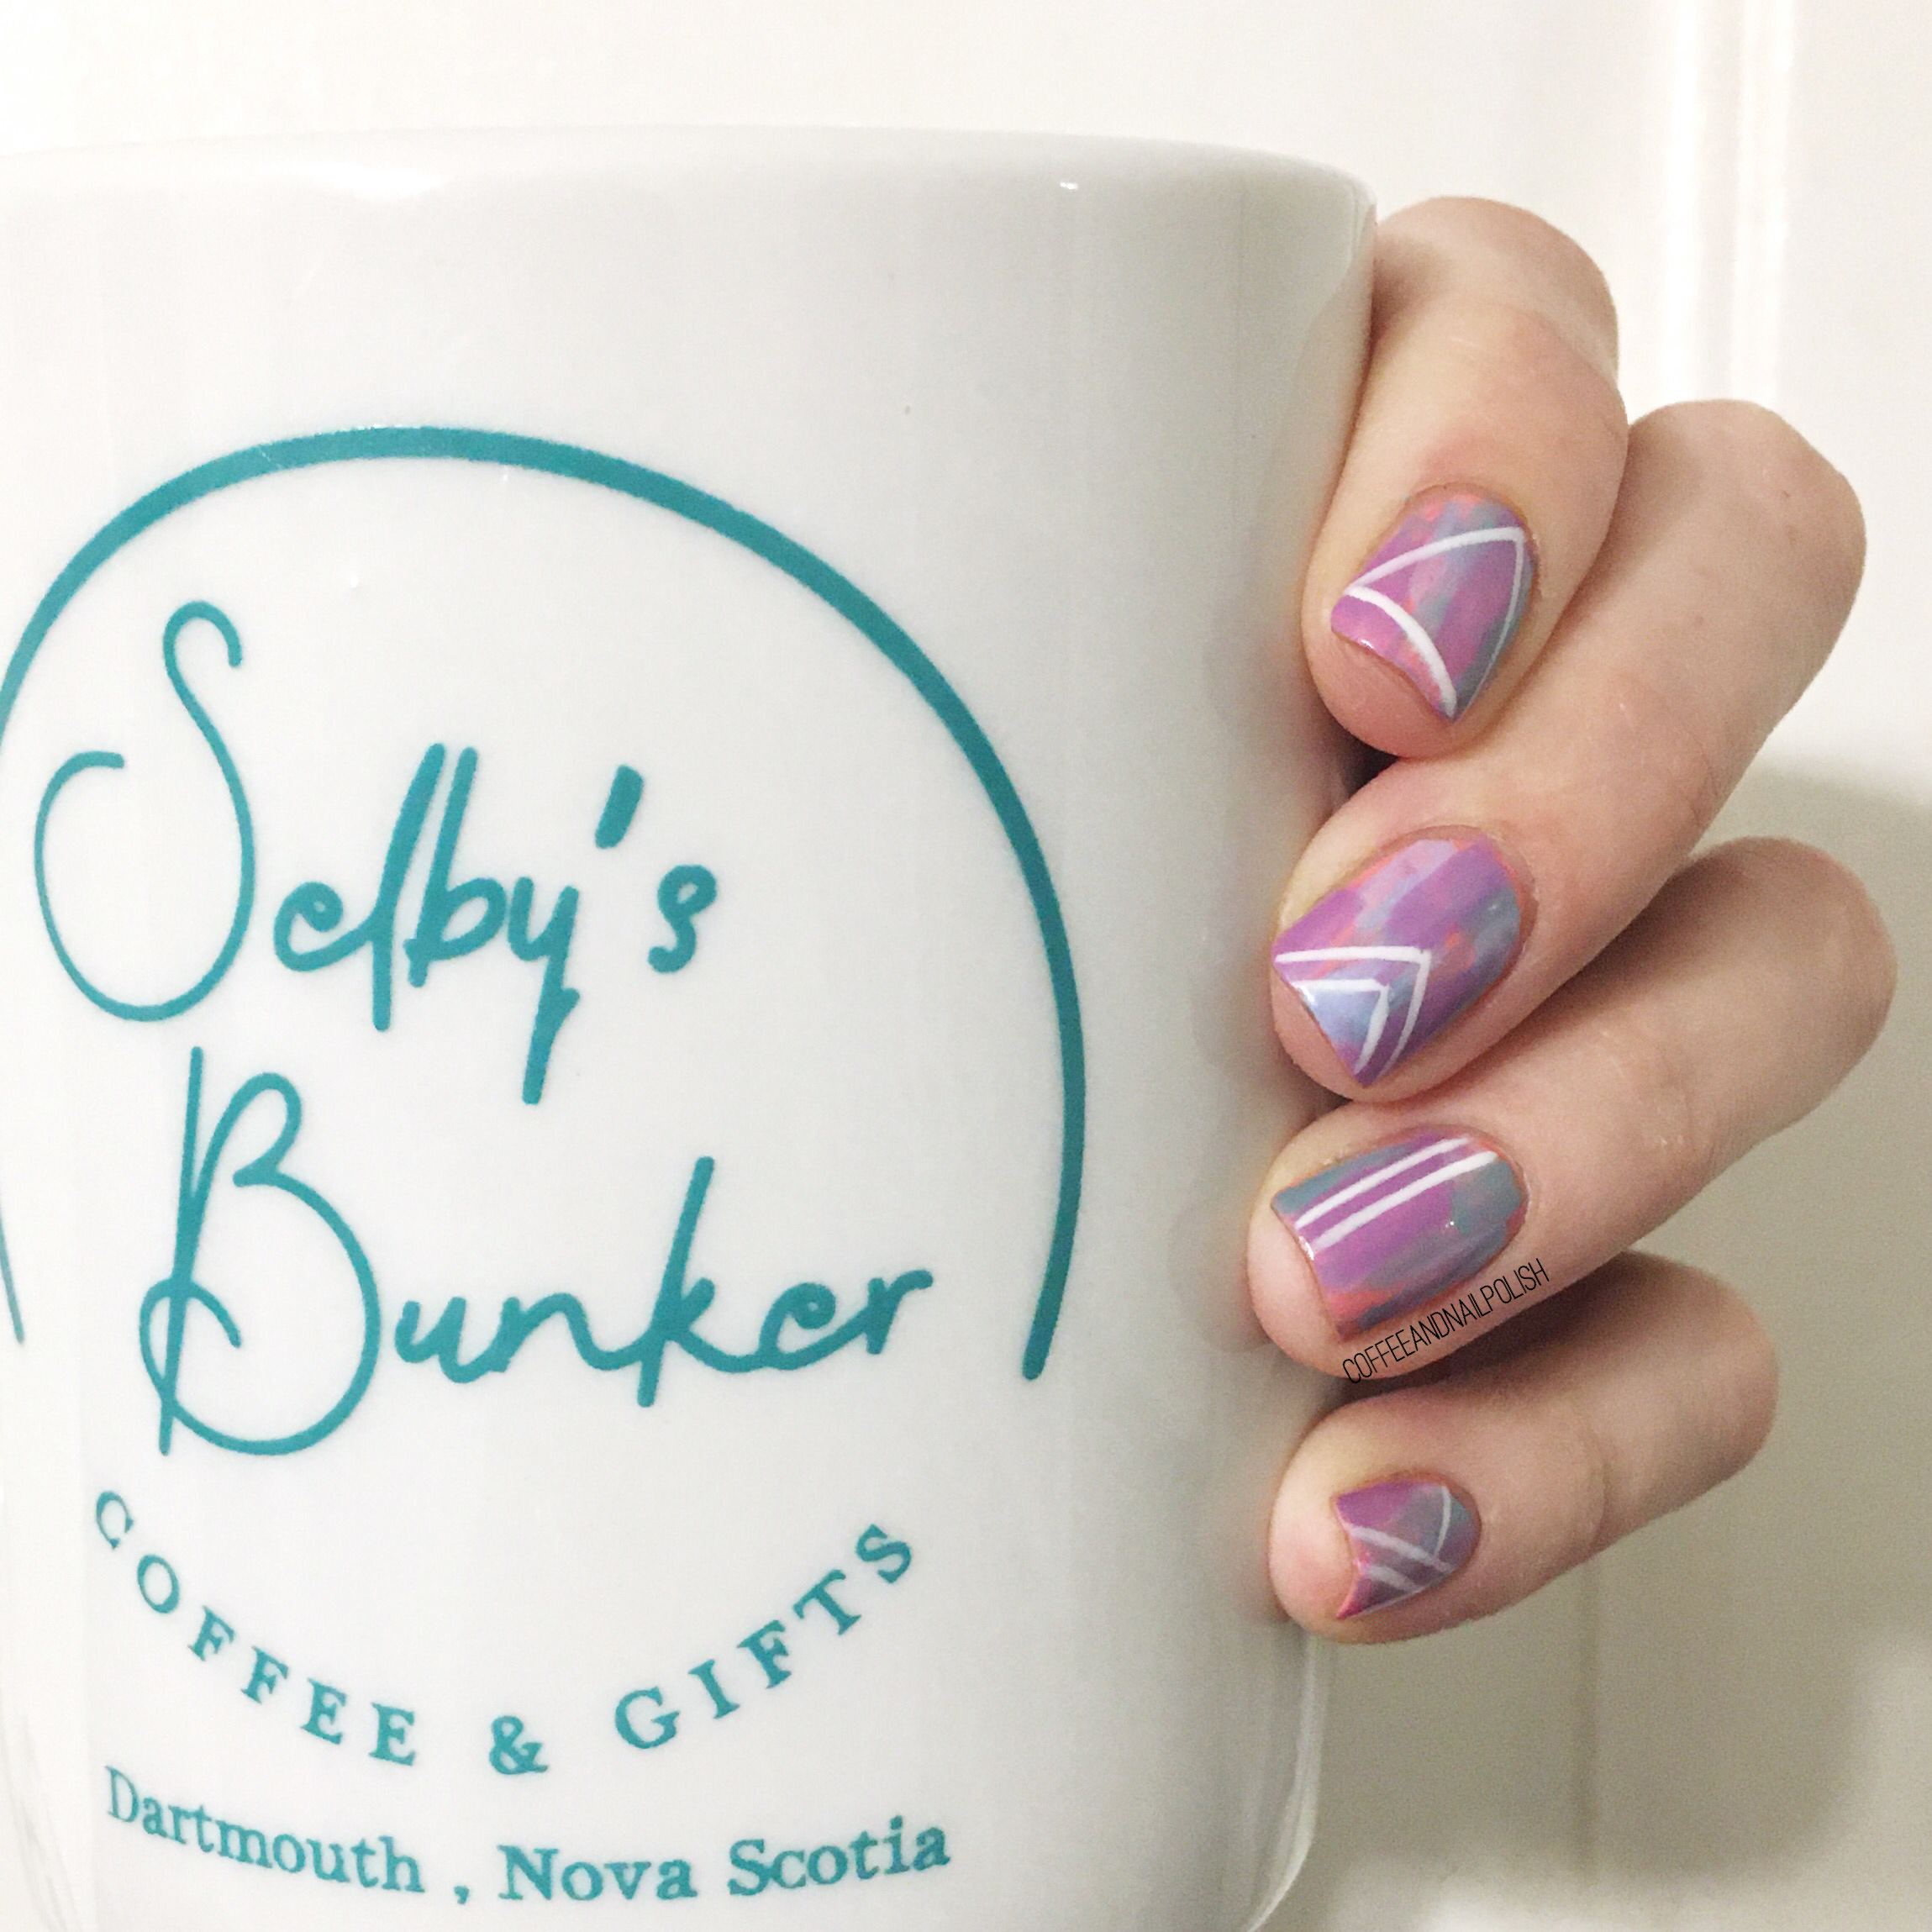
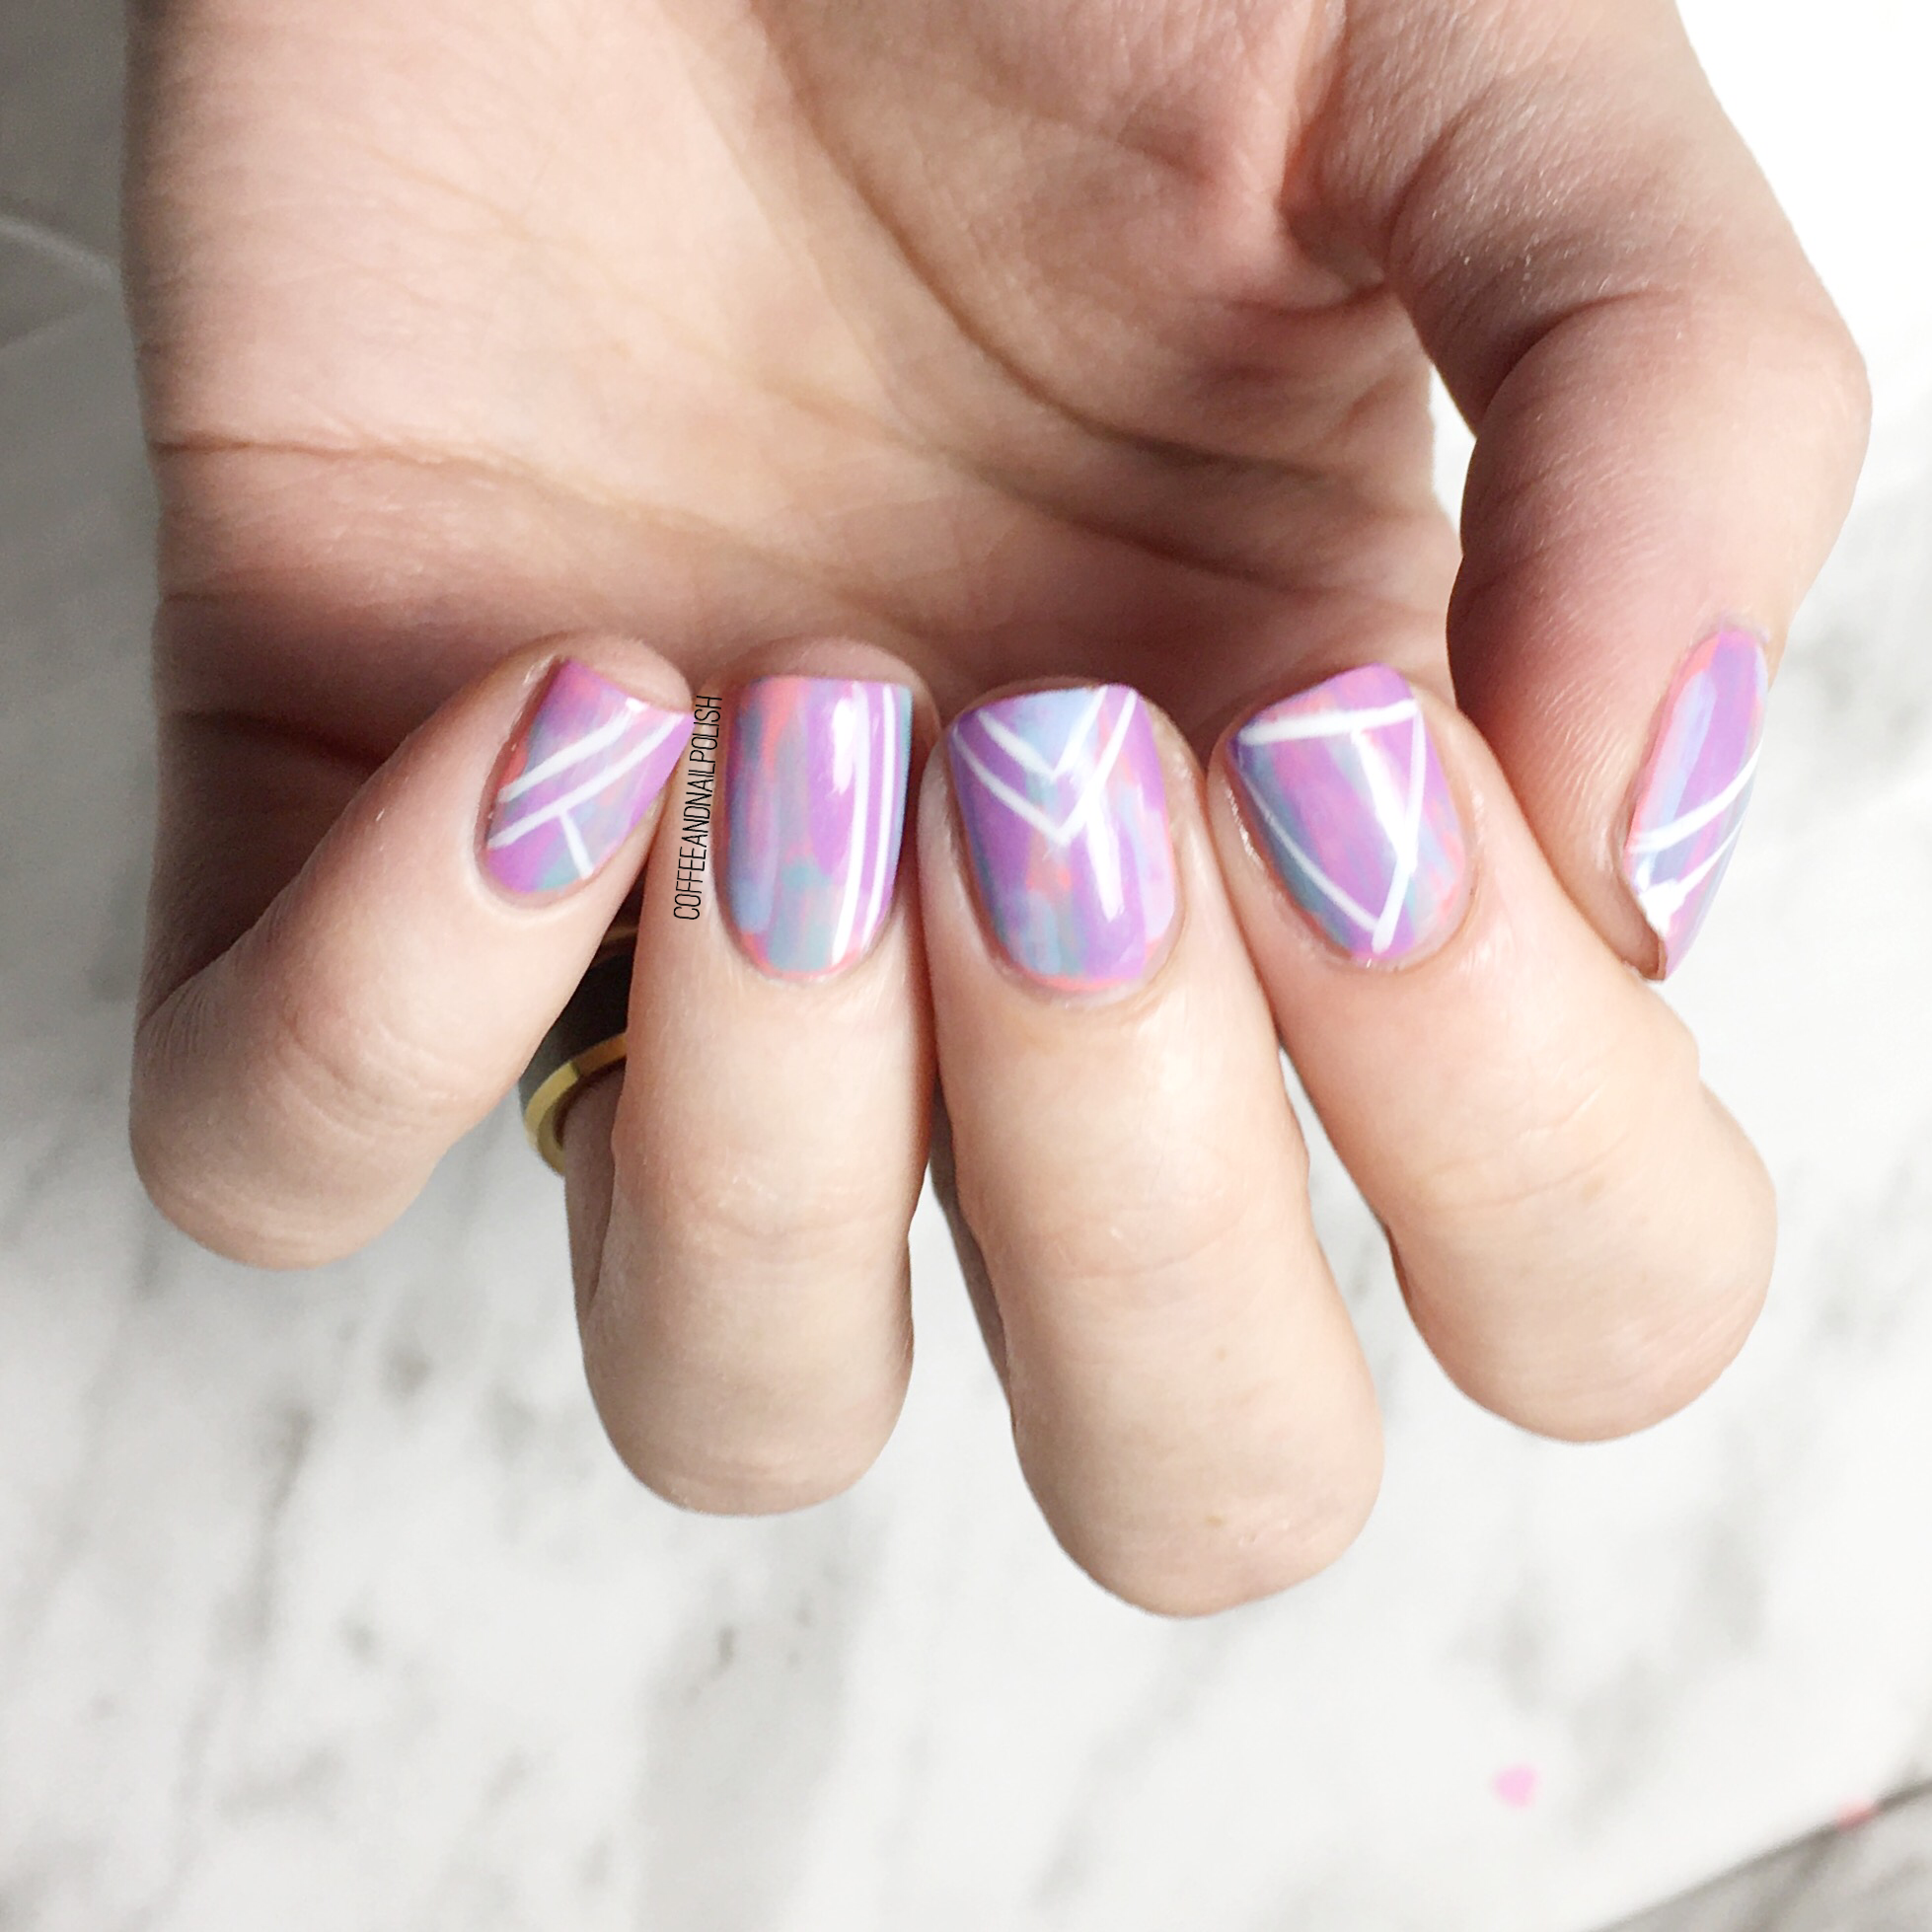
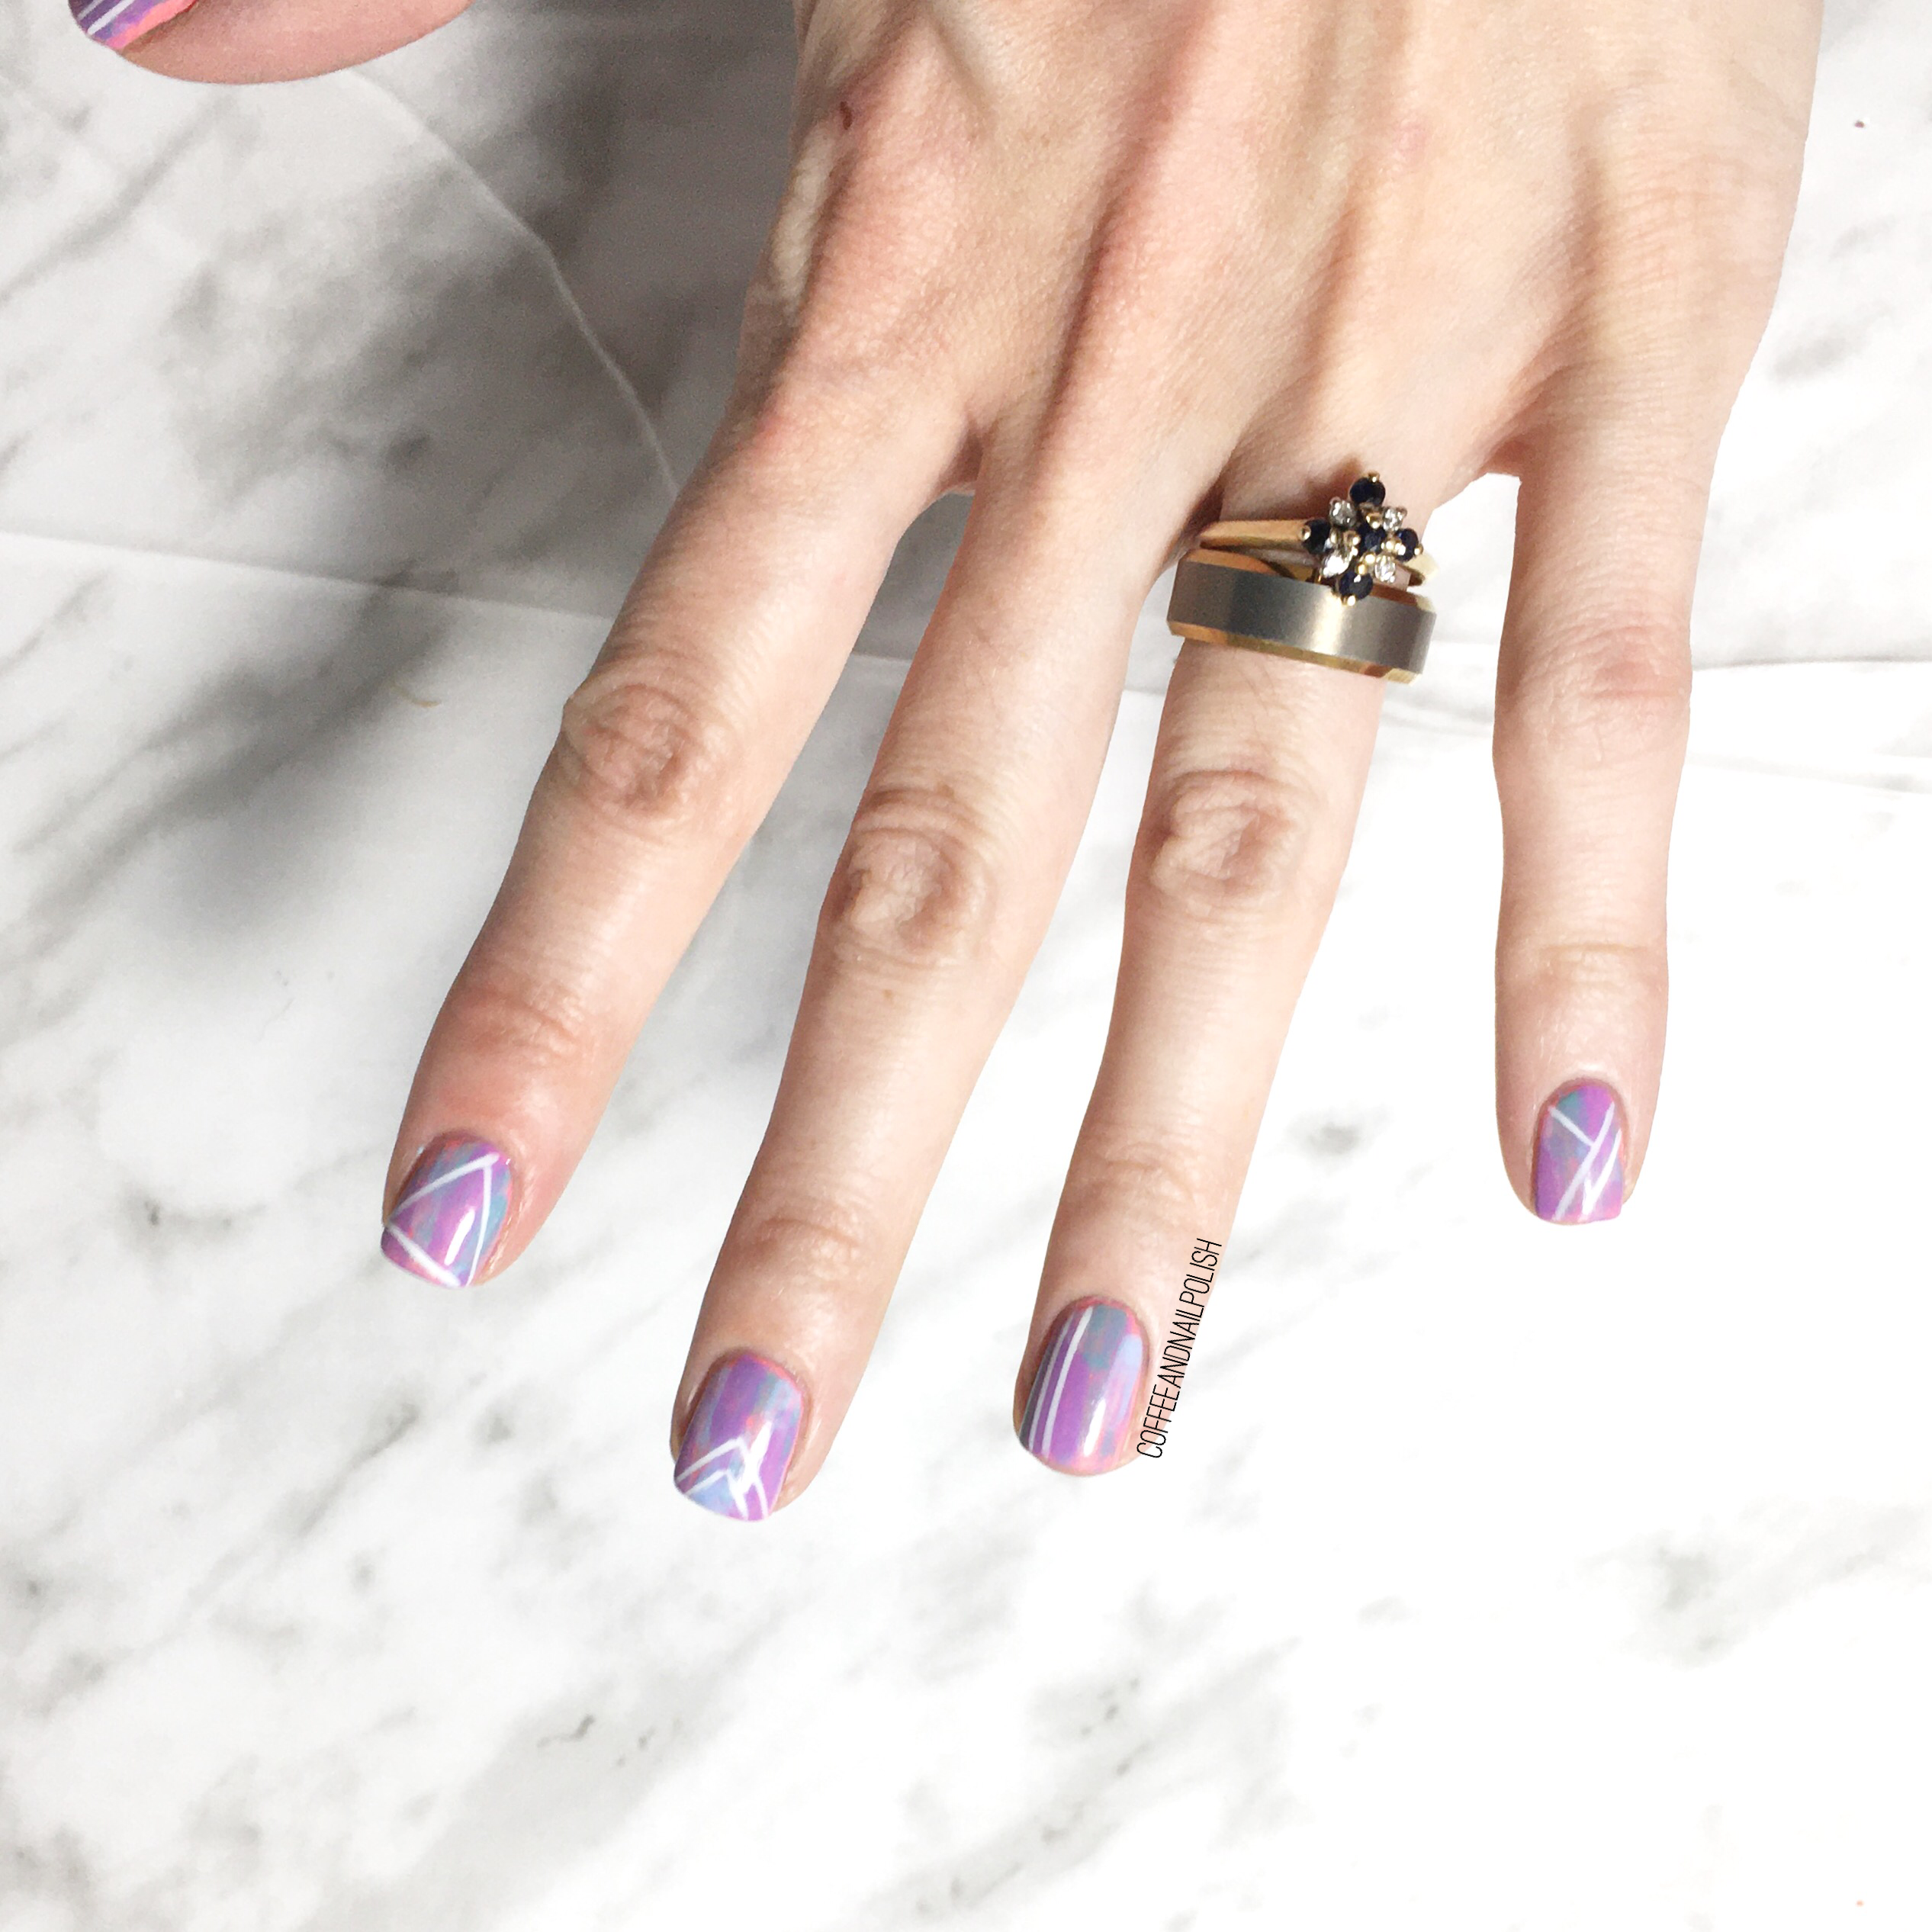
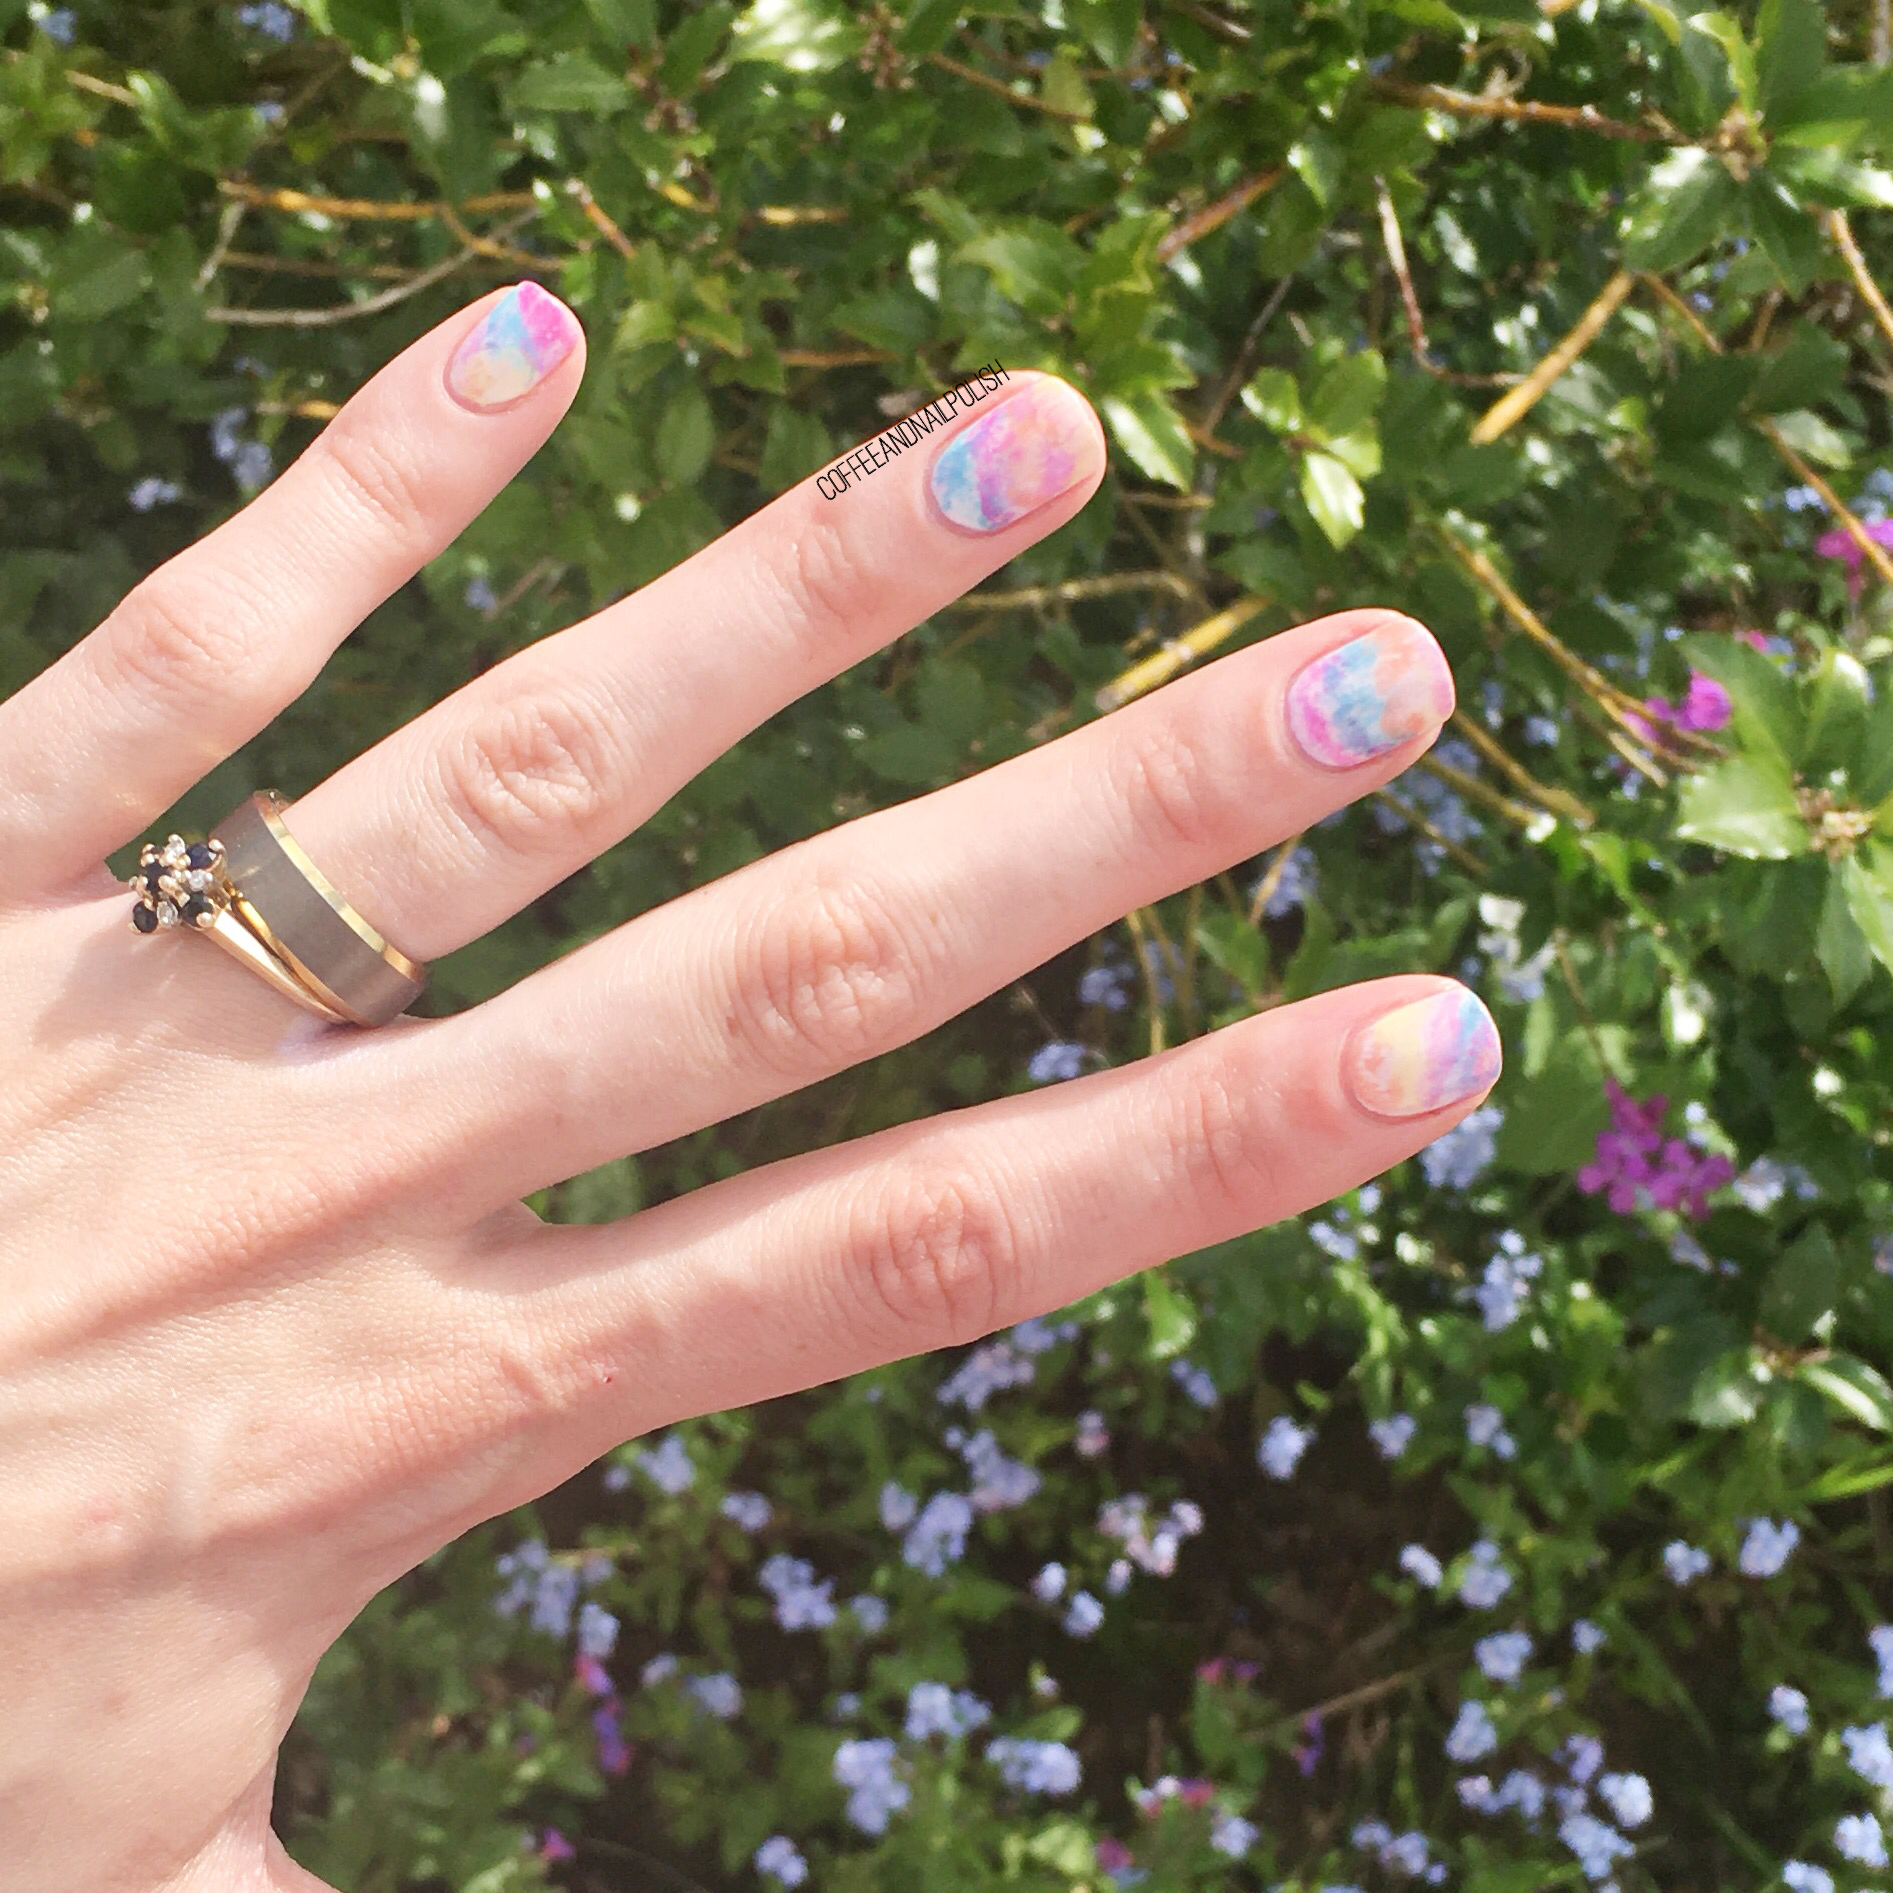
Today I’m sharing a cute look I did a few weeks back. Tie-Dye is everywhere this year, including on nails. I haven’t yet found the perfect tie-dye sweatshirt yet, & I’m too scared to do one myself, but as soon as I saw Sonya at @badgirlnails tutorial for tie-dye nail art I knew I needed to recreate them!

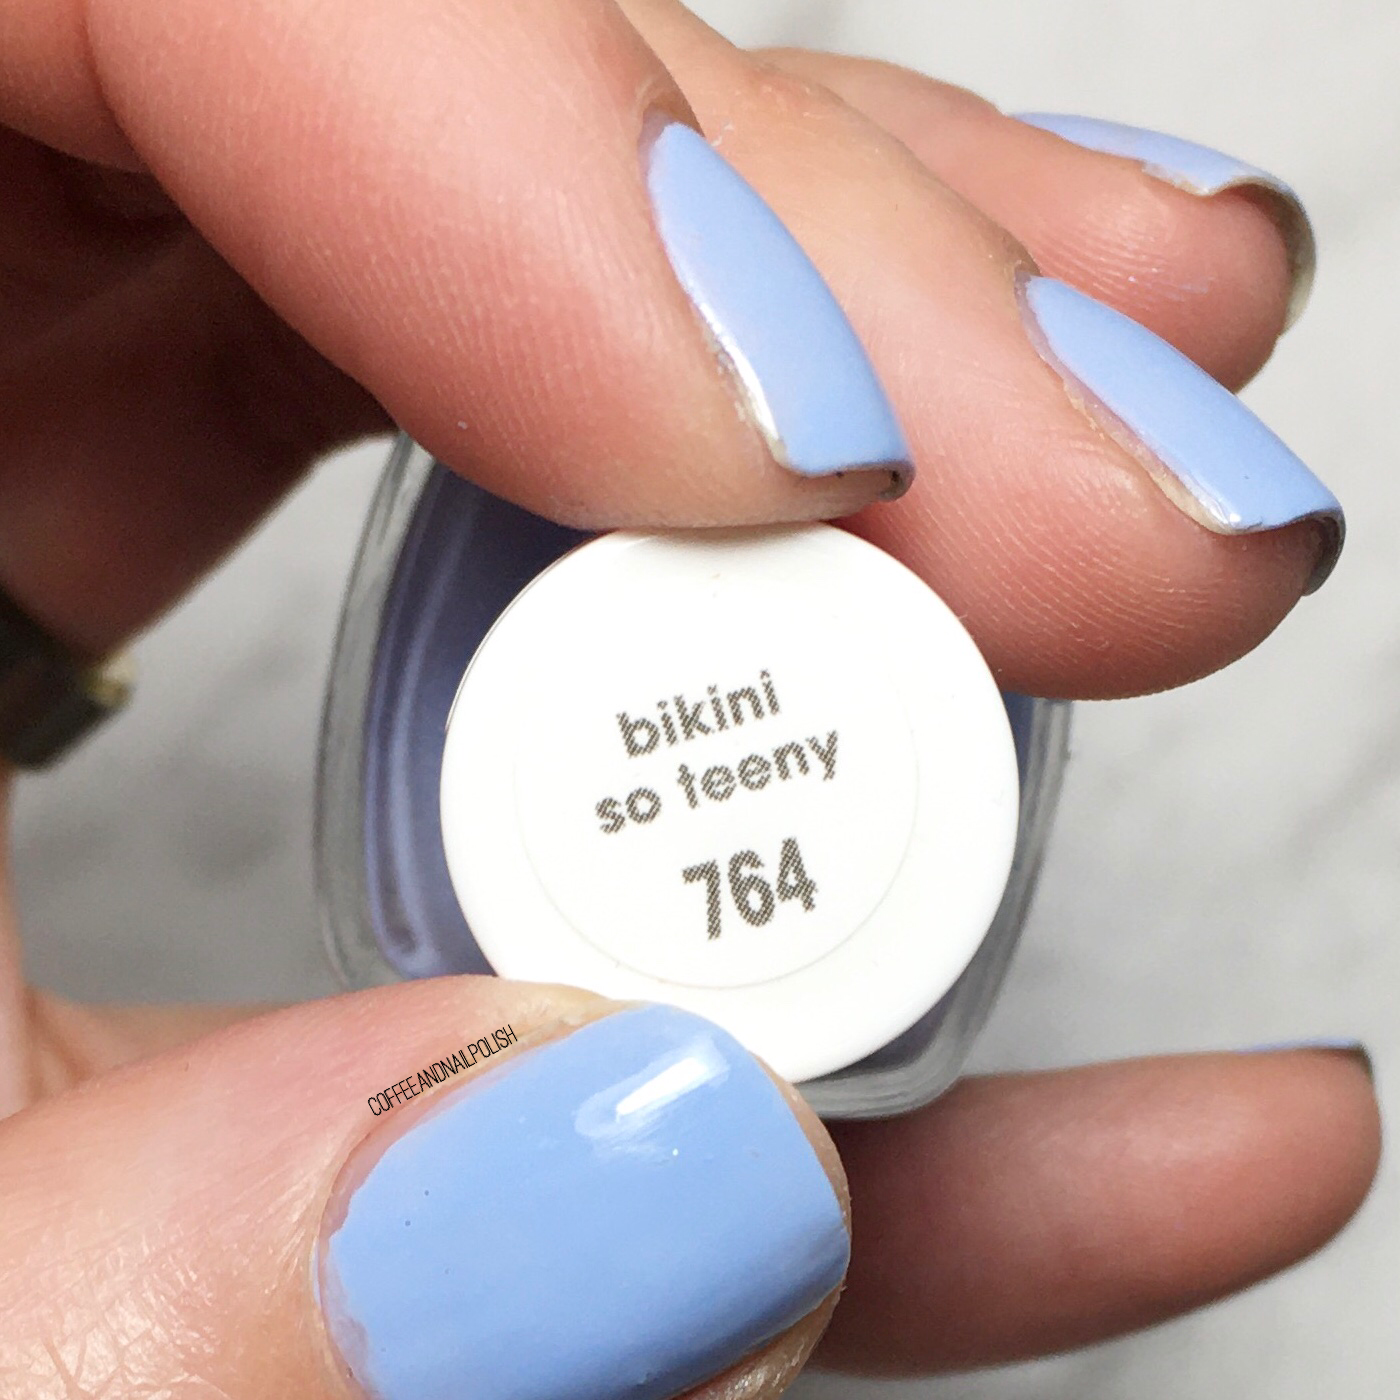
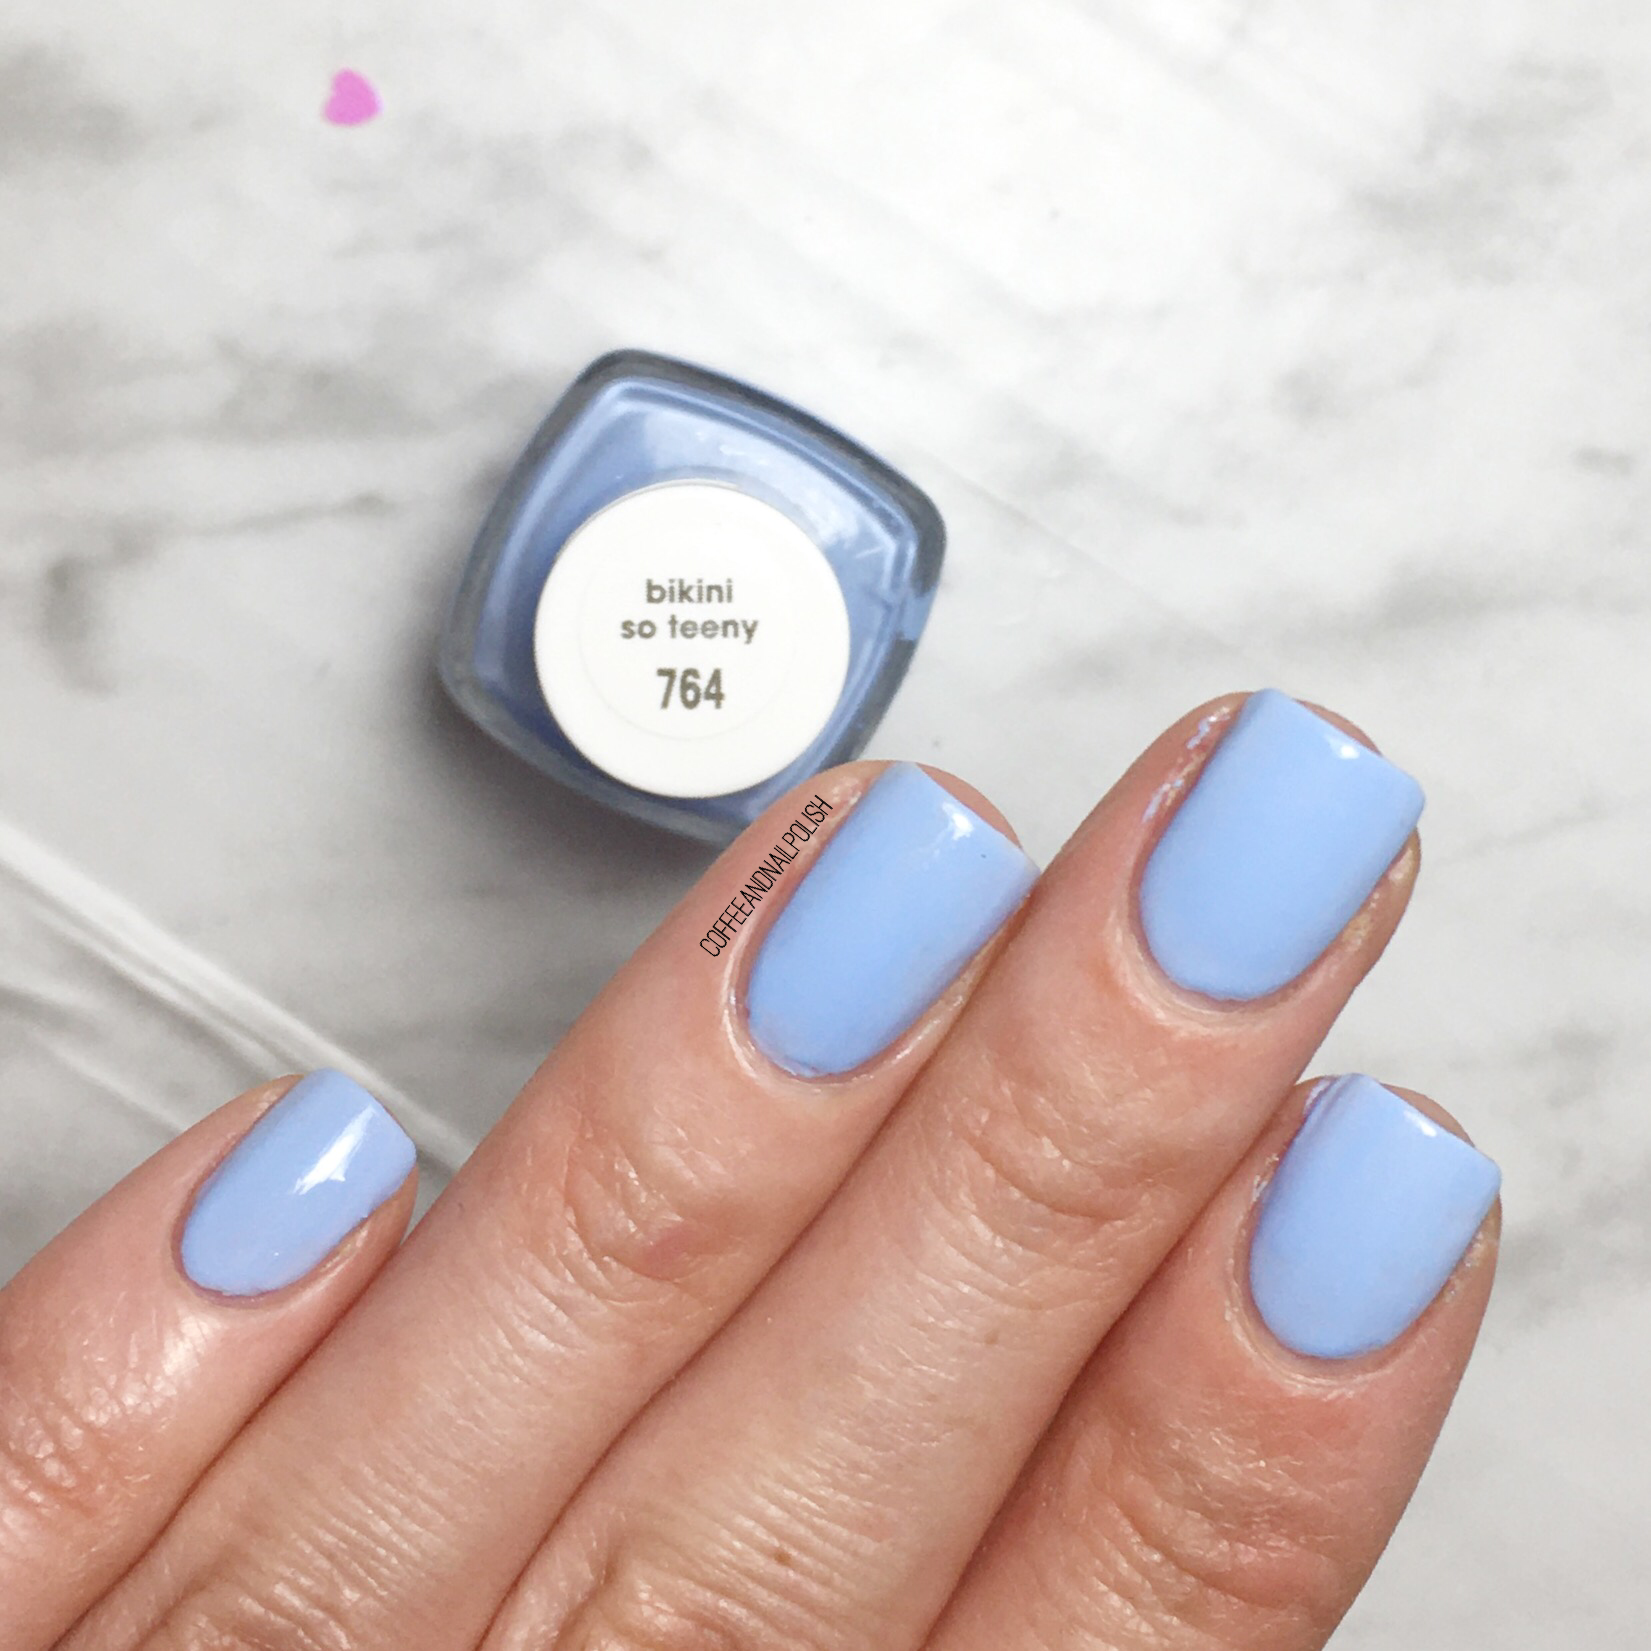
For this manicure, the polishes I used were:
- Base Coat: Sally Hansen Good Kind Pure Hardener
- Top Coat: Essie Speed Setter
- Sally Hansen Miracle Gel Get Mod
- Sally Hansen Miracle Gel Malibu Peach
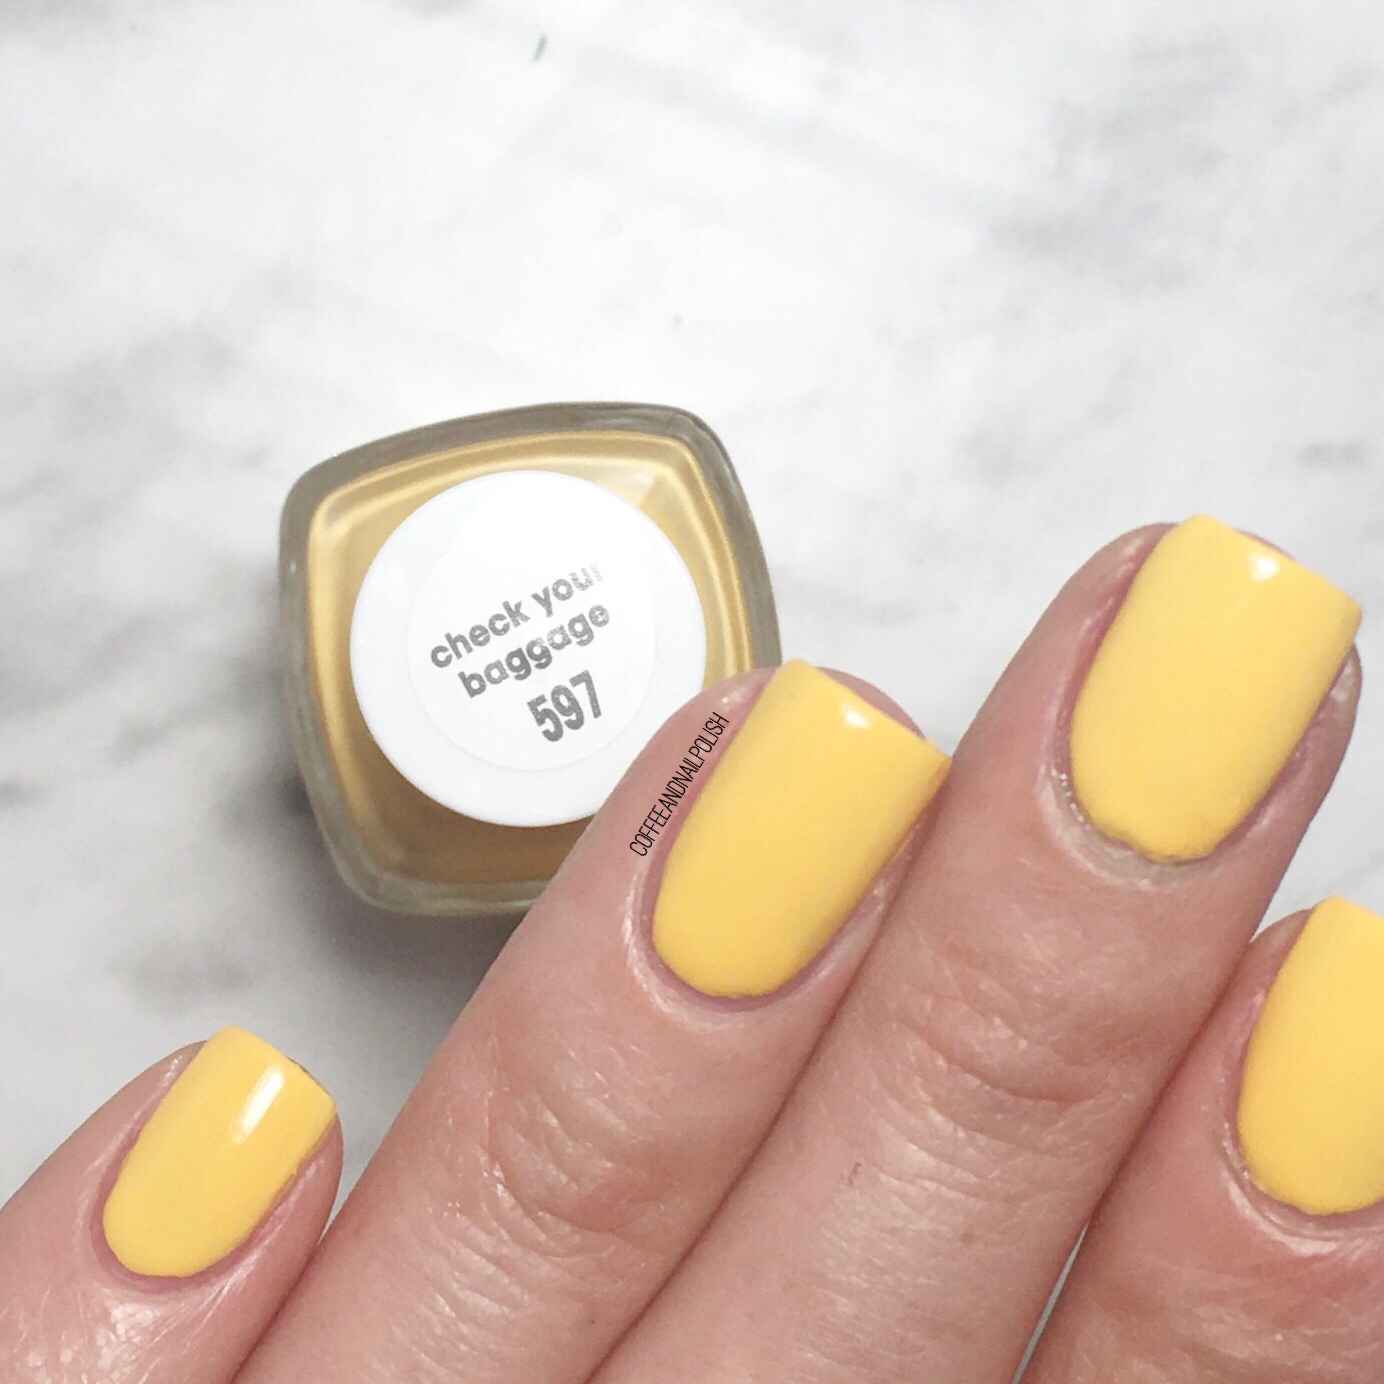
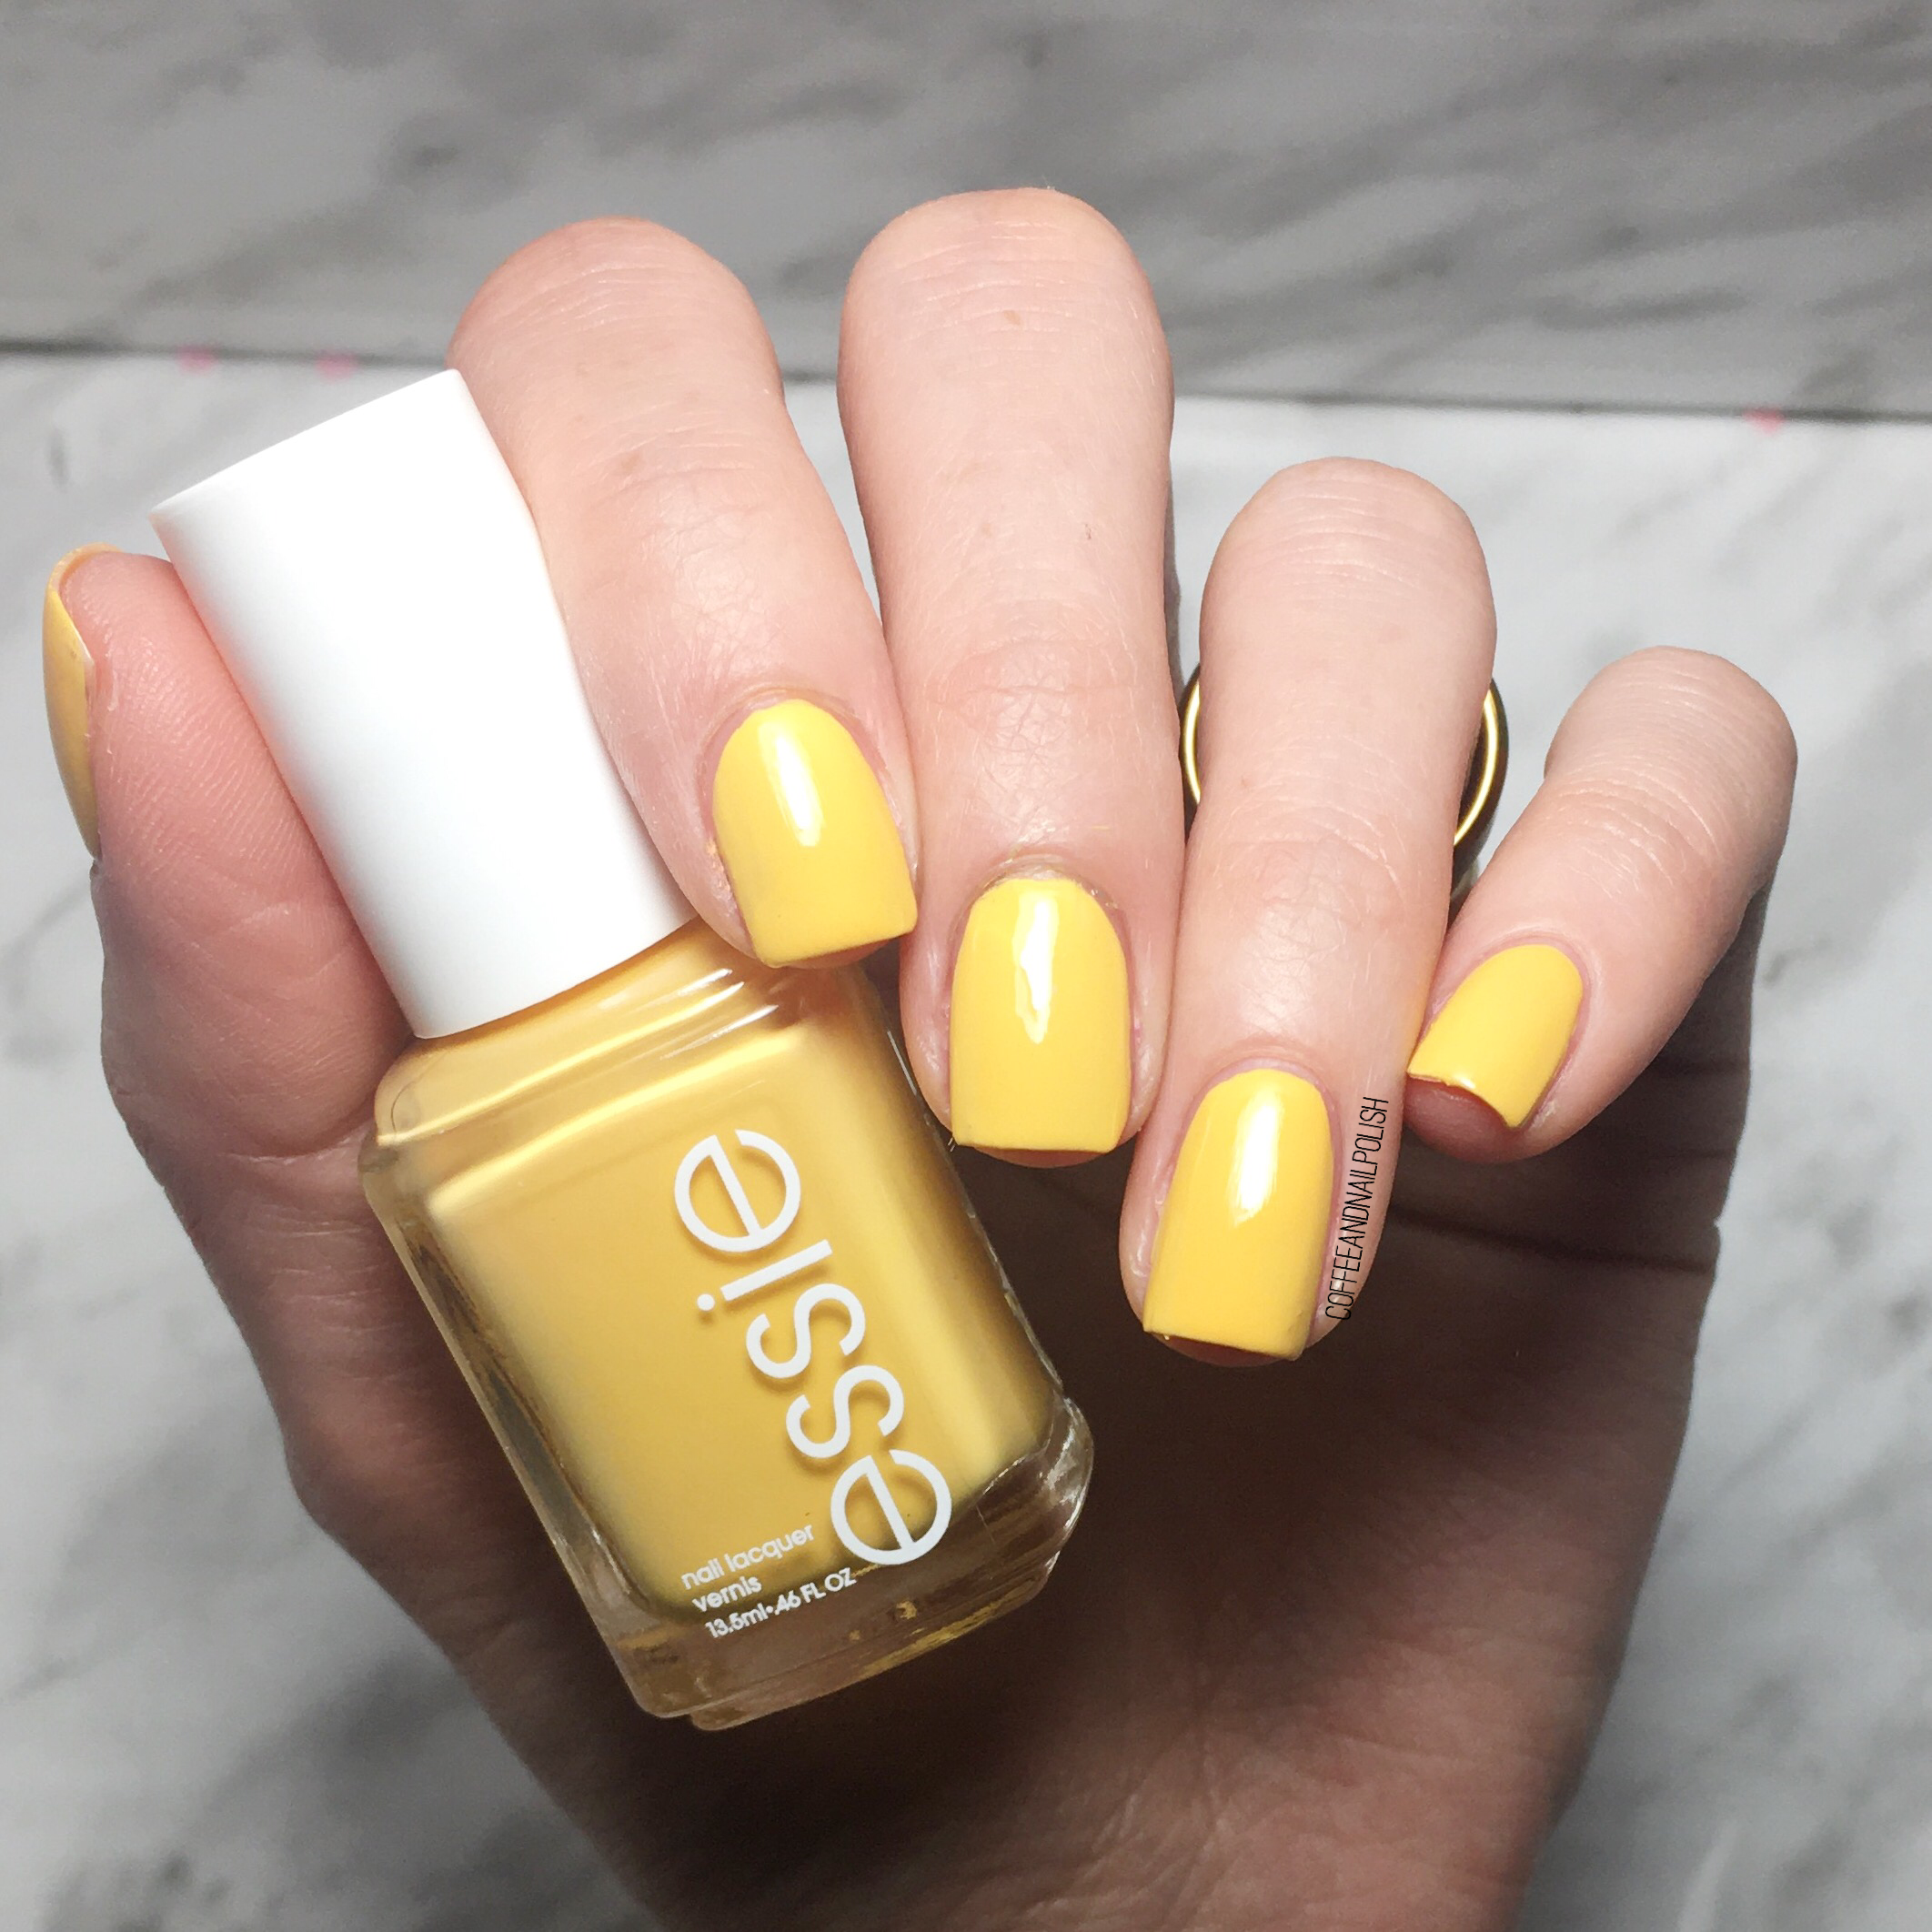
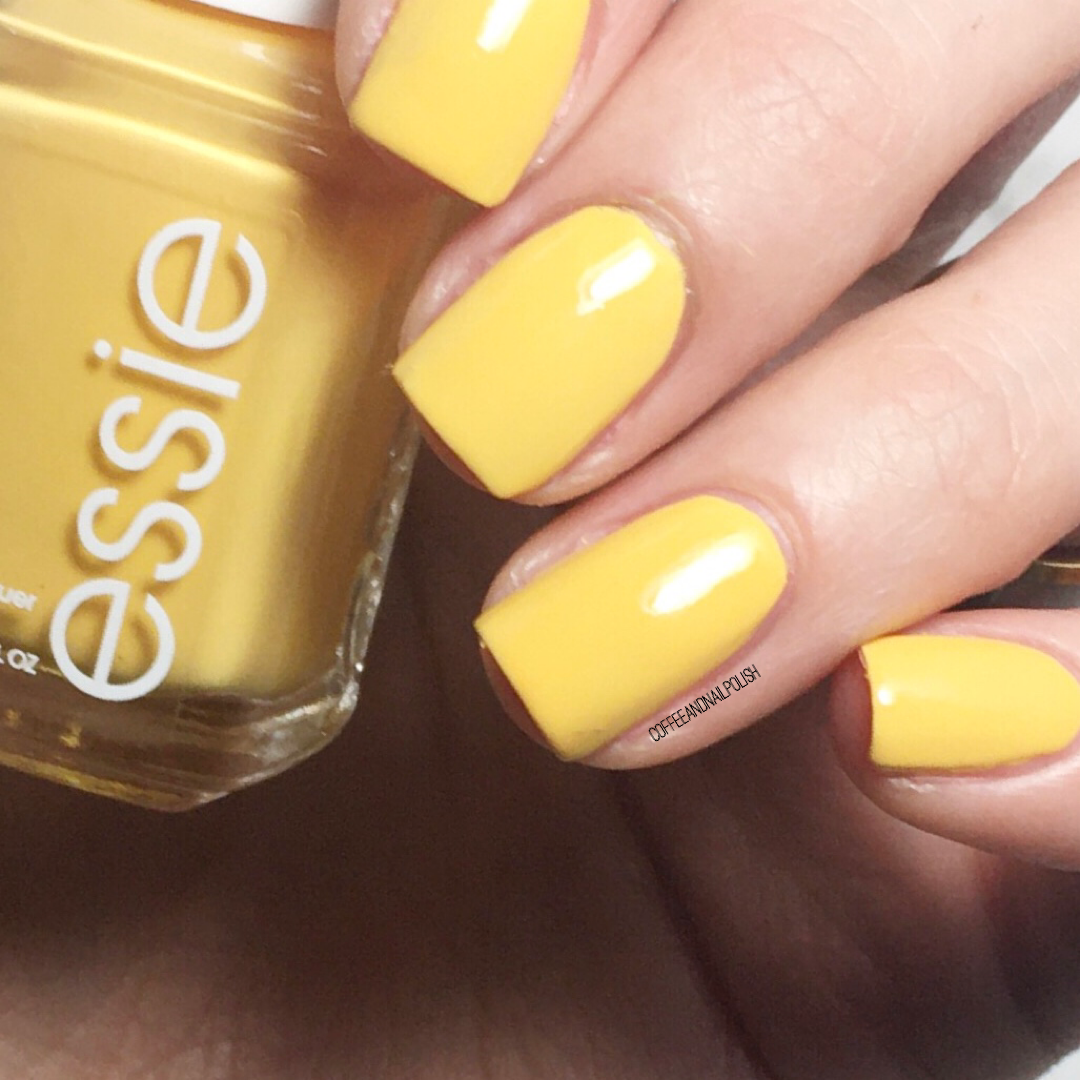
- Sally Hansen Miracle Gel Lemon Chillo
- Sally Hansen Miracle Gel Miami Nice
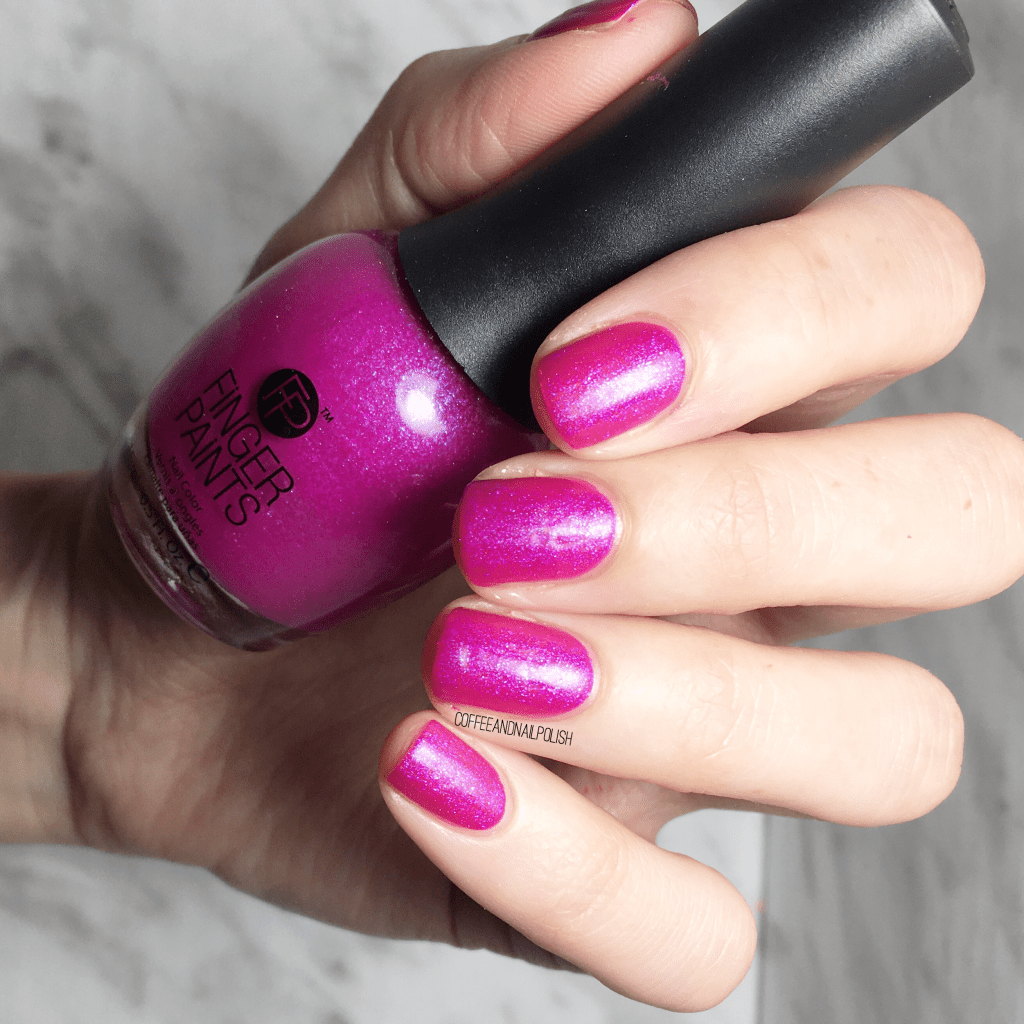
- Sally Hansen Miracle Gel Fuchsia Fever
- NailStuff.ca Round Clean Up Brush (COFFEE10 saves you 10%!)
- Pure Acetone
- Plastic Yogurt Lid
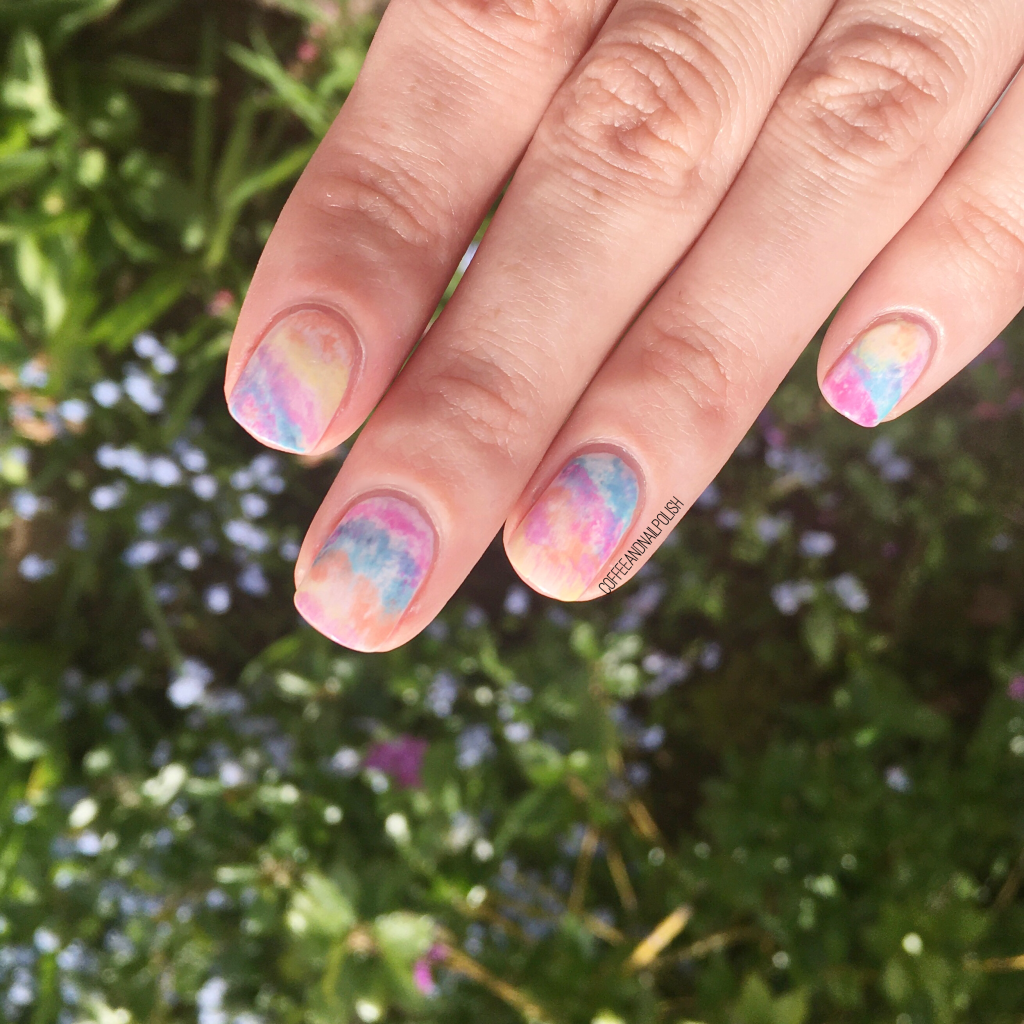
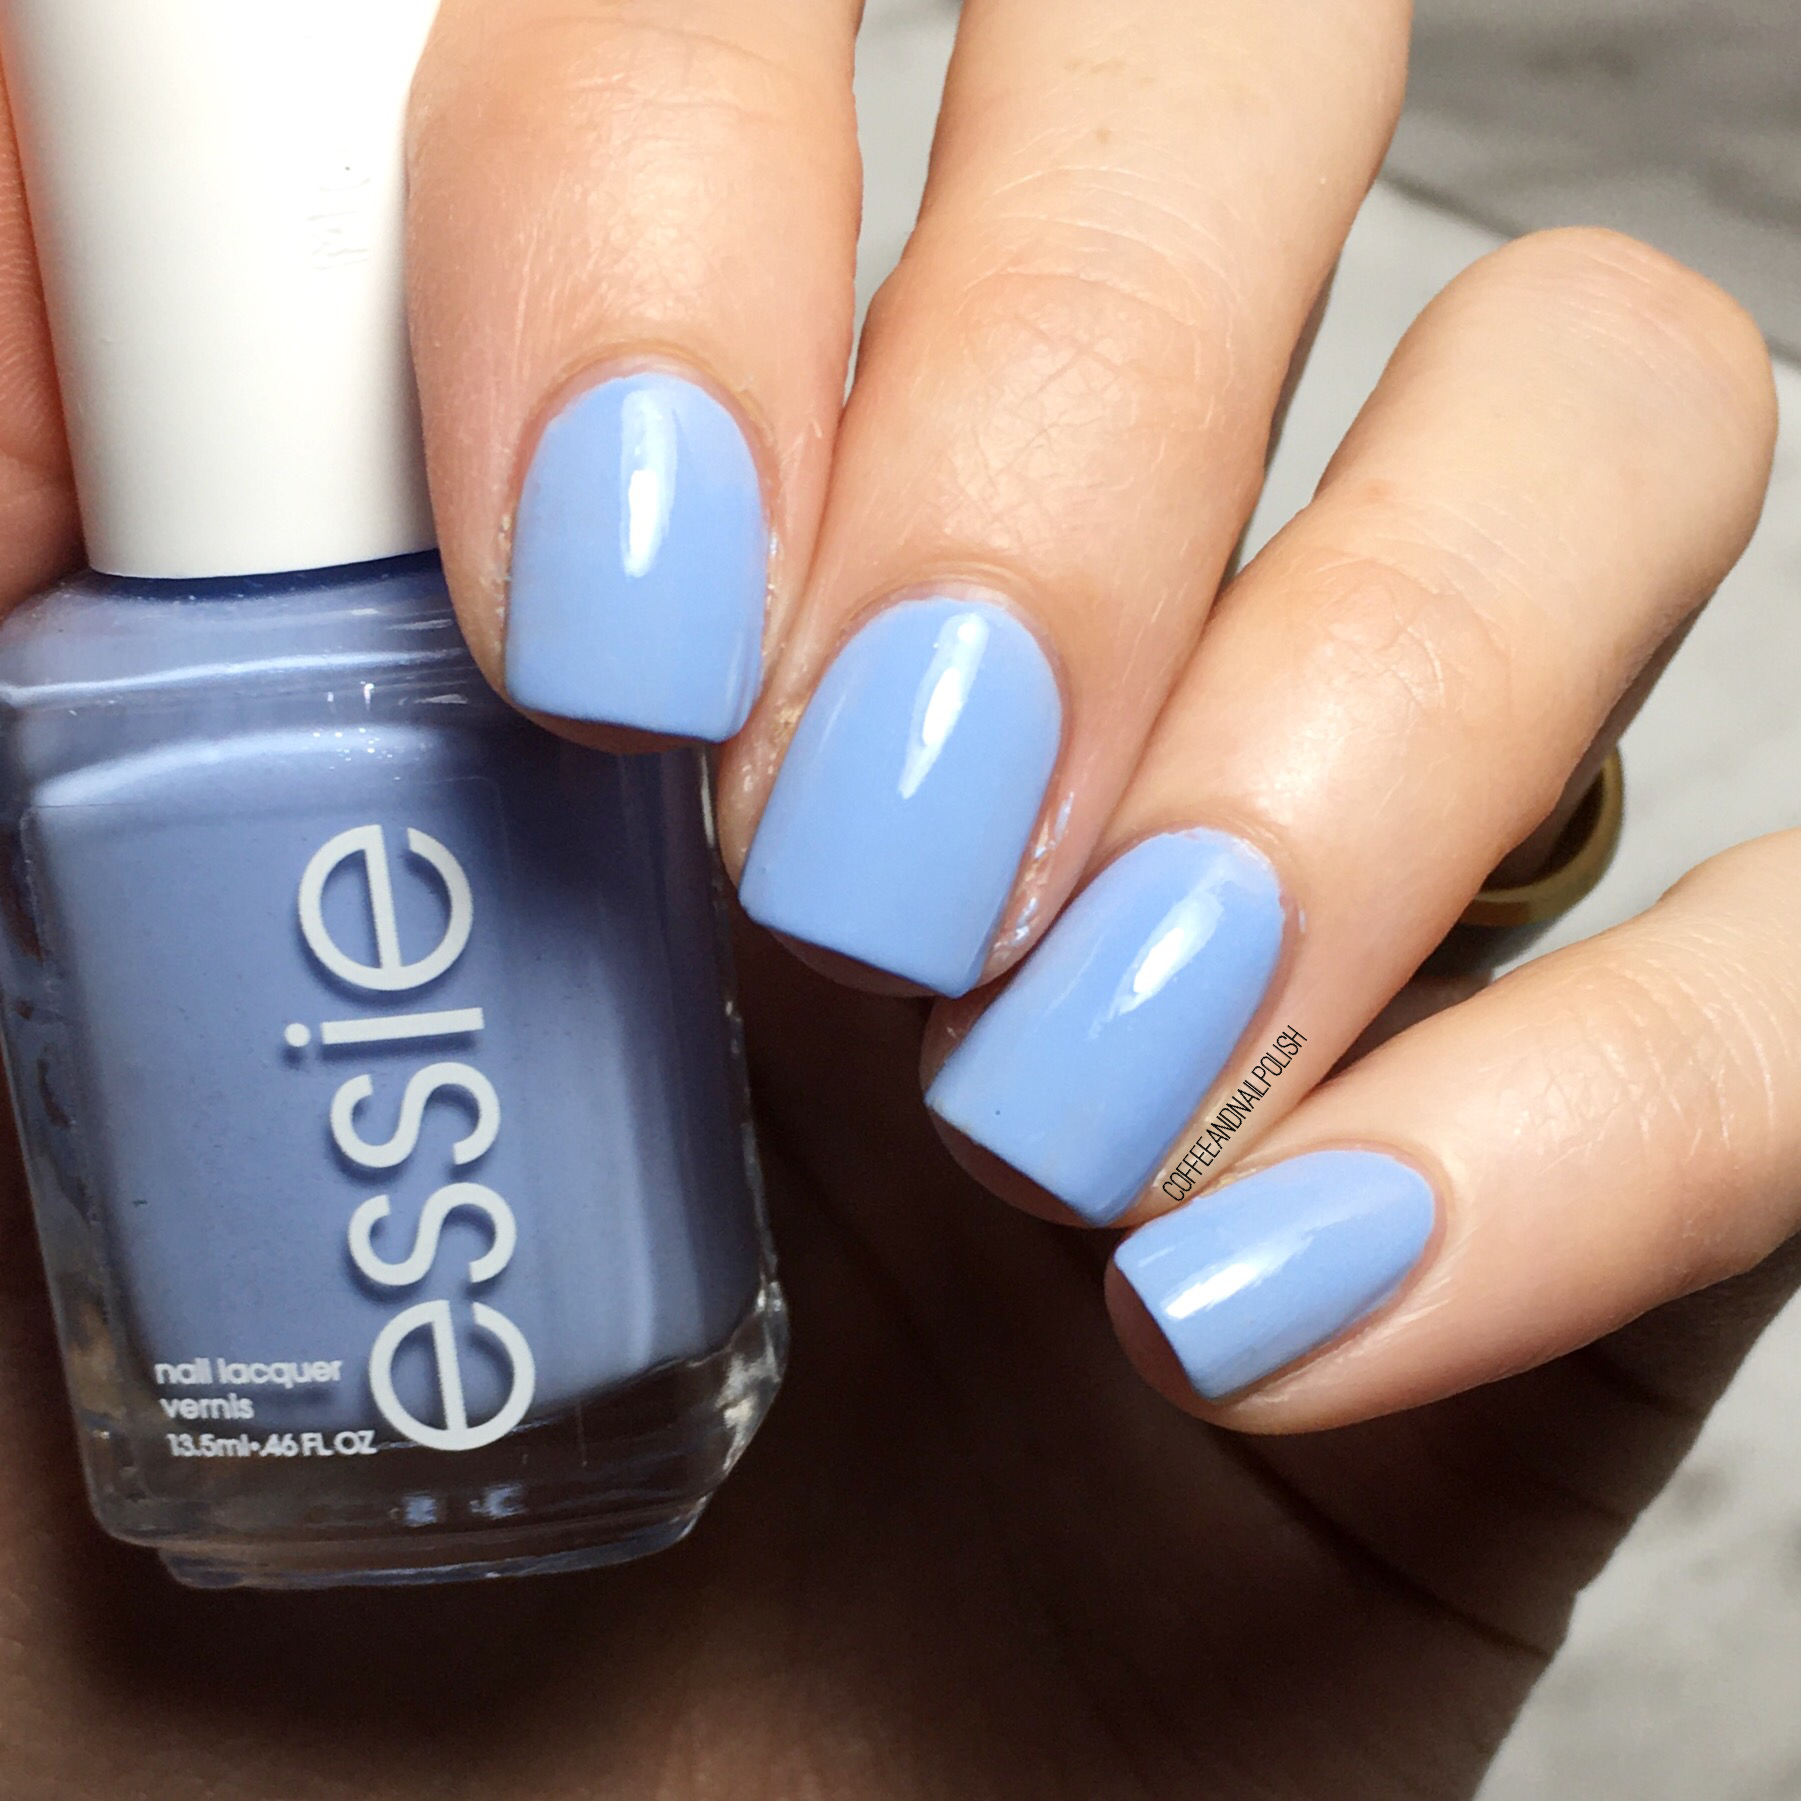
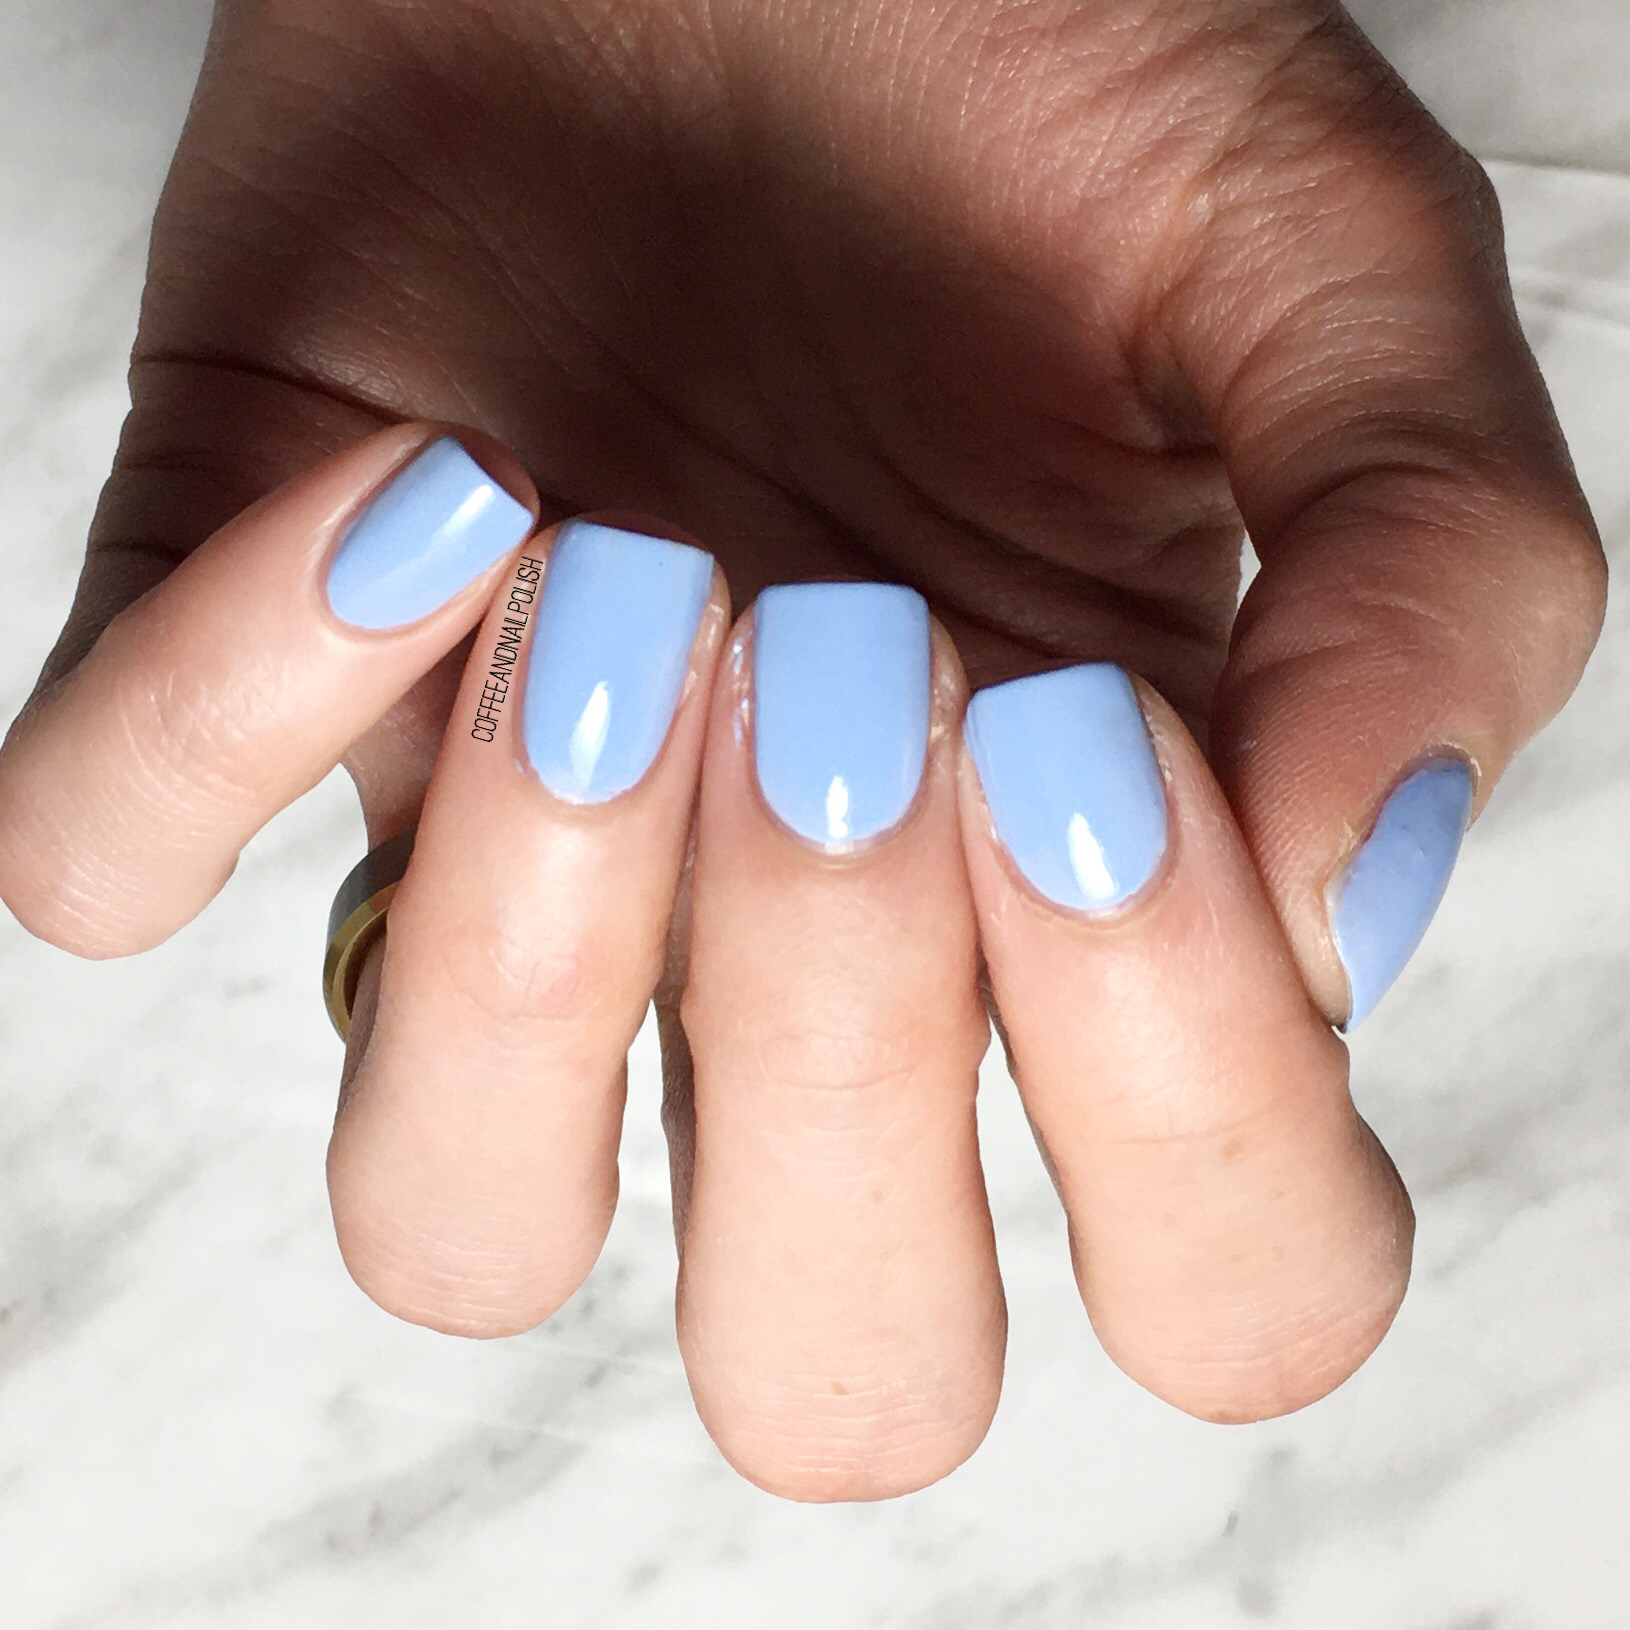
Ahhh, I love this colour combination so much. Like, I wish I could transfer it into clothing. The Sally Hansen Miracle Gel Neons from last summer are absolutely perfect for this kind of look & feel so Summer-y. & Sonya’s tutorial she posted was so easy to follow to recreate this look, I’m definitely going to recreate with a variety of colours.
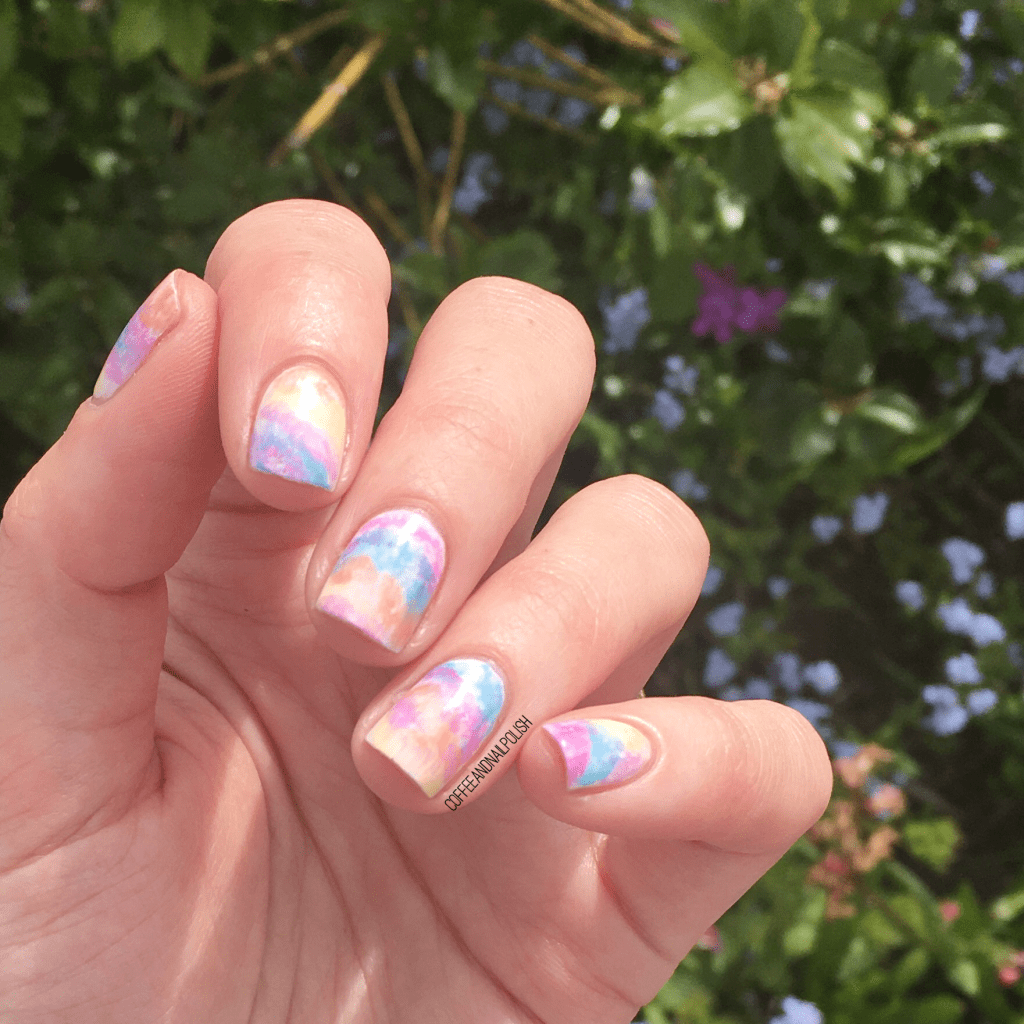
Like I said, thanks to @badgirlnails easy to follow tutorial, the look was a breeze to create! You definitely want to make sure you have an extra thick layer of top coat down before you start applying your tie-dye (so you don’t destroy your base) but other thank that this is a quick & easy look to do! & so on trend right now!
What do you think of this tie-dye look? Have you attempted tie-dye on your nails yet, or at home on clothes? Let me know any tips you have for creating your own tie-dye sweatshirts at home because I really want to give it a try (without, you know, tie-dying myself in the process!)