#GlamNailsChallengeDec — Christmas Presents

Hello lovelies & happy Tuesday!

I’m super late posting these Christmas Present nails for #GlamNailsChallengeDec! I’ll blame it on a post Christmas sugar hangover haha. I can’t believe we’re already post-Christmas — this year is almost over. & we just have a few prompts left to go before this month (& year) is over!

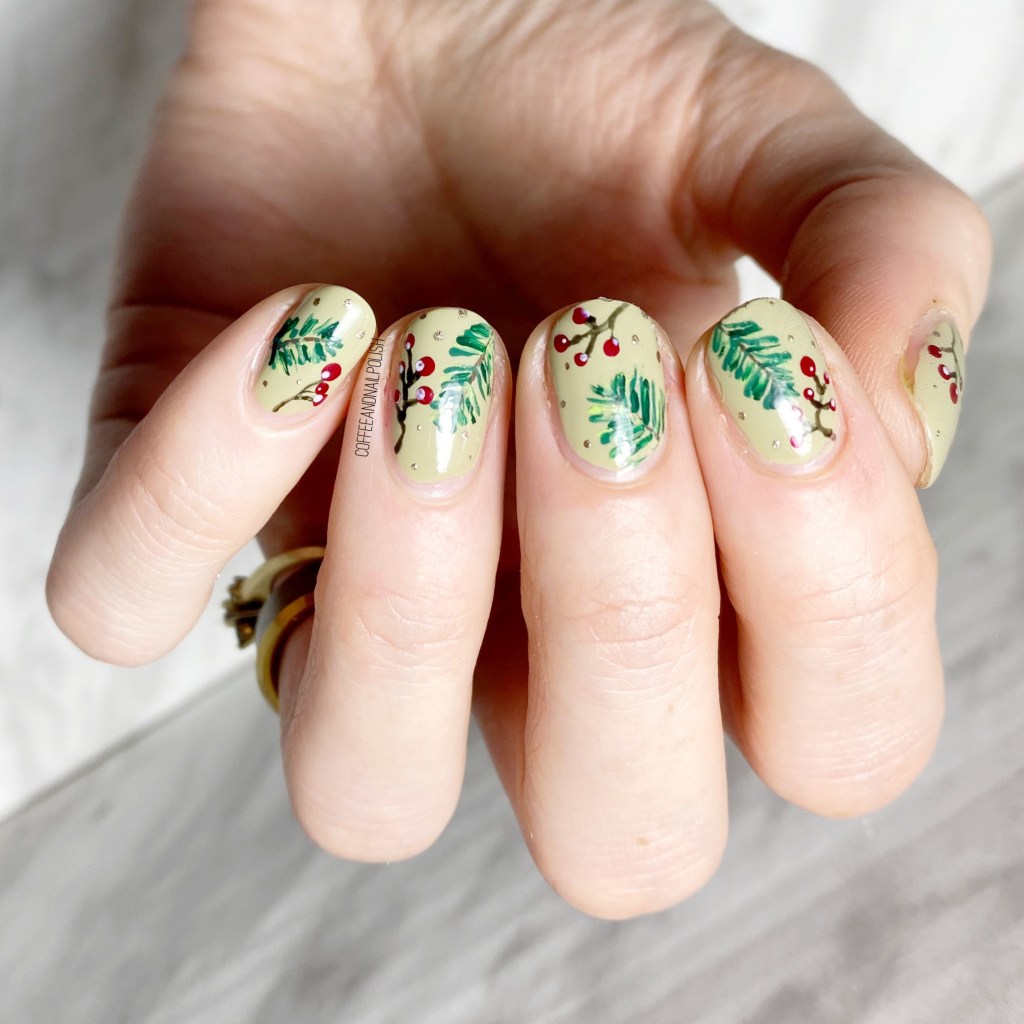
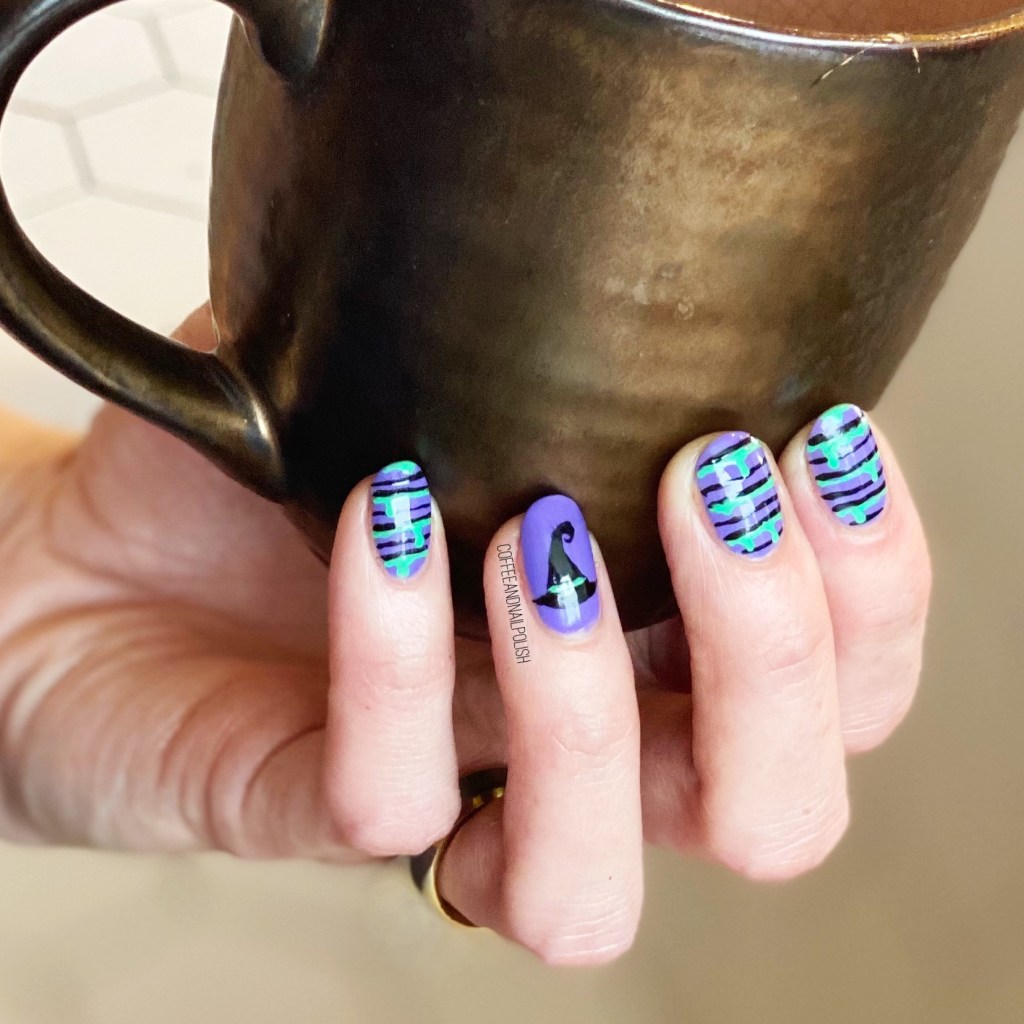
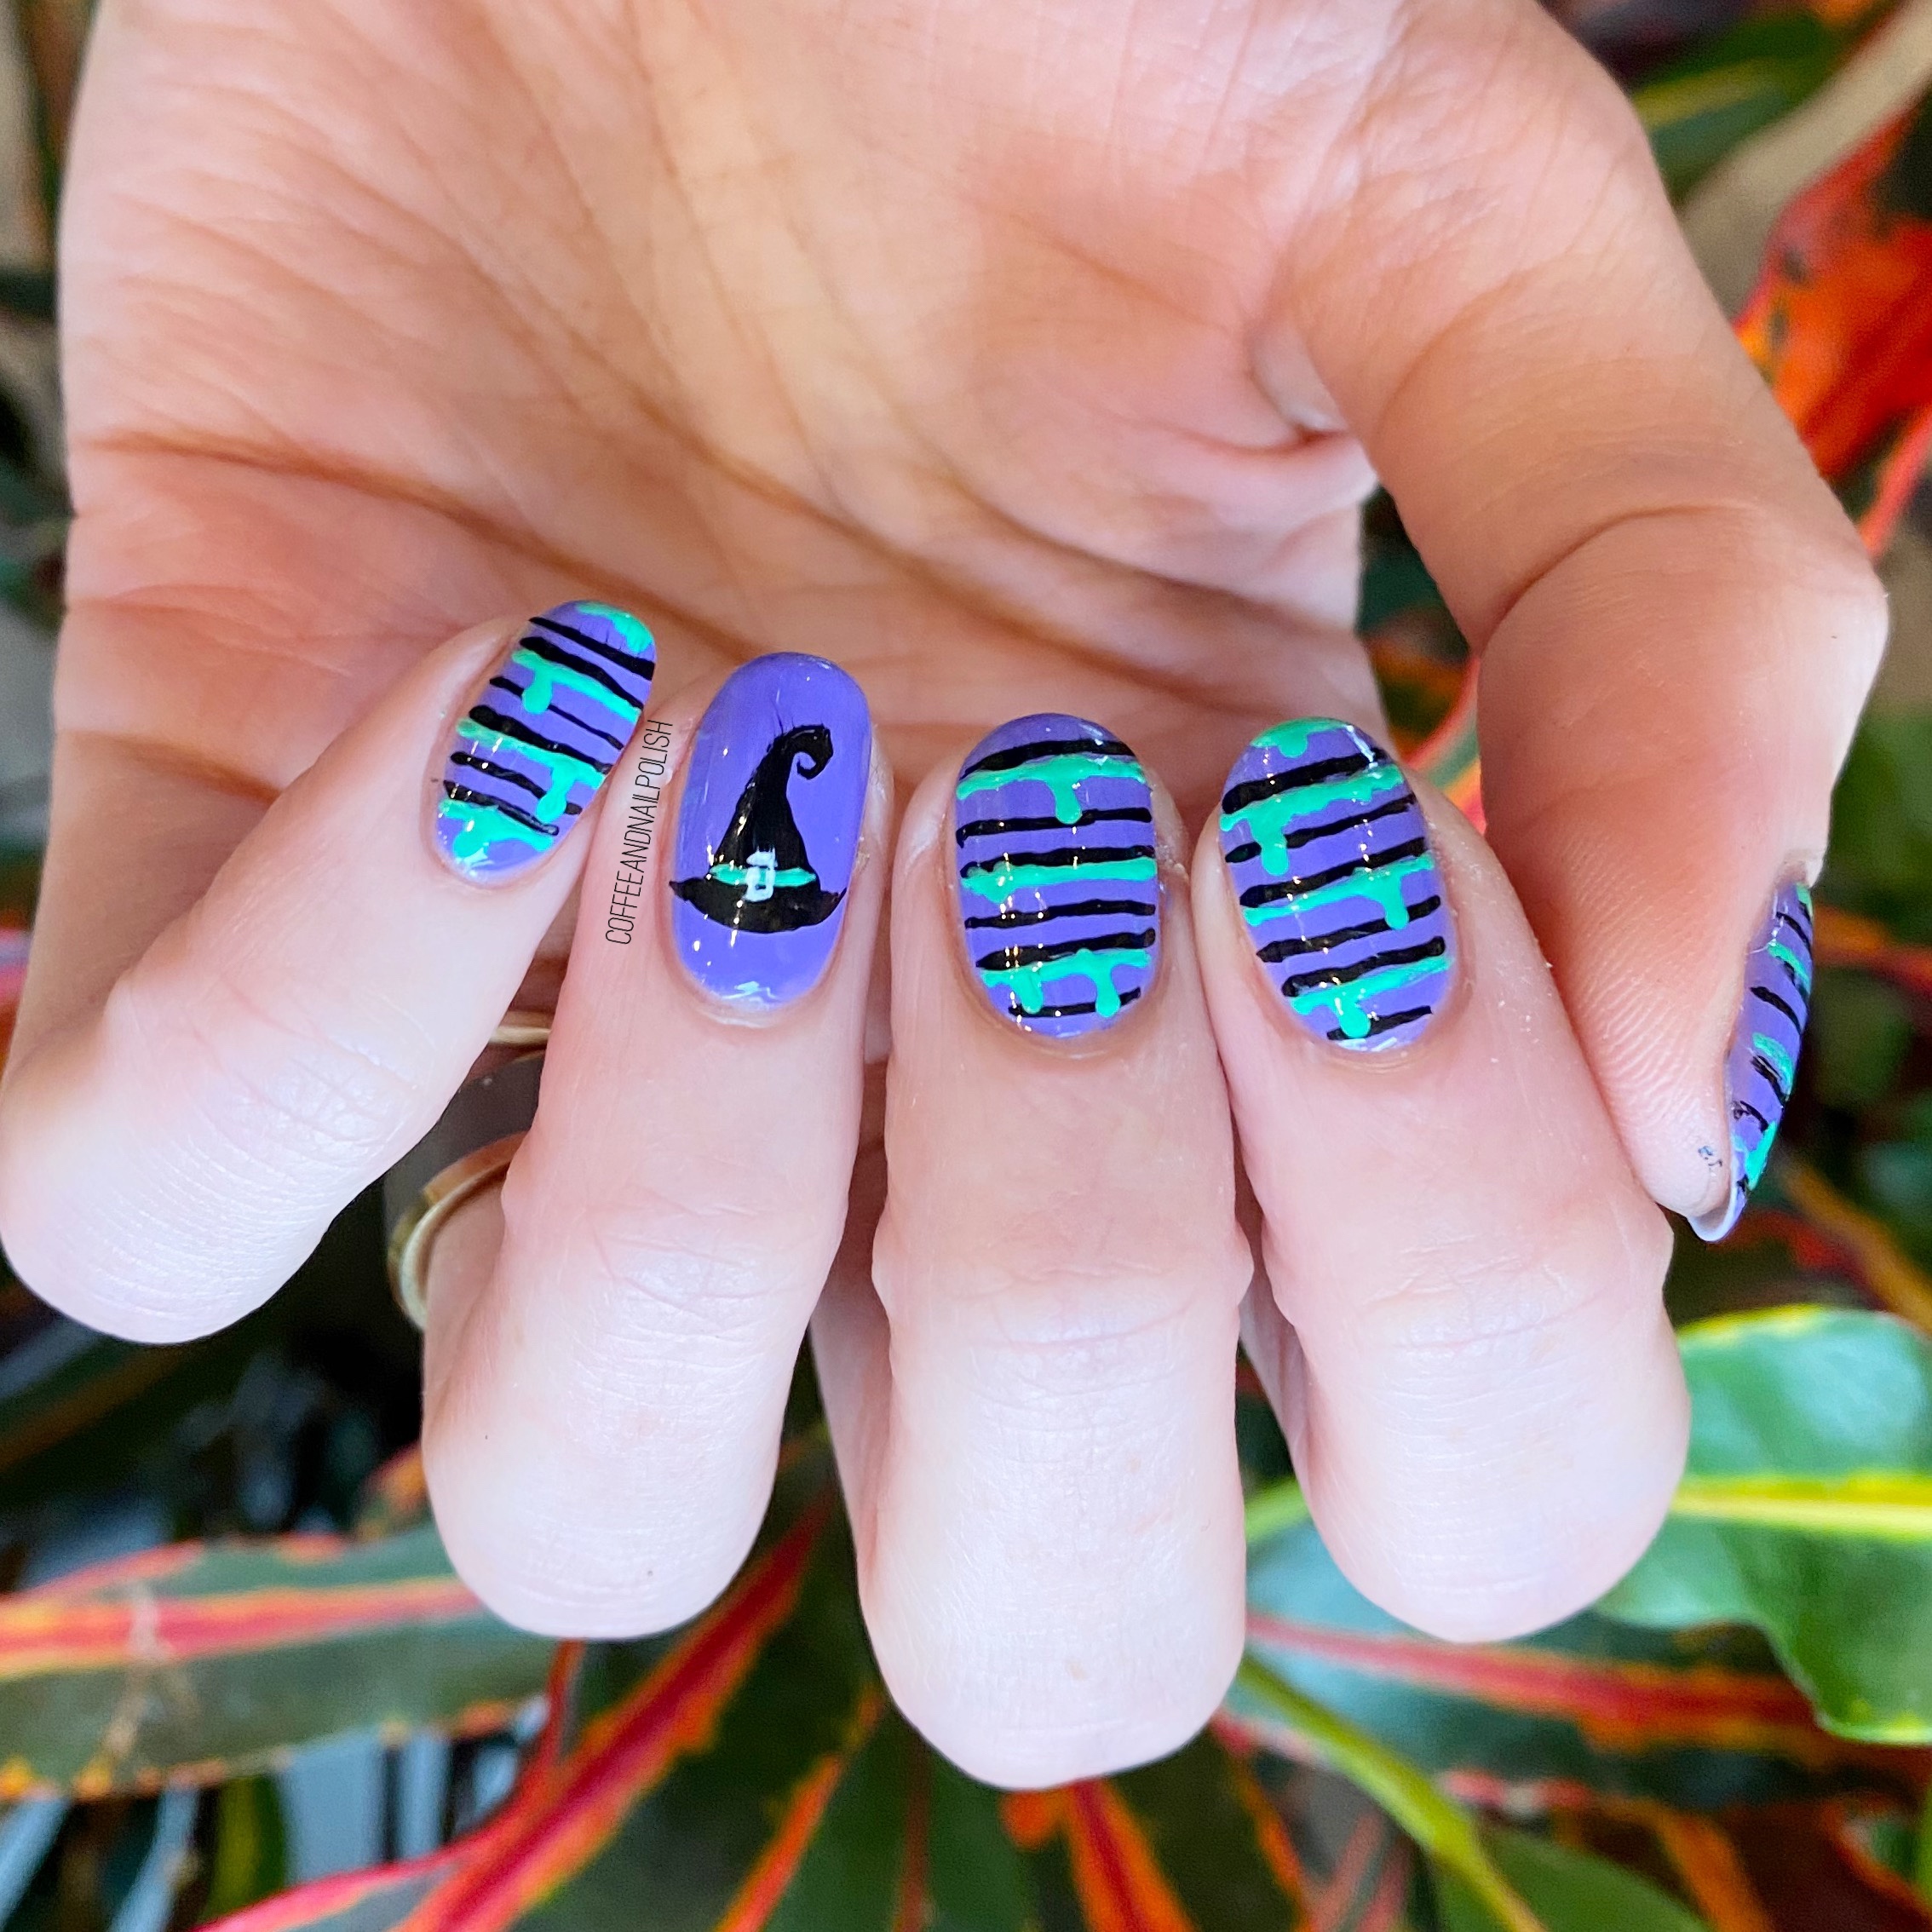
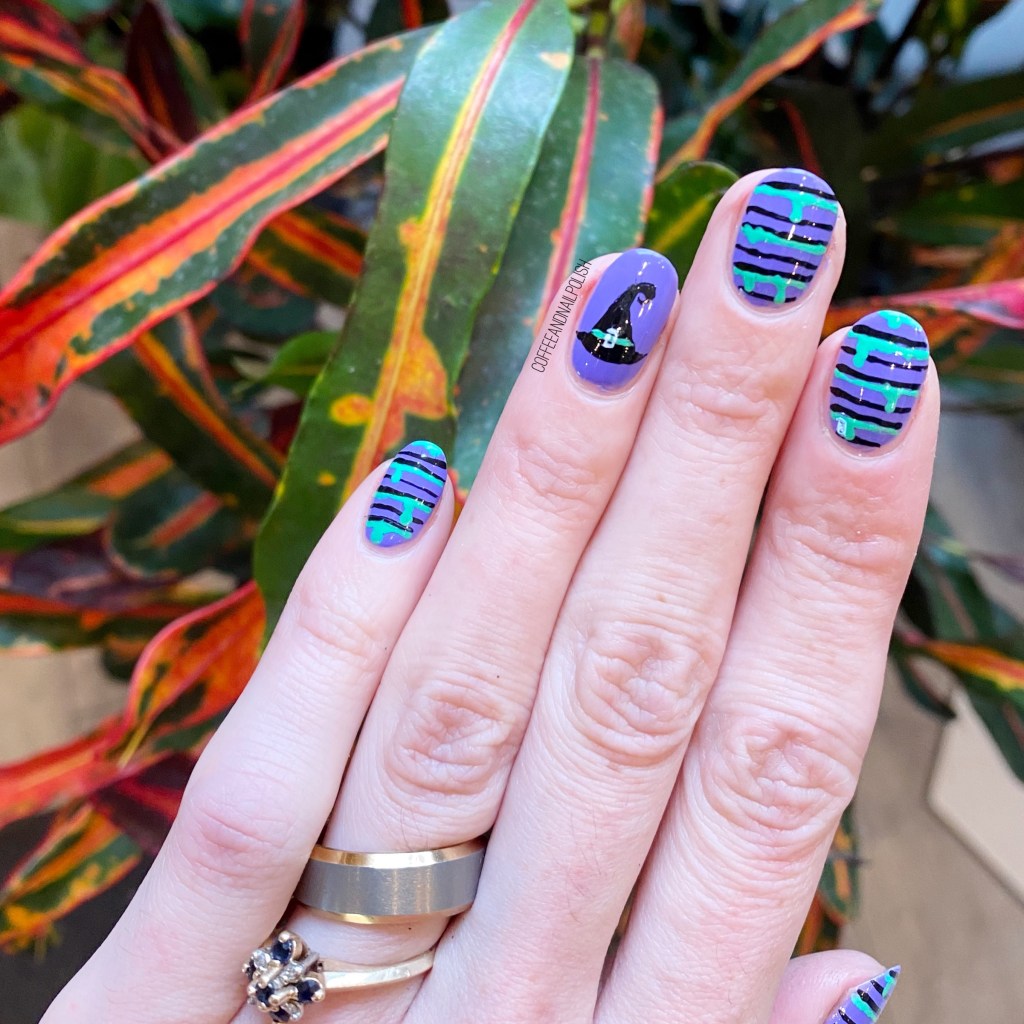
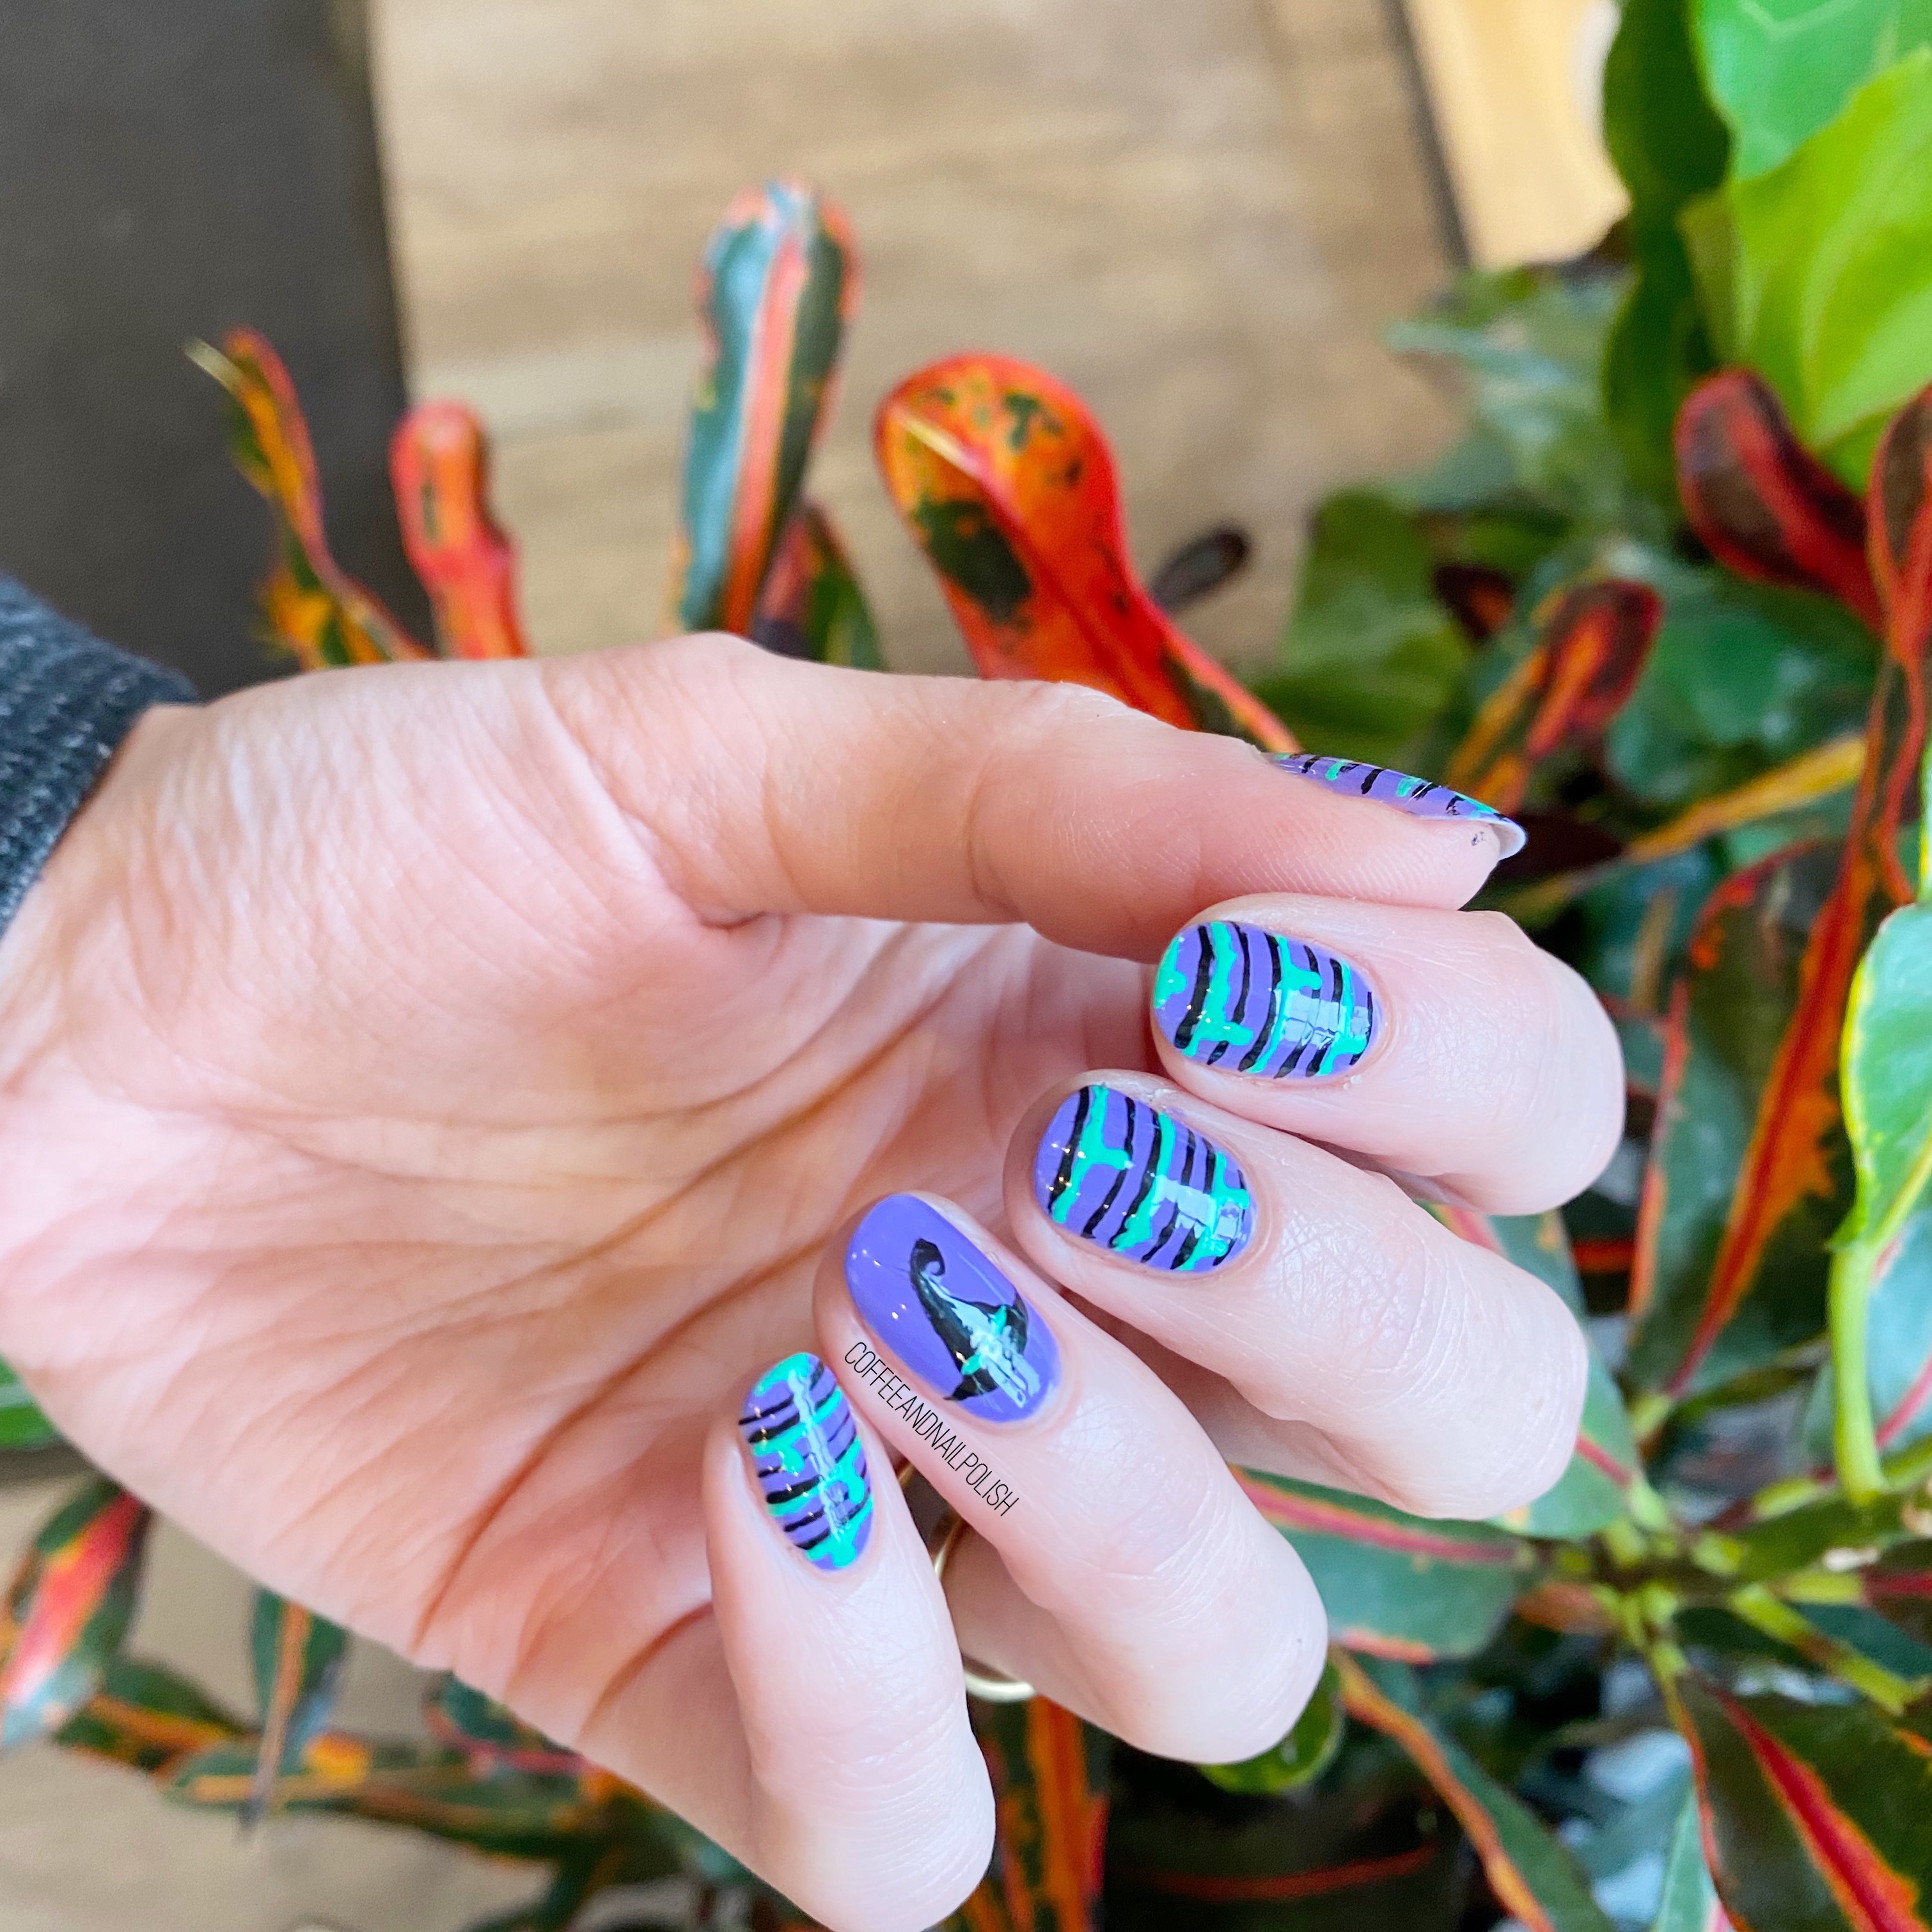
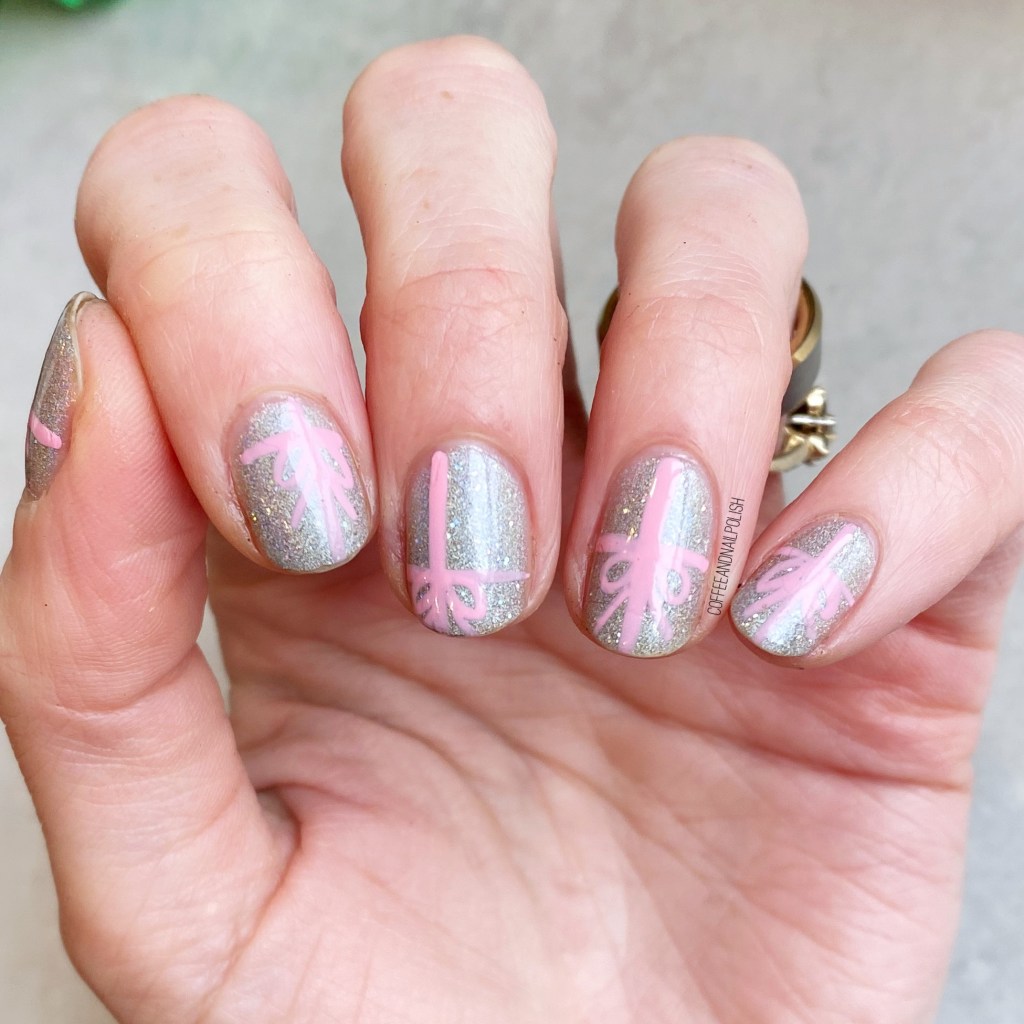
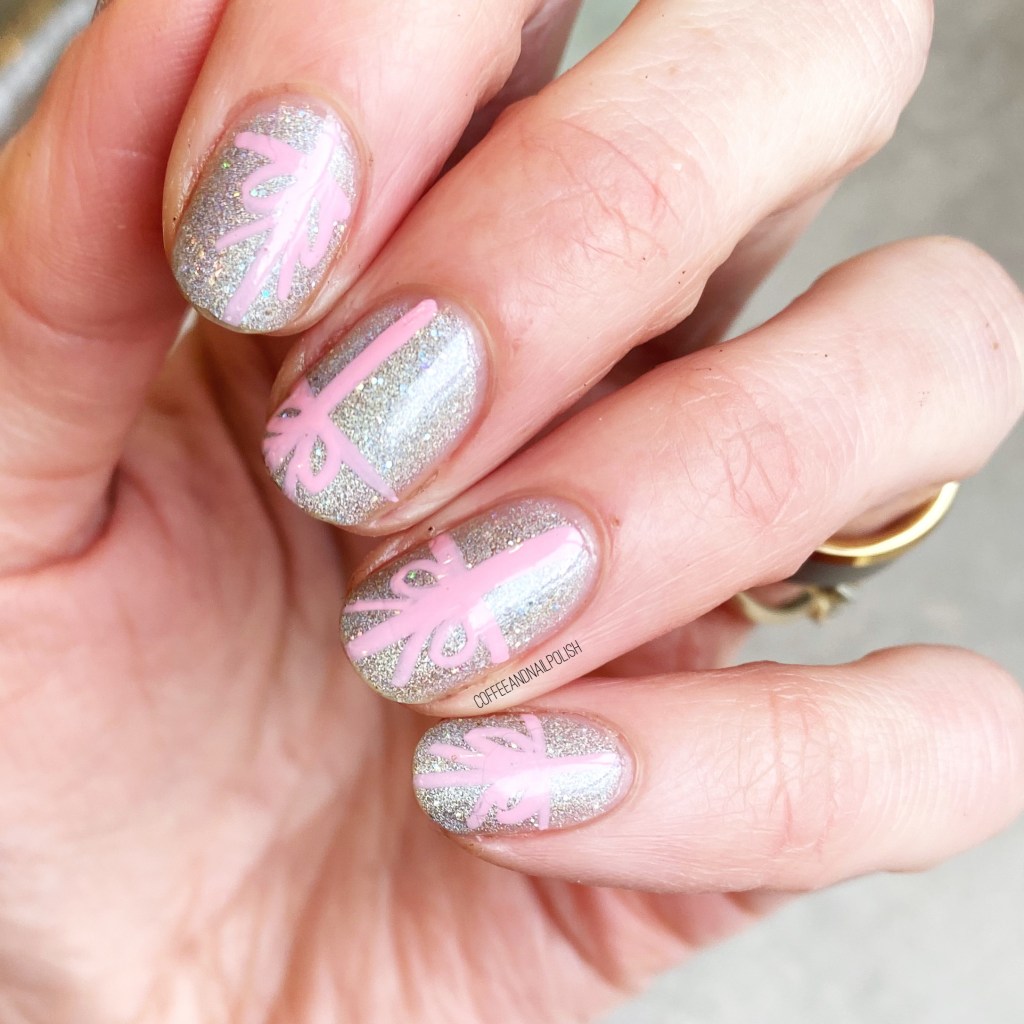
Today’s look is definitely a simple one (again, post Christmas sugar hangover/exhaustion) but I think the simple pink ribbon over the holographic base is exactly how I would love to find all my presents under my tree.

For this manicure, the polishes I used were:

  • Base Coat: Sally Hansen Hard As Nails
  • Top Coat: Sally Hansen Miracle Gel Shiny Top Coat
  • ORLY Mirrorball
  • Color Club Art Club Pink Pastel

This is probably one of the easiest nail art designs I’ve done this whole prompt! All you need is a nail art striper, & a steady hand. They were super quick to do too! & the colour combinations are endless—works for Christmas, birthdays, anything holiday involving presents. & I just adore it!

What do you think about this quick & easy Christmas Present nails? Have you been keeping an eye on all the beautiful designs on Instagram for #glamnailschallengeDec? There is just one prompt left to go, so stay tuned!

#GlamNailsChallengeDec — Holly

Hello lovelies & happy Wednesday! This week is certainly speeding by. The whole month is speeding by! It’s kind of crazy.

Today I have prompt #3 for #GlamNailsChallengeDec — Holly! Holly is definitely a classic Christmas nail art design, but instead of going with the classic depiction of holly we see this time of year, I wanted to go with a more rustic interpretation.

For this manicure, the polishes I used were:

  • Base Coat: Sally Hansen Hard As Nails
  • Top Coat: Essie Gel Setter
  • OPI This Isn’t Greenland
  • Sally Hansen Miracle Gel Get Mod
  • Essie Off Tropic
  • Sally Hansen Complete Salon Manicure Red My Lips
  • OPI Suzy & The Arctic Fox
  • L’Oréal Feeling Kilty
  • NailStuff.ca 4mm Micro Detail Brush (COFFEE10 saves you 10%!)
  • NailStuff.ca Dotting Tool Trio

Originally I though I might go with the traditional holly look, but after browsing Pinterest, I decided I wanted to go a different direction. Maybe it’s because I haven’t done any floral designs in longer than I can remember—what is that about—that I needed to go with the next best thing. & the end result just looks so pretty to me.

I wanted to get a picture with the holly bush in our front yard, but sadly the birds are all the holly berries off our holly bush, so it’s looking pretty naked.

What do you think about this design? Do you like my take on the holly prompt? Have you been keeping track of all the other beautiful designs for this challenge? Let me know in the comments below.

#GlamNailsChallengeOct — Haunted House

Oh my gosh, we’ve made it! Today is the last prompt of GlamNailsChallengeOct & I can’t believe that October is almost over! It’s crazy.

The last prompt for this month’s challenge is Haunted House. I wasn’t 100% sure how I wanted to approach this prompt, but I decided a darkened sky haunted house landscape was the way to go. Just the right level of spooky, plus it gave me a chance to practice my freehand skills some more.

For this manicure, the polishes I used were:

  • Base Coat: Sally Hansen Hard As Nails
  • Top Coat: Essie Gel Setter
  • Essie Go Ginza
  • Essie Bikini So Teeny
  • Essie All The Wave
  • Essie Under The Twilight
  • Essie Blank Page
  • Essie Check Your Baggage
  • Starrily Vantablack
  • NailStuff.ca 4mm Micro Detail Brush (COFFEE10)
  • Latex free make up sponge

This look was actually so much fun to paint! I started off by sponging on my colours one on top of each other, then topped everything with top coat. Next, I freehanded my design over top, one nail at a time. I was sort of inspired by this look, originally by @lieve91, but obviously I went with a blue background instead of the orange-y shades. I also added some ghosties flying around my haunted house, just cause I thought it would cement the whole haunted idea.

I’m actually really happy with how these turned out! They’re not perfect, but I’m definitely proud of hand painting these little details. & my spooky little tree might be my favourite part!

What are you pandemic Halloween plans. Because our province is doing pretty well, cases wise, our health authority has said that as long as we remain careful & distance, we can trick or treat. So we’re going to do some kind of trick or treating with the kids, & maybe settle in after bedtime for some scary movie watching!

What do you think about this manicure? Let me know in the comments below!

#GlamNailsChallengeOct — Bats

Hello lovelies & happy Monday! Can you believe we are so close to the end of October? Seriously… where did October even go? I can’t believe that it’s almost Halloween. I seriously want to petition to make Halloween a whole week instead of just one day. It’s just over too quickly!

We’re also down to our second last design for GlamNailsChallengeOct! Today’s prompt is Bats. While I would have loved to freehand some cute bats on my nails, after my first attempt, I knew it was going to end up being super frustrating & I decided to pull out some nail stickers to create my cute Halloween look.

For this manicure, the polishes I used were:

  • Base Coat: Sally Hansen Hard As Nails
  • Top Coat: Essie Gel Setter
  • NYC Color Frightening Fingers in Red
  • Essie Shine Of The Times
  • Dollarama Halloween Nail Stickers

Aren’t these super cute?

I was actually really impressed with these nail stickers. While I don’t wear them a lot, they’re great to grab for a quick nail art look. These particular stickers were bought at my local Dollarama, while picking up Halloween decorations, & they stick to the nail really well. I wore this look through a long day at work, & I didn’t have them peel off or stick off the nail at all. Granted, I applied two coats of top coat, but even still you can’t even feel the sticker on the nail. I love it! & I also love the little bit of glitter on the stickers. They’re actually some of the cuter stickers I’ve used.

What do you think about this nail art look? Do you ever use nail art stickers? Which brand are your favourites? Let me know in the comments below!

#GlamNailsChallengeOct — Witches

Hello lovelies & happy Wednesday.

Today I have another fun design I created for #GlamNailsChallengeOct, which are quite possibly my most favourite Halloween nail art of all time! The prompt for today was Witches, so I decided to go with a witchy hat & some witchy stripes. & I absolutely adore how everything came together! The combination of my accent nail with the witchy hat & the drippy stripes are just so much fun. & everything was totally freehanded.

For this manicure, the polishes I used were:

  • Base Coat: Sally Hansen Hard As Nails
  • Top Coat: Essie Gel Setter
  • Color Club Pucci-licious
  • Ardene Jungle Green
  • Starrily Vantablack
  • Sally Hansen Miracle Gel Get Mod
  • NailStuff.ca 7mm detail brush(COFFEE10 to save 10%)

First off, Starrily VantaBlack is officially my favourite black nail polish for nail art. It freehands so well, & makes drawing so easily (almost as easy as using acrylic paint!) I even found it so easy to use for drawing my black stripes, which makes me so happy. Secondly, look how cute that little witch hat is! I love it so much. I actually didn’t want to take this manicure off at all, but it started to chip (& I have other Halloween manicures to plan!) so I did. But seriously, I am so in love with this look!

What do you think about this Halloween design? Do you love it as much as I do? Share all your thoughts down in the comments below!