Blue & Grey Herringbone Pattern

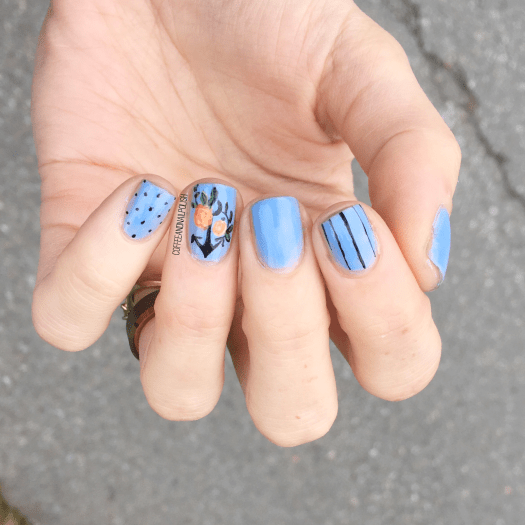
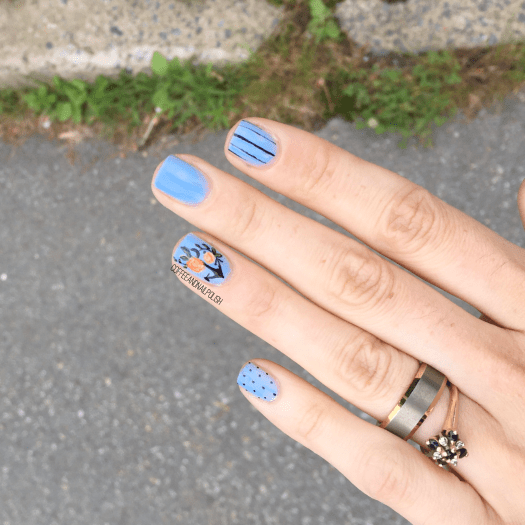
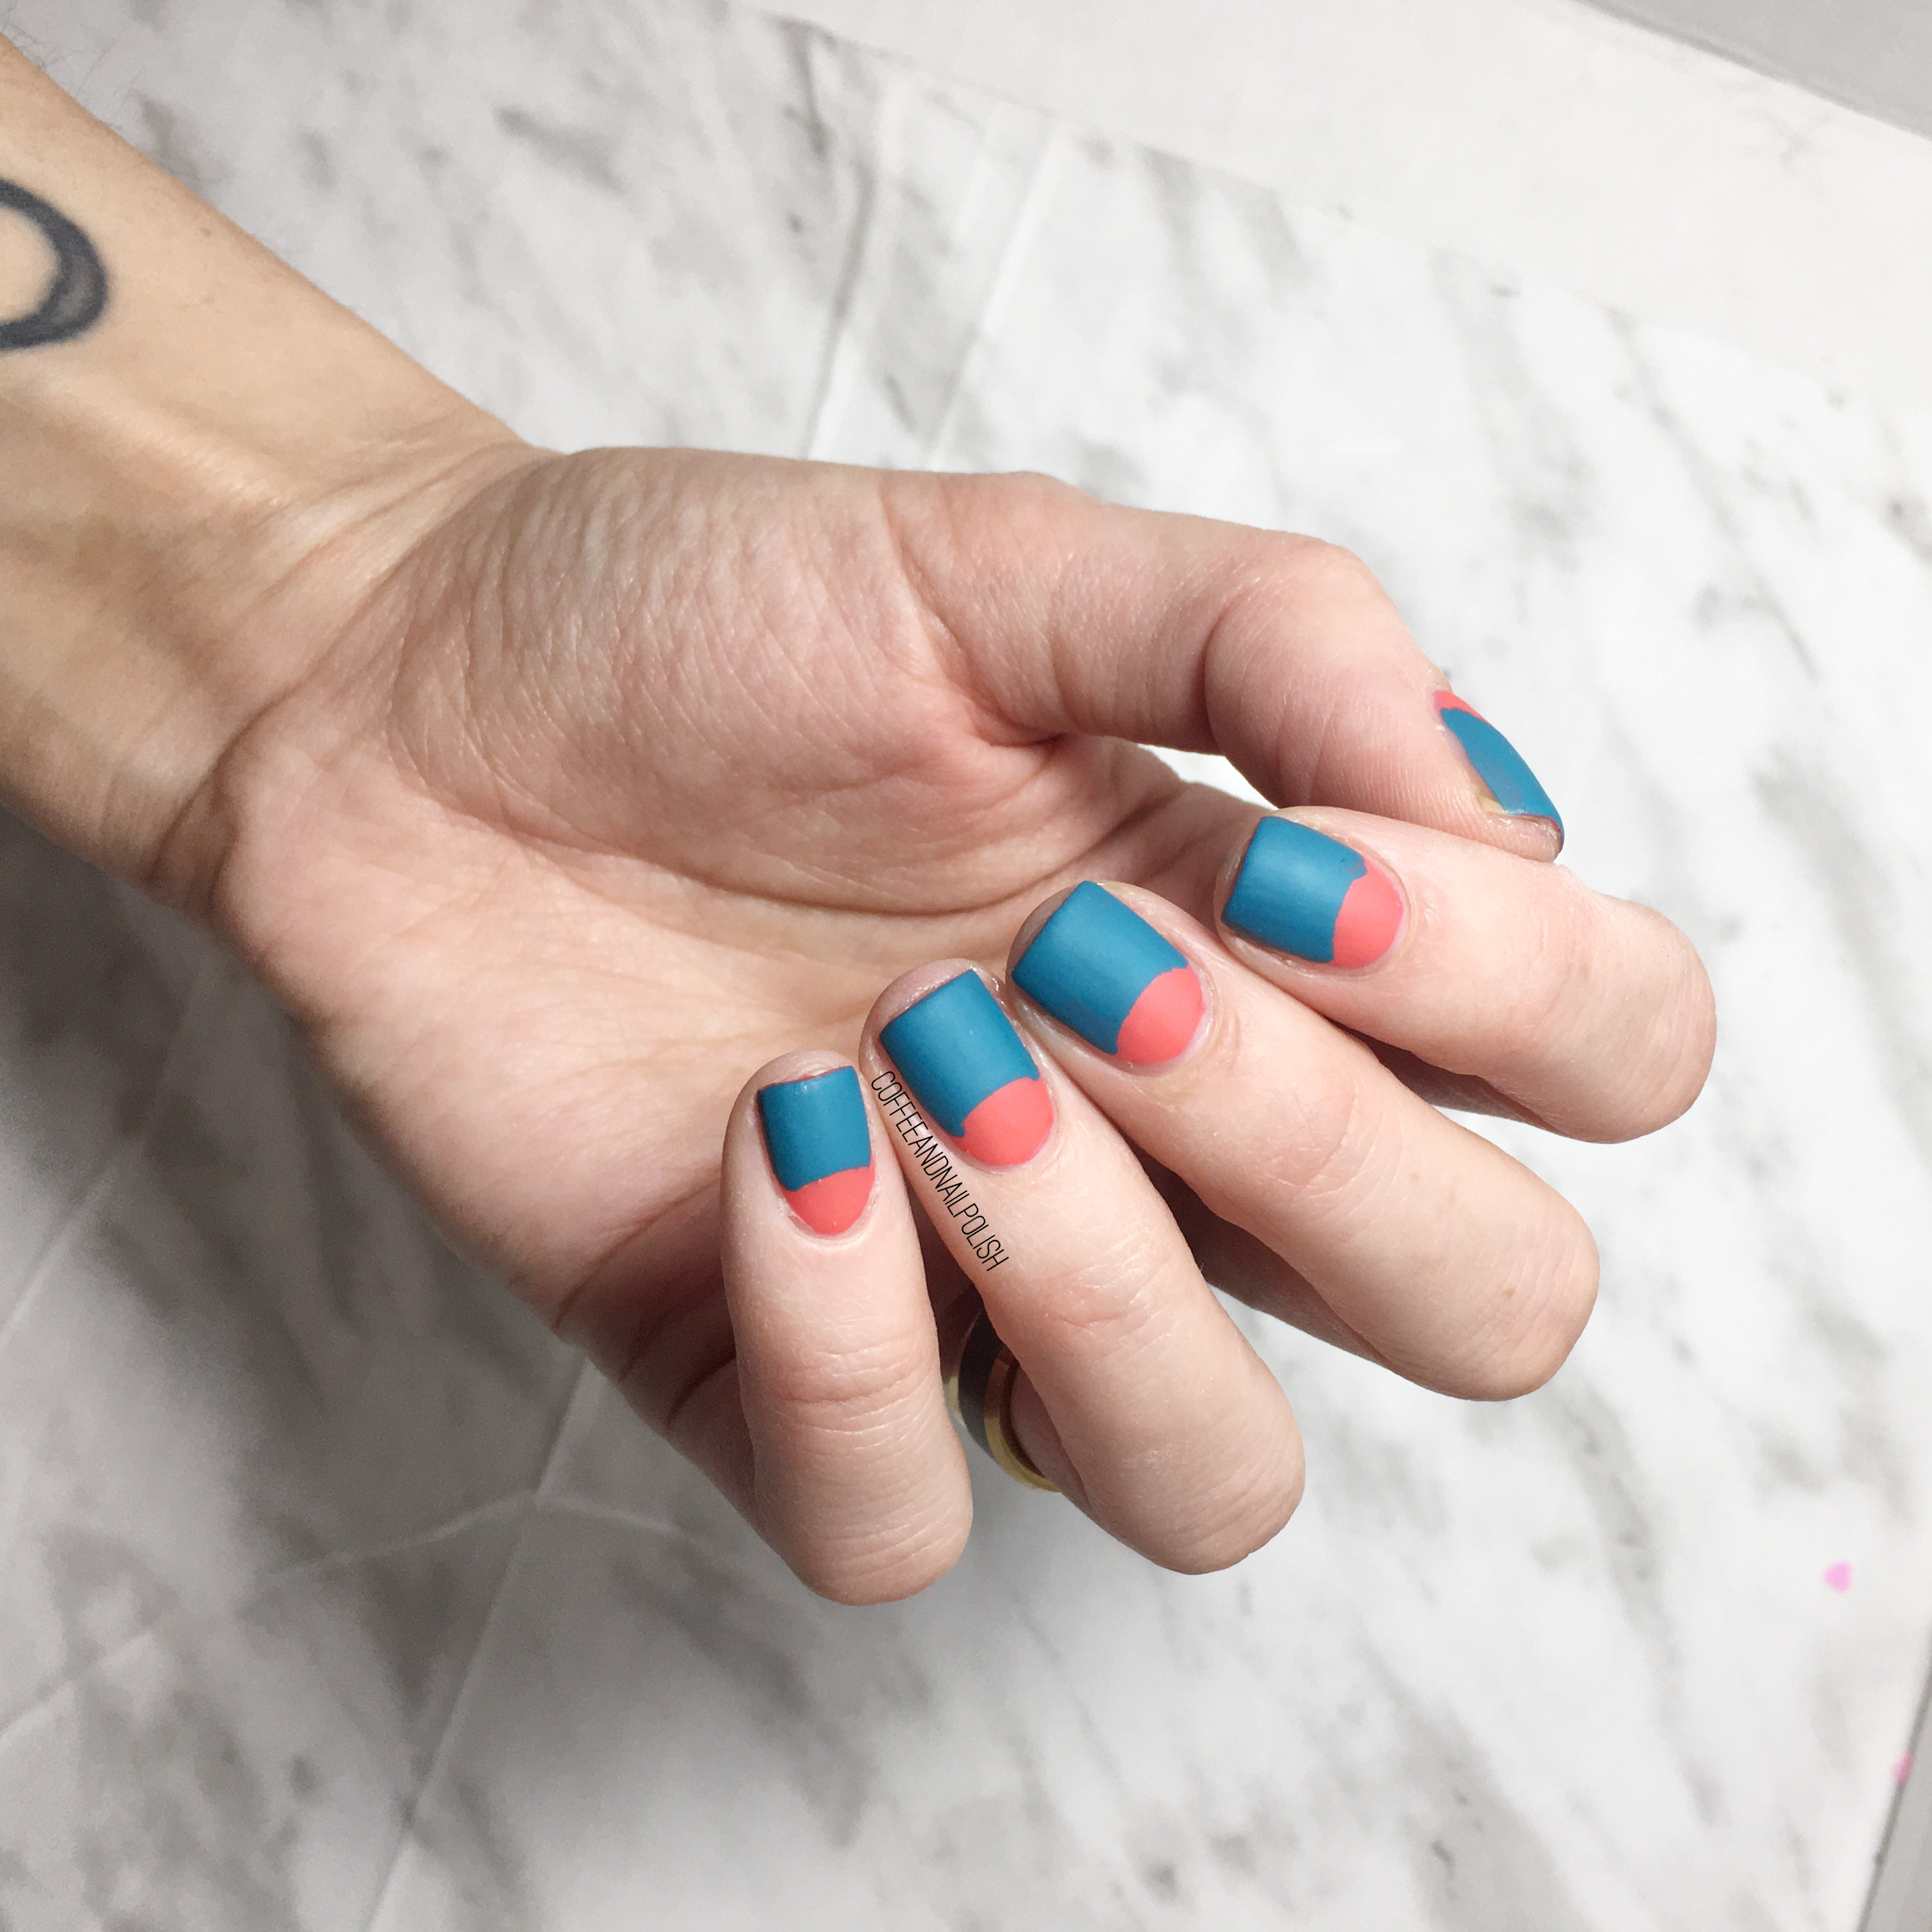
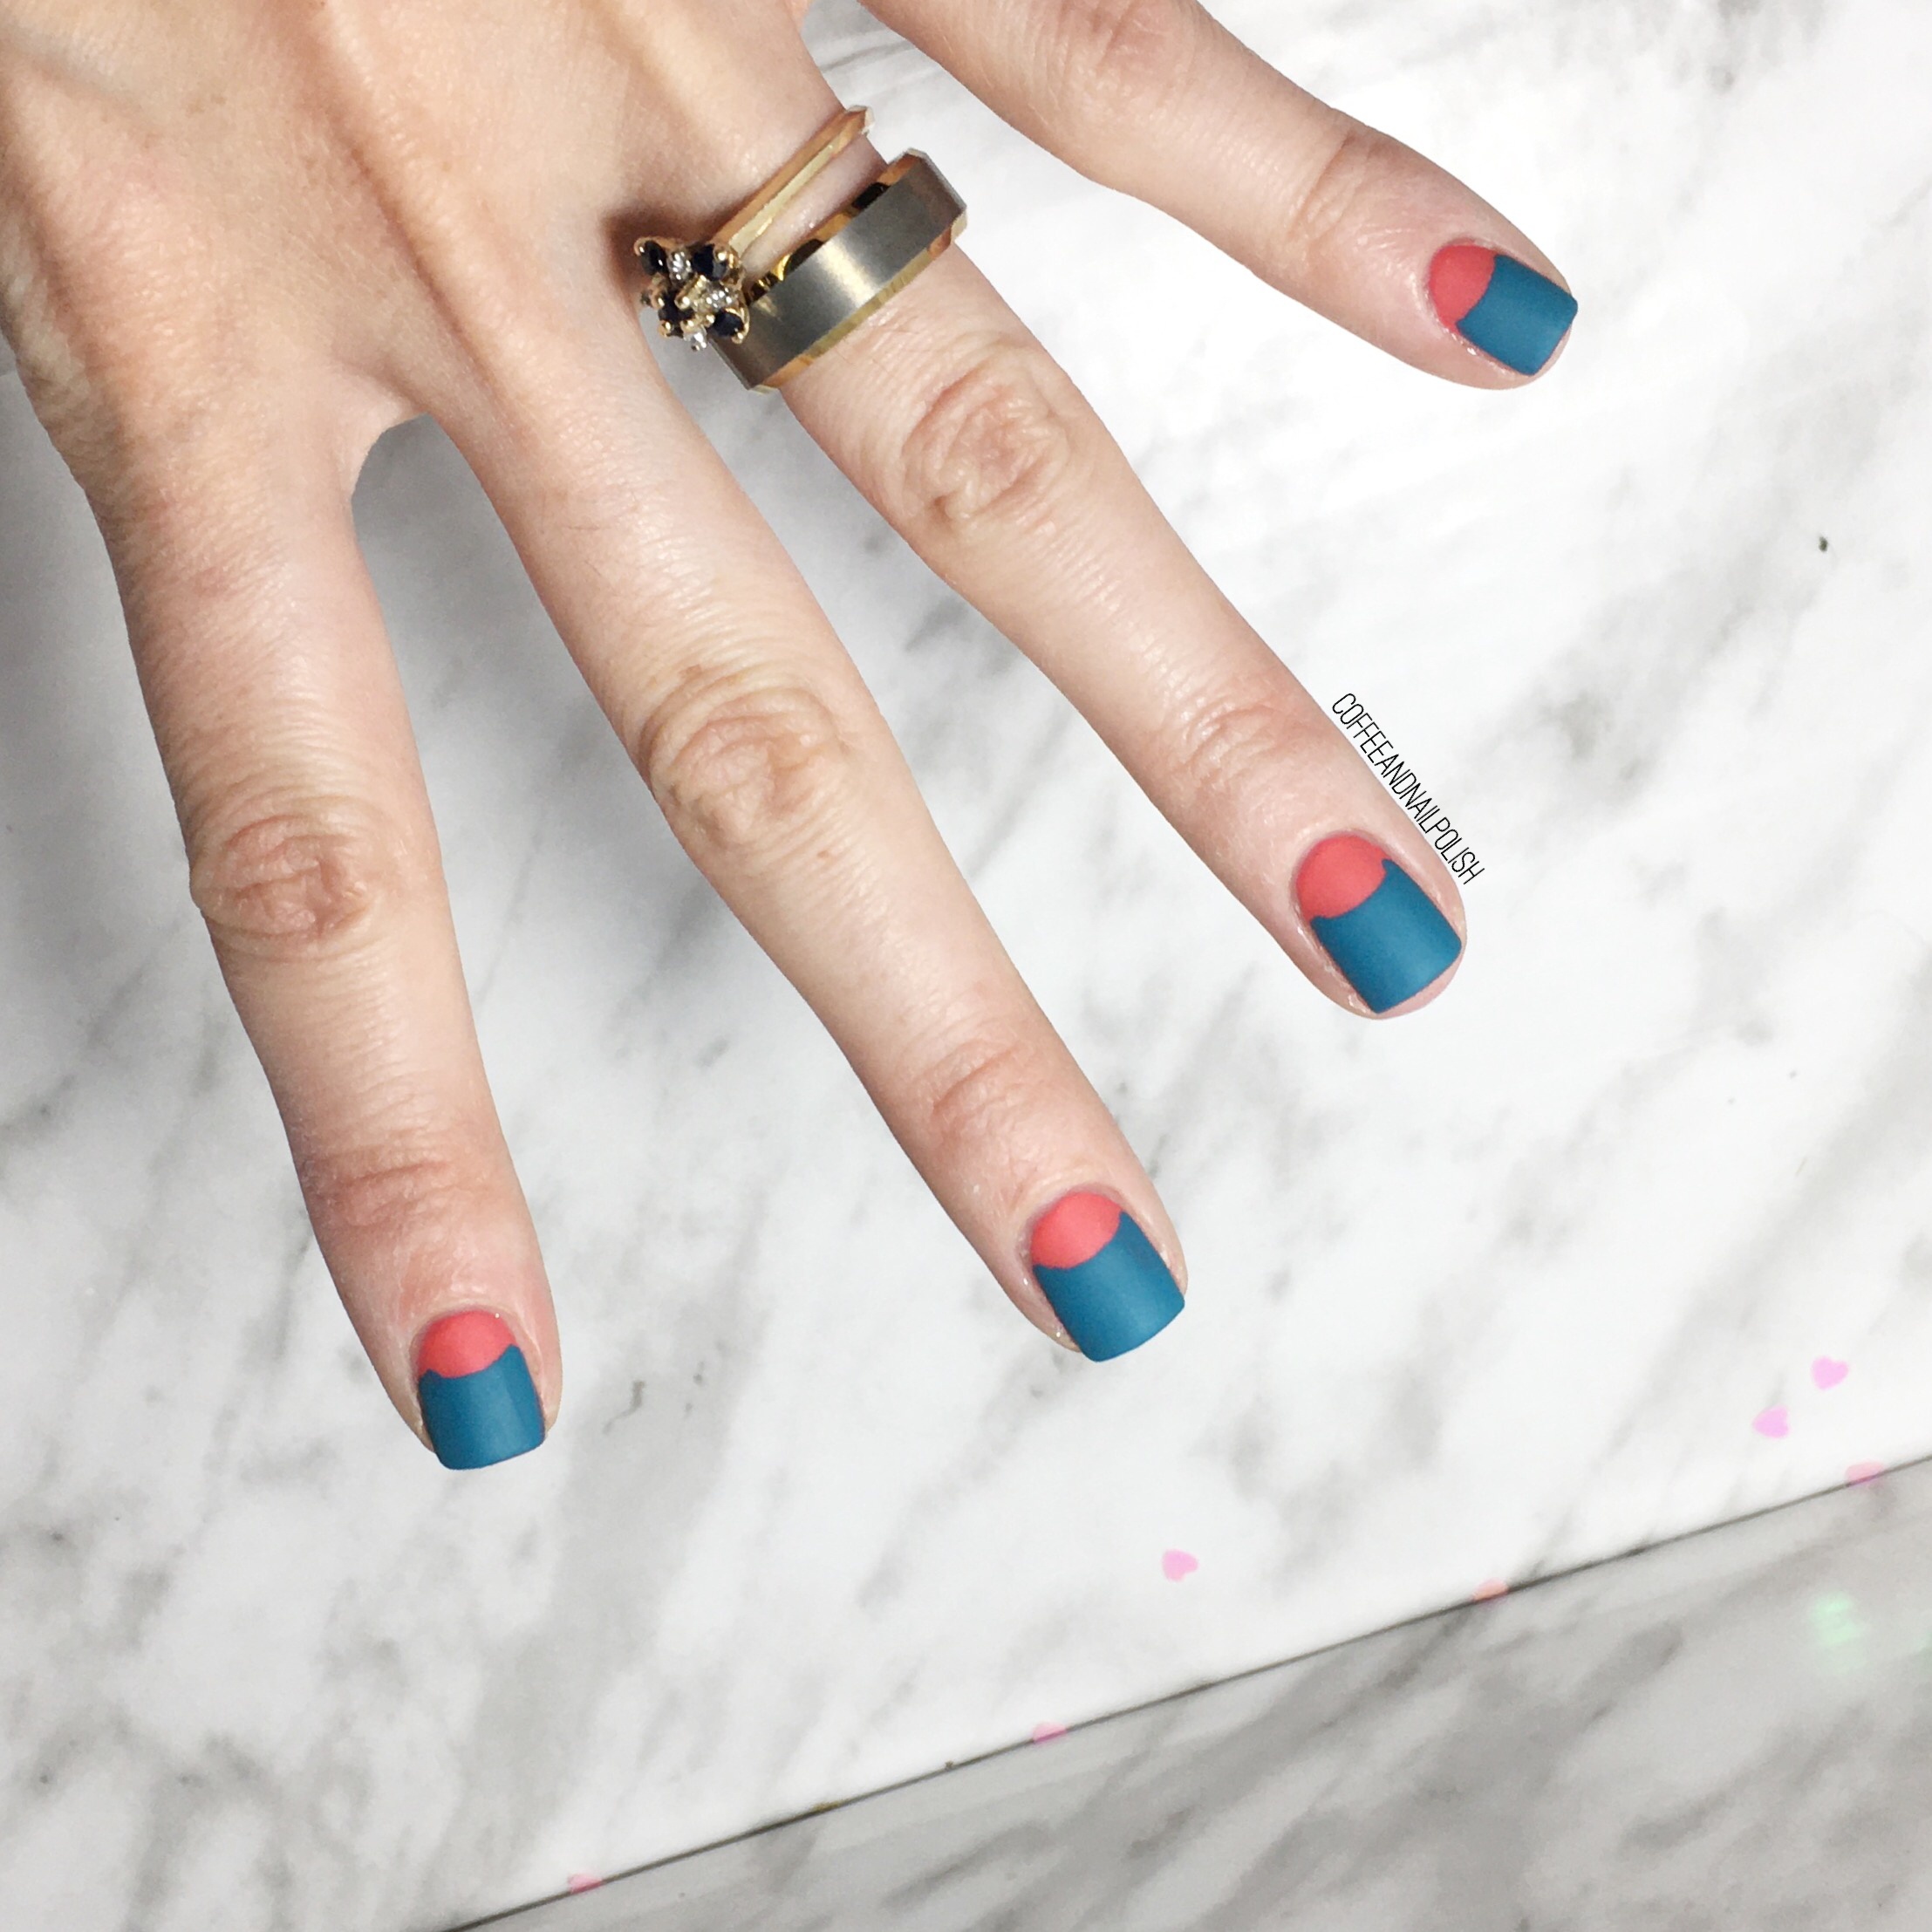
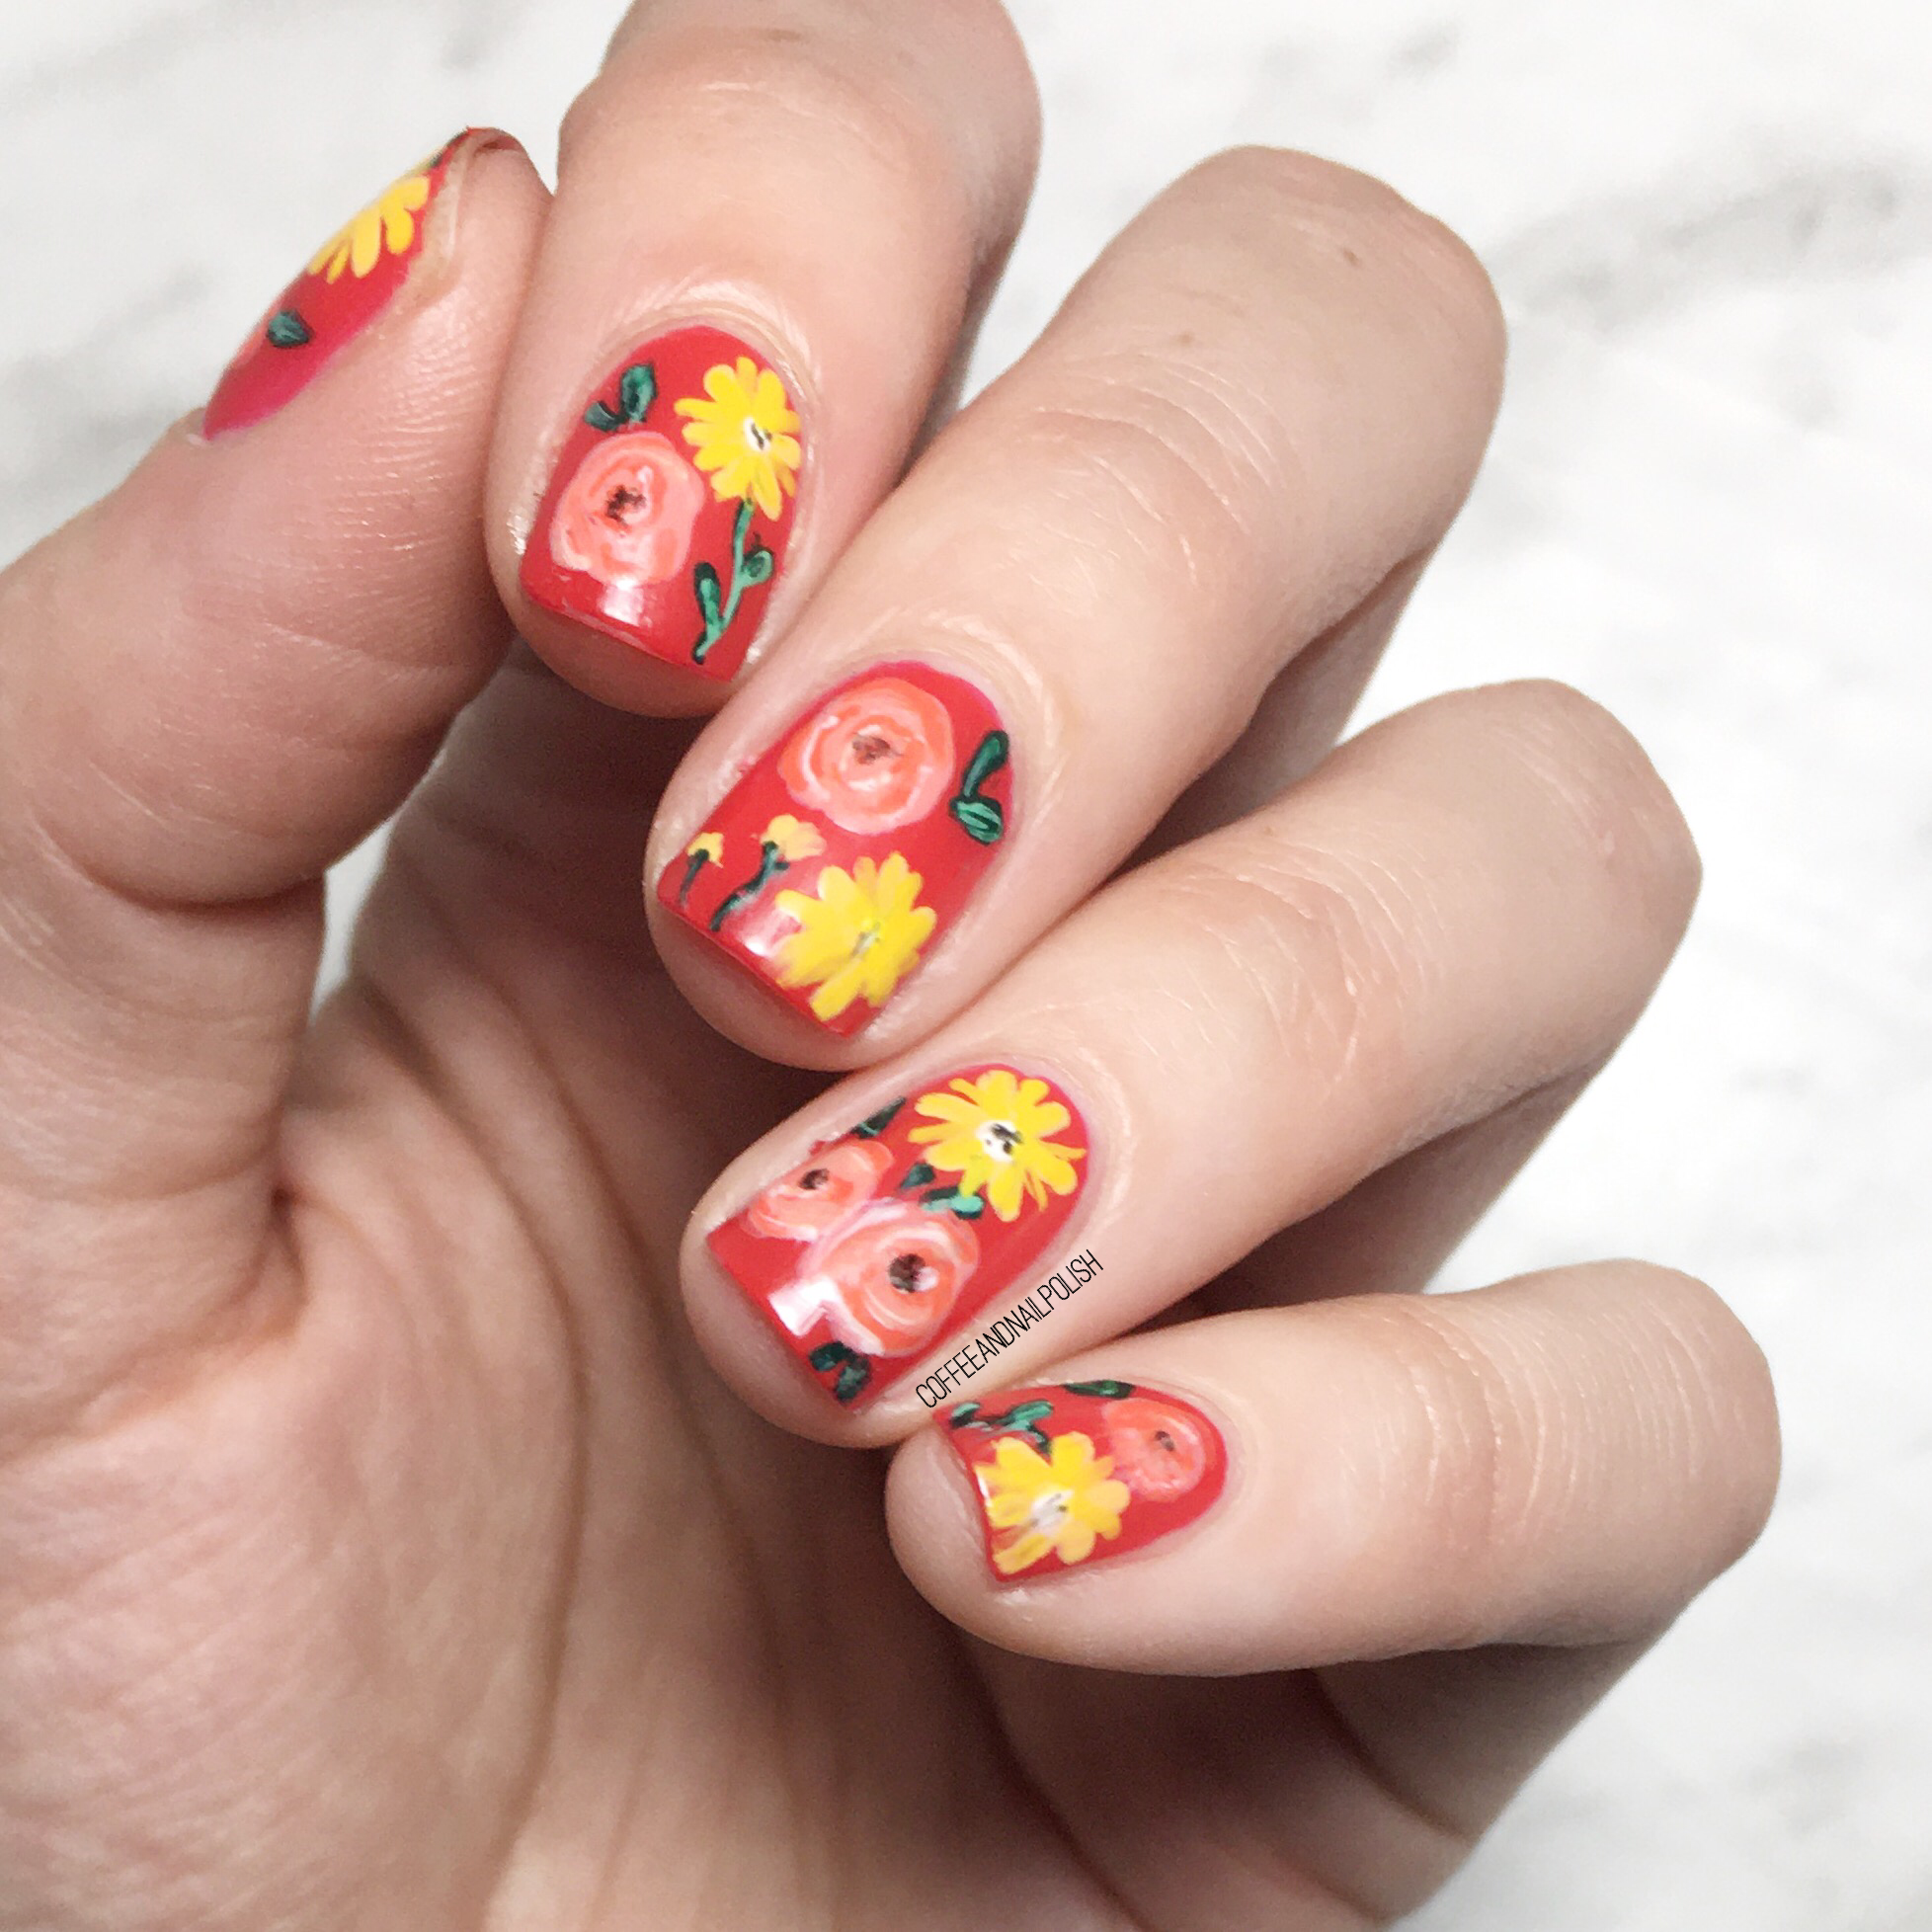
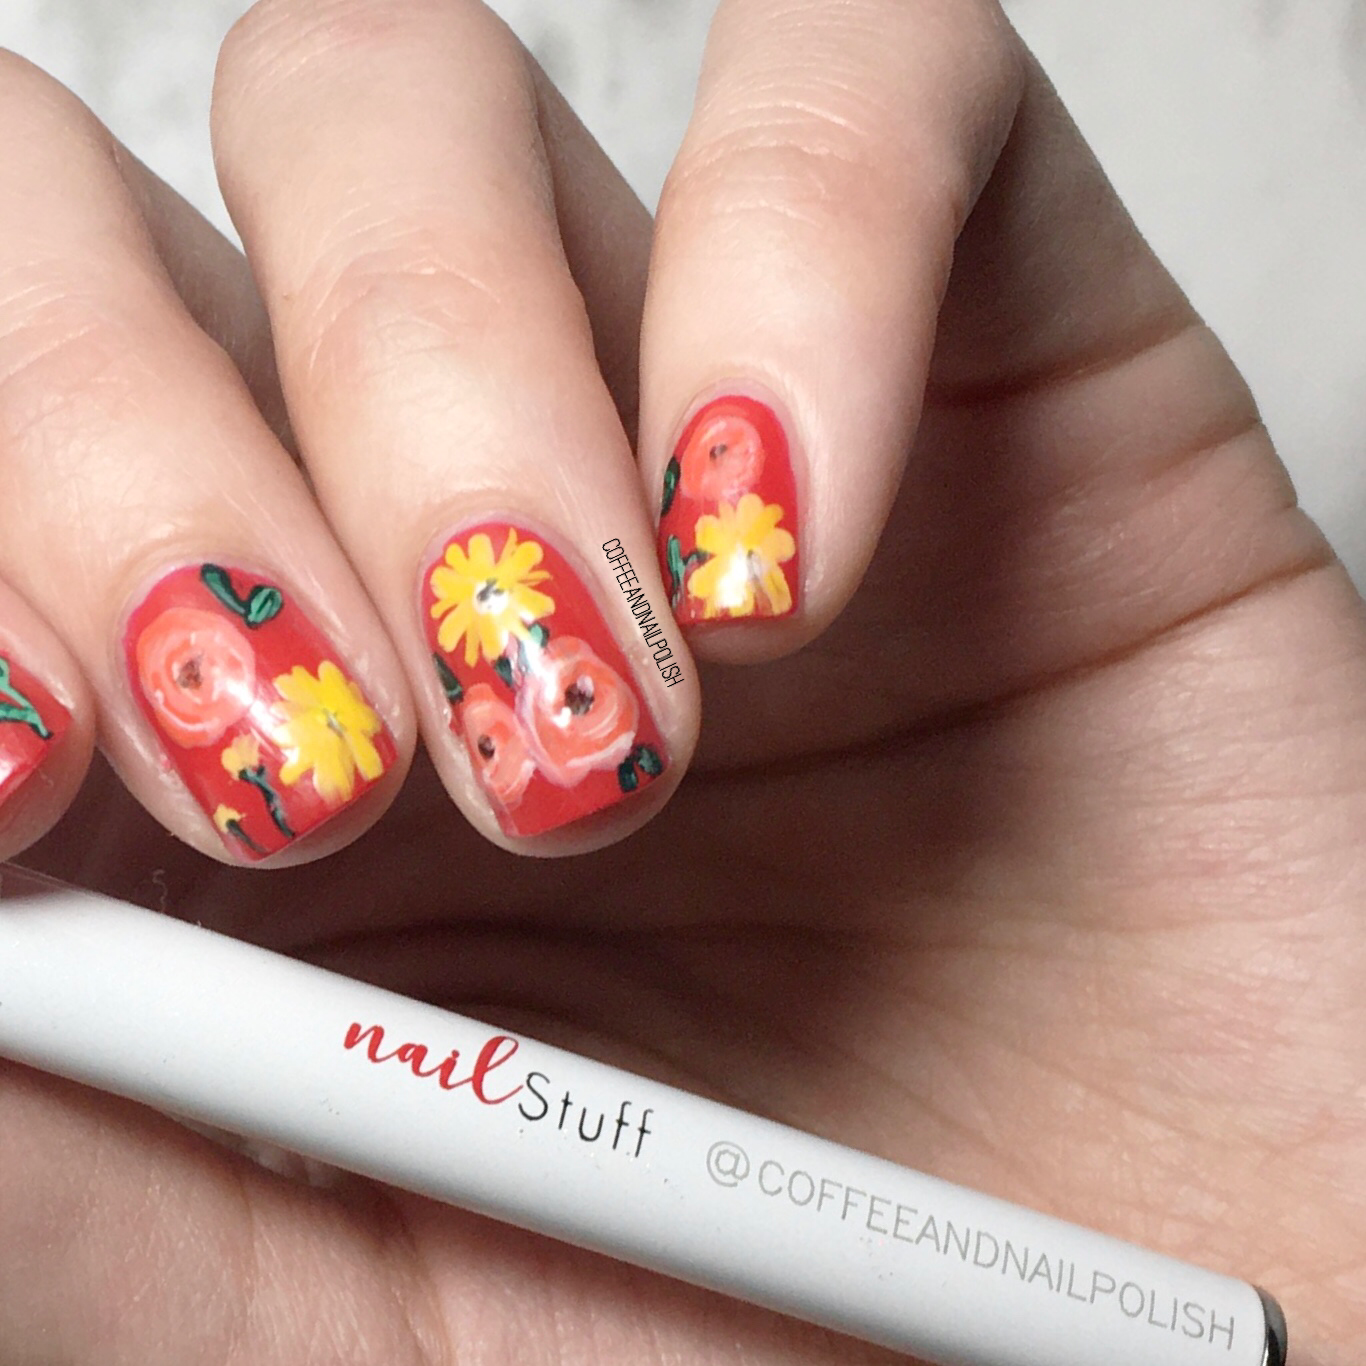
Good morning lovelies & Happy Wednesday. I don’t know how it’s possible that we’re already half way through the week, but we are! & Today I’ve got a cute nail art look to share that is perfect for short nails (like mine!)

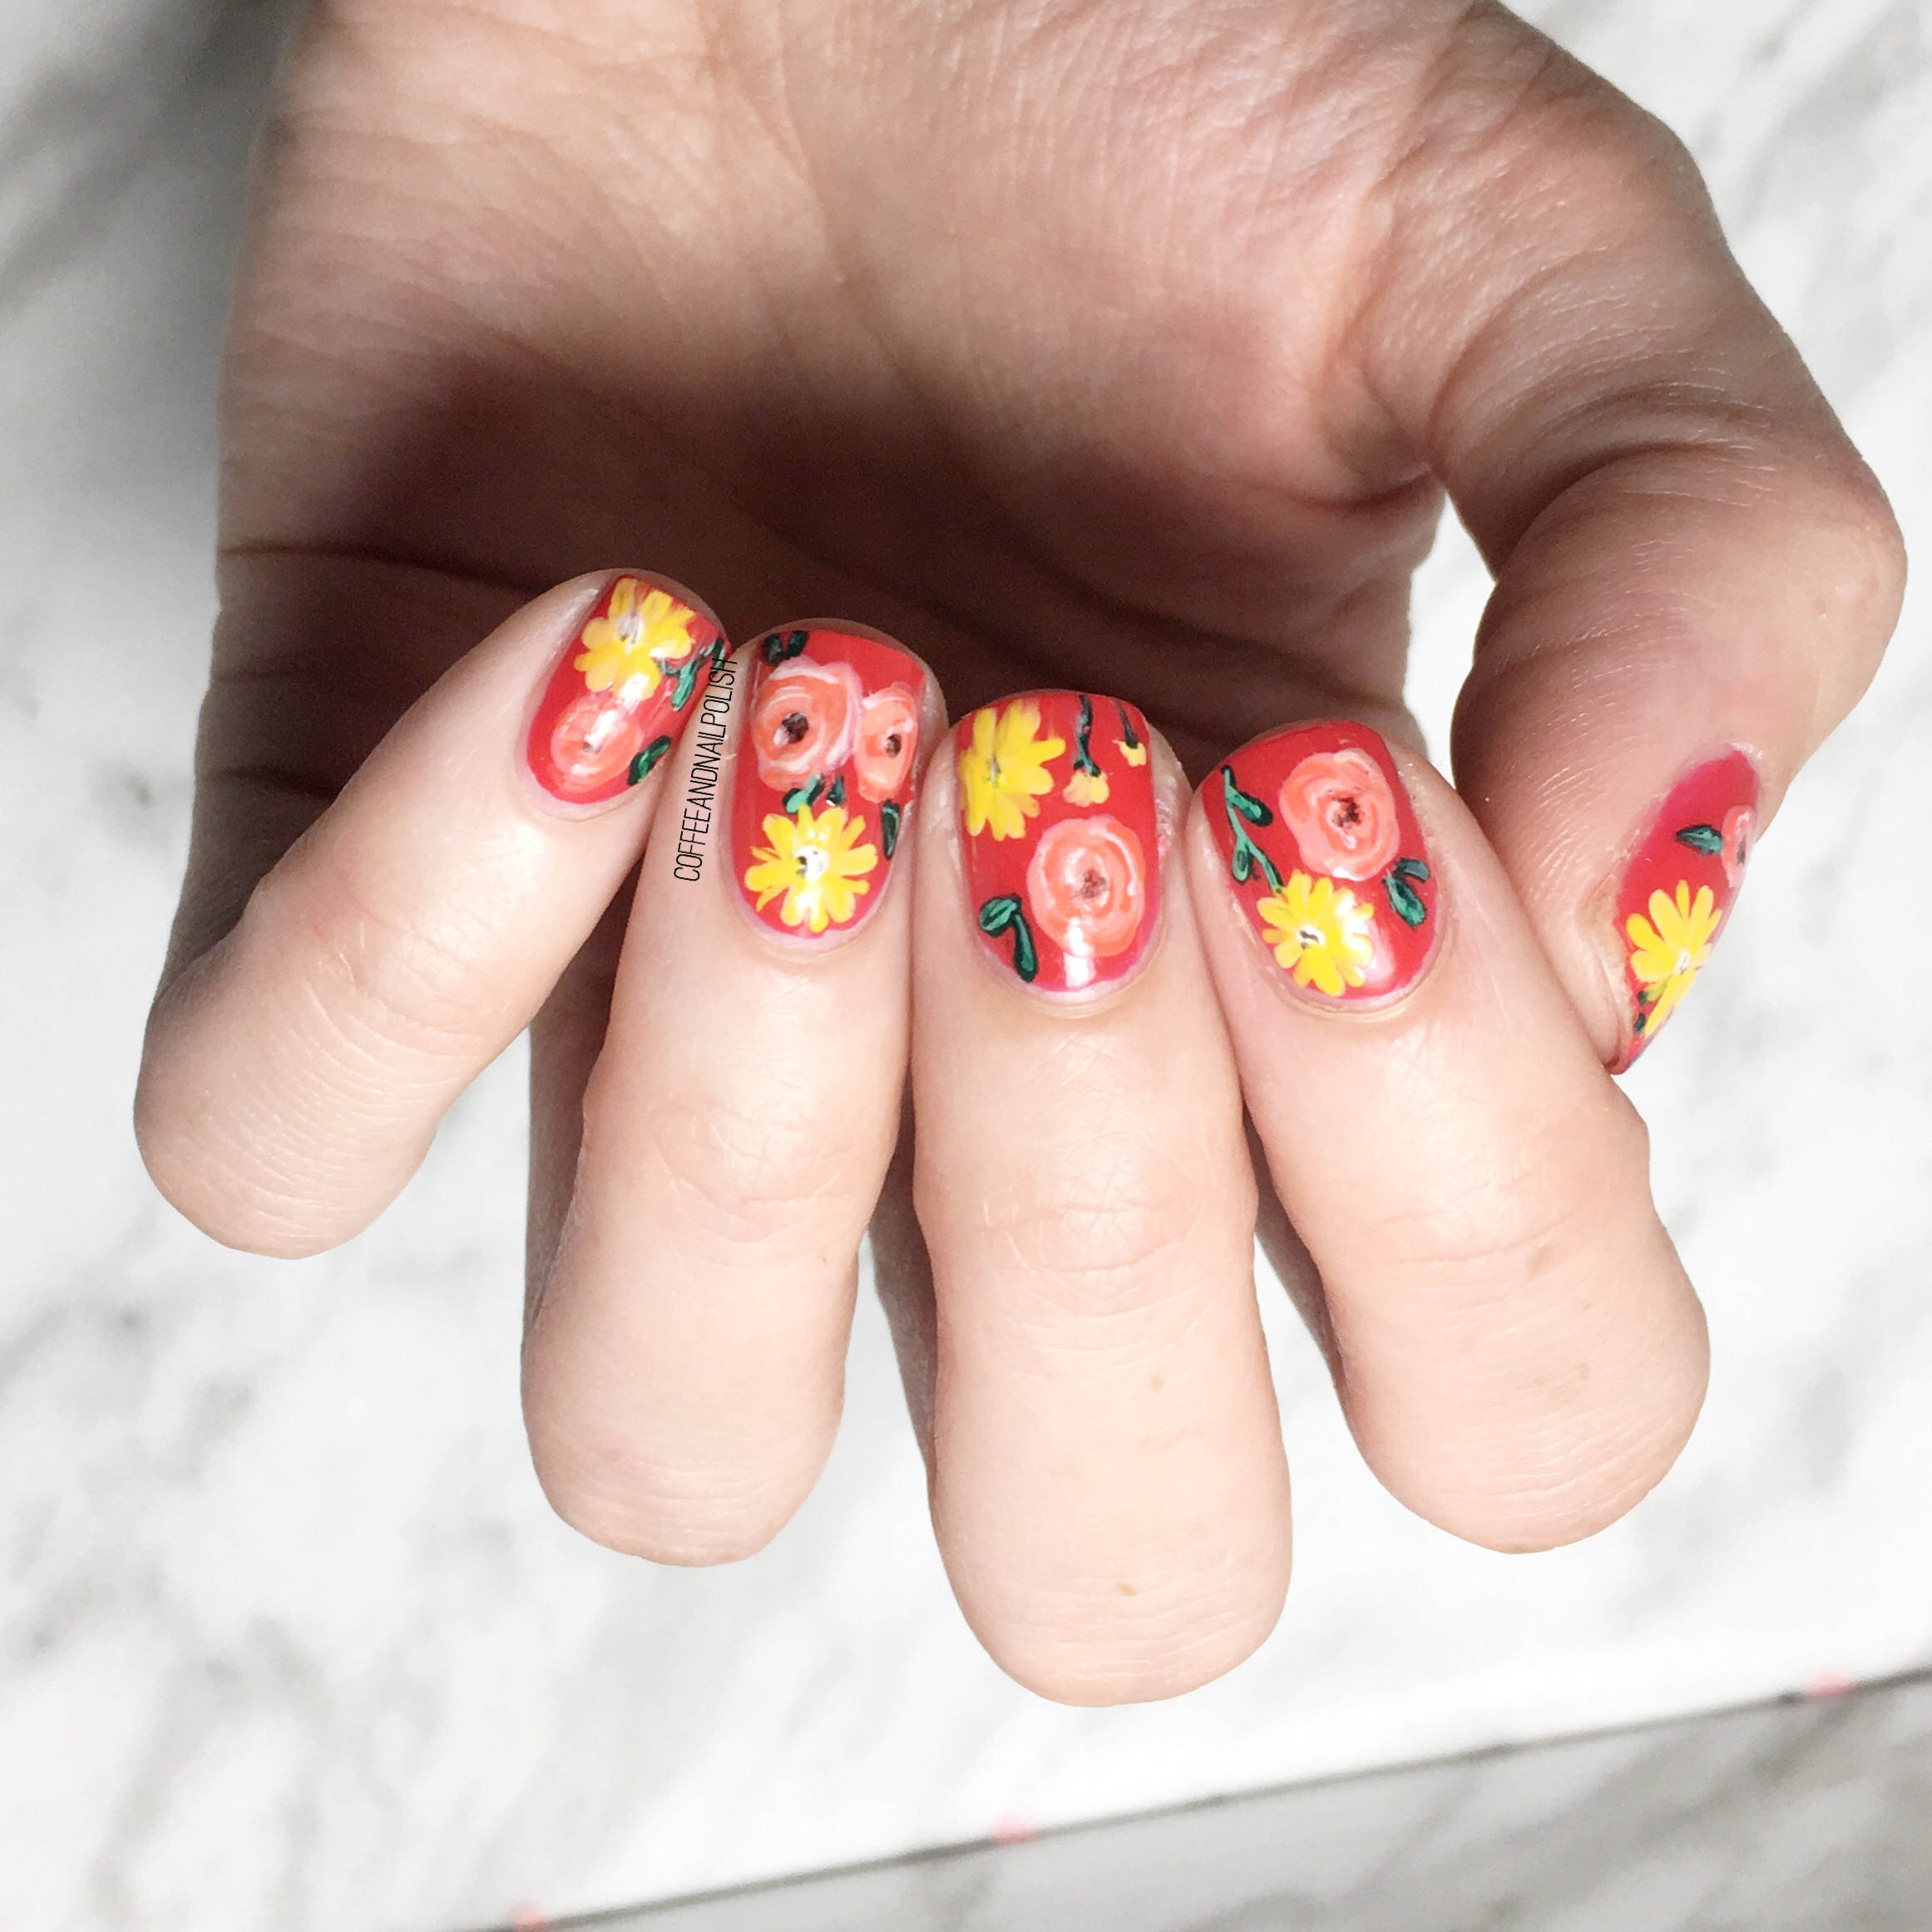
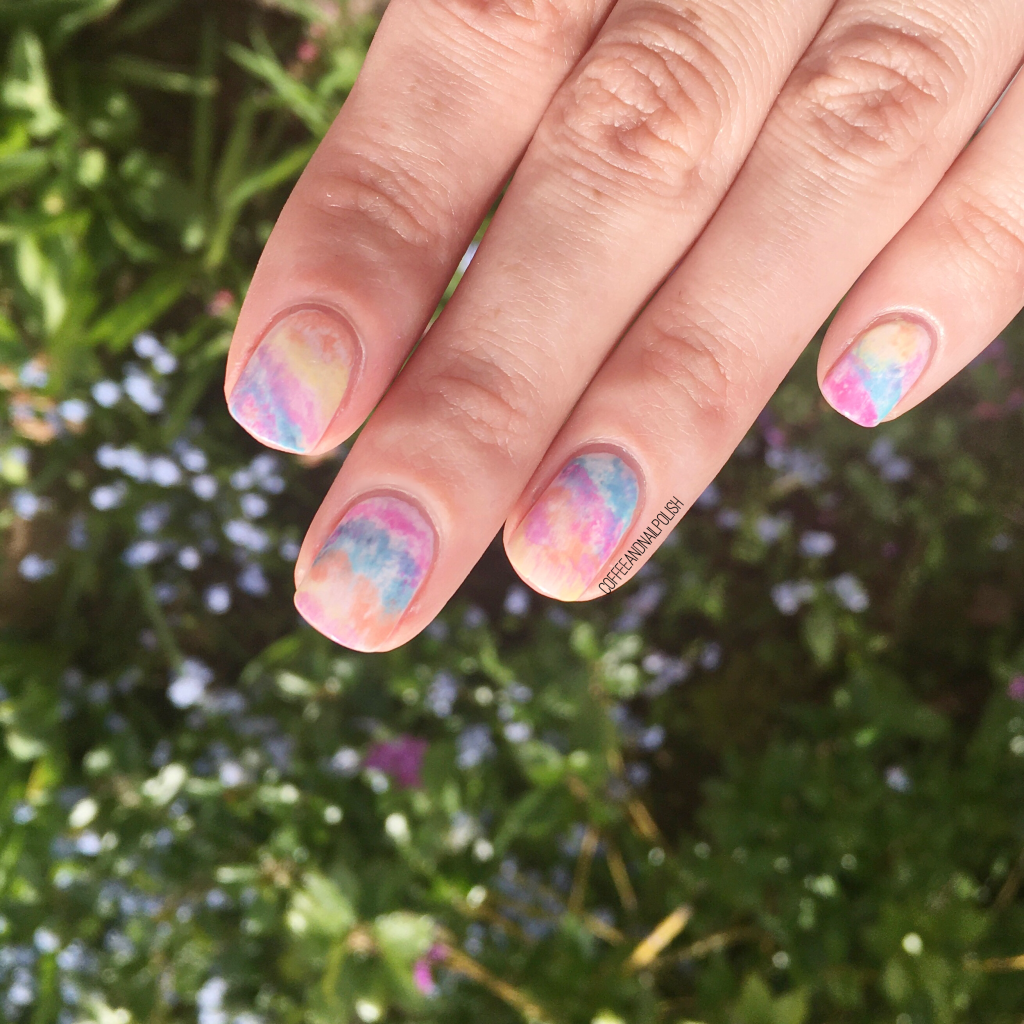
I’ve always been a fan of herringbone/chevron looks, mostly because they’re surprisingly easy to do! & for a bit of a rustic look like this, you don’t need to have the most perfectly thin of straight lines. & it will still look cute! This particular design was actually inspired by this pot, although I added the splashes of blue to make it a bit more Summery.

For this manicure, the polishes I used were:

  • Base Coat: Essie Strong Start
  • Top Coat: Essie Gel Setter
  • Sally Hansen Xtreme Wear Grey Area
  • China Glaze Boho Blue
  • Kiss Products Nail Art Striper in white
  • NailStuff.ca Dotting Tool Trio — I used the small one to fill in my blocks of colour! (Use COFFEE10 to save 10%)

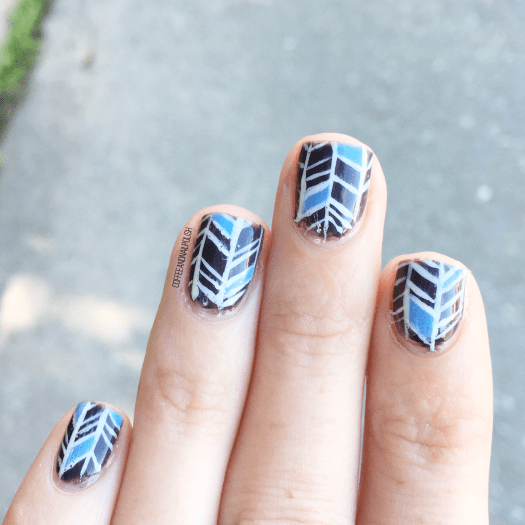
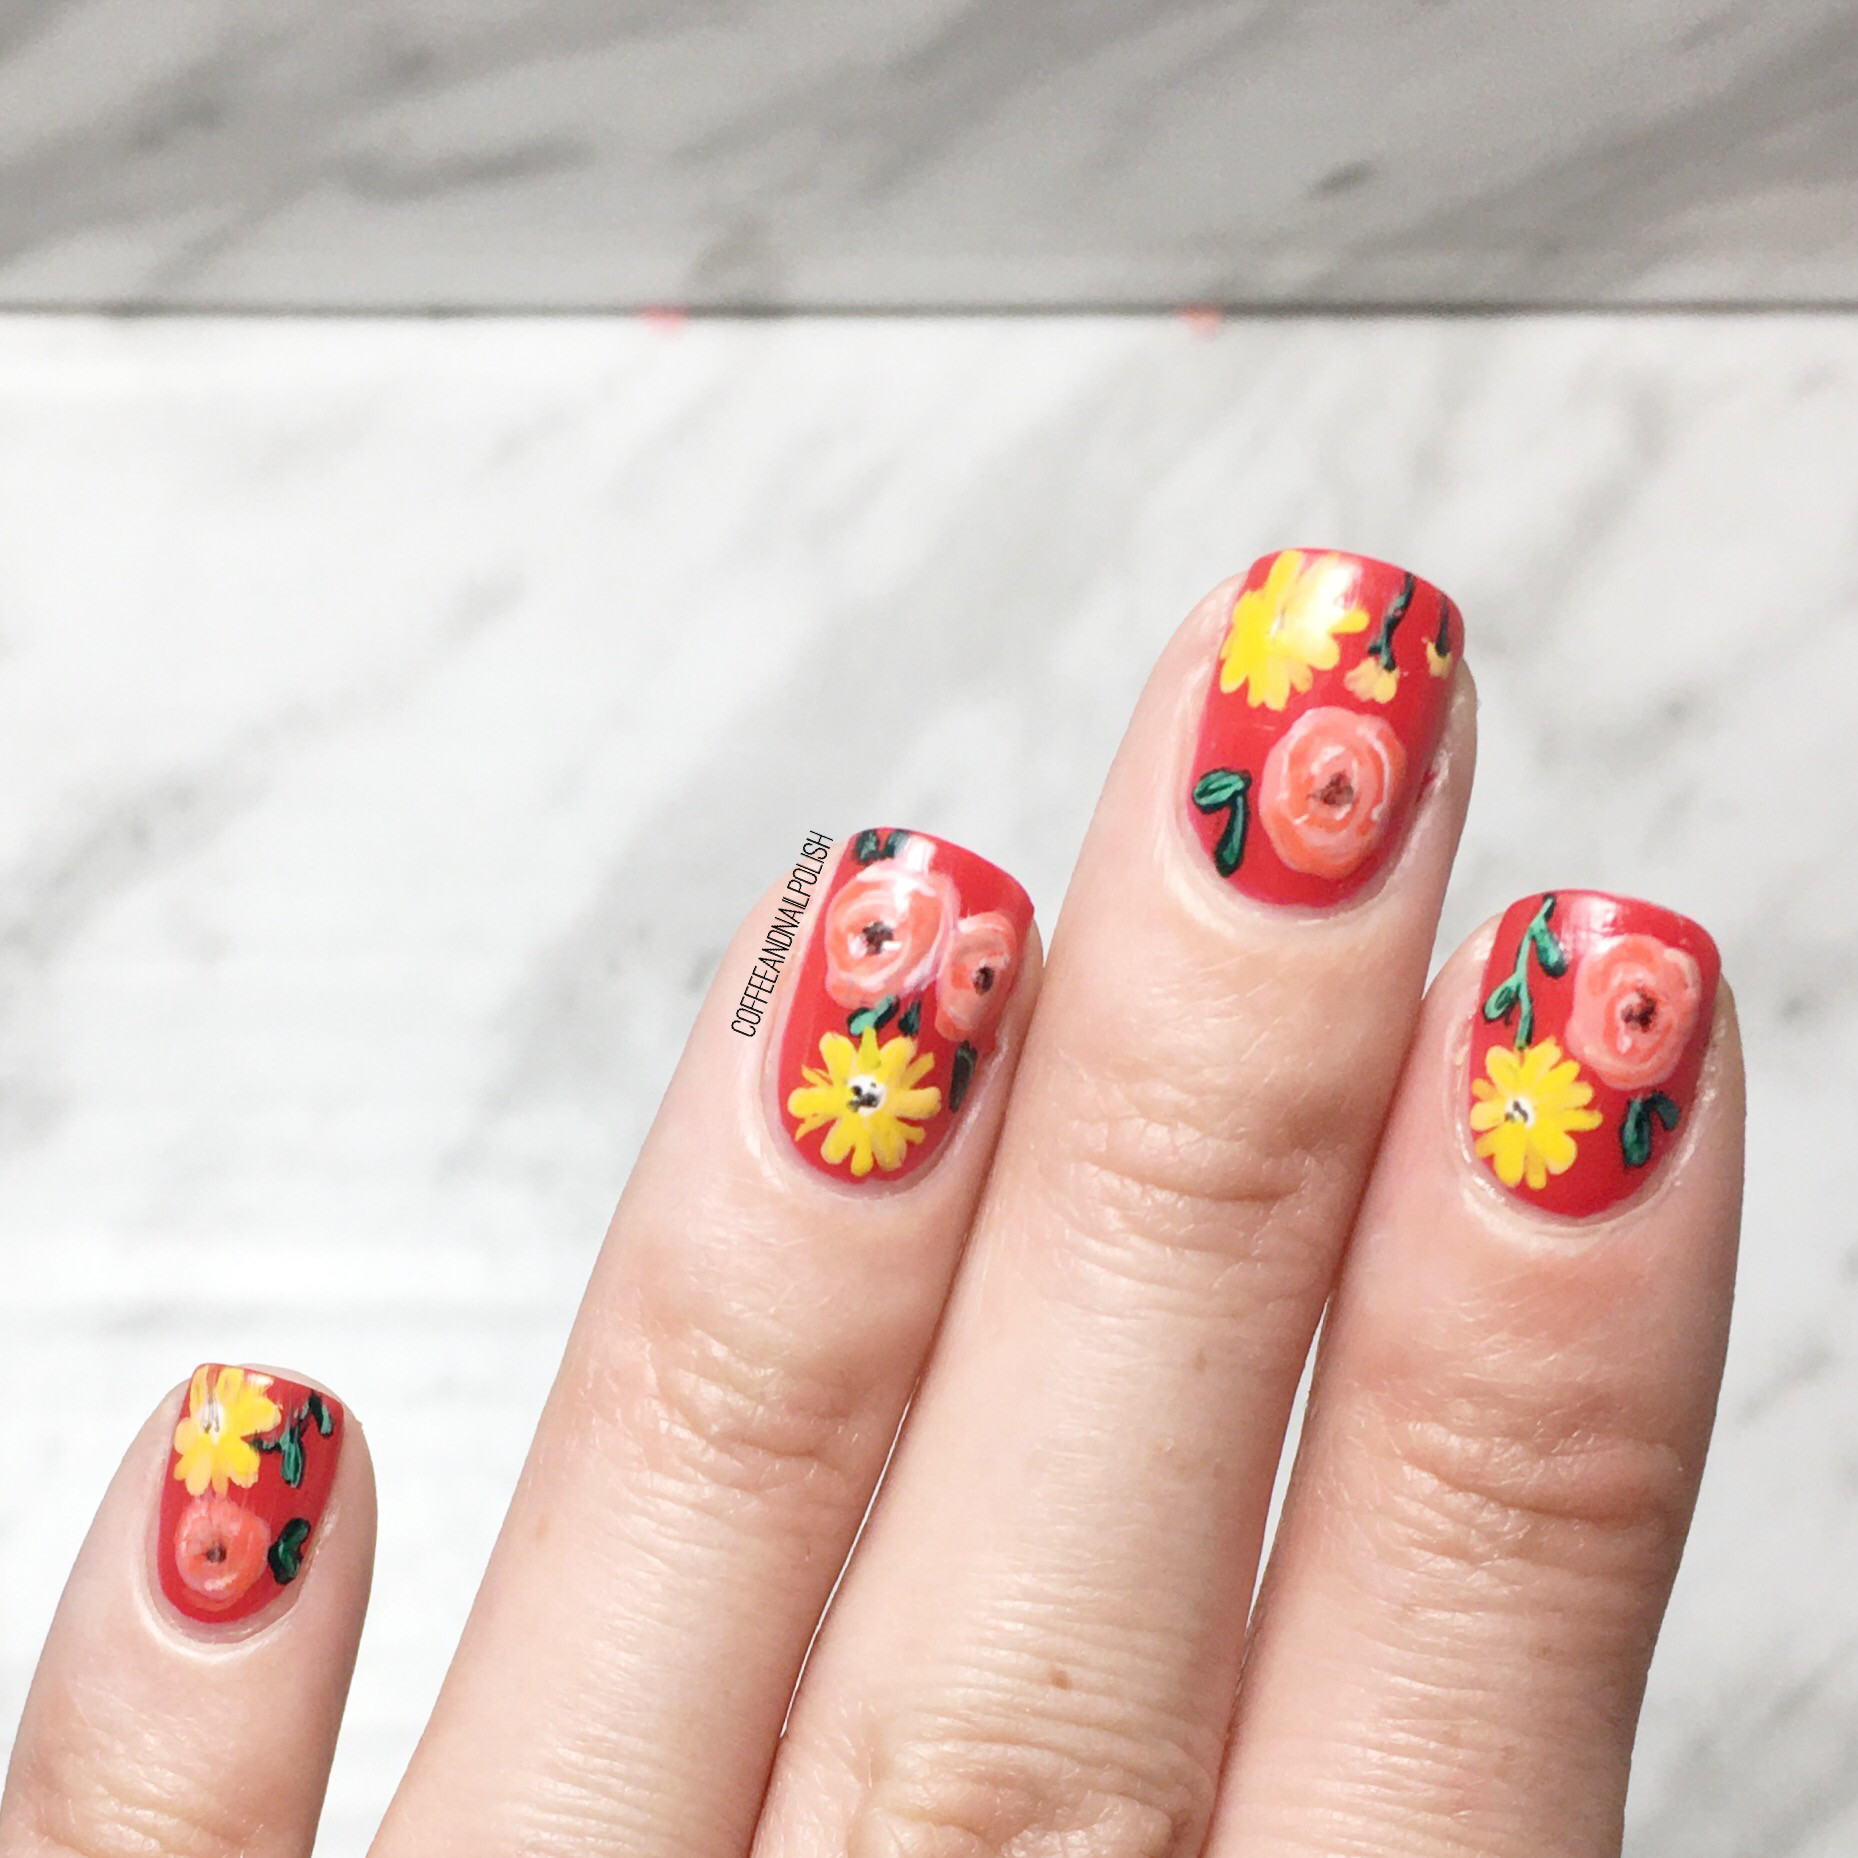
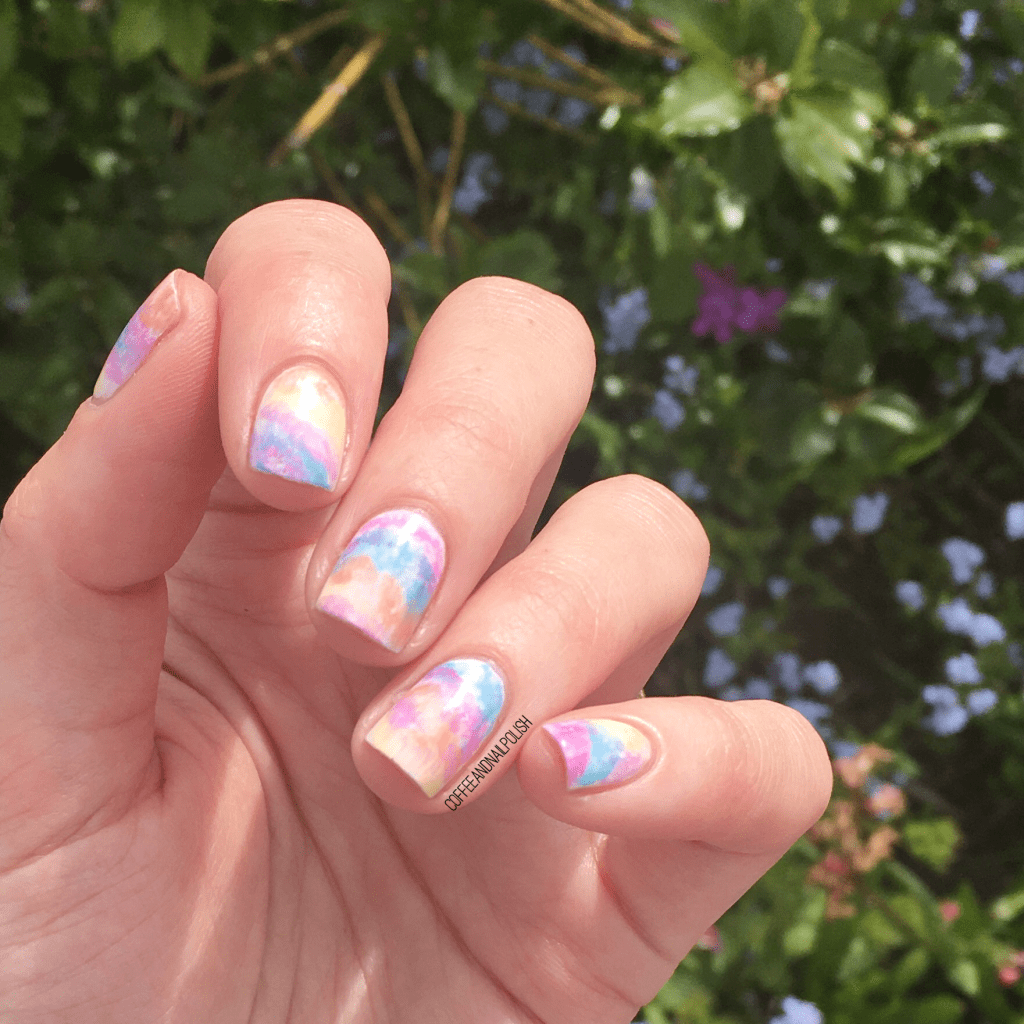
I really really love how these turned out. My white Kiss striper is definitely on it’s last legs which led to a bit of messiness of my stripes, but I feel like it works with this kind of pattern. Truthfully, I could have used a striper nail art brush to achieve the same look, but I was short on time, & this was a bit easier. I will definitely have to try again though, maybe with a few of the Essie Summer 2020 polishes I just received! I think I could do a beautiful quatrefoil design with them too, so stay tuned for fun nail art looks!

What do you think about this herringbone look! I feel like it looks really good on my super short nails! It’s a great way to fancy them up! Let me know what your favourite short nail design is in the comments below!

Freehanded Floral & Anchor Nails

Hello lovelies & happy Thursday!

It’s certainly been a while since I had some nail art to share! Actually, that’s a lie. I have a ton of nail art looks saved on my phone, but I’ve been struggling a lot lately with the motivation to keep posting. I love love love nail polish, & nail art, & blogging, but this year has really messed things up. I need to figure out a good blogging schedule for my free time, but right now it’s almost non-existent, hence my very sporadic posting schedule.

But new nails! Let’s get excited.

For this manicure, the polishes I used were:

  • Base Coat: Essie Strong Start
  • Top Coat: Essie Gel Setter
  • China Glaze Boho Blue
  • Essence Black is Back
  • Essie Check Your Baggage
  • Essie Fall for NYC
  • Sally Hansen CSM Fire Island
  • Essence The Green & The Grunge
  • Essence Don’t Be Shy
  • NailStuff.ca 7mm detail brush (COFFEE10 to save 10%)
  • NailStuff.ca Dotting Tool Trio 

I’m so incredibly proud of the freehanding I did for this nail art look. I’ve never attempted a freehand anchor before, but I don’t think it ended up too bad! This idea is actually based on a tattoo I want to get in honour of my grandparents — the anchor for my Granddad who just passed, & the yellow roses for my Granny. My roses turned out a little more peachy than intended, but I think the overall look is lovely. 🌿⚓️🌼 & it pains me these didn’t last more than a day, because I absolutely adore them.

What do you think about this freehand look? Where do you get your nail art inspo? Let me know down in the comments below!

Matte Half Moons

For this manicure, the polishes I used were:

  • Base Coat: Essie Strong Start
  • Top Coat: Essie Gel Setter
  • Matte Top Coat: Sally Hansen Miracle Gel Matte Top Coat
  • OPI I Eat Maine-ly Lobster
  • Essence Let’s Get Lost
  • Paper Hole Reinforcements

What do you think about these half moons? What colours or shades do you wish you reached for more often? Let me know in the comments below!

A Fresh Floral


Happy Tuesday lovelies! Hope your week is off to a fantastic start. Today officially marks the last day of June, & even though I had a pretty quiet month blog wise, I’m back & going to end June with my absolute favourite thing to paint: floral. 🌸🌿 It’s actually been a hot minute since my last floral design, so I thought it was long overdue. (Plus flowers just make me so happy.)

For this manicure, the polishes I used were:

  • Base Coat: Essie Strong Start
  • Top Coat: Essie Gel Setter
  • Sally Hansen Complete Salon Manicure Warm Regards
  • Essie Check Your Baggage
  • Sally Hansen Miracle Gel Malibu Peach
  • Sally Hansen MG Bourbon Babe
  • Sally Hansen MG Get Mod
  • Sally Hansen MG Black-y O
  • Essie Off Tropic
  • Essie First Timer
  • NailStuff.ca 7mm detail brush (COFFEE10 to save 10%)

I’m super obsessed with how these turned out — they actually remind me a bit of a design I did a few years ago that were inspired by a day planner of mine. But I think I love these even more! I absolutely adore rustic floral designs over something a little more realistic. Maybe because there is beauty in the imperfections. Either way, I think this design turned out so beautiful & I couldn’t stop staring at them. The peach & yellow just go so well with the red-ish base shade. I can’t get enough. 

what do you think about this floral design? Are you more a fan of rustic or realistic floral? Let me know all your thoughts down in the comments below (& maybe share what your favourite real life flower is as well!) 

Tie-Dye Nails Inspired by @BadGirlNails

Hello lovelies & Happy Wednesday.

Today I’m sharing a cute look I did a few weeks back. Tie-Dye is everywhere this year, including on nails. I haven’t yet found the perfect tie-dye sweatshirt yet, & I’m too scared to do one myself, but as soon as I saw Sonya at @badgirlnails tutorial for tie-dye nail art I knew I needed to recreate them!

For this manicure, the polishes I used were:

  • Base Coat: Sally Hansen Good Kind Pure Hardener
  • Top Coat: Essie Speed Setter
  • Sally Hansen Miracle Gel Get Mod
  • Sally Hansen Miracle Gel Malibu Peach
  • Sally Hansen Miracle Gel Lemon Chillo
  • Sally Hansen Miracle Gel Miami Nice
  • Sally Hansen Miracle Gel Fuchsia Fever
  • NailStuff.ca Round Clean Up Brush (COFFEE10 saves you 10%!)
  • Pure Acetone
  • Plastic Yogurt Lid

Ahhh, I love this colour combination so much. Like, I wish I could transfer it into clothing. The Sally Hansen Miracle Gel Neons from last summer are absolutely perfect for this kind of look & feel so Summer-y. & Sonya’s tutorial she posted was so easy to follow to recreate this look, I’m definitely going to recreate with a variety of colours.

Like I said, thanks to @badgirlnails easy to follow tutorial, the look was a breeze to create! You definitely want to make sure you have an extra thick layer of top coat down before you start applying your tie-dye (so you don’t destroy your base) but other thank that this is a quick & easy look to do! & so on trend right now!

What do you think of this tie-dye look? Have you attempted tie-dye on your nails yet, or at home on clothes? Let me know any tips you have for creating your own tie-dye sweatshirts at home because I really want to give it a try (without, you know, tie-dying myself in the process!)