Pink Glitter Placement 🩷✨

Hello lovelies & happy Wednesday! How is everyone’s week going so far? Enjoying the balmy weather? Our days have been hot hot hot which means the grass is crunchy & the fire risk is extremely high. I don’t usually wish for rain, but we could definitely use some.

Today, though, let’s share some pretty nails.

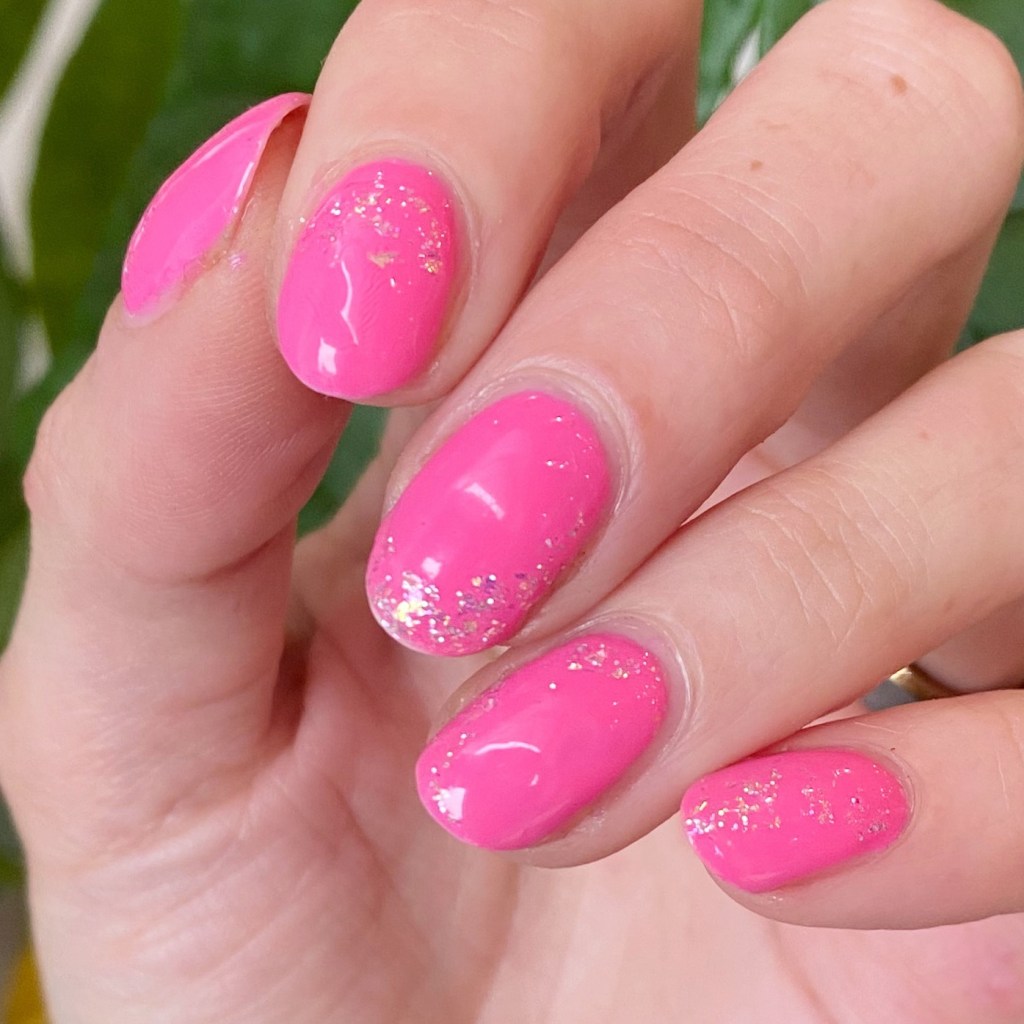
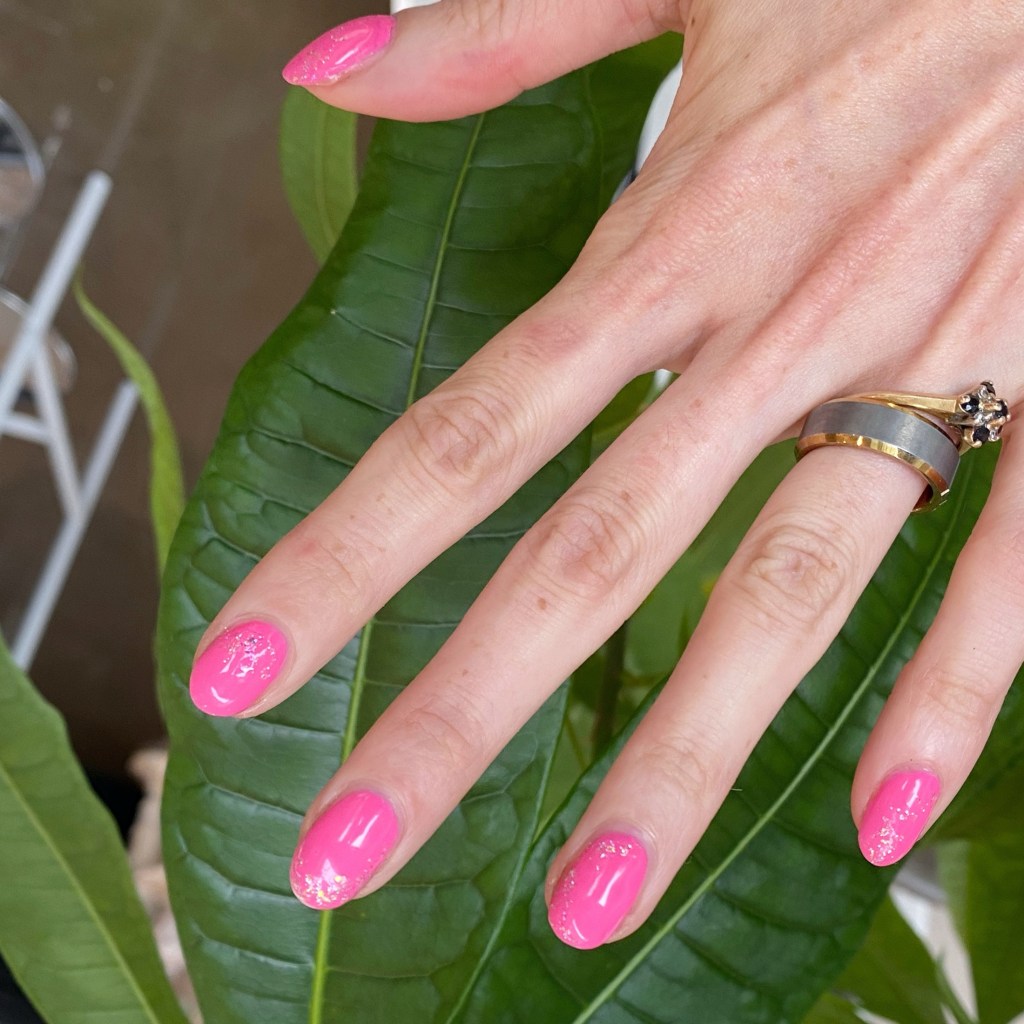
& you know what’s pretty — a flakie glitter placement. Especially when it is as easy as this one was to do!

The polishes I used for this manicure are: 

  • Top Coat: Essie Good To Go Top Coat
  • Base Coat: China Glaze Calcium Gel Fortifier
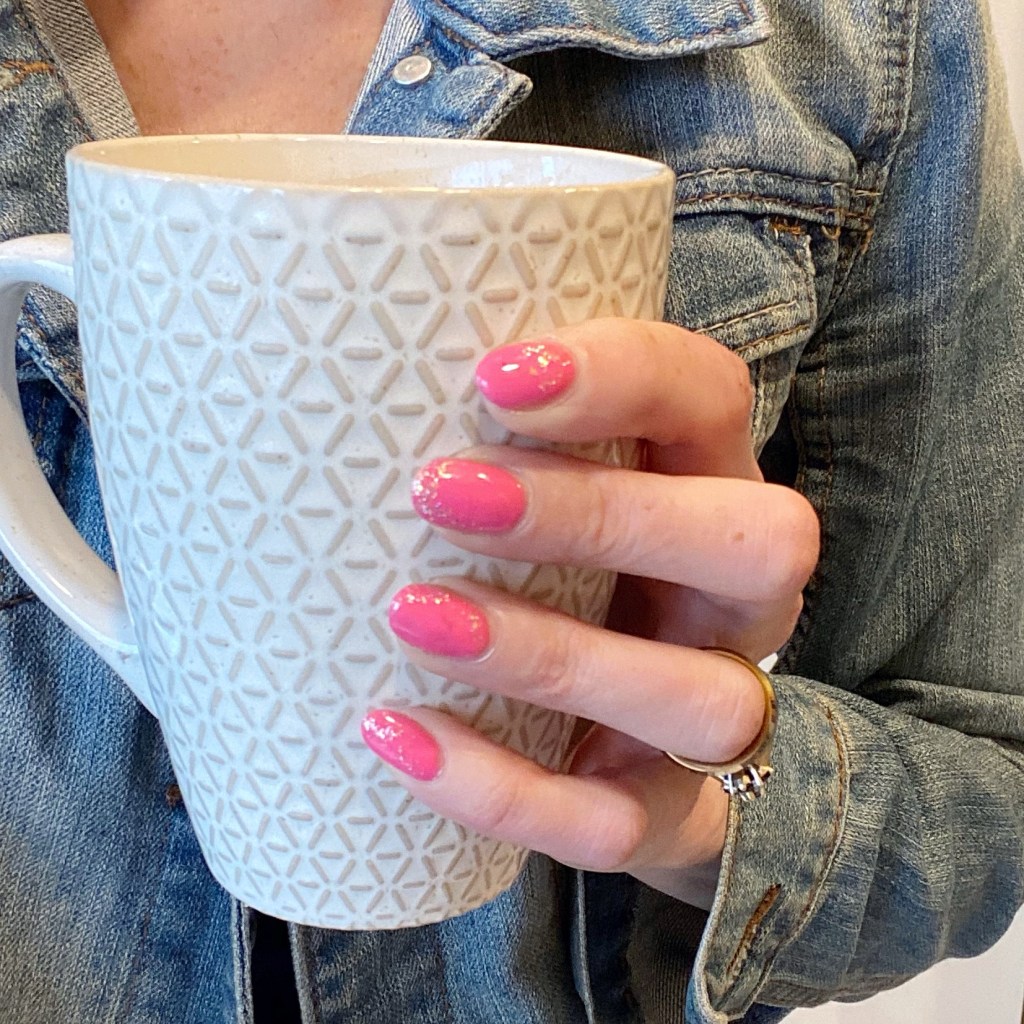
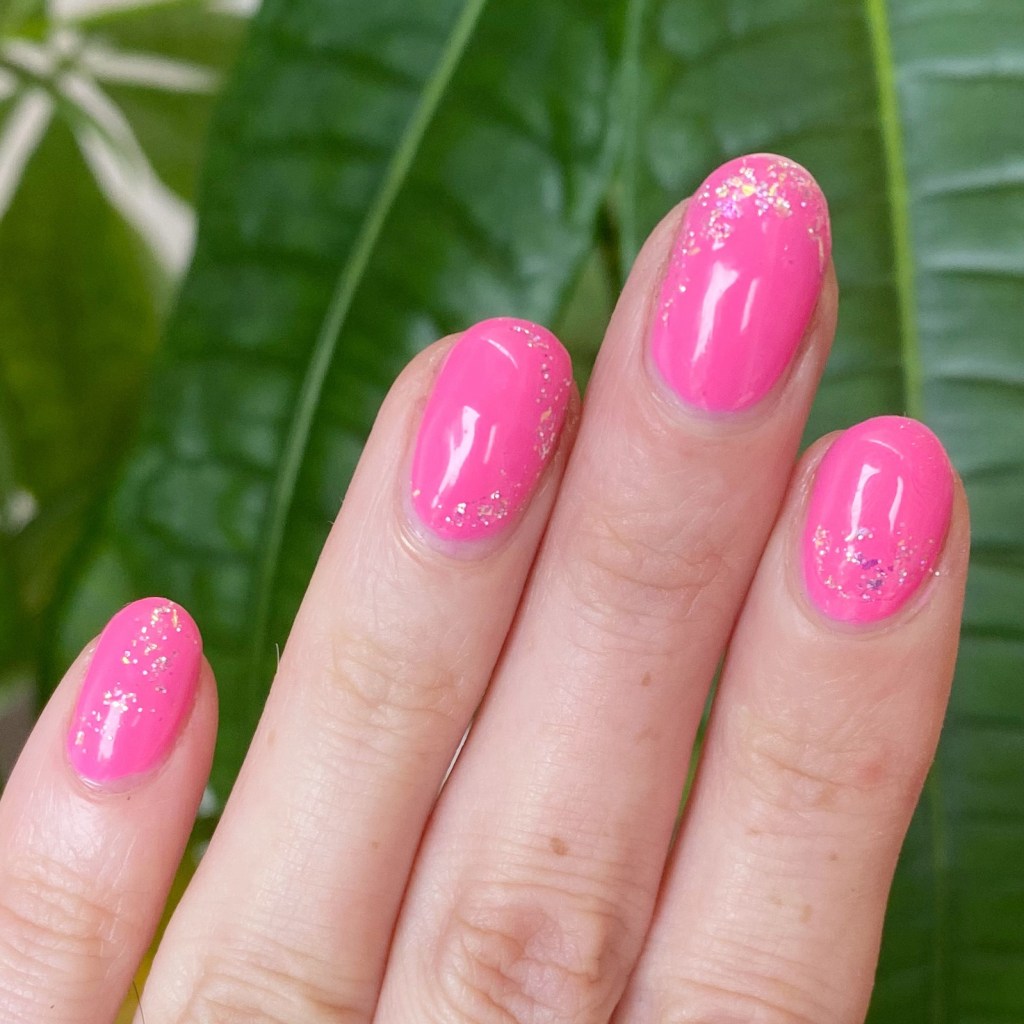
  • China Glaze Glow With The Flow
  • ‘Ard As Nails Fairy Flakes

Look at those pretty sparkles! They’re just so pretty, & girlie & sparkly. I love it. This was also a super simple design to do, with no tools needed. & it’s just the right amount of sparkle — especially over a vibrant base like Glow With The Flow.

What do you think about my pretty pink glitter placement? Do you like this glittery combination? I’m still on the hunt to add more glitters to my collection for glitter placement looks — especially come to Autumn months. So please let me know your favourites!

Happy Wednesday.

♥︎

Villain-esque Half Moons

Hello loves & happy Friday! & happy first day of August — how crazy is that?

How is everyone enjoying their week so far? I’ve been enjoying the very warm temperatures while simultaneously dreaming about pumpkin spice lattes & Halloween costumes. I’m a complicated girl, what can I say. I’ve also found myself thinking about Autumn-y nails & nail designs.

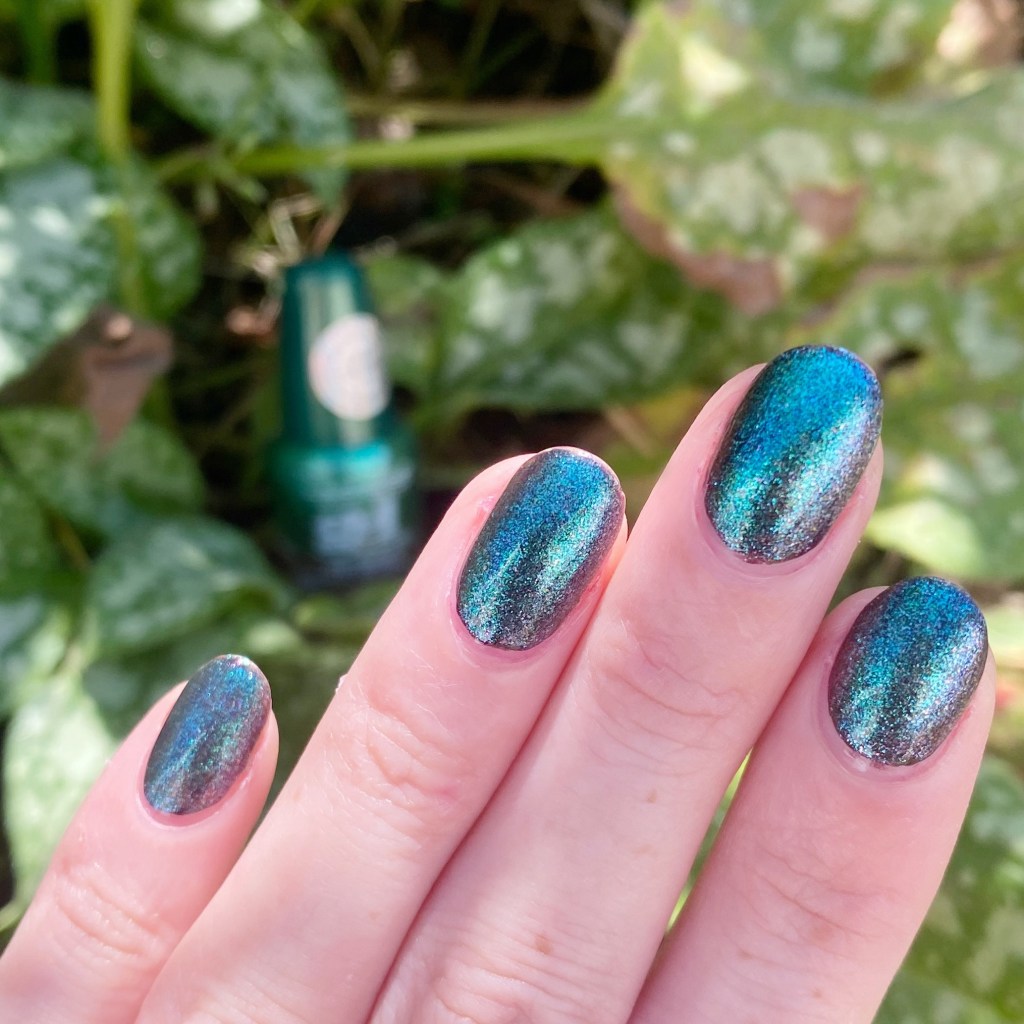
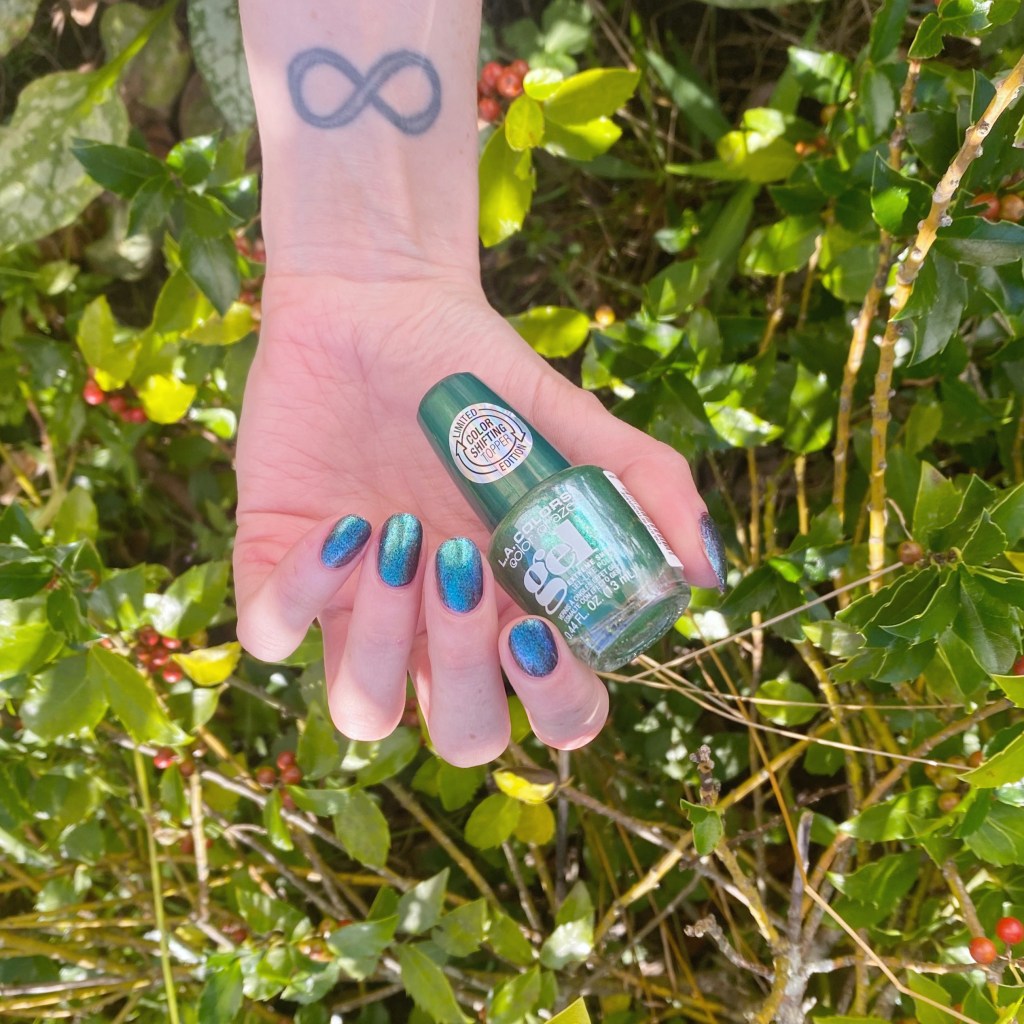
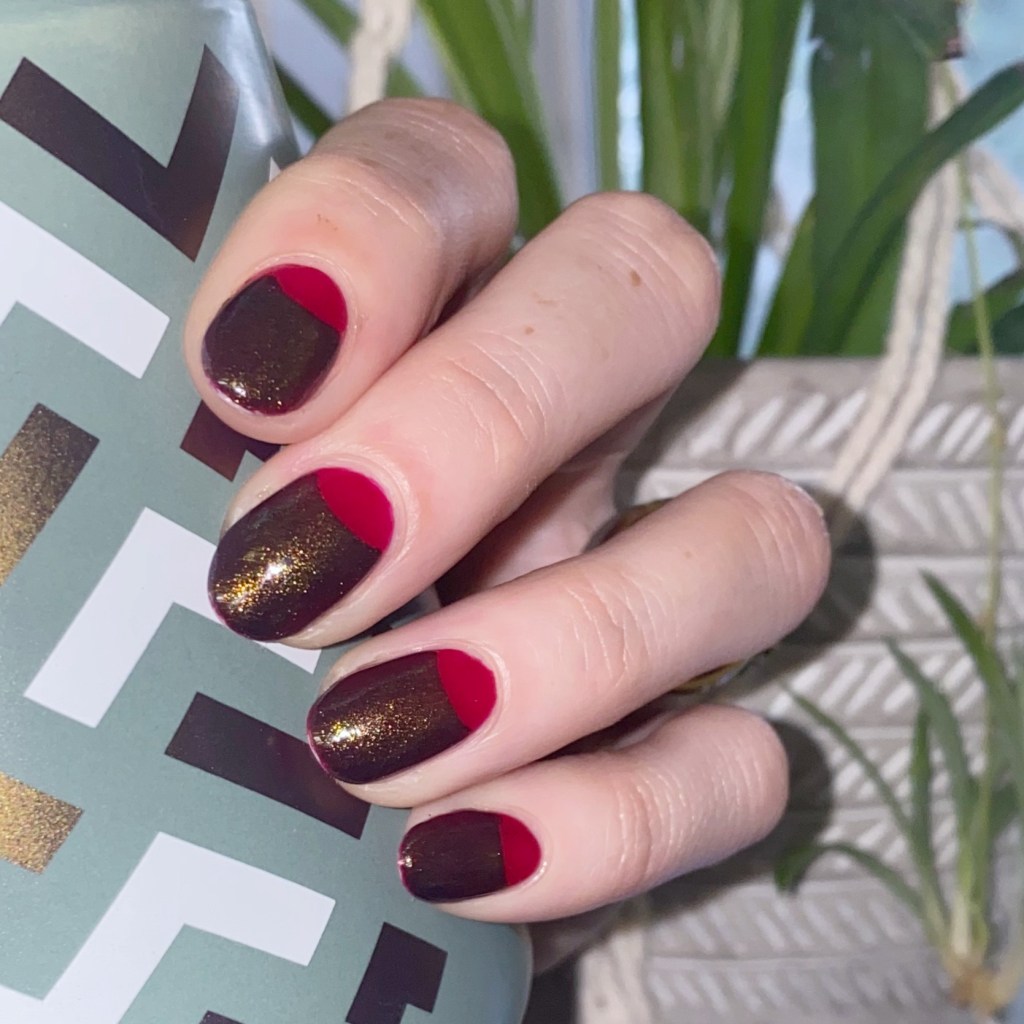
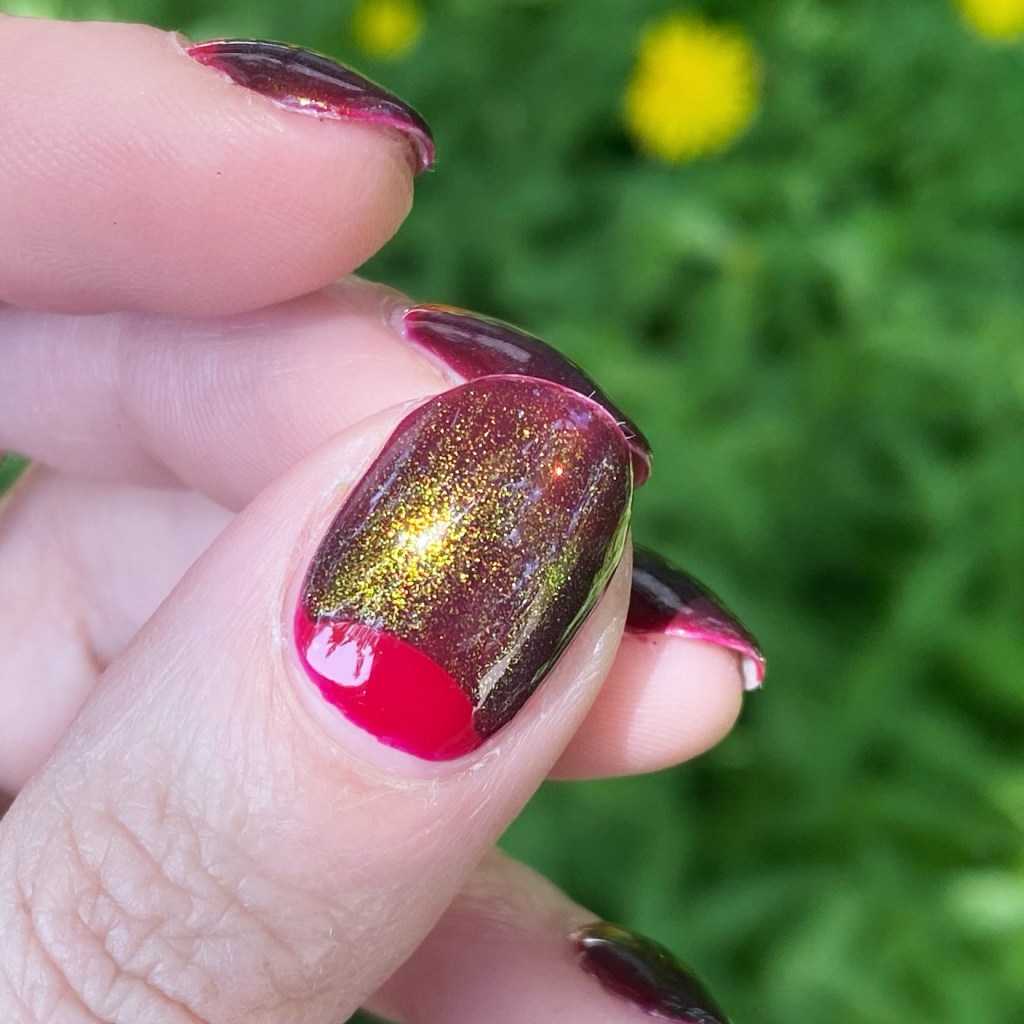
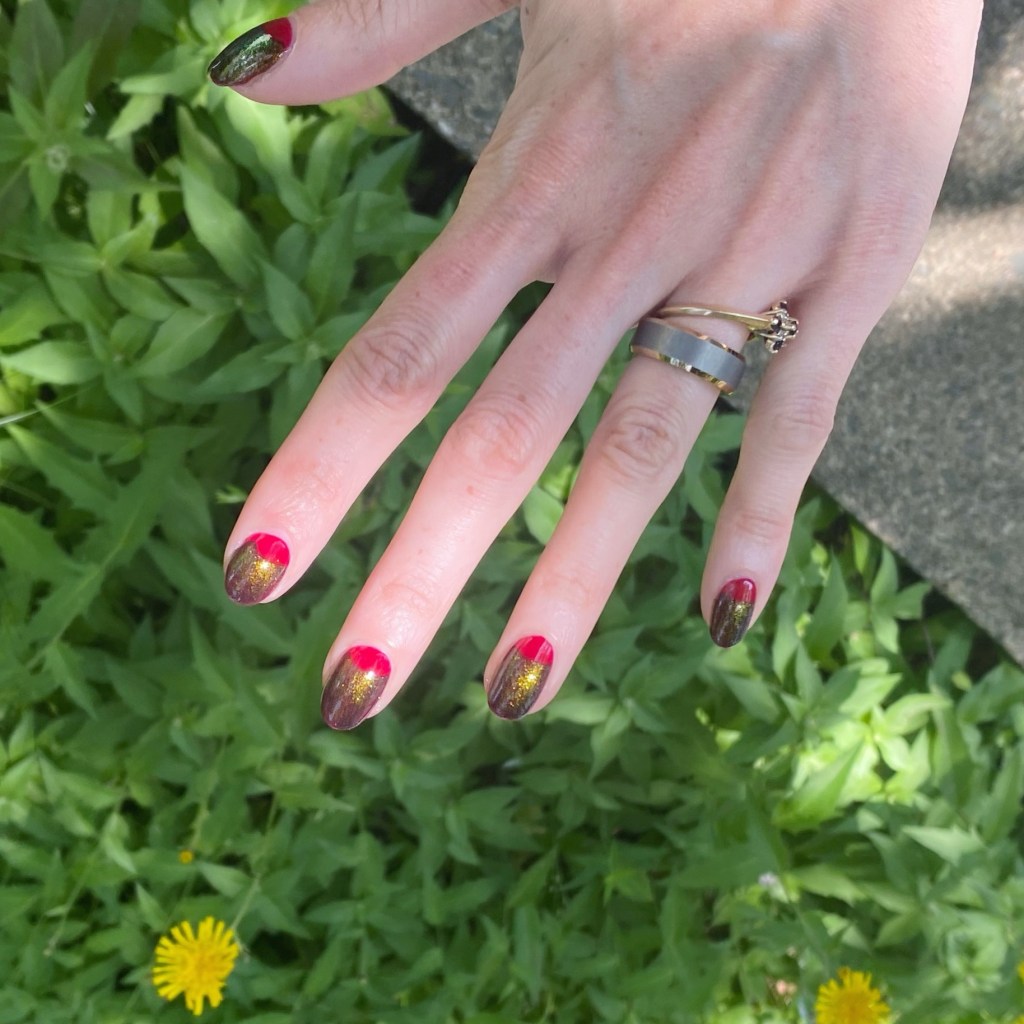
Today’s look, I guess, you could call somewhat Autumn inspired. I was thinking about a red on red half moon idea… but then added some shifty top coat, & they turned into something different entirely. I’m calling them villain-esque, because they totally look the part.

The polishes I used for this manicure are: 

  • Top Coat: Essie Good To Go Top Coat
  • Base Coat: China Glaze Calcium Gel Fortifier
  • Butter London Saucy Jack
  • Essie Tailored By Twilight *pr
  • Sally Hansen Miracle Gel Top Coat Moonlight
  • Paper hole reinforcements

What do you think about this combination? I really like the dark red over the light red, but the addition of the golden shimmer topper really gives it an extra something. Obviously, this look is a little dark for the hot days of August… but I’m a risk taker.

Also I will never not love a half moon manicure. It’s also reminding me I really, really need to play with my nail vinyls more. I have so many just sitting untouched in my folder, waiting to be used. I need to rectify that soon (&maybe get some new ones that are fall themed for the ‘ber months.)

What do you think about these half moons? Do you like this design as much as I do? Are you a fan of the half moons for easy nail art?

Happy Friday! Enjoy your weekend!

♥︎


Teal Ombré Nails

Hello lovelies & happy Wednesday. I hope everyone is having a beautiful Summer day on this last week of July. Truly crazy how quickly this Summer is slipping by, but I’m trying my best to enjoy it. However — only 27 days until Starbucks releases their PSL, which we all know is the official start of Autumn haha.

Today though I have a cute simple nail art look to share. It’s been absolute ages since I last shared an ombre skittle look. so I thought it was time to pull it out again. The colour scheme was inspired by my 8 year old who told me I should wear teal nails. What do you think — did I nail it?

The polishes I used for this manicure are: 

  • Top Coat: Essie Gel Setter Top Coat 
  • Base Coat: China Glaze Calcium Gel Fortifier
  • Essie Mint Candy Apple (pinky)
  • Essie In The Cab-Ana
  • Essie Off Beat Chic *pr
  • Essie Revenge’s A Beach
  • Essie Garden Variety

I’ve always loved these ombre tone skittles because they’re just to easy. The hardest part is just pairing the colours together, & making sure you have that light to dark effect on your nails. Surprisingly — okay, maybe not so surprising — I had enough Essie’s to easy accomplish this look.

What do you think of this simple teal ombre skittle look? Are you a fan of these Muti shade designs? Let me know all your thoughts in the comments below, & which colour you would rock an ombre look like this using!

Happy Wednesday.

♥︎

Pink Roses & Baby’s Breath Bouquet Manicure

Hello loves & happy Friday! I hope everyone is enjoying their week so far. It’s been a beautiful week here so far, but honestly I won’t like — the nights have been giving Autumn. It’s been cool, & nice, & has me craving pumpkin everything. I’m just such a basic girl, & I’m okay with that.

But, I won’t jump into the Autumn vibe nails quite yet — I’ll wait until Starbucks releases their PSL at least. So I have some pretty floral nails to share with you.

The polishes I used for this manicure are: 

  • Top Coat: Essie Gel Setter Top Coat 
  • Base Coat: China Glaze Calcium Gel Fortifier
  • Essie Gel Couture Electric Geometric *pr
  • Essie Shine of the Times
  • Essie Princess Charming
  • Essie Mrs. Always Right
  • Essie Gel Couture Gossamer Garments *pr
  • Essie Wind in the Willow *pr
  • Essie Bustling Bazaar
  • OPI I Cannoli Wear OPI
  • Nailstuff.ca Mermaid Tail 7mm liner brush
  • NailStuff.ca Dotting Tool 

I absolutely love these. I love the base with the glitter. I love how my roses turned out. I love the little bit of babies breath. I just think the whole design came together beautifully, & I truly adore them.

Also, my 10 year wedding anniversary is coming up this September, & I think I’m going to recreate my wedding nails (again) 10 years later. I did it back in 2018 so I thought it would be fun to do now… what do you think? Would you like to see me do another recreation of my original wedding nails, or maybe what I would do now if I were to paint my nails to get married?

Let me know what you think!

Do you love these romantic roses? Let me know all your thoughts down in the comments below. Happy Friday!

♥︎

Pastel Geometric Lines

Contains PR

Hello loves & happy Thursday!

I hope everyone’s week has been going well. It’s be hot hot hot here on the East Coast, which I will never complain about! I love me a hot Summer day. Today it’s definitely cooler & just kind of muggy.

But you’re here for nails, not weather reports — & I have been busy trying to come up with fun nails to share! I’ll admit, after 11 years it can be hard to come up with brand new nail art designs for you. So, instead, I guess I’ll keep reinventing my old favourites.

The polishes I used for this manicure are: 

  • Top Coat: Essie Gel Setter Top Coat 
  • Base Coat: China Glaze Calcium Gel Fortifier
  • Madam Glam Mimi Pink *
  • Madam Glam Minty Greek *
  • Madam Glam Birds Fairy *
  • Madam Glam Warm Up *
  • Quo by Orly Black Nail Art Striper

**pr/gifted

You can never go wrong with a dry brush geometric design!

These were so easy to do. Started off with the dry brush as my base using my 4 Madam Glam pastels–which blended together so well–& then used my striper to create the geometric design. The hardest part is probably drawing the black lines & making sure they don’t end up too thick (always my struggle, at least), but no matter what I think this is a striking design to do & wear!

What do you think about these pastel geometric design? She’s an oldie but a goodie!

I’m still on the hunt for new nail art designs to try, so feel free to share any designs you’d love to see me attempt! I’m trying not to go straight into craving Autumn designs (my favourite season for nail art) so help a girl out! I would be eternally grateful.

Happy Thursday!