Hello beauties & happy Wednesday!
It’s also the second prompt of Glam Nails Challenge April! & we’re keeping with our Easter trend with Easter Chicks! 🐥
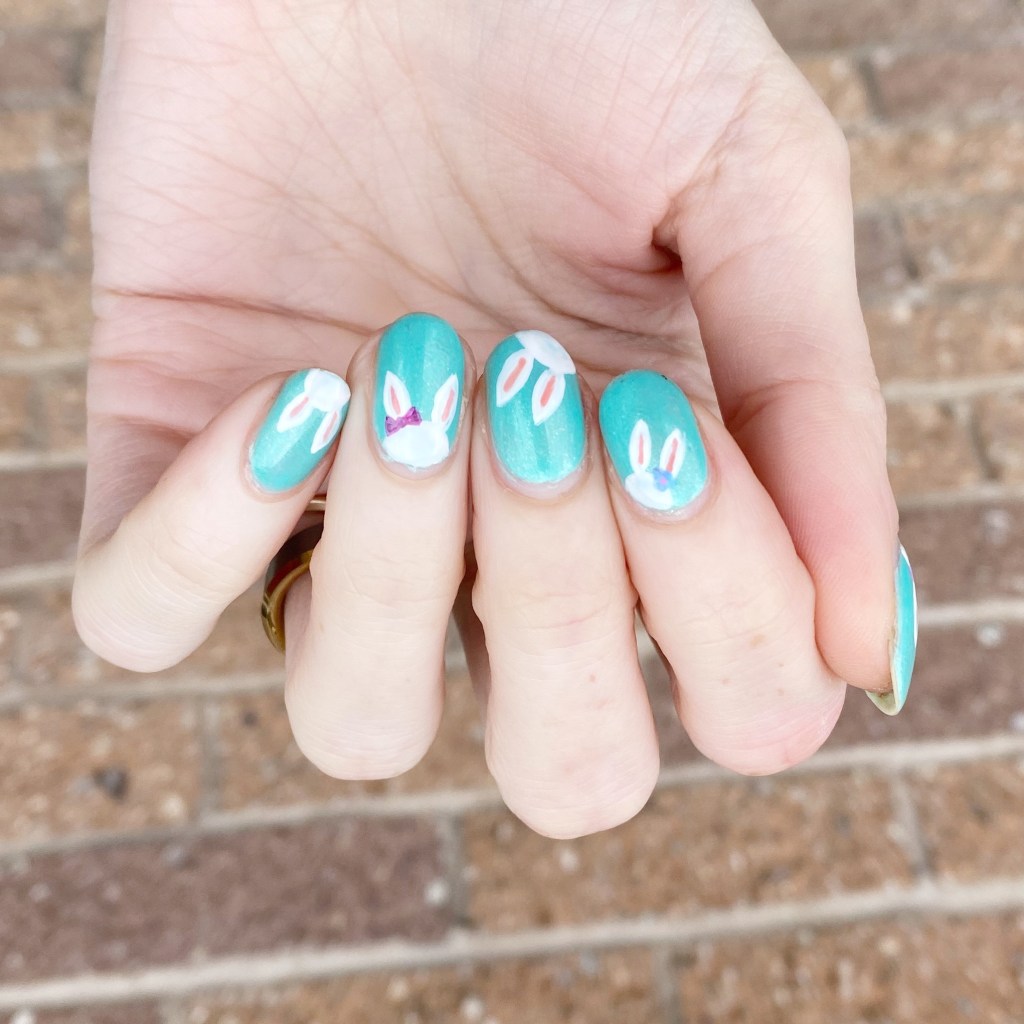
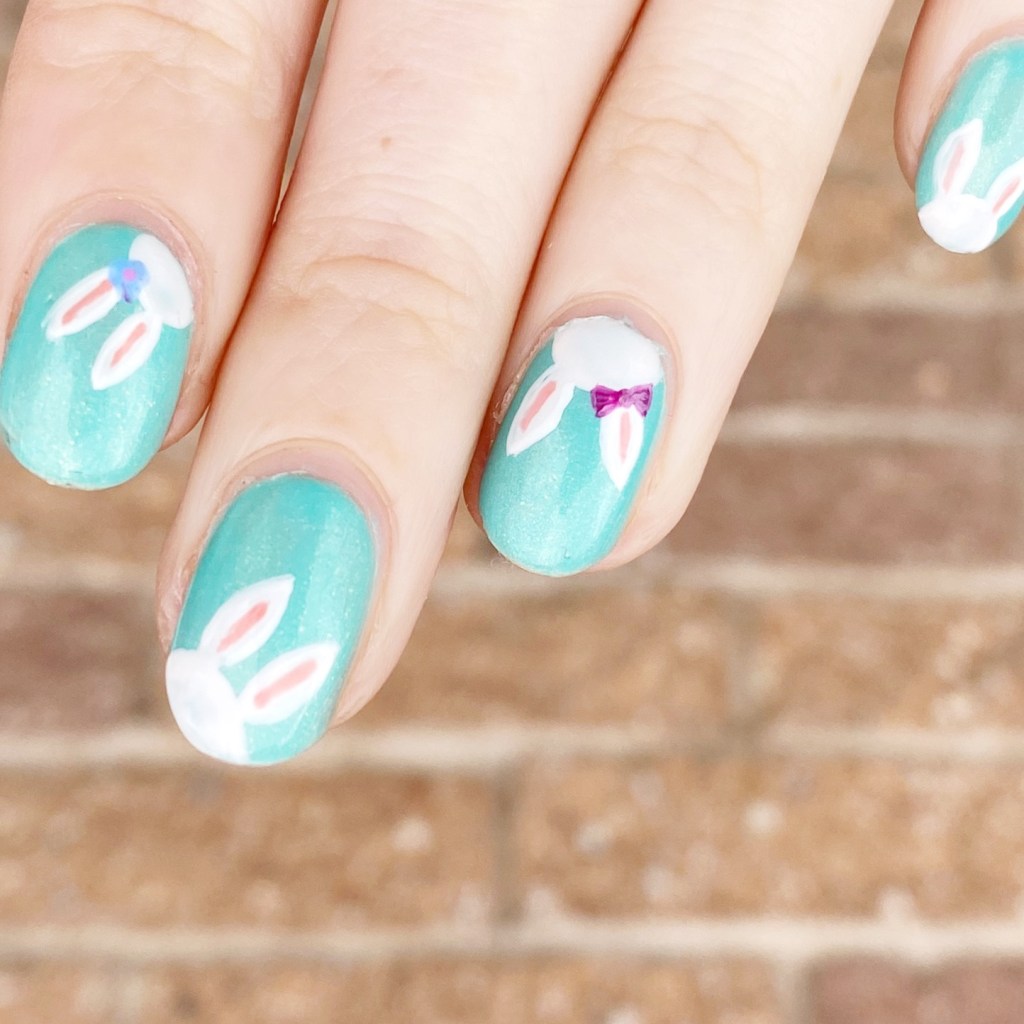
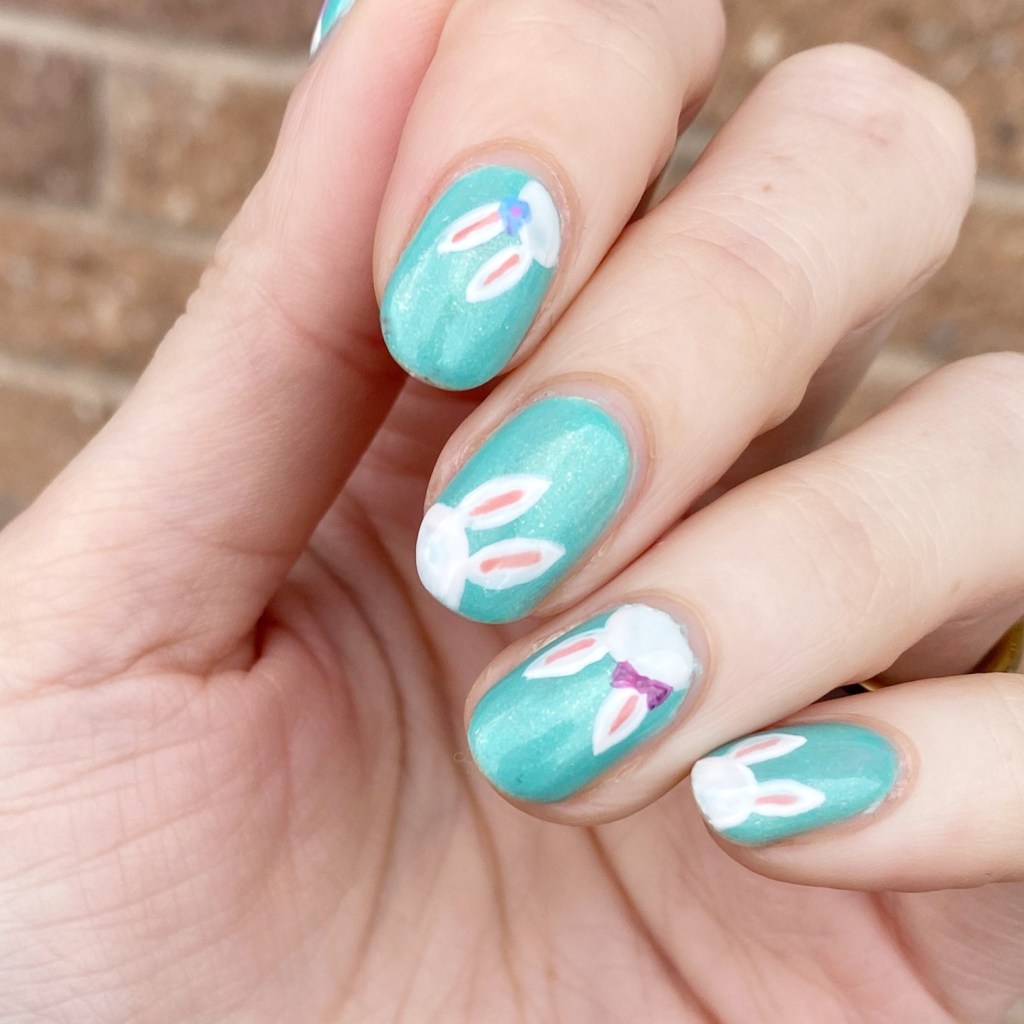
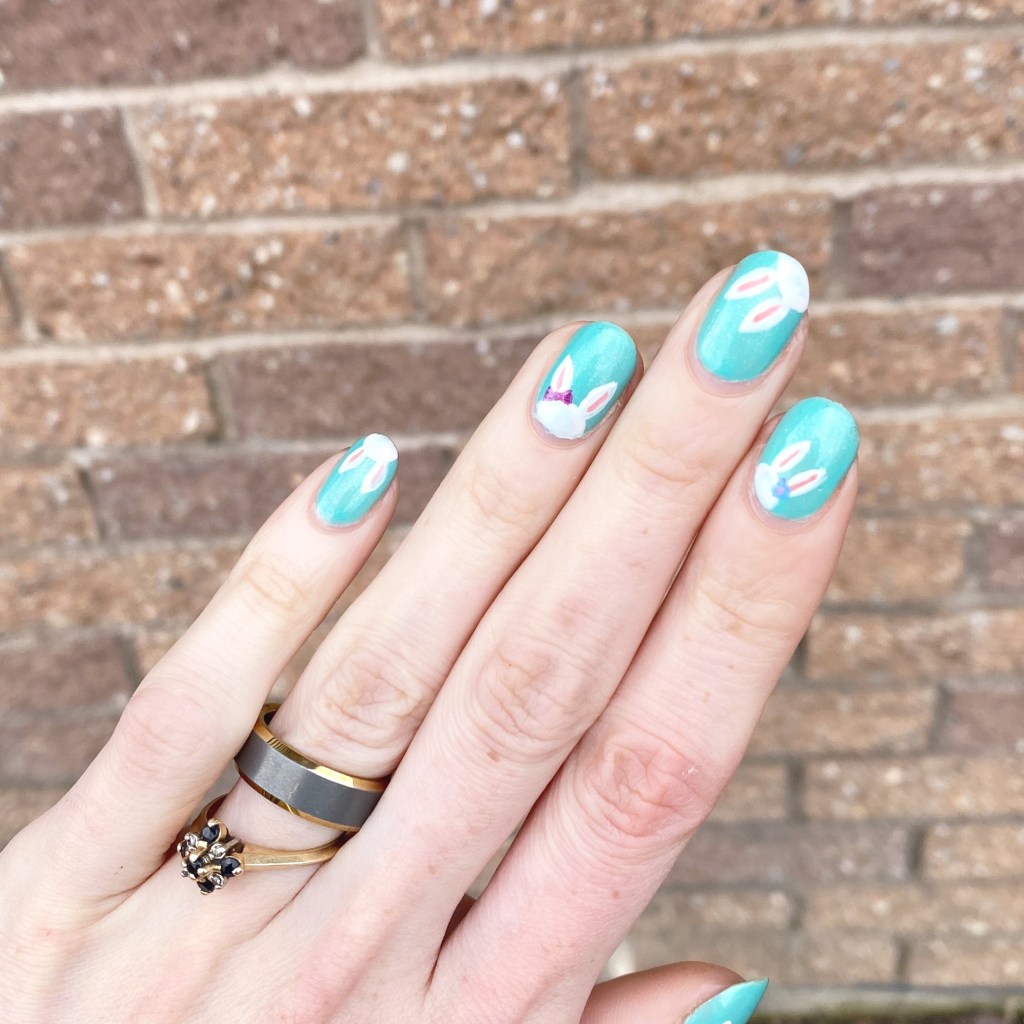
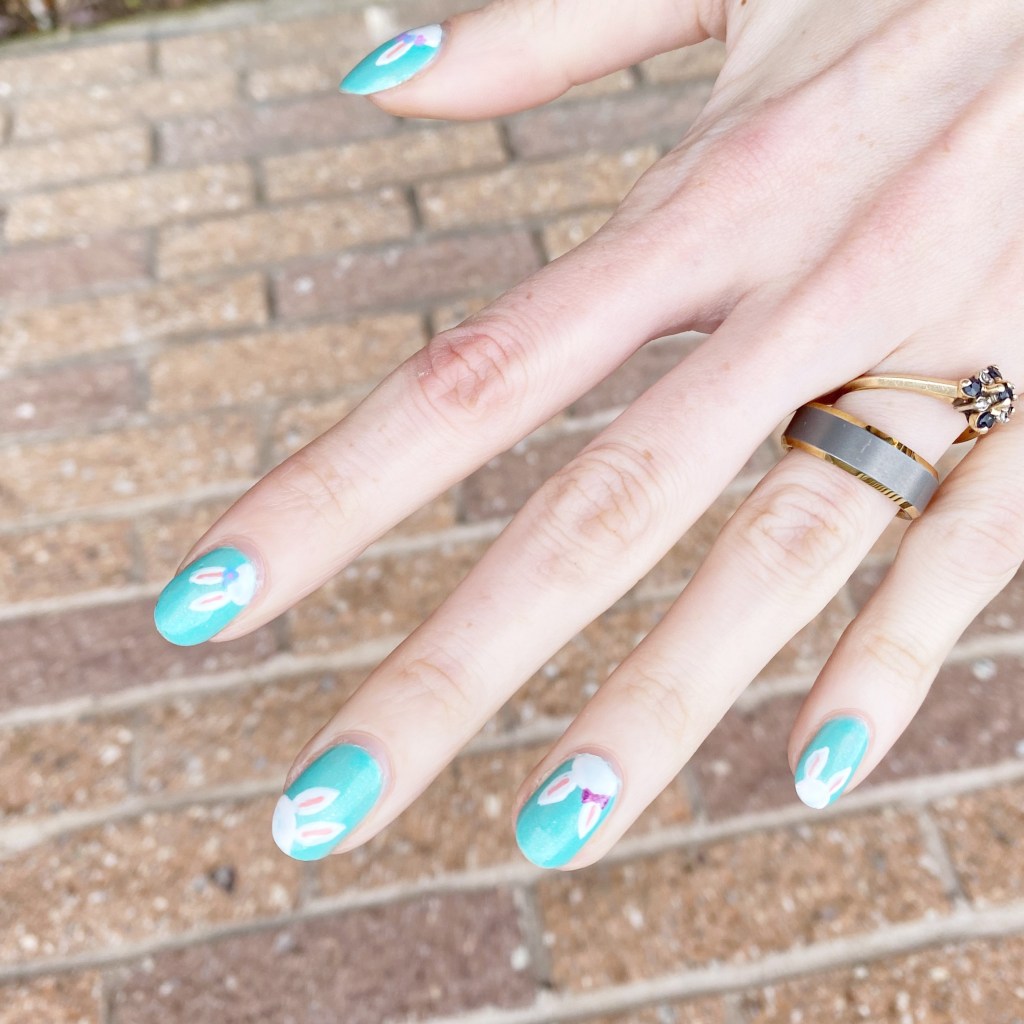
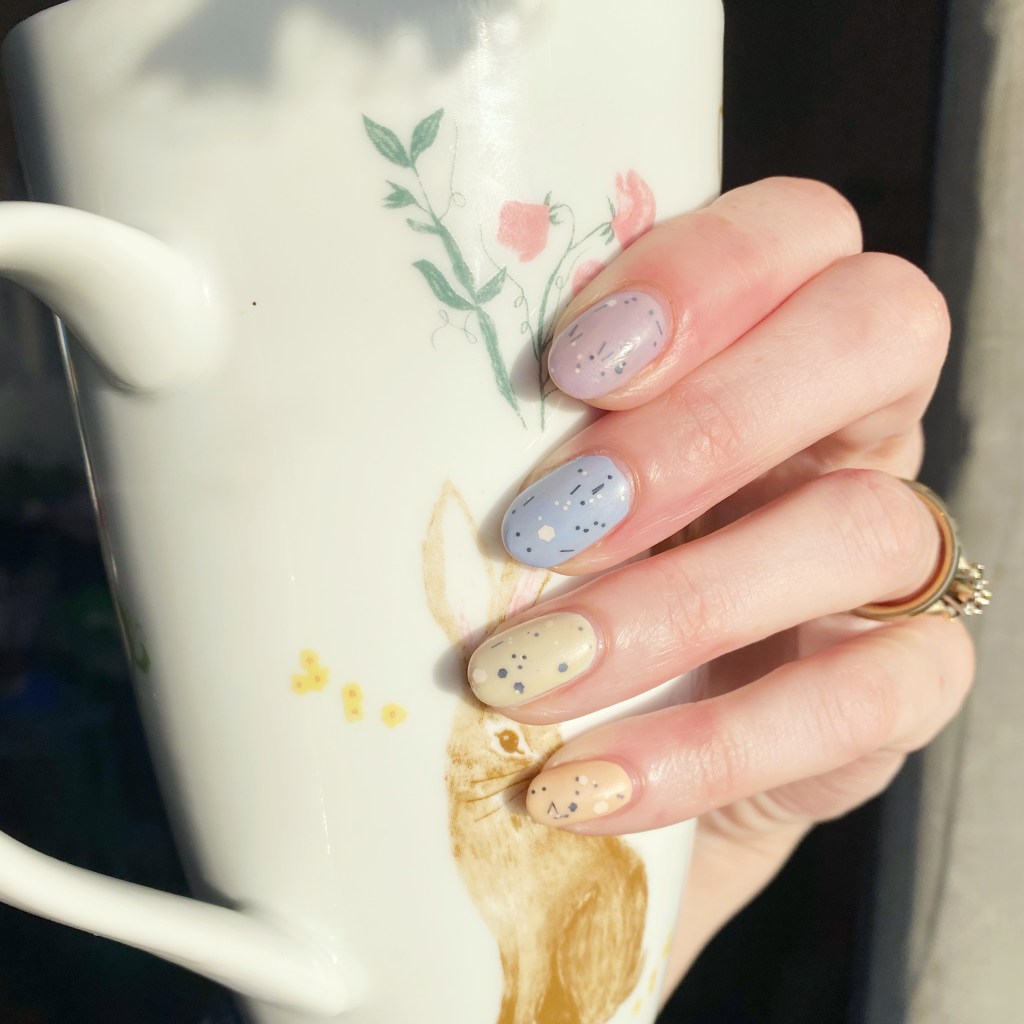
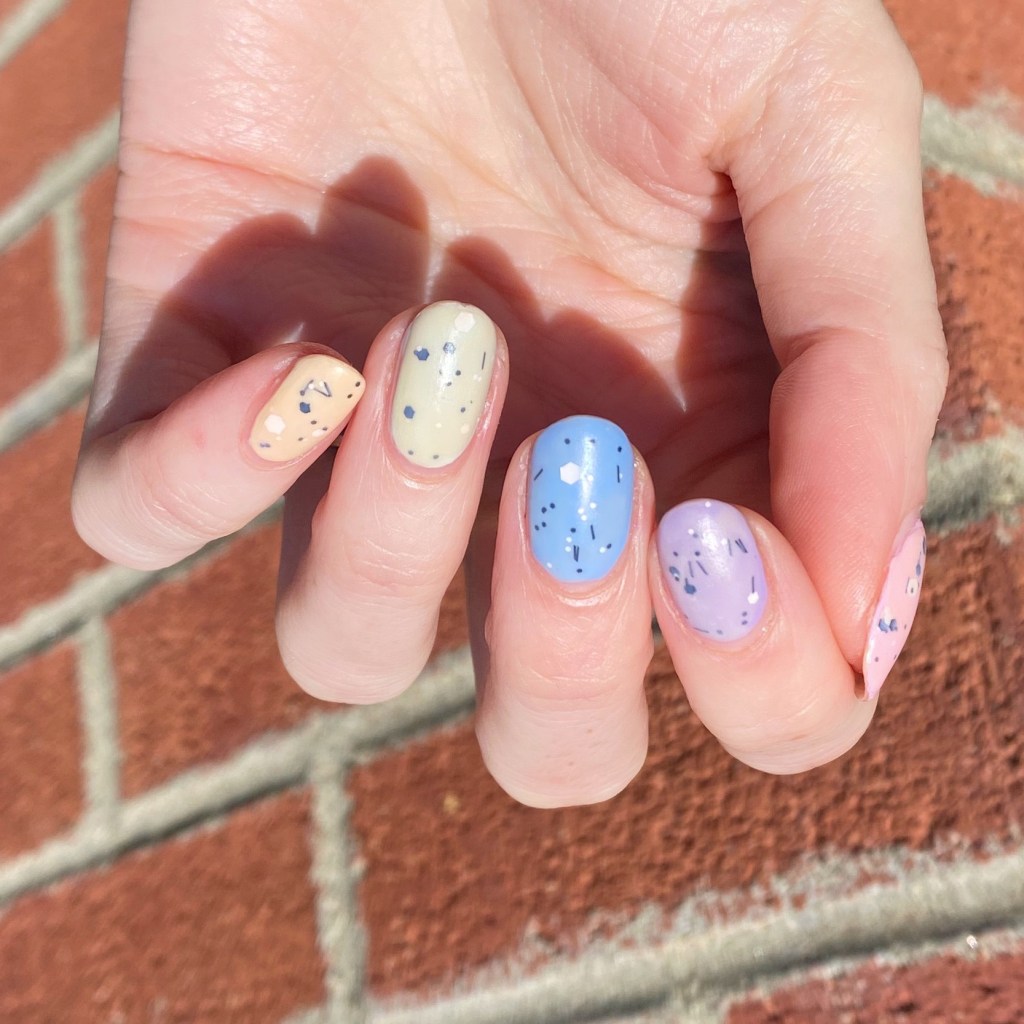
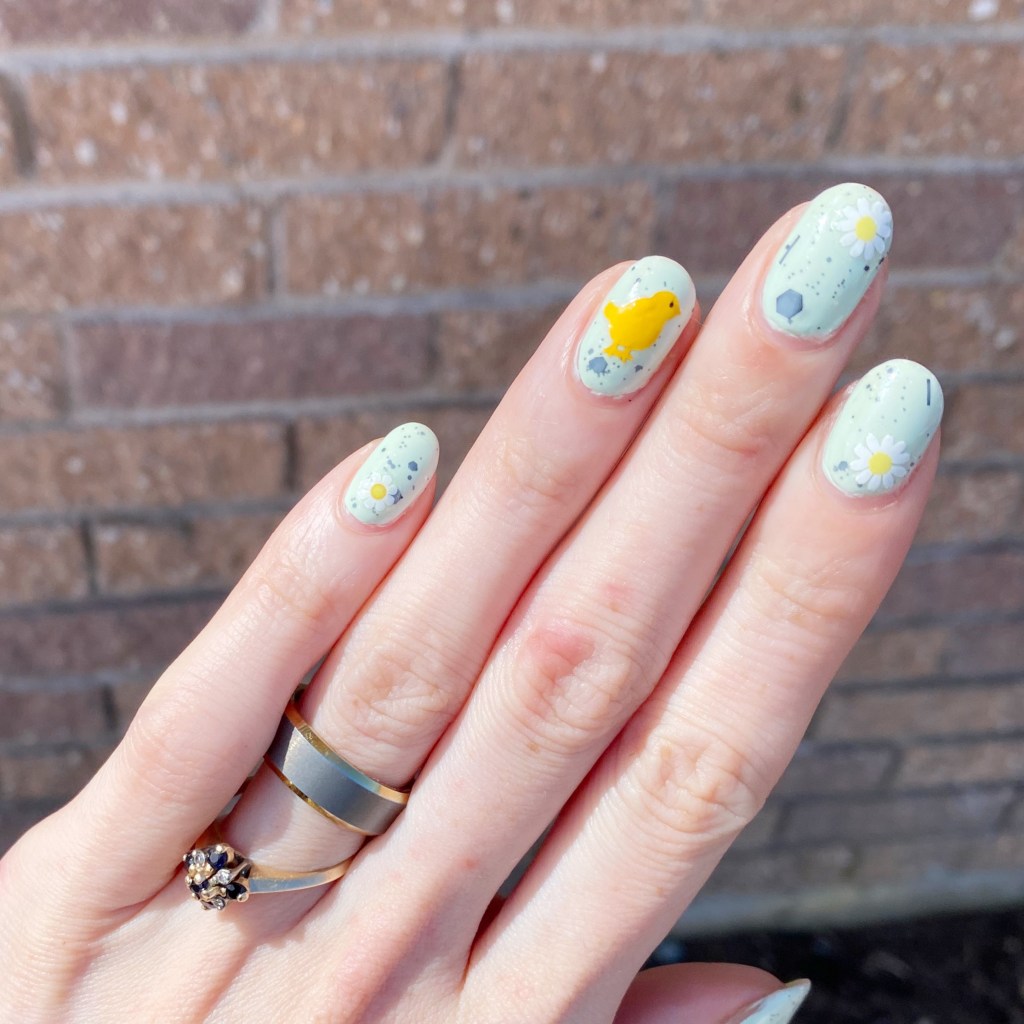
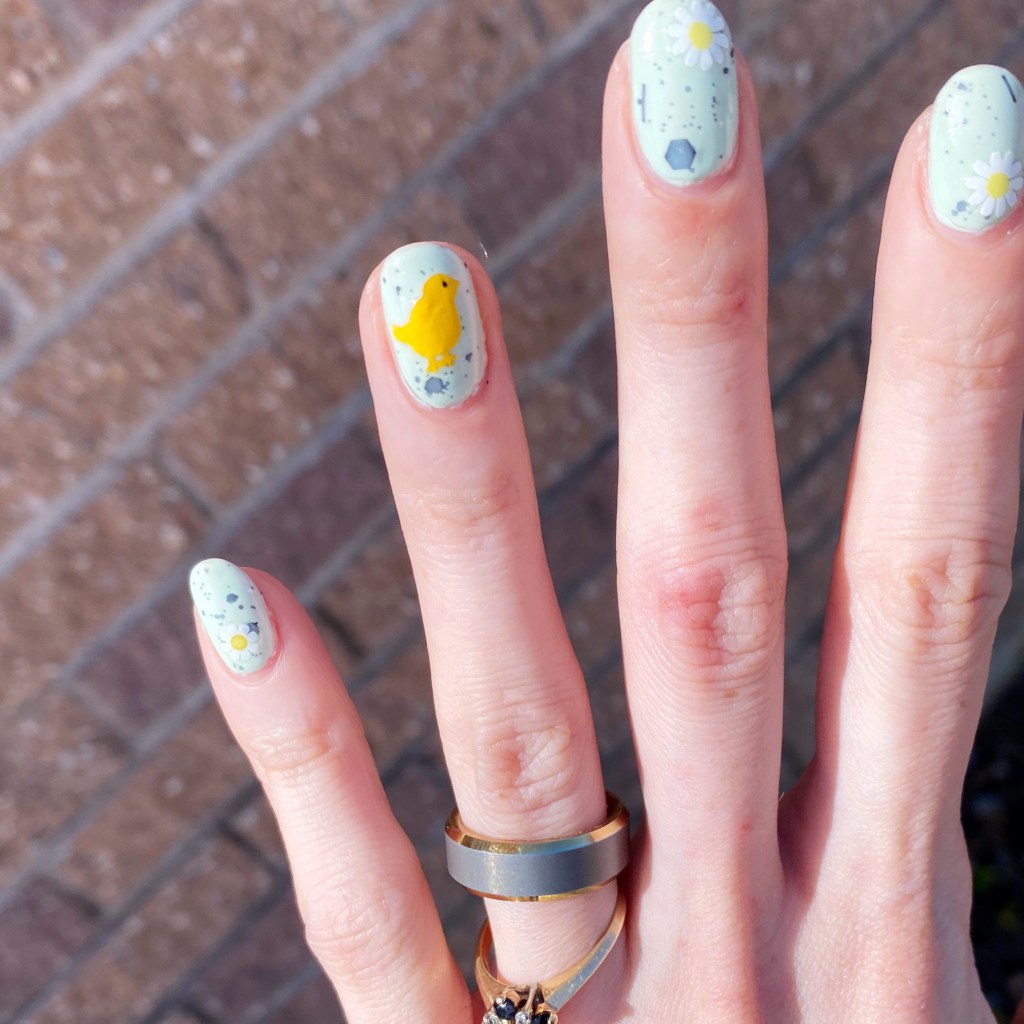
Now when I think of Easter chicks, my mind immediately goes to Peeps — you know, those squishy marshmallow chicks that I feel like are a VERY controversial Easter candy. But since I wasn’t confident in my ability to freehand some peeps, I decided to go with these cute chick Easter decals I got a few years ago.

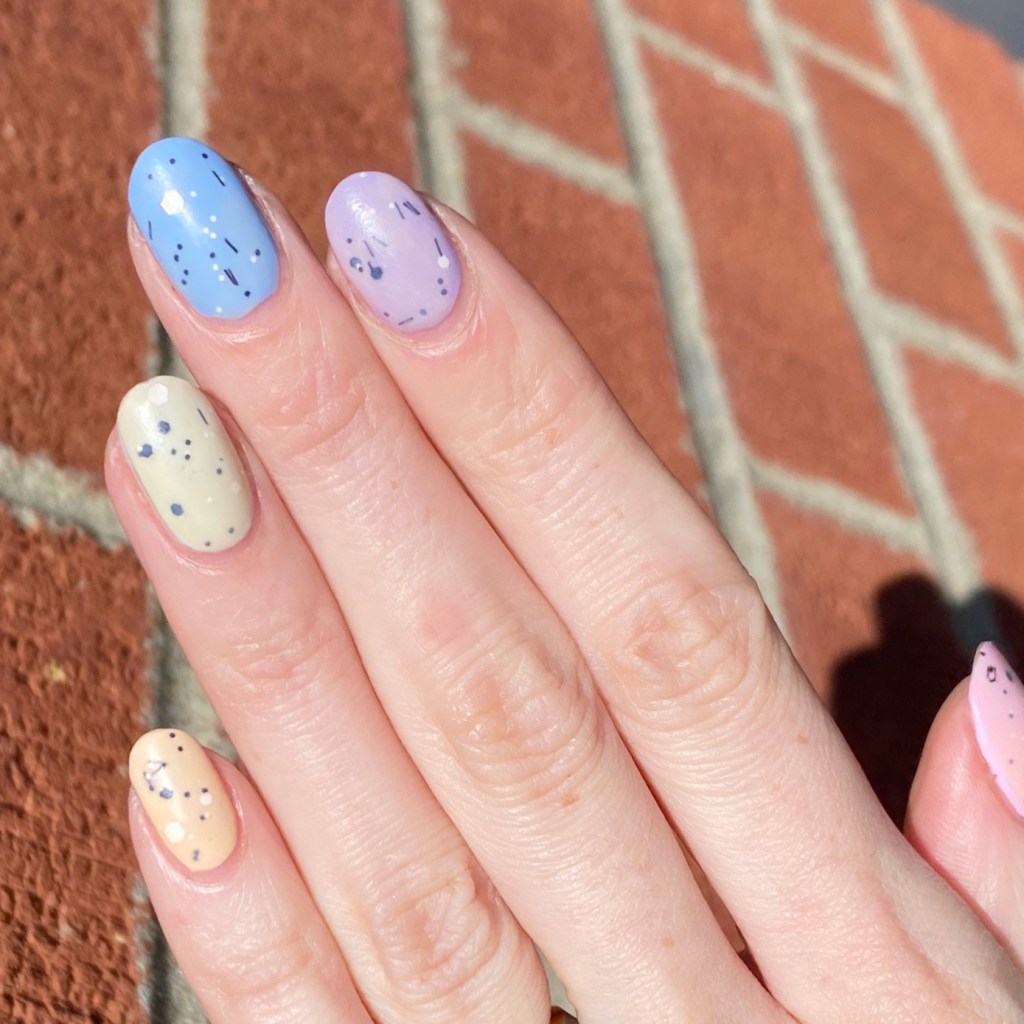
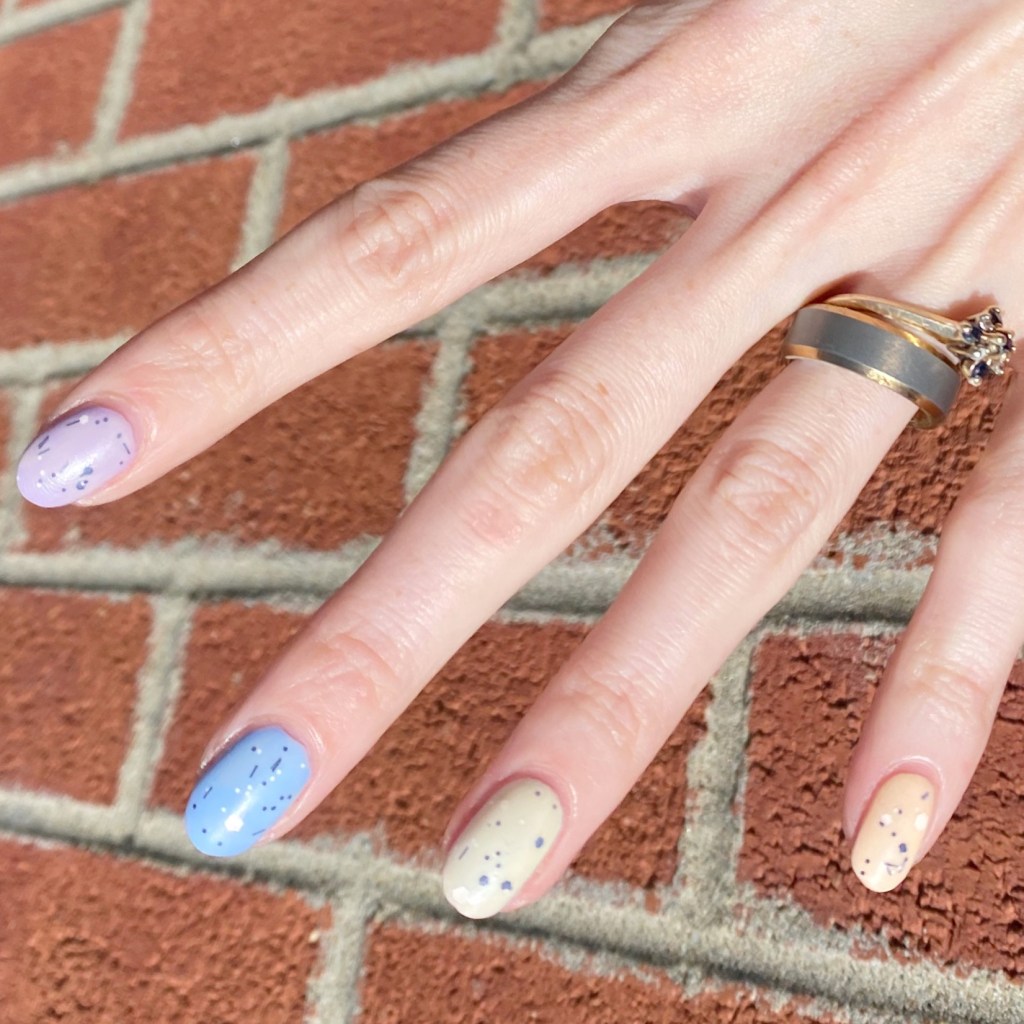
The polishes I used for this manicure are:
- Base Coat: Essie Hard To Resist Glow & Shine
- Top Coat: Seche Vite Fast Dry Top Coat
- Essence Blow My Mint (Bloom Me Up Collection)
- Formula X for Sephora Chaotic
- Essence Nail Art Pastel Ombré
- Chick nail art decals
- Daisy nail art decals

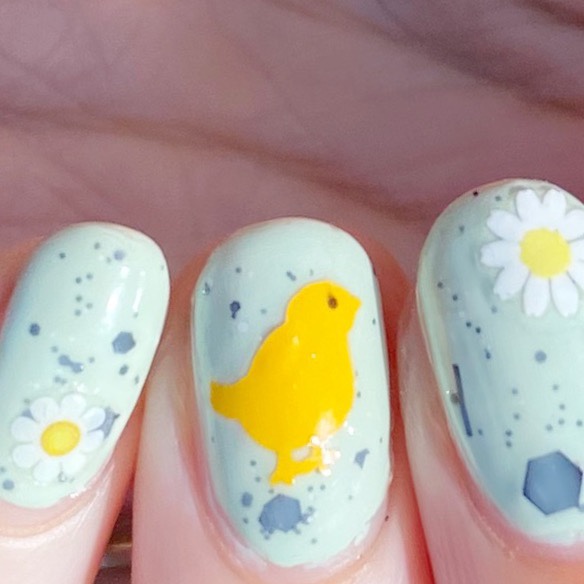
How cute are these little chick decals & daisy nail art stickers? I added the little black dots for eyes myself. Definitely Spring/Easter vibes. & yes I’m not done with speckled nail vibes yet — maybe in a few days. Haha. But for right now, I’m just going to stare at cute speckled nails & obsess over them.
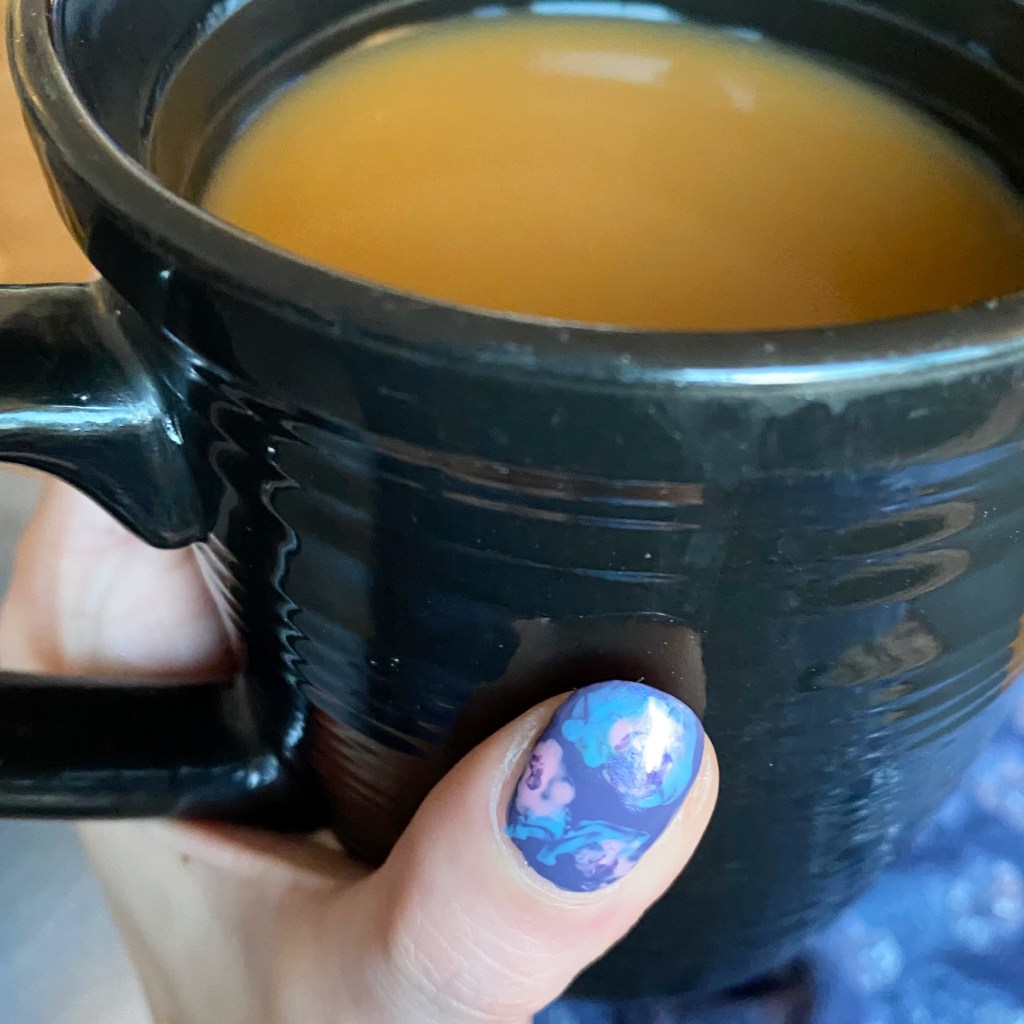
Also just have to do a cute shout out because today is my 9th Blog-aversary! I swear, I always forgot that it’s coming haha so once again I forgot to do a special blog post. But I still want to celebrate because an almost decade of anything is reason to celebrate.
So happy birthday Coffee & Nail Polish. 🎂
What do you think about this quick Easter Chicks nail art look? Would you wear this quick & easy nail art design? Let me know all your thoughts down in the comments below!