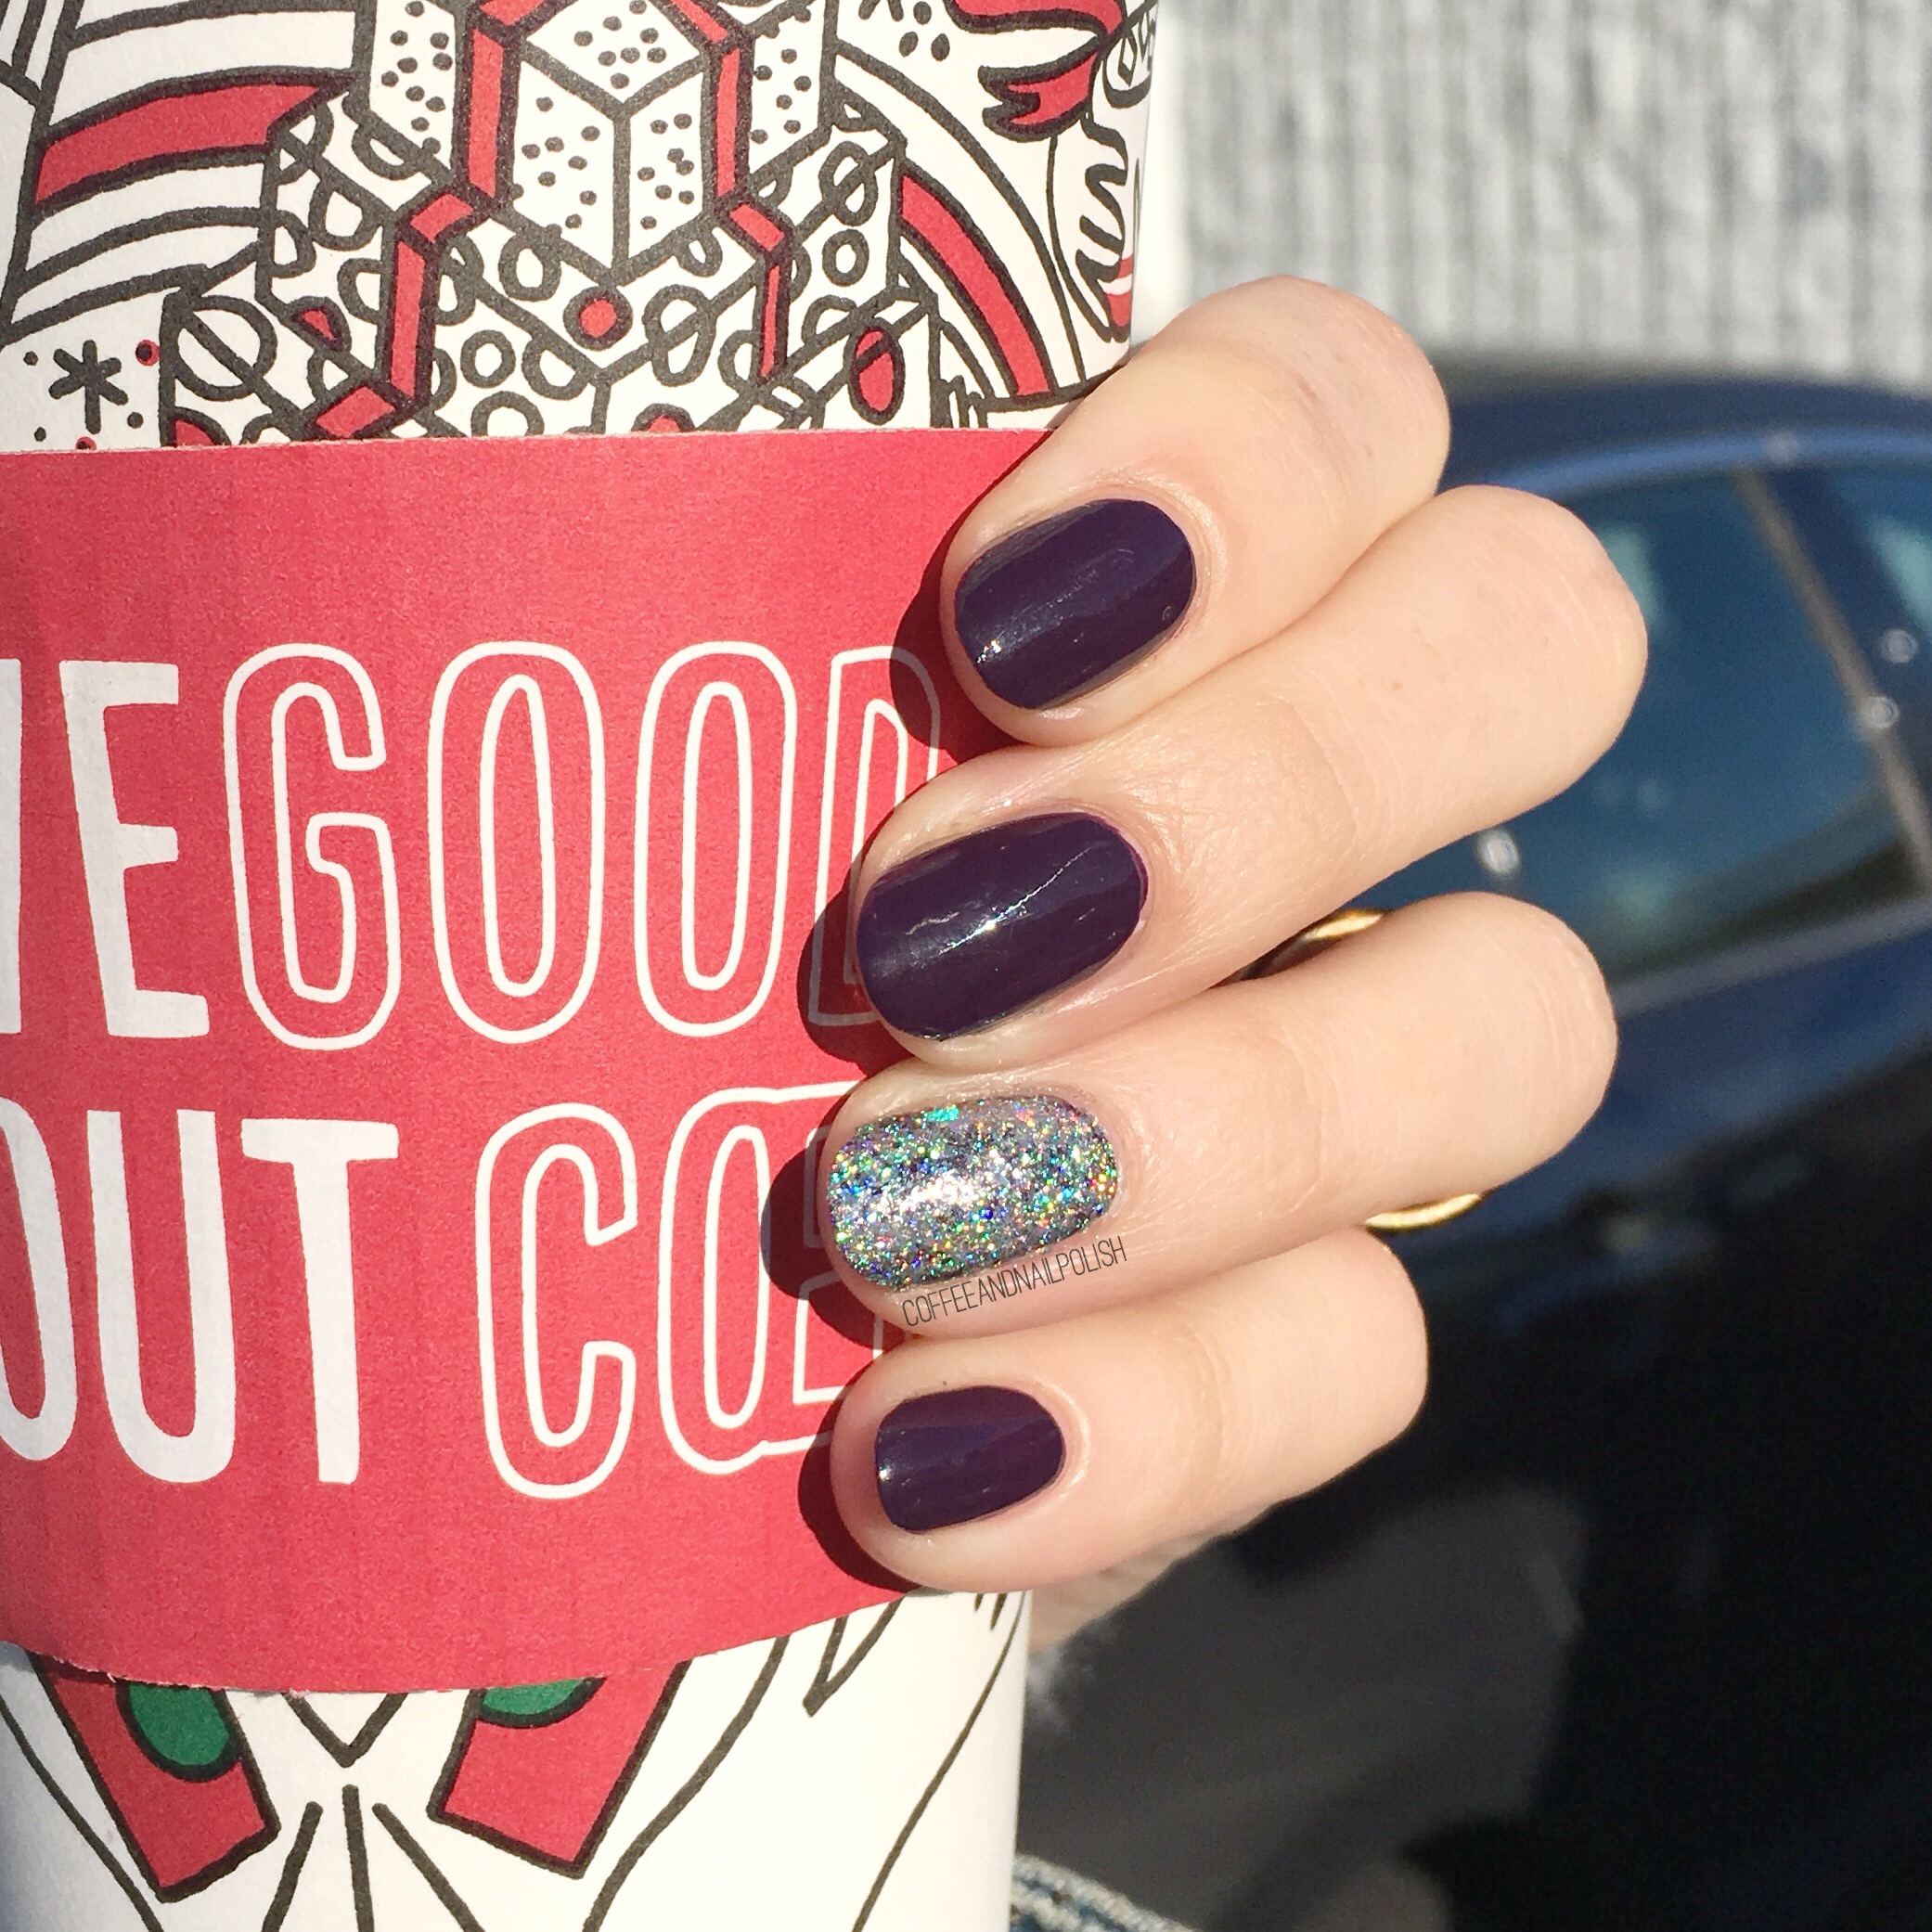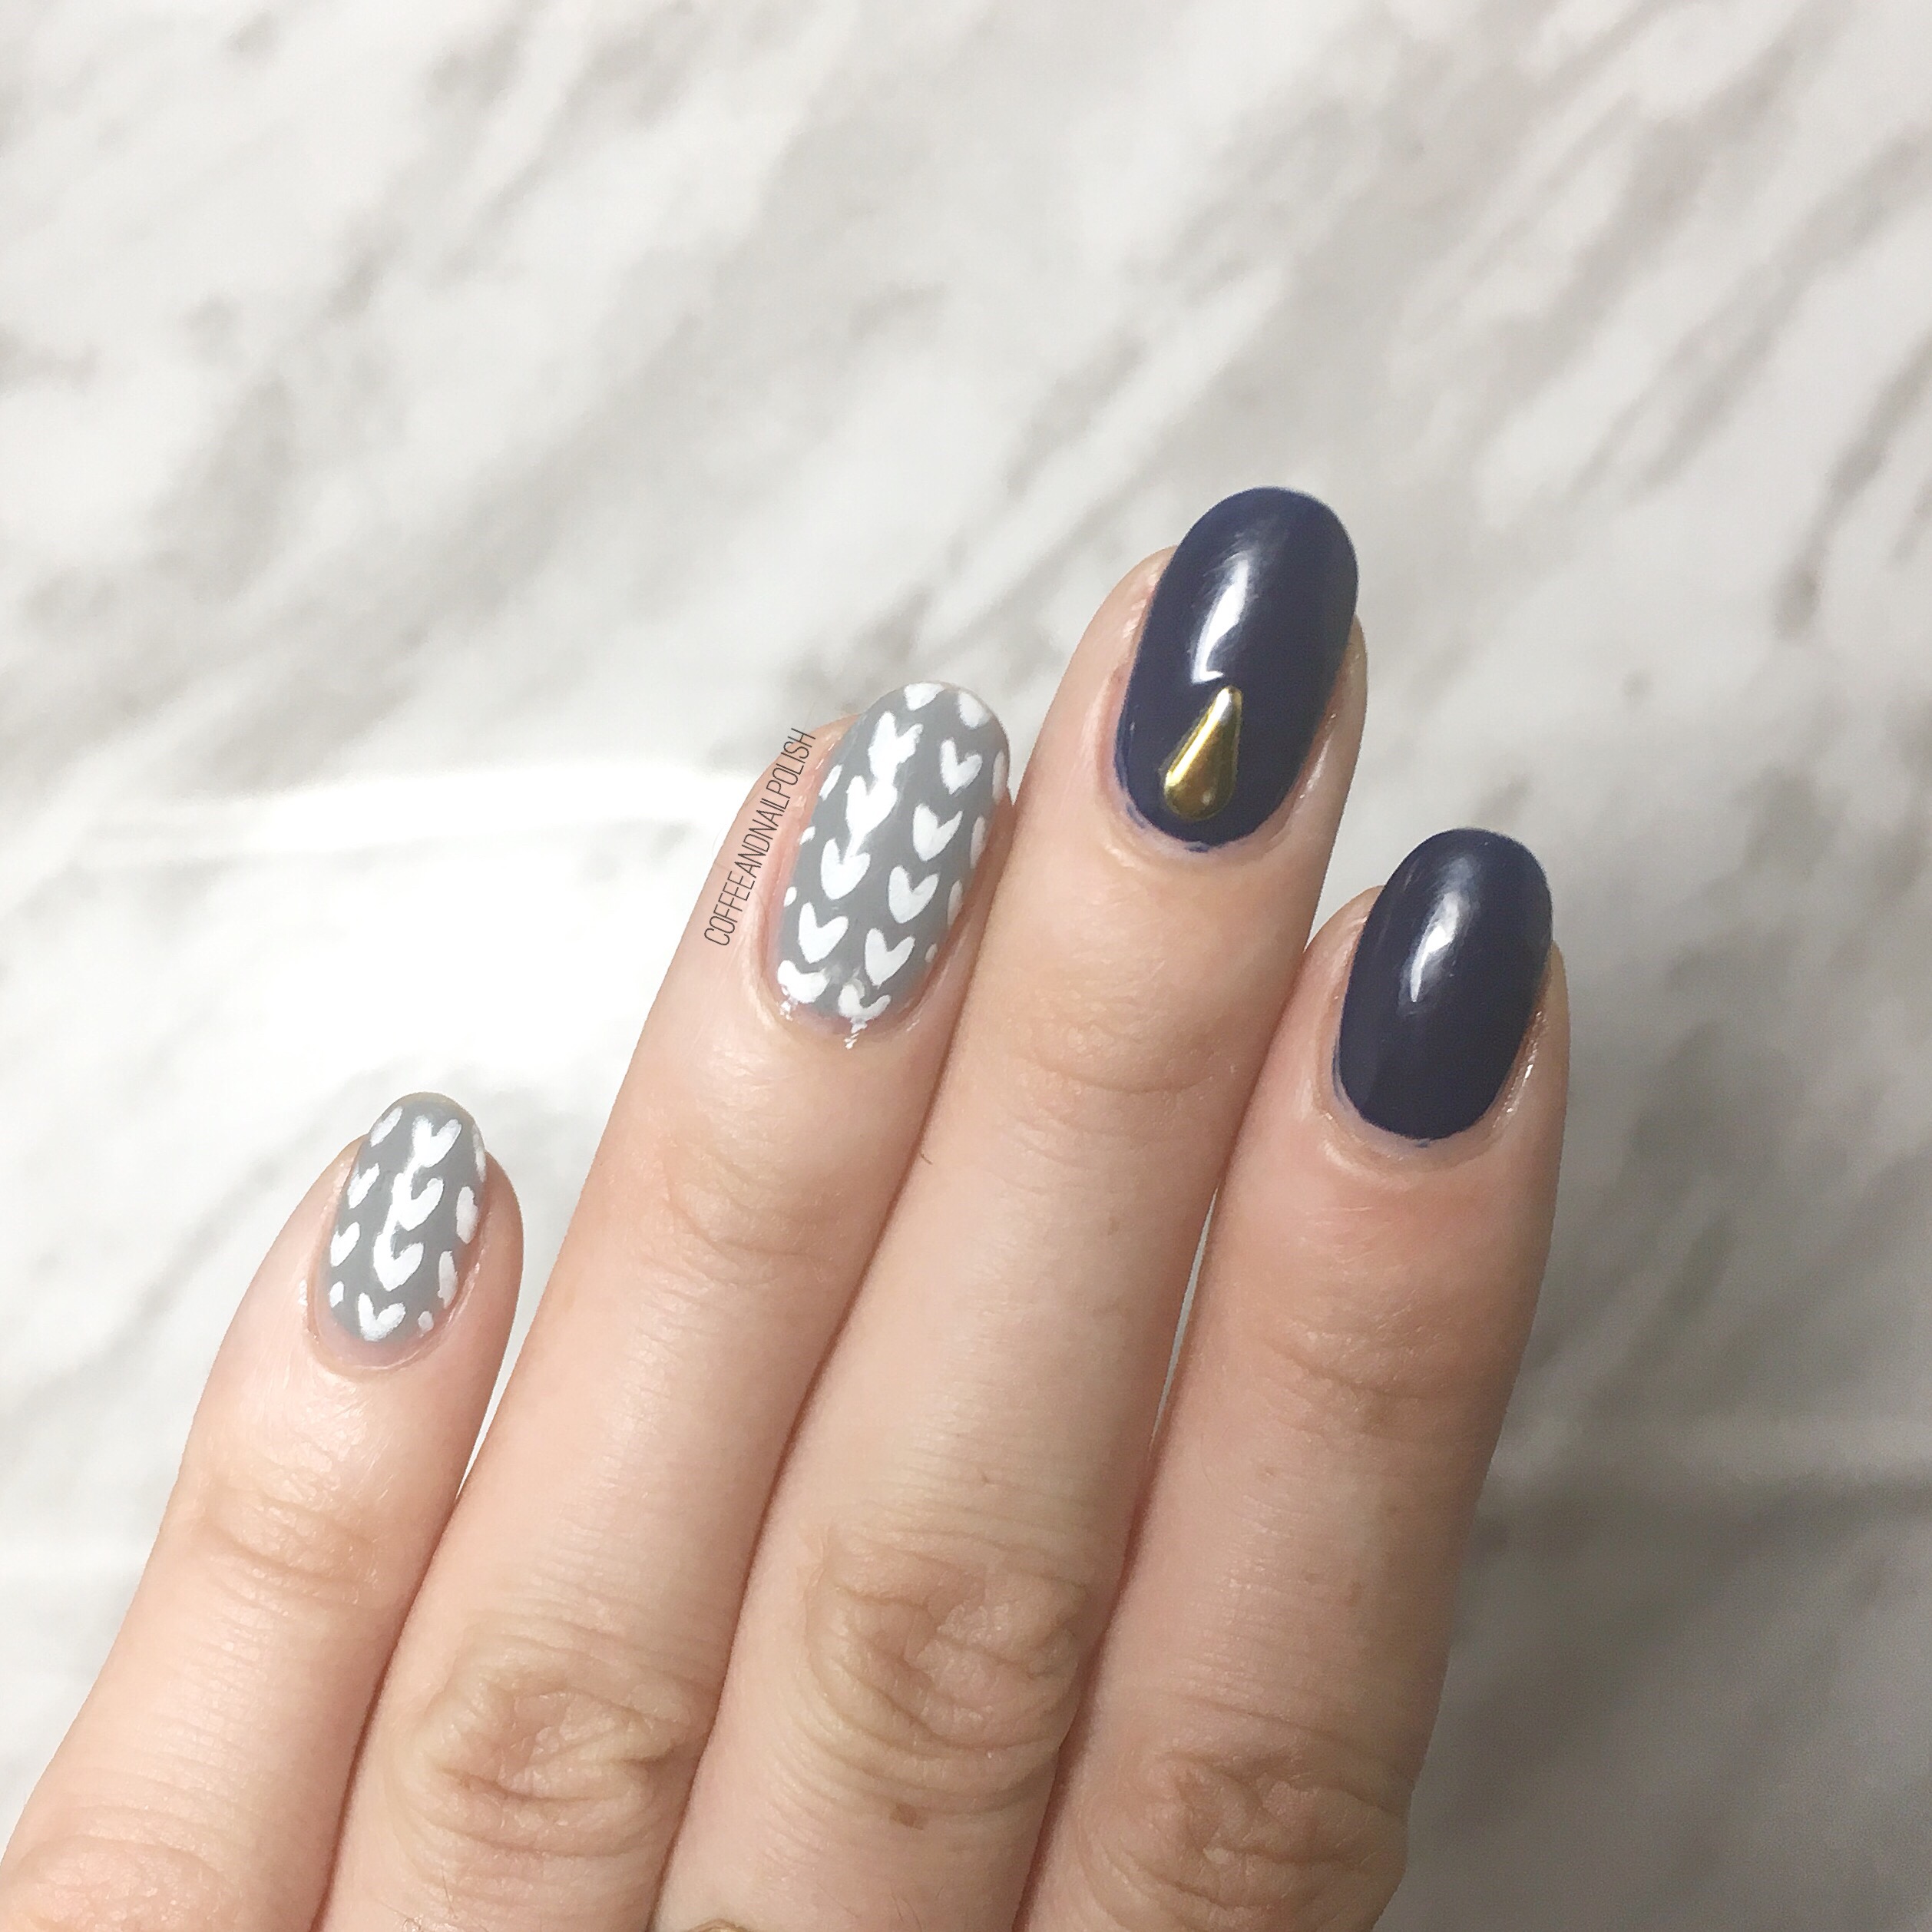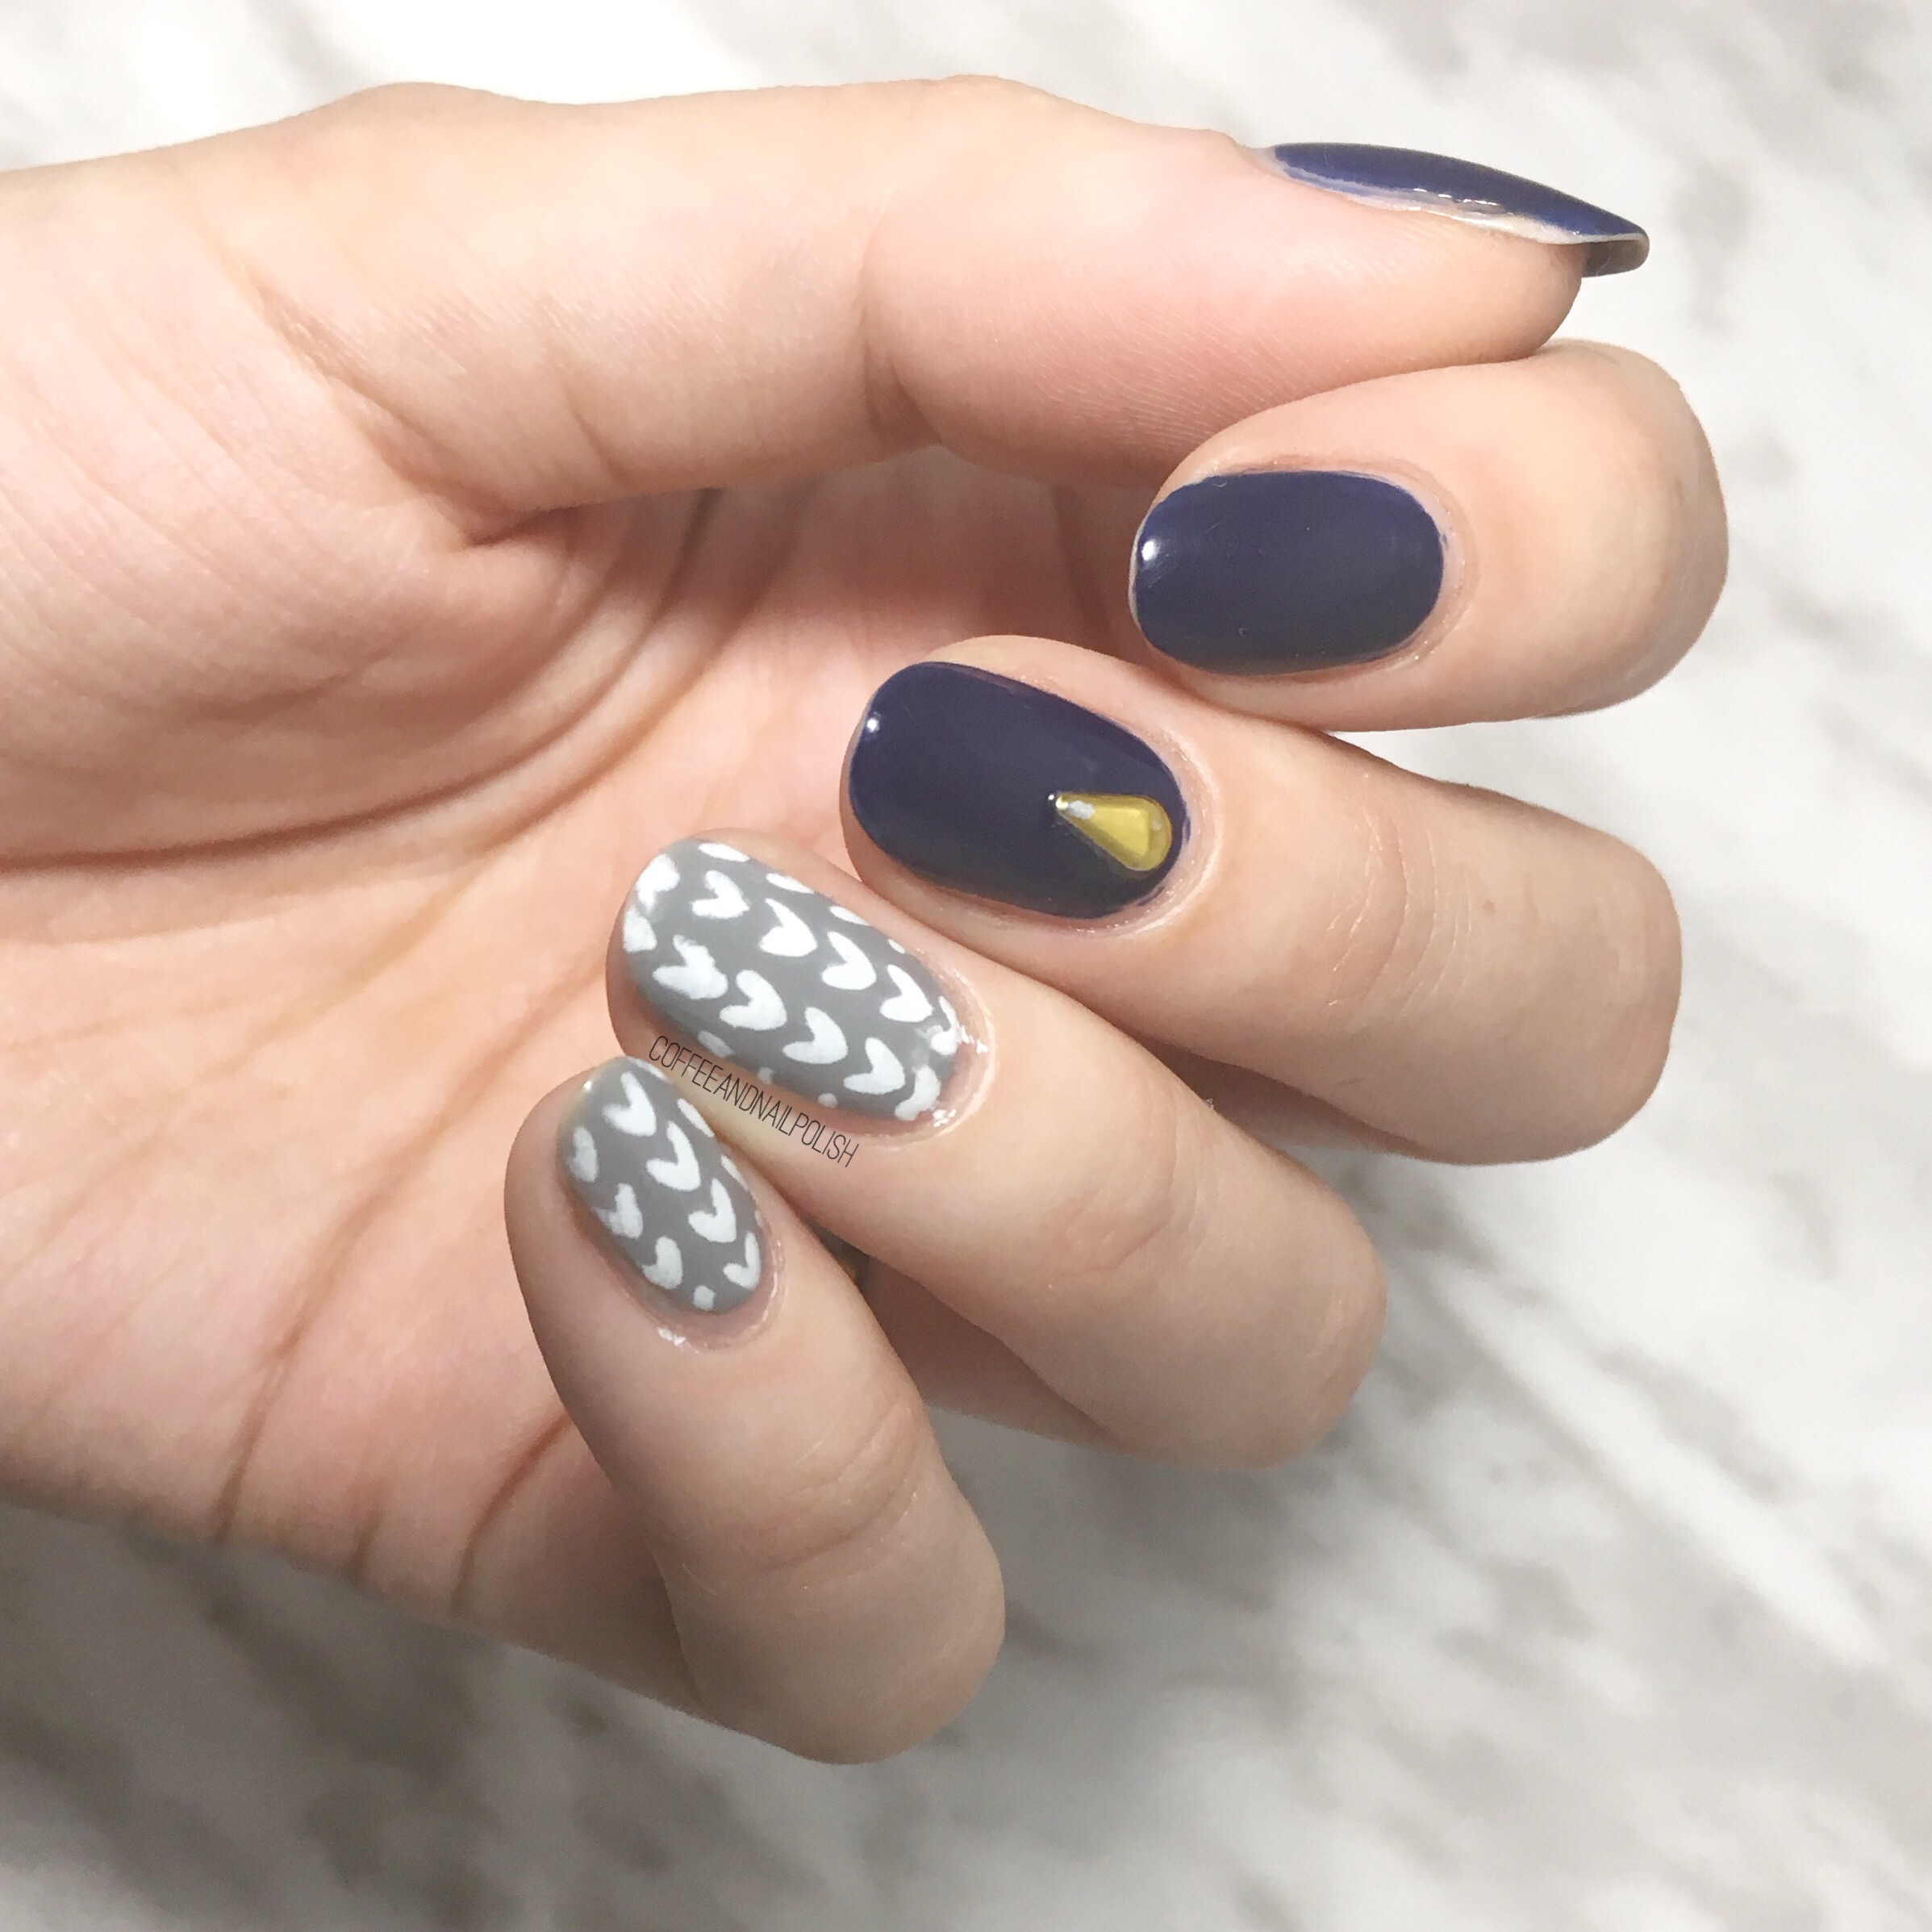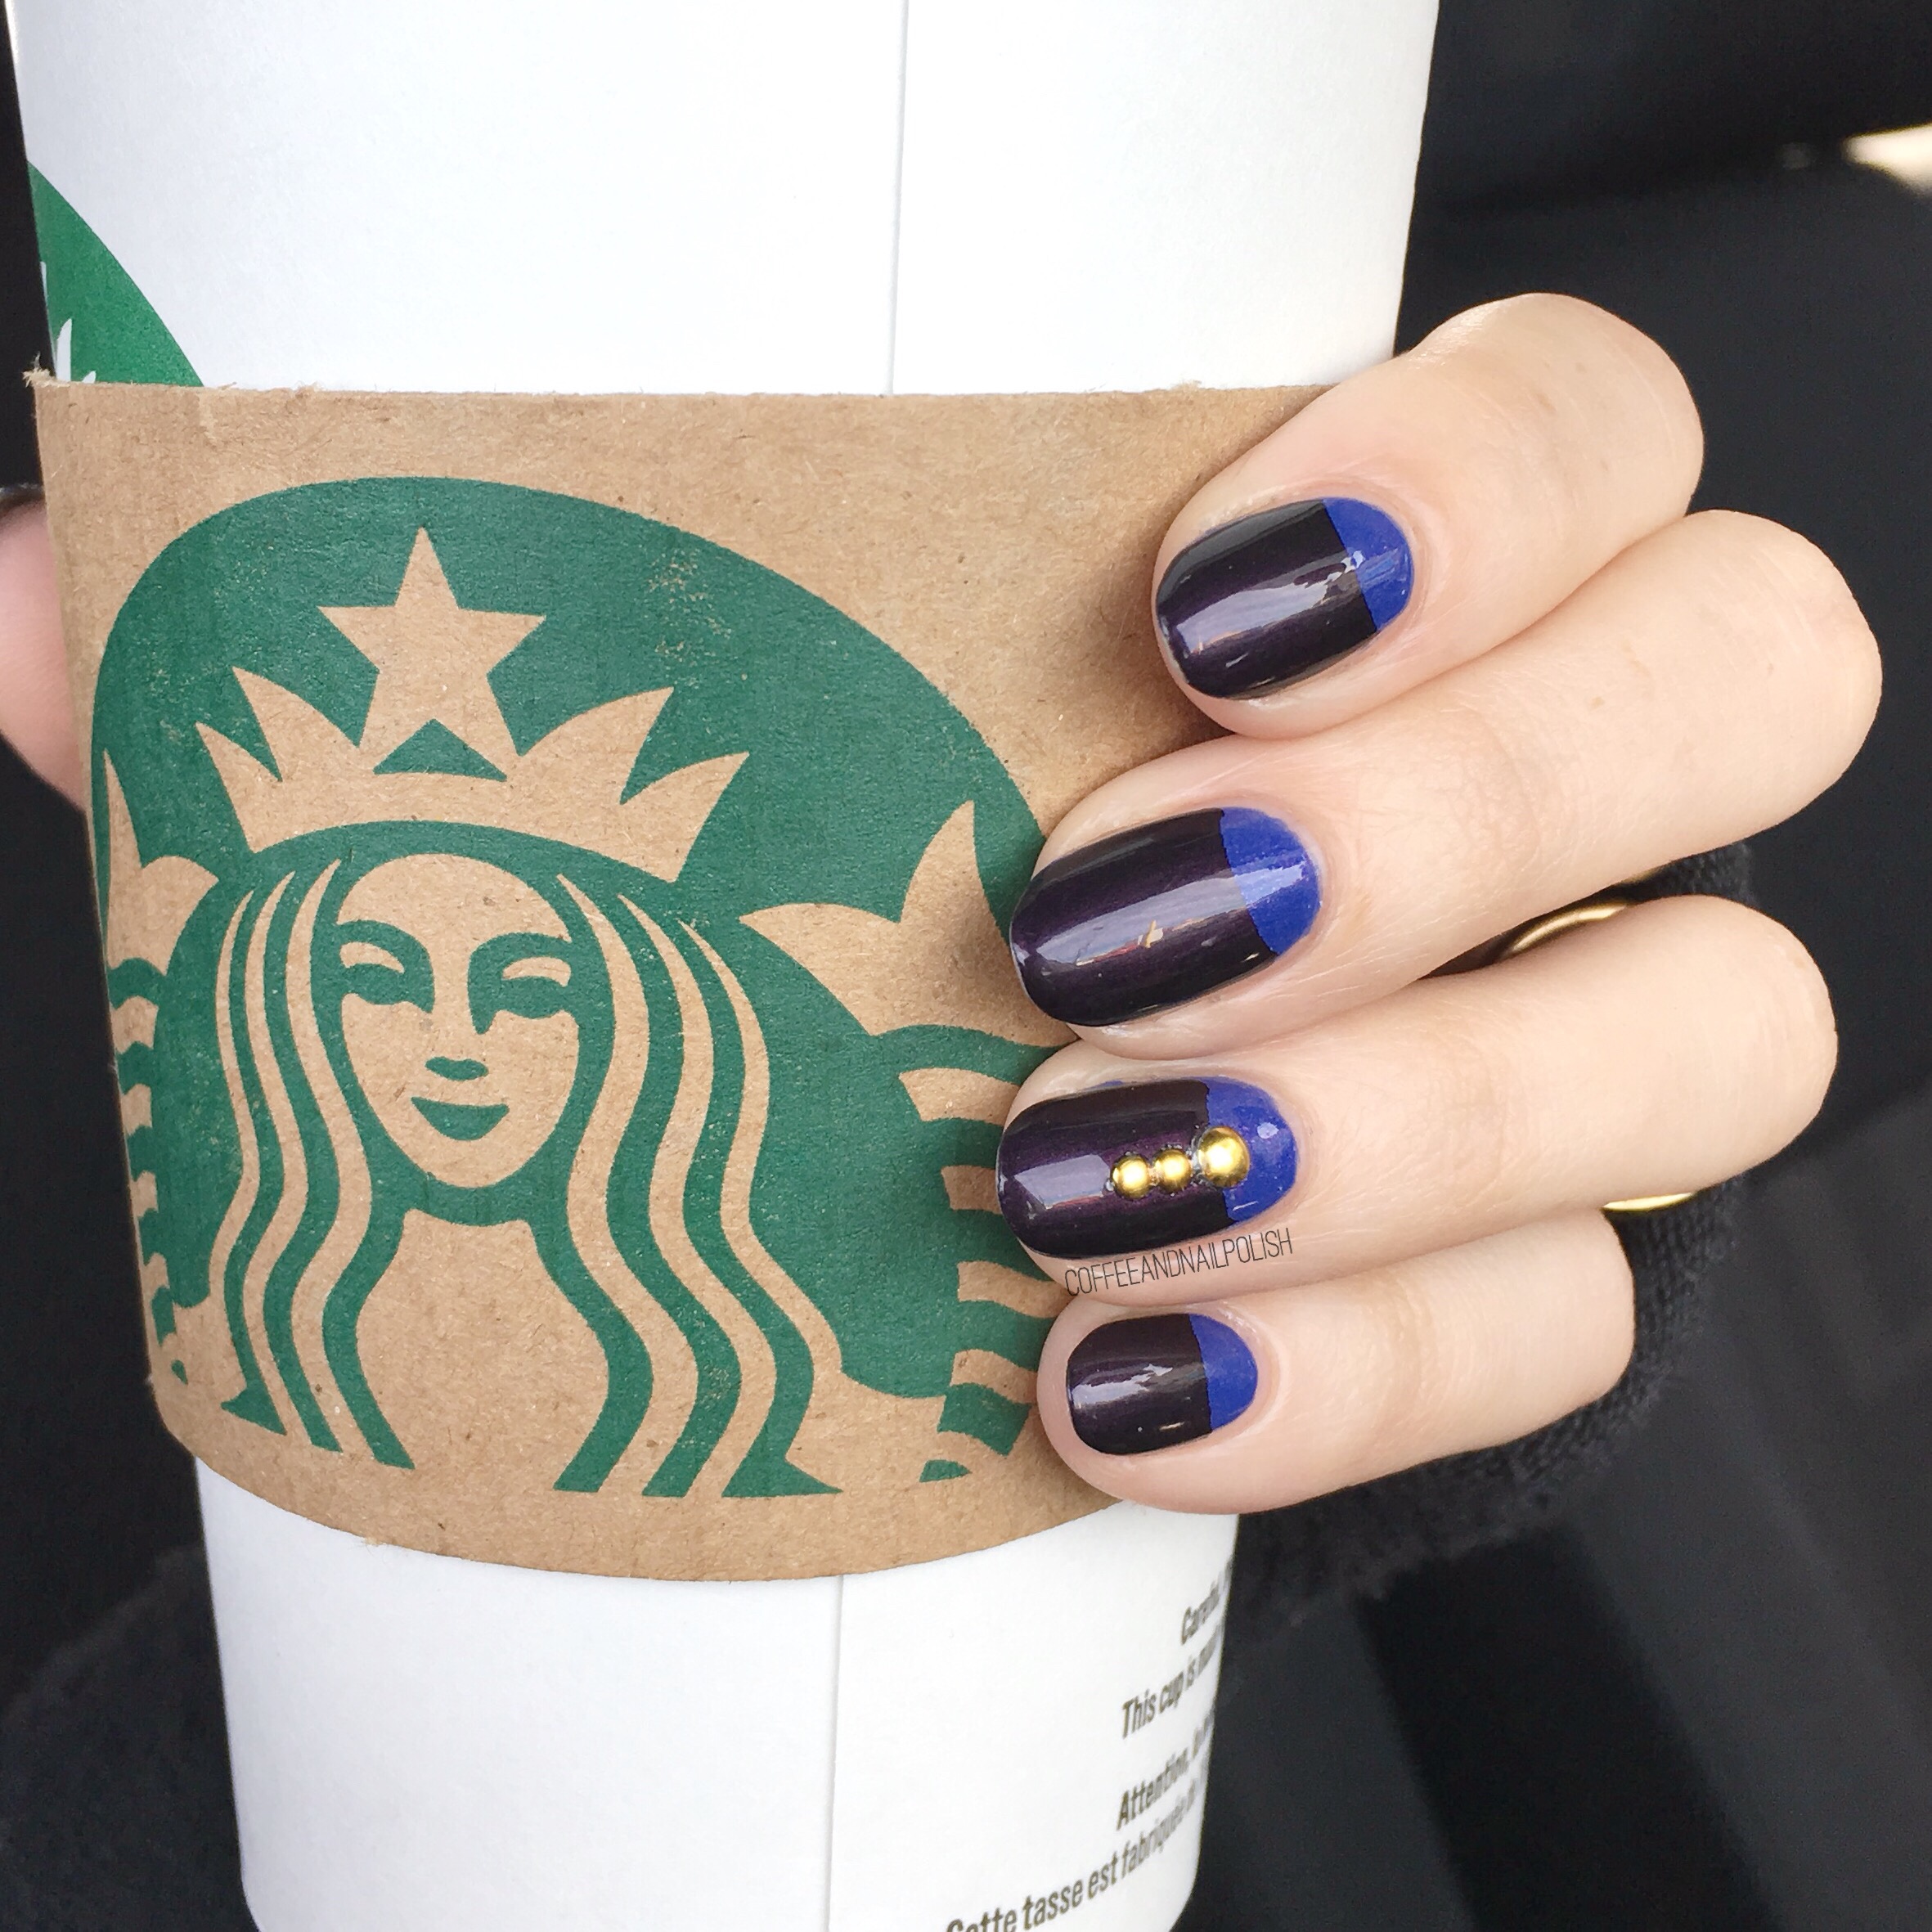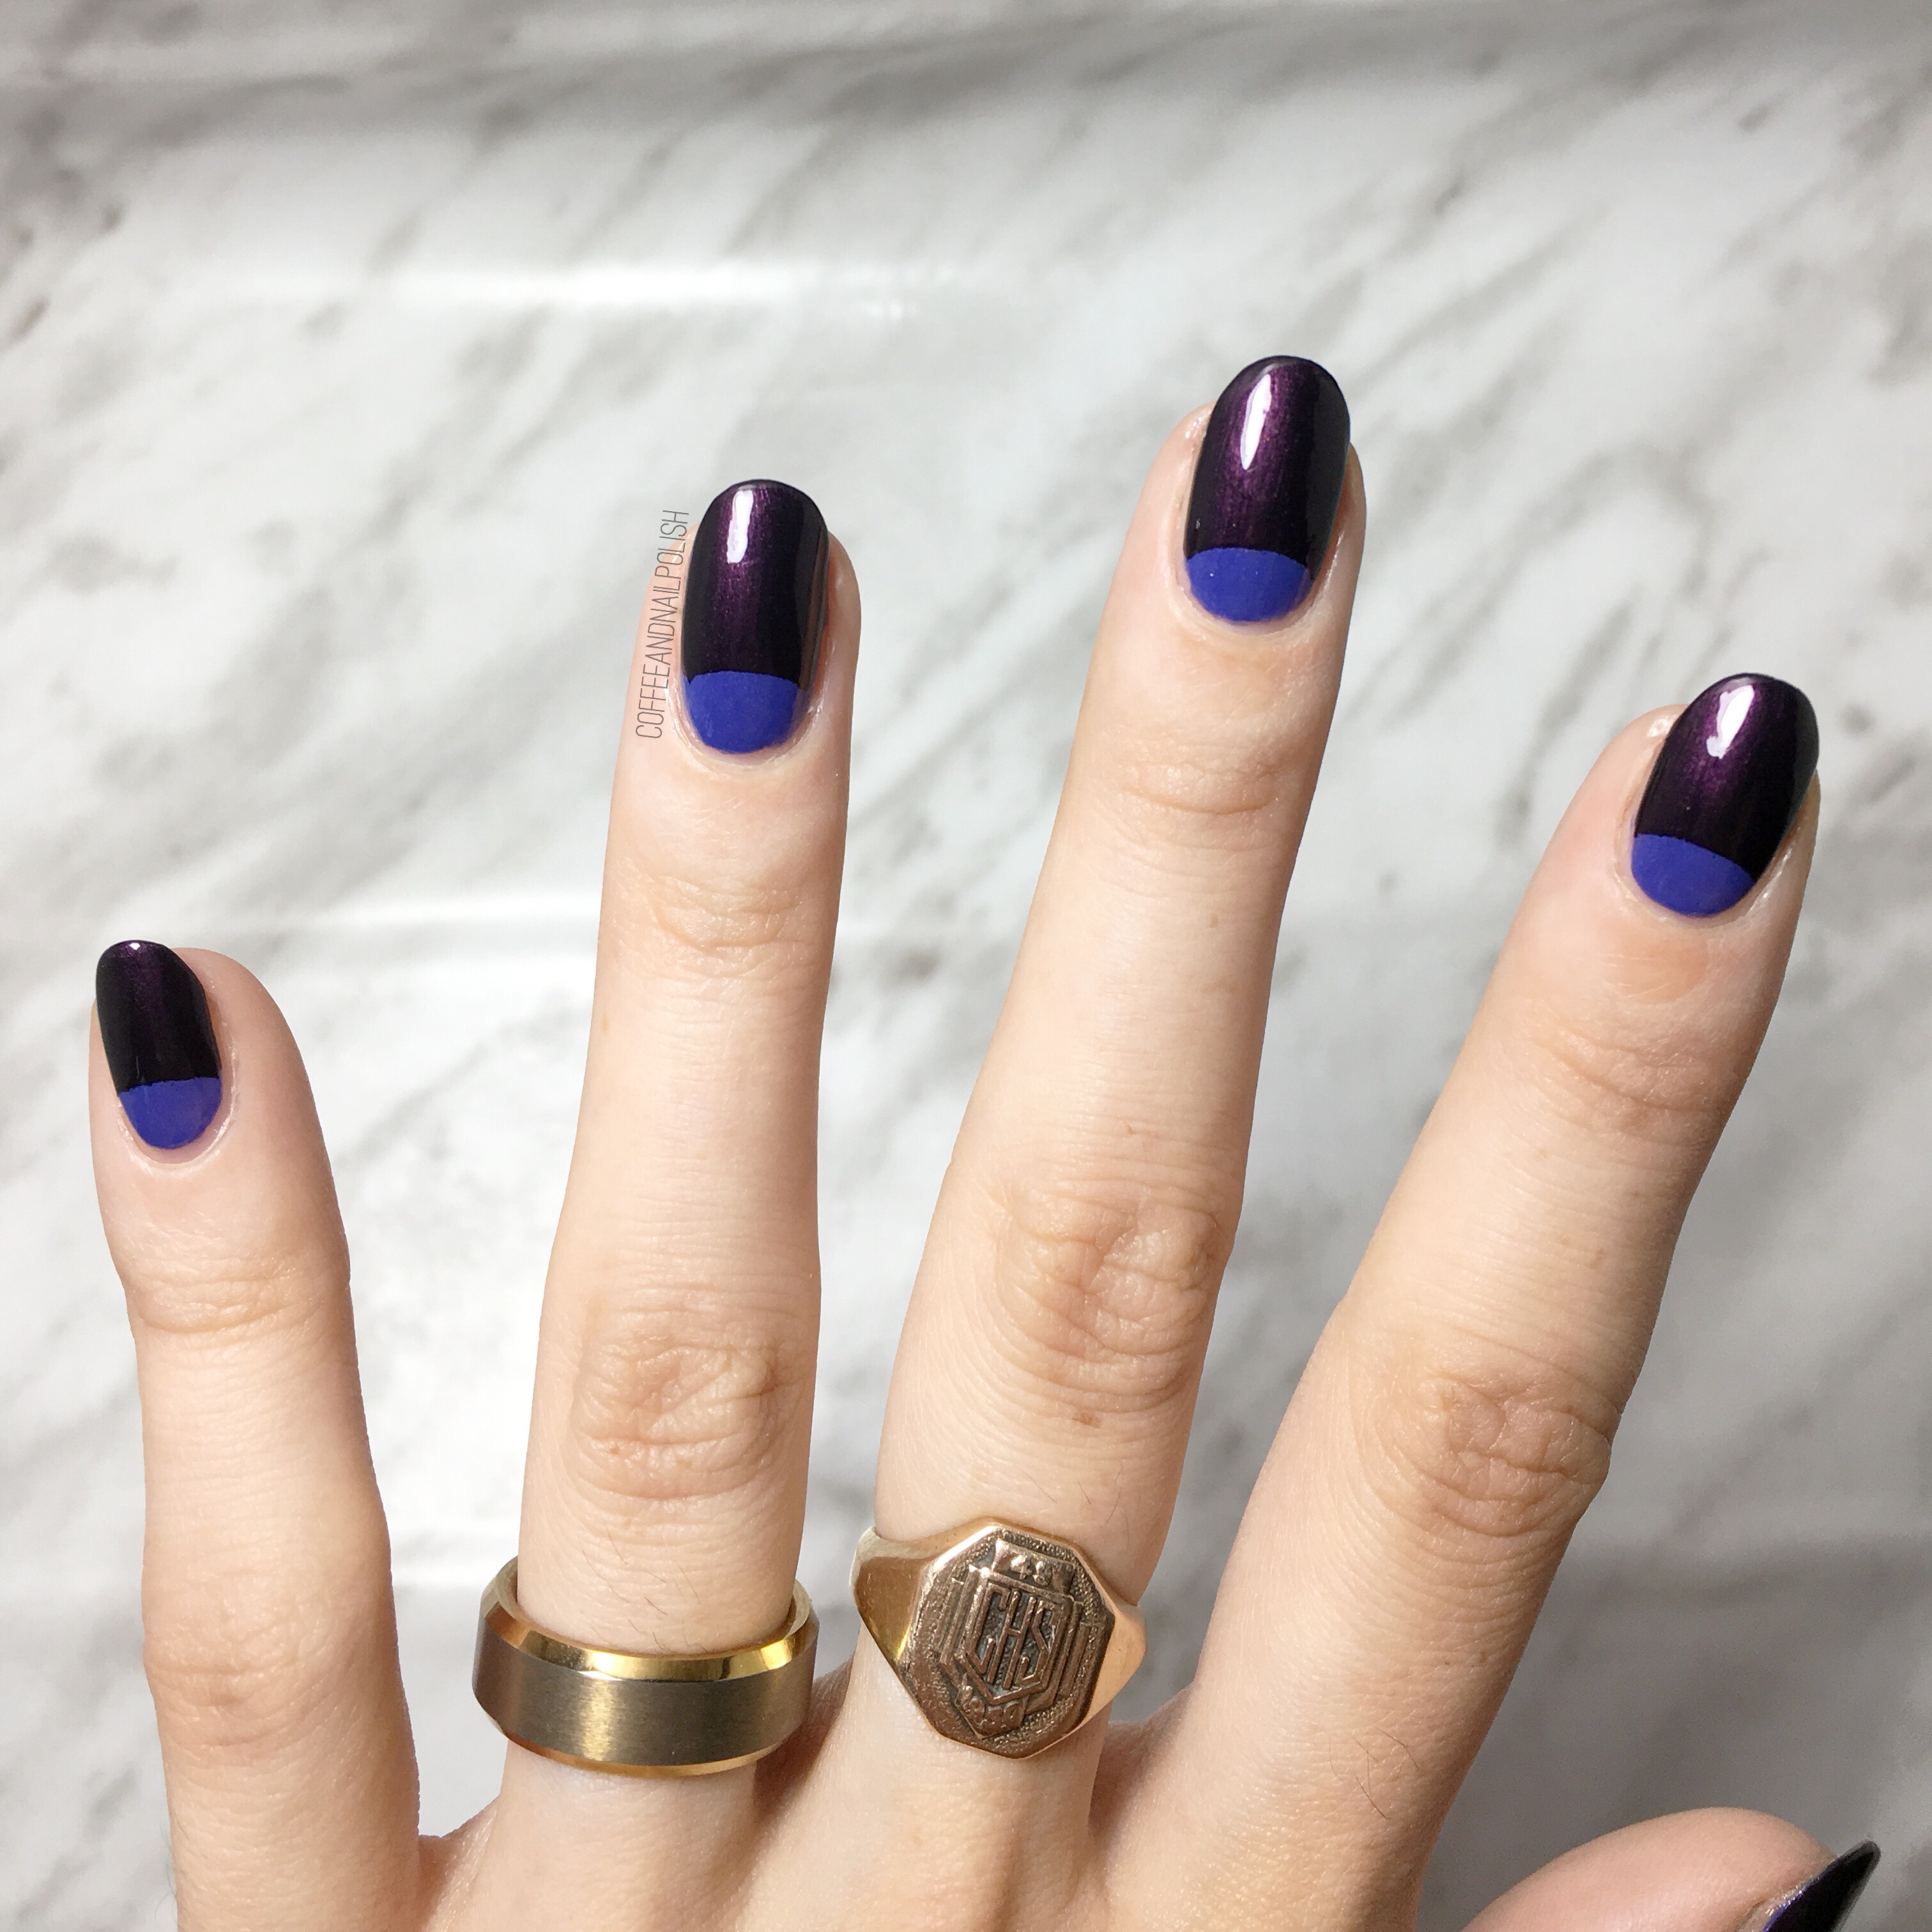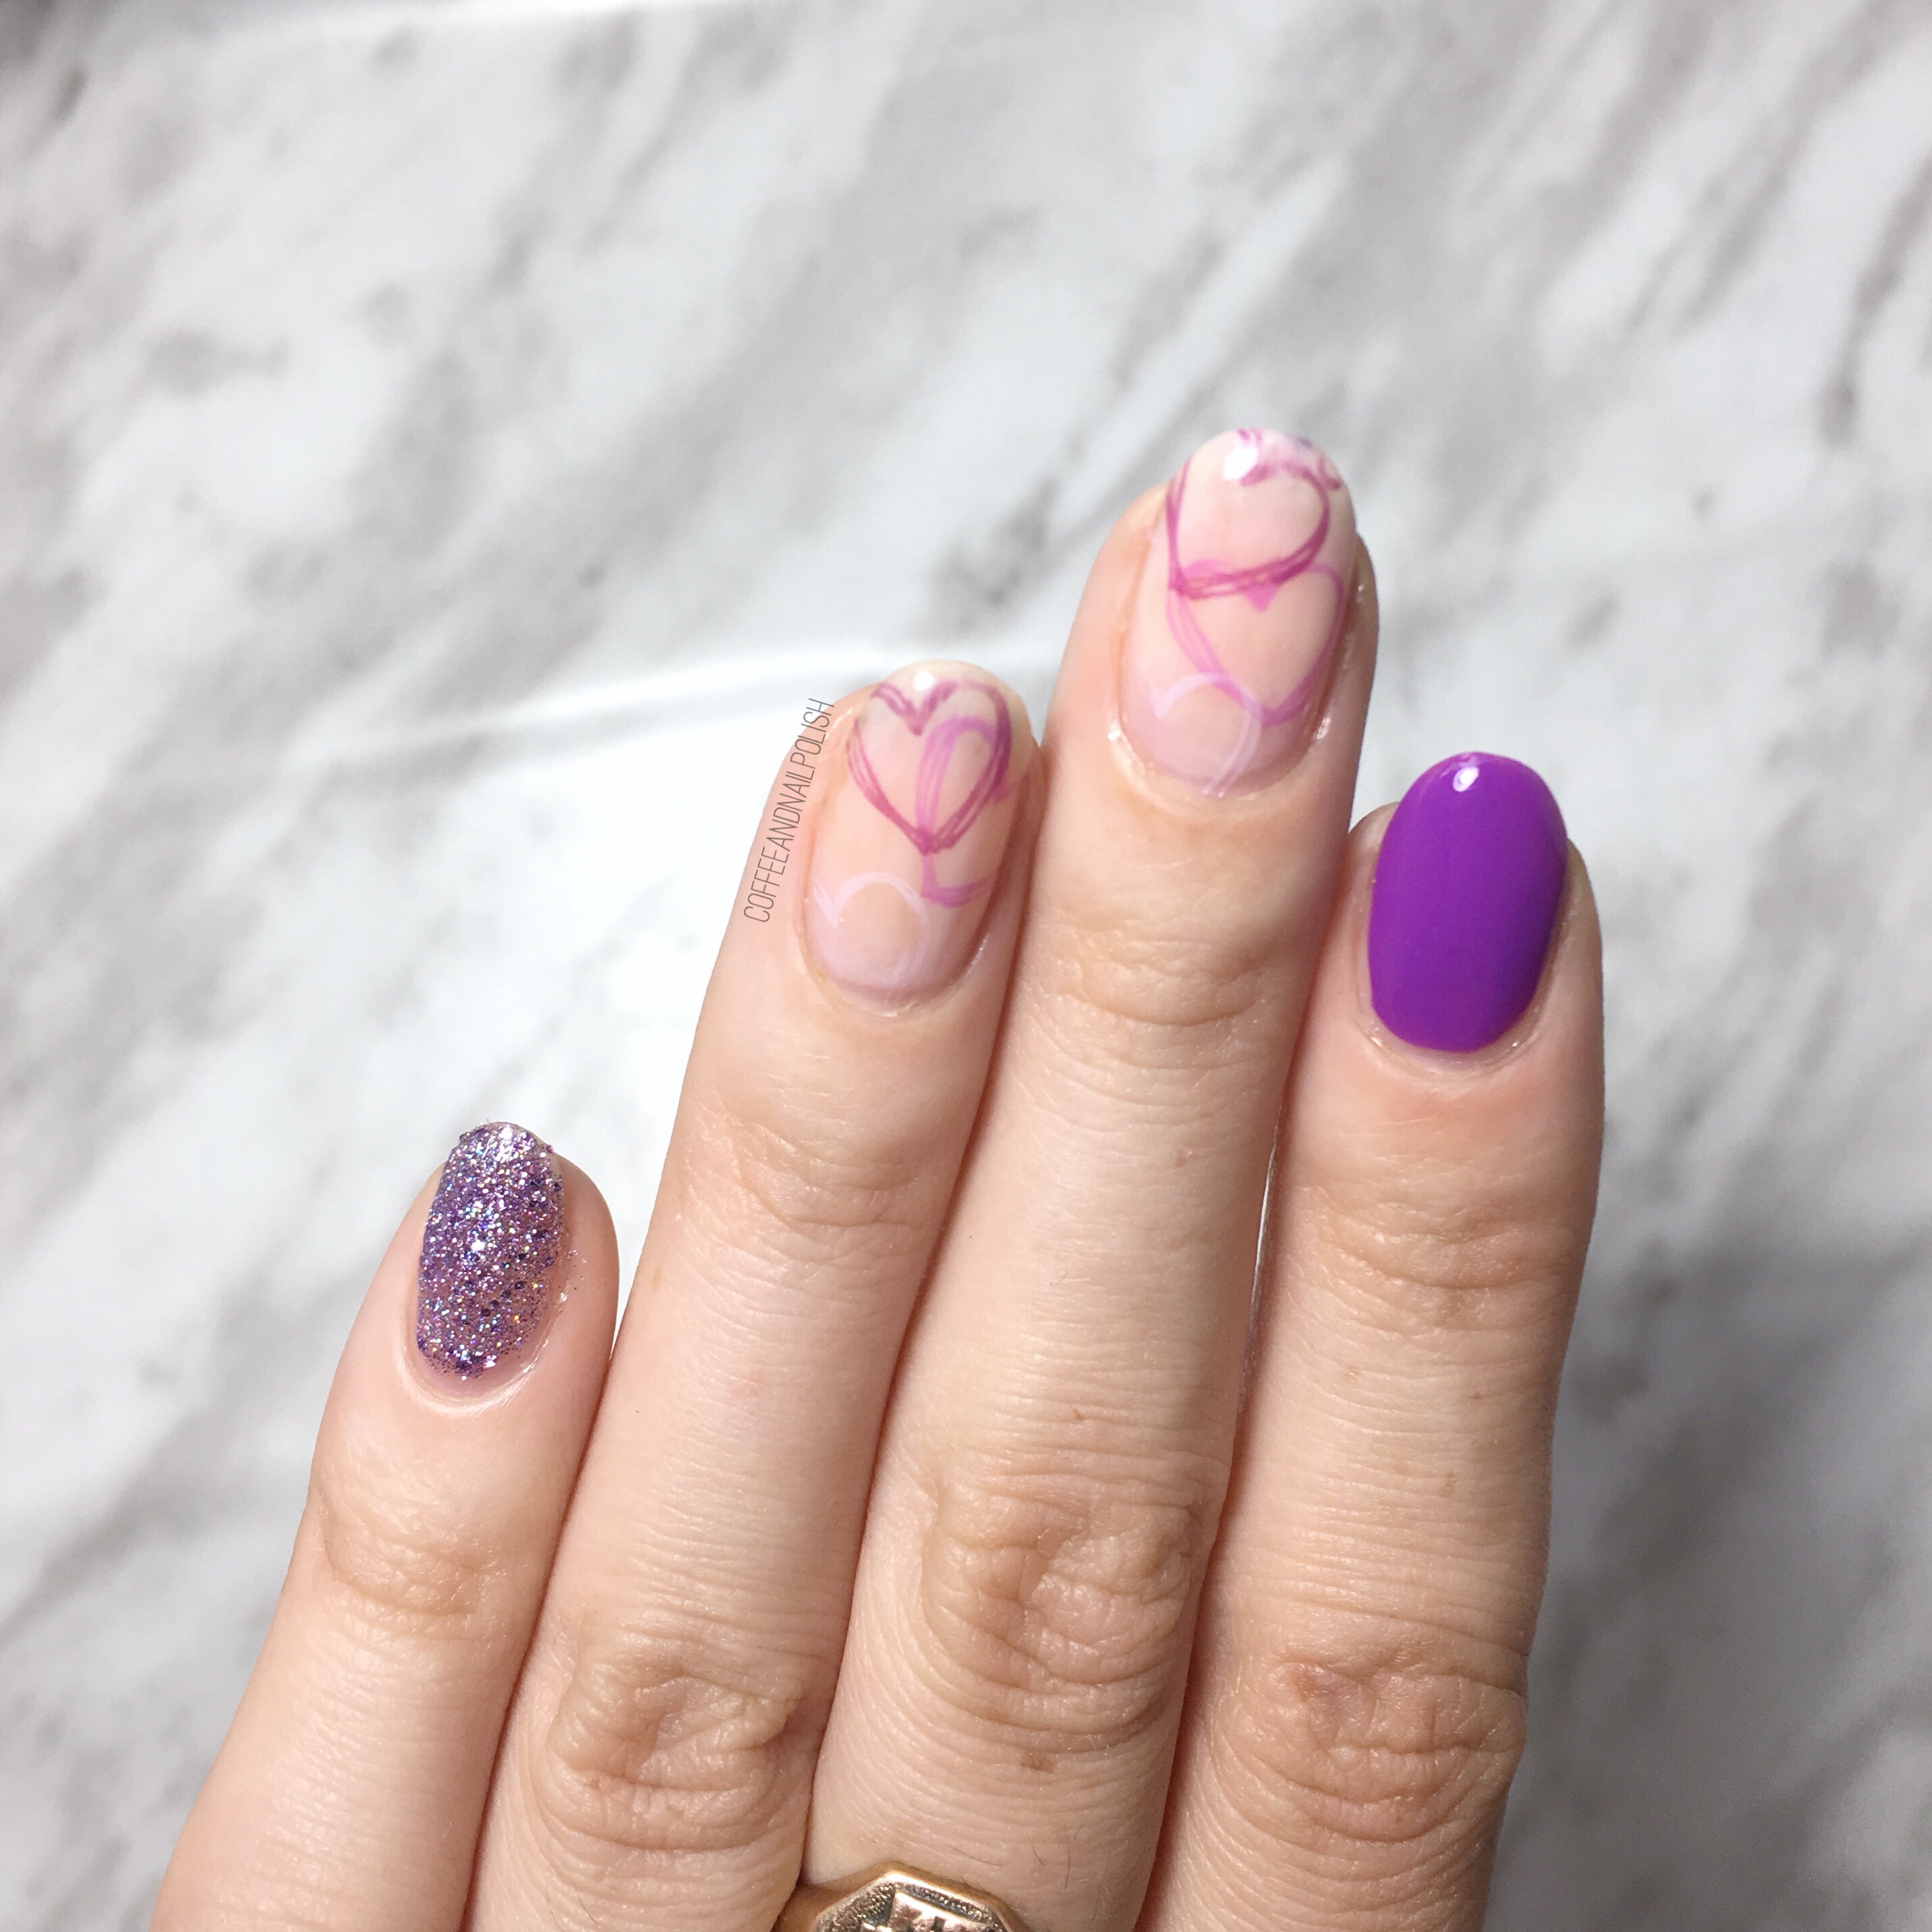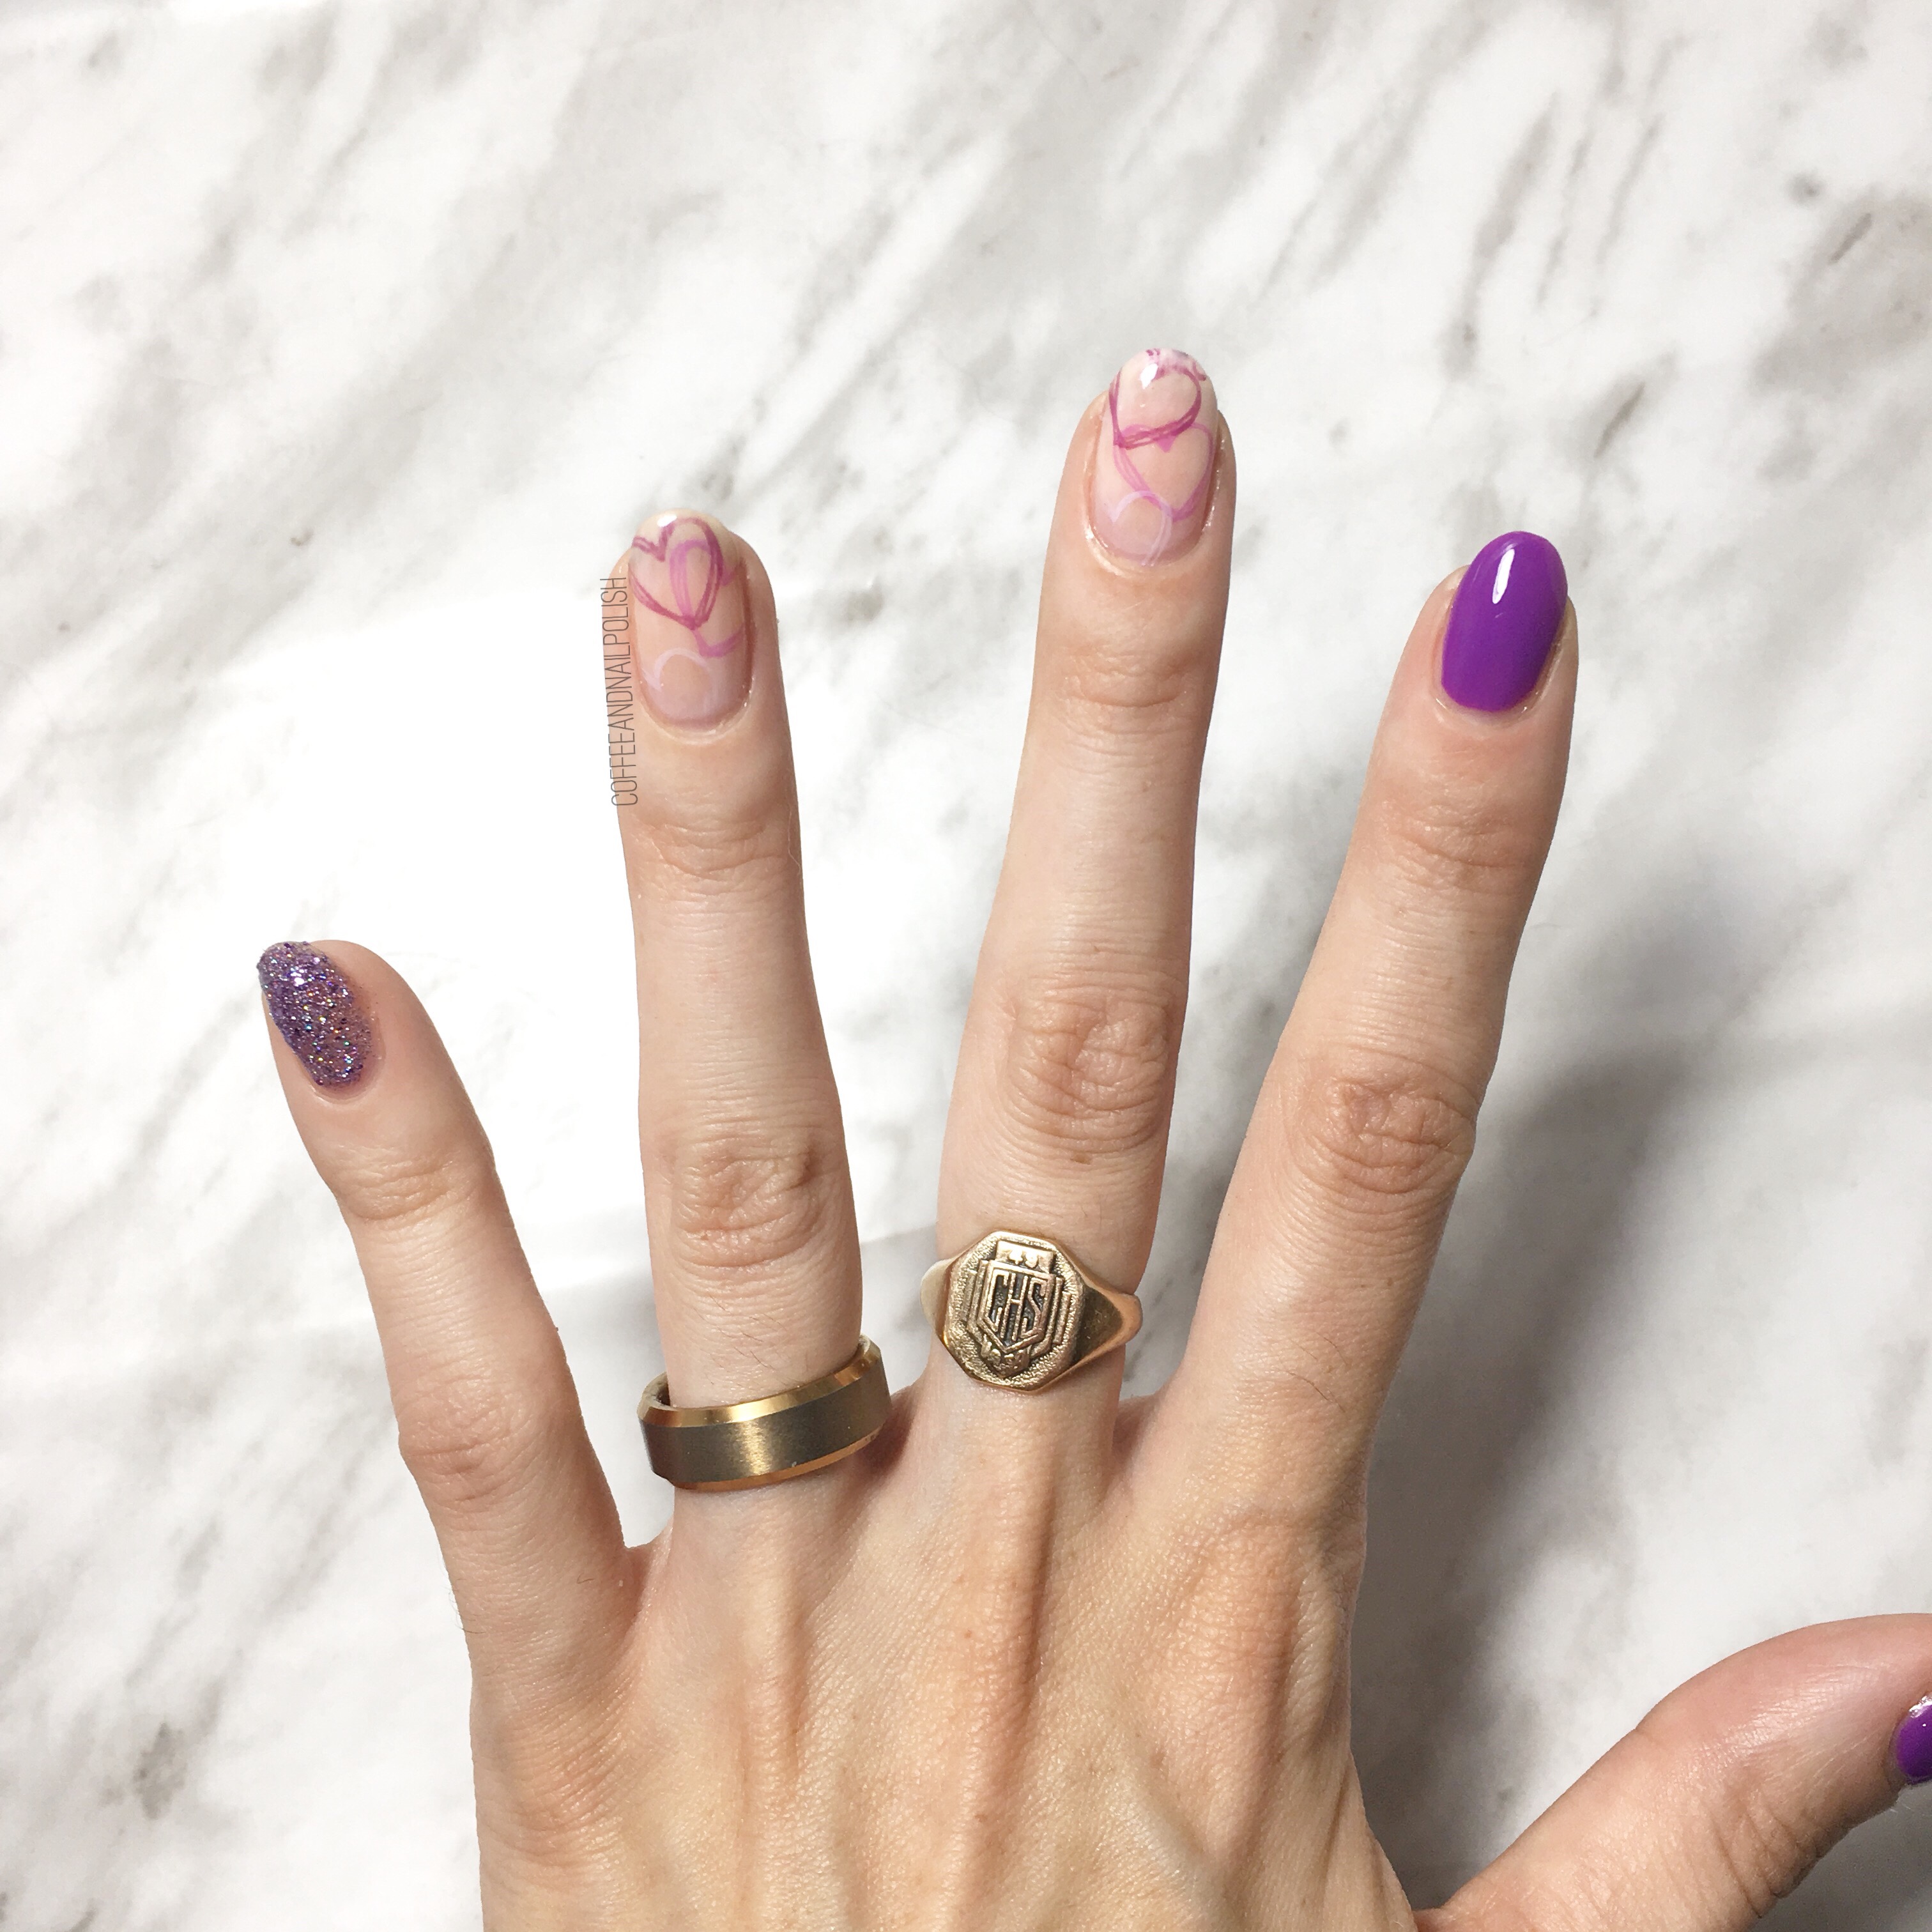
Happy Friday everyone! Today I’ve got a quick mani I did recently when I was feeling some nail art, but didn’t want to do anything too complicated. This mani was actually inspired by a design I did back in September 2016 as part of my failed attempt at the 31 Day Challenge. I loved the look of the design over a super sheer polish, so I decided that it would make for the perfect accent nail.

For this manicure, the polishes I used were:
- Base Coat: Essie Grow Stronger
- Top Coat: Seche Vive
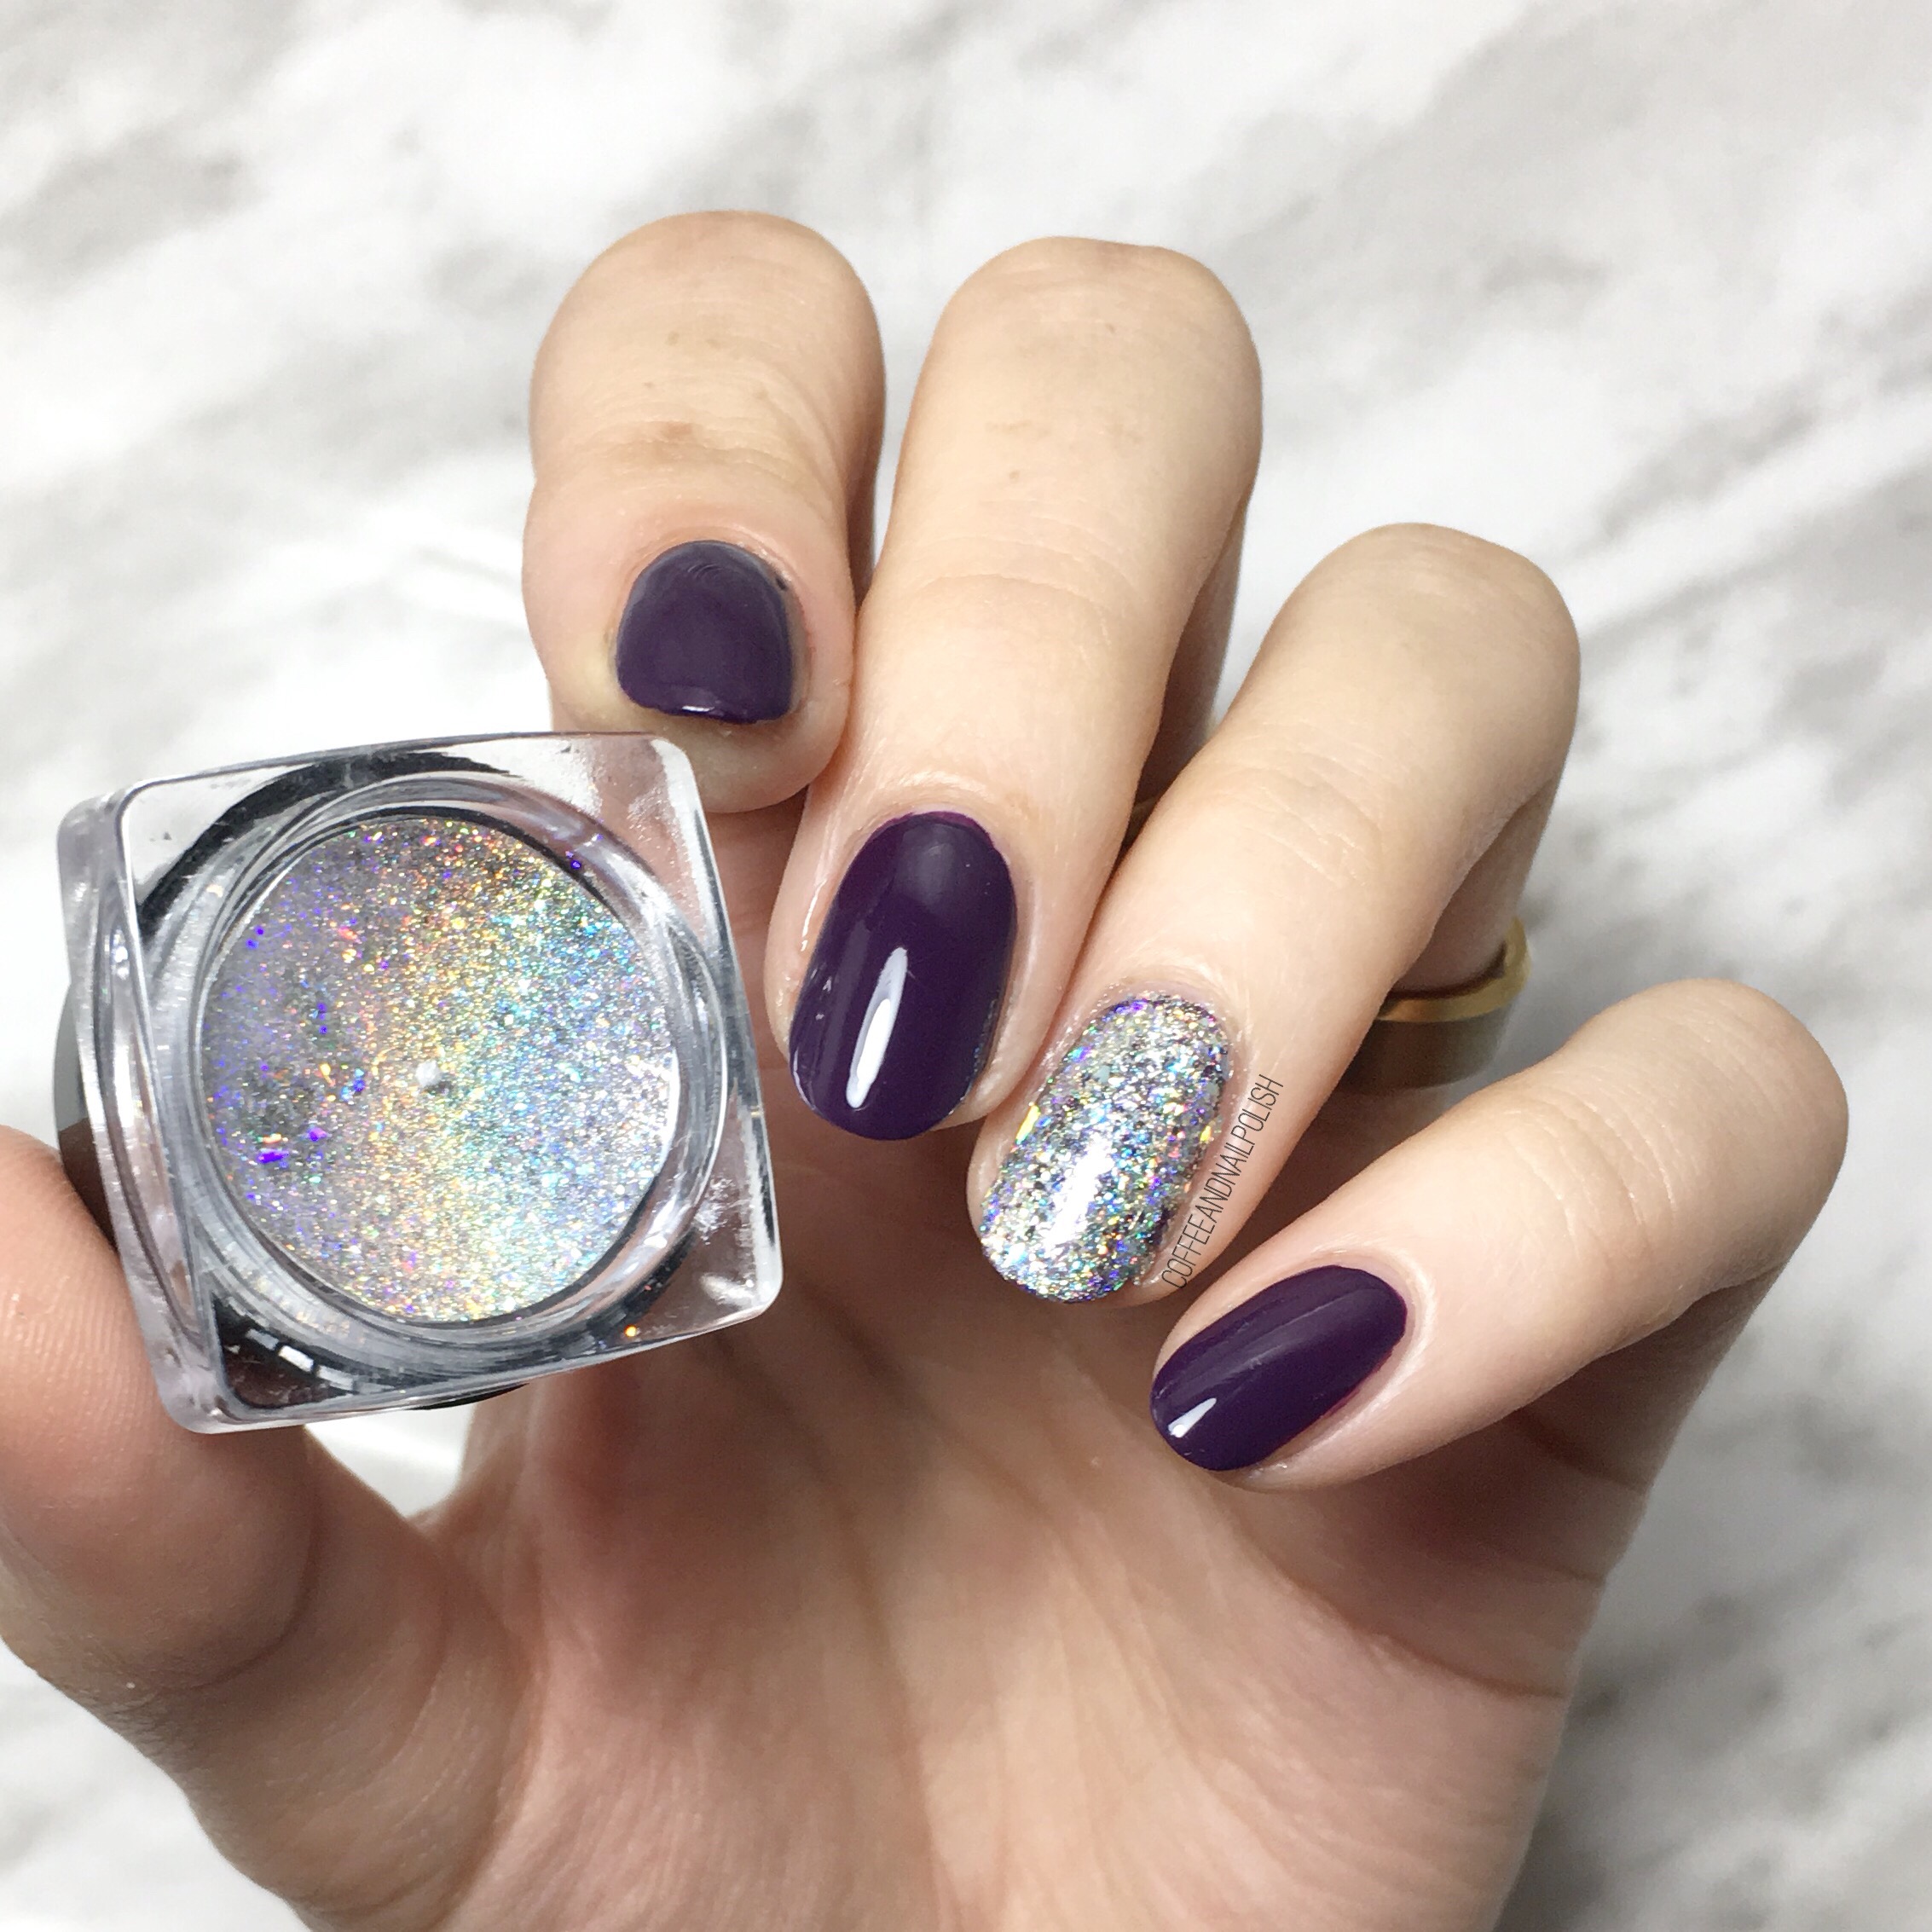
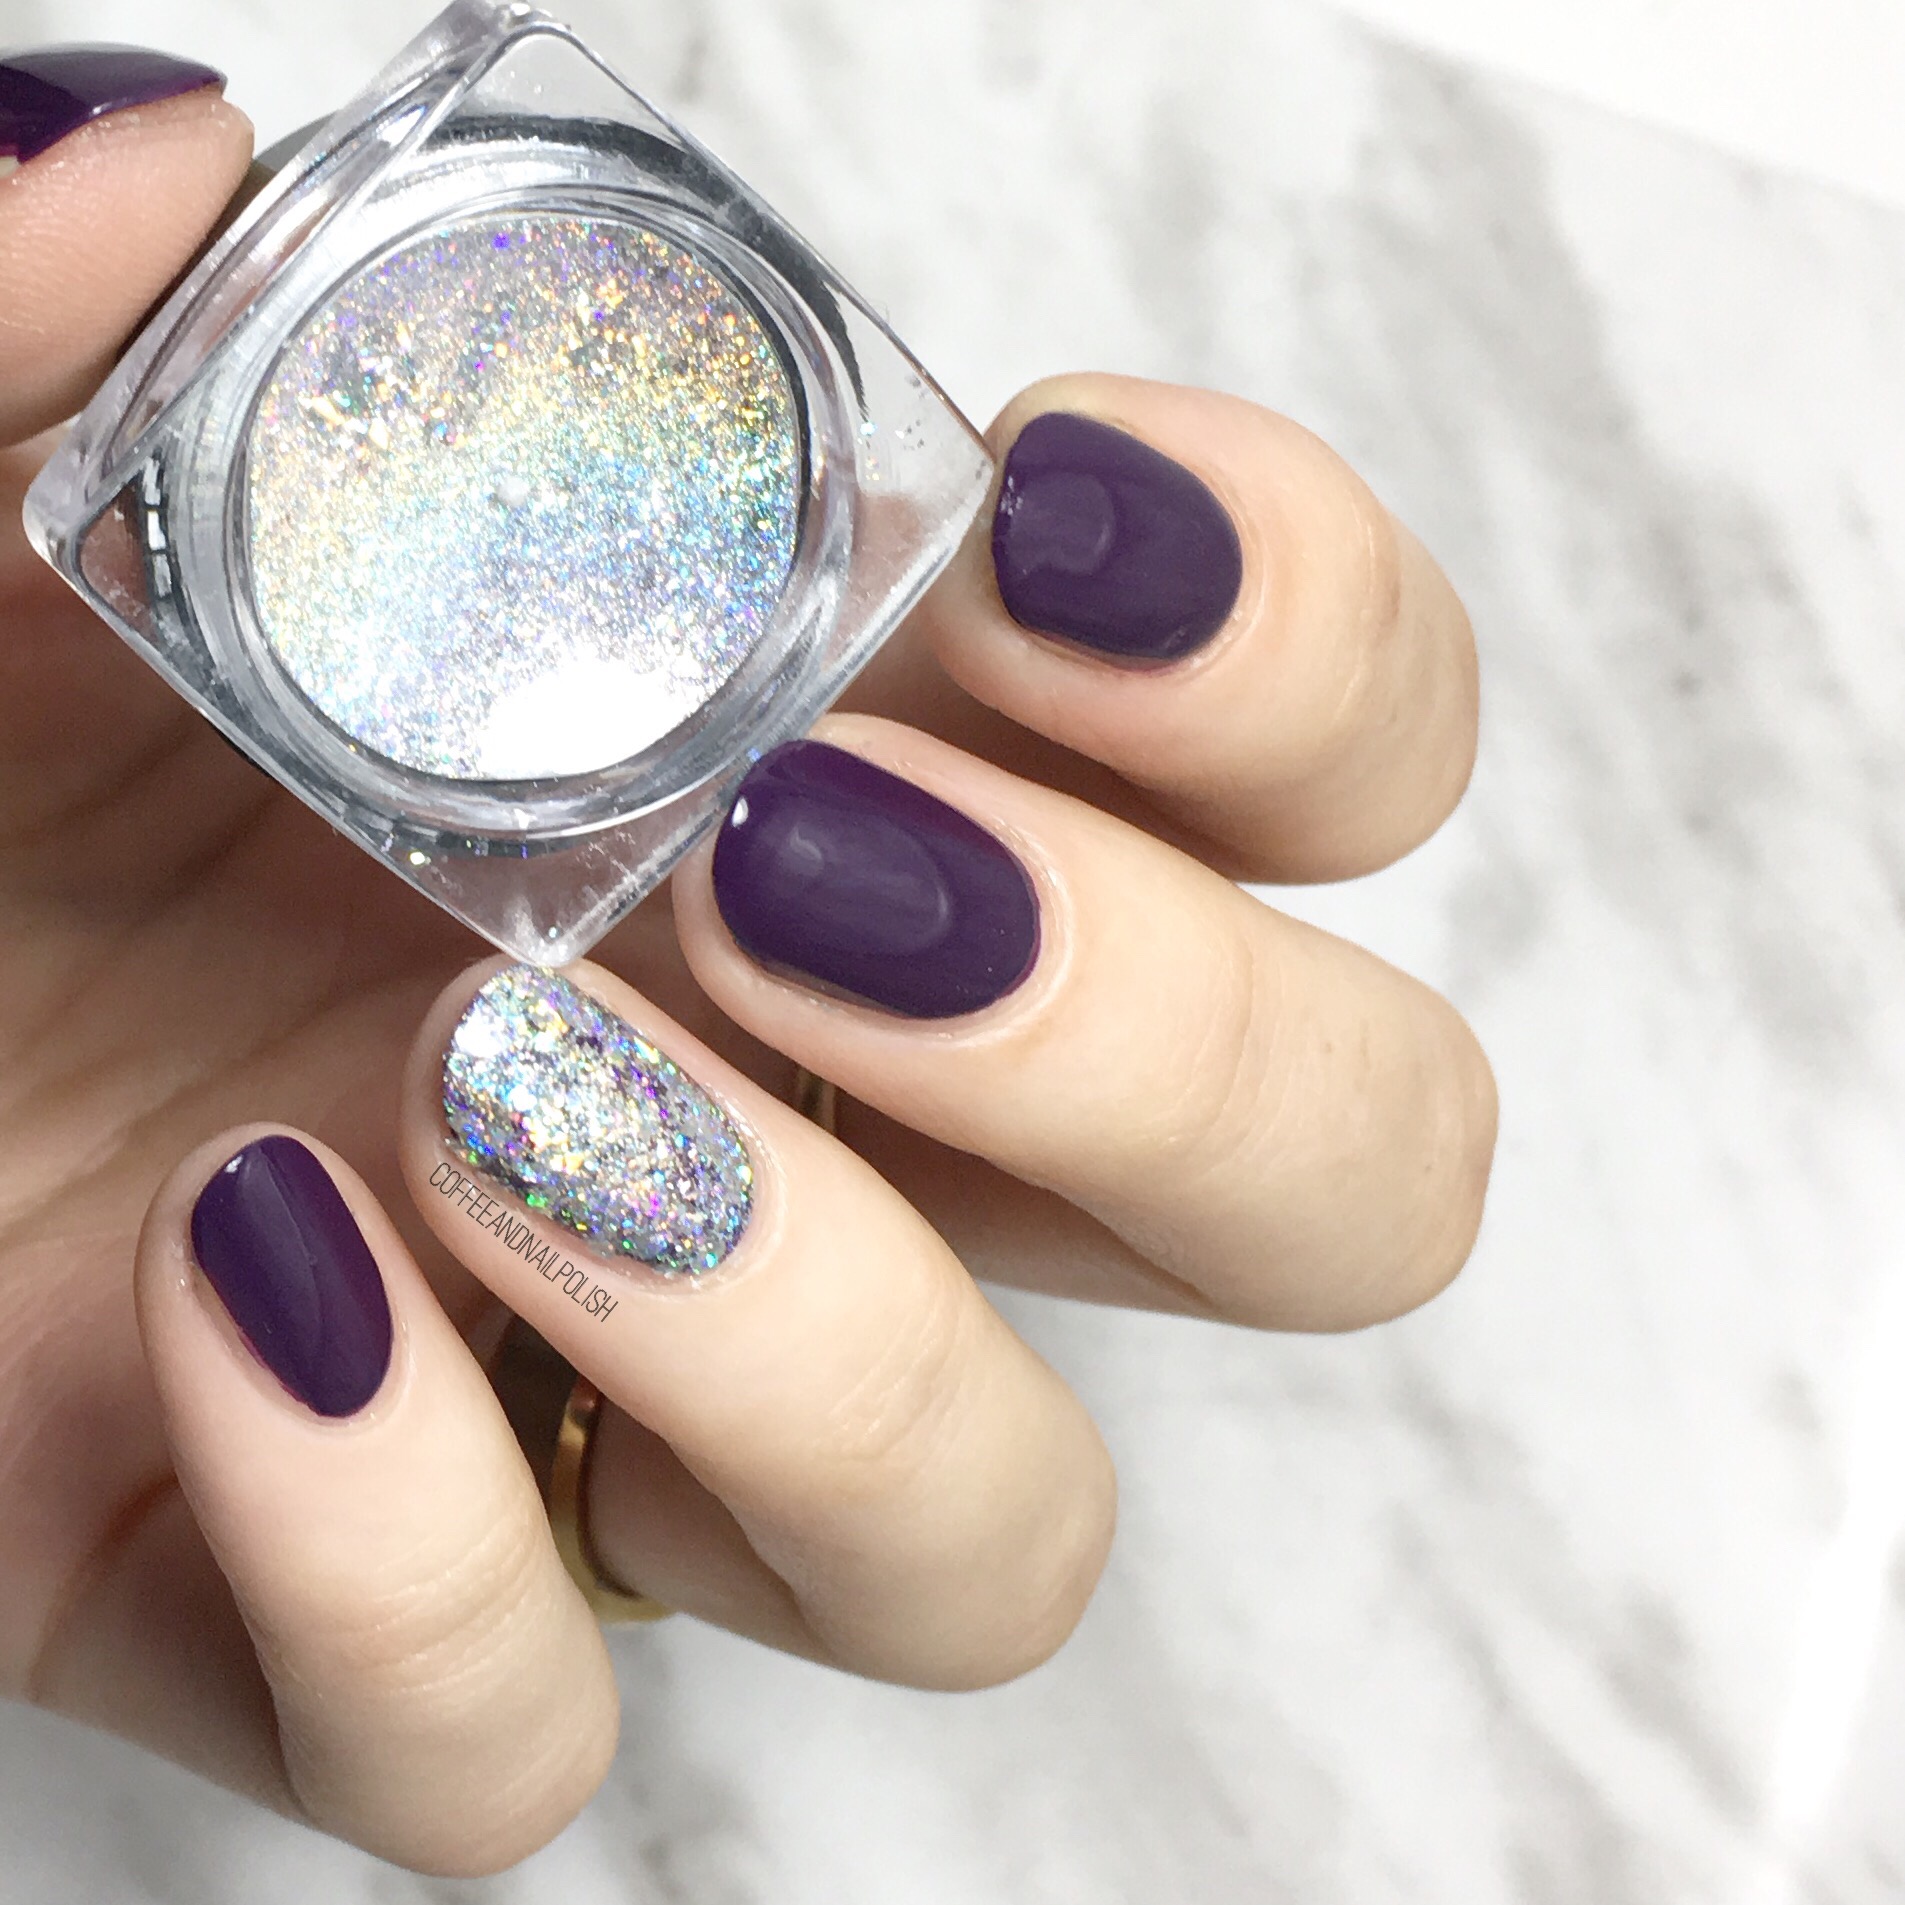
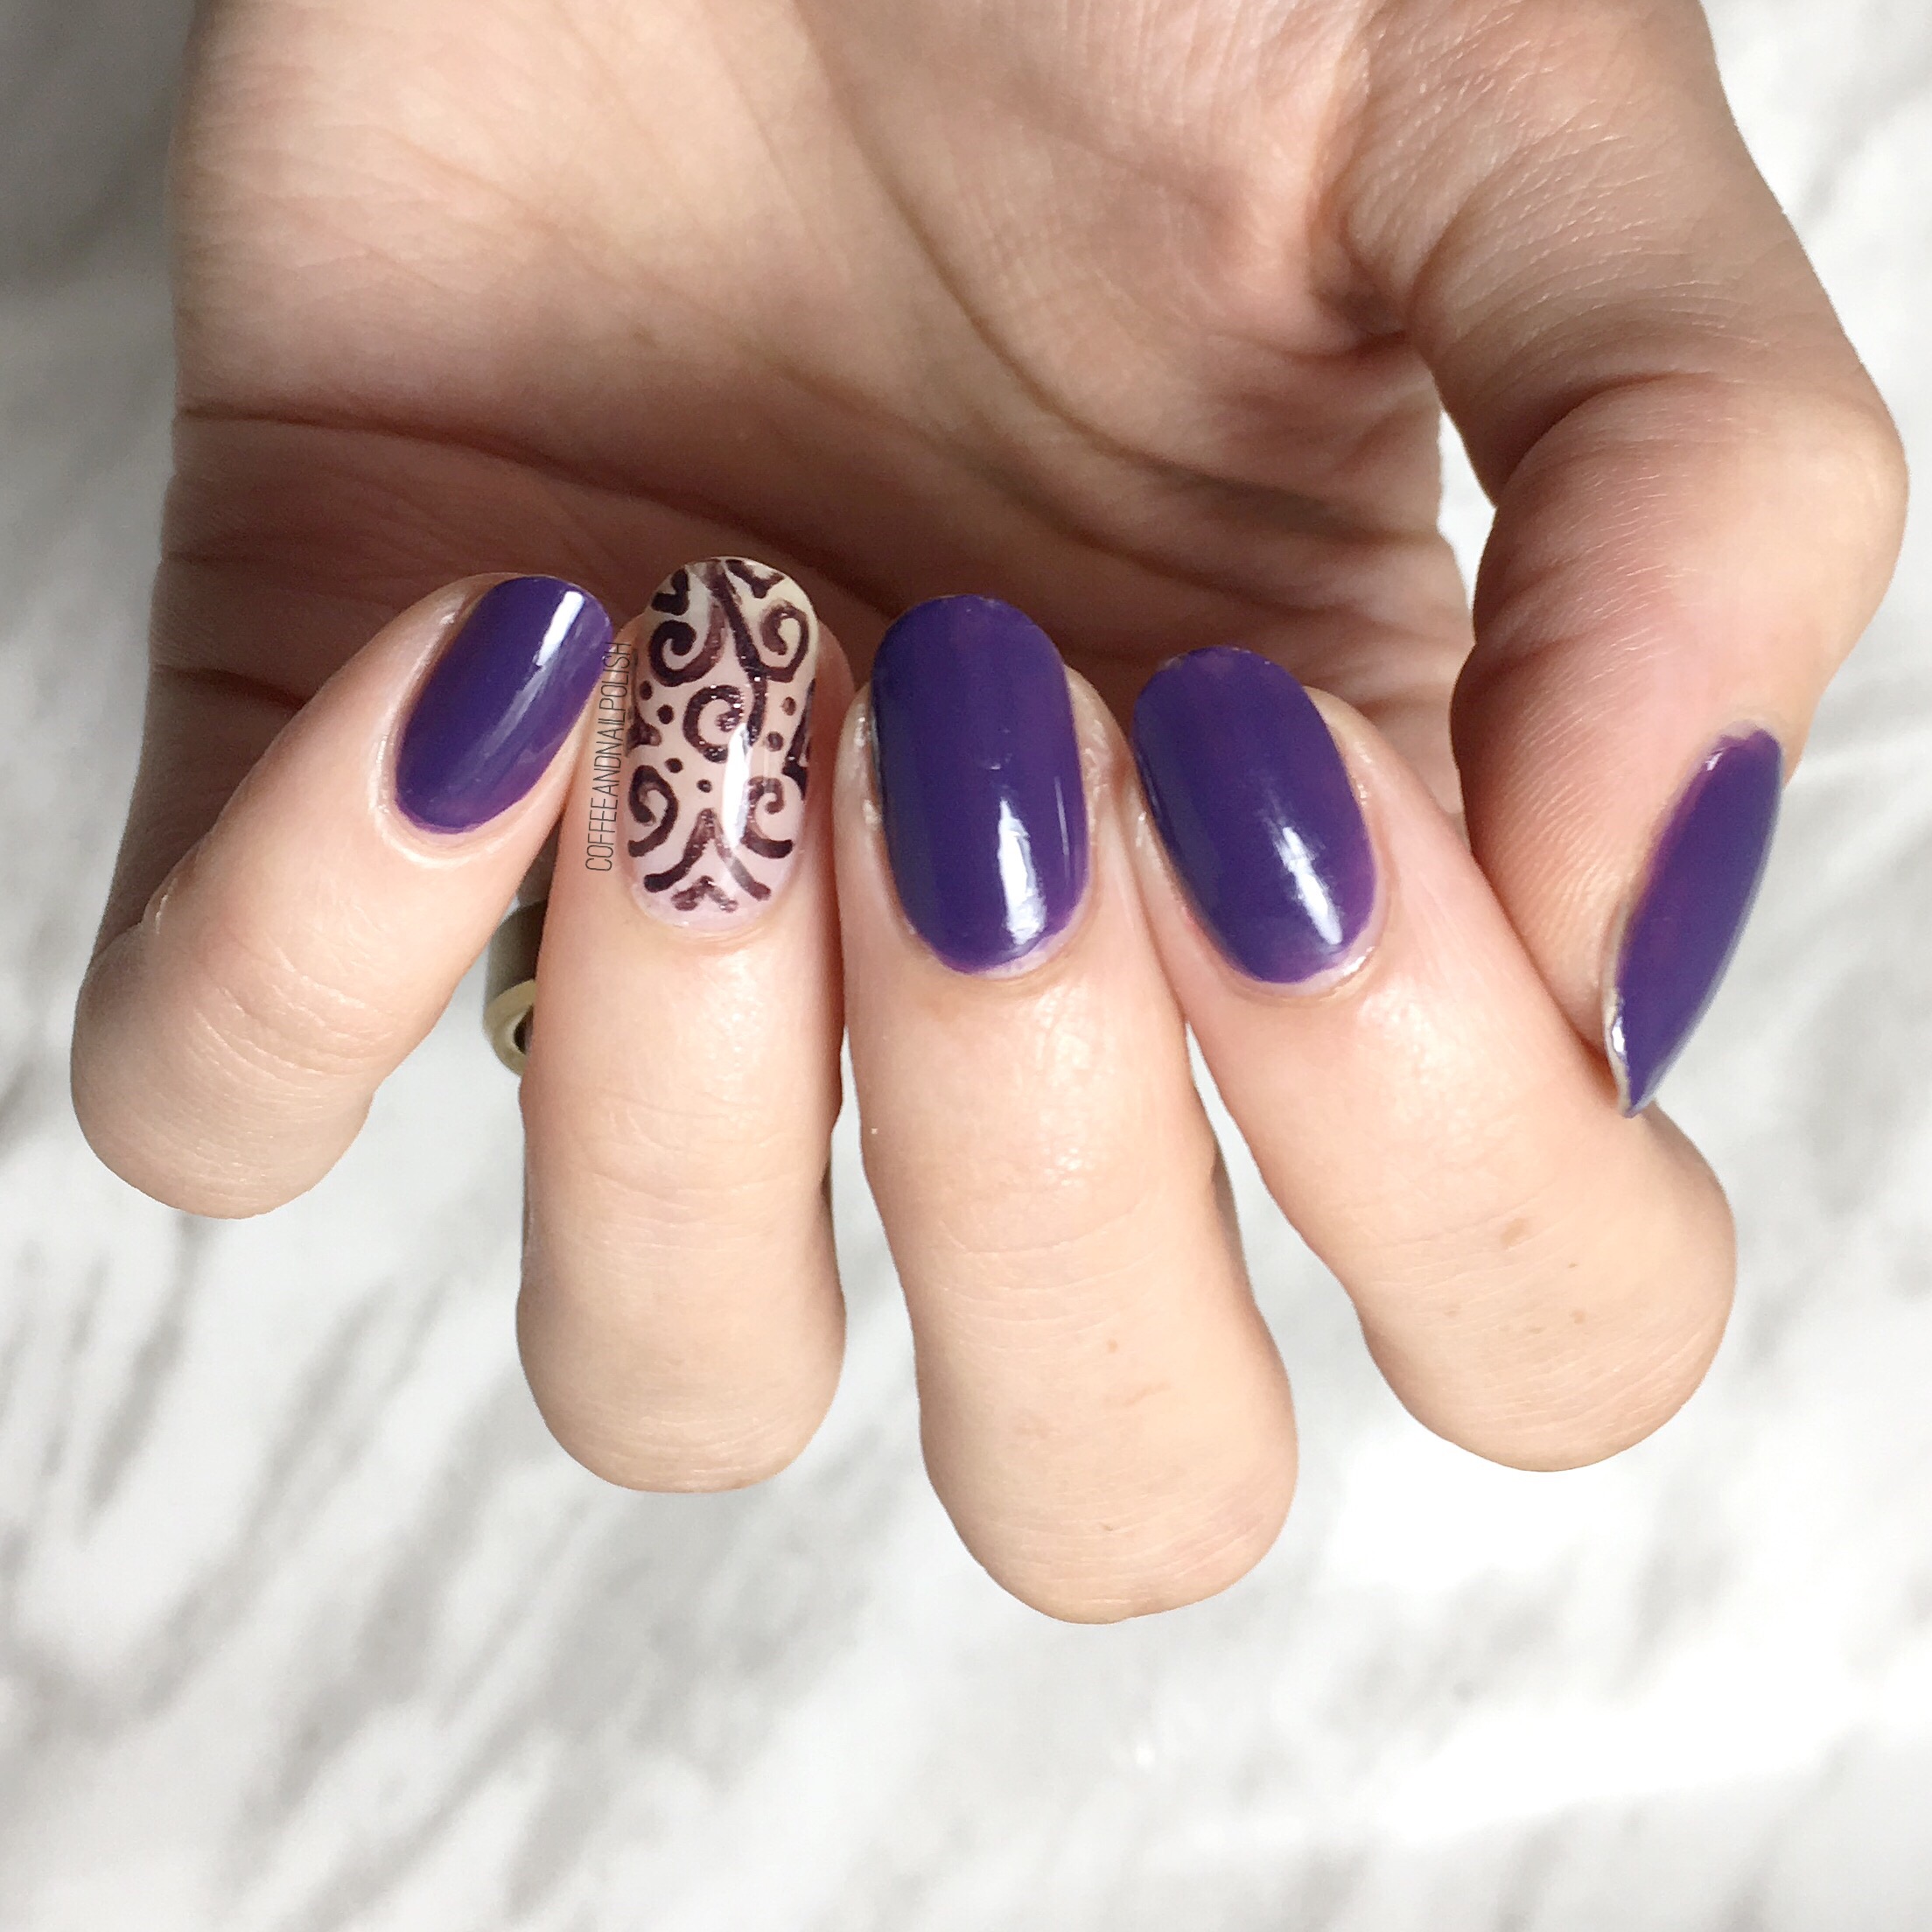
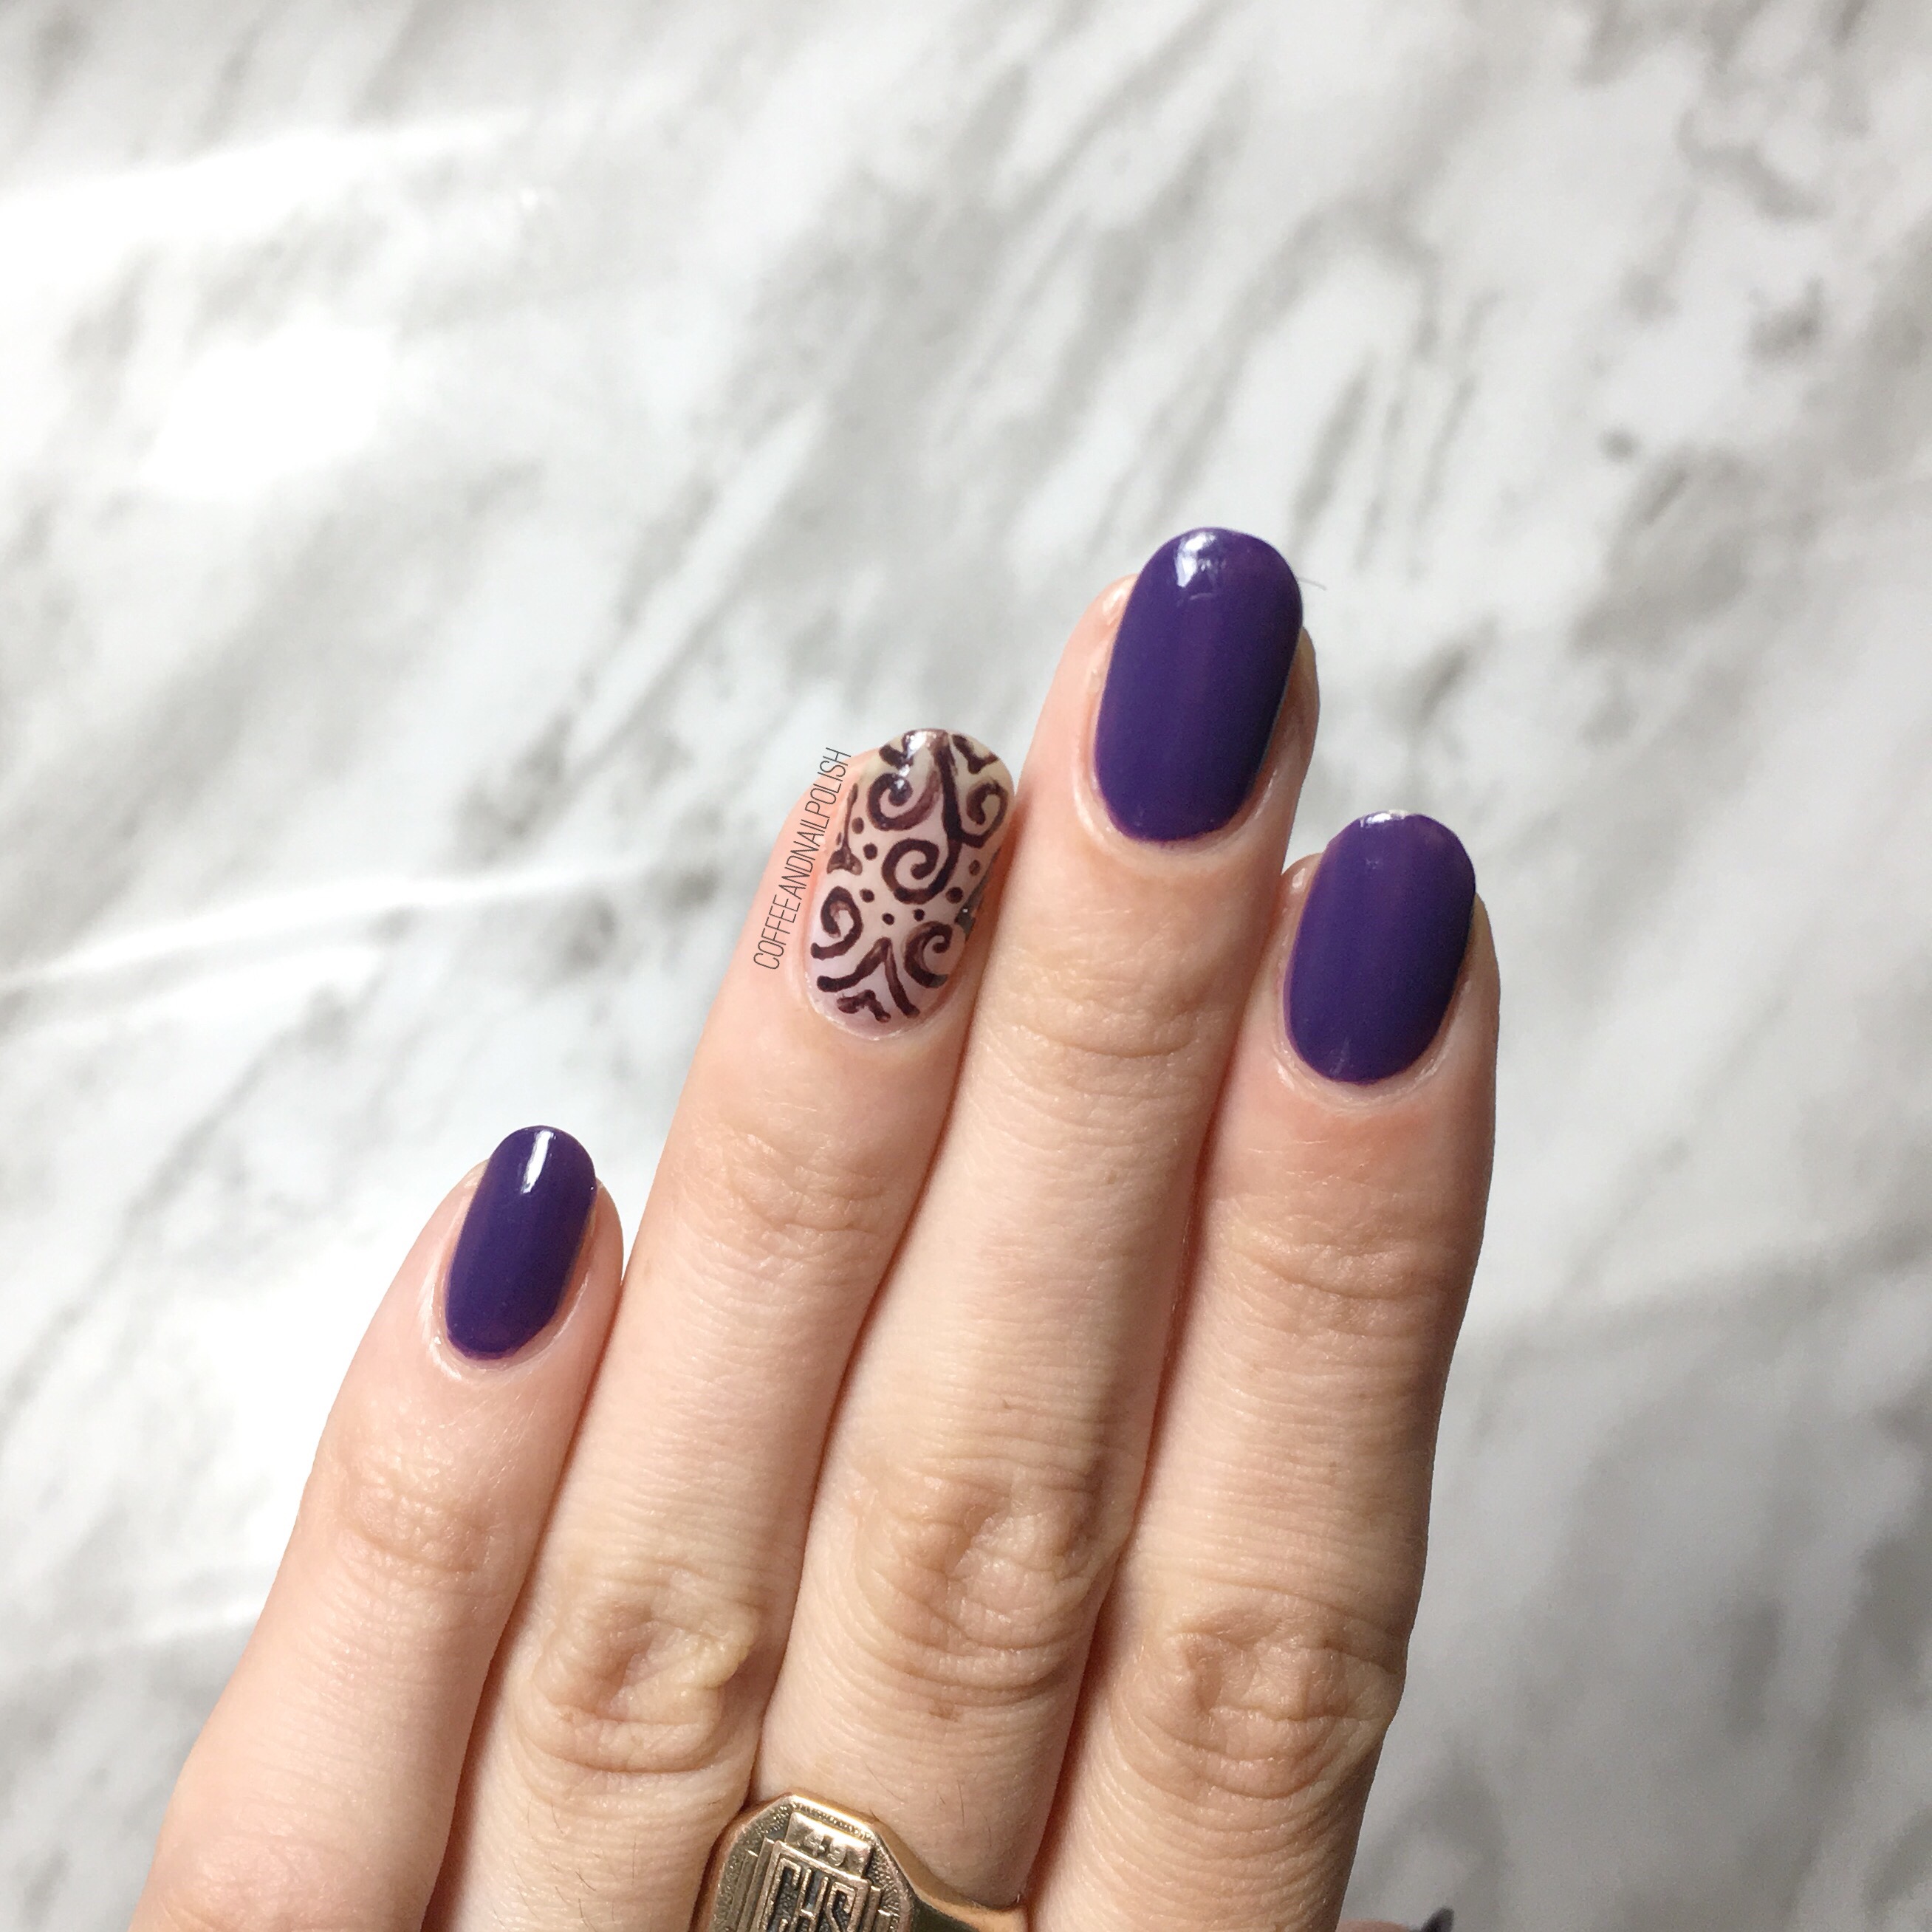
- L’Oréal Elusive
- Ardene Ice Mist
- Essie Frock N’ Roll
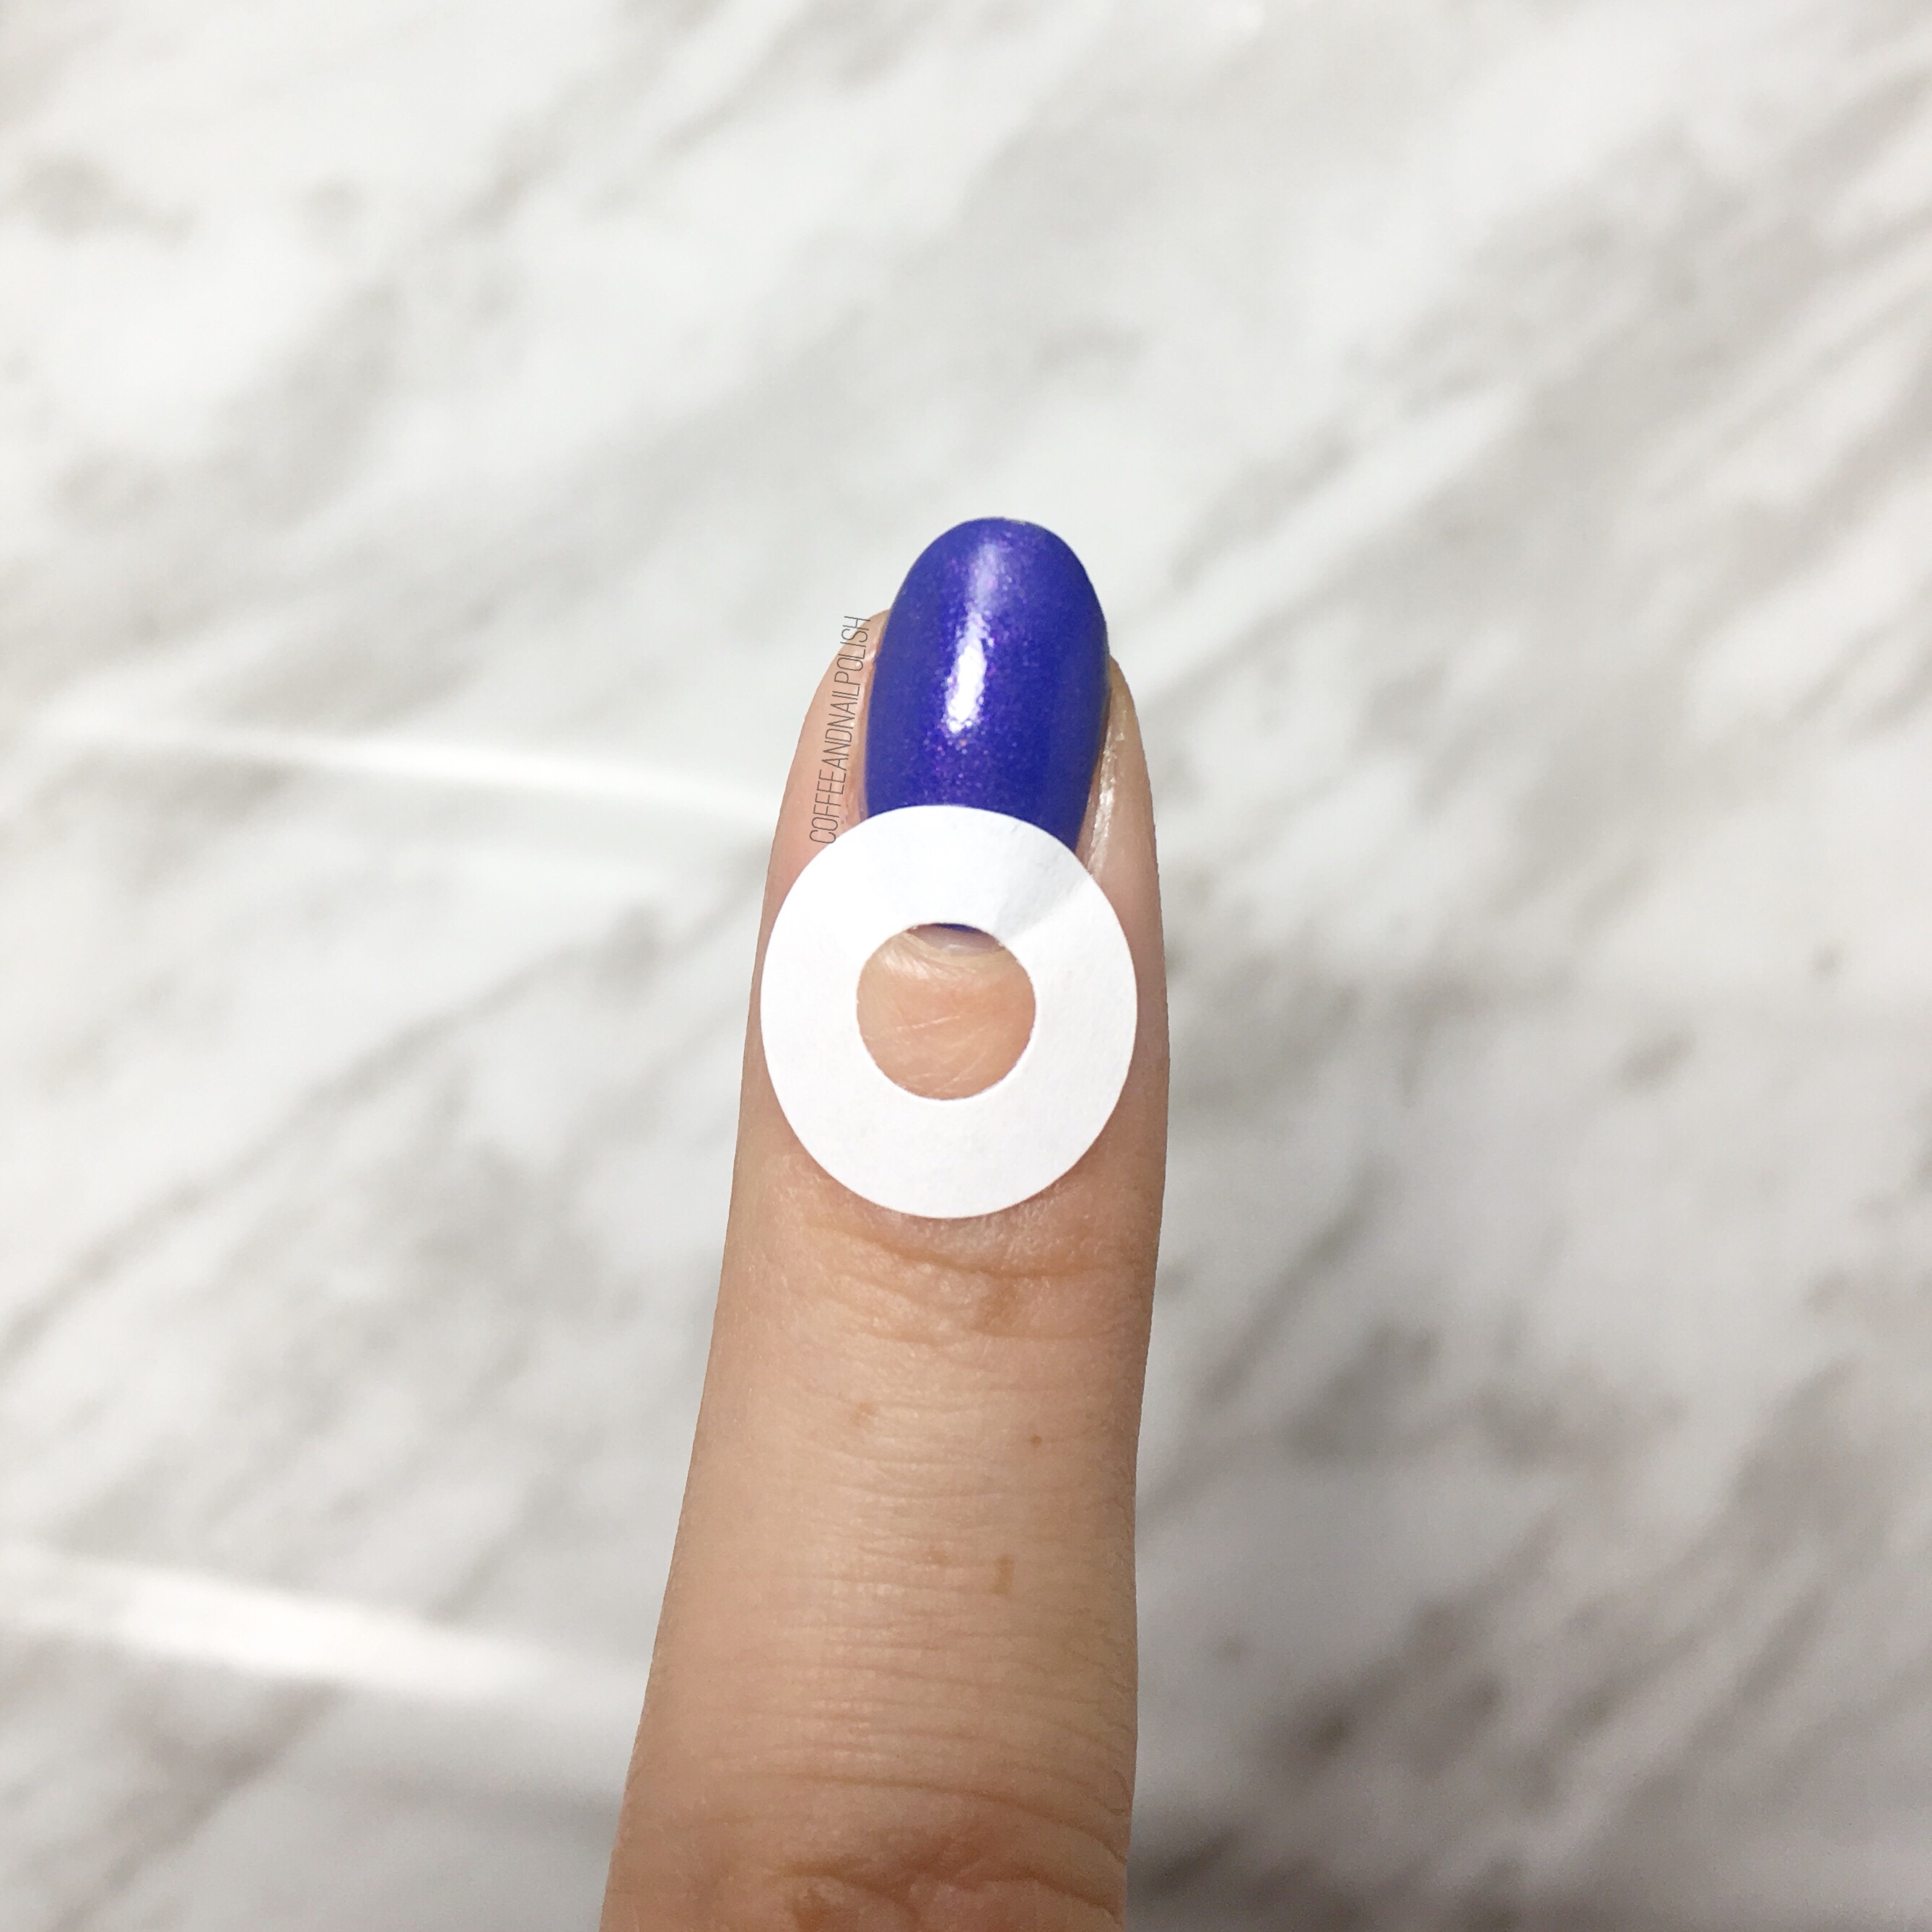
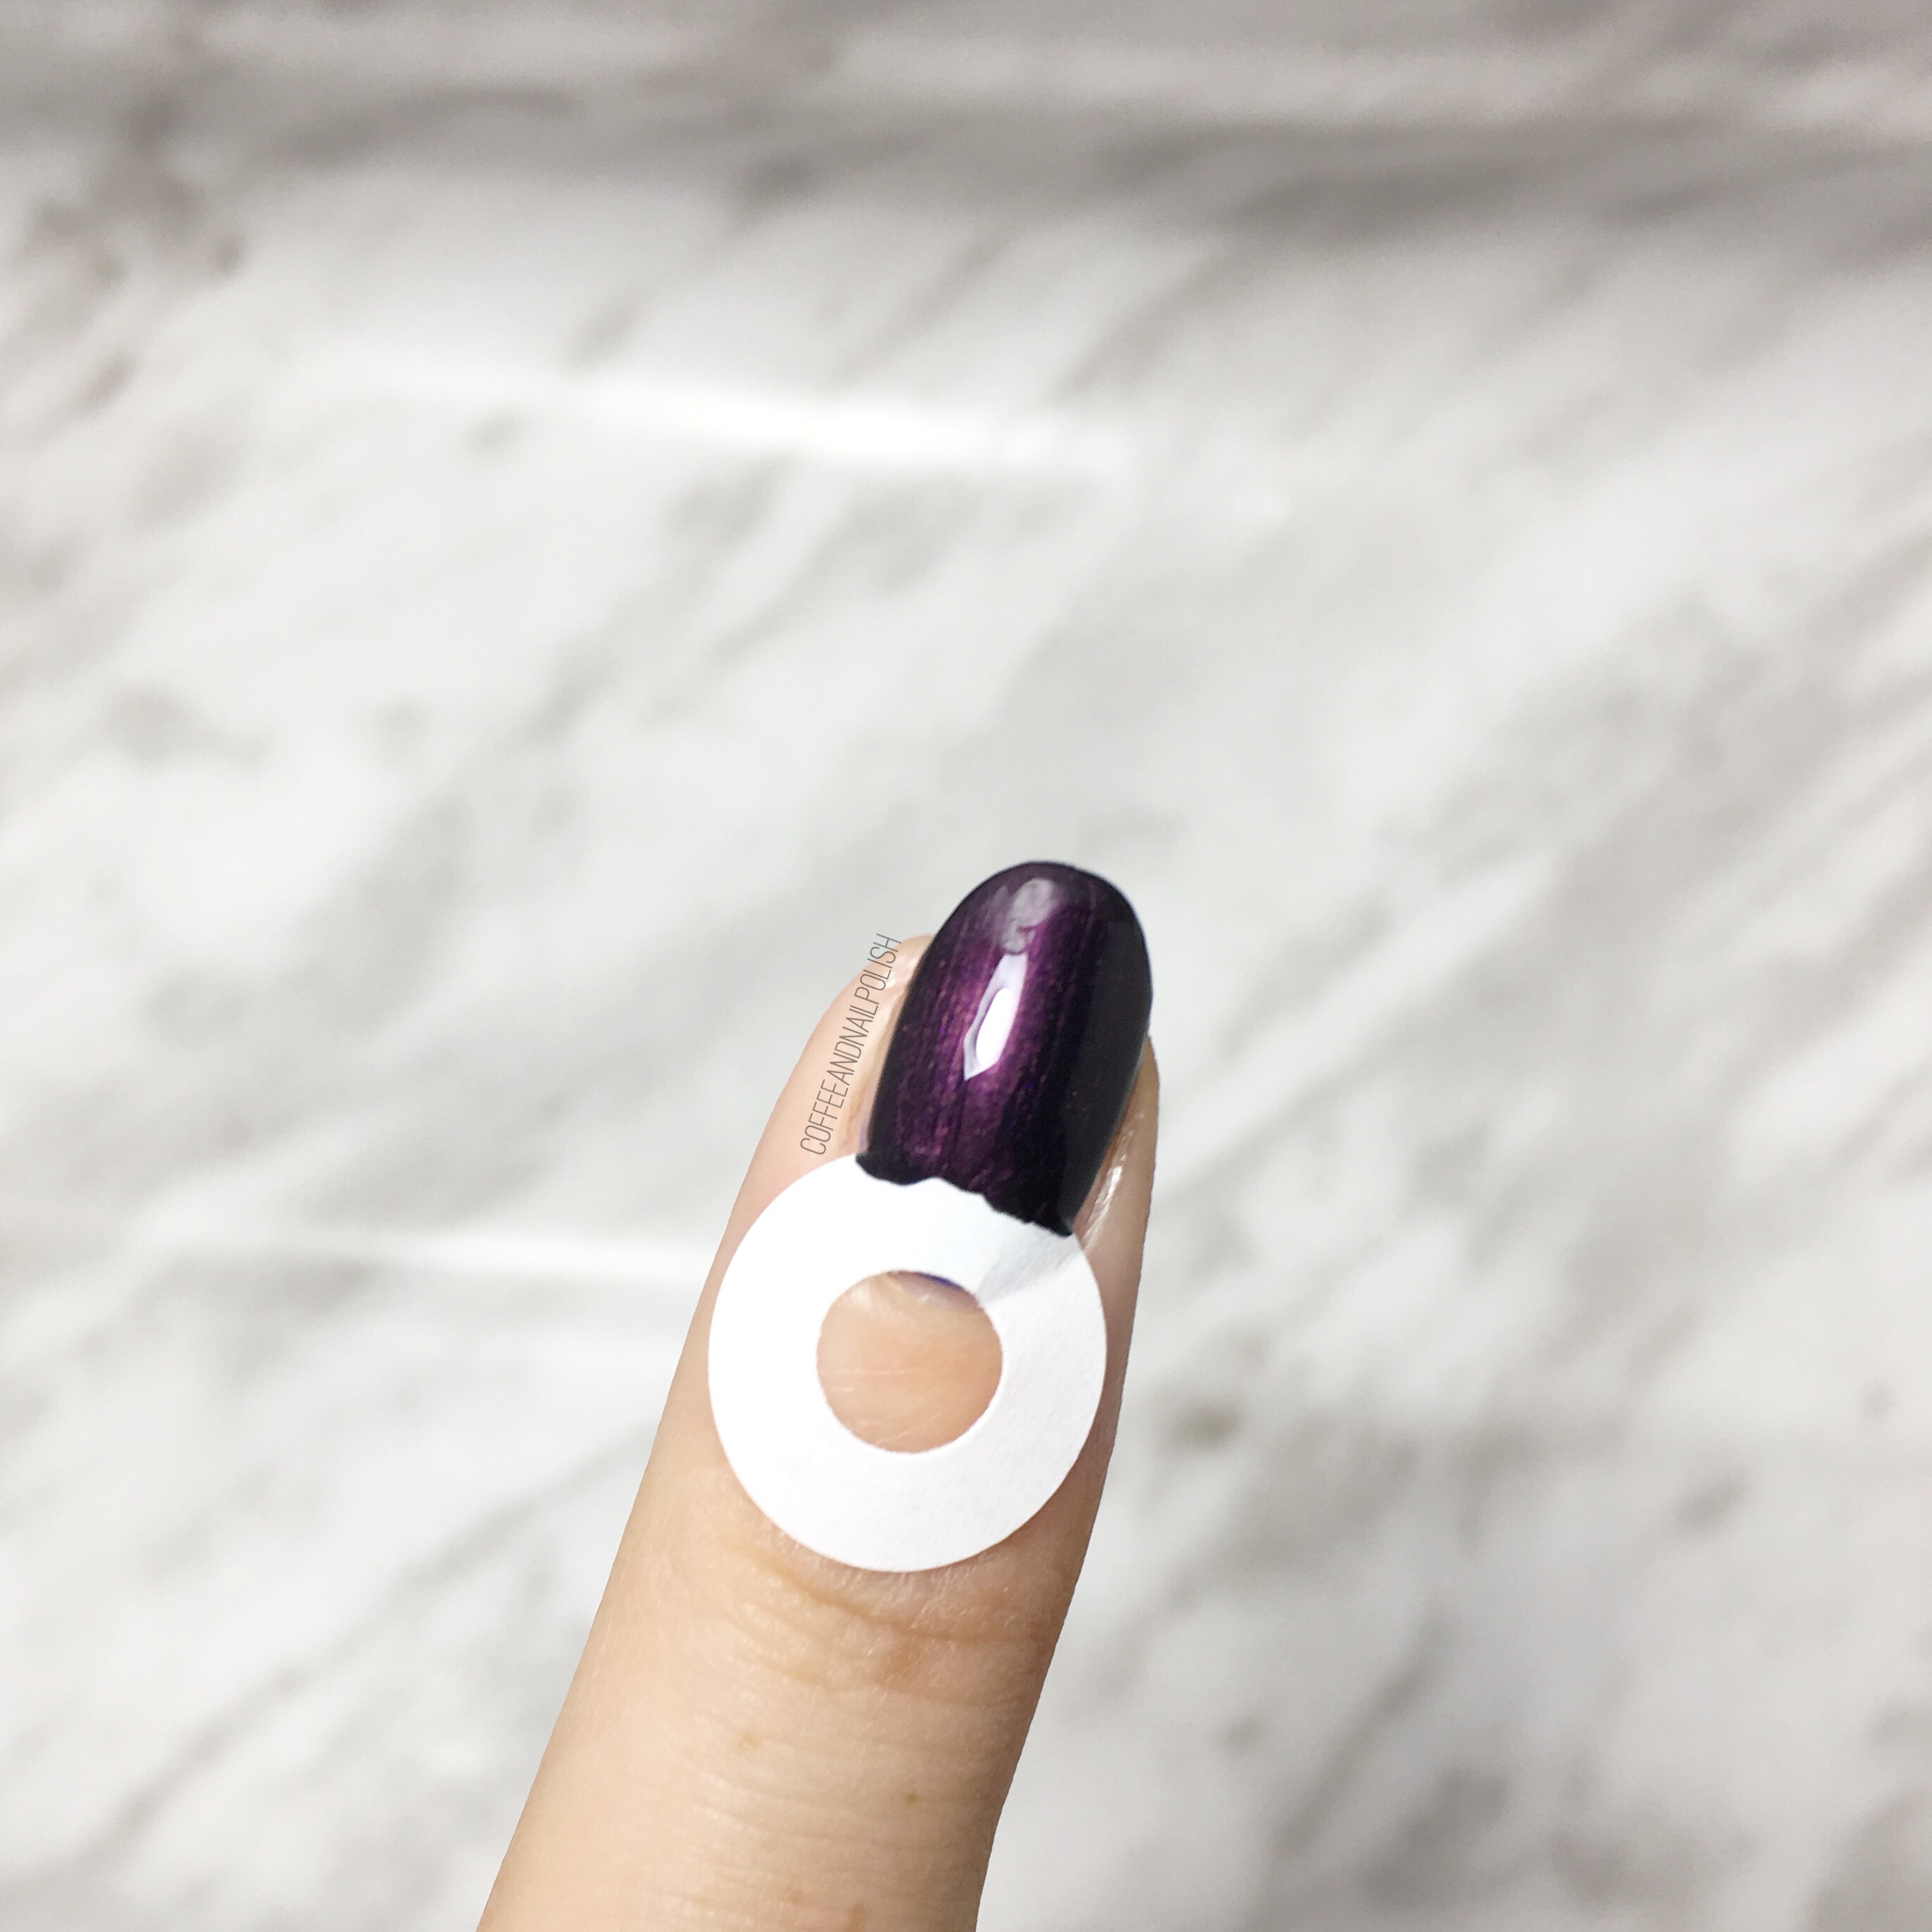
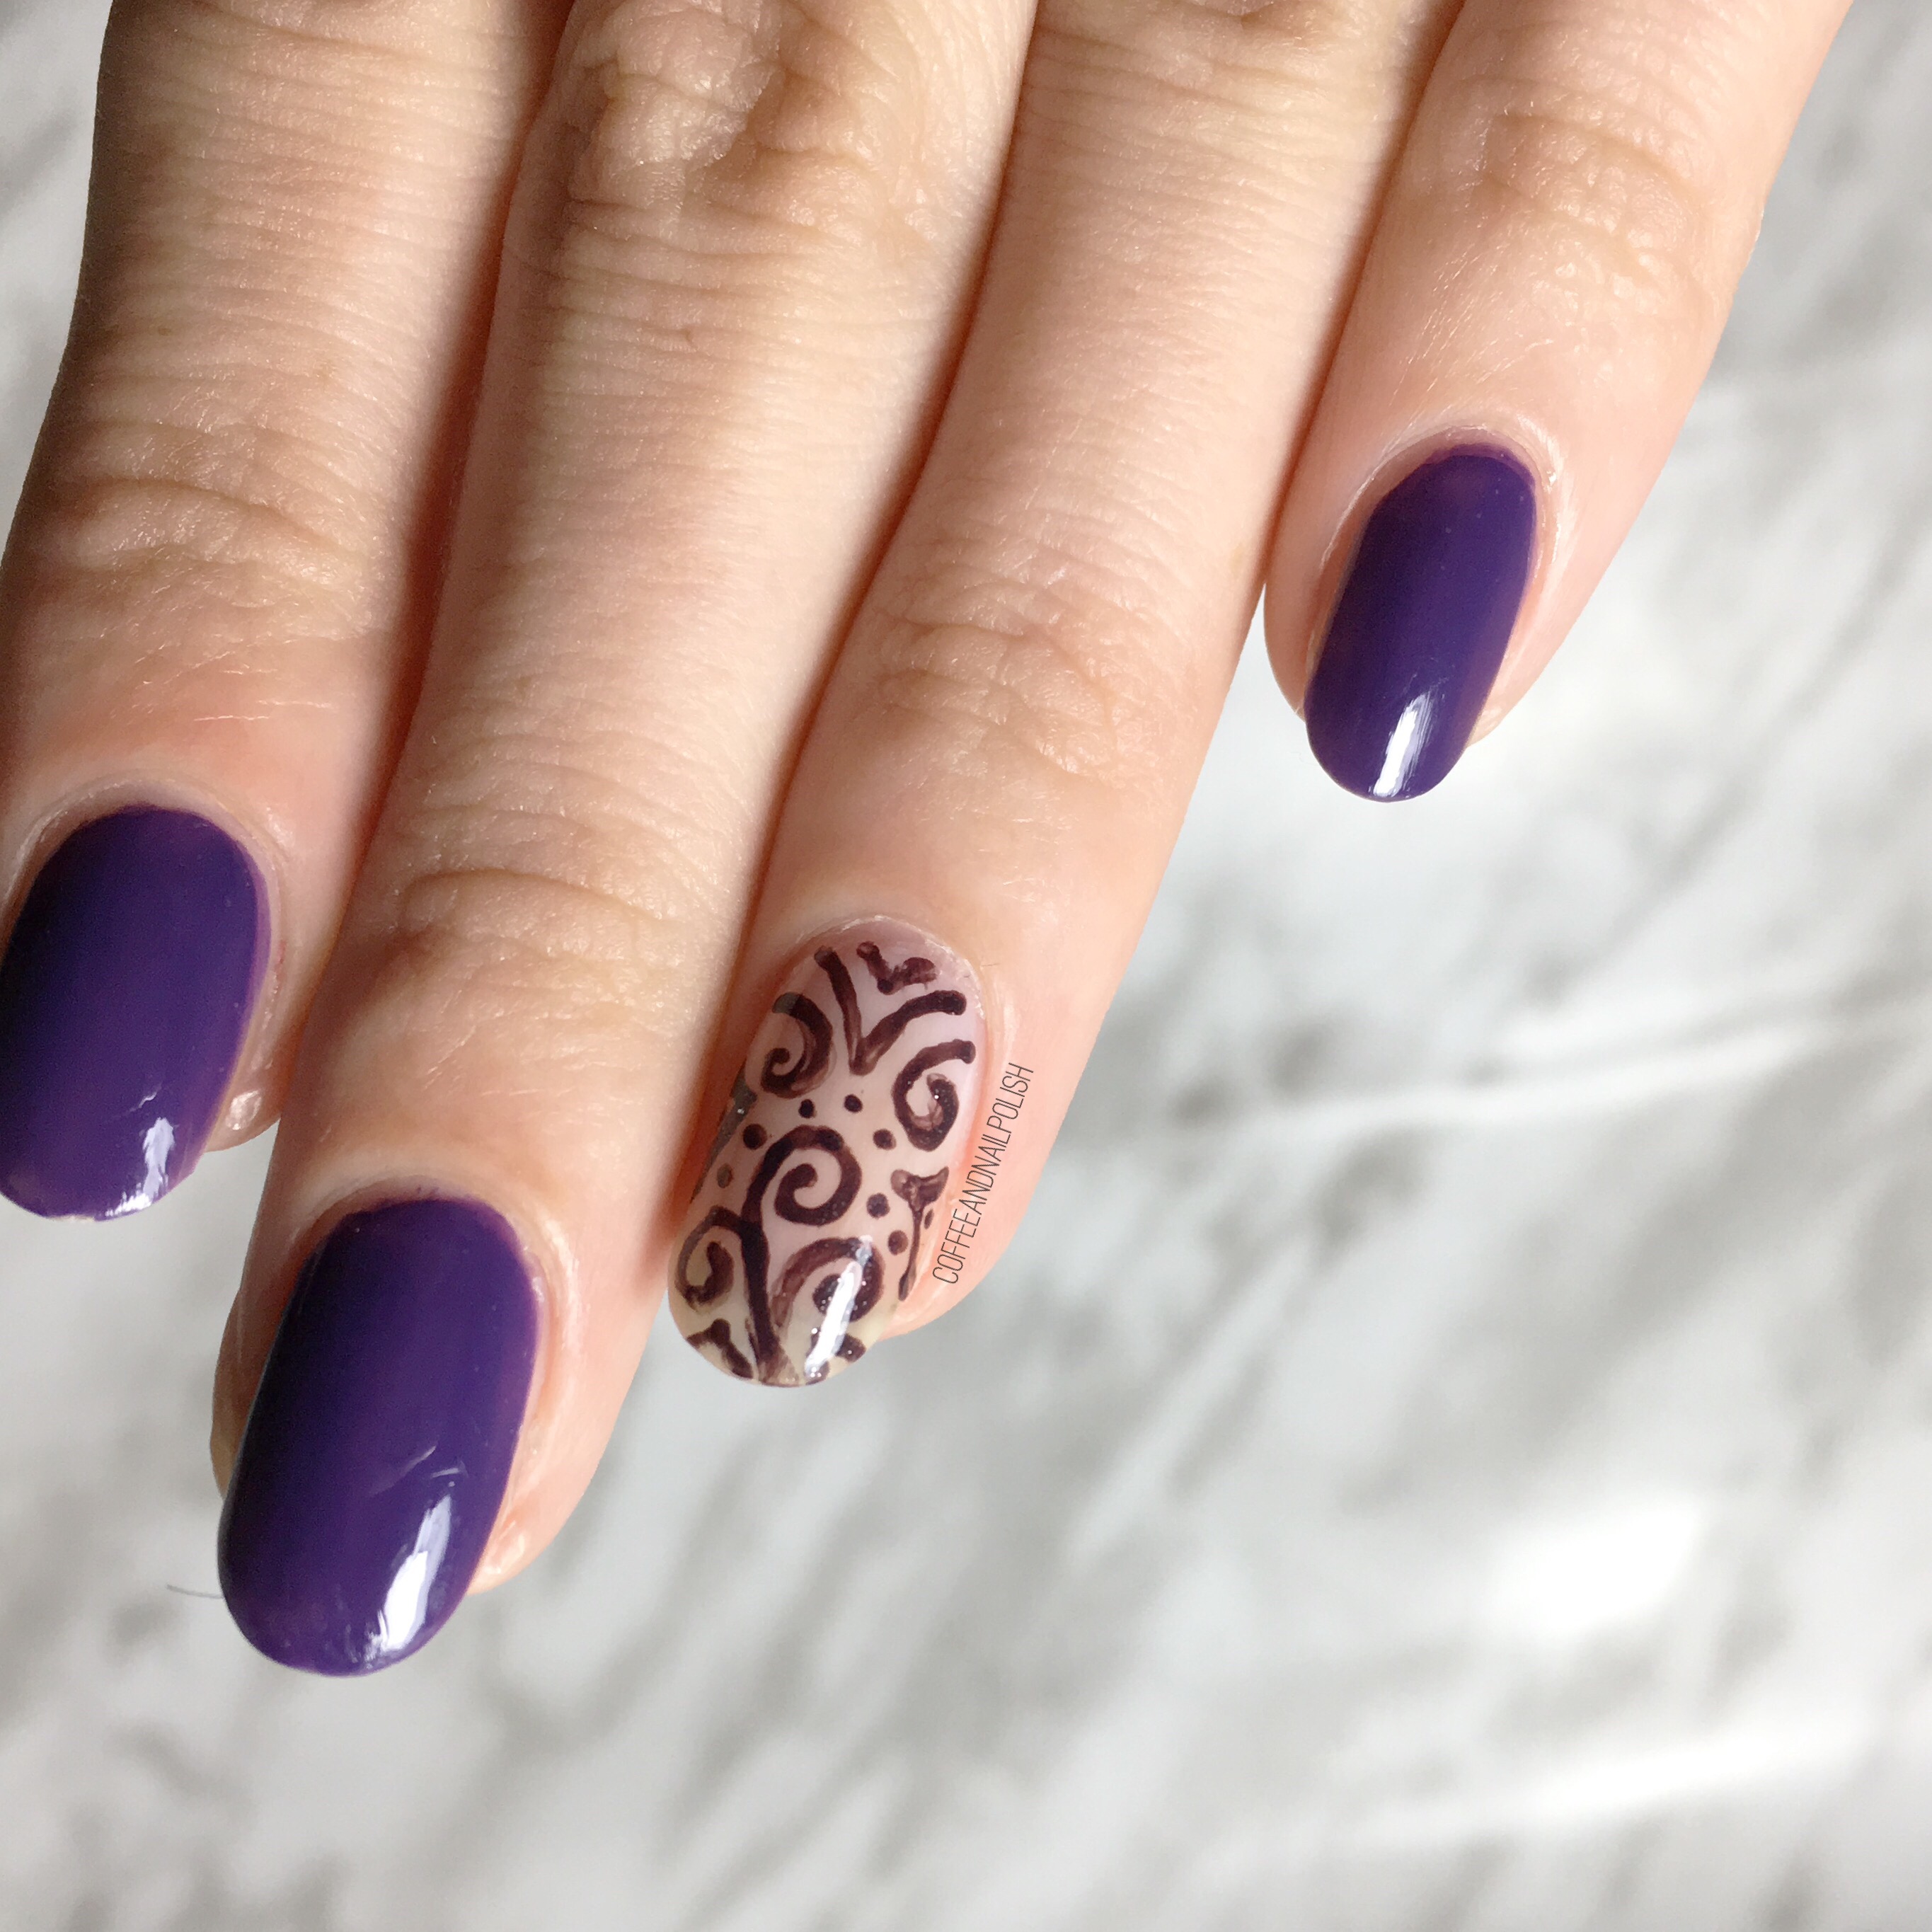
- Small detail brush from Bundle Monster
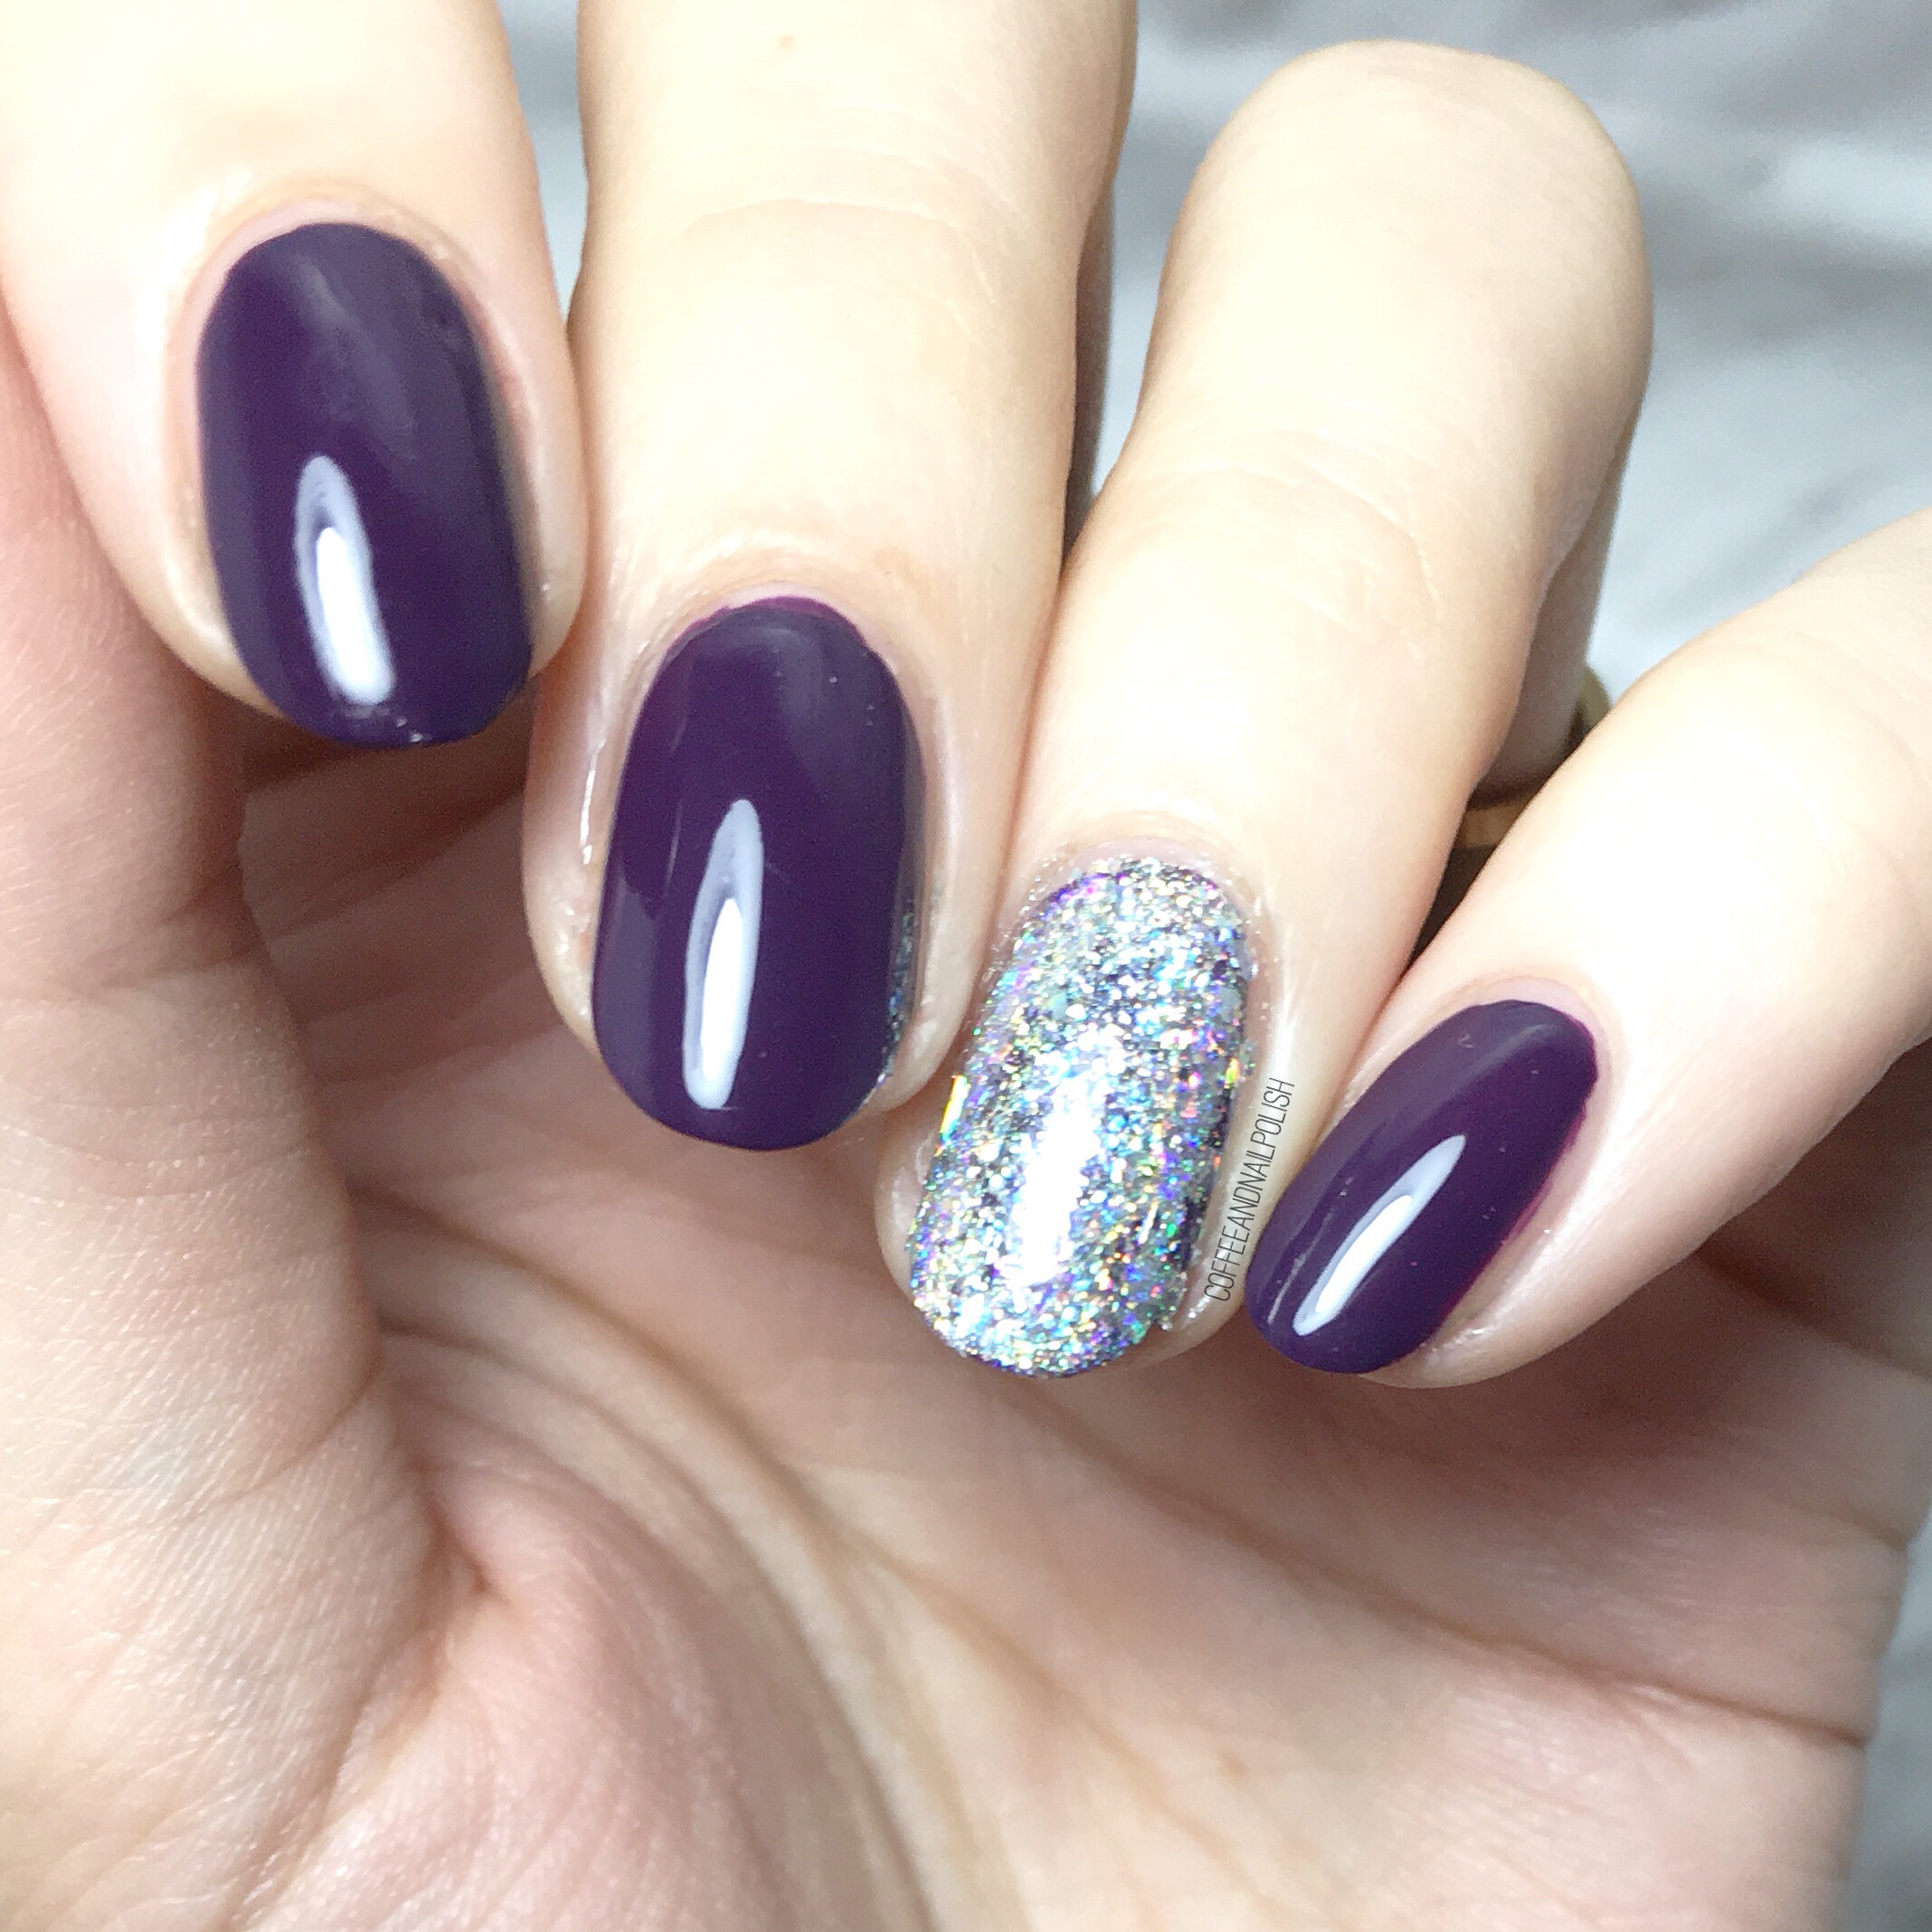
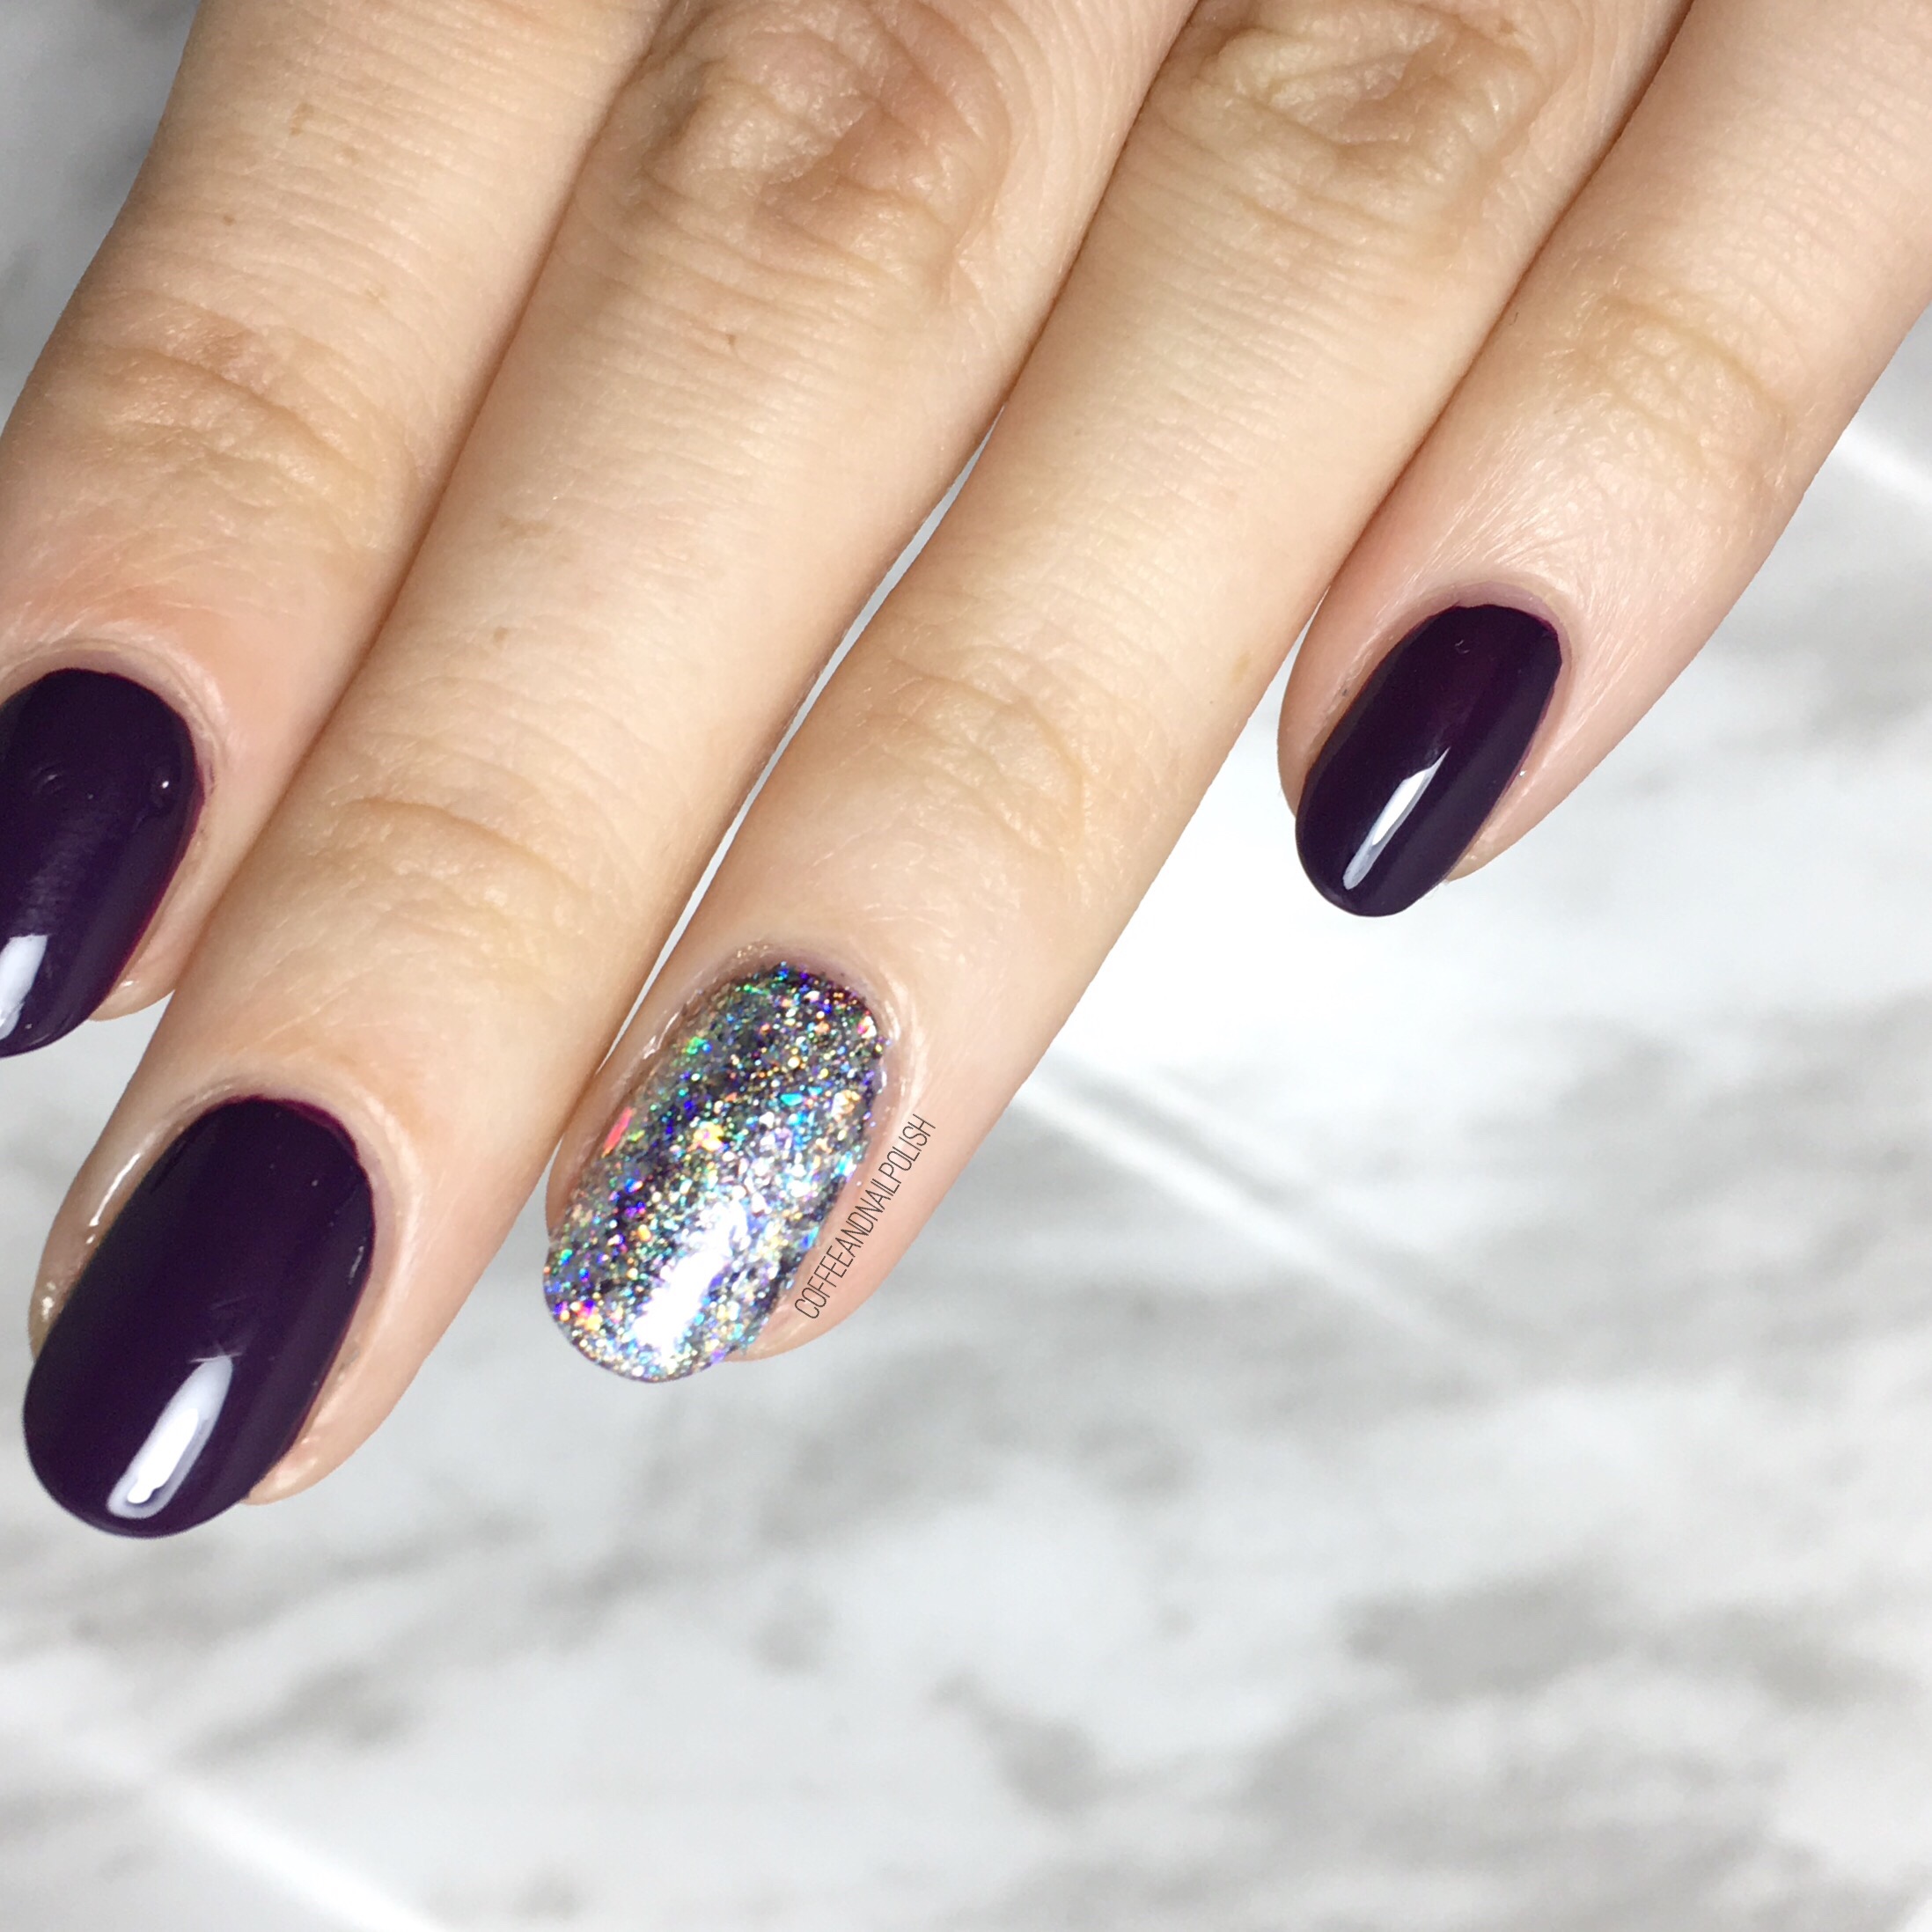
Okay can we talk about L’Oréal Elusive for a second? I found this bottle at my local Lawtons in the clearance section (my favourite place for polish finds) & I had to buy it! It’s just such a good shade of purple, & I’ve been wearing it a lot lately. Also I totally apologize for the chipping at the tip of my nails—I took these shots after 2 full days of wear so they were looking tougher than they should. But this purple…. it’s just such a good purple! 💜 I don’t know if you’ve noticed, but I’ve been on a huge purple kick lately.


What do you think of this accent nail? Let me know your thoughts in the comments below. & leave some suggestions for any nail art you’d love to see!