We’re currently being bombarded with 25+ cm of snow here in Halifax, which is not so much fun. I’m really not a Winter person (well, once Christmas is over anyways.) So how about some floral nails to cheer us up? I wore this design this weekend, but with a raging Winter storm outside as we speak I kind of need something pretty & Spring-y to cheer me up. Did I mention I’m really, really over Winter?
Did you know it’s 49 days until Spring? Just a fun fact to get you through those long, chilly days ahead. Unless you’re in the Southern Hemisphere, in which case do you have a spare room because I’m coming to visit!
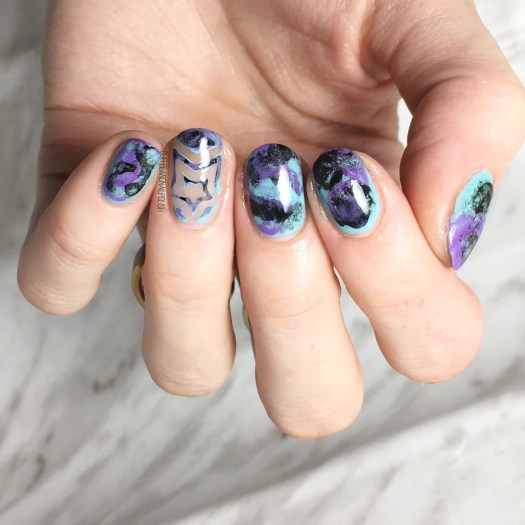
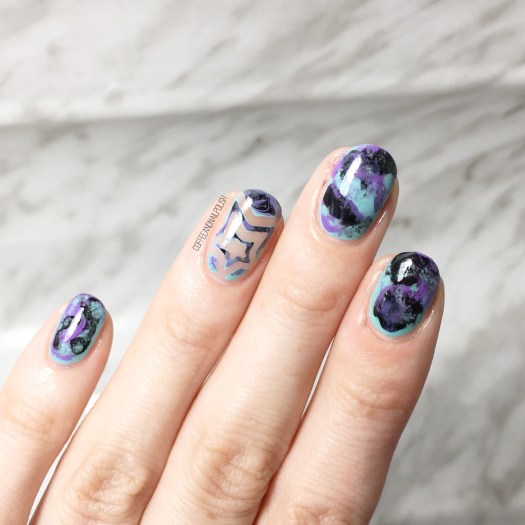
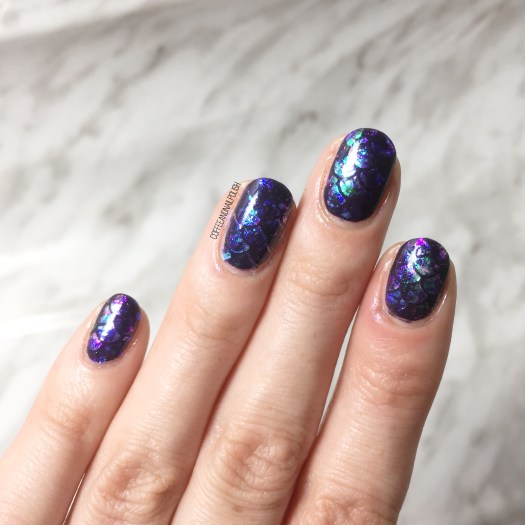
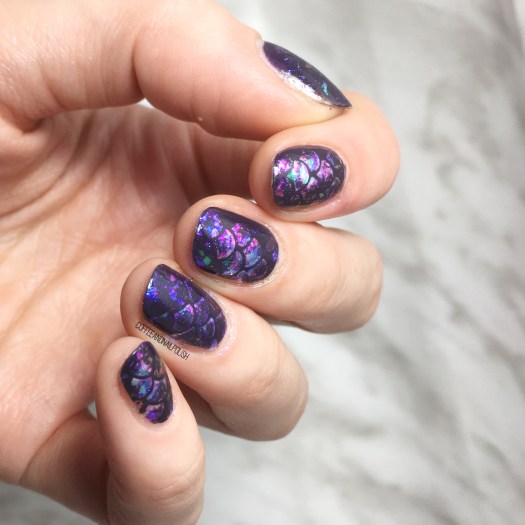
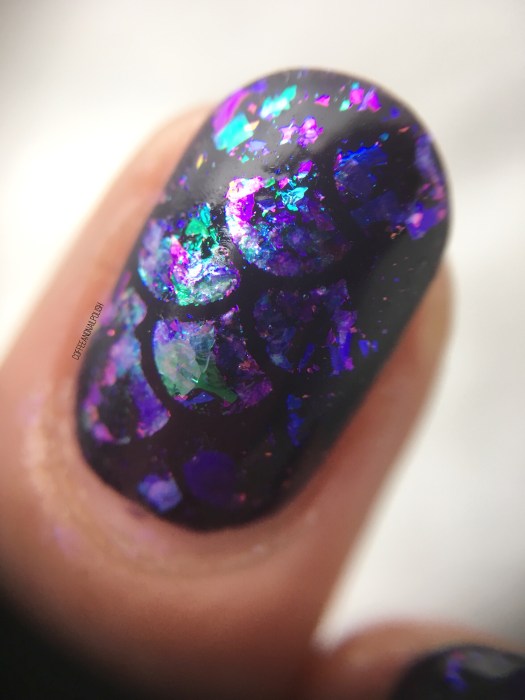
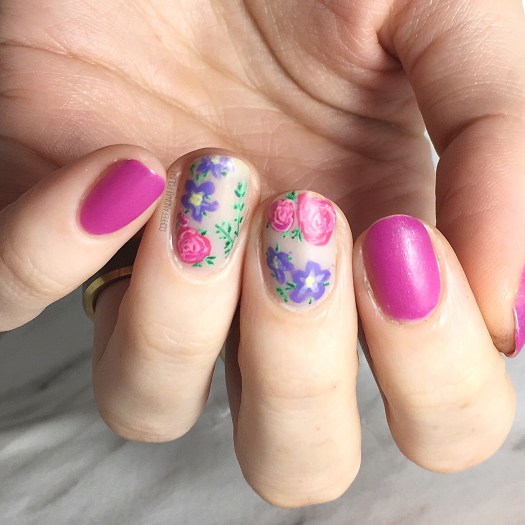
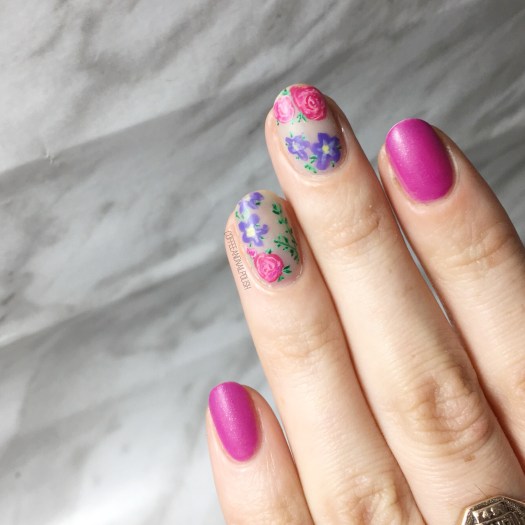
I took so many pictures of this design. I know every floral manicure is my new favourite, but this one just turned out so well I couldn’t help but take a million pictures of it.
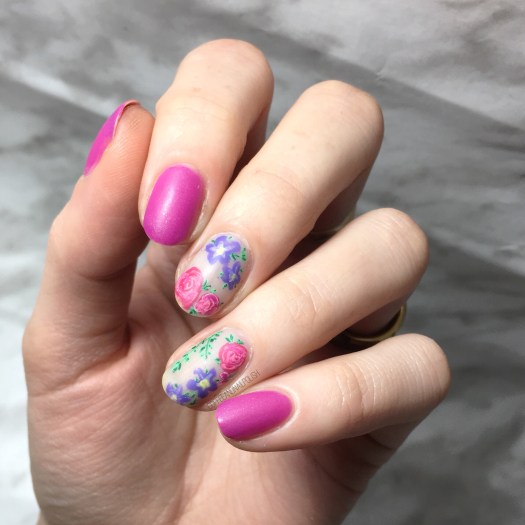

For this manicure, the polishes I used were:
- Base Coat: Nailtek 2
- Top Coat: Seche Vive
- Matte Top Coat: L’Oréal the Matte Velvet
- Essie The Girls Are Out
- OPI My Pointe Exactly
- China Glaze Ever Glaze Don’t Grape About It
- Sally Hansen Instadri Petal Pusher
- Essie Bachelorette Bash
- Sally Hansen I ♥️ Nail Art Pen in Green
- Essence The Green & the Grunge
- Essie Play Date
- Sally Hansen Xtreme Wear Mellow Yellow
- Small detail brush (Born Pretty Store)
- Small & large dotting tools (Bundle Monster)


So many polishes were used for this design, but it was so worth it. & I think the matte top coat just makes the end result that much more beautiful. This is definitely not a quick to do design, but floral just makes me so happy I don’t even care! 💗 I hope you love floral, because I have a feeling there will be a lot of floral leading up to Spring. Also even though it’s snowing today, I’m totally pulling out my favourite floral romper, since I have no plans on leaving the house today… except to maybe go to Starbucks & get coffee but even then I won’t be leaving the car.
 What are your thoughts on today’s floral design? Are you a fan of floral nails? Let me know your thoughts in the comments below!