Recreating my Wedding Nails (Happy 3rd Anniversary to us!)

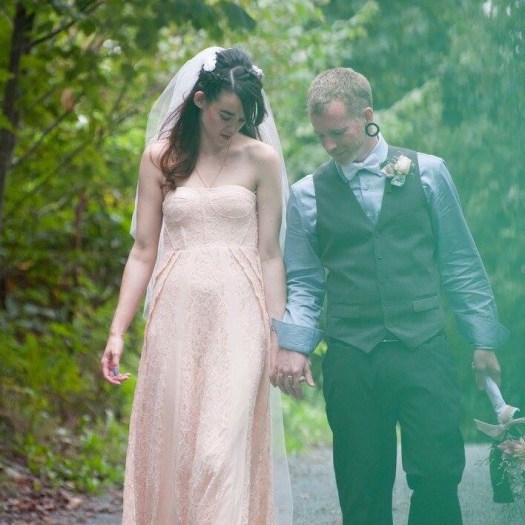
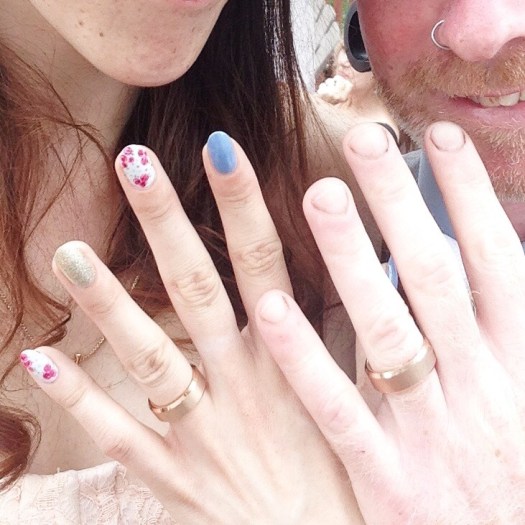
Happy Wednesday lovelies! Not only is today the middle of the week & halfway to the weekend, but today marks 3 years since I married my best friend. If you’ve been around originally, you may remember my original post featuring the nails on our special day.

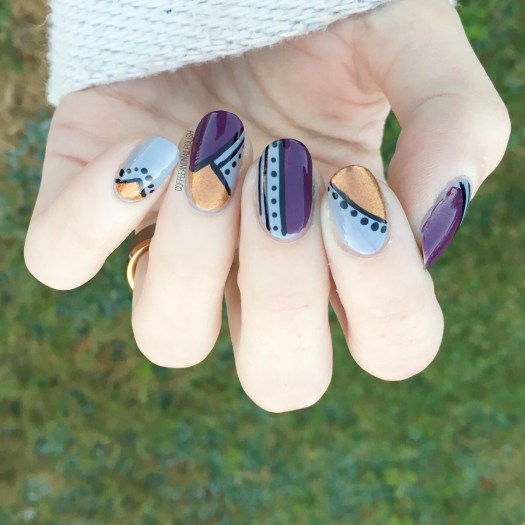
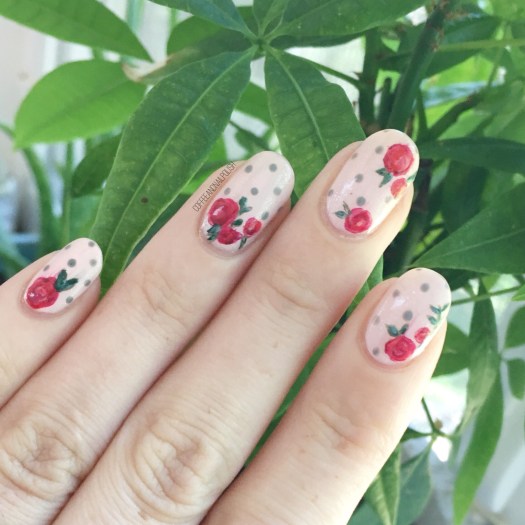
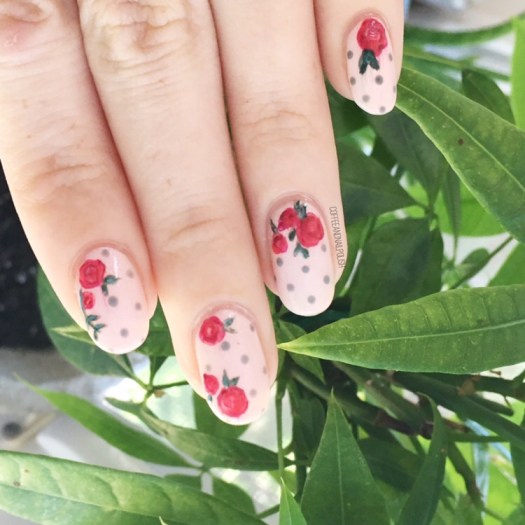
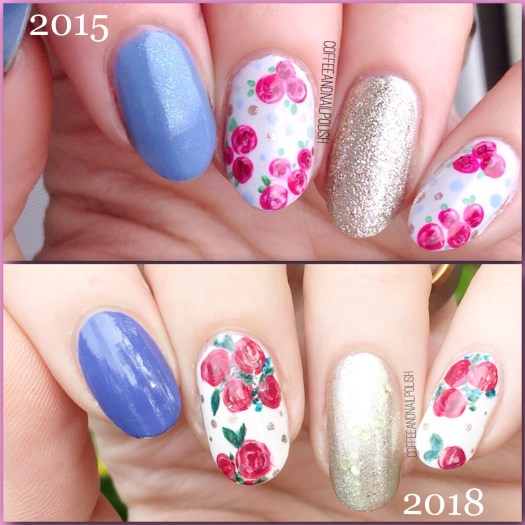
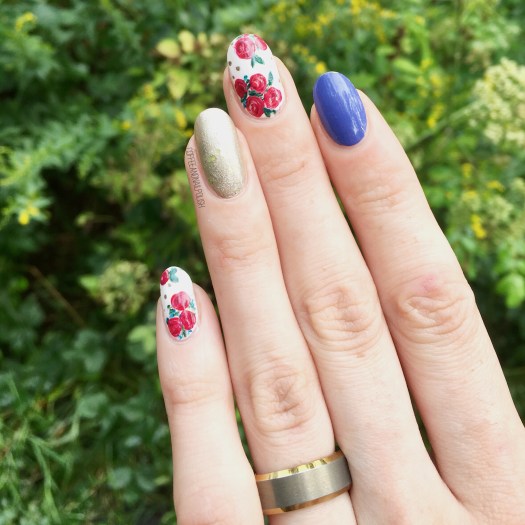
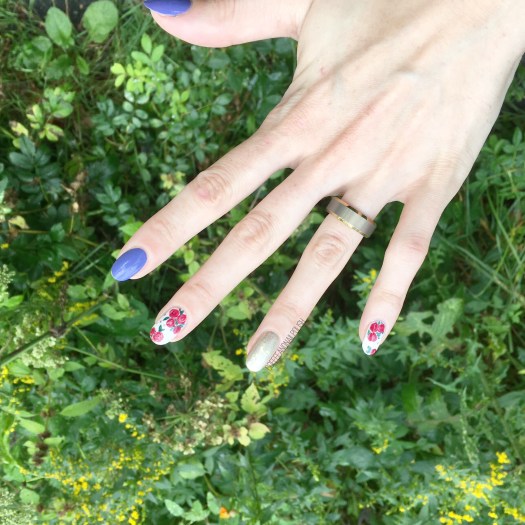
Naturally, I wore a floral design–which is a surprise to no one. & in honour of this day, I decided I really wanted to recreate my original design. & spoiler: I love it just as much today as I did on this date 3 years ago.

For my recreation of this manicure, the polishes I used were:

  • Base Coat: OPI Nail Envy
  • Top Coat: Essie Speed Setter
  • Essie Suite Retreat
  • Sally Hansen Miracle Gel After Altar
  • L’Oréal Getting Kilty
  • Julep Vivien
  • Sally Hansen CSM Killer Heels
  • Sally Hansen CSM Red It Online
  • Sally Hansen CSM Rose To the Occasion
  • Sally Hansen CSM Blush Against The World
  • Quo by ORLY the Antidote
  • Essie Off Tropic
  • Quo by ORLY Diva
  • Essie Sew Psyched
  • Nailstuff.ca Mermaid Tail Nail Art Brush
  • Dotting Tools

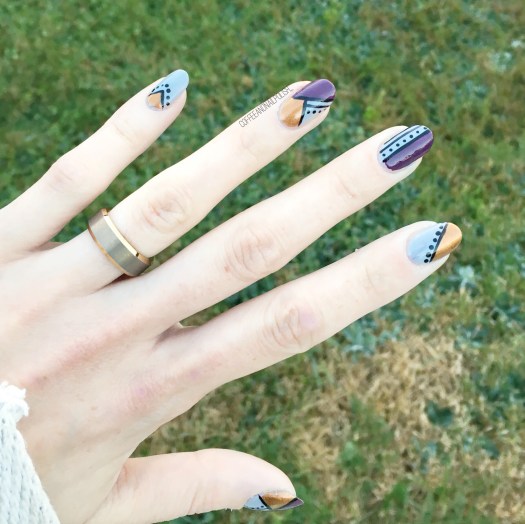
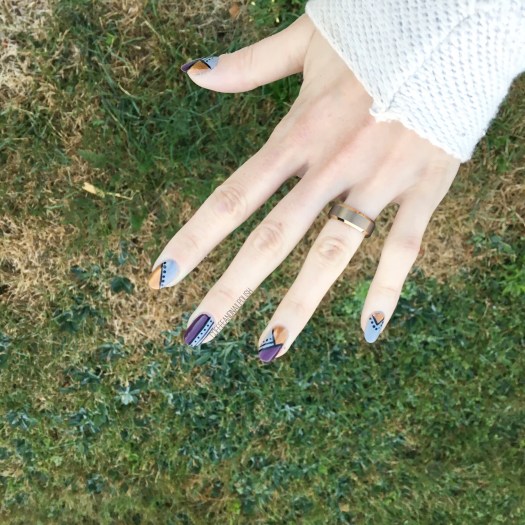
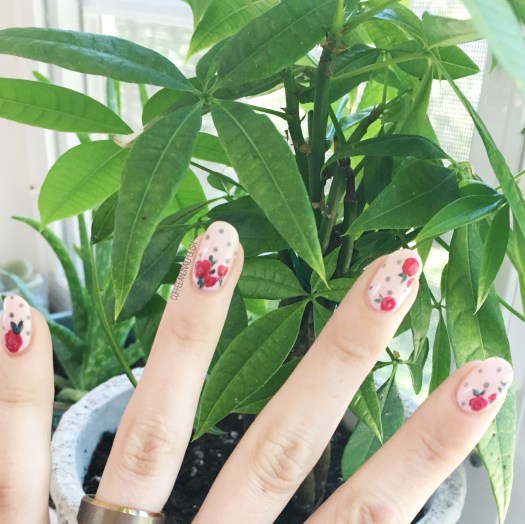
I’ve written before how much I love going back to recreating my manicures, & I’m so glad I got to do the same for this one. I know some people go for more classic wedding & bridal manicures, but it just felt more “me” to do a full floral look (with something blue & a gold accent nail.) & no matter how much time passes, I don’t see myself ever getting “over” floral nail art. It’s just too perfect.

How did you wear your nails for your wedding day? Did you go more classic or a little more fun? (& for those planning to get married soon, do you know how you’re wearing your nail yet?)

& for fun, a few pictures from our wedding day ♥️

Fall Colour Blocking 🍁

Good morning lovelies & happy Tuesday. The weather here in Halifax has definitely made the shift from Summer to Fall, especially in the mornings! You definitely need a sweater (or two!) to keep from freezing. Which means that I’ve been breaking out all my favourite Fall colours. When it comes to Autumn, I’m all about the purples, navys, maroons, greys & bronze-y shades.

Today’s manicure makes up 3/5 of those, so not bad!

For this manicure, the polishes I used were:

  • Base Coat: OPI Nail Envy
  • Top Coat: Essie Speed Setter
  • Essie Cocktail Bling
  • Essie Leggy Legend
  • Sally Hansen Complete Salon Manicure Trouble Maker
  • Kiss Products Nail Art Striper in Black
  • Small dotting tool

This totally wasn’t the manicure I had originally planned on doing, but then I saw this bronze shade & thought how well it would go with this purple. & I haven’t done a colour blocking look in a while, so I though this would be perfect!

This was definitely one of those manicures that came together each stroke at a time, which is kind of my favourite kind. Sometimes I have a solid plan in mind when doing my nails, & sometimes I have no plan at all.

Oooooh this is my favourite time of year for pretty much everything — fashion, food, & especially nail art. Not that I don’t like Summer, it’s just I really come alive in the Autumn months. I love being able to layer, I love plaid, I love wearing tights, & I love these dark jewel toned polishes (especially purples!) Everything about Fall just feeds my soul.

What do you think about this colour block look? What are you favourite Fall shades? Let me know your thoughts down in the comments below!

Stamped Cactus Accent Nail (featuring Essence’s new “Stamp It!” plate)

Happy Friday everyone!

Today I’ve got a fun look to share with you, featuring a brand new product from Essence–their new “Stamp It!” plate which was recently released in Canada. My love for cacti everything is ongoing, so I was excited that one of the images included with a cactus. I picked up my new stamping plate during a recent outing to Shoppers Drug Mart.

It can also be purchased on the Essence website as well.

For this design, the polishes I used were:

  • Base Coat: OPI Nail Envy
  • Top Coat: Essie Speed Setter
  • Essence Miss Universe
  • Julep Alyssa
  • ORLY Decades of Dysfunction
  • Essence Black is Back
  • Essence “Stamp It!” Stamping plate
  • Clear Jelly Stamper

I was super impressed with how well I could pick up images from the plate to apply to my nails. There is a huge variety of different images to choose from & they definitely seem easier to do than some of my older Essence stamping kits. I still have to pick up the actual stamper, but I’m looking forward to trying it out as well… you can never have too many stamping plates at your disposal, & I find myself turning to stamping when I’m extra busy & still want pretty nails.

What do you think of this look? Have you tried out Essence new stamping plate yet? Let me know what you think by sharing your thoughts down in the comments below!

Wedding Appropriate Floral & Polka Dots

Happy Monday lovelies & a long weekend Holiday Monday at that! Going to try & make up for my lack of posts last week with a few extra this week (after a crazy last week at work with back-to-school).

First up is a nail design I wore to a wedding this past weekend. Obviously, I had to do roses & I decided to add it a few polka dots as well. To me, this design kind of looks like wallpaper, but like cute wallpaper. & I absolutely love how they turned out. But then again, when have I ever not been happy with floral on my nails!

For this manicure, the polishes I used were:

  • Base Coat: OPI Nail Envy
  • Top Coat: Essie Speed Setter
  • ACO by Ardene Flawless
  • Essie A List
  • Essie Peach Daiquiri
  • Essie Cute As A Button
  • Quo by ORLY the Antidote
  • Essie Off Tropics
  • Essie Sew Psyched
  • Essie Absolutely Shore
  • ACO by Ardene Day Dreamer
  • Medium & Small Sized dotting tool
  • NailStuff.ca Mermaid Tail Brush

This look turned out so perfectly, just how I imagined in my head. They were the perfect nail art look for attending a wedding, actually ended up matching the dress that I wore which also had roses all over it. Not going to lie, I totally picked my dress because it matched so well with my nails!

what do you think of this nail art look? Do you have a go-to wedding look for your nails?

Have a happy Monday lovelies! ♥️

Purple & Grey Saran Wrap Splatter

Hello lovelies! Hope everyone is having a good start to their week. Today I have a brand new nail look to share with you featuring one of my favourite easy nail art techniques–a Saran Wrap splatter. This time, I wanted a deeper more jewel toned colour scheme (because those Fall vibes are calling me) so I picked a few of my favourite Fall-ish shades for the occasion!

For those of you who don’t know, this whole look is created easily using crinkled up Saran Wrap/Plastic Bag. You paint you polish onto the crinkles up bag & then dab it into the nail. That’s how you create the “splatter” effect. I really love doing my splatter over a “naked” base, so that some of the natural nail comes through.

For this manicure, the polishes I used were:

  • Base Coat: OPI Nail Envy
  • Top Coat: Essie Speed Setter
  • China Glaze Grape Juice
  • OPI One Heckla Of A Color!
  • OPI Angel With A Lead Foot
  • Essie Merino Cool
  • Saran Wrap
  • Edge Perfection Cutcile Barrier

Can you believe it’s almost the end of August?! I can’t. Where did our Summer go? Pumpkin Spice lattes are officially back, which I think we can all agree means that it’s officially Fall. & that means it’s going to be all about deep dark nails over here! Ooooh & Halloween. I cannot wait to create some Halloween nails too!

What do you think of this splatter look? Which colour combination would you love to see? Share down below!