SWATCH SUNDAY — Revlon Elusive (2013 Evening Opulence Collection)

Hello loves & happy Sunday!

I hope everyone is enjoying their first full weekend of September (& long weekend). I am in full Autumn swing, & enjoying a bit cooler weather. I just want to pull out all my plaid, & go on a thrift hunt for a brand new pair of knee high boots. It also means I want to wear nothing but dark tones on my nails, & today’s Swatch Sunday pick is perfect for that!

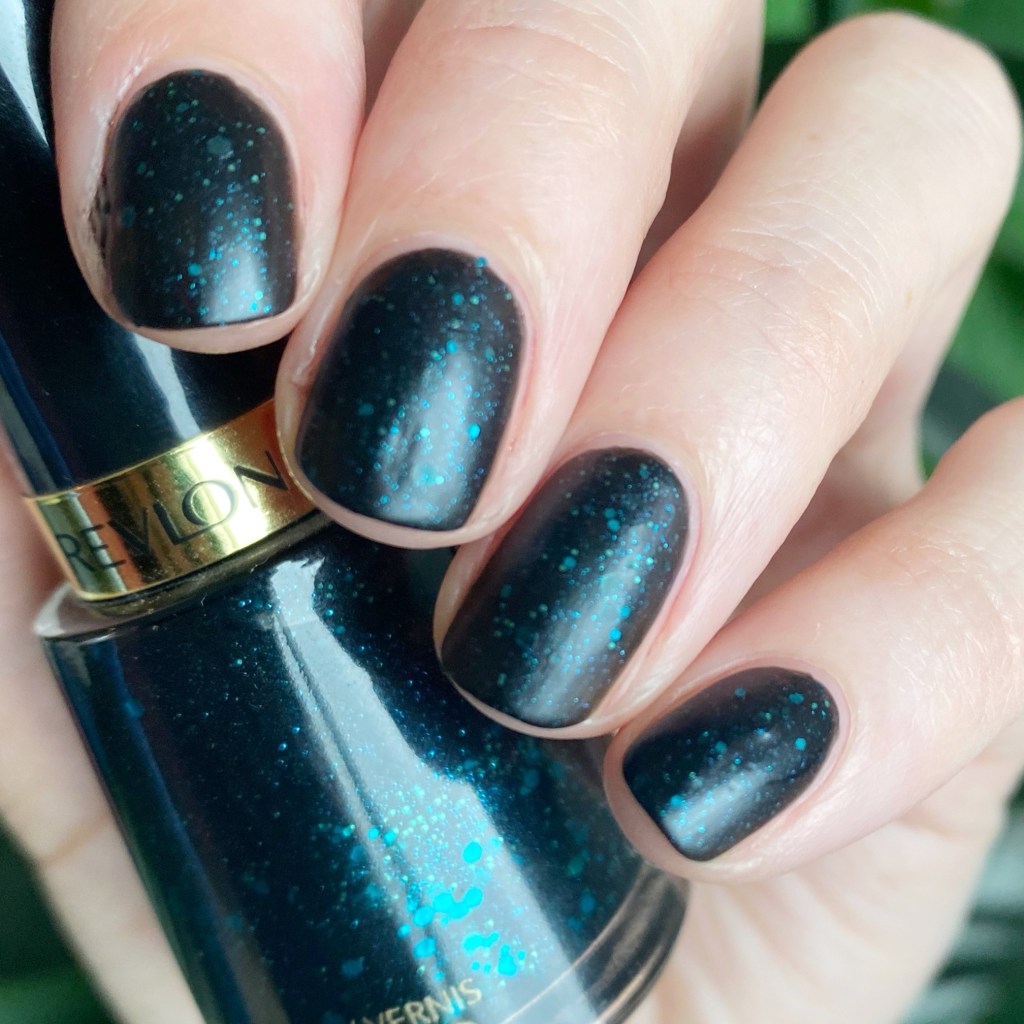
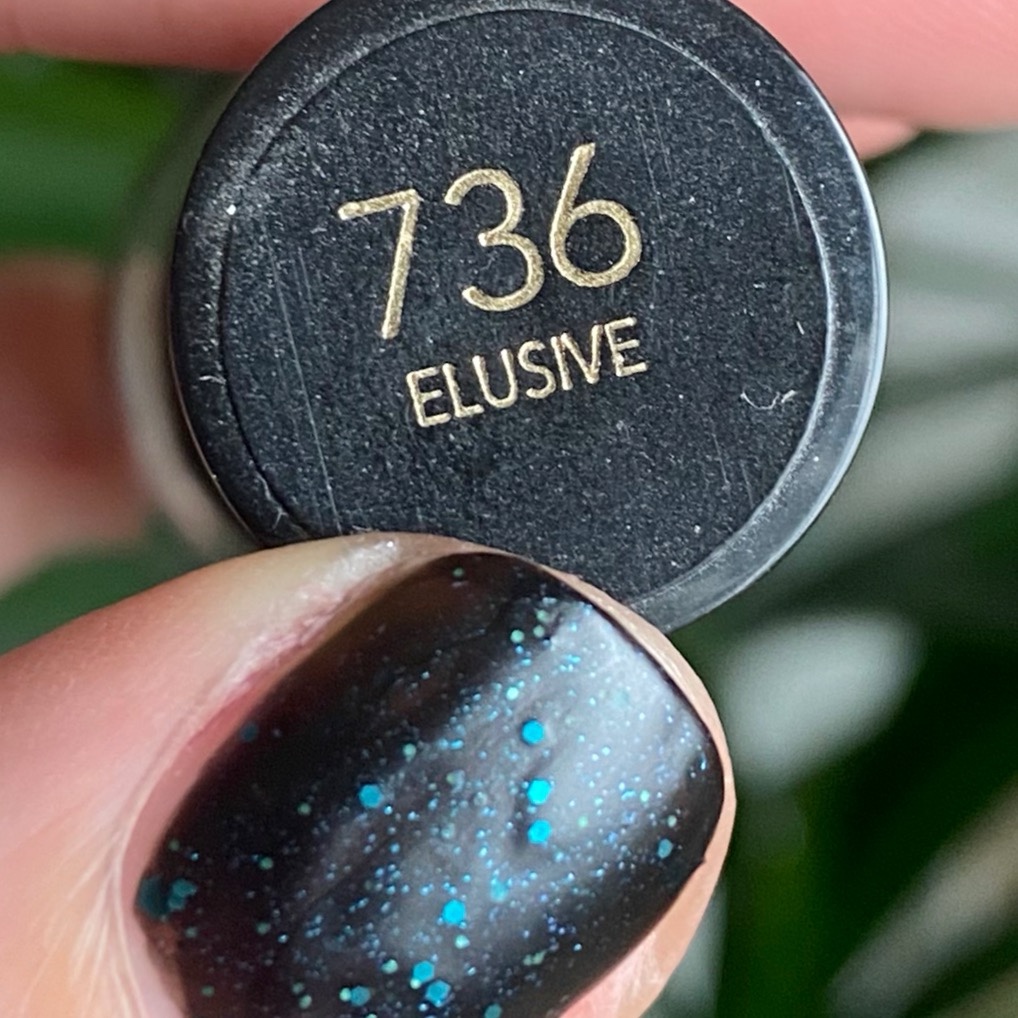
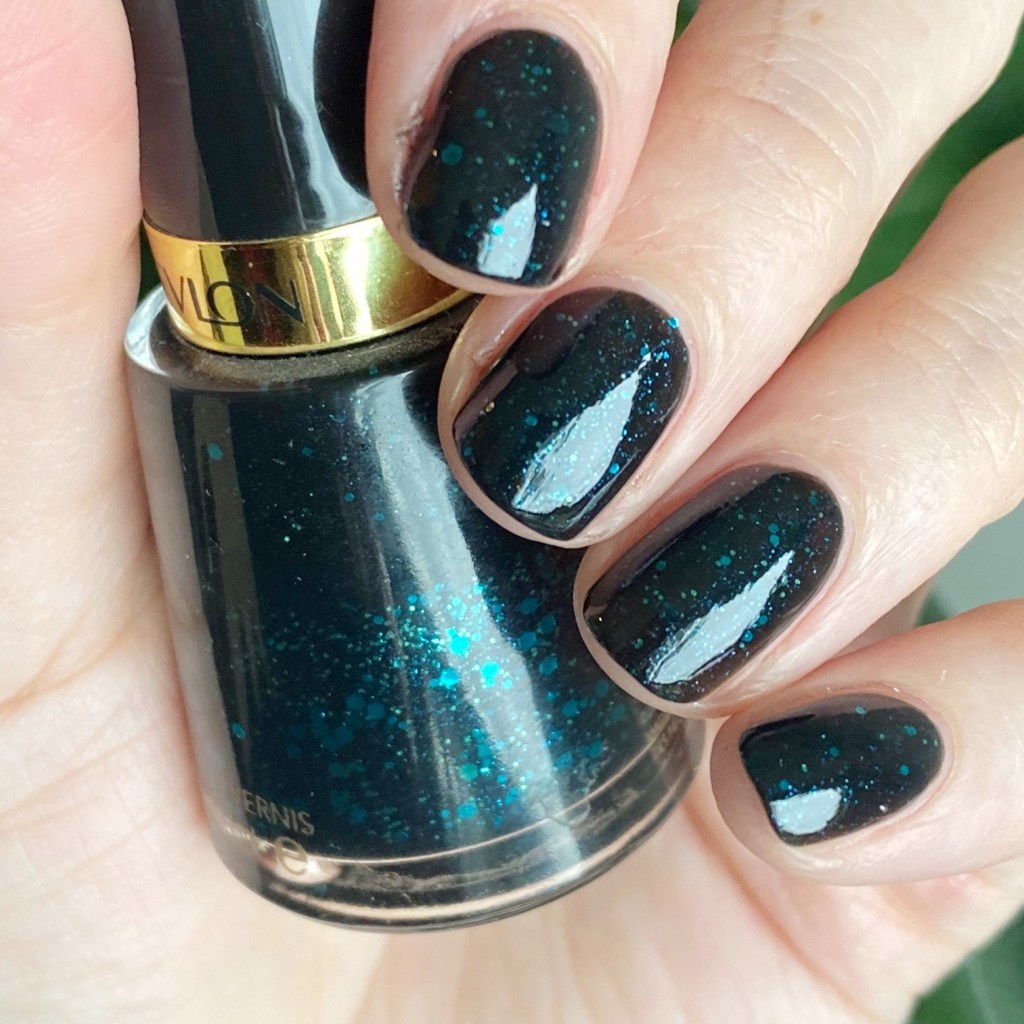
This is Revlon Elusive from the 2013 Evening Opulence Collection.
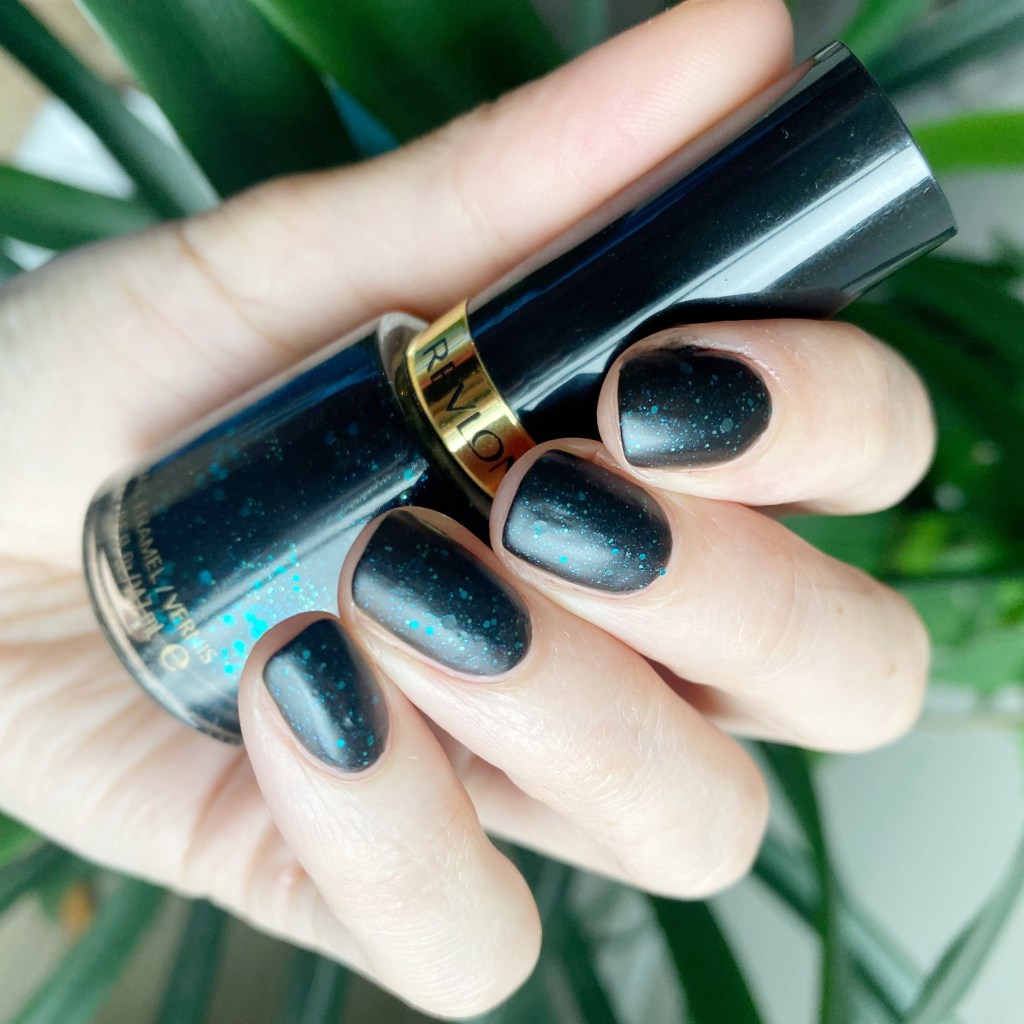
2 coats, No top coat.

This beautiful black jelly glitter was originally released back in 2013, & having Googled the collection — the advertising is very 2013, if you know what I mean. I believe it was released for Fall/Winter, so this colour is fitting in perfectly for the Autumn season, but also wouldn’t look out of place at a holiday party.
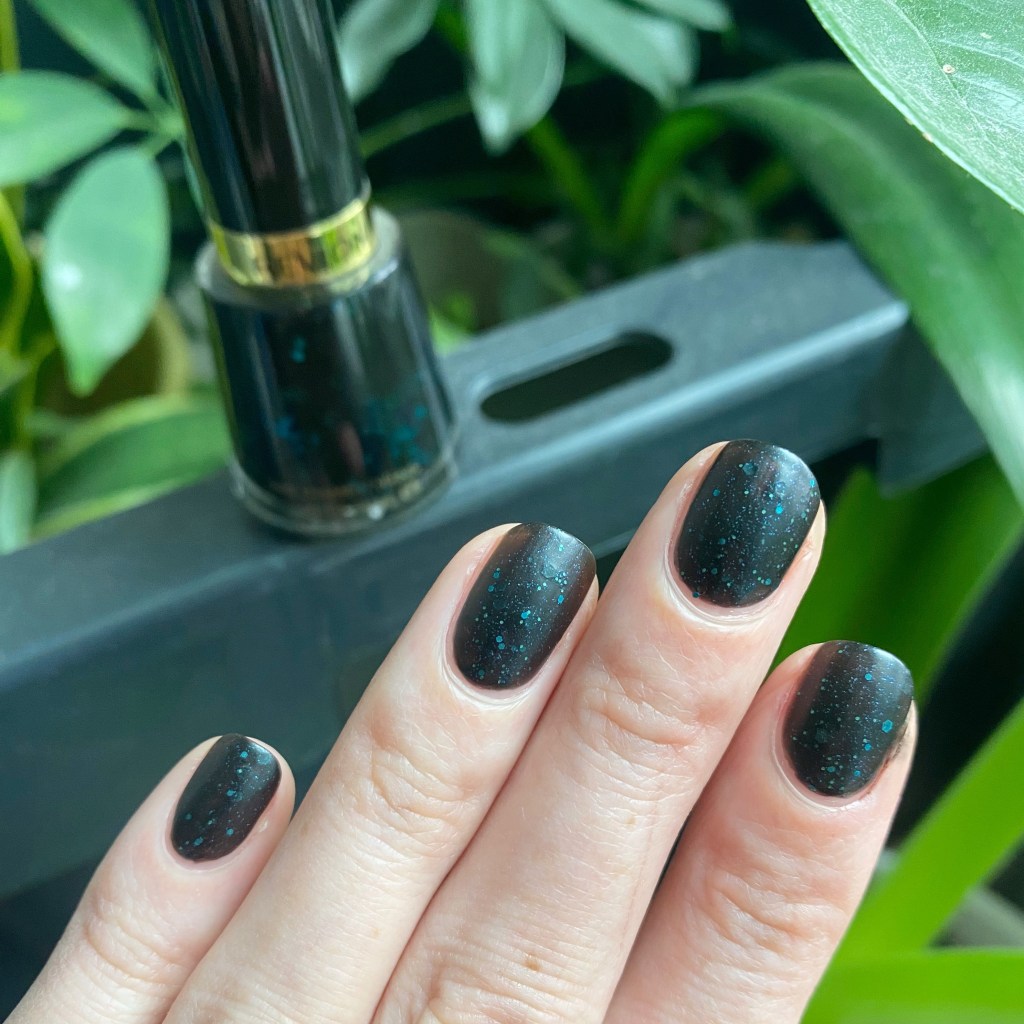
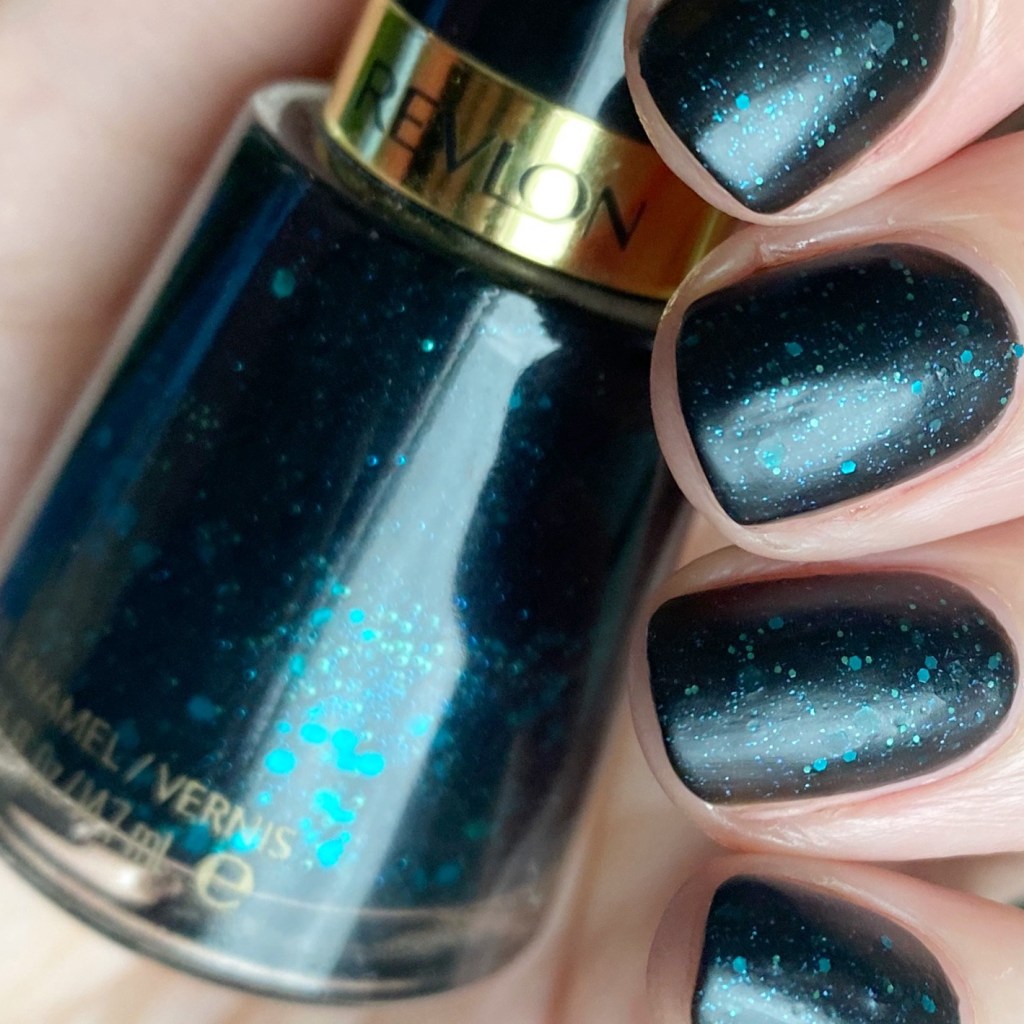
This base is a thin-ish black jelly, packed with multi-sized teal glitters. It dries matte, which I was a bit nervous about because I was worried it would be too textured, but it dried fairly smoothly for me which is a win in my books! I applied 2 thin-ish coats for coverage, although it does look a bit translucent in some photos so some people might feel more comfortable with either 3 thin coats, or 2 more thickly applied coats.

My only complaint — it did chip during my shift at work. Now that could be the fact that it’s a 13 year old polish, or it could be that my top coat is getting okay. Definitely won’t stop me from wearing it again!
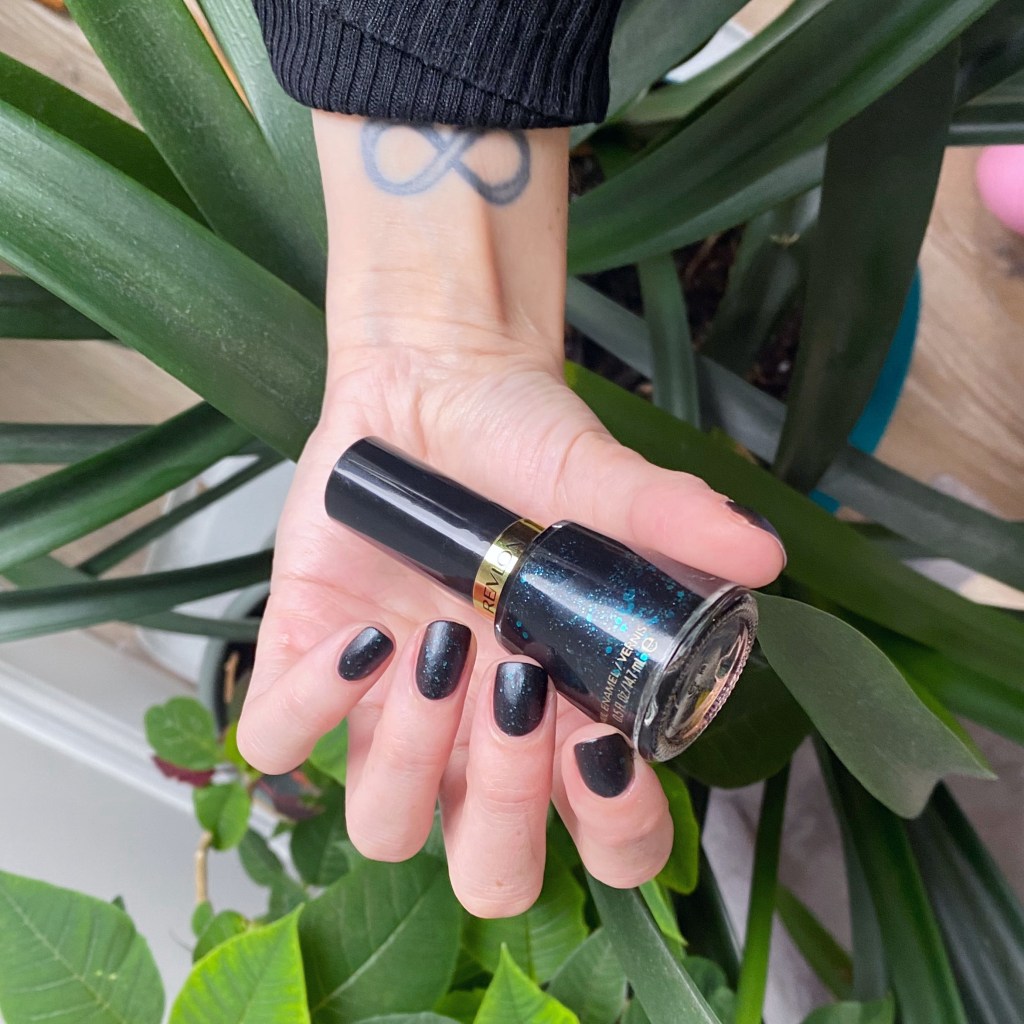
Also, I had to apply top coat to see what it would look like shiny, & I do feel like it makes the glitters pop a bit better, but honestly I love it both ways. Giving me a glitter like this, & I will always be a happy girl!
What do you think about Revlon Elusive? This shade was obviously released back in 2013 so it’s no longer in circulation. I would love to see Revlon do a throwback collection with some of these glitter shades they used to do. Plus, Y2K & 2010s fashion is making a comeback, so let’s bring it back on our nails!

Have the best Sunday darlings!

♥︎
Spring Robin’s Egg Nails

Hello lovelies & happy Monday.

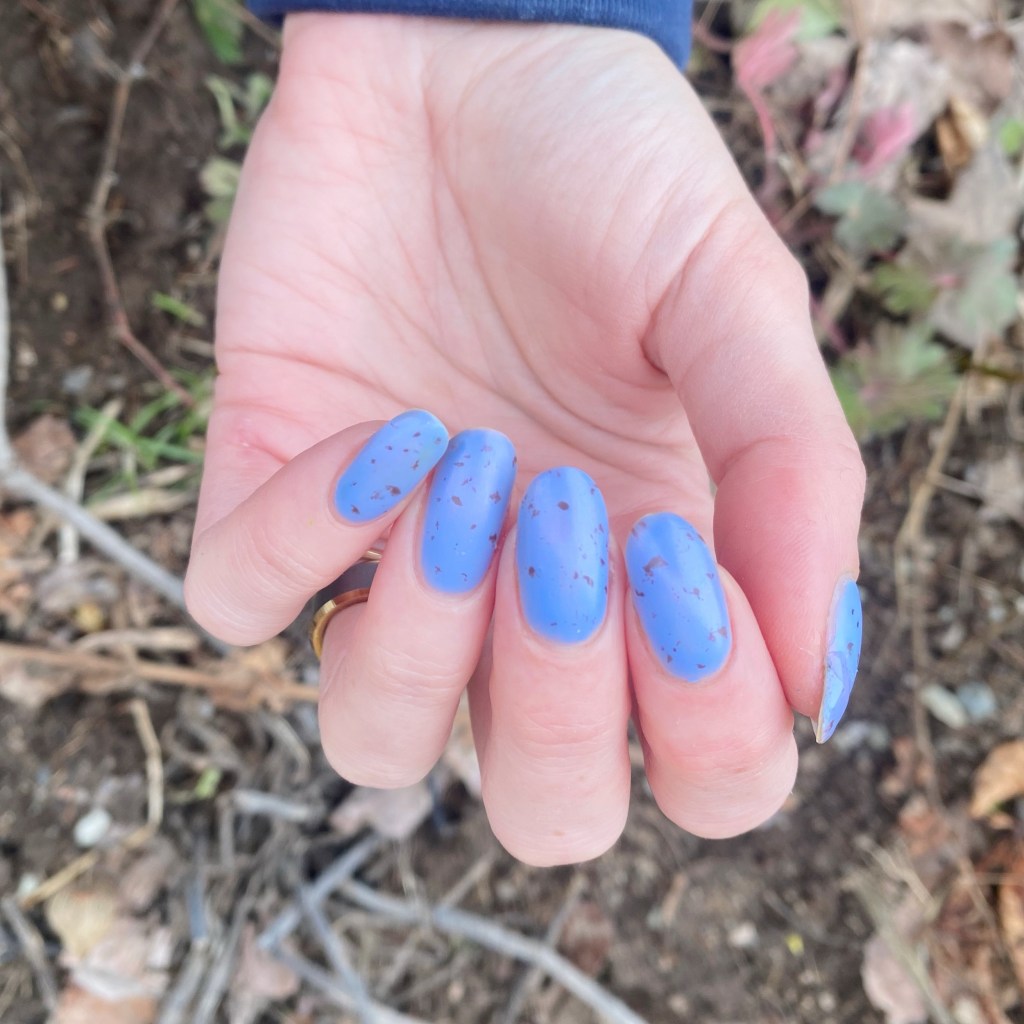
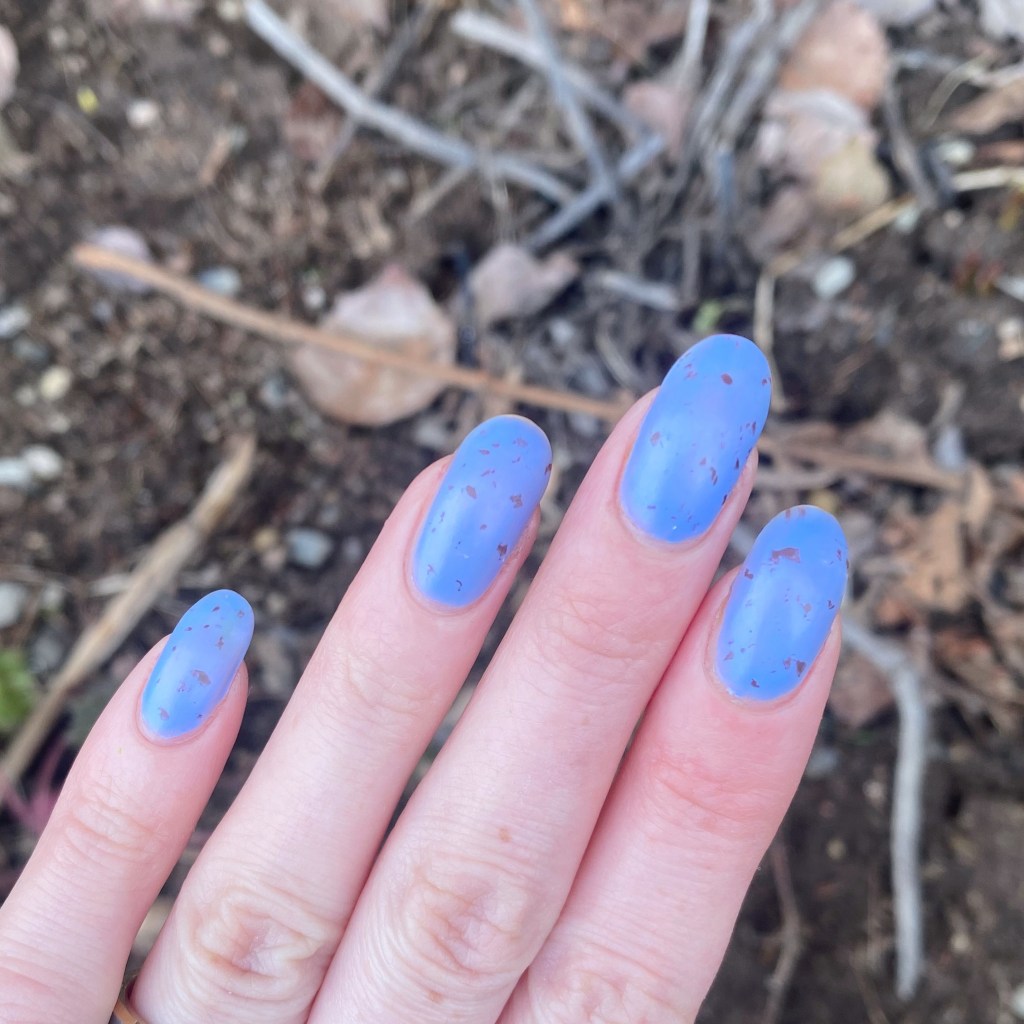
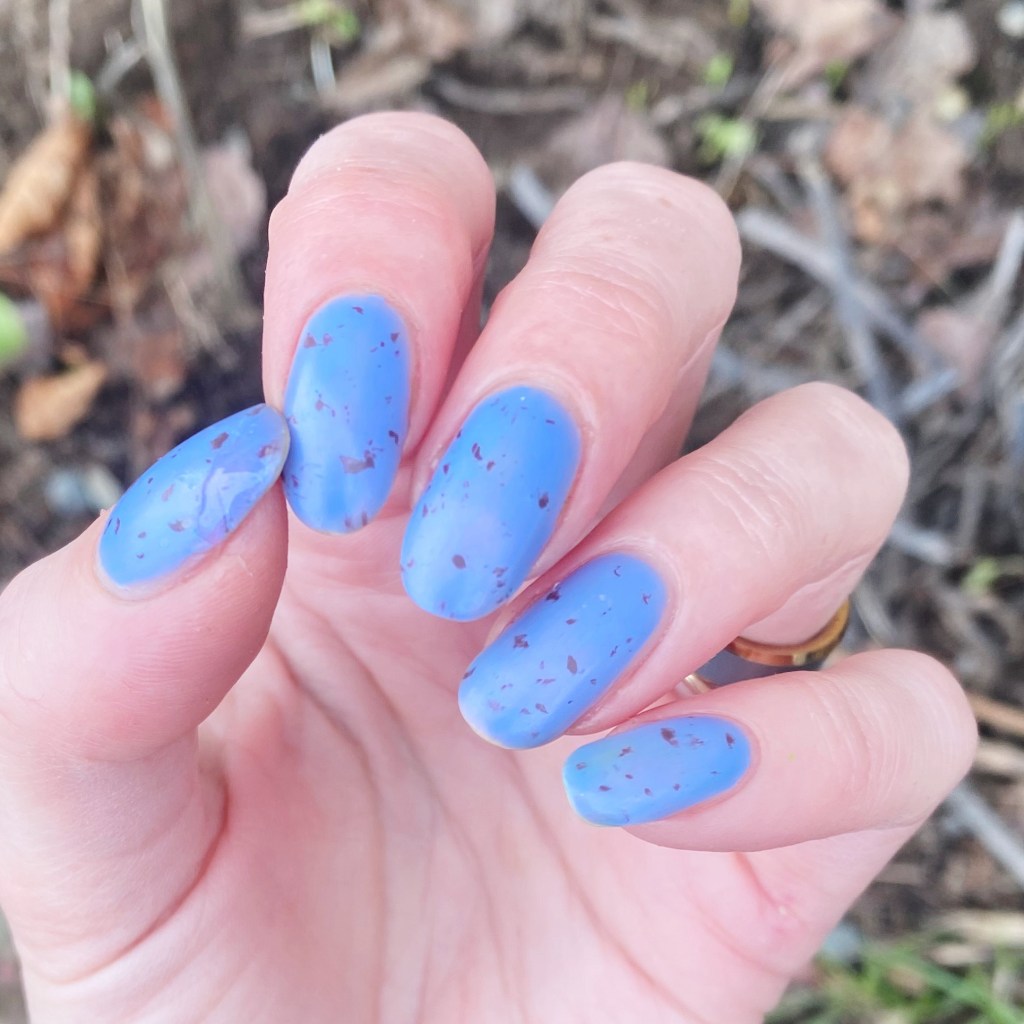
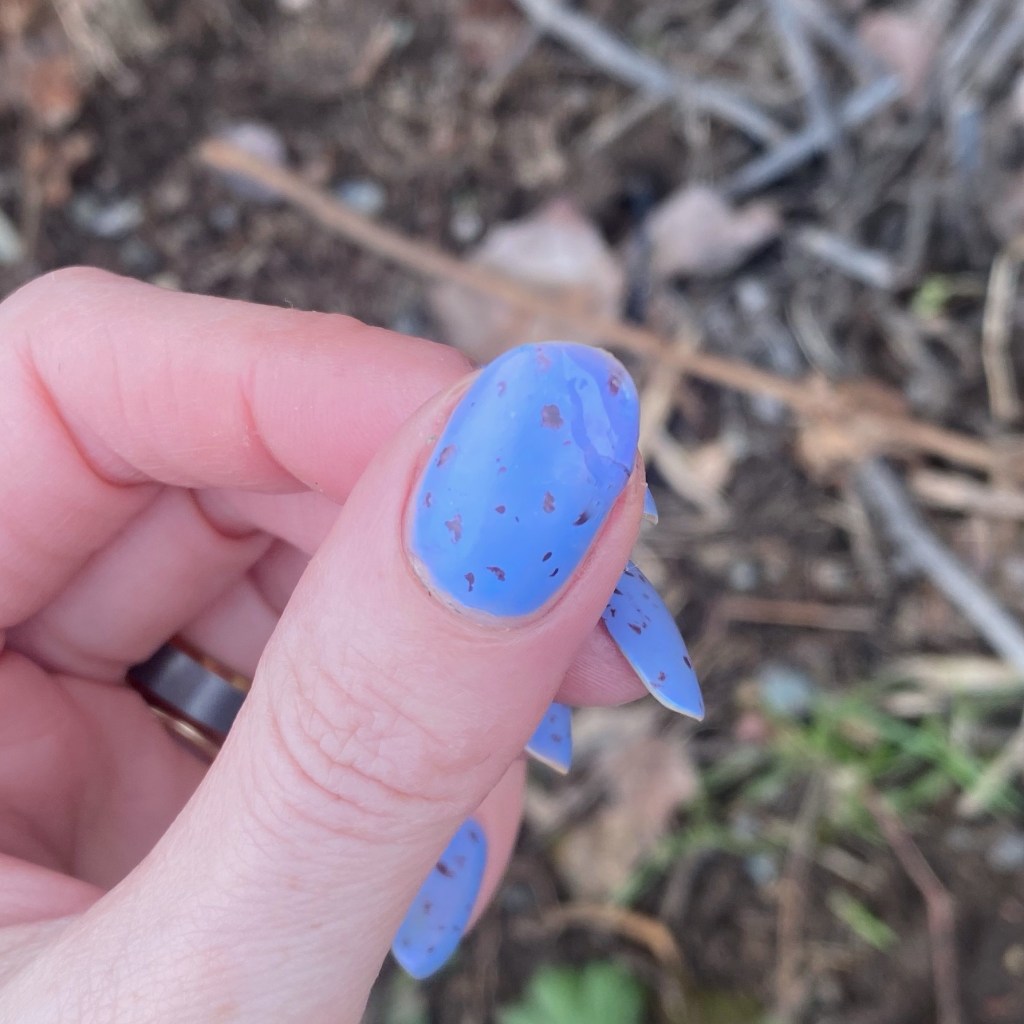
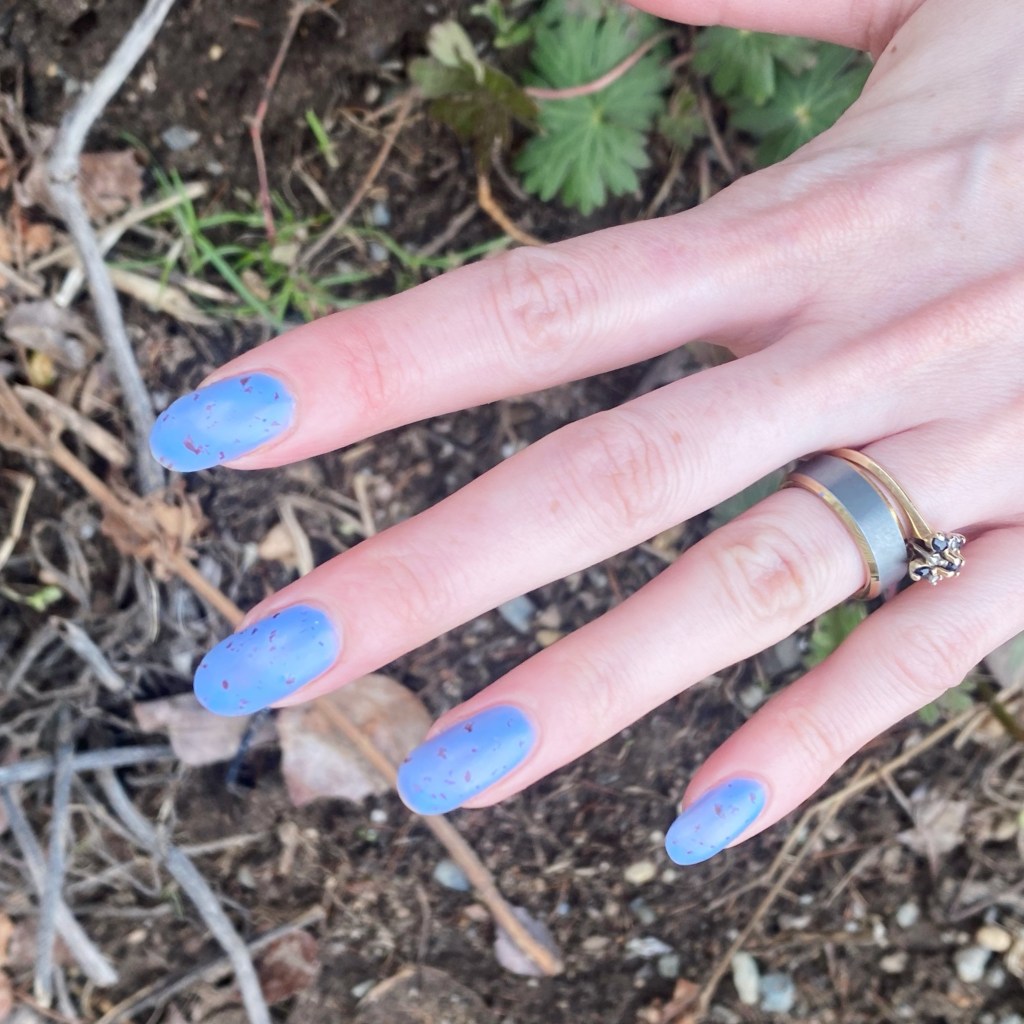
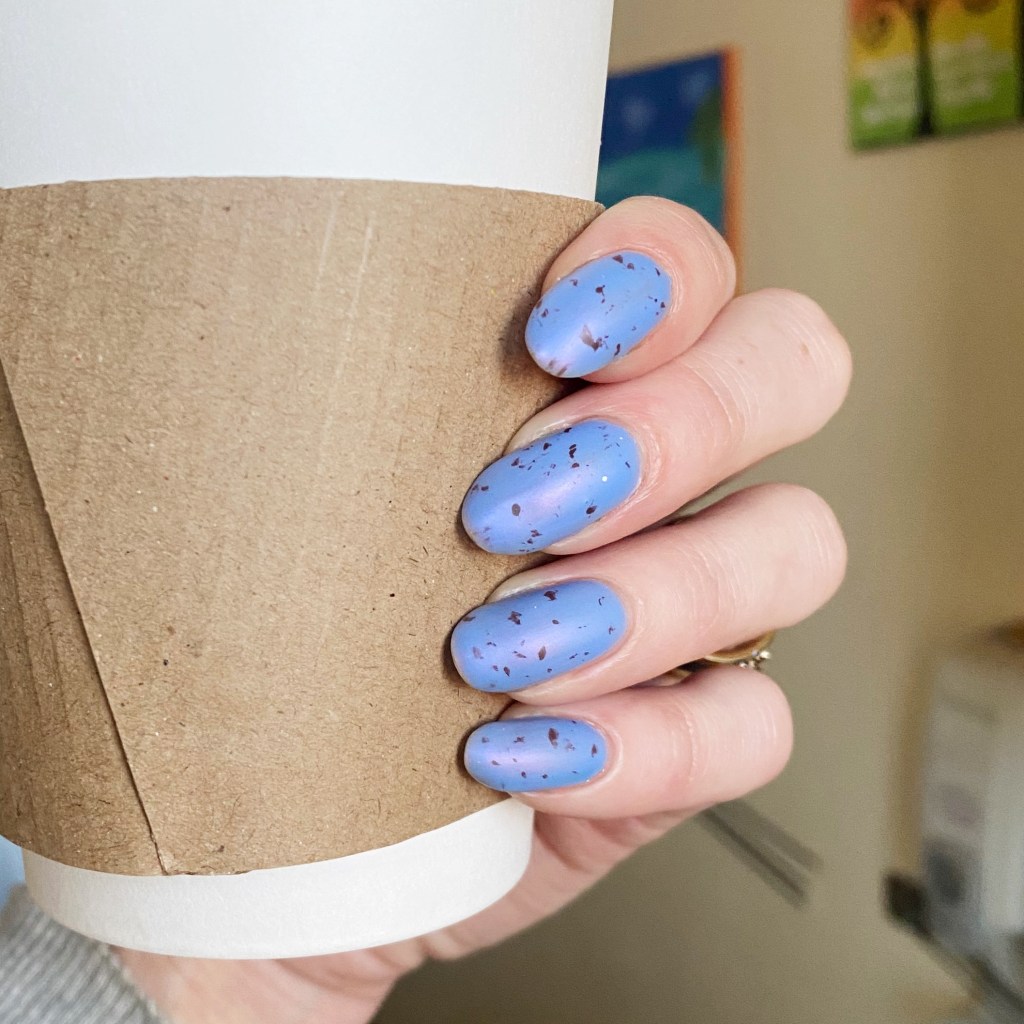
Starting off this full first week of Spring… with a snowstorm. & oh, how I wish I were kidding. But it isn’t going to stop me from rocking some Spring inspired nails! & what is more Spring like than some robin’s eggs? I recently score a killer deal on an Essie shade at my local Shoppers ($1 clearance!), & it was the perfect Spring-y blue, so I knew it would be perfect for some speckled egg nails.

The polishes I used for this manicure are: 

  • Base Coat: Sally Hansen Maximum Grow
  • Top Coat: Seche Vive Gel Like Top Coat
  • Matte Top Coat: NailStuff Essentials Matte Top Coat
  • Essie You Do Blue
  • OPI That’s What Friends Are Thor
  • Small nail art brush

I won’t lie, these nails are actually super super easy to do. All you need to do is create some messy specks using a nail art brush — the messier the better. But the real trick to this look is obviously the matte top coat to give it that eggshell finish. & bam! Instant Spring inspired Robin’s egg nails.

&, obviously, if you paint you nail a selection of pale pastel shades, you could create Mini Egg inspired nails easily (as I have done in years past).

What do you think of my Robin’s Egg nails? Would you wear a simple nail art like this to channel Spring? Let me know all your thoughts in the comments below!

♥︎

SWATCH SUNDAY — NailStuff Essentials Treatments (New In-house Line from NailStuff.ca)

*paid PR

Hello lovelies & happy Sunday!

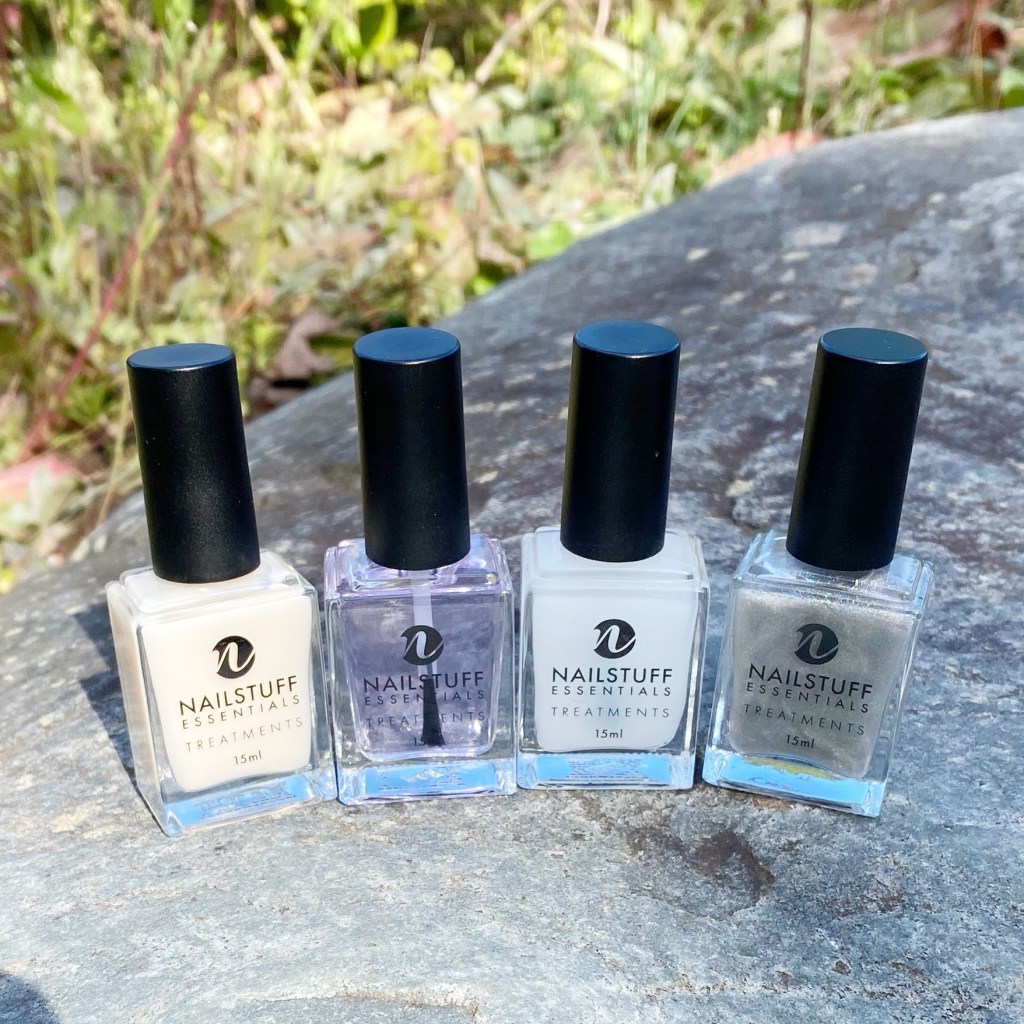
Today’s Swatch Sunday post is a super exciting one because I have the opportunity to share with you soon to be launched (aka launching tomorrow!) products from NailStuff.ca — their very own in house brand: NailStuff Essentials. & I was lucky enough to be able to be invited to swatch these new products to share with you!

The new line contains 4 products: base coat, top coat, matte top coat, & holographic top coat. Each bottle contains 15ml of product, & is cruelty free, vegan, non-toxic & made in the USA.

You can tell that a lot of love & dedication went into the creation of this treatment line, so let’s take a look!

GLAM NAILS CHALLENGE SEPTEMBER (2024) — Rainy Weather 💦

Hello beauties & happy Monday!

Sorry for my quietness & lack of Swatch Sunday post yesterday — I’ve been dealing with the most horrendous allergies the last few weeks, & this weekend was especially brutal so I was basically a write off yesterday. As much as I love & adore Fall, I don’t love & adore how my seasonal allergies ramp up as soon as the season changes.

But I’m not going to let my allergies get in the way of the next post, because we only have a few more prompts left for this month’s Glam Nails Challenge. The next prompt is Rainy Weather, & I decided to go a little bit different for my design so I hope you like it!

The polishes I used for this manicure are: 

  • Base Coat: Essie First Base 
  • Base Coat: LA Colors Mega Grow Treatment 
  • Top Coat: Essie Speed Setter
  • Matte Top Coat: Sally Hansen Miracle Gel Matte Top Coat
  • China Glaze Up All Night
  • NailStuff.ca dotting tool from Dotting Tool Trio

Okay, so I’ve seen this look a few times & I thought it would be a cool idea for this rainy weather prompt. Basically you start with matte nails & then add “drops” of shiny top coat which is supposed to give the effect of like raindrops. Did I completely capture what I was going for? Well… you be the judge of that. But I think for a first try, this look did up coming out pretty cool & I do like it.

& it’s definitely something I want to try again in the future!

What do you think of these rainy weather nails? Do you see the idea I was trying to capture? Let me know what you think down in the comments below, & if you have any tips for this style of design.

Are you following along with the other nail art designs for this month’s Glam Nails Challenge September? Don’t forget, you can check out #glamnailschallengesept24 on Instagram, & see all the other beautiful designs being shared!

Happy Monday!

♥︎

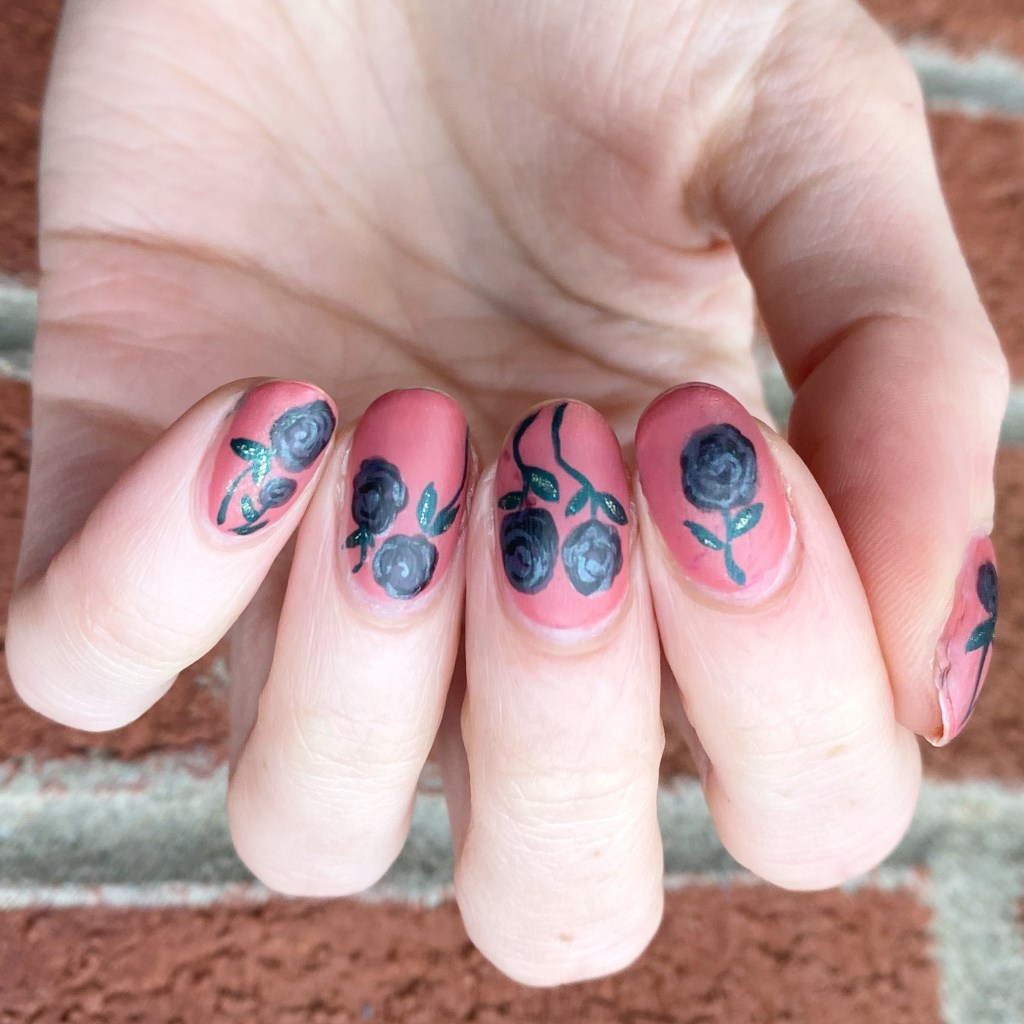
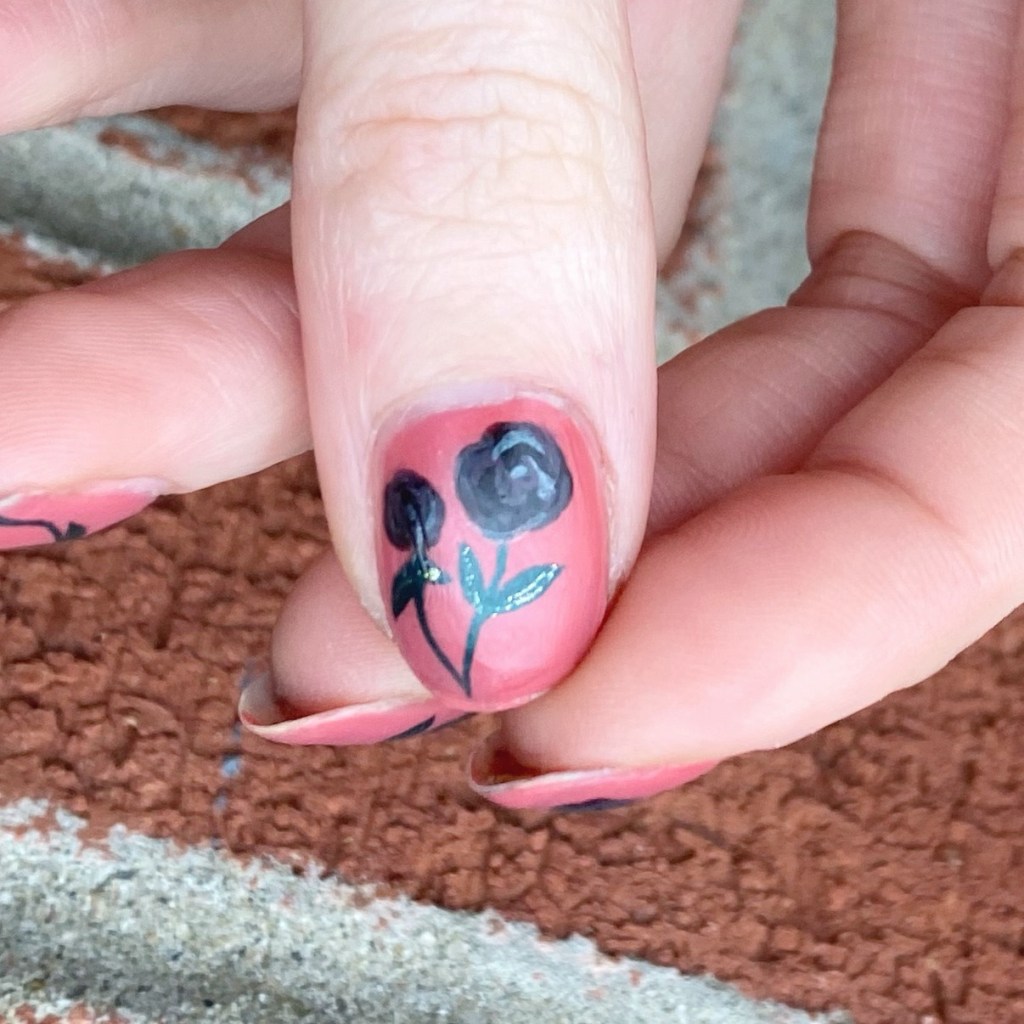
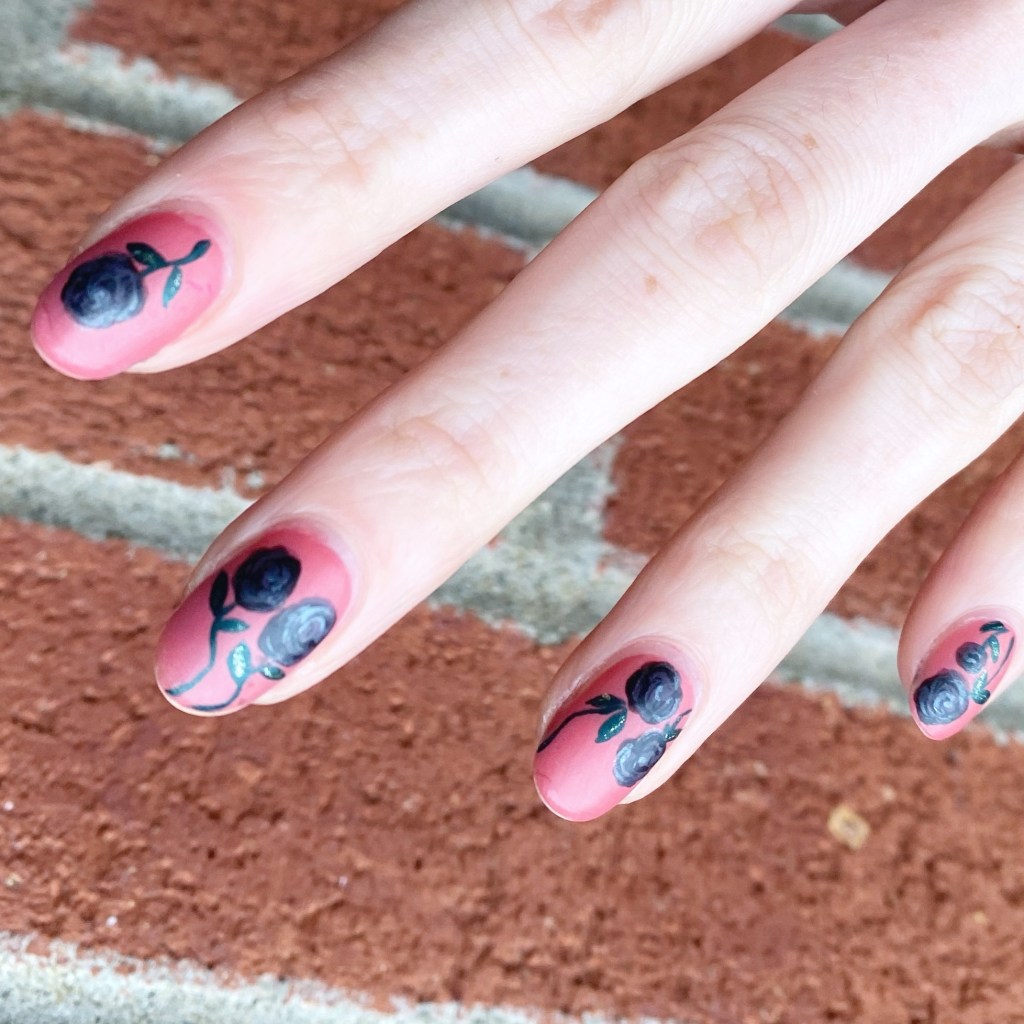
Matte Black Roses

Hello lovelies & happy Friday! Still trying to get back into the routine of blogging & posting, but this weekend has been a bit crazy.

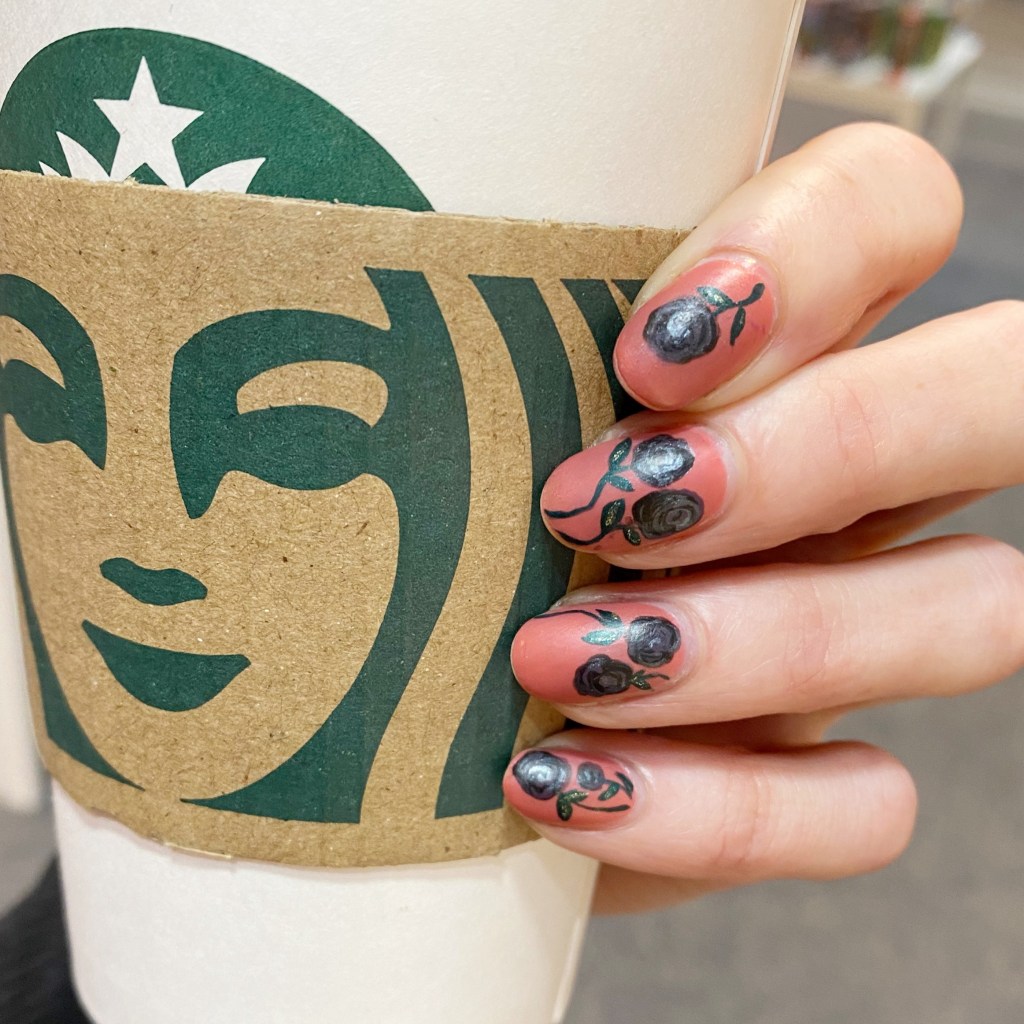
Today, though, I have another design to share from last week. I had mentioned I really, really wanted to try a black rose design so this was the result of that attempt. This was actually harder than I had anticipated, mostly because creating roses involves layering different shades of the same colour, but black is black, so I had to see what shades of grey I could find for highlights. I think, though, in the end it turned out beautifully!

The polishes I used for this manicure are: 

  • Base Coat: China Glaze Calcium Gel Fortifer
  • Top Coat: China Glaze Fast Forward Top Coat
  • Matte Top Coat: Sally Hansen Miracle Gel Matte Top Coat
  • OPI My Address is Hollywood
  • Sally Hansen InstaDri Ghouls Night Out
  • Sally Hansen Xtreme Wear Grey Area
  • Sally Hansen Xtreme Wear Gunmetal
  • Sally Hansen InstaDri Jumpin’ Jade
  • Sally Hansen InstaDri SCRAM!
  • NailStuff.ca Dotting Tool Trio
  • Nailstuff.ca Mermaid Tail 7mm liner brush

When I first started painting these, I wasn’t sure if the black rose idea was going to work out for me, but once I layered a few shades of grey, my vision came to life. & I just love them! We all know my love affair with floral nails, so it’s fun to switch up what I usually do. Plus, I think this look is a great alternative for Valentine’s Day.

Red roses are lovely, but black roses just have a fun vibe. Plus I’ve been feeling my Emo roots lately, & this would fit in with that whole vibe.

What do you think about this black rose look? Do you think I captured the vibe that I was going for? Let me know all your thoughts down in the comments below.

♥︎