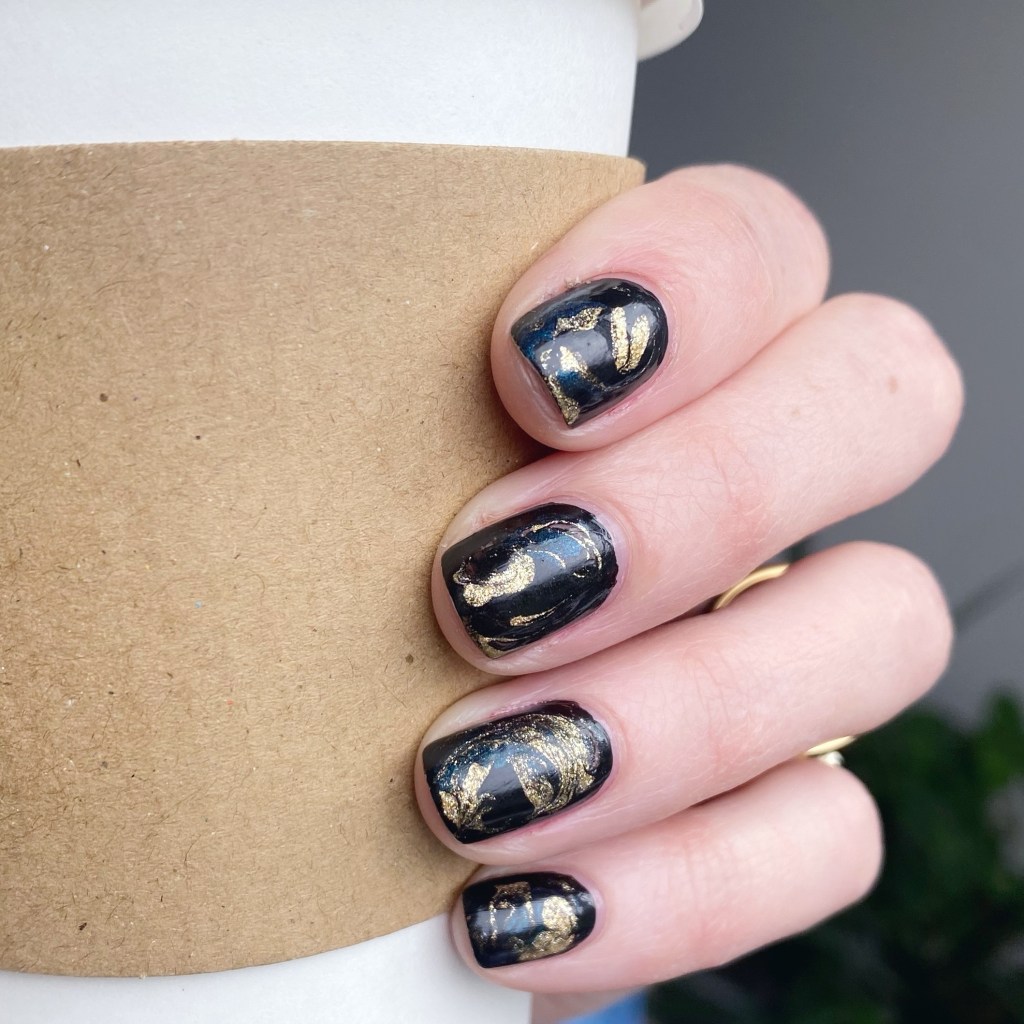
Onyx Drag Marble Gemstone Nails

Hello loves & happy Wednesday! I hope everyone is having a lovely start to their week so far. Somehow I blinked, & we’re already half way through the week… & through September. It’s crazy how quickly time is passing.

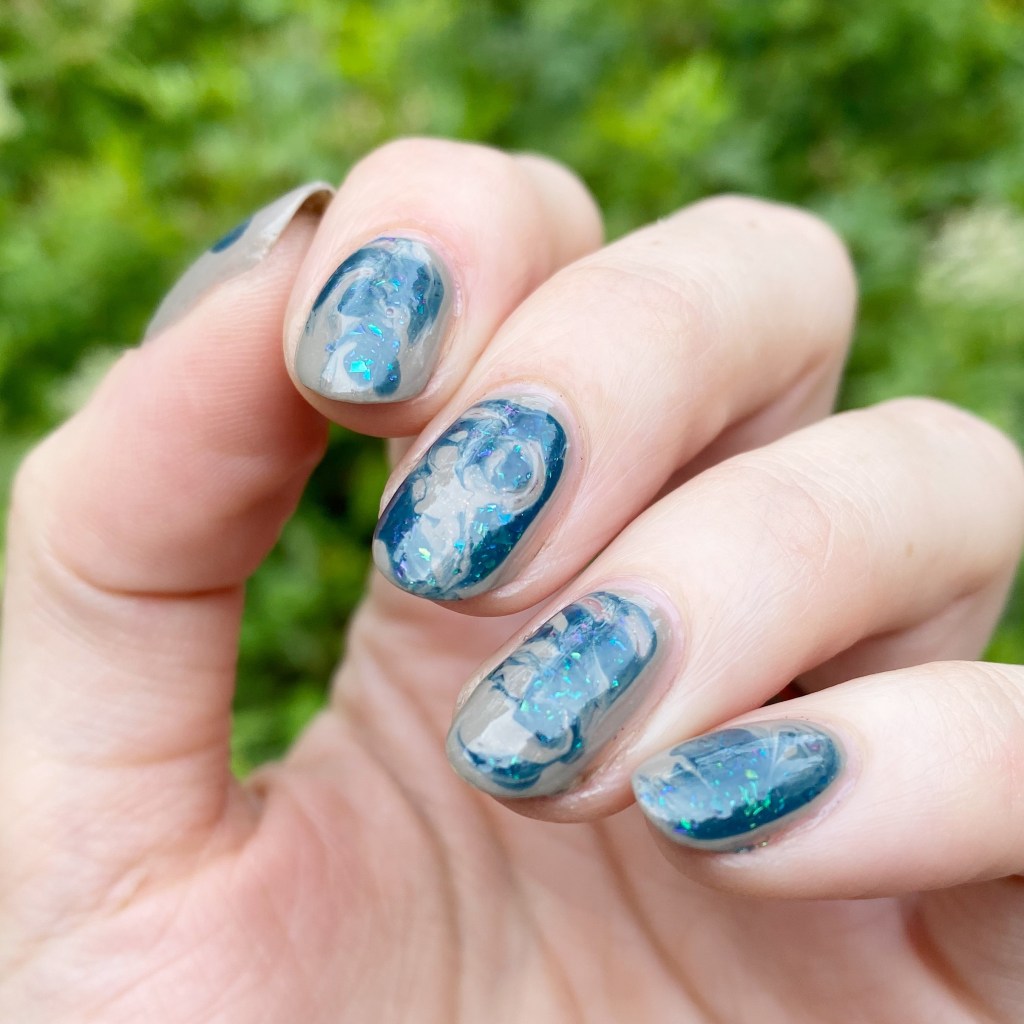
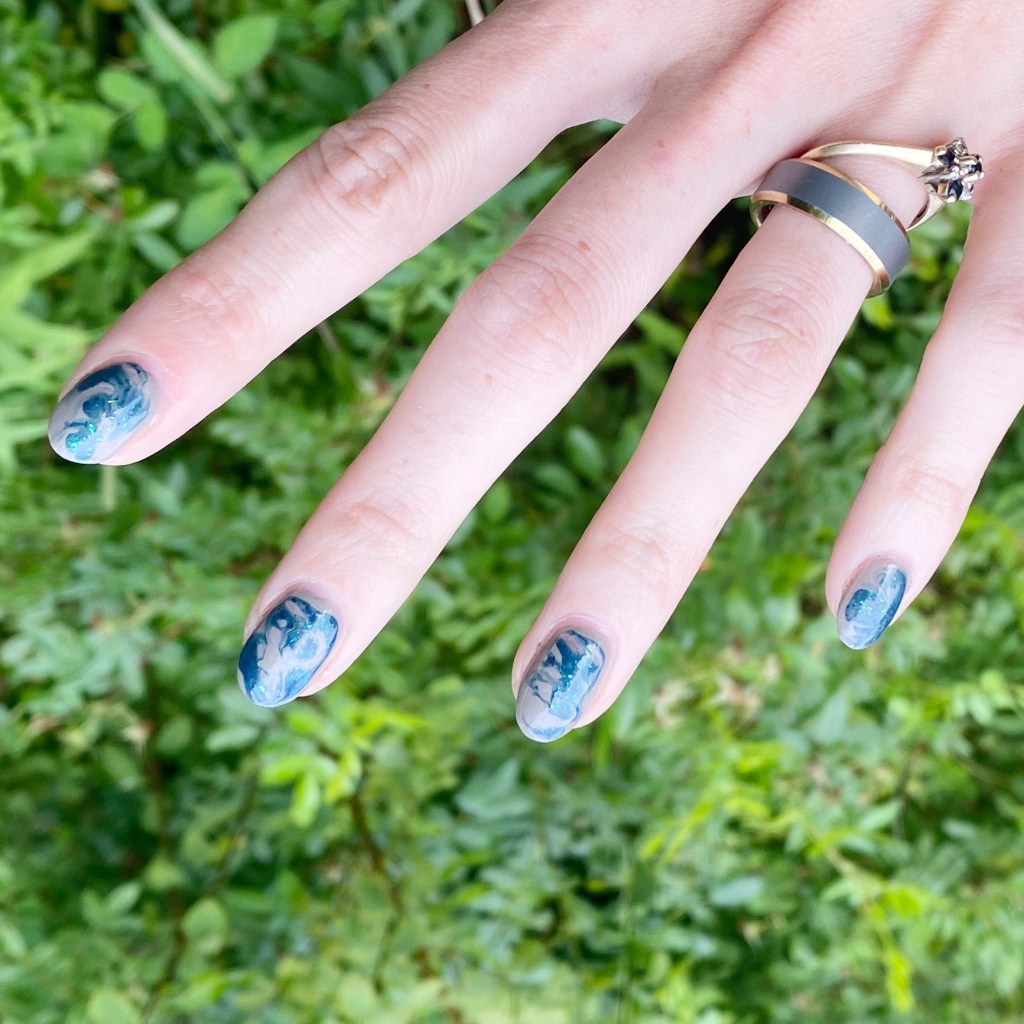
Today I’ve got a great dry marble look to share with you! I’ll never be able to perfect water marbling…. but a dry/drag marble I can do! & I really like how these turned out because I really have been leaning into the darker nail pallet lately.
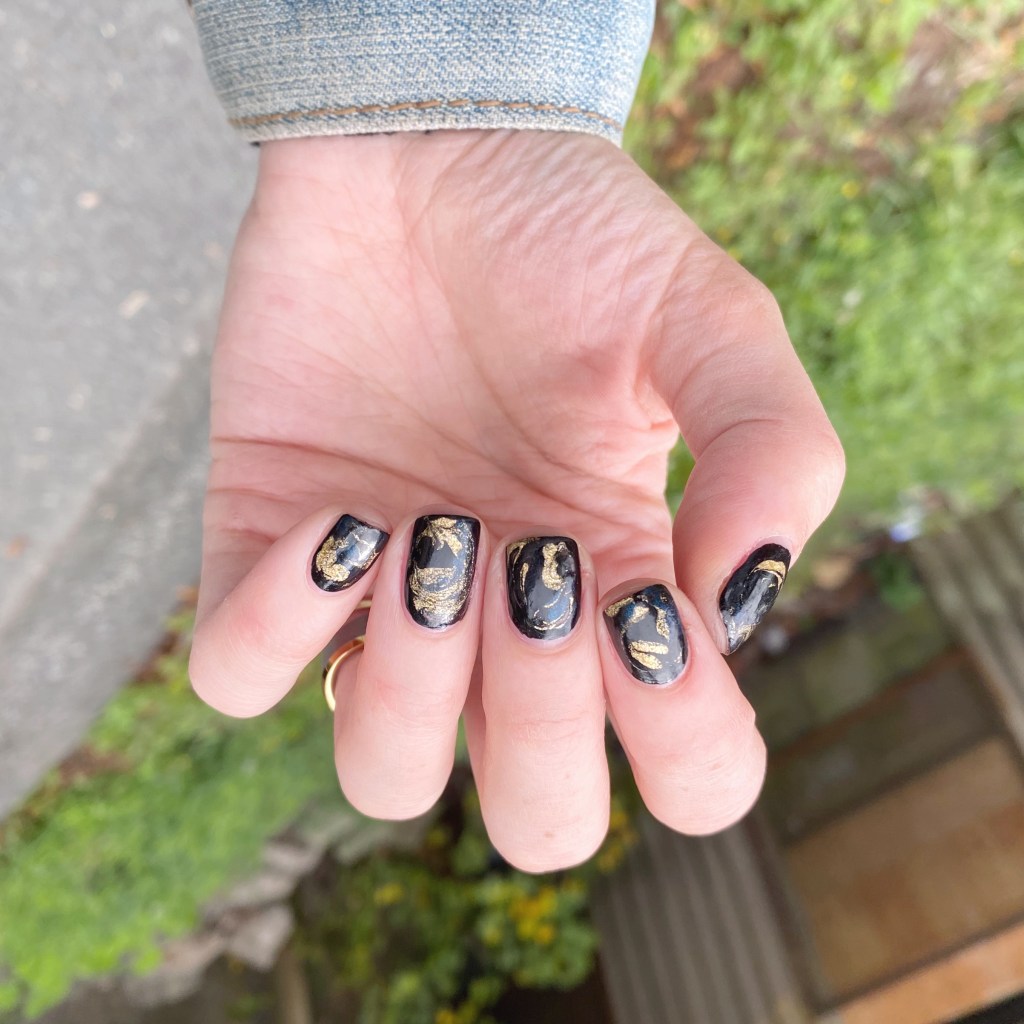
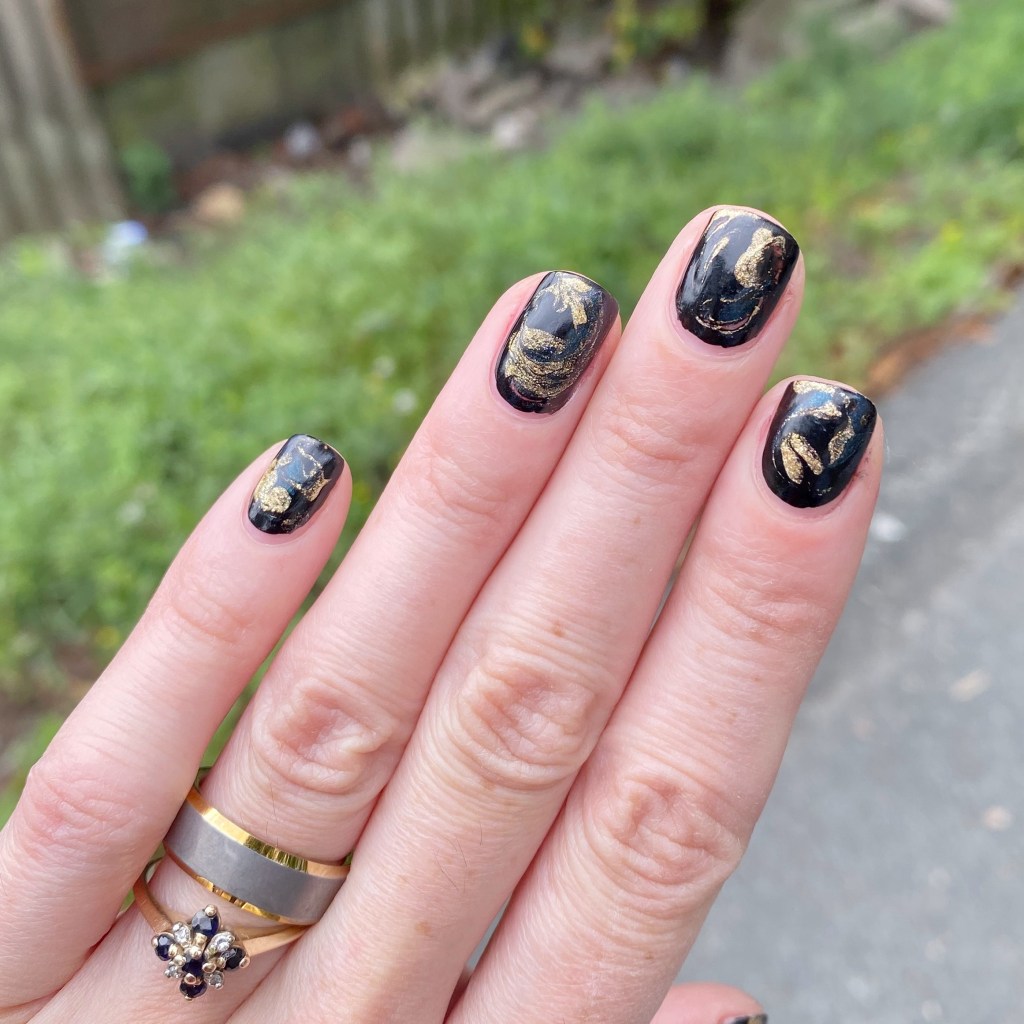
The polishes I used for this manicure are: 

  • Base Coat: Essie Hard To Resist Strengthner
  • Top Coat: Sinful Colors Power Paint Top Coat + Essie Speed Setter
  • NailStuff Essentials Raven
  • Essie Get Your Groove On
  • Essie Dive Bar
  • Small dotting tool (also from NailStuff)
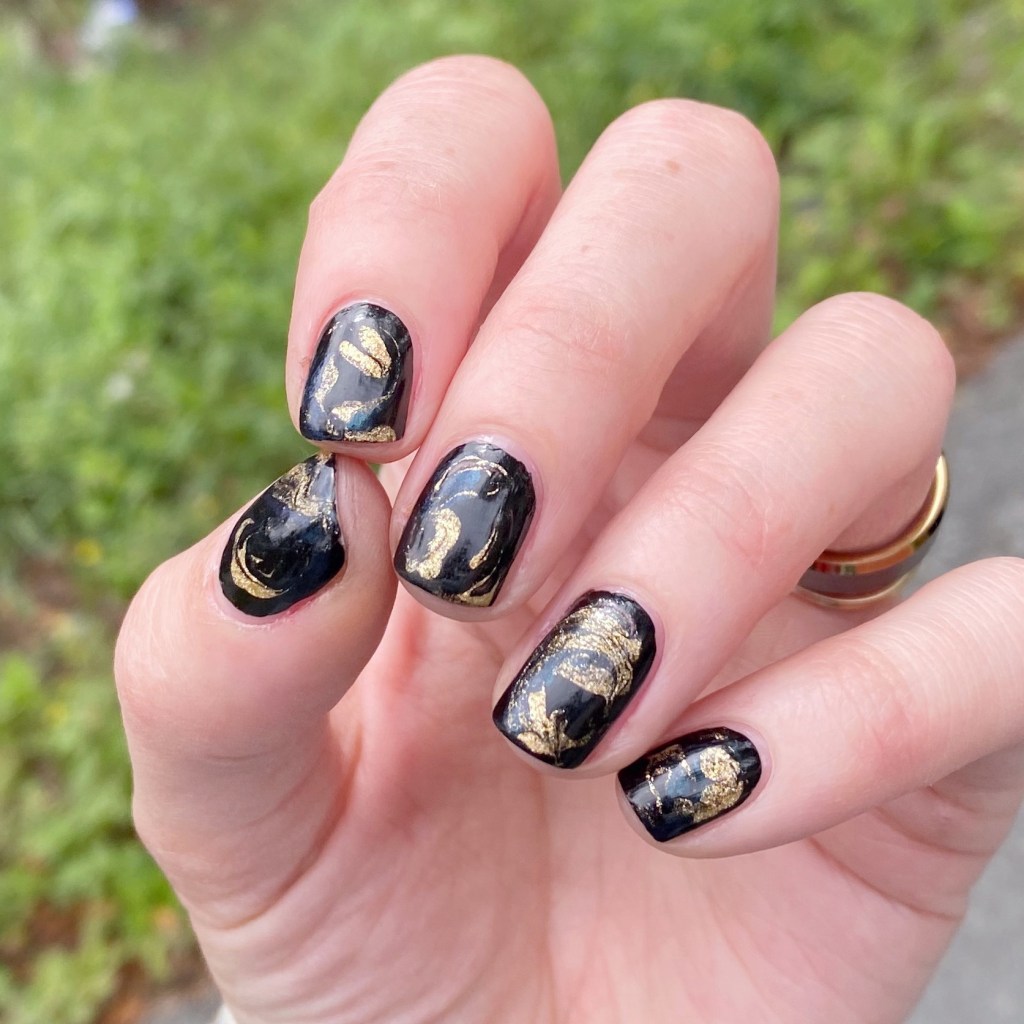
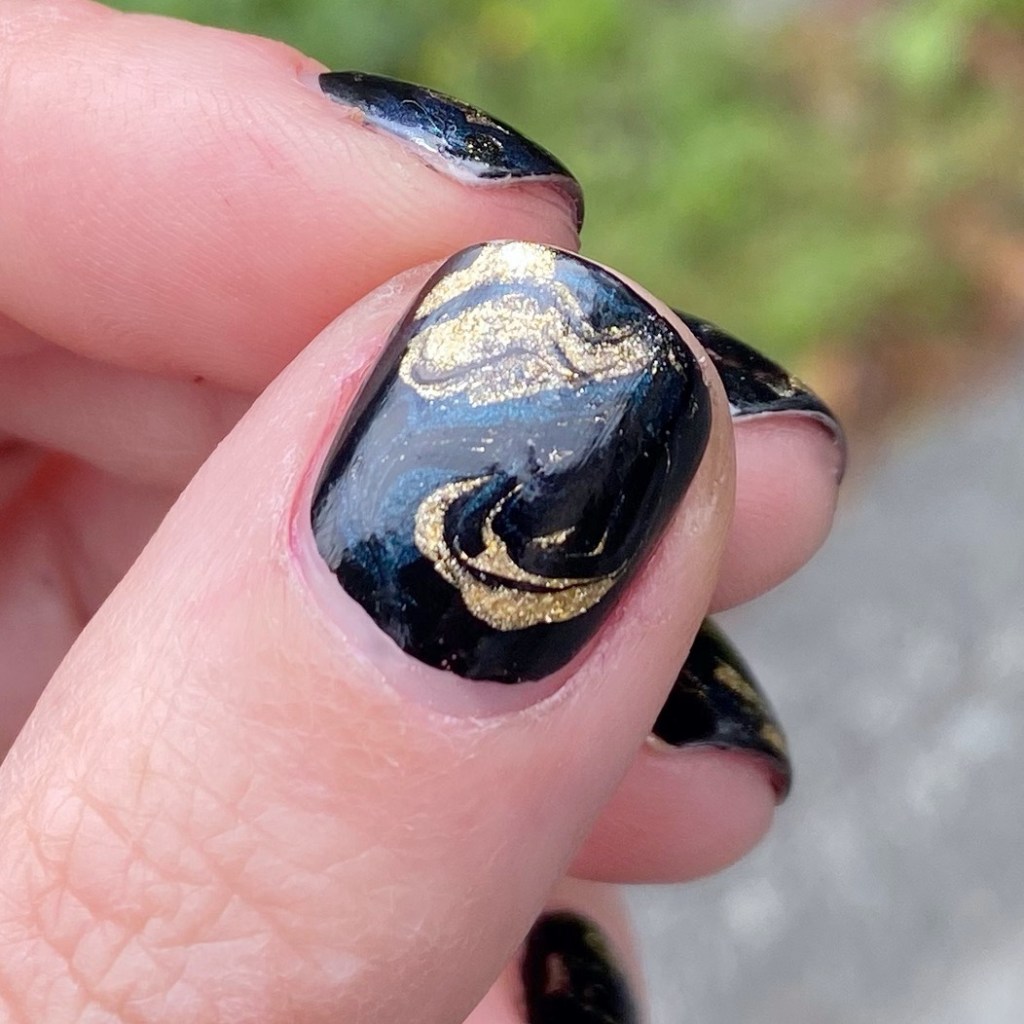
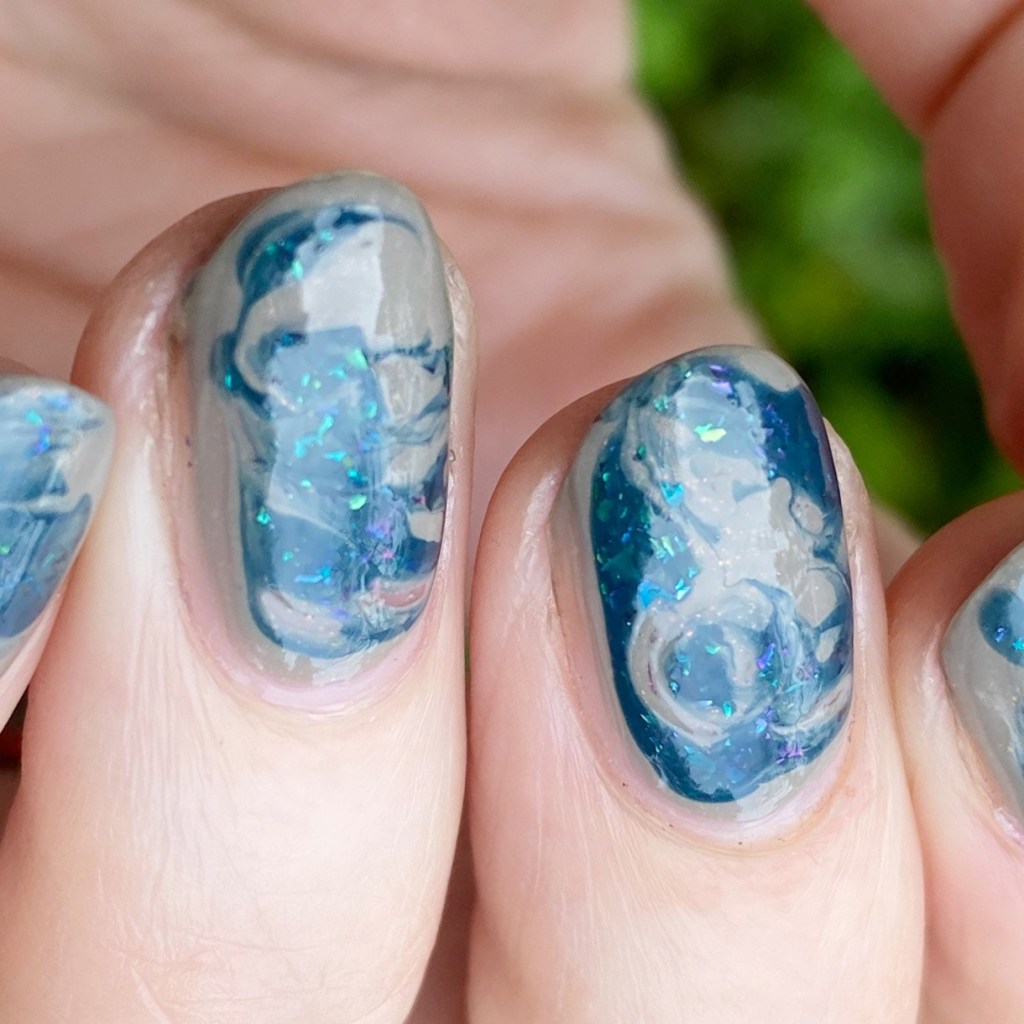
Close up really shows off the three distinct colour I used for this look. It looks like a dark & beautiful gemstone, & I really love it. Super easy to do (at least for me) & I love how unique every design like this turns out. & personally, I feel like the clean up with this kind of look is always super minimal, as opposed to trying to water marble.

You maybe not know this… but I hate messy manicures which require any kind of clean up. It’s probably why I haven’t attempted a gradient in years. I just can’t be bothered to sit there & clean up the mess I made, & all my cuticle barriers have definitely dried up. So give me a fun, & somewhat complicated design, without needing to spend an hour cleaning up around my cuticles.
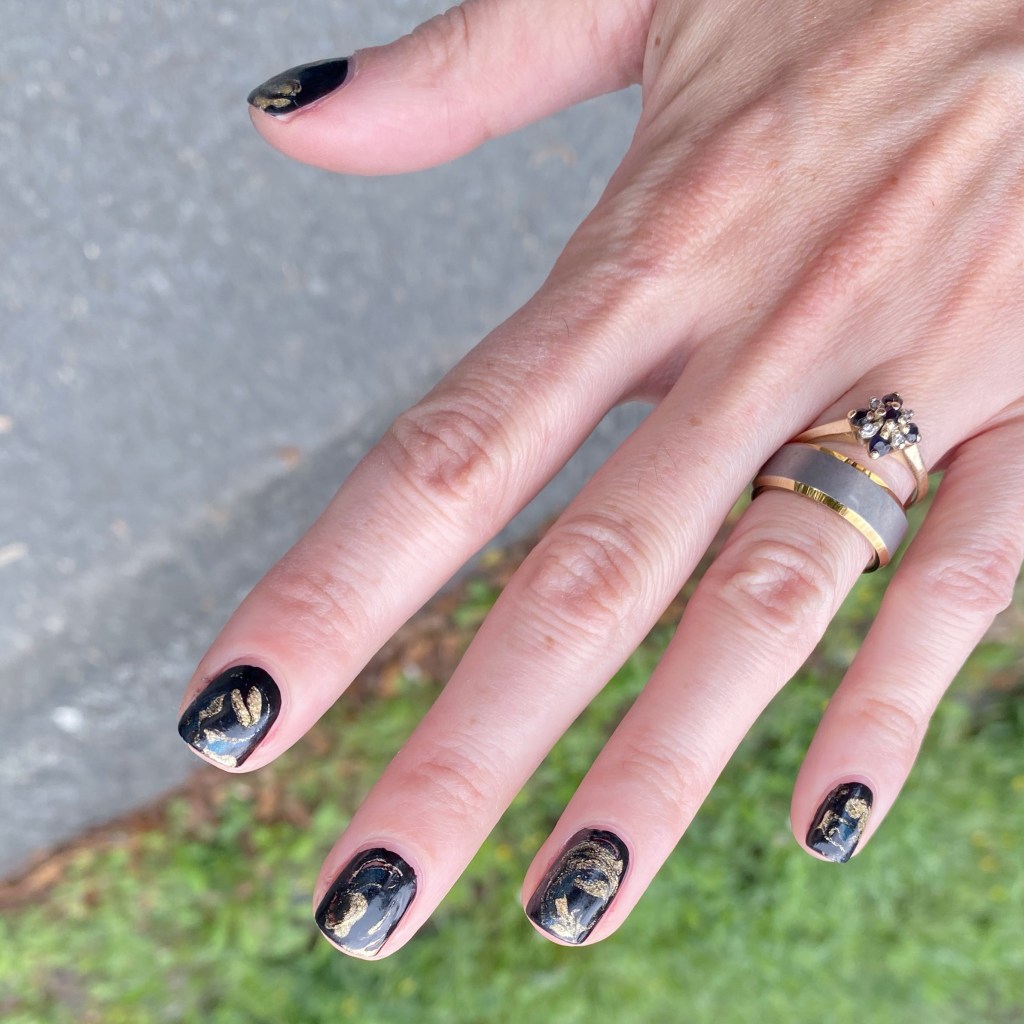
What do you think of this drag marble look? Would you wear this design? What are your thoughts on drag marbles? Let me know all your thoughts in the comments below… I would love to know what you think!

Enjoy your day lovelies!

♥︎
Golden Drag Marble

Hello lovelies & happy Monday. Well, as happy as a Monday can be in November. They’re calling for snow today on my side of the country, but not sure if it’s going to amount of anything. But… can it be Summer again? I miss Summer.

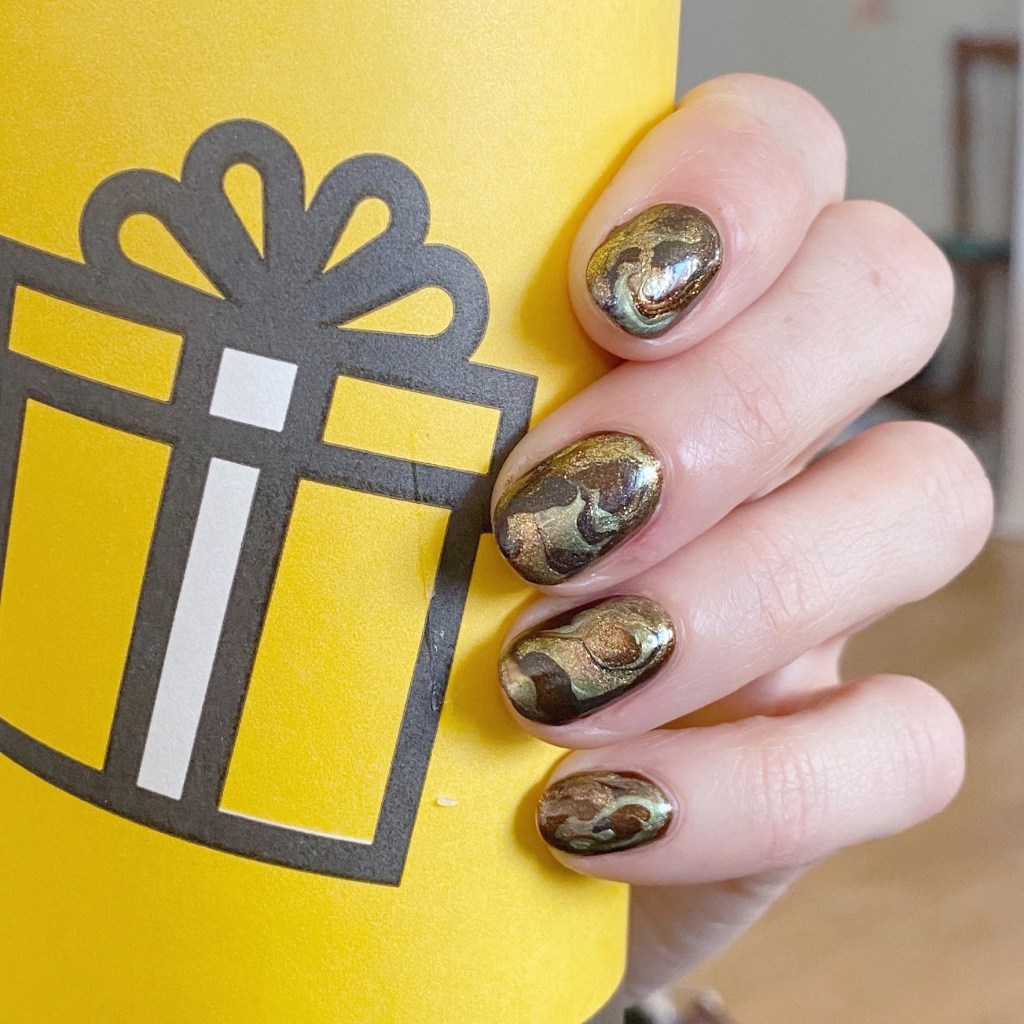
Today I have a really pretty nail art look to share with you, leaning into these late Autumn vibes. 🍁🍂 The colour scheme is pure Fall, & I really enjoy how it turned out!

The polishes I used for this manicure are: 

  • Base Coat: Sally Hansen Miracle Cure
  • Top Coat: Sally Hansen InstaDri Top Coat (red bottle) 
  • ORLY Buried Alive
  • Sally Hansen Miracle Gel Terra Coppa
  • Essie Frock ‘n Roll
  • Essie Nail Art Studio Cosmic Chrome
  • Wide Nail Art Brush

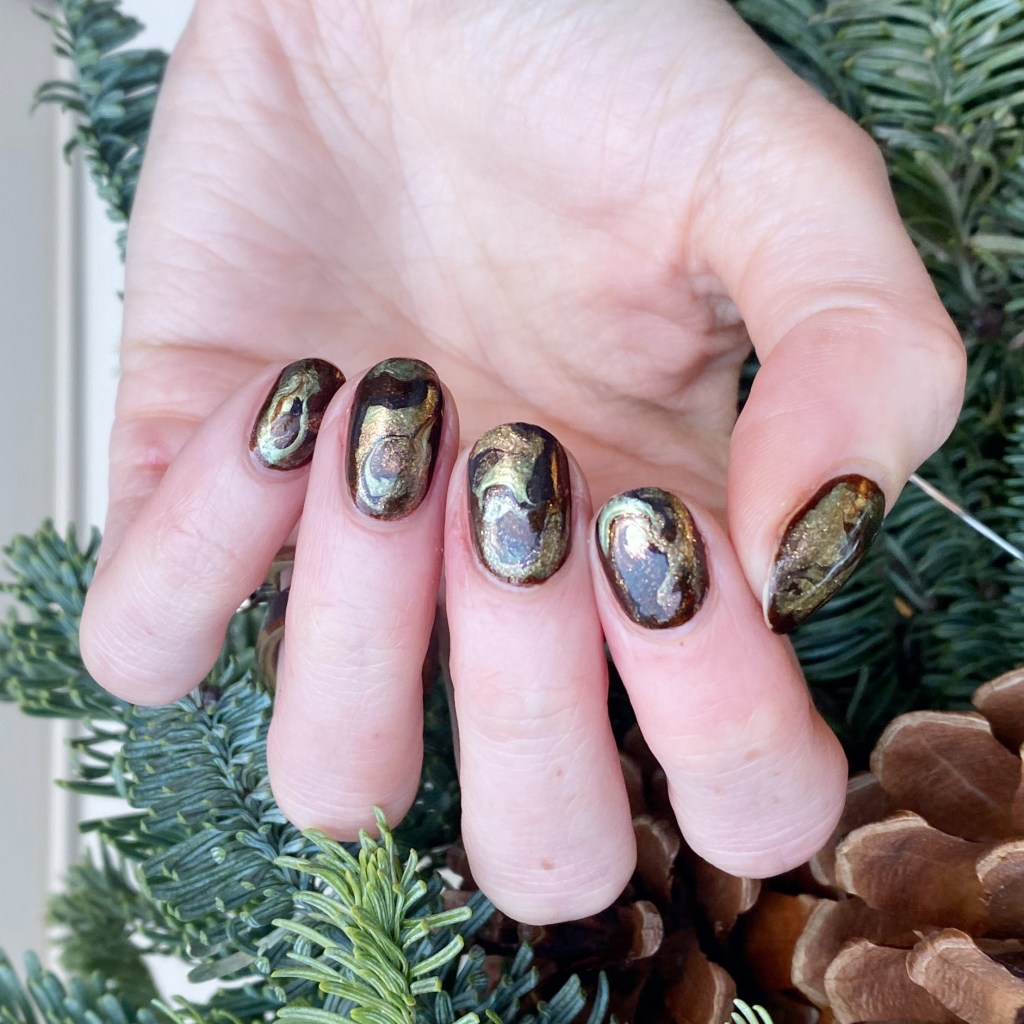
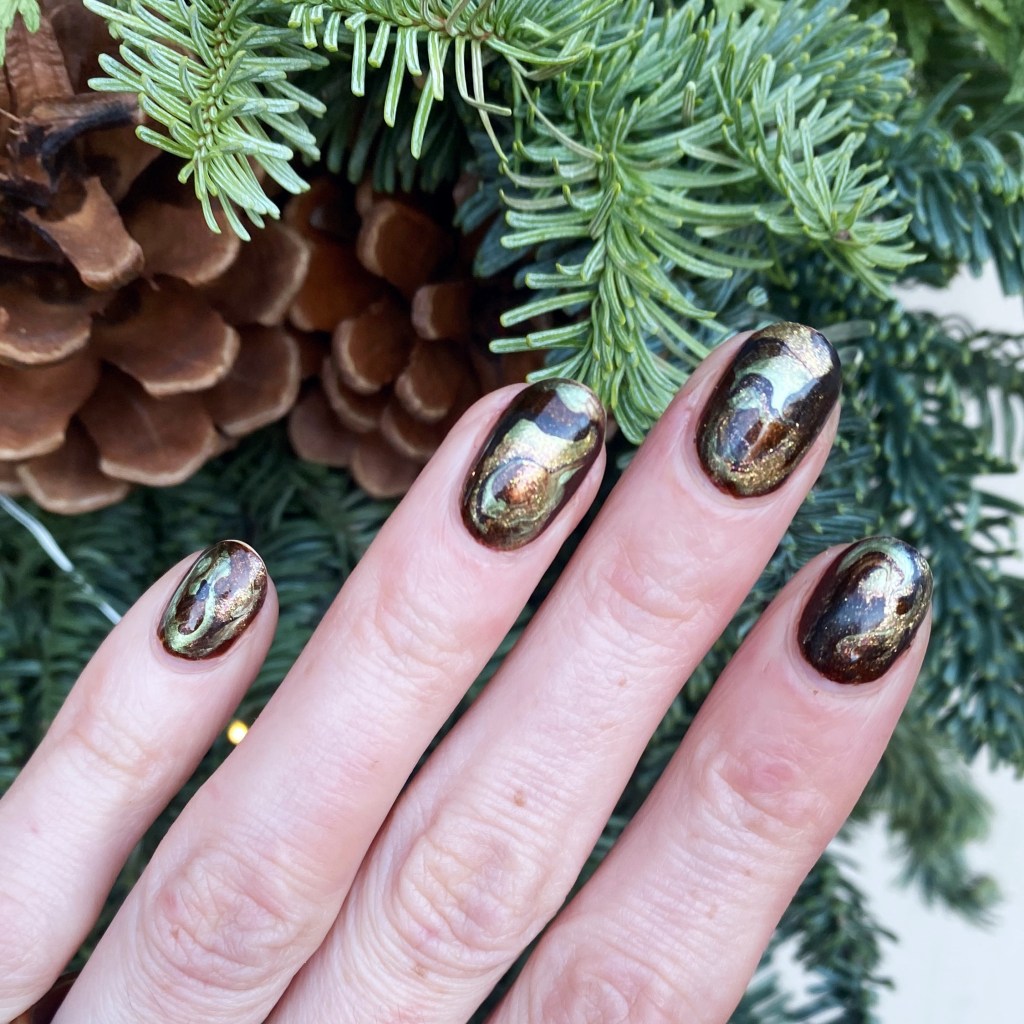
So I tried a bit of a different technique for this marbling, with a wider nail art brush (like the side of a clean up brush) versus the skinny dotting tool I usually use, & I like the effect it gave me. Kind of reminds me more of a real stone. Sometimes I find with a dotting tool I end up muddling my marble a bit, but this way didn’t do that which I really like!

& the colours compliment each other so well. I love the bronze-y golden look of it all together. It’s definitely giving Autumn vibes.

What do you think of this golden drag marble design? Do you like the kind of wider marble effect versus my usual drag marble designs?

Let me know all your thoughts in the comments below!

Happy Monday 🖤

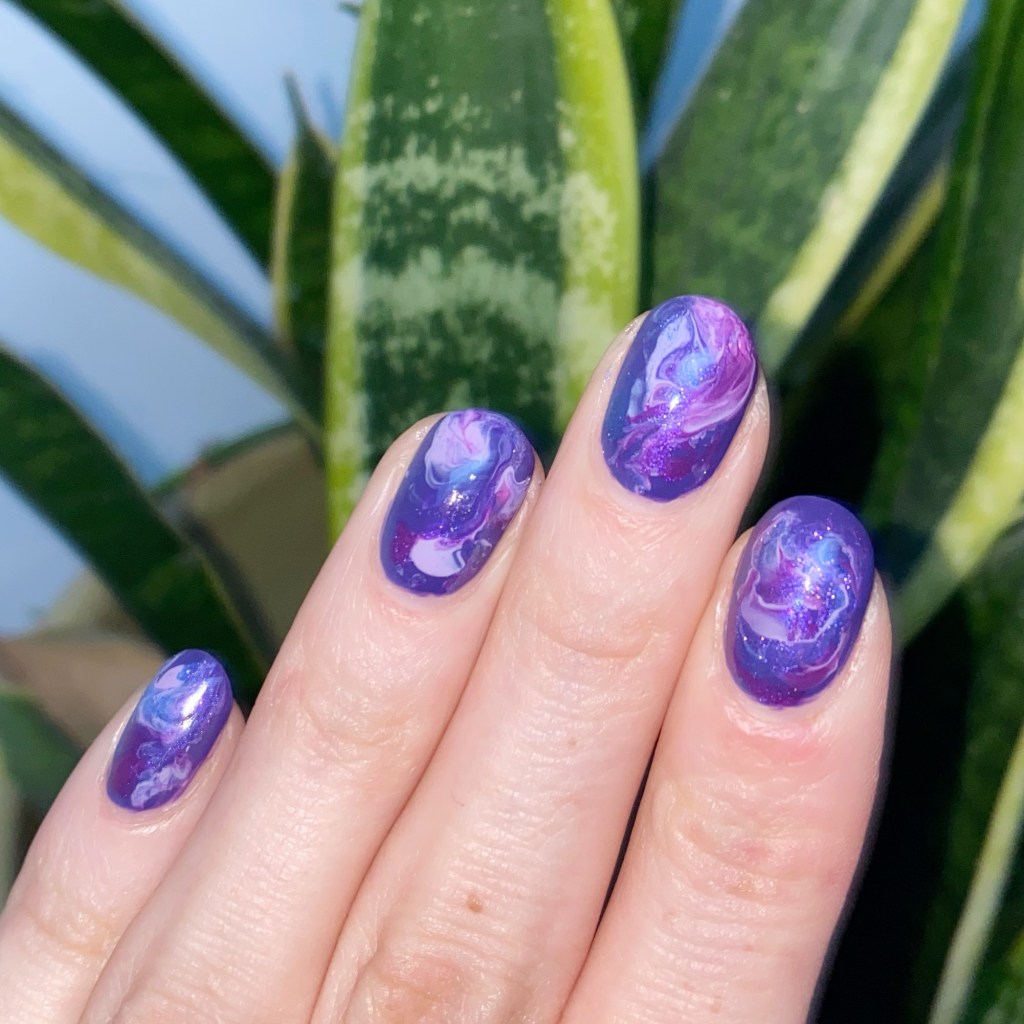
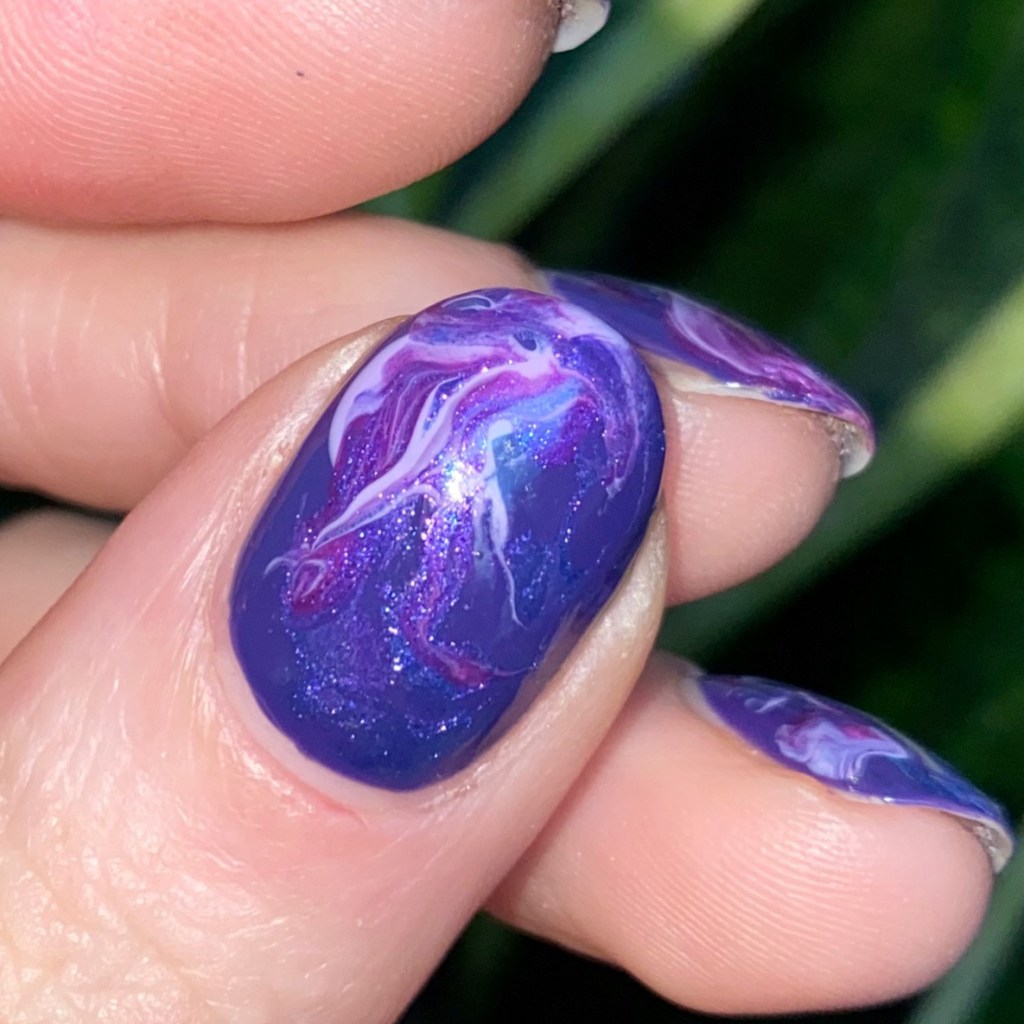
Purple Drag Marble 💜✨

Hello beauties & happy Monday! I hope you’re having the most wonderful start to your week. It’s a beautiful sunny Monday here, with potential to get warm-ish, which has me feeling quite happy.

Today I’m showing off a pretty purple drag marble I did recently. I’ve been really into my purple polishes lately, so I’ve found myself reaching for them quite frequently. All the shades in today look are also OPI purples from my stash.

The polishes I used for this manicure are: 

  • Base Coat: China Glaze Calcium Gel Fortifer
  • Top Coat: Seche Vive
  • OPI Infinite Shine Mariachi Makes My Day
  • OPI Infinite Shine Sickeningly Sweet
  • OPI Infinite Shine Sound of Vibrance
  • Small dotting tool — NailStuff.ca Dotting Tool Trio

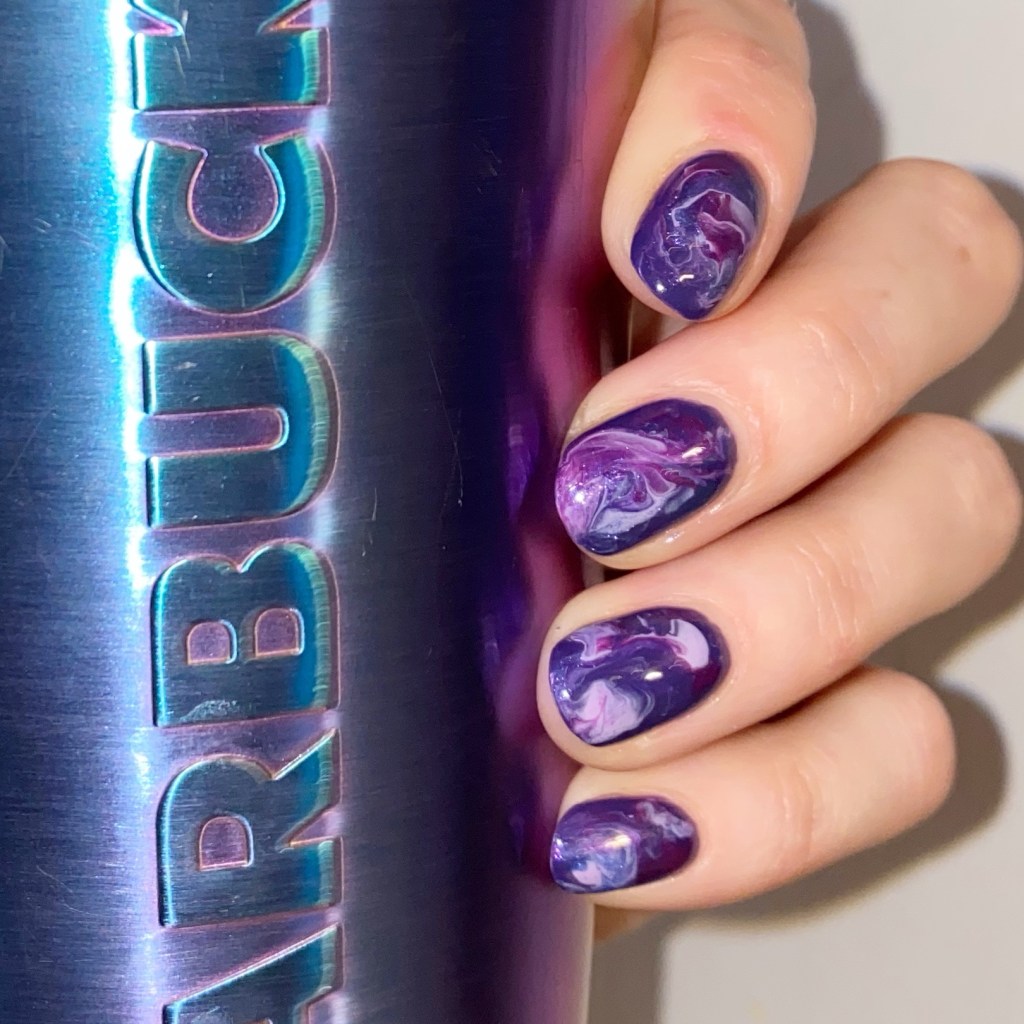
Oh man, the thing I love most about a drag marble design is that not only is every manicure unique, every nail ends up being unique! & I always have a favourite. For this design, I think my ring finger & thumb turned out my most favourite on this hand. But I just really love the combination of these 3 colours — it turned out so beautiful.

What do you think about this pretty purple drag marble? Have you ever dried a drag marble before? I definitely find using a quick dry top coat helps make it easier to do, because sometimes I can end up with pretty thick polish.

Happy Monday 🖤

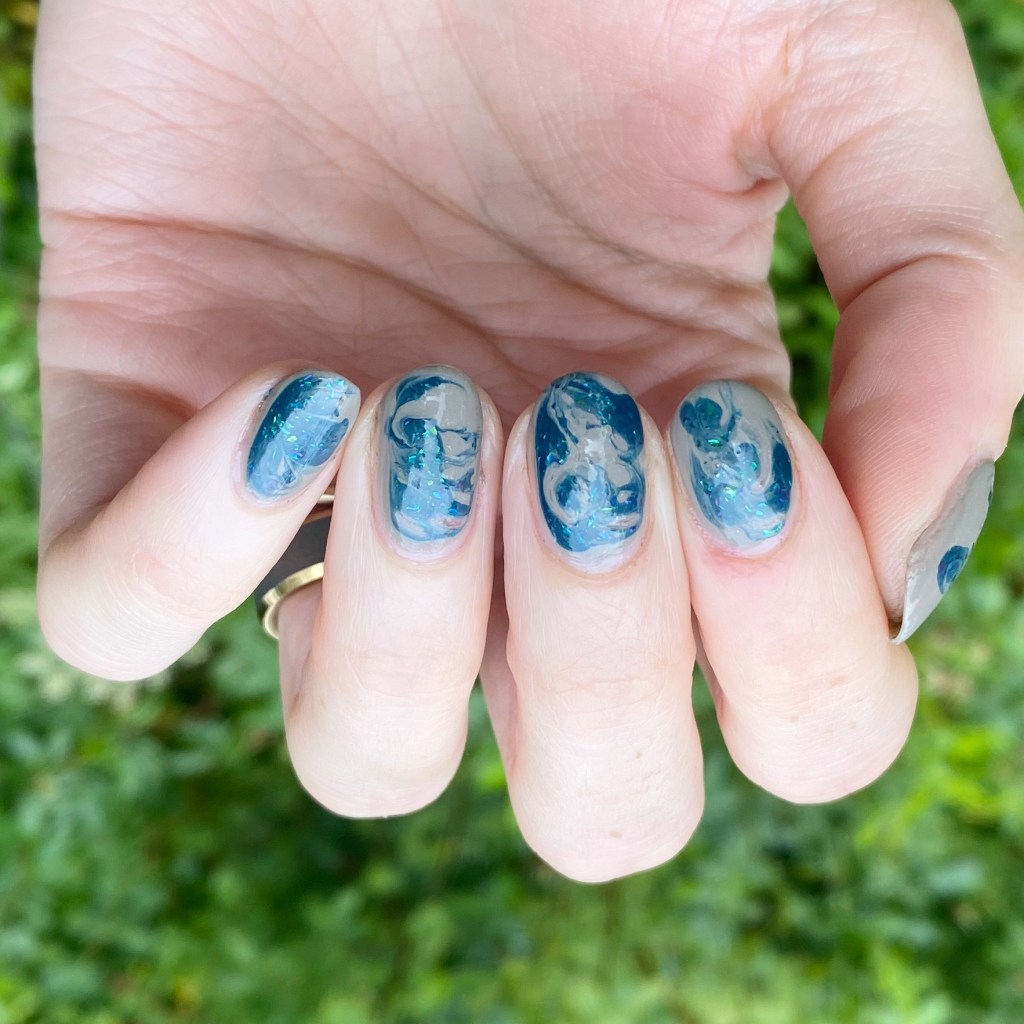
Crystal Drag Marble (featuring Black Dahlia Lacquer Frozen Twilight & Winter Dusk)

PR

Features Gifted Product in Exchange for Content

Good morning lovelies & happy Tuesday! I hope everyone’s week is off to a not too stressful start. Today I’m excited because I’m sharing a stunning nail art look that I’m really, really excited about using the beautiful shades from Sunday’s Swatch Sunday post.

The polishes I used for this manicure are: 

  • Base Coat: Essie Hard To Resist Glow & Shine 
  • Top Coat: Essie Gel Setter
  • Black Dahlia Lacquer Frozen Twilight (NailStuff.ca exclusive)
  • Black Dahlia Lacquer Winter Dusk (NailStuff.ca exclusive)
  • NailStuff.ca Dotting Tool Trio — I used the thinnest one to make it easiest to create my drag marble

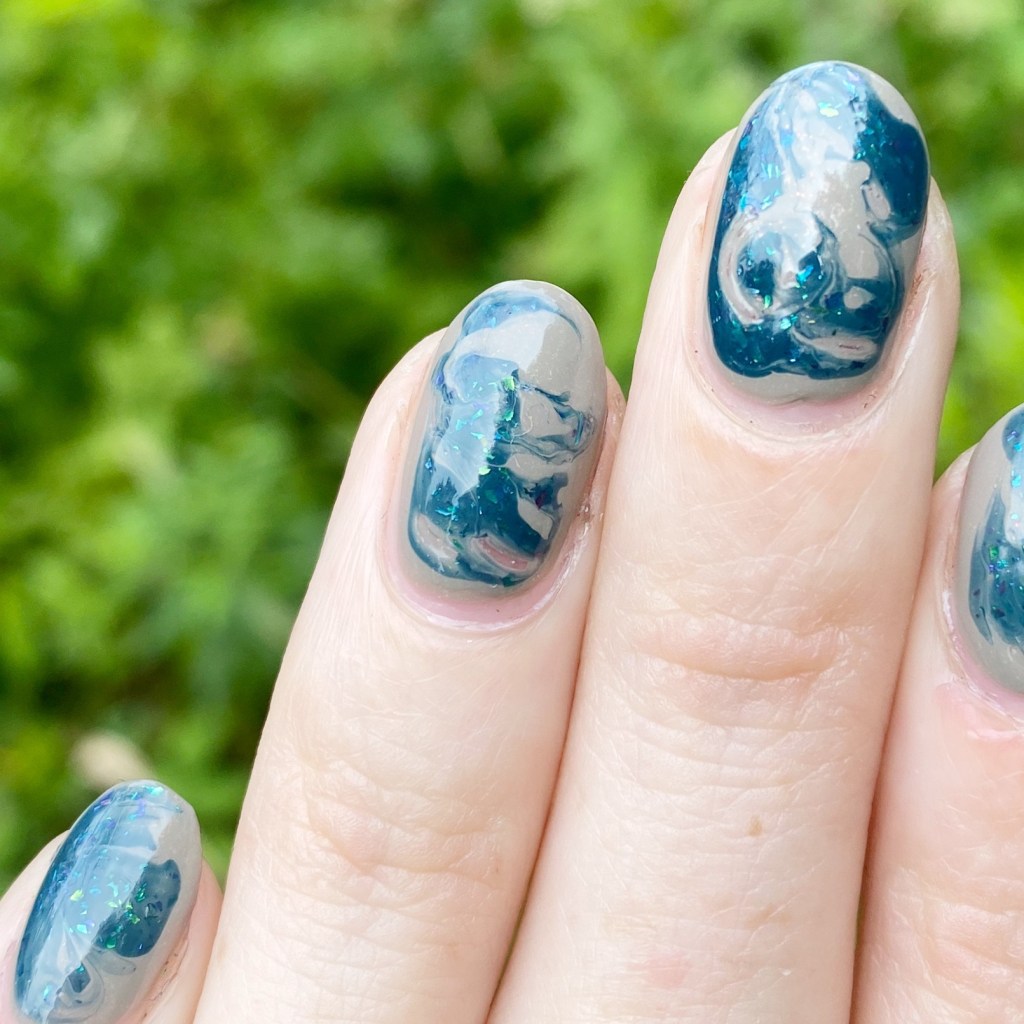
Look at the close up! I adore the look of Frozen Twilight against Winter Dusk.

I’m not going to lie — I was a bit nervous about how well these two shades were going to marble together. & quite honestly, this might be the most successful (& beautiful!) drag marble I’ve done in longer than I can remember. It sort of reminds me of when you find rocks that have geodes & crystals running through them.

It just turned out so pretty!

The jelly formula on Frozen Twilight being a bit on the thinner side meant it was also a lot easier to get the polishes swirling without things starting to dry too quickly. Nothing worse than trying to do a drag marble, & your polishes are drying as your trying to marble them! Then you get weird bald patches & have to start over. Ugh, the worst! But these two shades marbled together like a dream & I’m super happy with the end result.

What do you think about this drag marble featuring Frozen Twilight & Winter Dusk? Do you like how I paired these two shades together? Do you love the Autumn vibes that these shades are giving off? Let me know all your thoughts down in the comments below!

Products featured in this post were provided in exchanged for content.  All thoughts are honest & my own.

Neon Drag Marble

Good morning lovelies & happy Tuesday! Hope you’re having a lovely start to your week.

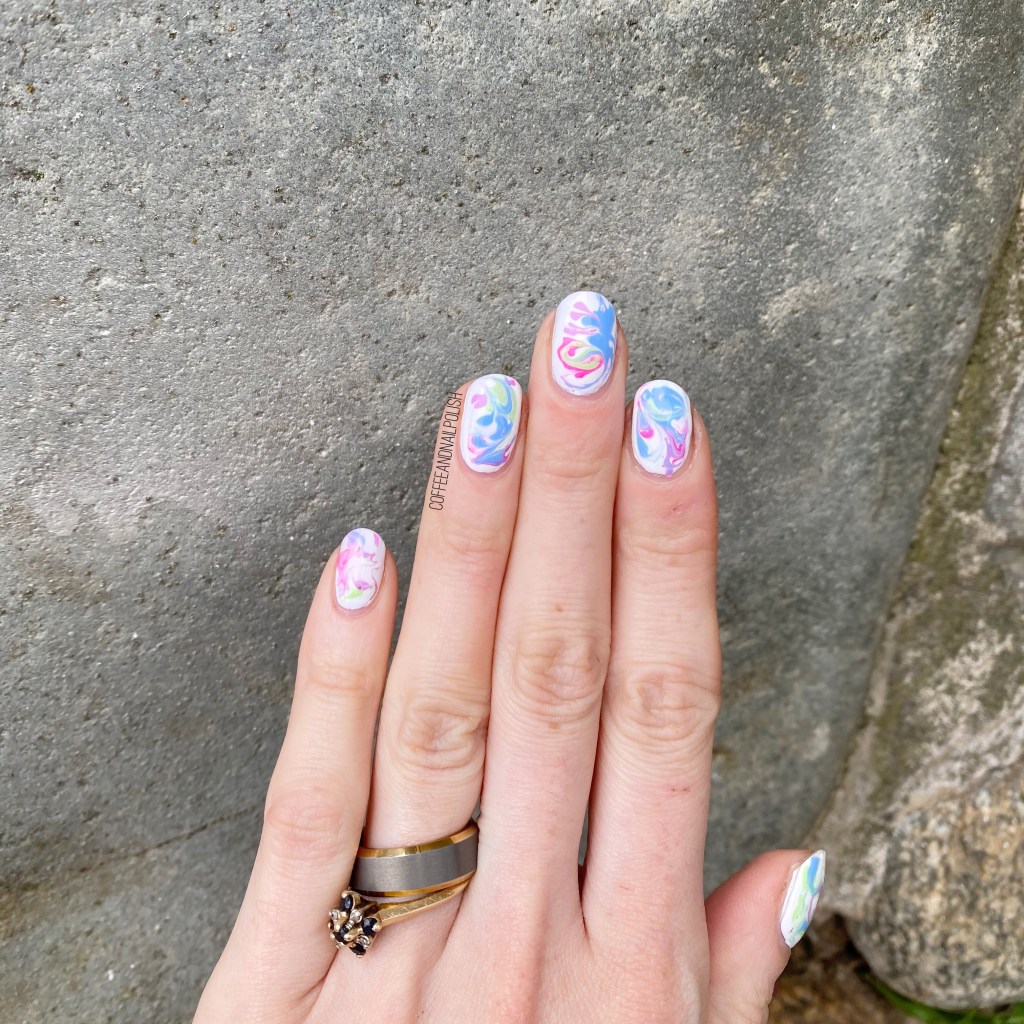
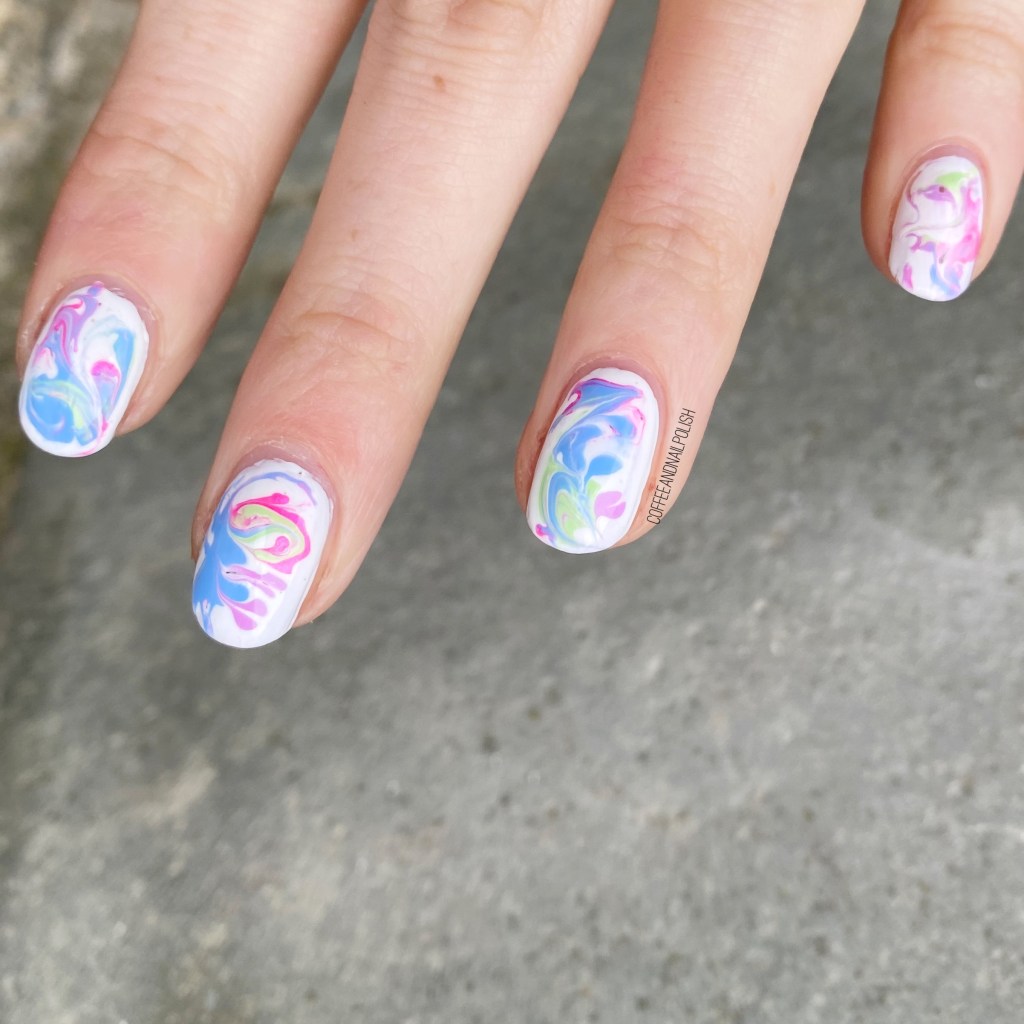
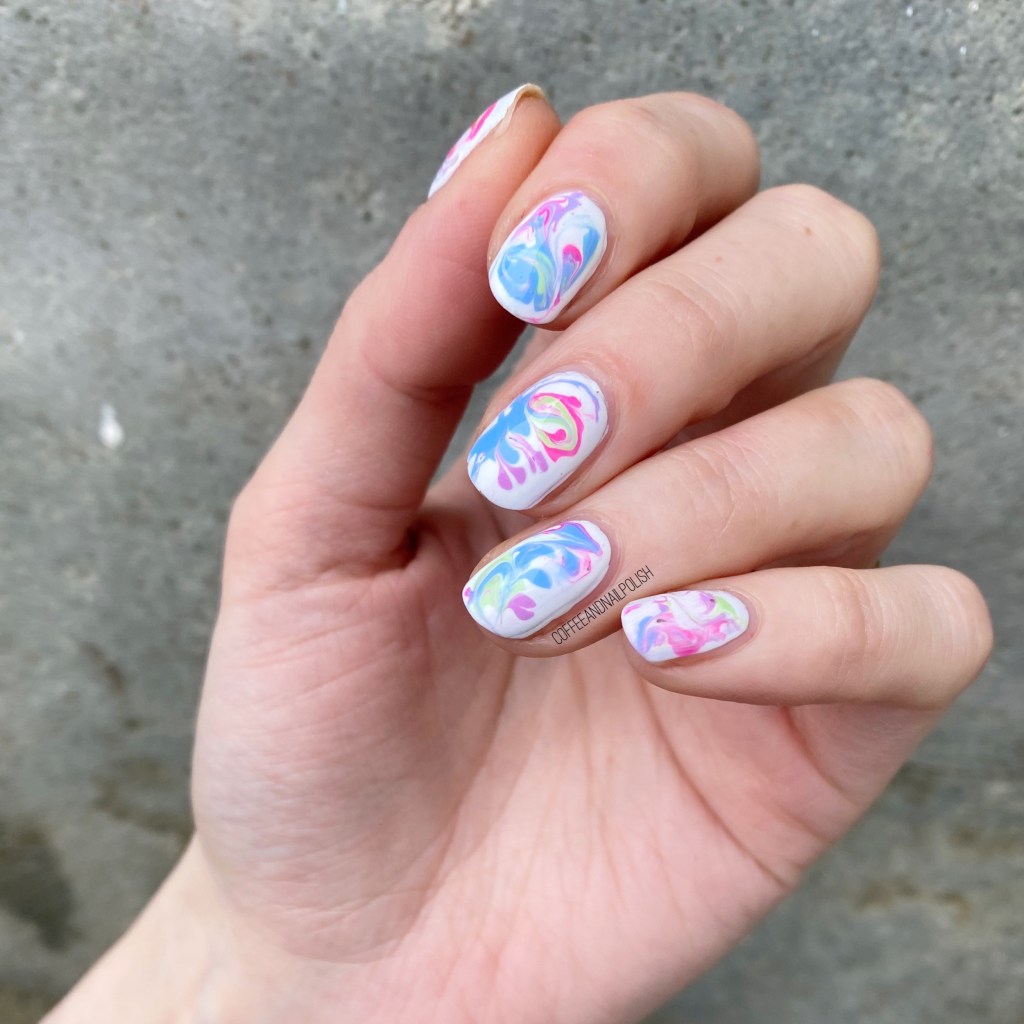
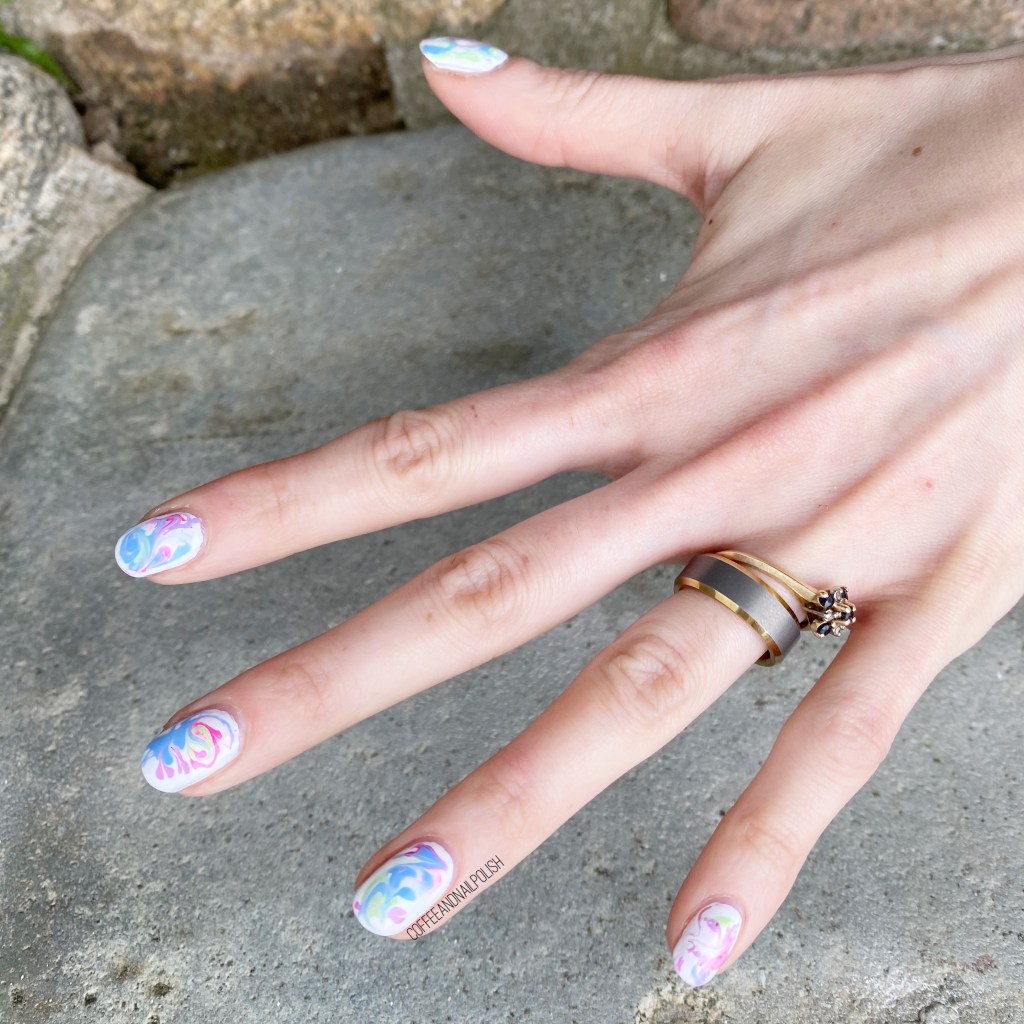
Today I’m showing off a fun drag marble design I wore recently. I haven’t really done a drag marble in a while, & I thought one featuring a few neon-ish shades would be beautiful.

The polishes I used for this manicure are:

  • Base Coat: Essie Hard To Resist Glow & Shine
  • Top Coat: Essie Speed Setter
  • Sally Hansen Miracle Gel Get Mod
  • Sally Hansen MG Floresc-pink
  • Sally Hansen MG Electri-Lime
  • Sally Hansen MG Violet Voltage
  • Sally Hansen MG Sugar Fix
  • NailStuff.ca Dotting Tool Trio

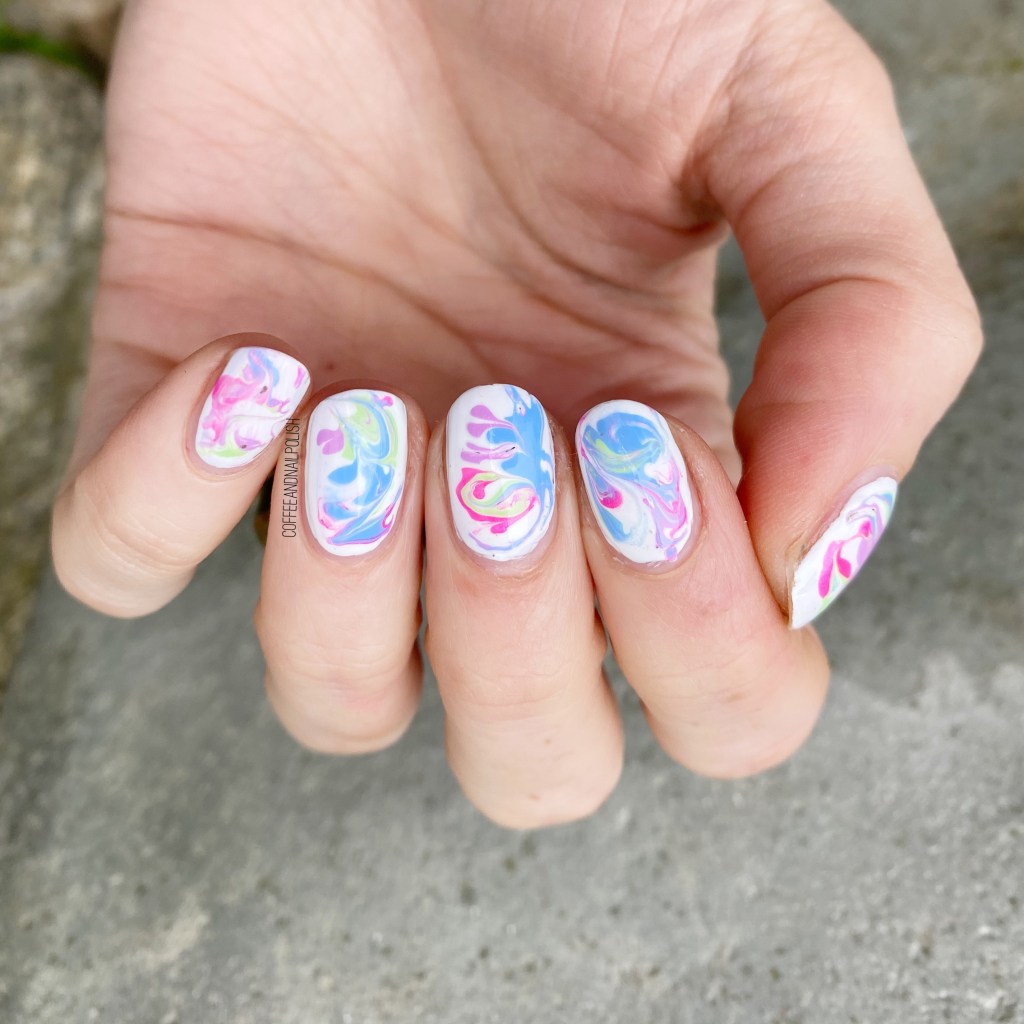
I’m kind of obsessed with how these turned out! They remind me a bit of jawbreakers, which marble nails can do. I like the neon colours popping against the white base. They turned out exactly how I imagined in my head & I’m so happy about it!

Drag marble nails are one of those looks which I always think are going to be so easy, but then surprise me with difficulty, haha. In this case, I had to swirl my four polishes in the while before things started to dry… & I had to work fast! But, you know, I think in the end it gave a really cool effect, & I got lots of compliments on the finished look which always makes my day.

If I had to pick a favourite nail? Probably my middle nail. I think my swirling turned out best on that nail for sure.

What do you think about this drag marble look? Are you a fan of the neons against the white base?

Let me know all your thoughts in the comments below, & what colour combination you would do for a drag marble look!