*contains PR
Hello lovelies & happy Thursday! The countdown is officially on — we have one week until Halloween! Guess it is time to sneak in as many Halloween manicures as I can!
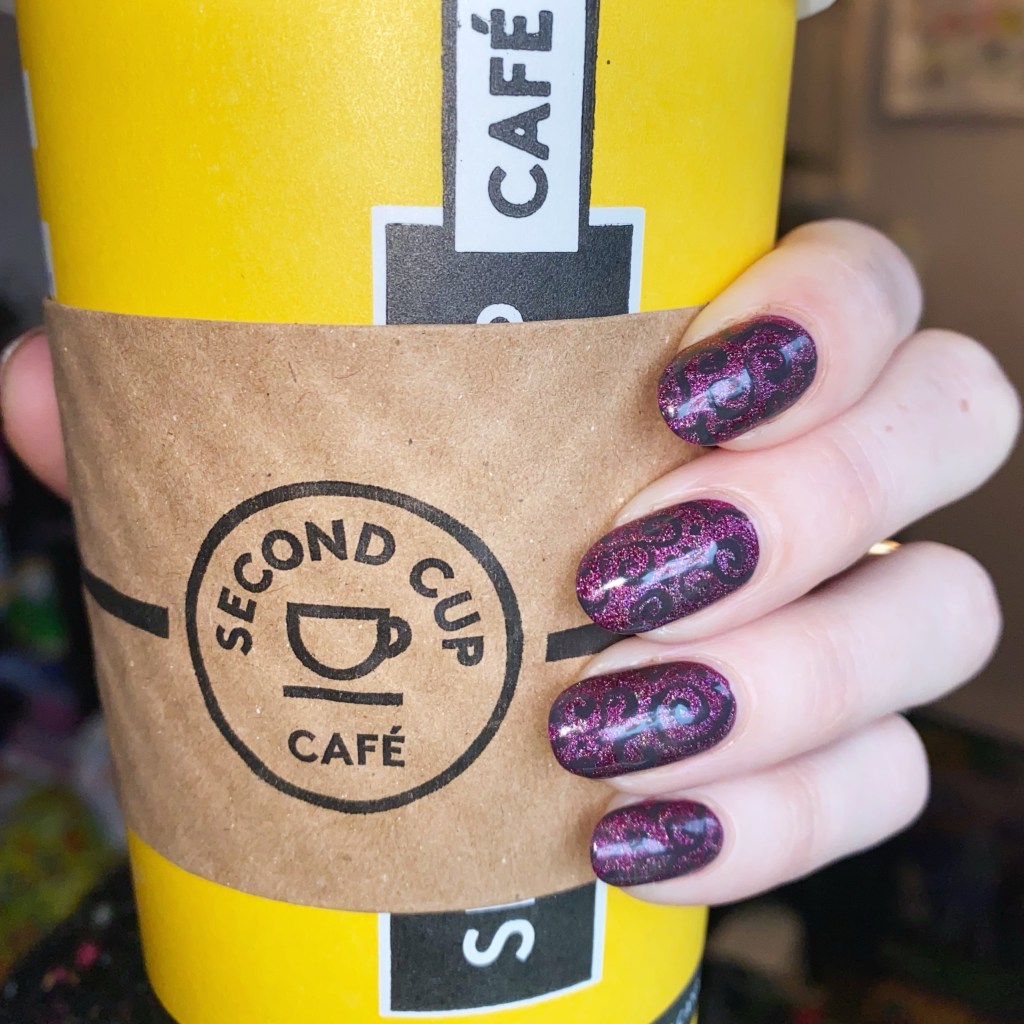
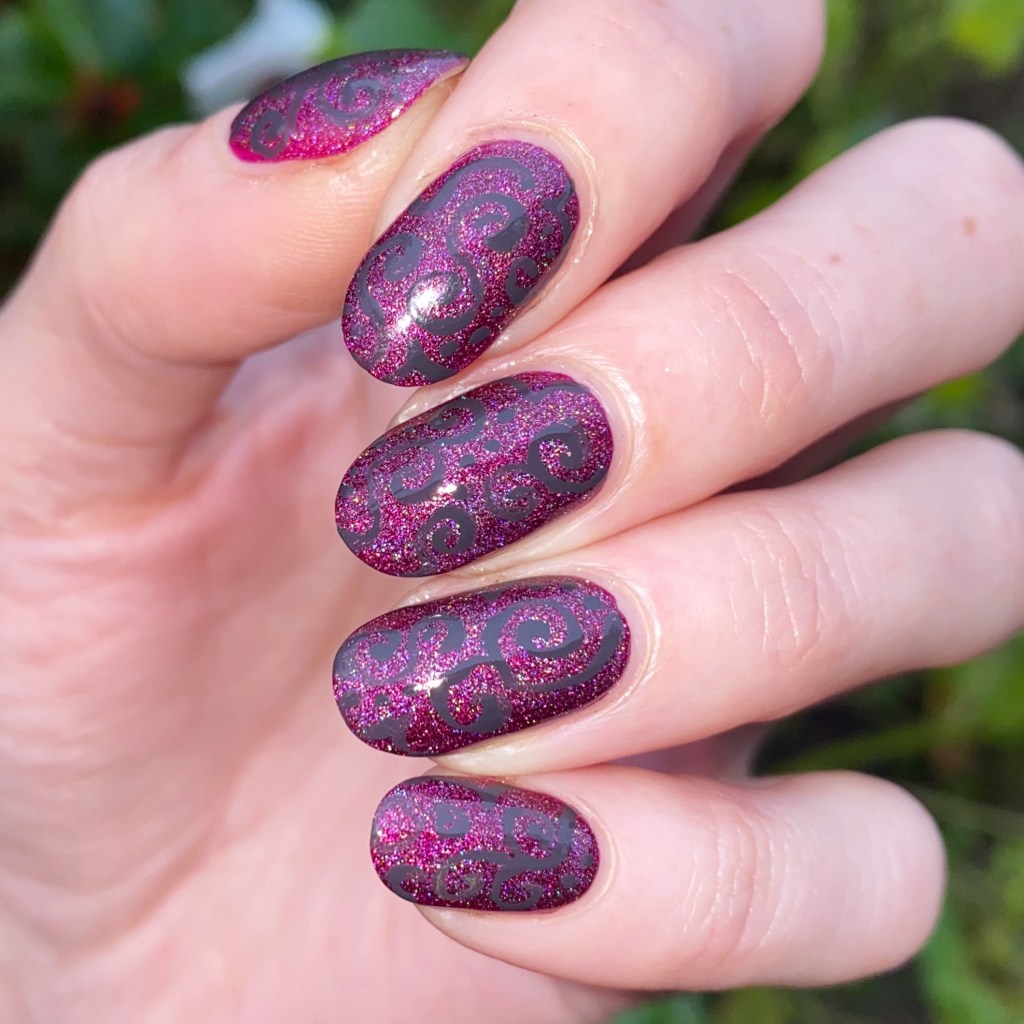
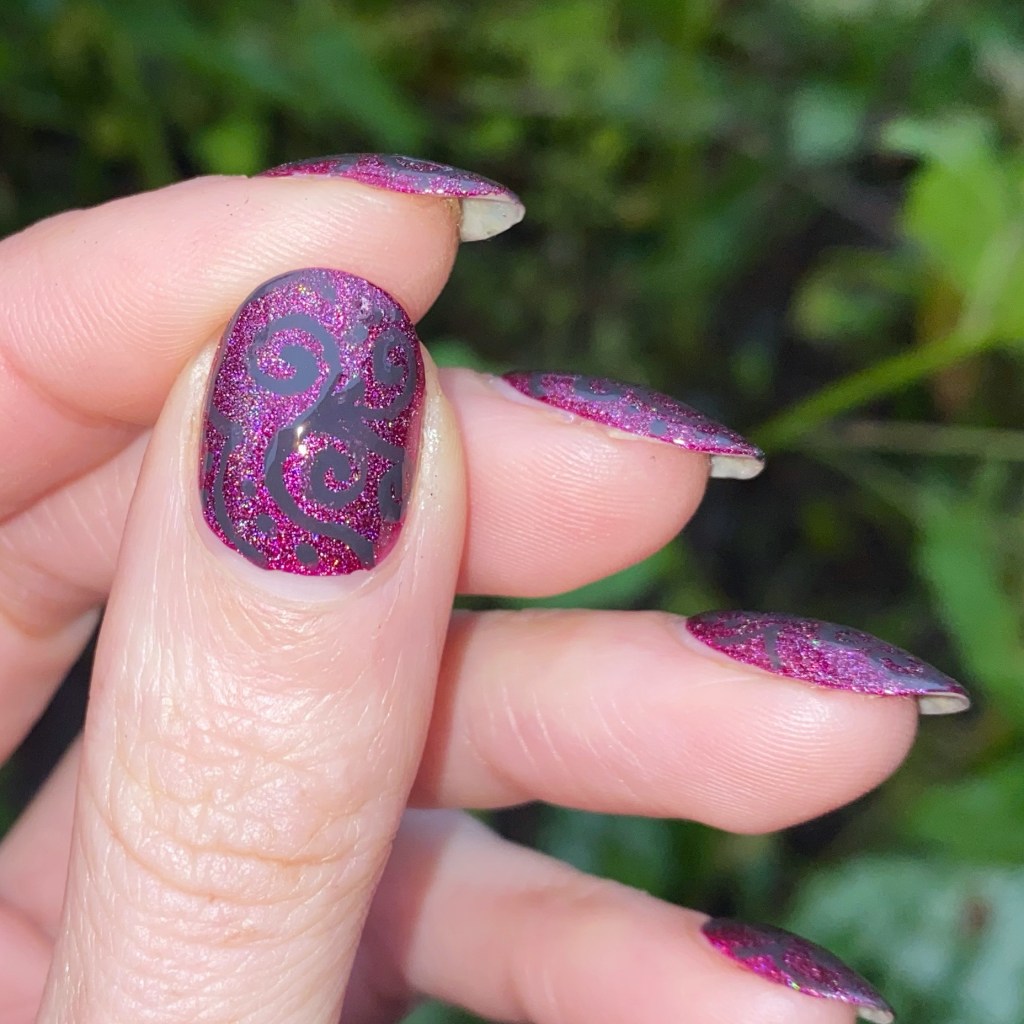
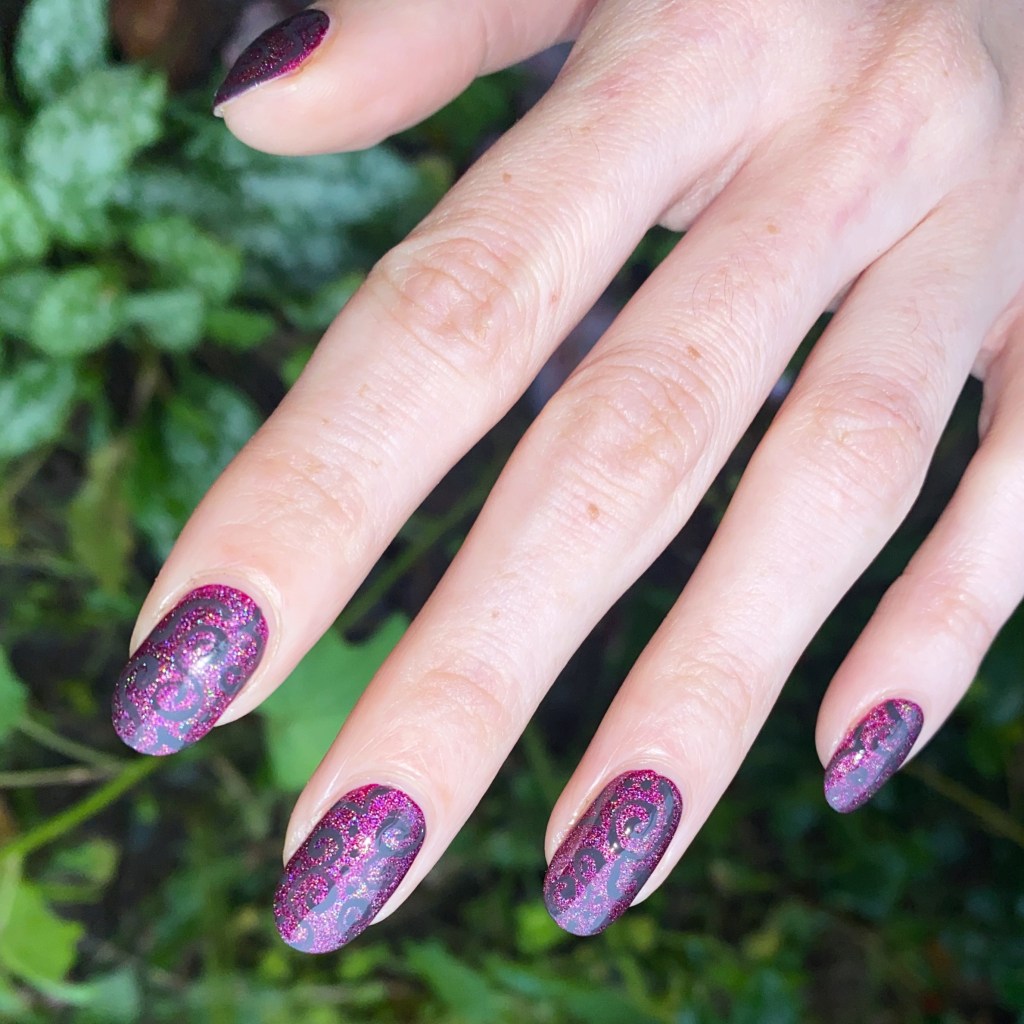
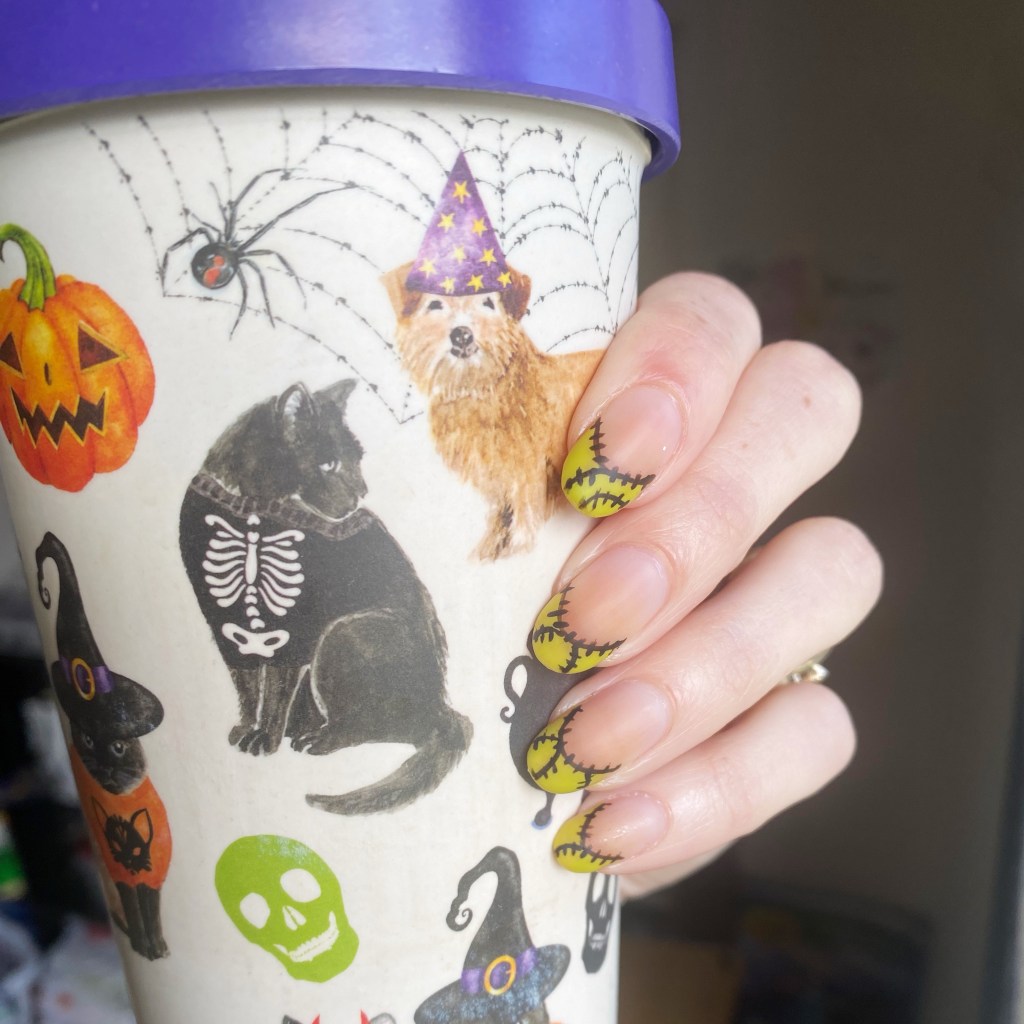
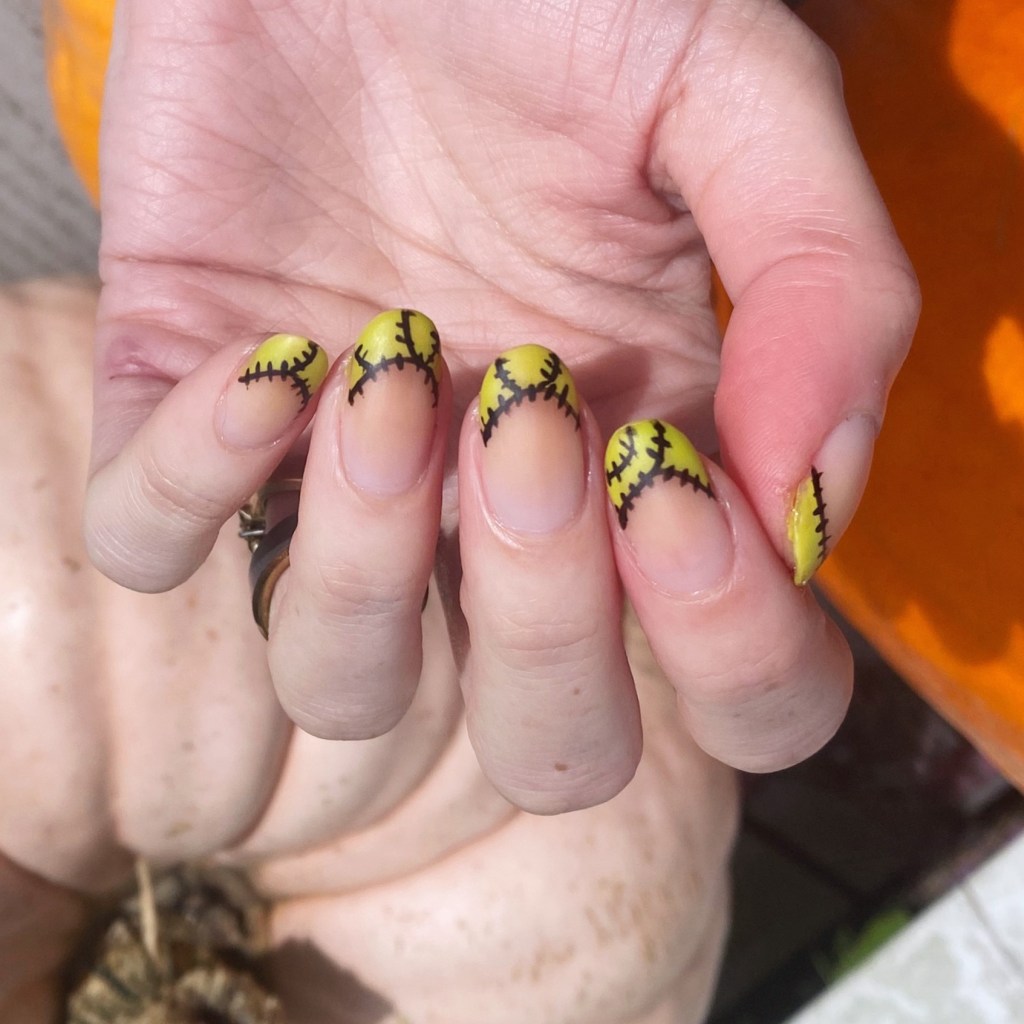
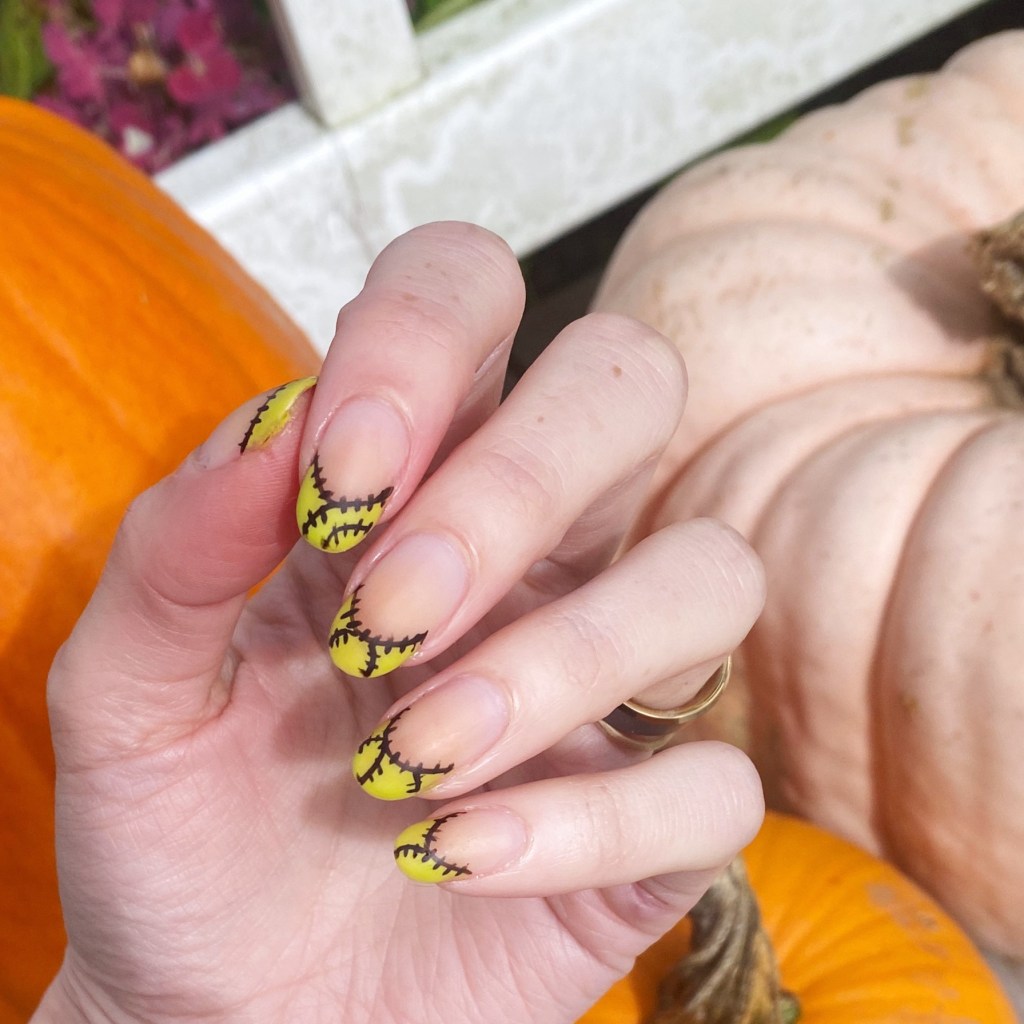
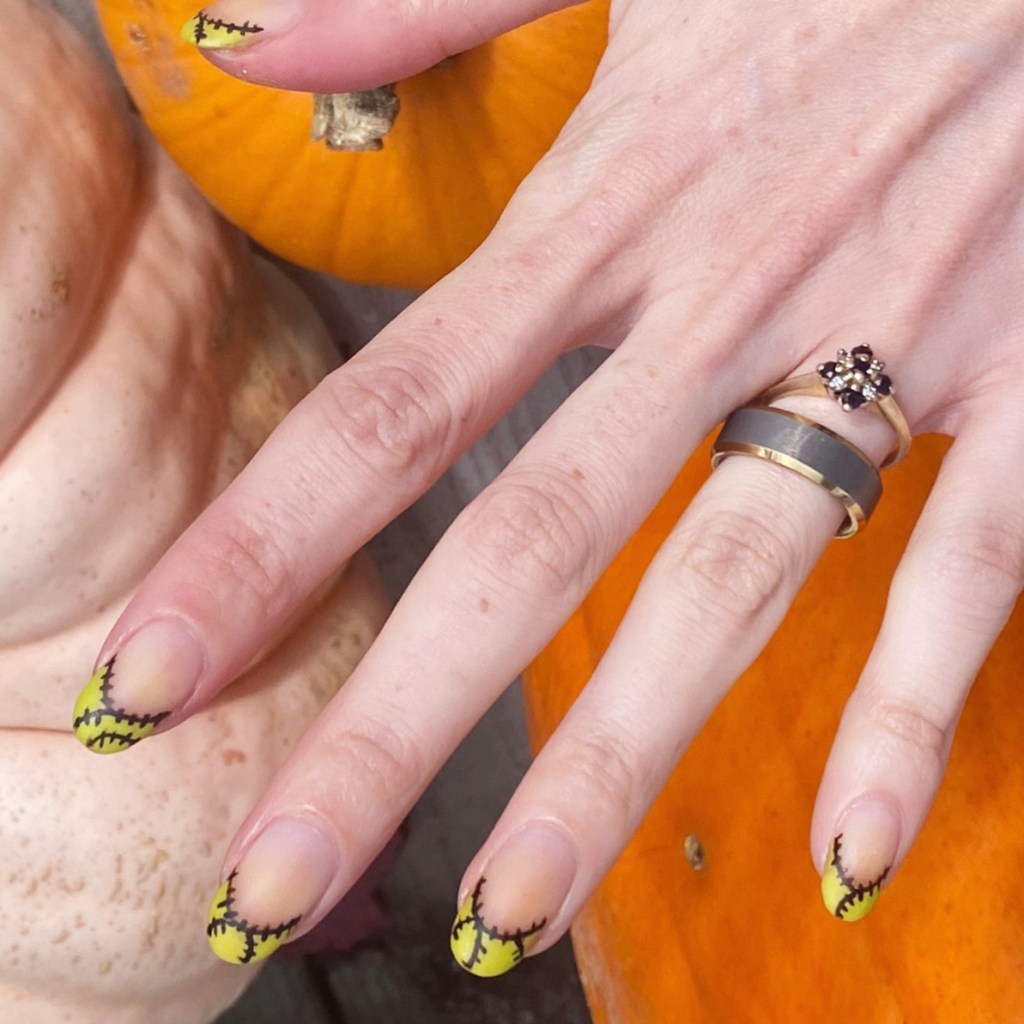
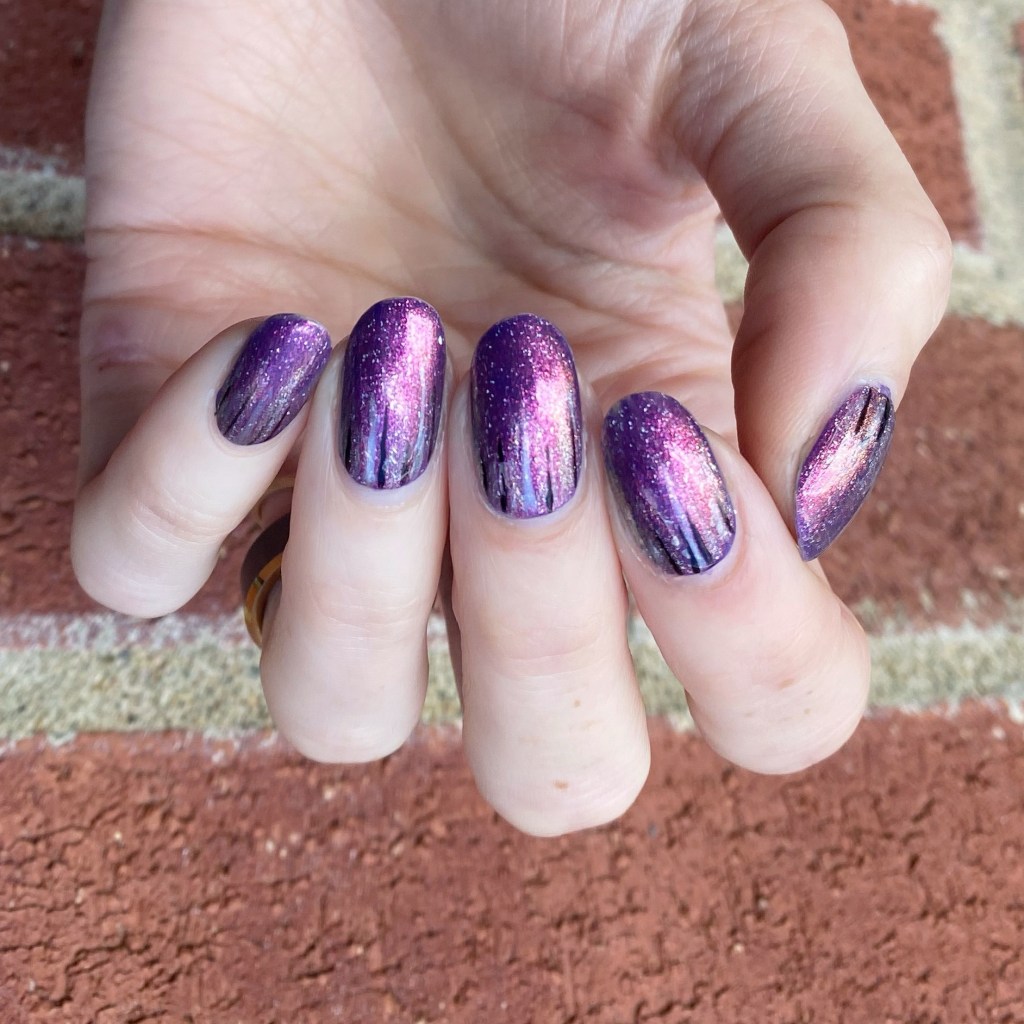
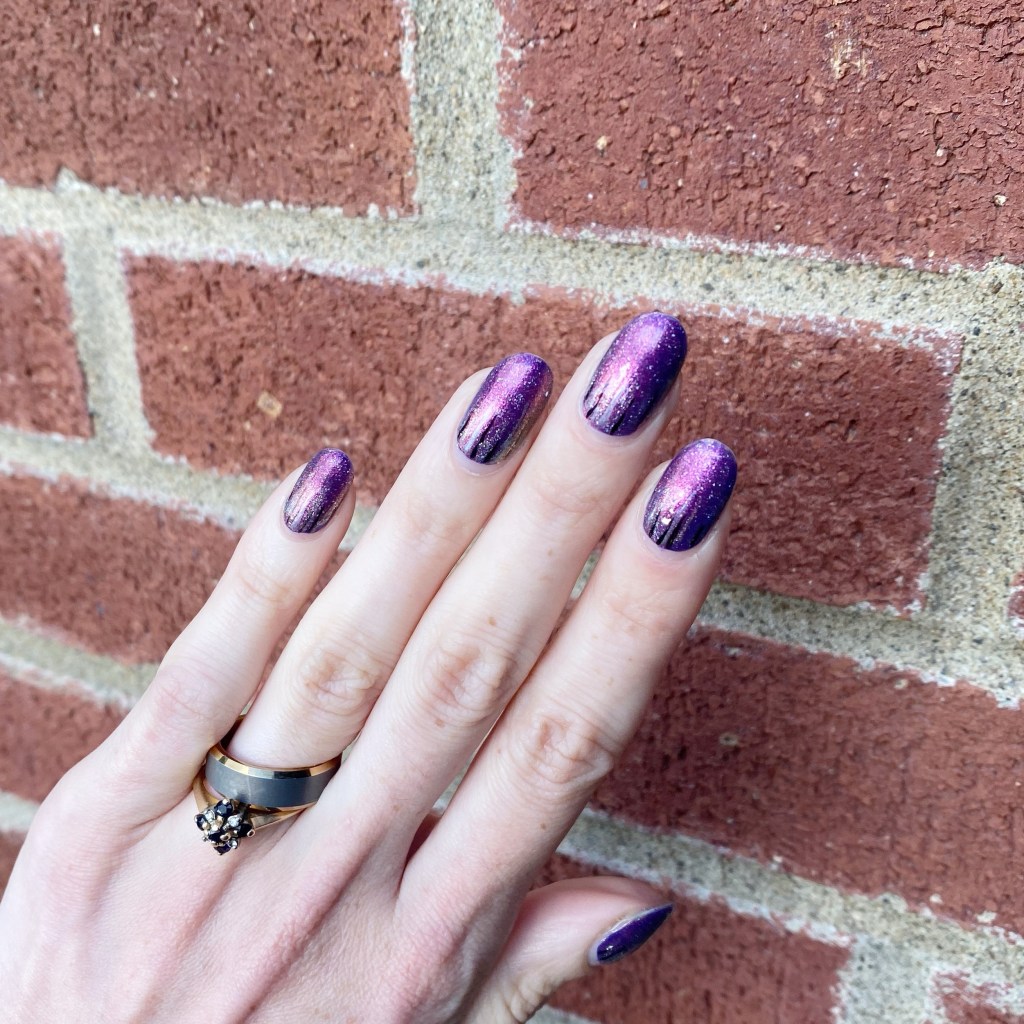
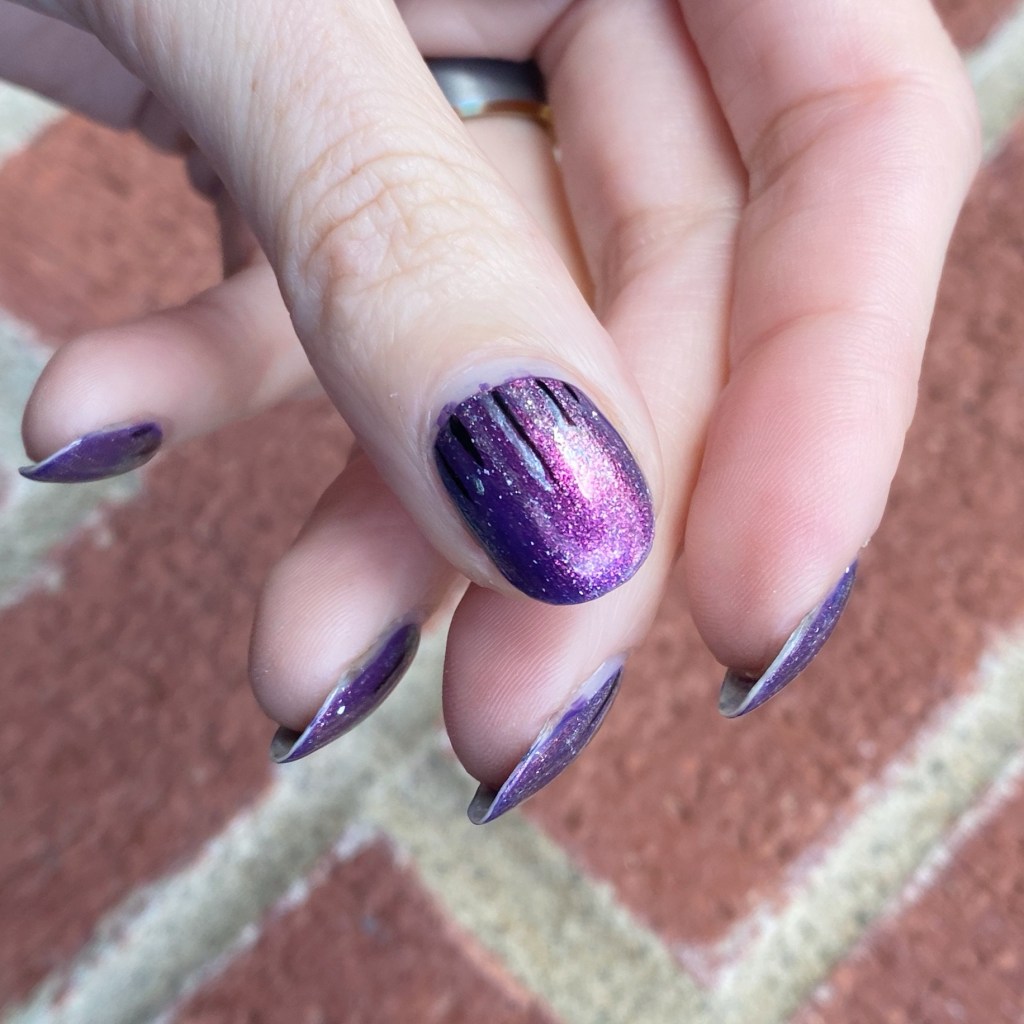
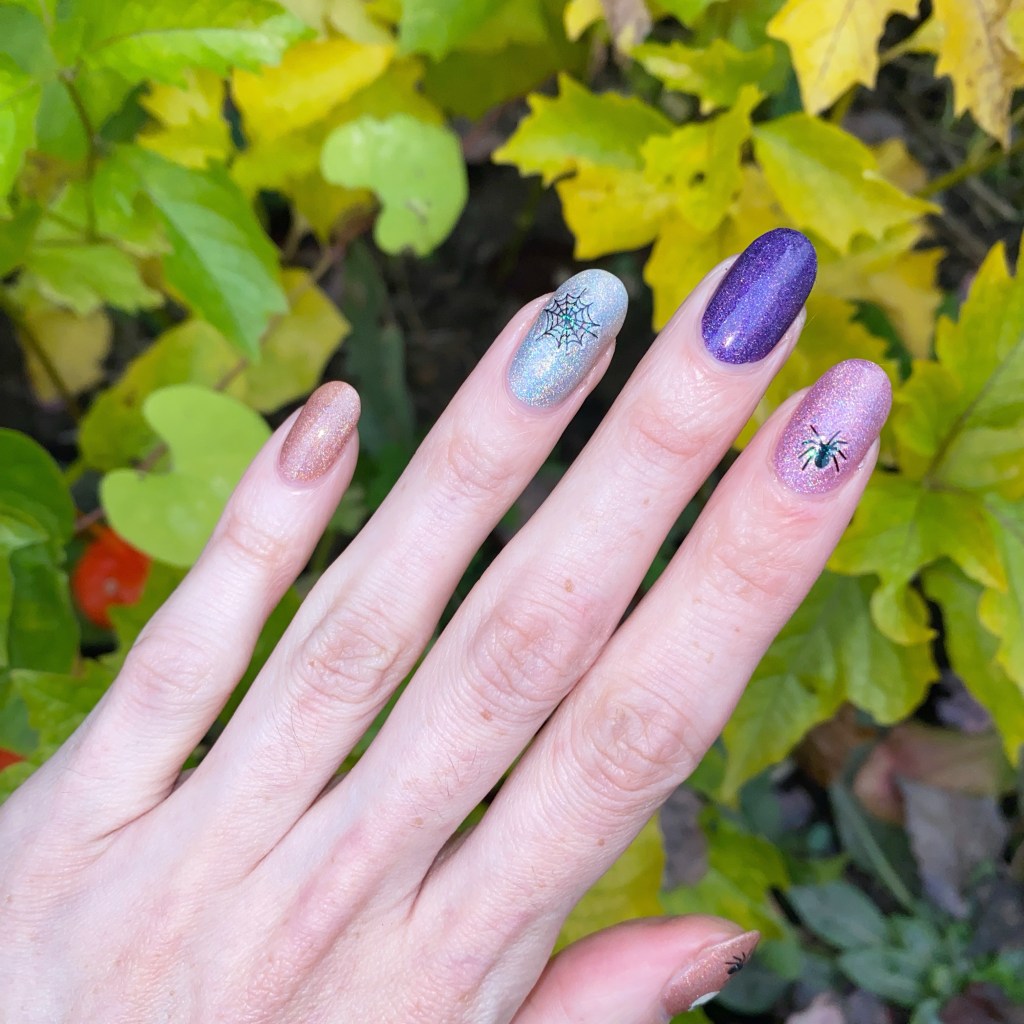
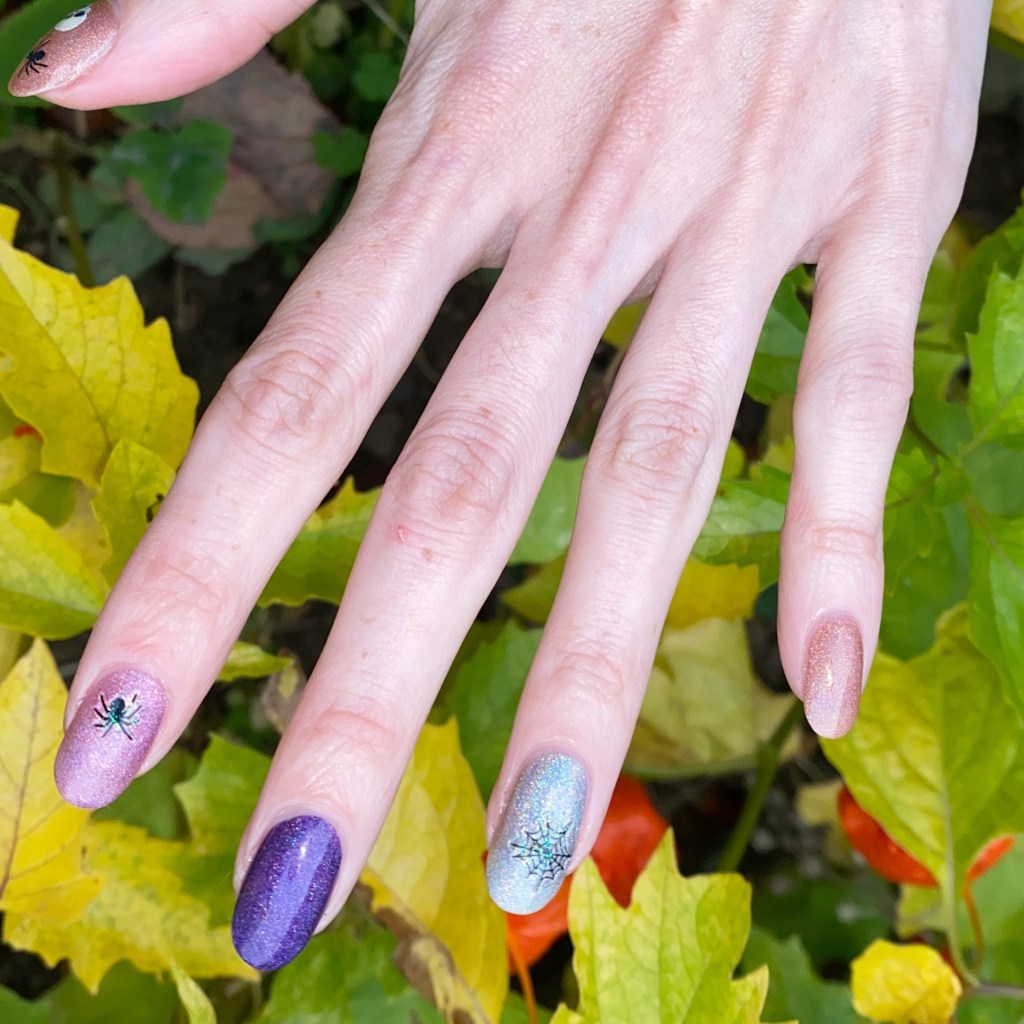
Today we’re starting off easy with some Halloween nail art stickers on a skittle. I was recently gifted some beautiful polishes from Ella + Mila, & I thought they would be a fun base for some new Dollarama nail art stickers! So I paired the colours together with a few simple stickers & I think it turned out so fun. Chic & simple.

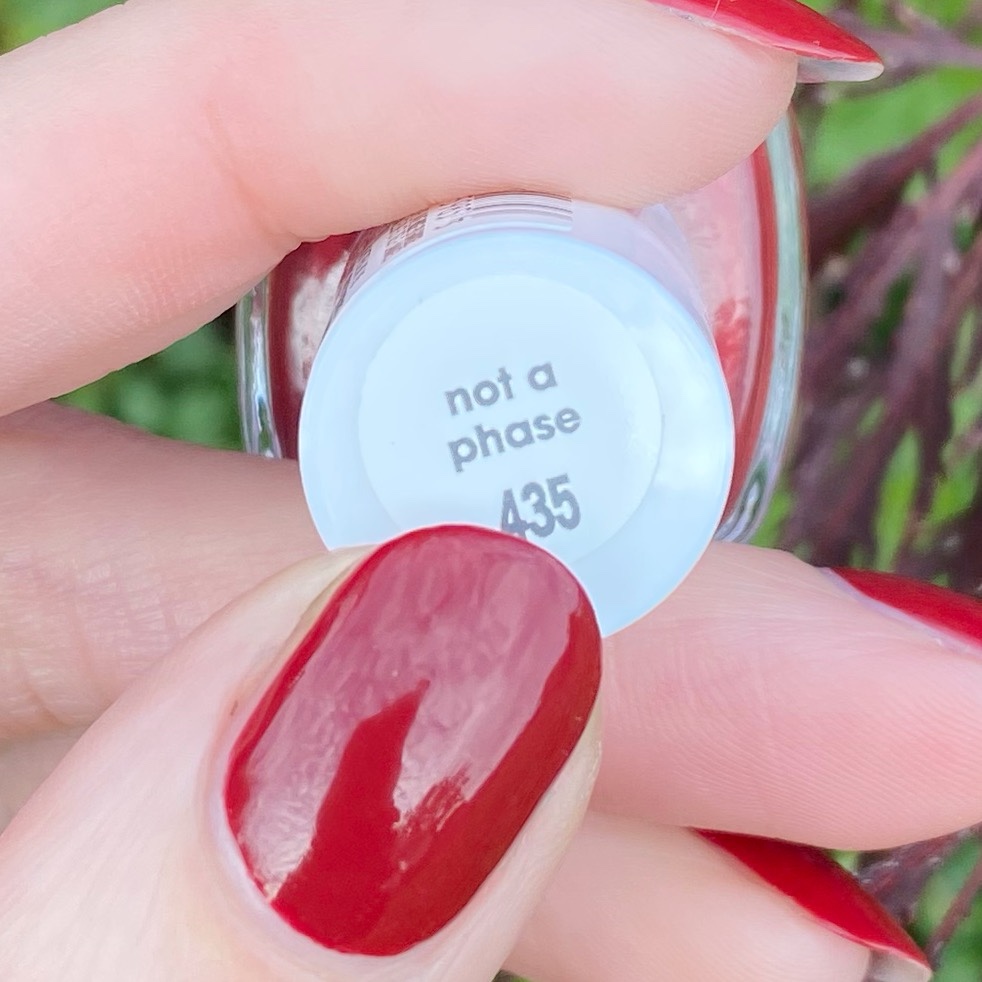
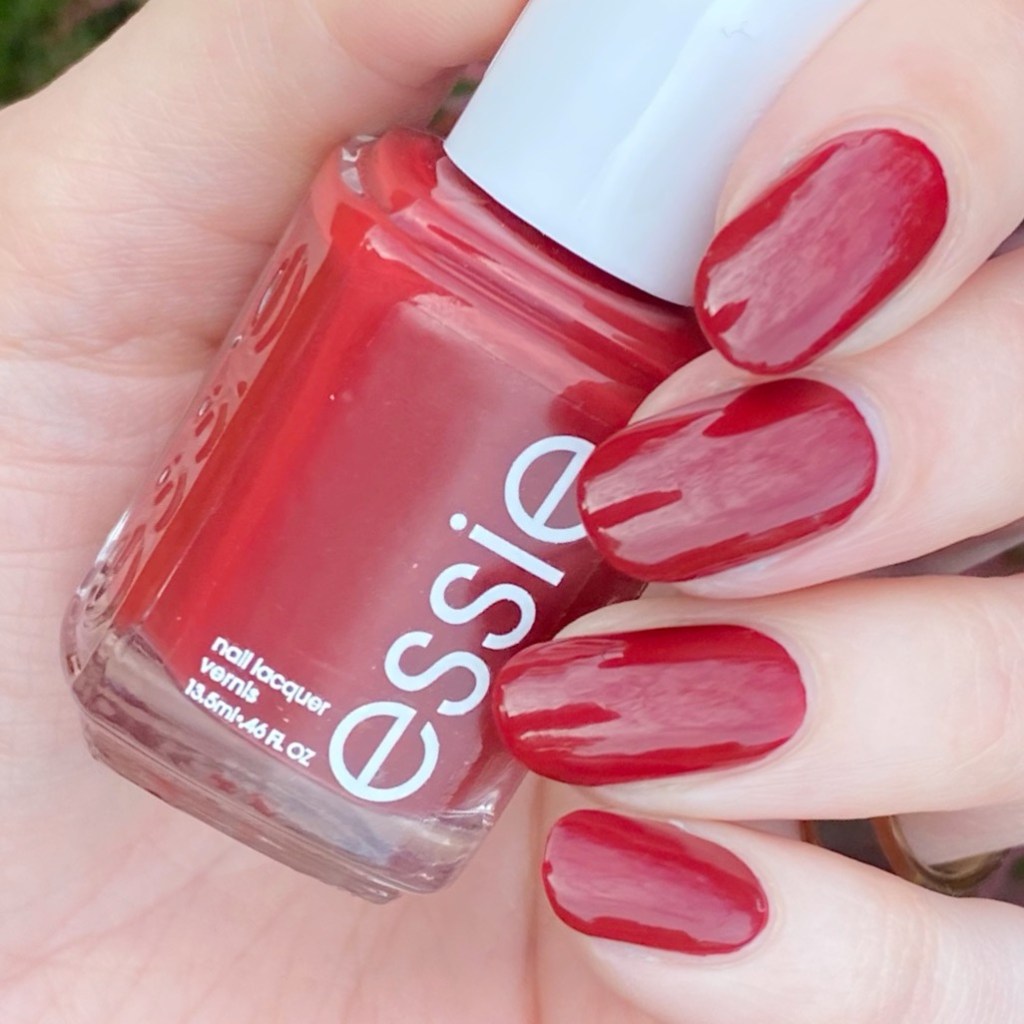
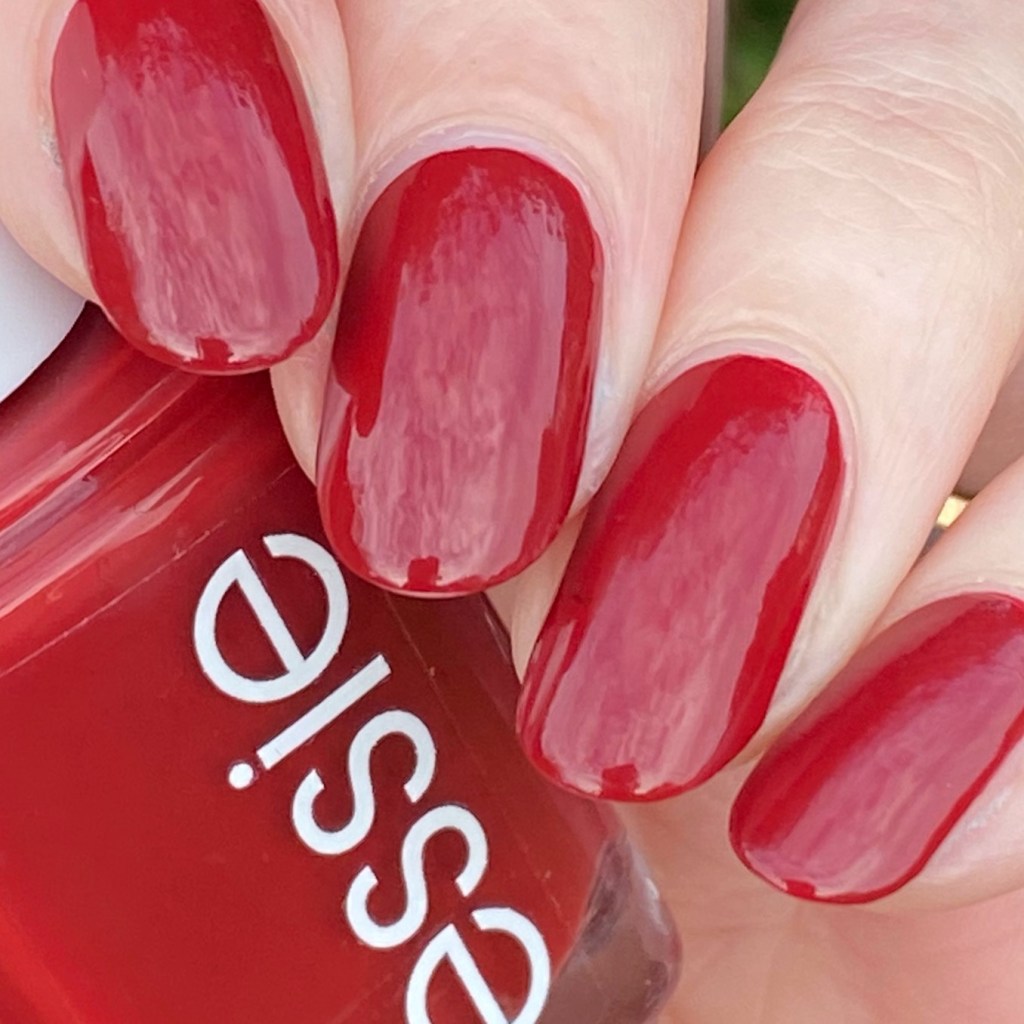
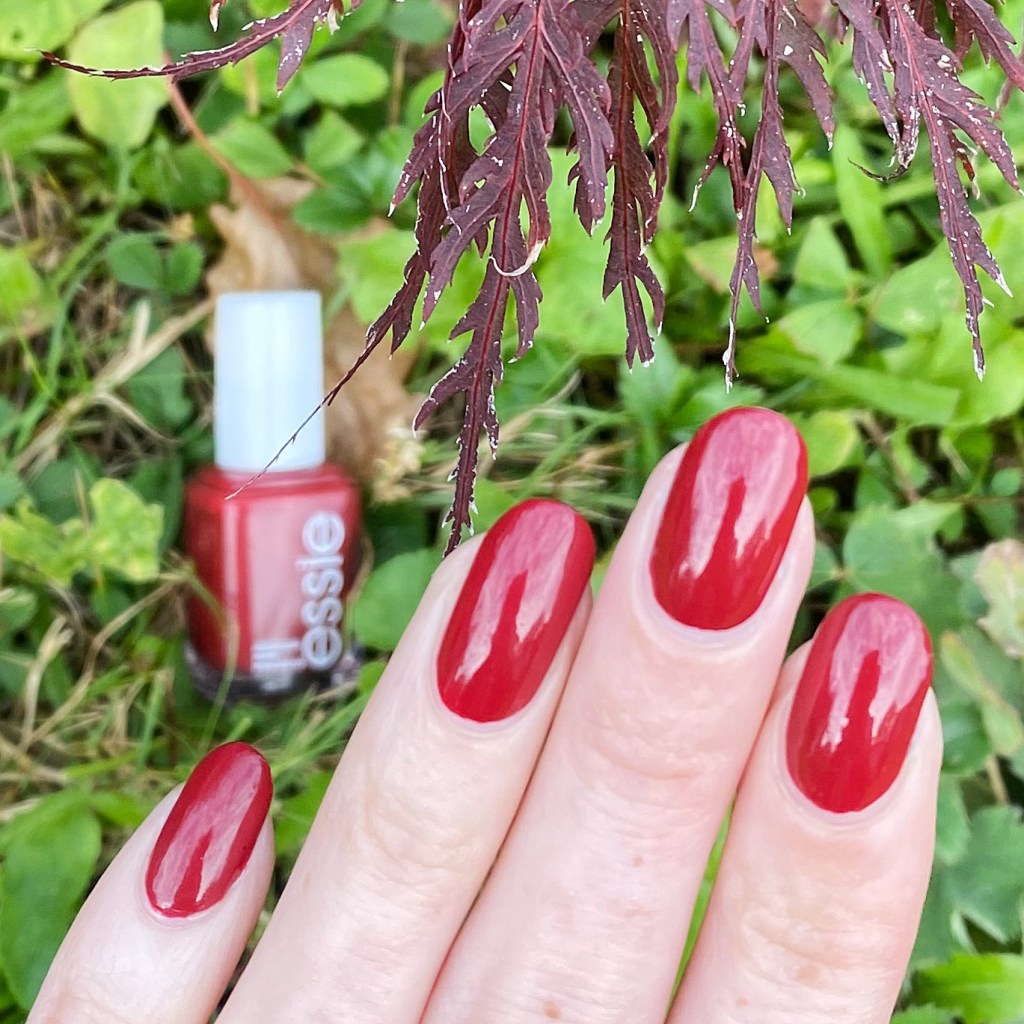
The polishes I used for this manicure are:
- Base Coat: Ella + Mila All About The Base (Base Coat) *
- Top Coat: Ella + Mila In A Rush (Top Coat) *
- Ella + Mila Oasis *
- Ella + Mila Dragonfly *
- Ella + Mila Violet Skies
- Ella + Mila Zephyr *
- Dollarama Halloween Nail Art Stickers
*gifted


How beautiful are these shades from Ella + Mila? I feel like these colours are perfect for Halloween nail art that’s not typical colours. I mean, I feel like purple & orange are classic Halloween colours, but the dark purple & pink do work as well too. I will have full Swatches of the whole collection I was send coming hopefully this weekend, or the next. But I couldn’t wait to put on a few of the shades as soon as I received them! They’re just so beautiful.
(You can use THIS LINK to check out their site — it is an affiliate link so thank you if you use it!)
& I recently found more fun new Halloween nail art stickers at my local Dollarama store, so naturally I needed to use them immediately. For $1.25 they’re such a steal!
What do you think about this manicure? Do you like this Halloween skittle? Would you wear this design? Let me know all your thoughts down in the comments below!
Happy Thursday.
♥︎