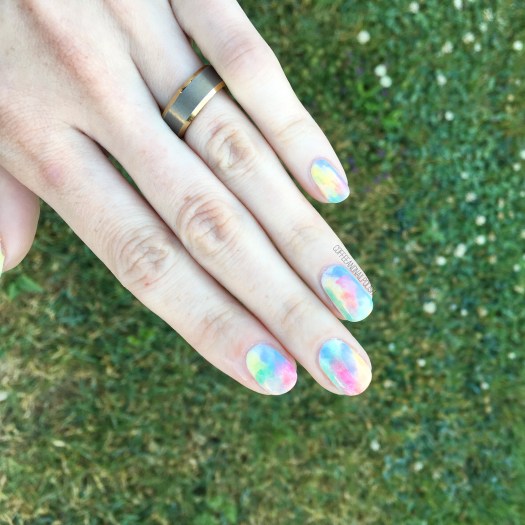
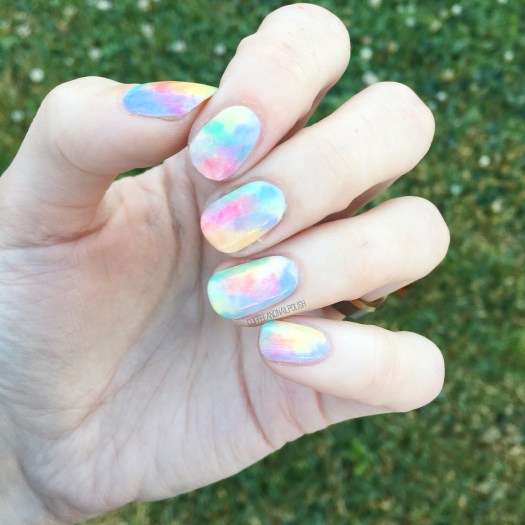
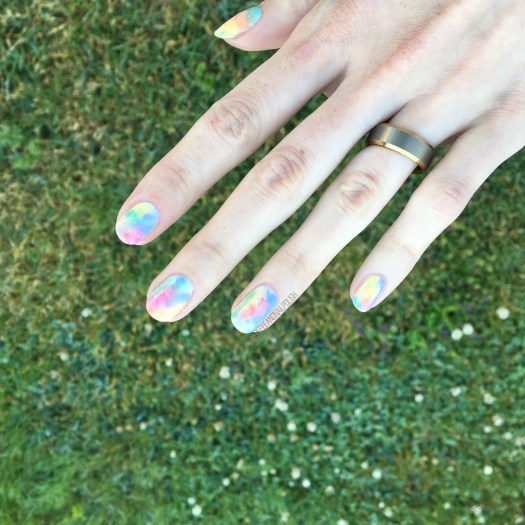
Happy August lovelies. Its that time of year… stores are beginning to set up for back to school & my cravings for all things Fall themed hit hard. Thankfully the 30+ degree weather has been keeping me in a Summer state of mind & keeping neon shades on my nails!
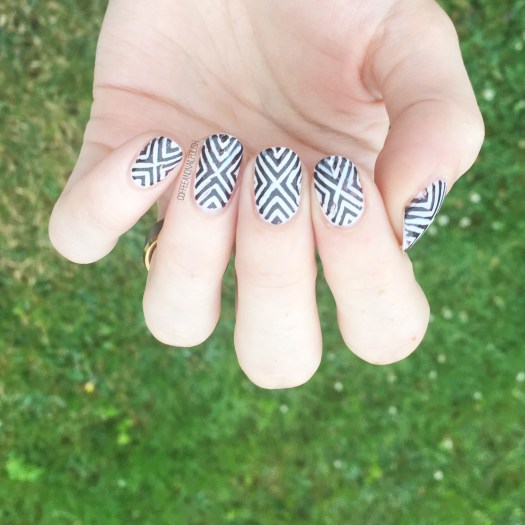
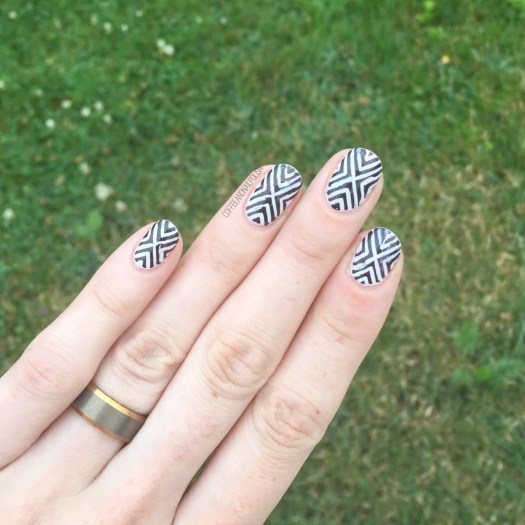
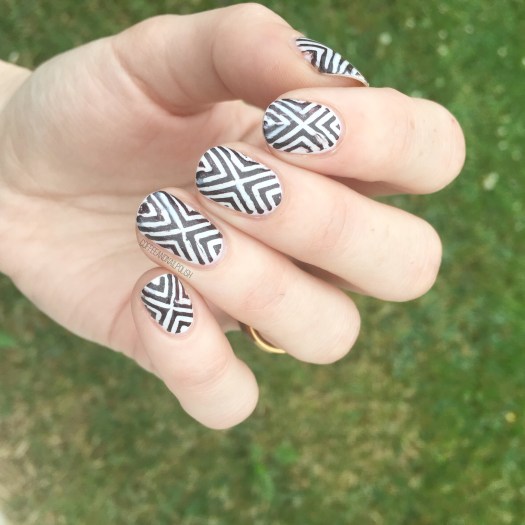
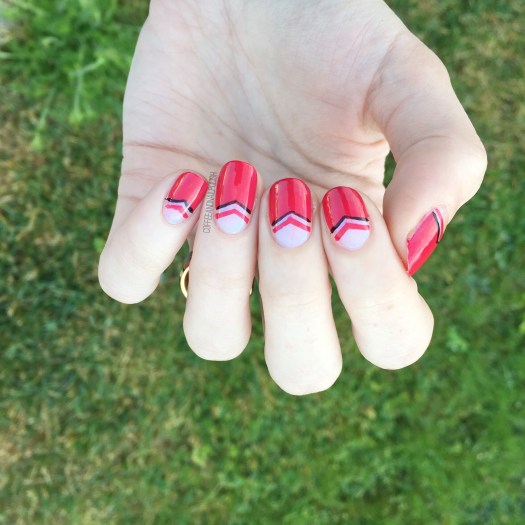
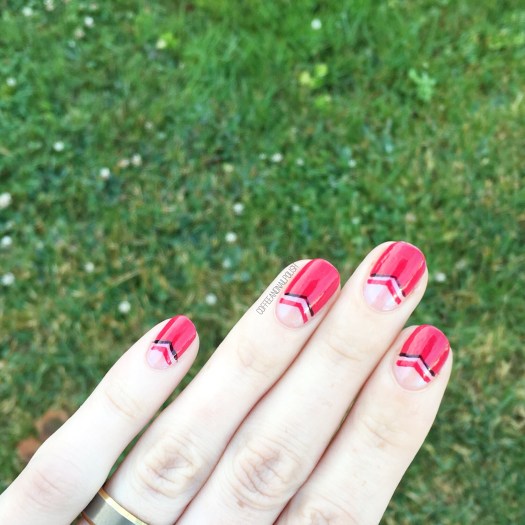
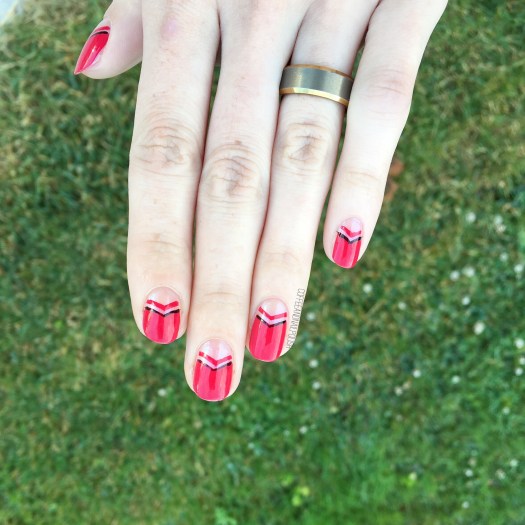
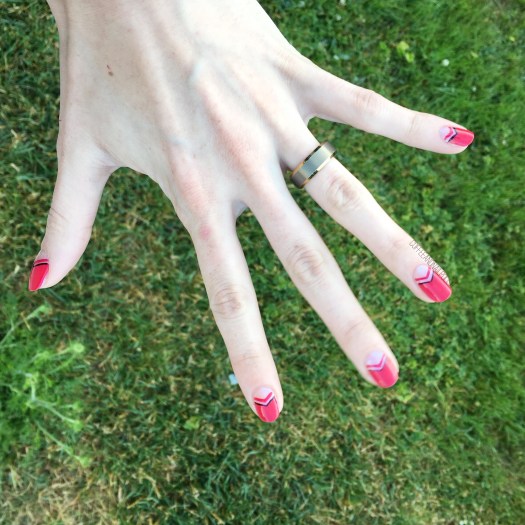
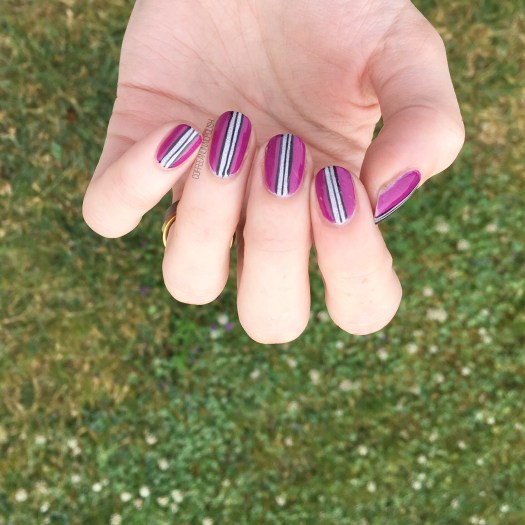
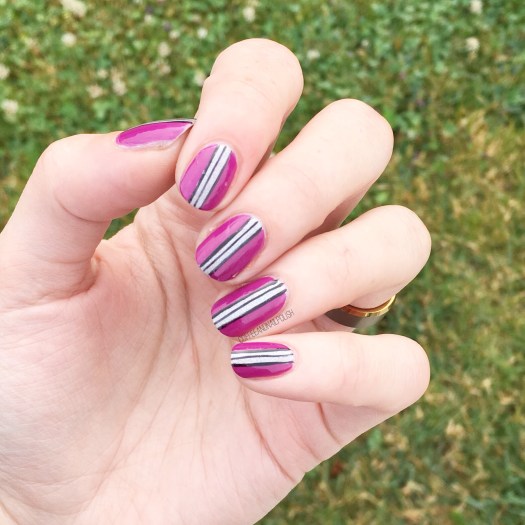
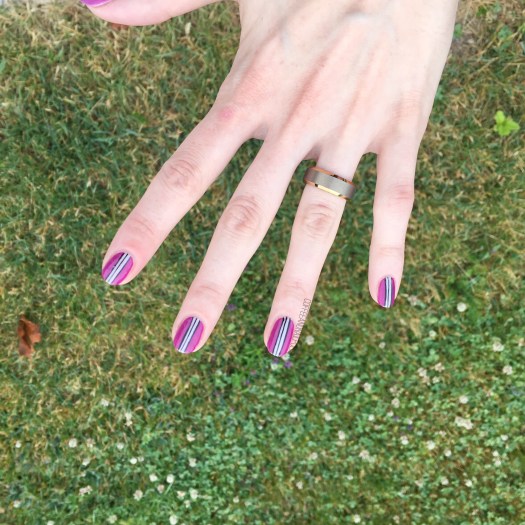
Today’s nails is a simple look that’s easy to do, but makes your nails look way longer than they actually are thanks to the vertical stripes. It’s also a great way to practice your freehand line work! I feel like mine has gotten a little rusty, so I’ve been taking every excuse to practice.

For this design, the polishes I used were:
- Base Coat: OPI Nail Envy
- Top Coat: Essie Speed Setter
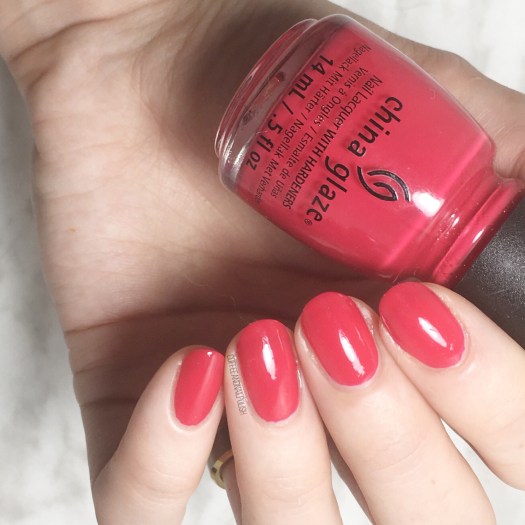
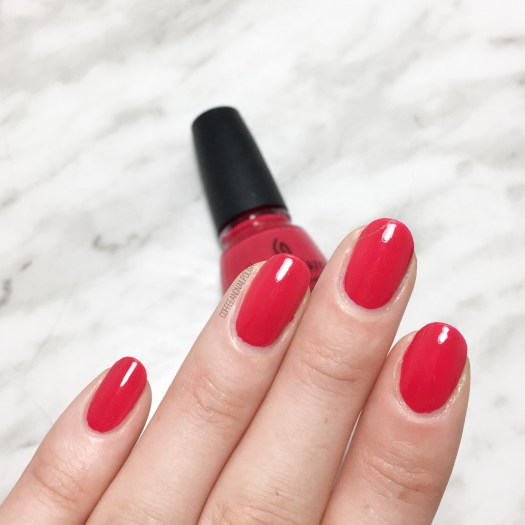
- Essence We Will Spock You
- YSL Beauty Violine Surrealiste
- Kiss Products Nail Art Striper in Black
- Born Pretty Store Aurora Rainbow Nail Striping Tape in purple (item #40423) — I used the thickest tape of the 3

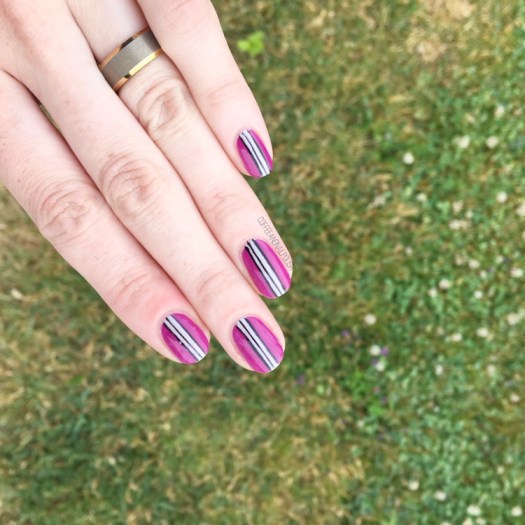
Using striping tape for your initial line in the middle makes creating your smaller black lines much easier. & then end result looks so cool! & gives your nails the appearance of extra length. Plus, like I said, for those of us still working on freehanding straight lines, this really helps with practicing.
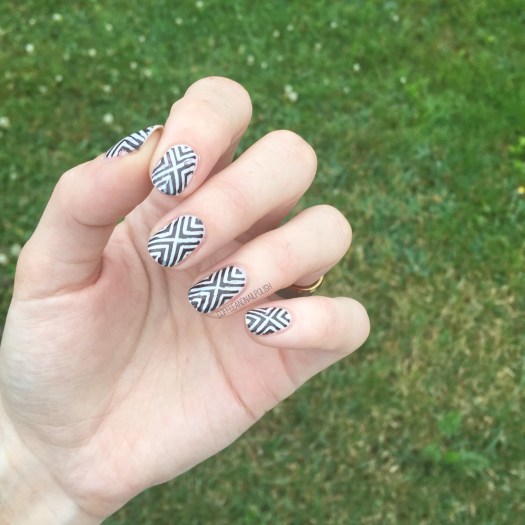
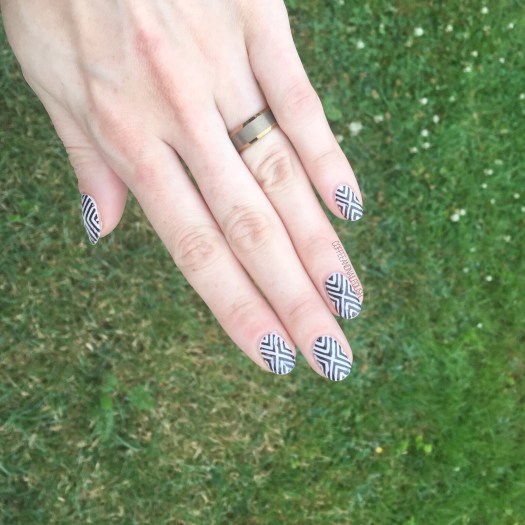
I just love how these kind of look like racing stripes. Sadly the holo of Essence We Will Spock You didn’t want to show thanks to a hazy morning, but the little hint of holo with the purple looked awesome!
Do you have a trick for making your nails look longer? Let me know your thoughts down in the comments below!