
Happy Monday Lovelies! Today is a super exciting day for me because I’m officially starting at my new job after my week away training, which is both nerve wracking & a brand new adventure for me. Also exciting is today’s manicure which was inspired by a few make up cases I stumbled across at Superstore while grocery shopping.

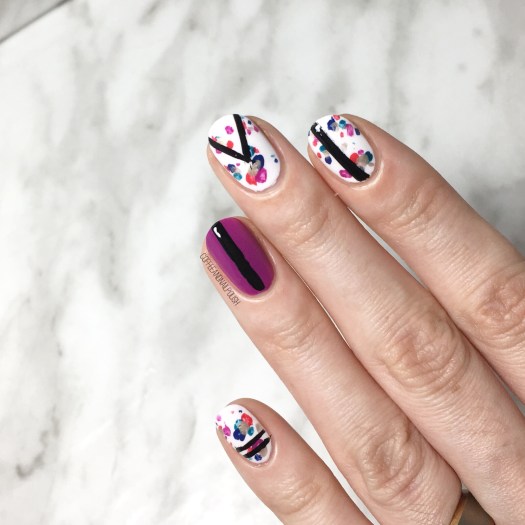
I love when I find inspiration when I’m not looking for it. This pattern just screams nail art, so obviously I had to snap a picture for future nail designs. I loved the imperfect splotches of colour against the white background & loved how well it paired with the other make up back.

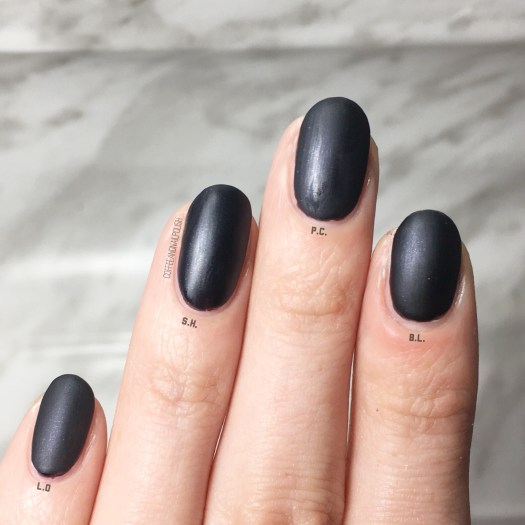
For this manicure, the polishes I used were:
- Base Coat: Quo by ORLYBreathable Kiss Me, I’m Kind
- Top Coat: Seche Vive
- Sally Hansen Hard As Nails Hard To Get
- Essie Flowerista
- Essie Too Too Hot
- Essie Garden Party
- Essie All the Waves
- L’Oréal Feeling Kilty
- Quo by ORLY Nail Art Striper in Black
- Medium size nail art brush

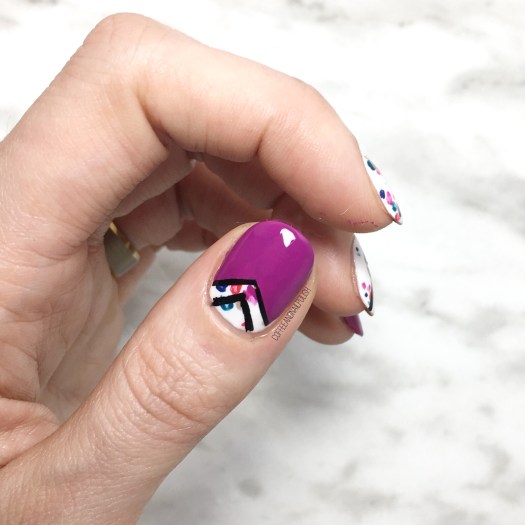
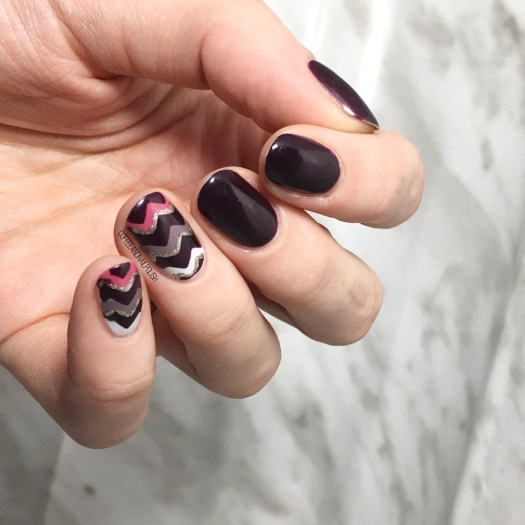
I just love love love how these turned out! The pretty spring colours, the splotches of colour with the geometric lines. It just turned out as perfect on the nail as I pictured in my head. I feel like I don’t do my freehand lines as often as I used to, so I’ve been trying to practice more!
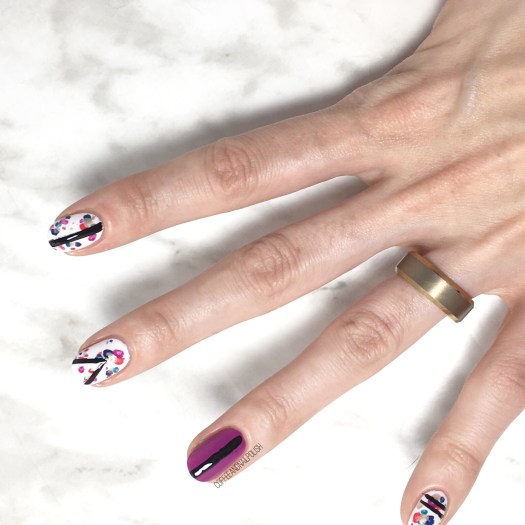
What do you think of this design… do you think I stuck close enough to my inspiration? Where do you get your nail art inspiration from? Let me know your favourite place to find inspiration (or who inspires you) down in the comments below!
Happy Monday everyone 🌸


 <<<<<<<<<<<>
 Sometimes I get really excited about how a manicure turns out & this is one of those times. This isn’t the first Christmas Tree/Tree Branch manicure I’ve attempted, but it’s definitely the best I’ve ever done. I’m just so beyond in love with how it turned out.
 I love that you can see the individual needles on my “branches”. It reminds me of our own sparse little artificial Christmas tree. True story: it’s the same tree my parents used when I was a kid, & the box still has the K-mart sticker on it from when it was purchased. & K-mart left Canada in 1998 I believe, so this tree is at least 20 years old. Haha. But it’s okay because it’s well loved, full of memories & is still going strong all these years later.
 What do you think of this Christmas tree design? Do you have your tree up yet? Let me know your thoughts in the comments below!