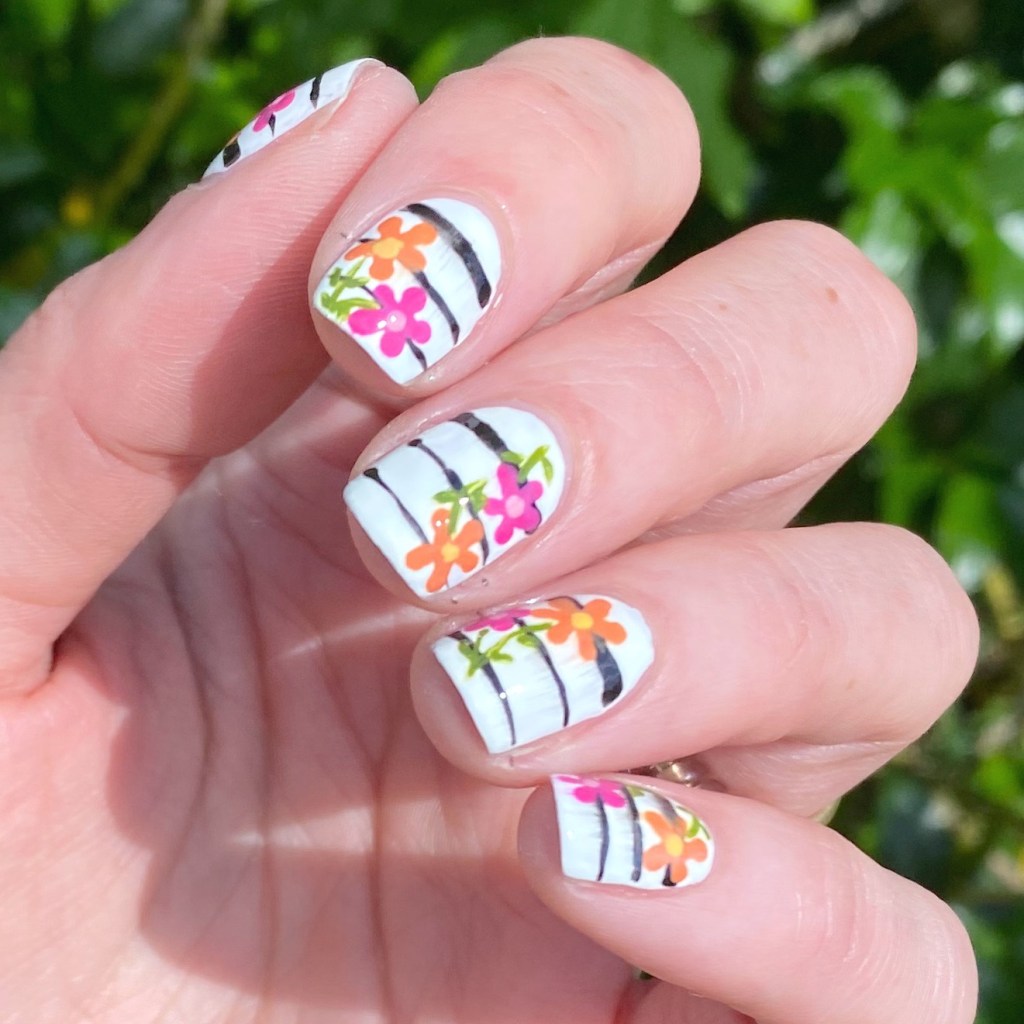
Autumn Floral (Inspired by Christabell Nails)

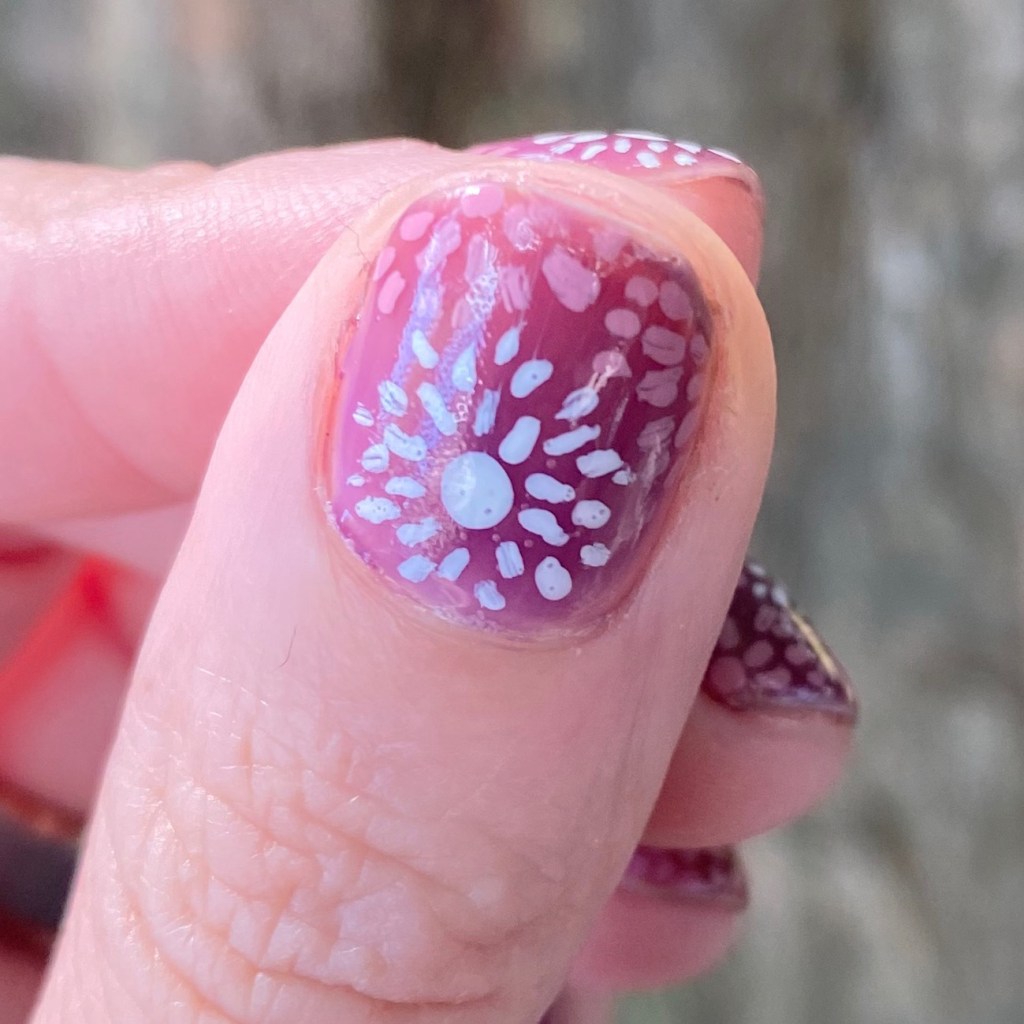
Hello loves & happy Wednesday! I hope everyone is having a good start to their week (& this brand new month!) Today I’m super excited to share a manicure I recently did inspired by one of my OG Nail inspirations circa 2013-2016: Christabell Nails.

I was browsing Pinterest while trying to figure out what I wanted to paint on my nails, when I clicked over to Youtube & saw my Subscriptions & remembered Christabell! After a little scrolling, I stumbled upon her Autumn Floral Nails Tutorial , & knew I needed to recreate it on my nails immediately! It is such a pretty, but unique, design & I thought it would be a perfect September design.
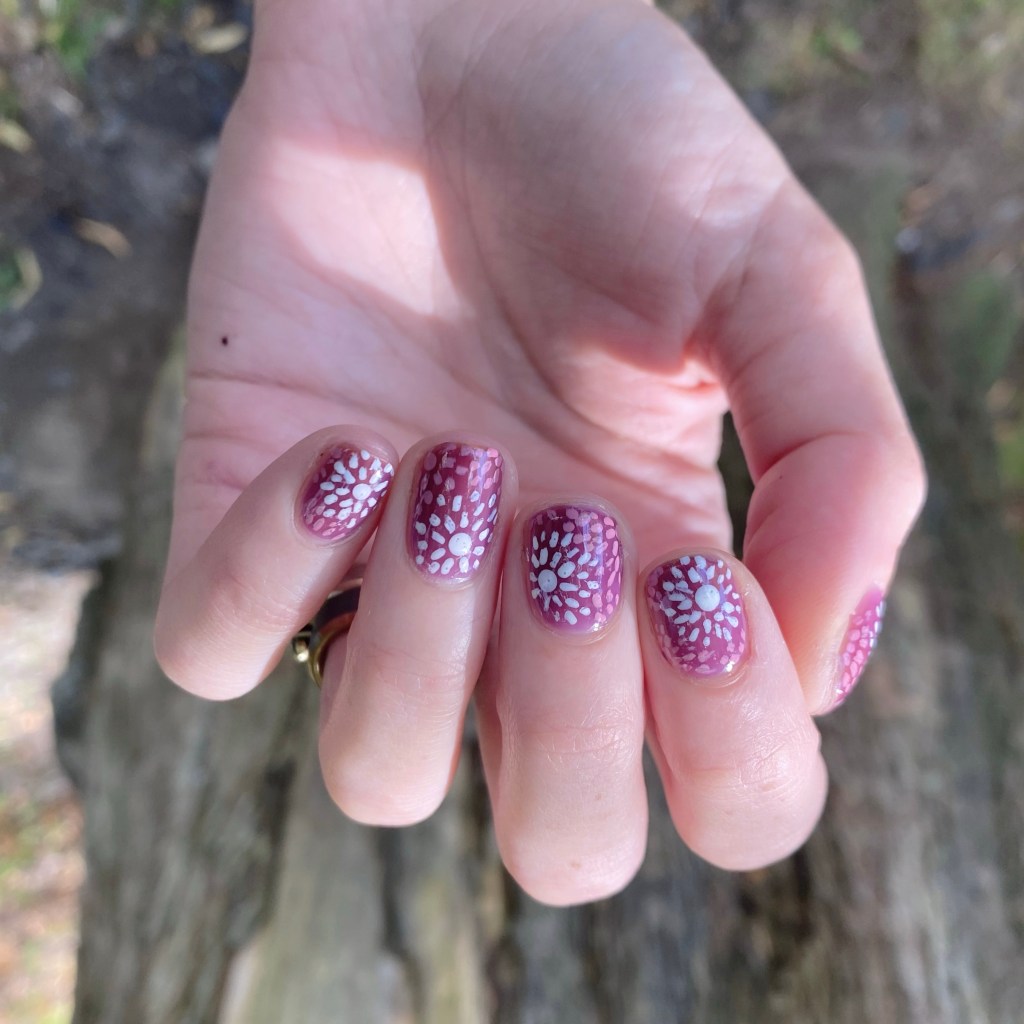
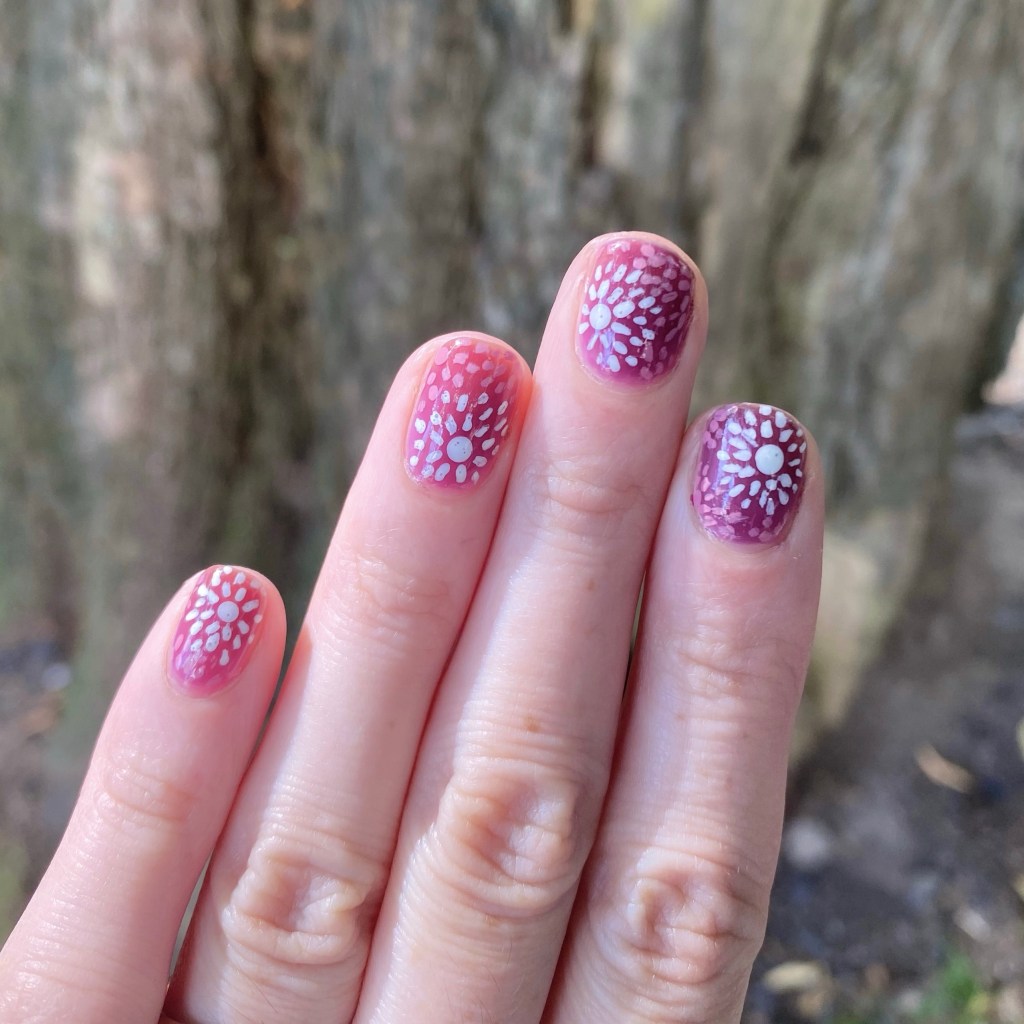
The polishes I used for this manicure are: 

  • Base Coat: Essie Hard To Resist Strengthner
  • Top Coat: Sinful Colors Power Paint Top Coat + Essie Speed Setter
  • Essie Silk Water Colours No Shrinking Violet
  • Essie The A-Bliss
  • Essie Blank Page
  • NailStuff 7mm Liner Brush
  • NailStuff Dotting Tool Trio (larger size)
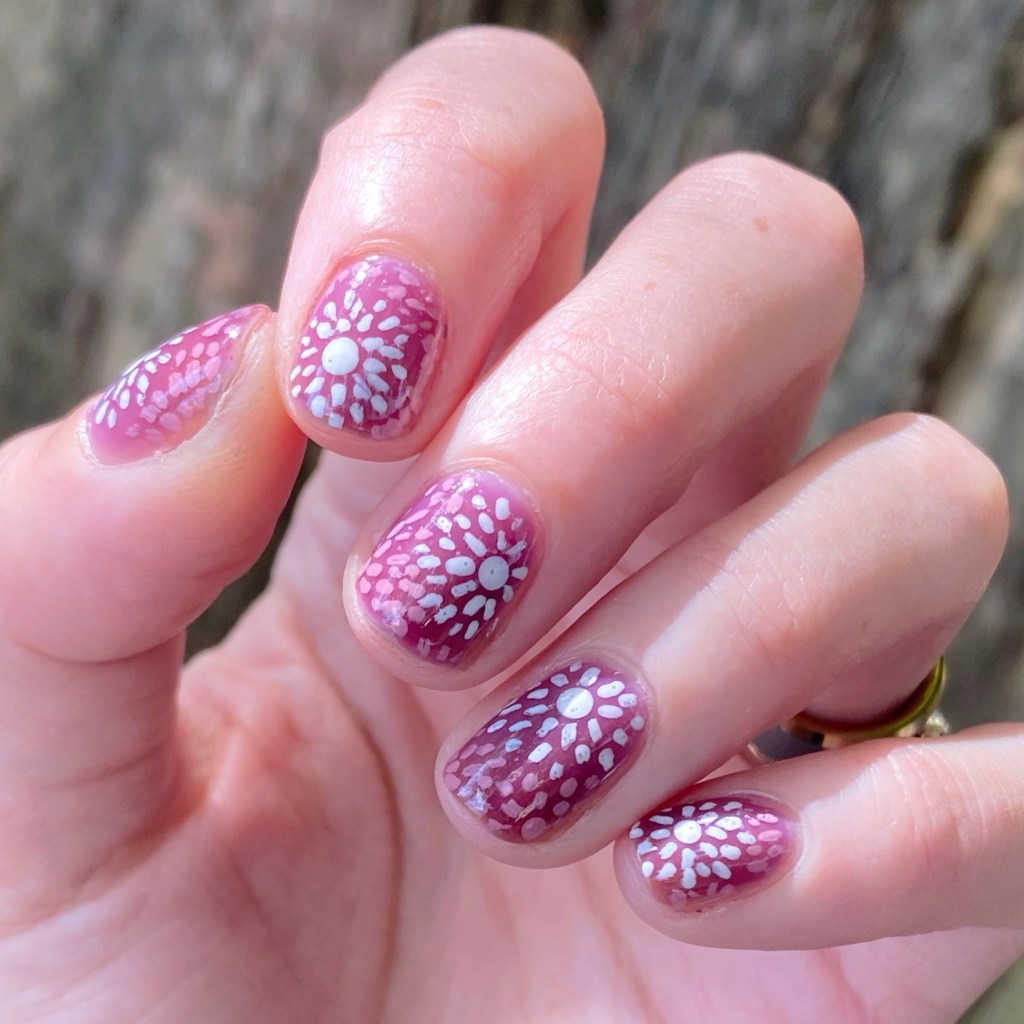
Aren’t these fun? It definitely was a time consuming manicure to do, especially where I painted all 10 of my fingers. But I think it turned out so unique & fun. My strokes were a little messy, but I think that adds to the whole look.

Definitely a striking manicure that came together perfectly, & was absolutely worth the time it took to do!
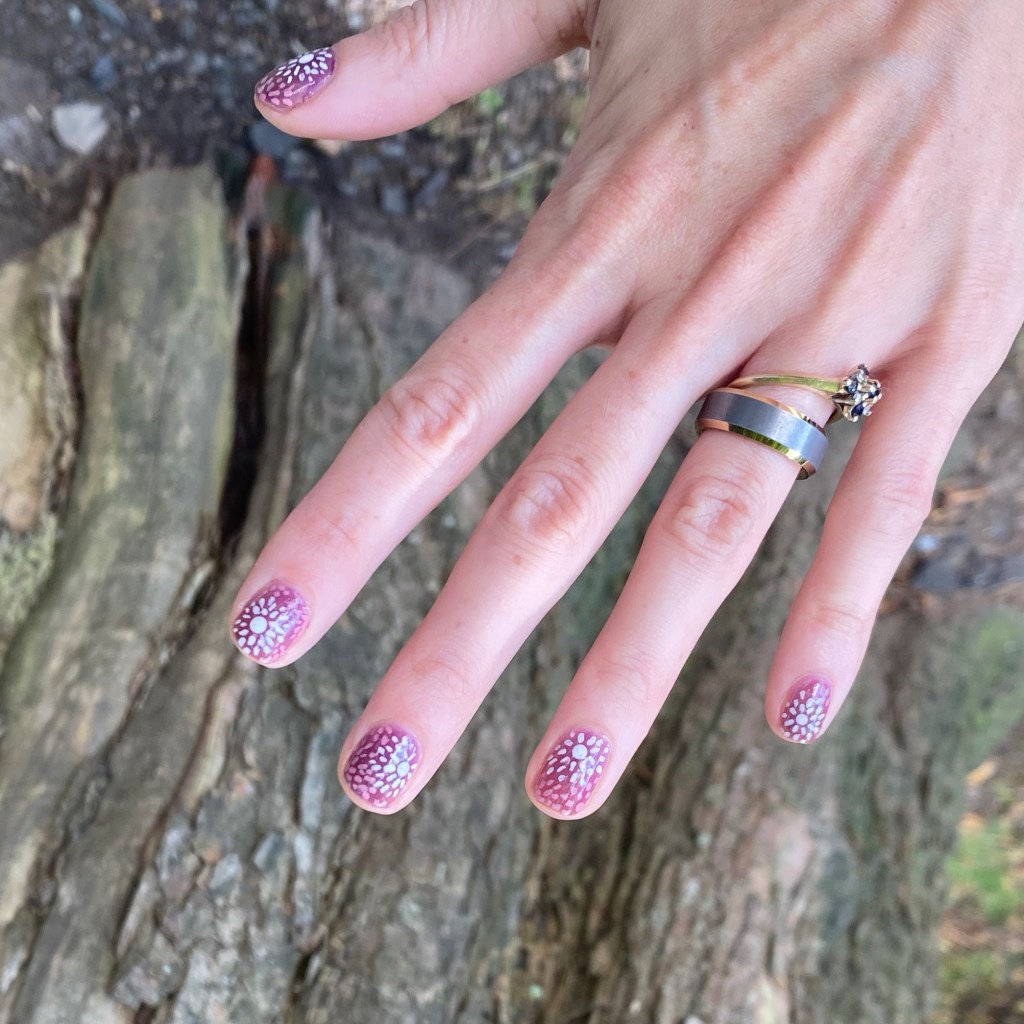
What do you think of this design? Do you like to go back to old nail inspo, & reinsure yourself again? I feel like I might started doing it again — nail artists like pshiit_polish (her instagram is now private, but a lot of old manicures are on Pinterest!), The Nailasaurus & Lucys Stash. Maybe I’m feeling nostalgic to the olden nails of nail blogging, but it’s fun to take a trip down nail polish lane, & be inspired by what could be considered retro nail trends.

Let me know your thoughts, & where you get your nail inspo from!

❤︎
Bright & Funky Abstract Stripes (2000s Inspired)

*contains PR/gifted items

Hello loves & happy Monday!

I am still over here desperately craving Spring weather — while the actually weather does not cooperate. You would think I would be used to it by now (after all these years), & yet every year I get enraged when Spring doesn’t come quick enough. But… I digress. You’re here for nails, & I absolutely love today’s design!

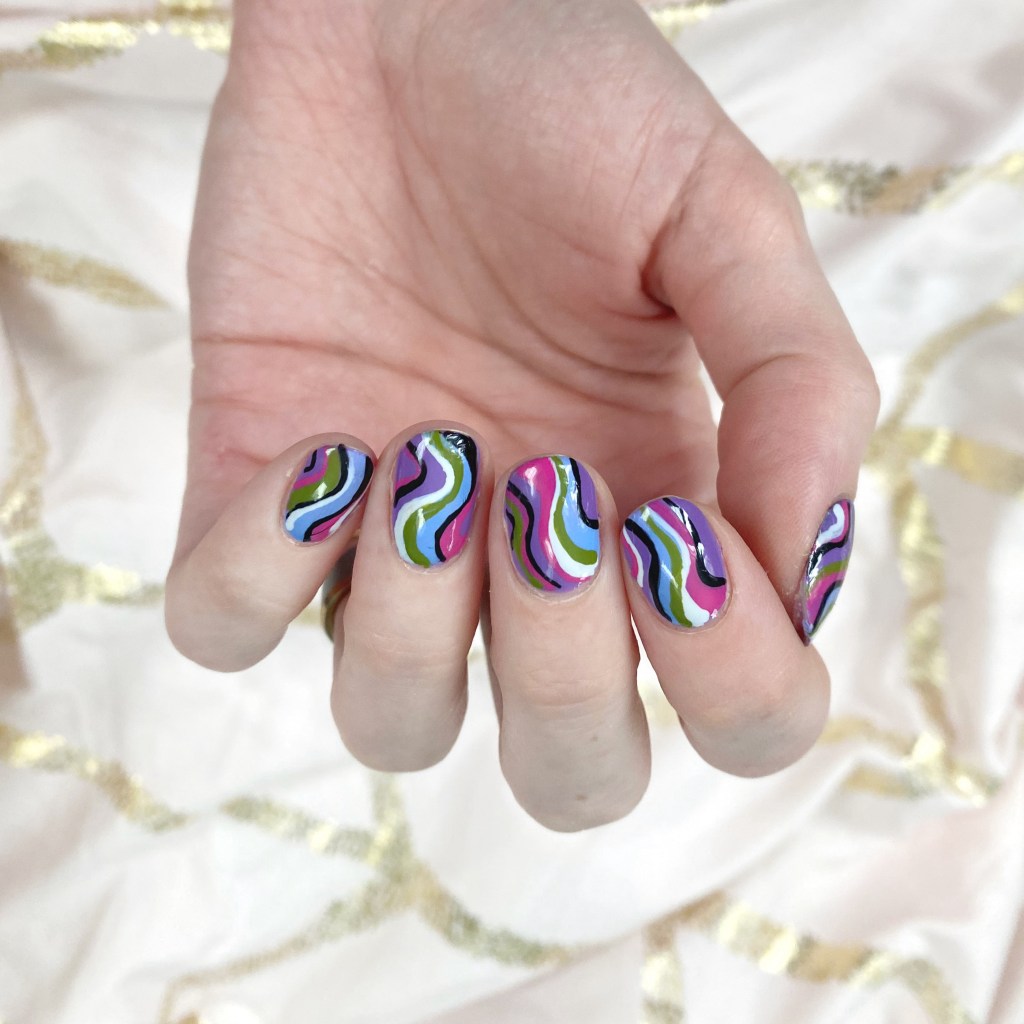
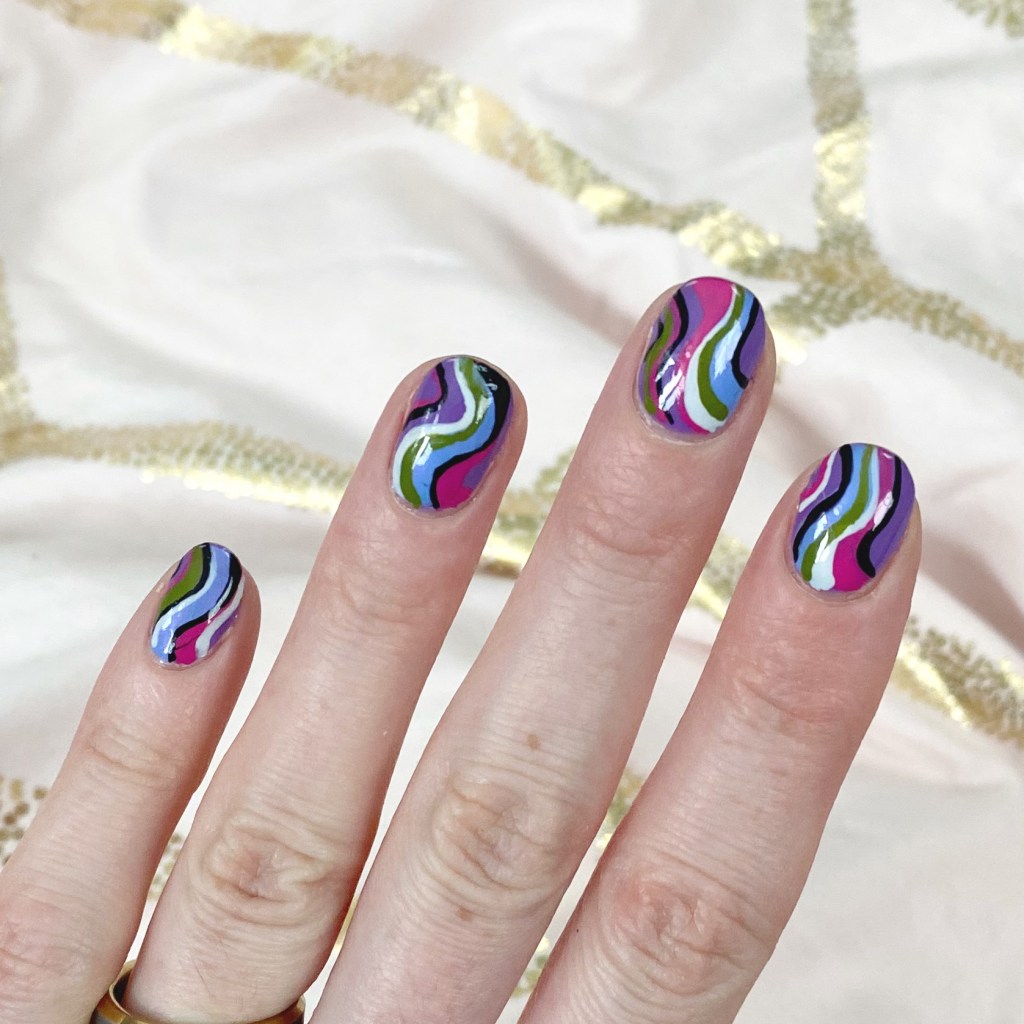
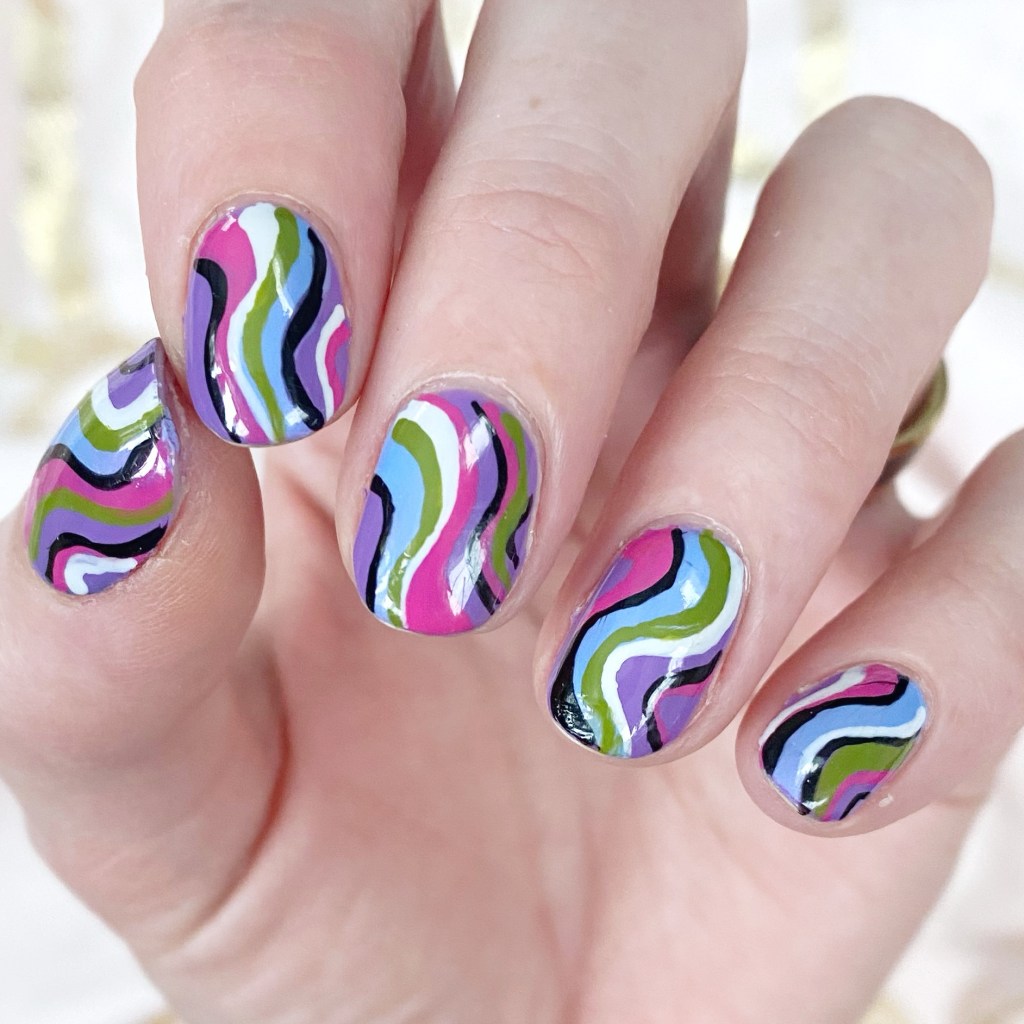
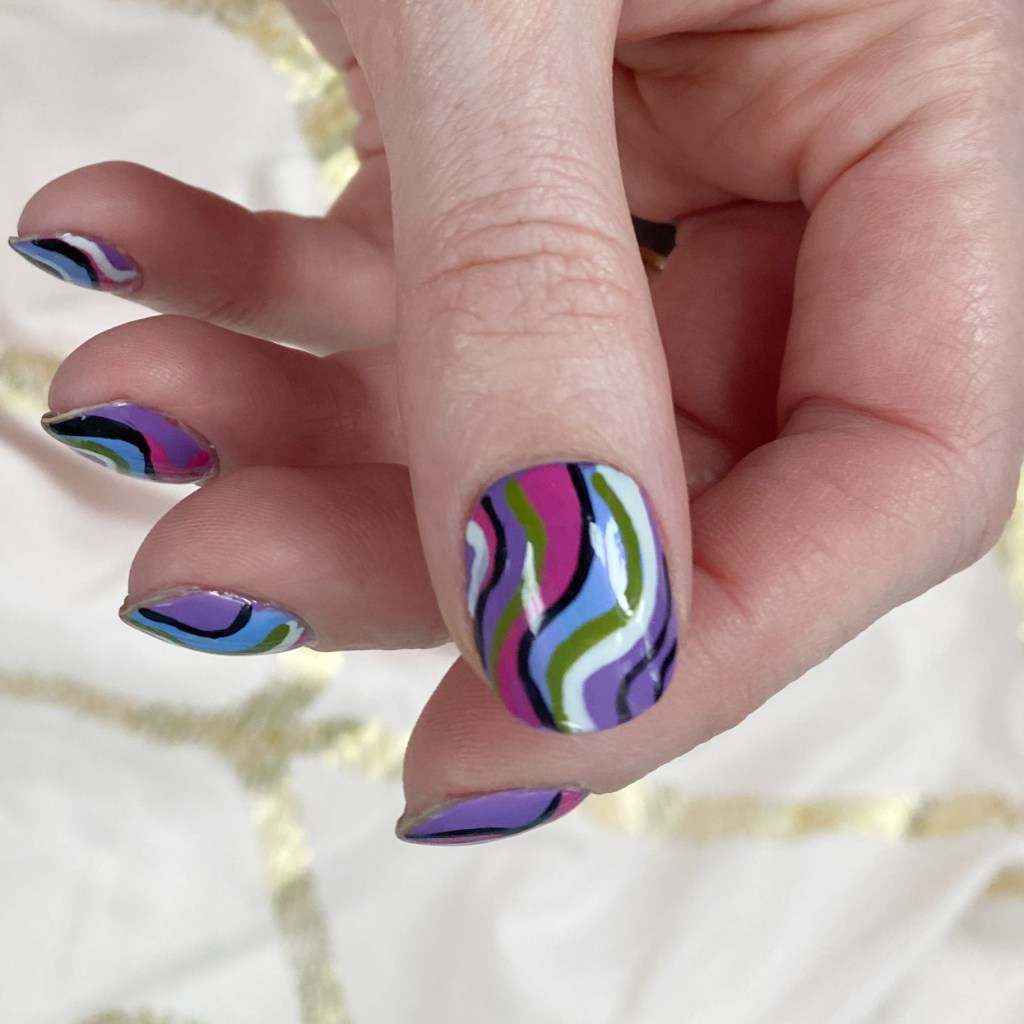
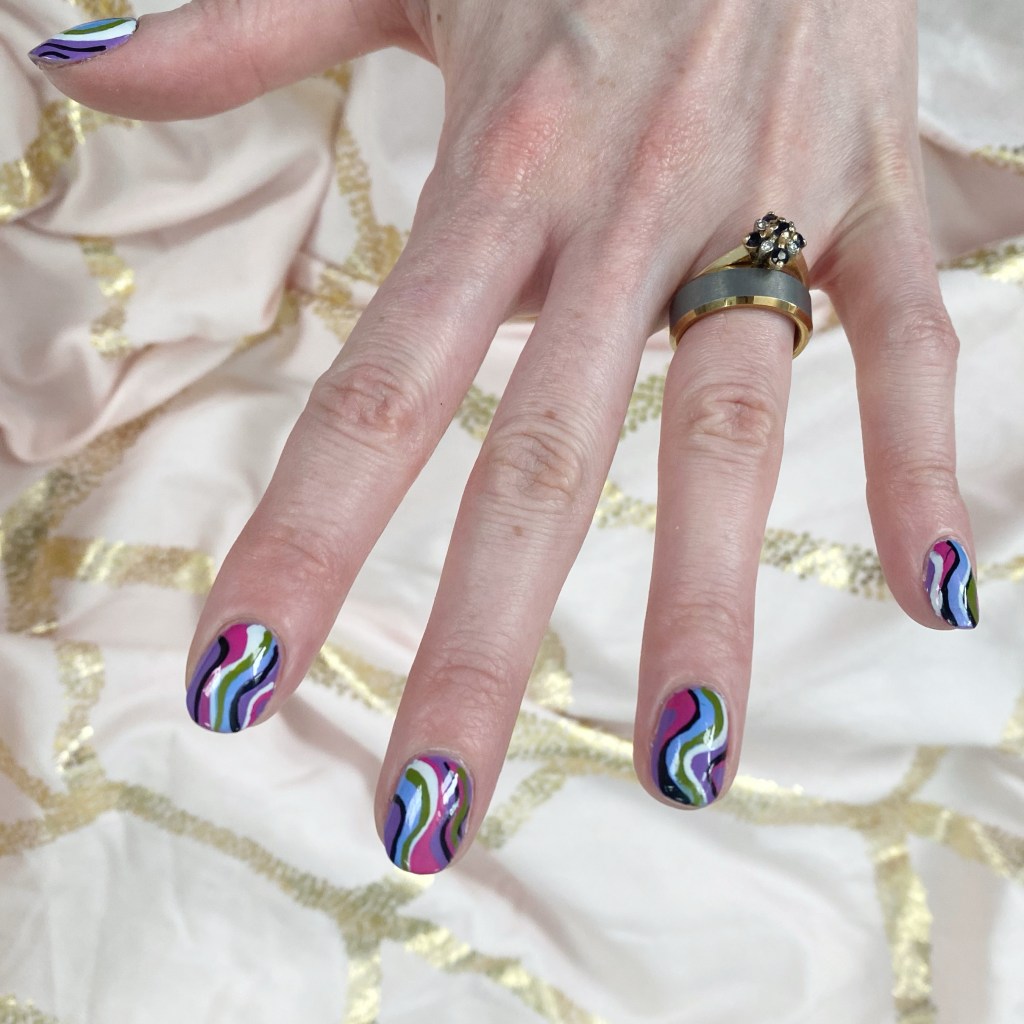
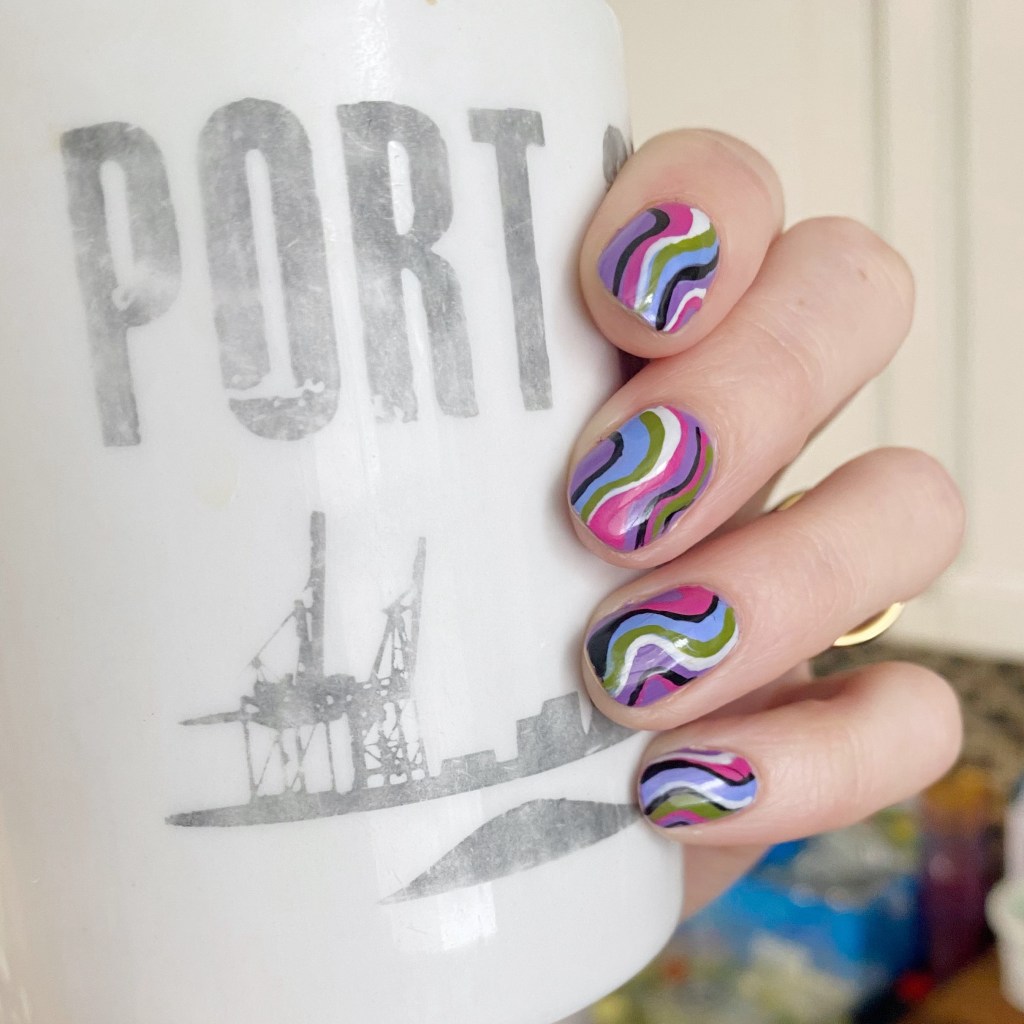
I’m calling these Pucci-esque–not to be confused with Color Club Pucci-licious–& they’re giving me mid-2000s vibes. Specifically: Emilio Pucci’s Spring 2005 collection. I wanted something absolutely bright & colourful, that just screamed Spring, & this combination delivered.

The polishes I used for this manicure are: 

  • Base Coat: Sally Hansen Maximum Growth
  • Top Coat: Seche Vive Gel Like Top Coat
  • Butter London Pure Colour 21X Bloomsbury
  • Essie You Do Blue
  • Sally Hansen Good. Kind. Pure. Peony Origins
  • Essie Willow in the Wind
  • OPI I Cannoli Wear OPI
  • Quo by Orly Nail Art Striper in black
  • NailStuff.ca Mermaid Tail 7mm Liner Brush

Okay — how gorgeous & fun are these nails? I love the combination of colours & how they pop on the nails. They’re just so sunny, & bright which is exactly what my days need when it’s quite a bit below freezing today. I need a little hit of Spring, even if it’s only on my nails (while I stare wistfully at the Spring dresses hanging in my closet, just waiting for me.)

What do you think of these bright & colourful nails? Do you love the colourful combination as much as I do? Let me know all your thoughts down in the comments below, & if you would rock this look on your own nails!

Happy Monday

♥︎

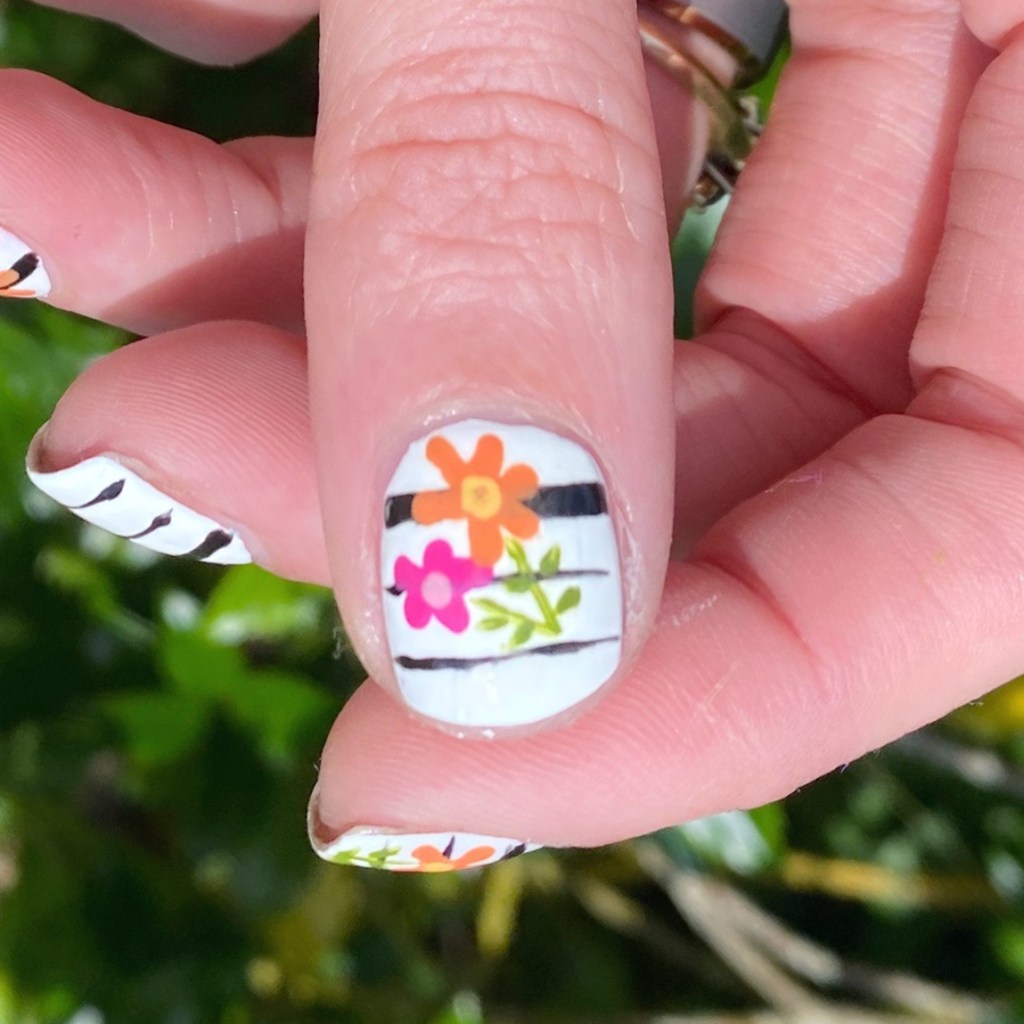
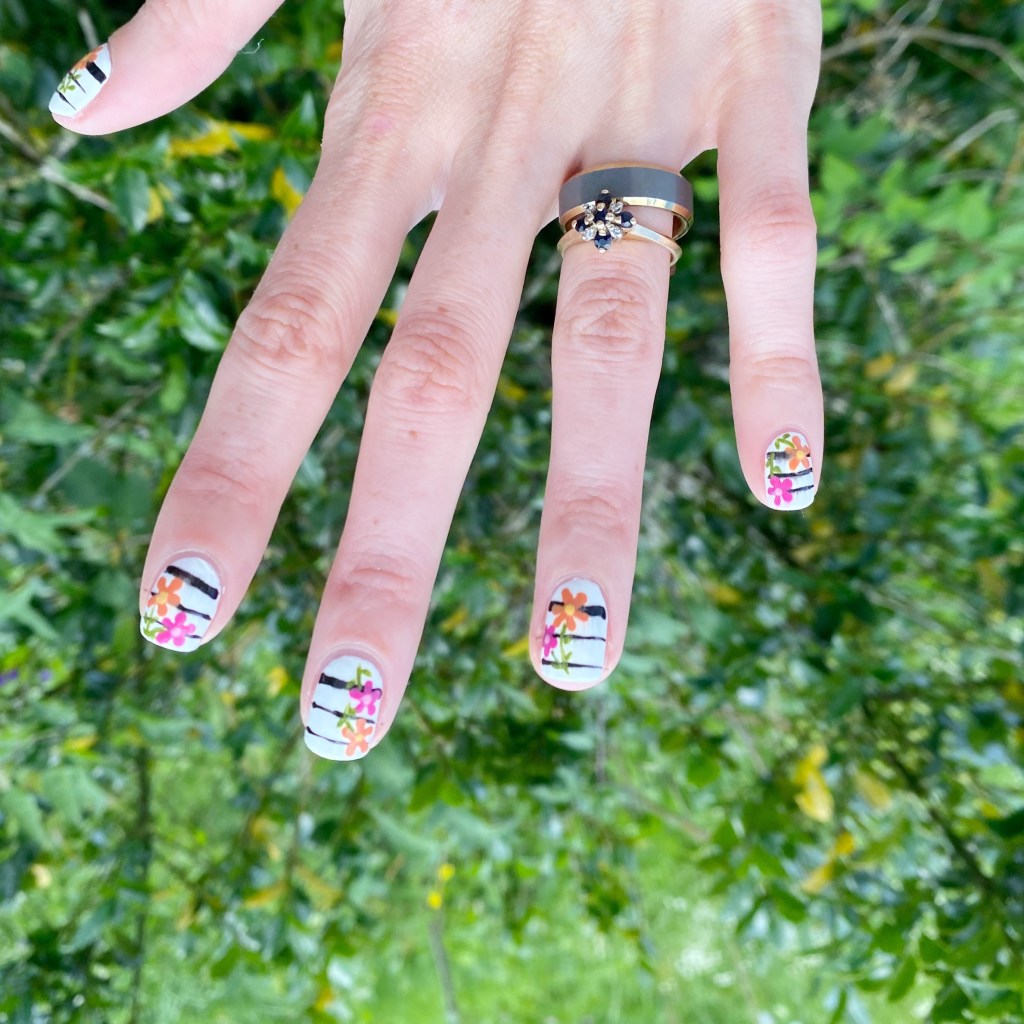
Summer Dress Inspired Floral 🌸

Hello lovelies & happy Wednesday! I hope everyone is enjoying their week so far. What is the weather doing where you are? We’ve been hot & balmy on the East Coast, a big difference from the torrential rainstorm we had on the weekend. I’m definitely happy for brighter weather.

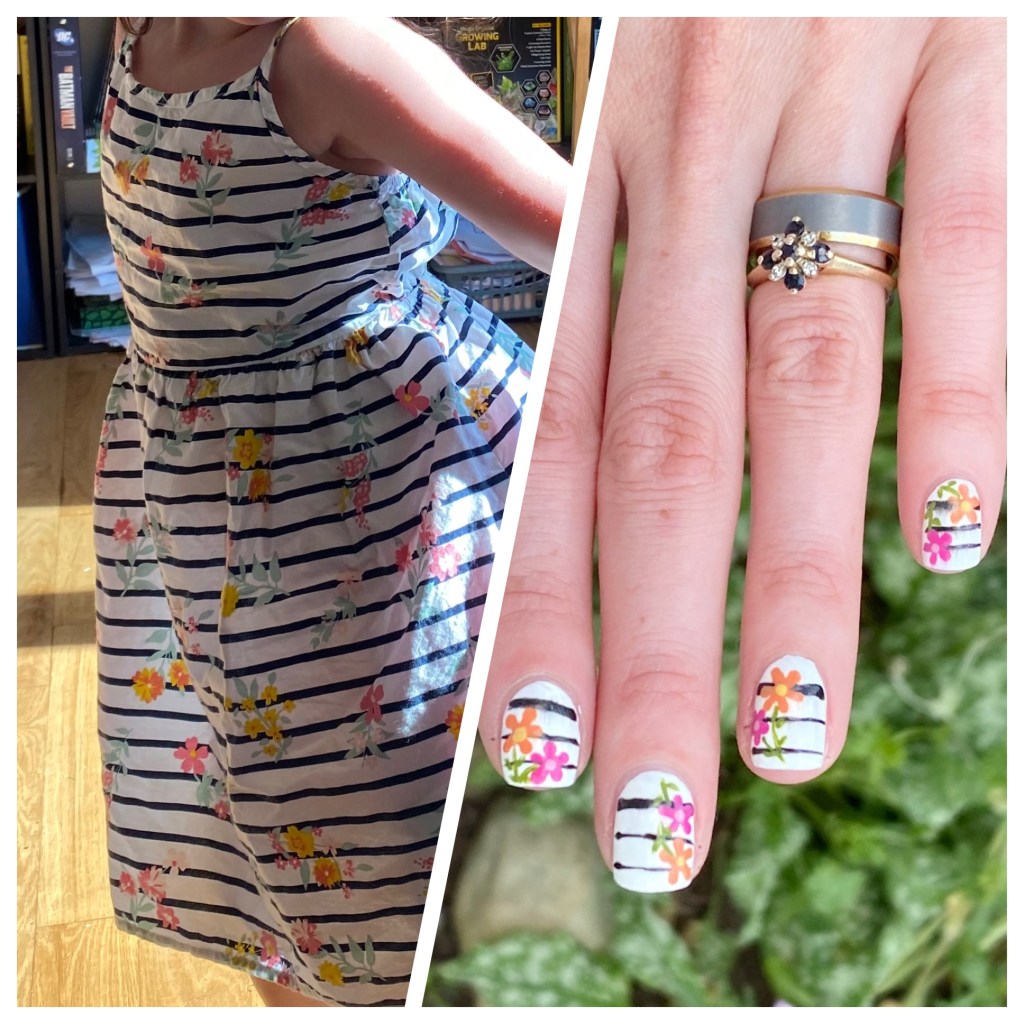
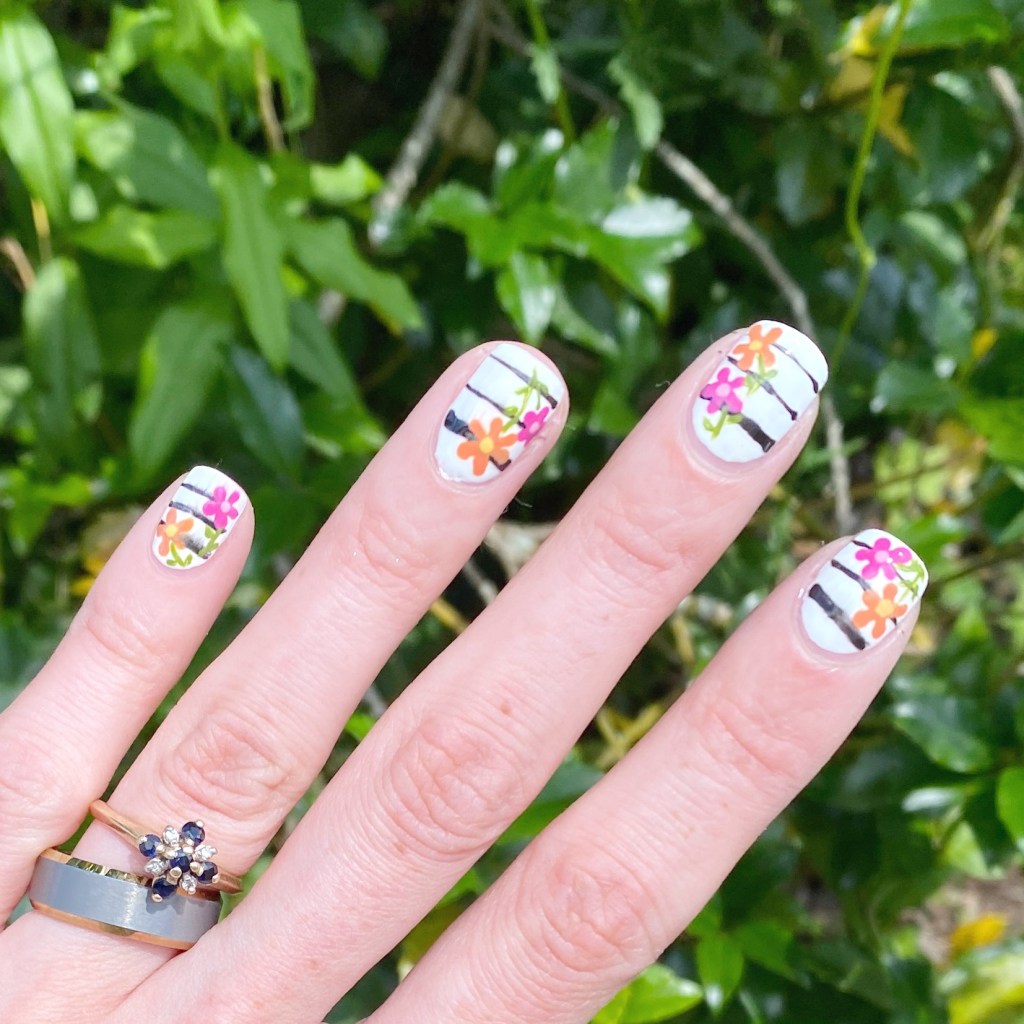
I’m also super excited to show off today’s nail art look. You know the saying “nail art inspiration can come from anywhere”? Well I definitely took that to heart with this nail art look. Recently, I took my daughter thrifting & found the sweetest Summer dress for her, & the second I saw it, I knew I was going to need to do some nail art inspired by it. I’m a sucker for anything floral, & the simple sweet pattern was too cute not to do on my nails!

The polishes I used for this manicure are: 

  • Base Coat: Sally Hansen Miracle Gel Colour Grip Primer Base Coat 
  • Top Coat: Sally Hansen Miracle Gel Glossy Top Coat
  • Essie White Page
  • Sally Hansen Instadri Ghouls Night Out
  • Essie Frilly Lillies
  • Essie Check Your Baggage
  • Essie Willow in the Wind
  • Sally Hansen Good Kind Pure Peony Origins
  • Sally Hansen GKP Love You Lotus
  • NailStuff.ca Mermaid Tail Brush Trio (11mm liner brush)
  • Dotting Tool (NailStuff.ca Dotting Tool Trio)

How cute is this look! I’ll be honest, this wasn’t a super complicated design to paint, but it was a little time consuming… especially trying to make sure my horizontal stripes were straight. &, as you can see from my pointer, I wasn’t completely successful in that regard. But I think this design turned out just like my inspiration, so that’s a win in my books! Such a sweet, pretty design to match my sweet little girl.

What do you think about this floral design? Do you like this line & floral design? Where do you find inspiration for your own nail art looks? Let me know down in the comments, & enjoy your Wednesday!

Gold & Plum Splatter Nails

Hello lovelies & happy Tuesday! A beautiful Autumn Tuesday at that.

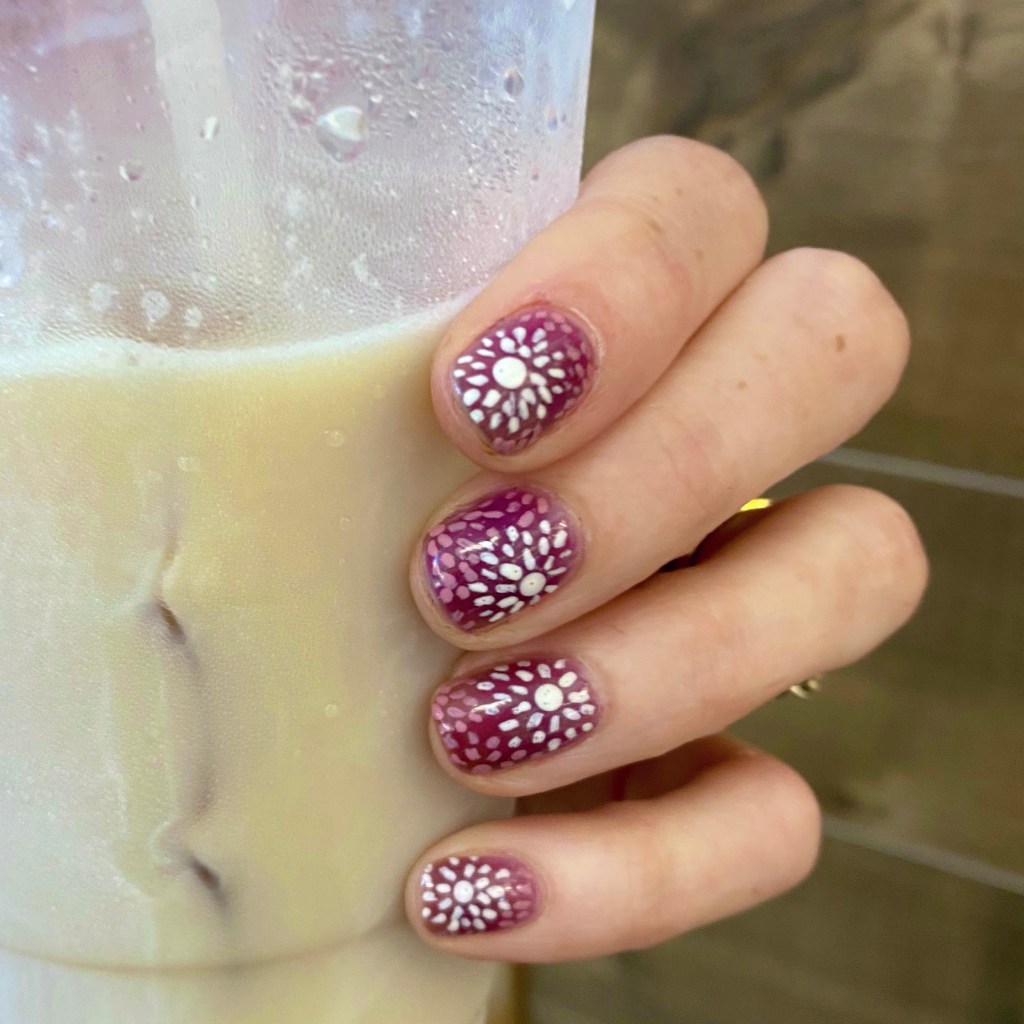
Today I’m showing off yet another fun splatter look, this time inspired by a tutorial by @nailsdnt on Instagram. She used a stamper & cuticle oil to achieve a fun bubbly splatter look, & as soon as I saw her tutorial I knew I needed to give it a try! I just love a good splatter design, & this seemed like such an easy way to achieve it.

The polishes I used for this manicure are: 

  • Base Coat: Essie Hard To Resist Glow & Shine 
  • Top Coat: Essie Gel Setter
  • Matte Top Coat: Sally Hansen Miracle Gel Matte Top Coat
  • Color Club Twice Bitten
  • L’Oreal Feeling Kilty
  • Nailstuff.ca clear stamper
  • Revlon Cuticle Oil

So obviously, first thing is first: I apologize for my weird cuticle area. Between an older top coat, & some weird matte top coat effect, it kind of gave me a messy finish. I’m definitely due for a new bottle of top coat.

Second, as you can see my nails did turn out pretty cool, although there are some differences between my splatter finish & the original design. While the original tutorial used a nail cuticle pen, I chose to use my bottle of Revlon cuticle oil, which I think lead to too much oil on the stamper. Her’s had more of a bubbly effect, while mine reminds me more a classic splatter.

But either way I love the end result. It’s so pretty! & the matte top coat just makes it look even more beautiful — I think the matte top coat just completes the look.

What do you think about this look? Are you enjoying these splatter nails I’ve been wearing lately? Let me know down in the comments below.