Gradient Cactus Nails

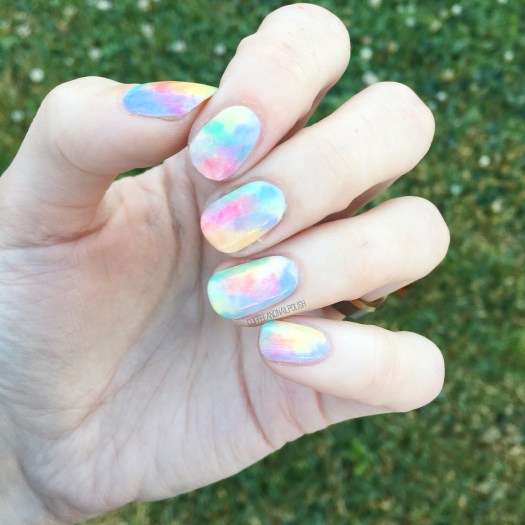
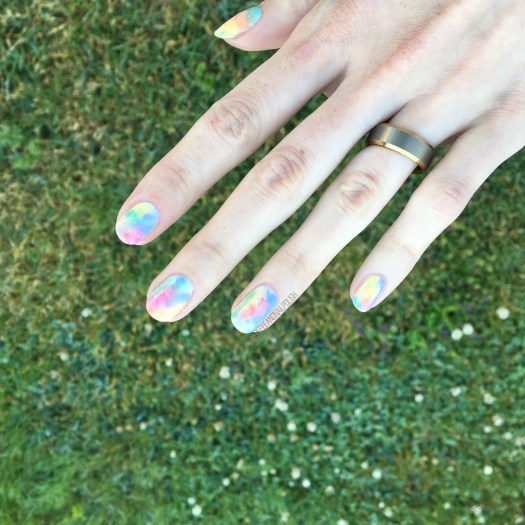
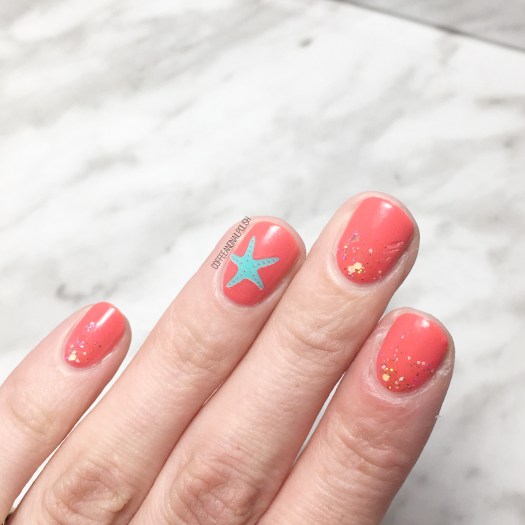
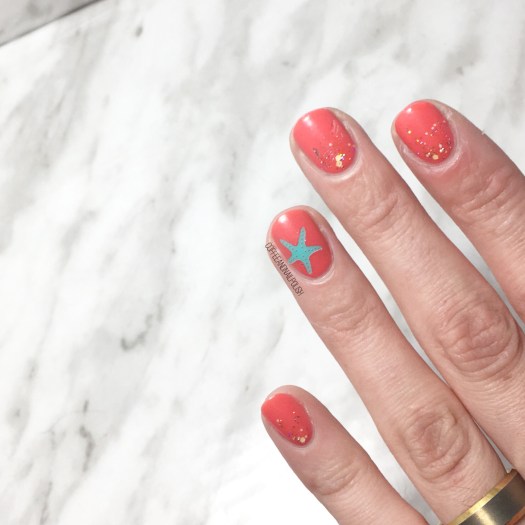
Good afternoon & happy May everyone! Who else excited for warmer days. I feel like I’m saying this every post, but I’m just. so. ready. This winter has felt just so darn long & I’m craving neons & brights.

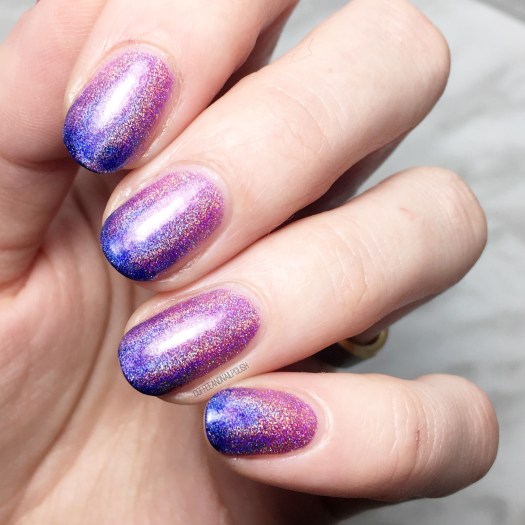
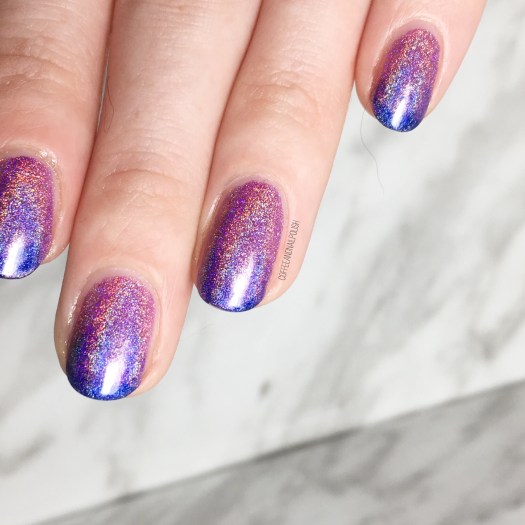
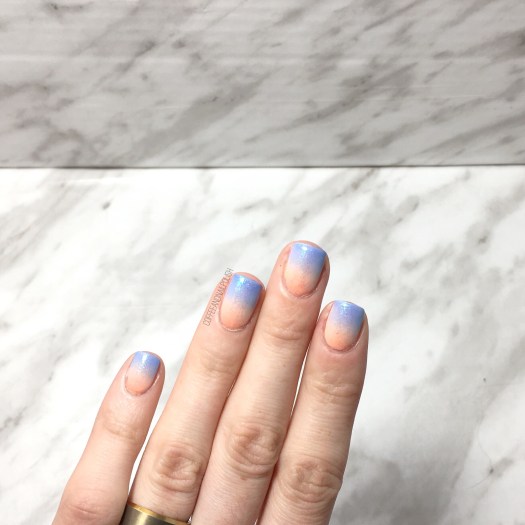
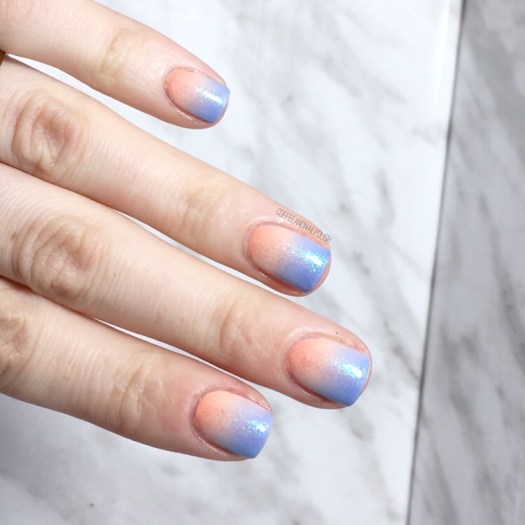
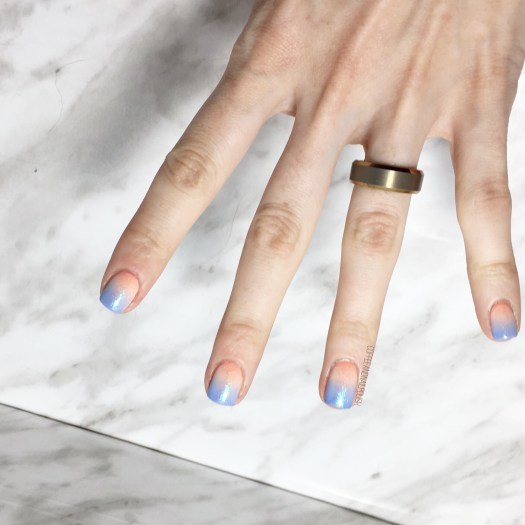
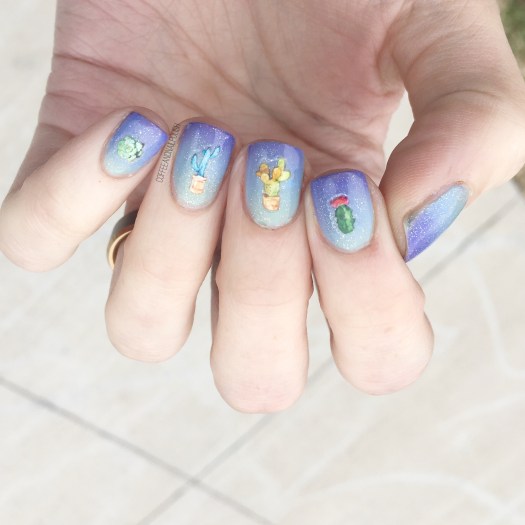
I was also craving a gradient as it felt like absolute ages since I had created one, so I decided to go with a blue toned look. & to finish off the look I added these absolutely adorable cactus stickers that Victoria from NailStuff.ca sent to me because she knows my love for cacti! 🌵 Have you checked out her collection of nail stickers & nail decals? I’m obsessed. So many fun designs for easy nail art this Summer.

For this manicure, the polishes I used were:

  • Base Coat: OPI Nail Envy
  • Top Coat: Seche Vive
  • Essie Fashion Playground
  • Sally Hansen Miracle Gel Sugar Fix {PR sample}
  • China Glaze I’ve Got A Blue Attitude
  • Sally Hansen MG Make It N-Ice {PR sample}
  • Edge Perfection Cuticle Barrier {PR sample}
  • Cacti Nail Stickers {gift from Nailstuff.ca}

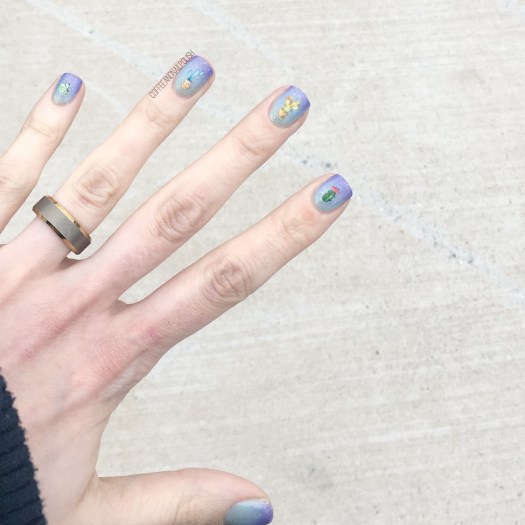
My gradient skills were a little rusty, but I love this look so much. The colours used almost give the gradient a thermal polish feel & obviously I couldn’t do a gradient without adding a little glitter. & finishing off the look with the stickers just made them a little more fun!

What do you think of this look? Share your thoughts down in the comments below!

Pink Purple Blue Holo Gradient

Good morning everyone & happy Wednesday! Today I’m showing off some holo nails with this pinky purple blue holo gradient. Sometimes you just need to do something a little fun on your nails to jazz up your Wednesday!

This gradient was a spur of the moment decision & because of that I couldn’t find my usual sponges so I decided to try using a make up applicator. It didn’t turn out exactly like I wanted (or how I’ve seen other nail artists do it) but that’s okay because the holo kind of hides that fact! ✨Another reason everything is better with holo.

The polishes I used for this manicure:

  • Essie Grow Stronger
  • Essie Speed Setter Top Coat
  • Wrenn Polish Mesmerizing
  • Color Club Eternal Beauty
  • OPI Give Me Space
  • Small Sponge make-up applicator

Look. At. That. Holo. Also please ignore the cat hair on my finger haha. Even though my sponging if the gradient was kind of a fail, the holo really hides that fact which I love. Next time I would probably try this colour combo the old fashioned way, but for a quick spur of the moment design, I still think these turned out great. Plus it was super easy, & when you’re tired & doing your nails at 11:30 at night, sometimes that’s the only thing that really matters.

what do you think of this gradient. What is your favourite holo polish? Let me know down below in the comments!

💕

Rainbow 🌈 Nails

Good Morning Lovelies & Happy Monday. Today I have a special manicure to share with you in honour of it being Pride Week in Halifax right now — some rainbow nails. This past weekend, I went out to celebrate & attended my very first Drag Show ever! So in honour of that, I wanted to create a design bright & colourful, & with a touch of glitter.

For this design, the polishes used were:

  • Base Coat: OPI Nail Envy
  • Top Coat: Essie Speed Setter
  • Sally Hansen CSM Let’s Snow
  • Sally Hansen MG Just Maui’d
  • Sally Hansen MG Bourbon Belle
  • Sally Hansen Xtreme Wear Mellow Yellow
  • Essie First Timer
  • Quo by ORLY Pep in Your Step
  • China Glaze Fairy Dust
  • Latex Free Make Up Sponge
  • Wet n Wild Clear Polish
  • This design was super simple to create. I started off with a plain white base (my current favourite White polish!) & then sponged each colour over top of the white. Next I took a clear nail polish that would streak the colours together & repeatedly brushed over the nail so they blended. This is a trick I like to use with gradients, sponged looks & dry brushes because it blends them together really well (especially good with gradients!) & then I finish with actual top coat after. I also felt like this design needed a little bit of glitter, so I added some fairy dust as well.

    I really love this combination of colours & the rainbow-ness of it. It was the perfect design for the awesome night I had out dancing! I’m very proud to live in a city which can celebrate Pride with such festivity & inclusivity. There really is an event for everyone!

    What do you think of my rainbow nails? 🌈 Have you ever attended a drag show before? Share you comments down below & let me know what you think!

    Quick & Easy Summer Nails

    Happy Summer lovelies! & Happy Friday! I hope everyone is as excited for sunny days as I am! ☀️ seriously, the last few months has felt like a never ending Winter with a little fall thrown in for good measure. I’m very excited for sunshine & beach days… even if I spend most of my time hiding out within the walls of the Mall.

    I just got over a very busy couple of weeks, which meant my nail designs needed to be fairly simplistic (since I had no time to do my nails!) That means I’ve been wearing either solid colour nails or going with simple accent nails. I’ve had these nail stickers from Icing in my nail art collection for a few years now, but I felt like I haven’t worn them in a while. I really wanted to have a contrasting colour to my base shade, so I decided to pick one of these turquoise starfish stickers as my accent.

    For this manicure, the polishes I used were:

    • Base Coat: Sally Hansen Green Tea + Bamboo Strength
    • Top Coat: Essie Gel Setter
    • Essie Sunday Funday
    • Deborah Lippmann Make Someone Happy
    • Icing Stores Nail Art Stickers (beach themed circa 2015/2016)

    Originally I was planning on just wearing Essie Sunday Funday on its own with the starfish sticker, but it really felt like it needed something extra which I why I added the glitter gradient on my other nails…. & I LOVE how it turned out. Like, seriously love. It gives the design that Beachy feel I was hoping for without too much work. Like I said, it’s been a CRAZY few weeks with a lot of late nights at work, so nail art has taken a bit of a back seat. Thank goodness I have a huge back stock of nail art stickers & decals & other goodies to make doing my nails so much easier!

    I think coral & turquoise is going to be one of my favourite colour combinations for Summer. After seeing them together here, I’m definitely going to need to do a half moon design featuring them… like now! (Or whenever I recover enough to actually function for nail art haha.)

    what do you think of this simple design? Do you use nail art stickers to fancy up your nails? Share your thoughts down below!

    Beachy Gradient Nails

    Happy Thursday lovelies! Who else can’t believe this week (month… year…) is speeding by as quickly as it is? Seriously, wasn’t it just Easter?

    Today I’m sharing a recent gradient that is giving me beachy vibes! 🏝 The colours for this design was inspired by a recent trip to David’s Tea (for my mid-afternoon matcha fix) & their Spring colour scheme. I was loving all the gradients & the beautiful shades that I knew I had to create a gradient on my nails ASAP.

    For this manicure, the polishes I used were:

    • Base Coat: Nailtek 2
    • Top Coat: Essie Gel Setter
    • Sally Hansen Miracle Gel Bourbon Babe
    • Sally Hansen Miracle Gel Sweet Tea
    • Sally Hansen Xtreme Wear Babe Blue
    • Sally Hansen Xtreme Wear Royal Hue
    • Icing Stores Mermaid Mint Shimmer
    • Latex Free Make Up Sponge
    • Edge Perfection Cuticle Barrier

    Seriously, how fun are these? I loved the gradient just on its own, but adding the shimmer from Icing Mint Mermaid Shimmer really brought it over the top. Also I’m so happy with how the blend turned out in this design. Considering how awful my beginner gradients just to look (mostly because I was terrified of having to clean polish off my hands!) I’m really, really happy with them now.

    Also these totally make me want to go to the beach. Hopefully it will be warm enough for those days soon enough!

    What do you think of this design? Does it remind you of the beach? What are your favourite gradient tips & tricks? Share all your thoughts down in the comments below!