An Easy Halloween Glitter Gradient 🎃✨

Hello lovelies — it’s Friday! & I’m definitely happy for the weekend as it’s my birthday weekend. Today is also Friday the 13th, which for most is a scary day but Friday is my lucky day, & 13 is my lucky number. So I’m always excited for a Friday the 13th!

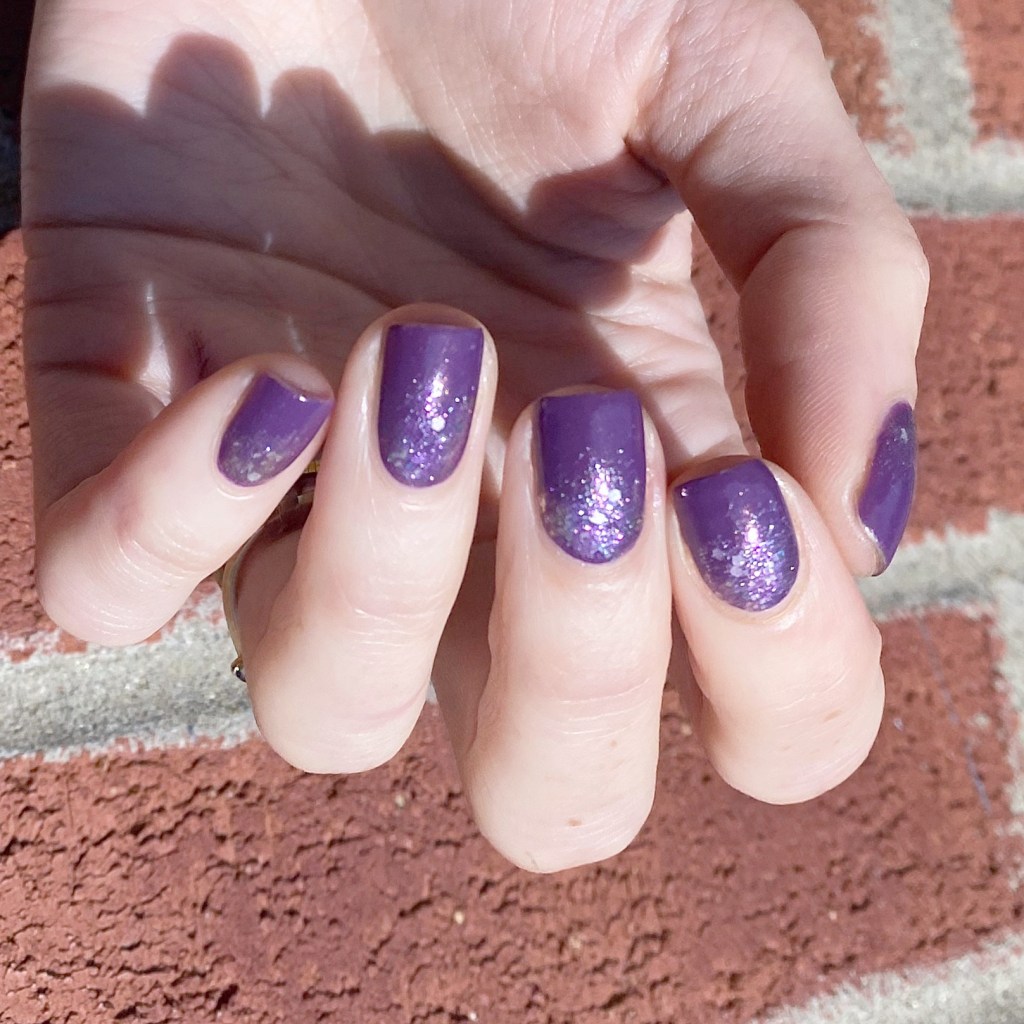
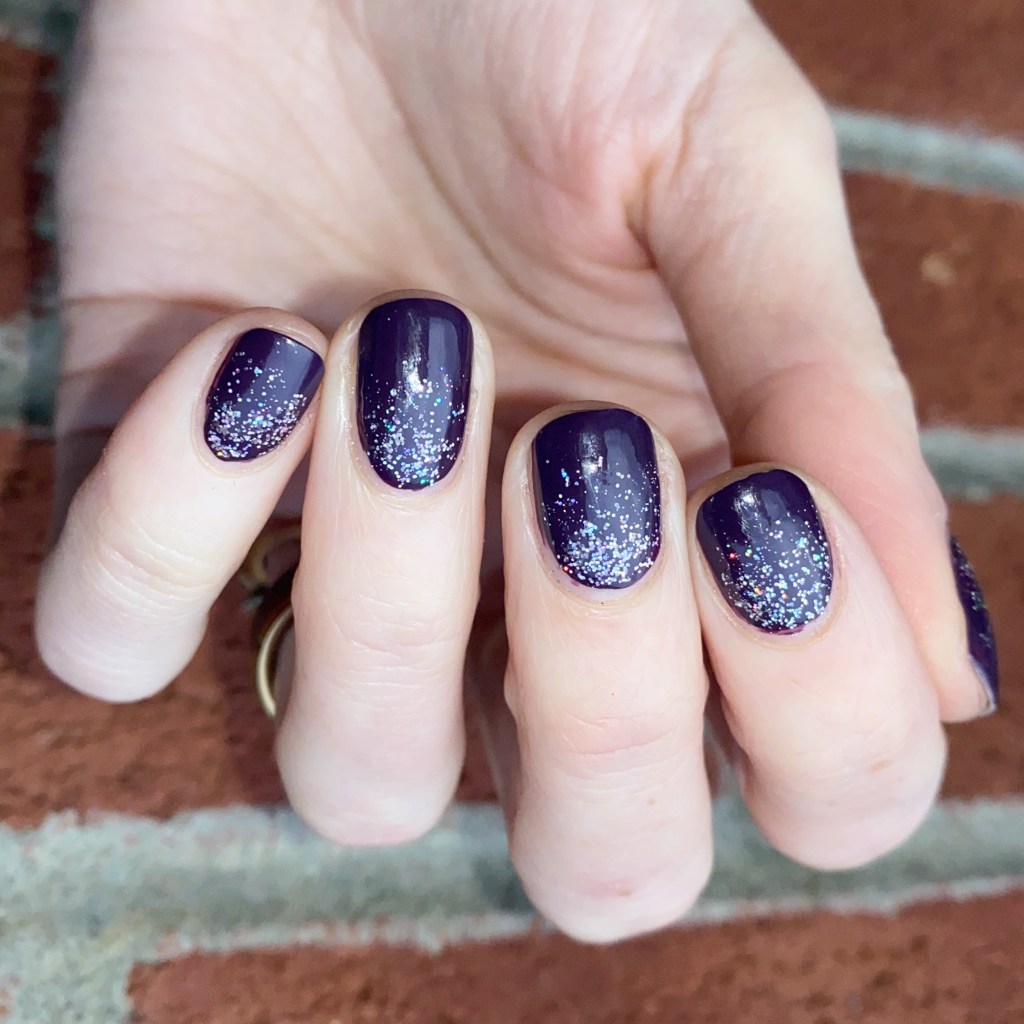
Today I’m taking a break from the Glam Nails Challenge designs for a quick & simple Halloween inspired glitter gradient.

The polishes I used for this manicure are: 

  • Base Coat: Sally Hansen Miracle Gel Colour Grip Primer Base Coat 
  • Top Coat: Sally Hansen Insta-Dri Top Coat
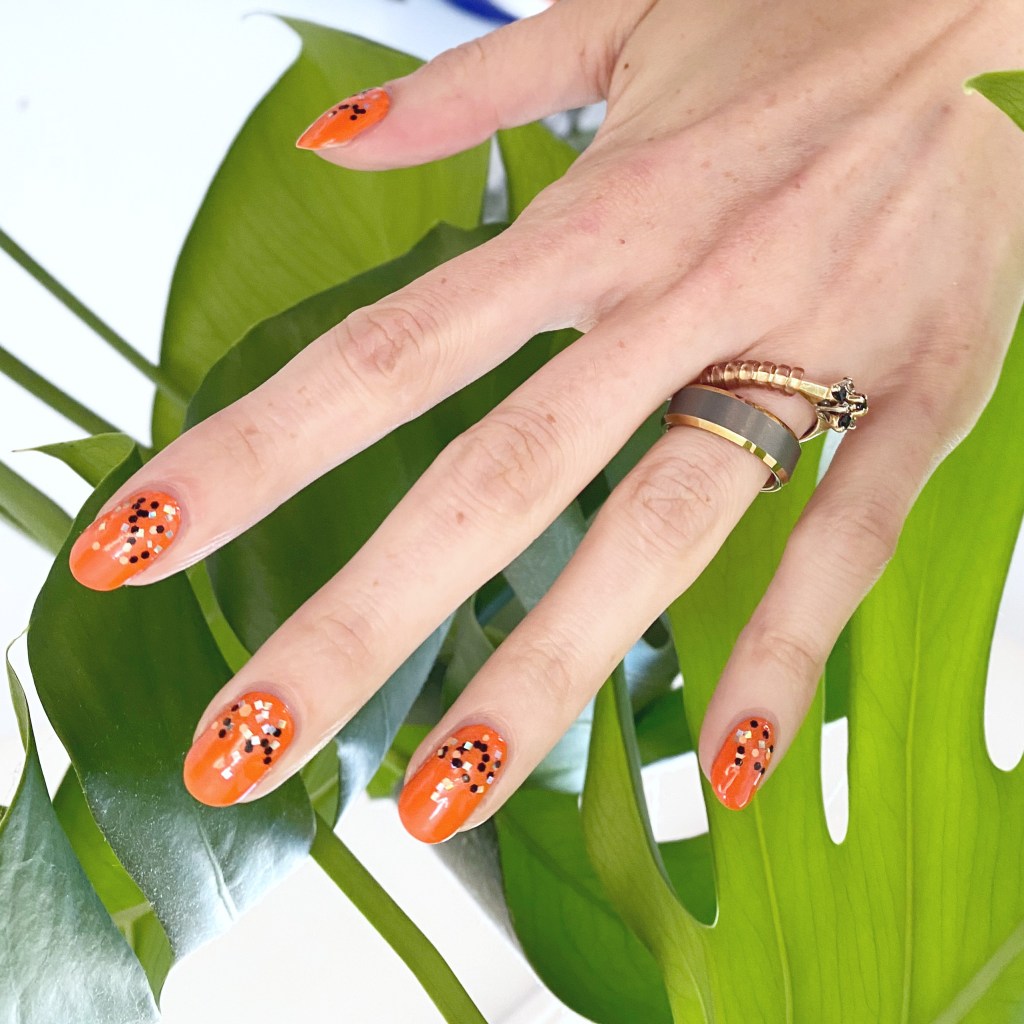
  • Sally Hansen InstaDri x Sour Patch Kids Pump-kid
  • Sally Hansen InstaDri x Sour Patch Kids Hallo-Queen

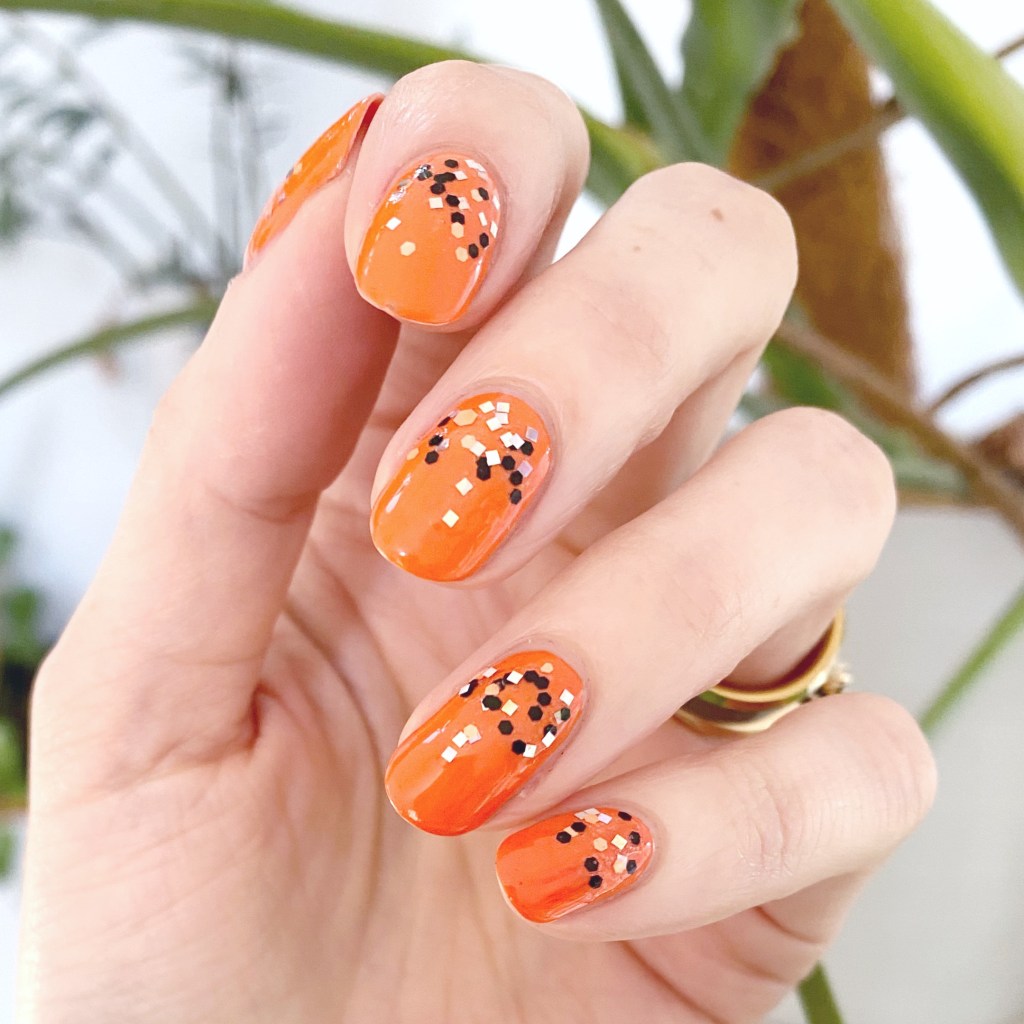
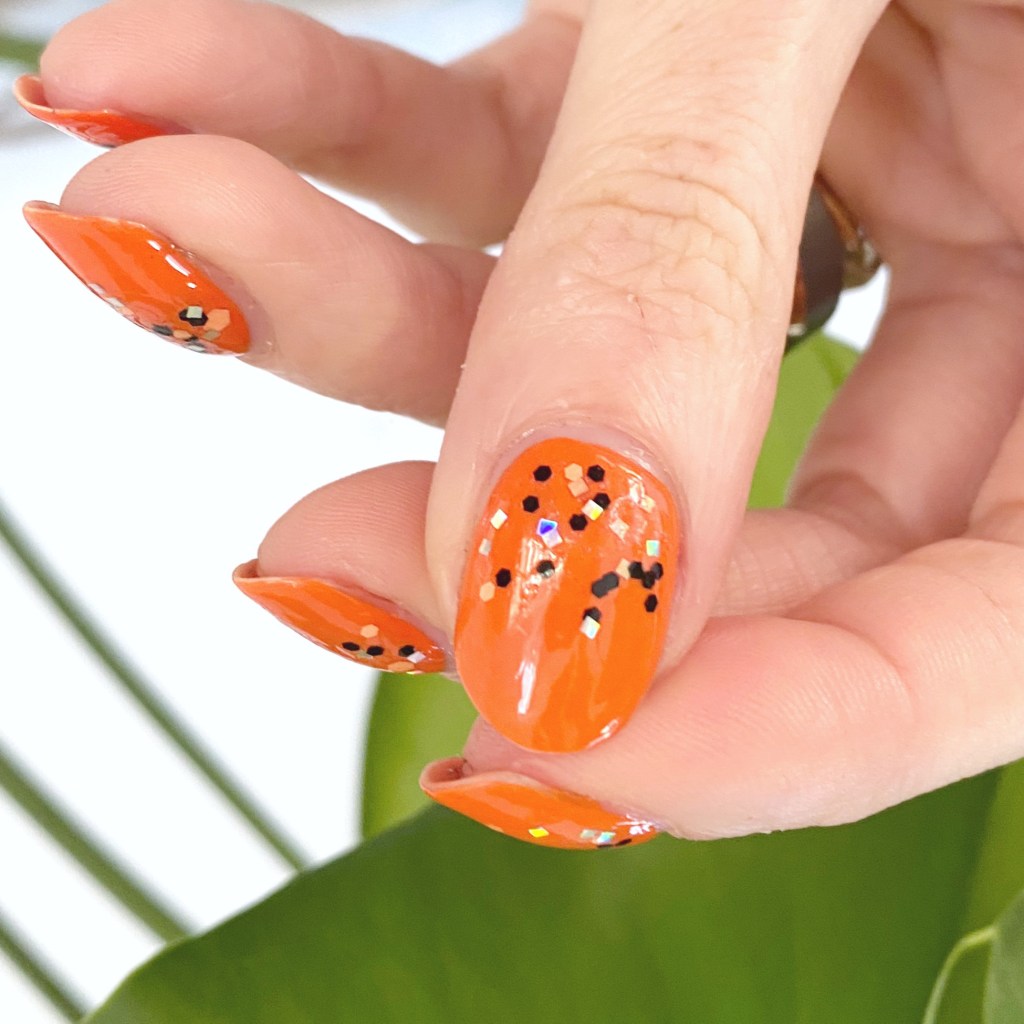
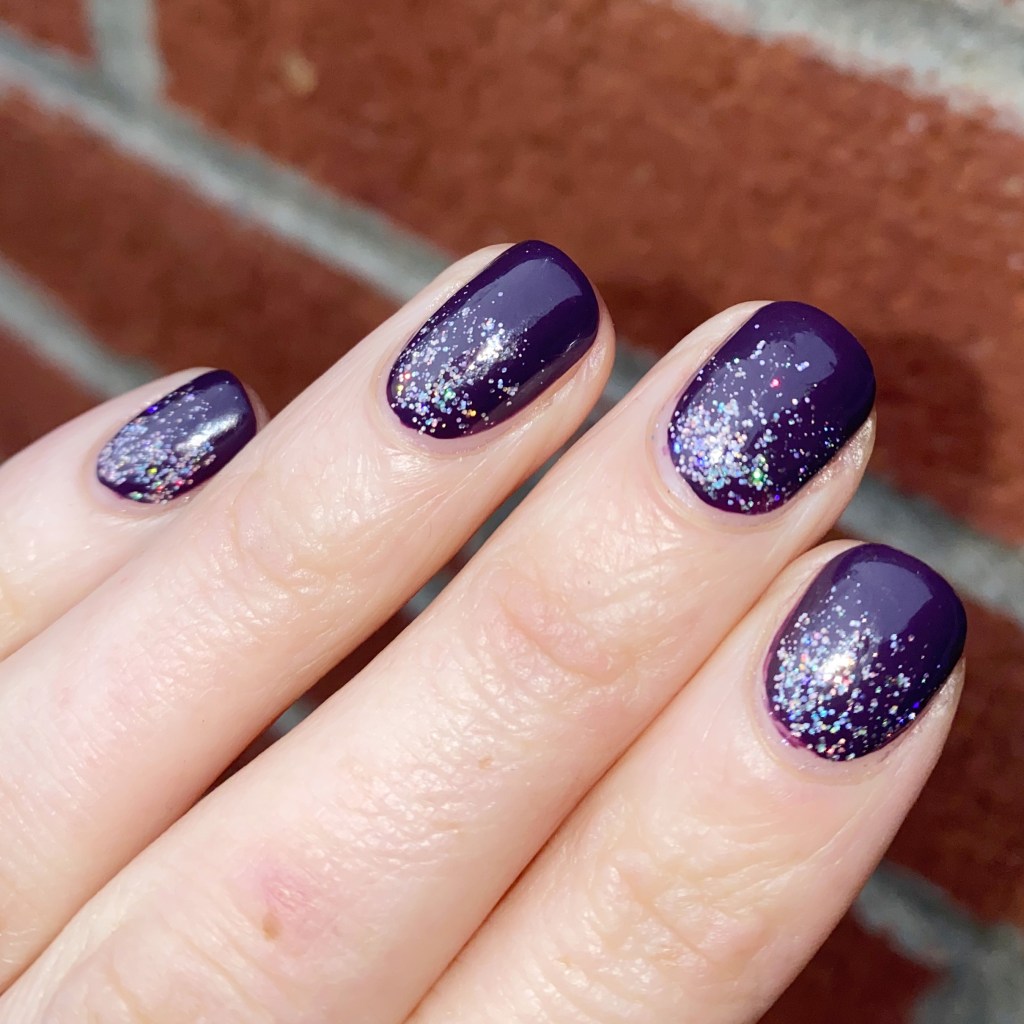
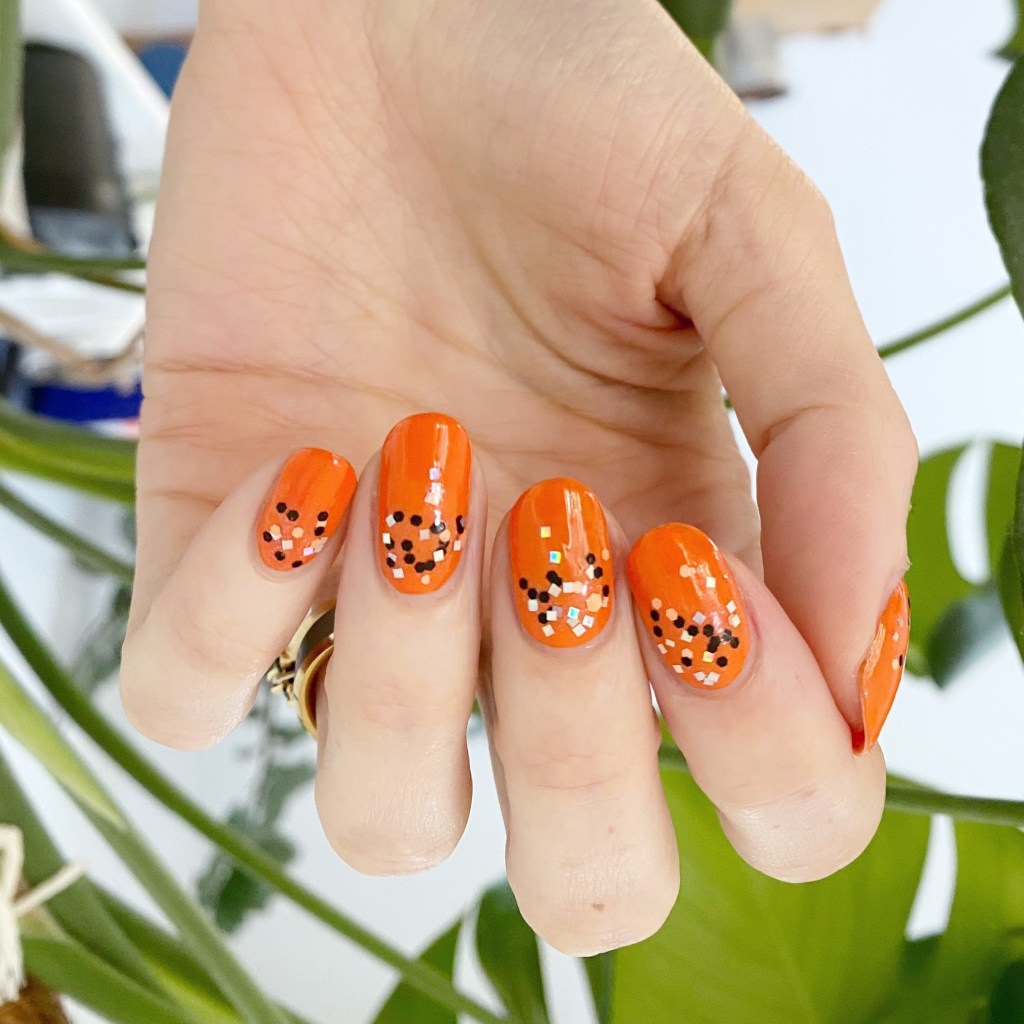
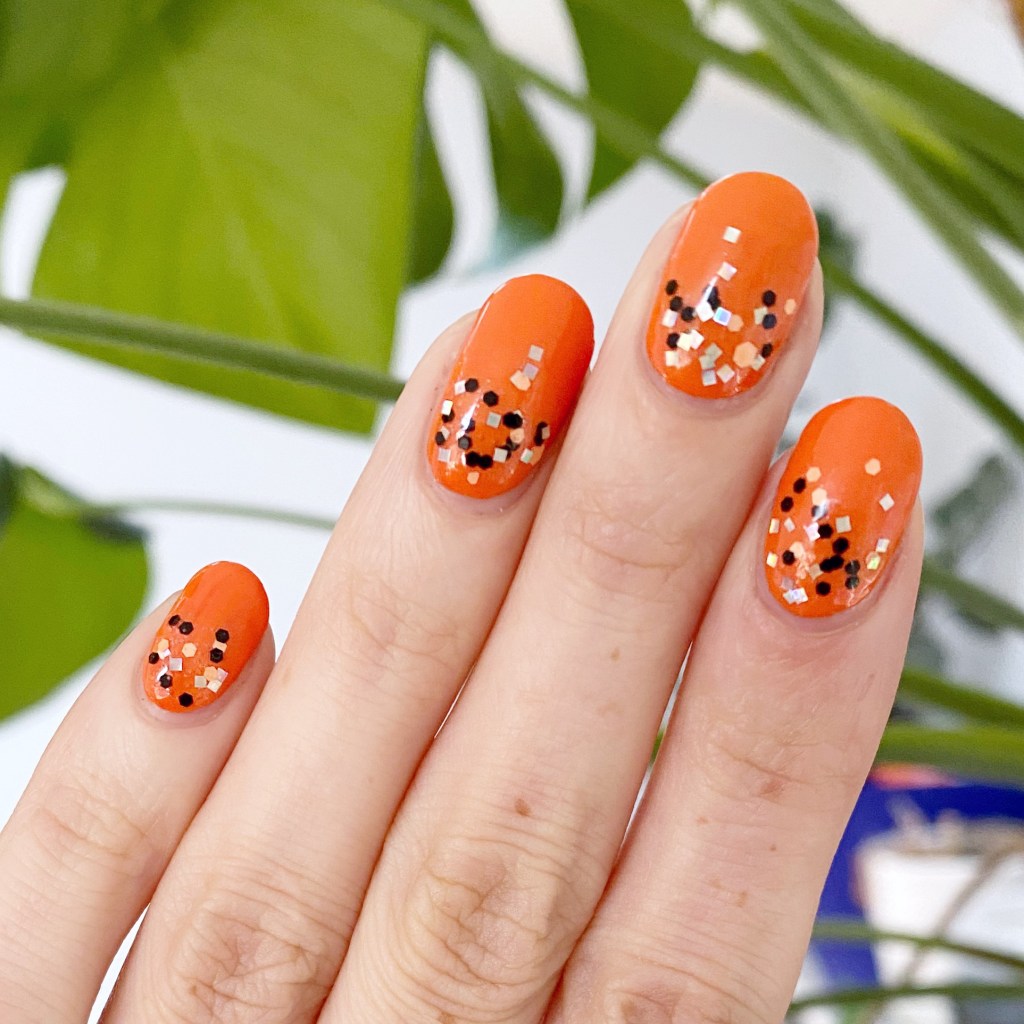
So you might remember, a few years ago, I did a similar idea using a darker base, so I thought it would be fun with this pumpkin orange as the base! Orange isn’t really a colour I’m drawn to frequently any other time of the year, but I do enjoy it around Halloween! & this is such a fun easy look that still gives off Halloween vibes without being obvious about it.

What do you think about this quick & easy glitter gradient? Are you a fan of orange polish? Let me know down in the comments below!

🖤

Purple Glitter Sparkle Gradient

Hello lovelies & happy Monday! A brand new week to enjoy. Today, I’m sharing a little bit of sparkle with you to start off this week. I recently was feeling stuck for inspiration, so I decided to grab one of my favourite purple OPIs Dutch You Just Love OPI?, & a pretty glitter OPI, & create a quick, easy glitter gradient!

The polishes I used for this manicure are: 

  • Base Coat: Sally Hansen Miracle Gel Colour Grip Primer Base Coat 
  • Top Coat: Sally Hansen Miracle Gel Glossy Top Coat
  • OPI Dutch You Just Love OPI?
  • OPI Charmmy & Sugar
  • Latex free make up sponge (mine are from Dollarama)

Check out that sparkle! I love it. I don’t know if I’ve ever worn this pretty sparkle before (it’s from the 2016 OPI x Hello Kitty collaboration) but I think it looks incredible over this purple. I love a good glitter gradient, & sometimes you find two polishes that just go together so perfectly. I love that moment.

What do you think of this quick & simple nail art look to start off your Monday? I know it’s not the most exciting of manicures, but sometimes you just want a little bit of sparkle.

Let me know what you think down in the comments below.

Sparkly Glitter Gradient ✨

Good morning lovelies & happy Monday! A beautiful, sunny & warm Monday. It’s feeling like Summer today, & I’m loving every moment of it.

Today I gave a super simple, easy nail art look that anyone can do! I love a good glitter gradient, & it is such an easy way to spruce up a relatively plain manicure.

The polishes I used for this manicure are: 

  • Base Coat: Londontown KUR Nail Hardener & Base Coat 
  • Top Coat: Seche Vive Fast Dry
  • Essie Revenge’s A Beach
  • Sinful Colors Pride

What I love most about a glitter gradient is you don’t really need any tools. Obviously, you can sponge on the glitter, but I usually just apply it using the brush as I find it easiest (& least messy).

These are definitely the look you need to do if you have a special occasion you want fancy nails for, but aren’t too comfortable with nail art. I swear, anyone can rock this look easily! In fact, I’m already planning another one in my head featuring a few glitters I don’t use too often — stay tuned!

What do you think about this fun glitter gradient? Also yes — that is the same polish from yesterday’s Swatch Sunday post. Crazy how different lighting can make it look different! Natural light vs Light Box.

Have a fantastic beginning to your week loves! 🖤

Itty Bitty Gradient Dotticure

Hello lovelies! Yes it’s me — only we’re rocking some shorties again. (Okay, & I’m drinking a matcha lemonade — my other drink aside from coffee!) I mentioned I had a patch on my middle finger nail of a bad crack. I finally decided I was over trying to keep it from cracking worse, & decided to chop my my nails down.

Today I went with a simple but fun look to wear. I love a good gradient dotticure, but I realized it’s been a long time since I actually did one. This design was actually inspired by this look from 2016. I thought since we were back down to shorties, why not find some fun nail art to do on short nails!

The polishes I used for this manicure are: 

  • Base Coat: Londontown KUR Nail Hardener & Base Coat
  • Top Coat: Seche Vive Fast Dry Top
  • Londontown KUR Mint No Chip
  • Sally Hansen I ❤️ Nail Art pen in purple
  • Sally Hansen I ❤️ Nail Art pen in turquoise
  • Sally Hansen I ❤️ Nail Art pen in pink
  • Sally Hansen Miracle Gel Get Mod
  • Itty Bitty Dotting Tool (NailStuff.ca Dotting Tool Trio)

How absolutely adorable as these itty bitty polka dots? You could definitely do this with a tiny dotting tool & an assortment of polishes, but I love those Sally Hansen I ❤️ Nail Art pens because it makes it so easy! I really wish Sally Hansen would bring them back, because they’re amazing for nail art — & mine are starting to empty out after all these years.

What do you think about this Gradient dotticure? Do you think you’d wear this fun (& easy!) look? Let me know all your thoughts down in the comments below.

& feel free to share any nail art you’d love to see me do on my new short nails!

Happy Friday! 🖤

New Years Eve Glitter Gradient

Hello lovelies & happy New Years Eve… Eve. Only 2 more days of this year left, & I can barely believe it. It really feels like the last few months, & especially the last few weeks, have absolutely flown by. With less than 48 hours left of this year, I figured why not sneak in one or two more manicures.

& naturally, with New Years Eve so close, I have to be all about the glitter. What better excuse than wearing all the glitter than counting down to a new year? I’m not much for getting dressed up, & going out on NYE… but you know I’m always going to have my nails ready for a night of snacks on the couch & sparkling kombucha.

The polishes I used for this manicure are: 

  • Base Coat: Essie Hard To Resist Glow & Shine 
  • Top Coat: Seche Vite Fast Dry Top Coat
  • Essie Kimono Over
  • Color Club On the List
  • Color Club Take Me to VIP
  • China Glaze Fairy Dust

Ooooooh look at the sparkle. I made sure to take pictures with my flash on, because I really wanted to be able to properly capture the sparkle. Like how much fun is this to wear for New Years Eve? I did this look completely without any tools, just layering of glitter, & it turned out so perfectly, & glittery. It almost makes me wish I had something exciting planned for New Years Eve.

This is super simple to do though! You just need to gently apply the glitter at the base of your nails, & brush up gently. It gives you a thicker glitter near your cuticle, & gives a lighter effect as you go up. I ended up using 3 different glitters because layering also gives it a beautiful effect. I just love glitter so much.

Do you have you plans for New Years Eve solidified yet? I think we’re going to do some sparklers & snacks with our kids, & neighbours, & then some snacks on the couch leading up to the end of the night.

I’m also going to see if I can sneak in one more New Years Eve manicure before the end of the year, so I will see you tomorrow for one more look.

♥︎