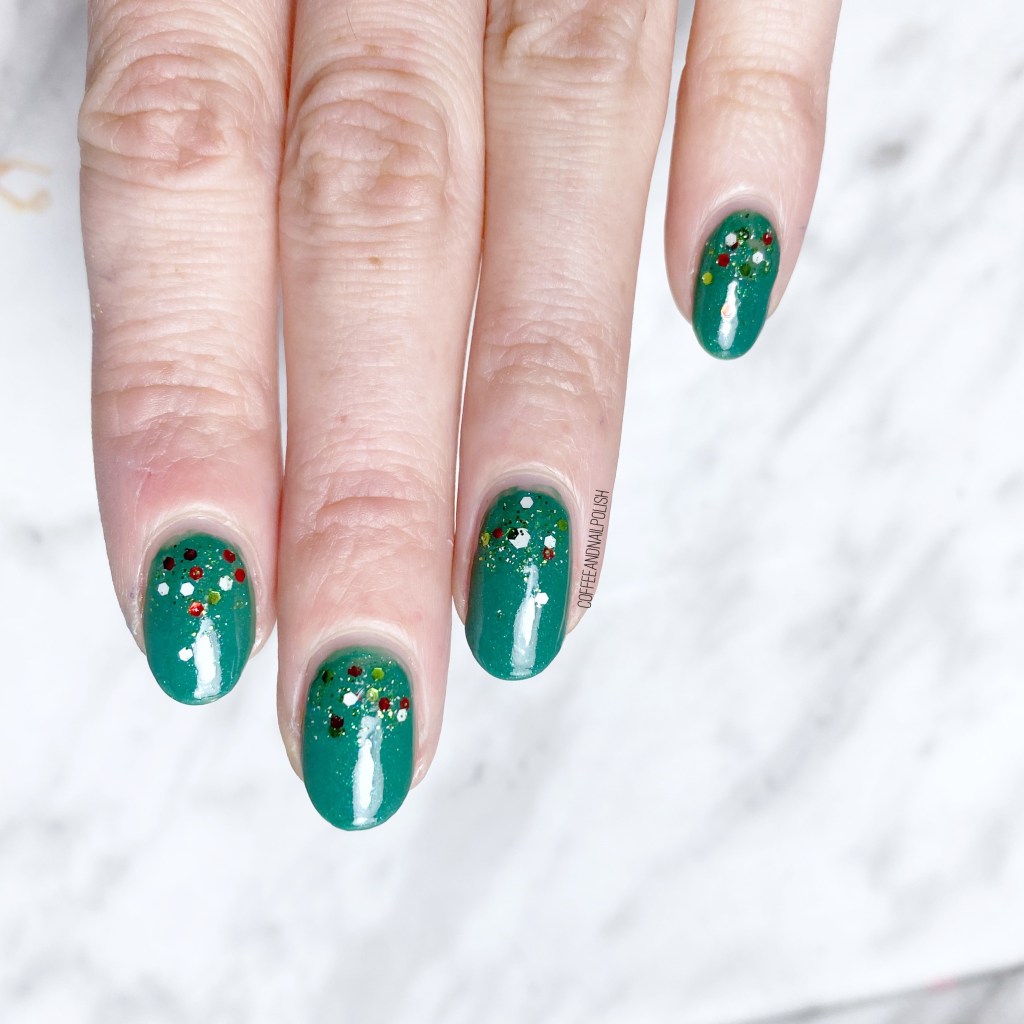
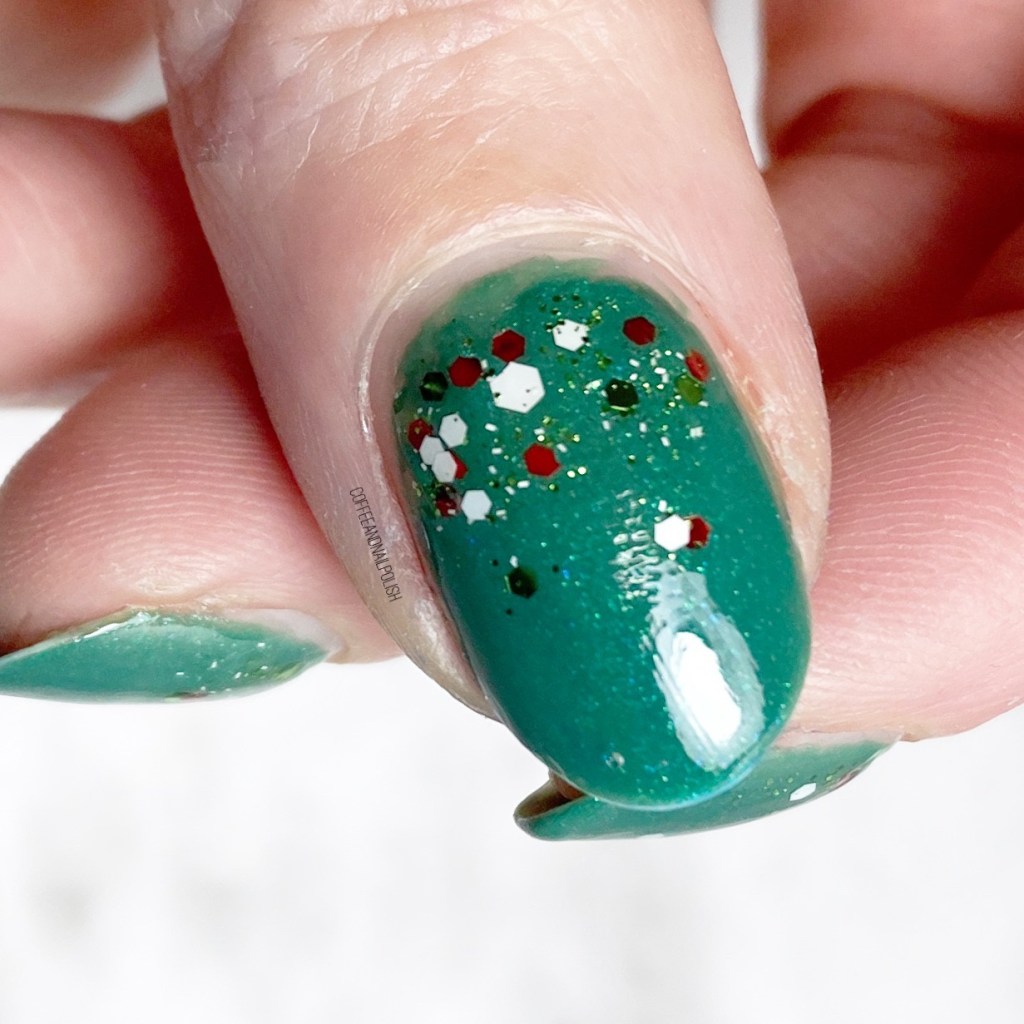
Good Morning & happy Wednesday! It’s a snowy, messy, gross Wednesday here with a little bit of everything a winter storm can offer. But I’m excited because I have a fun (& easy) nail art look to share with you today using an old school polish that I found at my local Dollarama! Every so often, older polish collections & nail art items pop up in the beauty aisle. So I was pumped when I saw a few of these Revlon Nail Art Duos from 2015 show up at my local Dollarama.
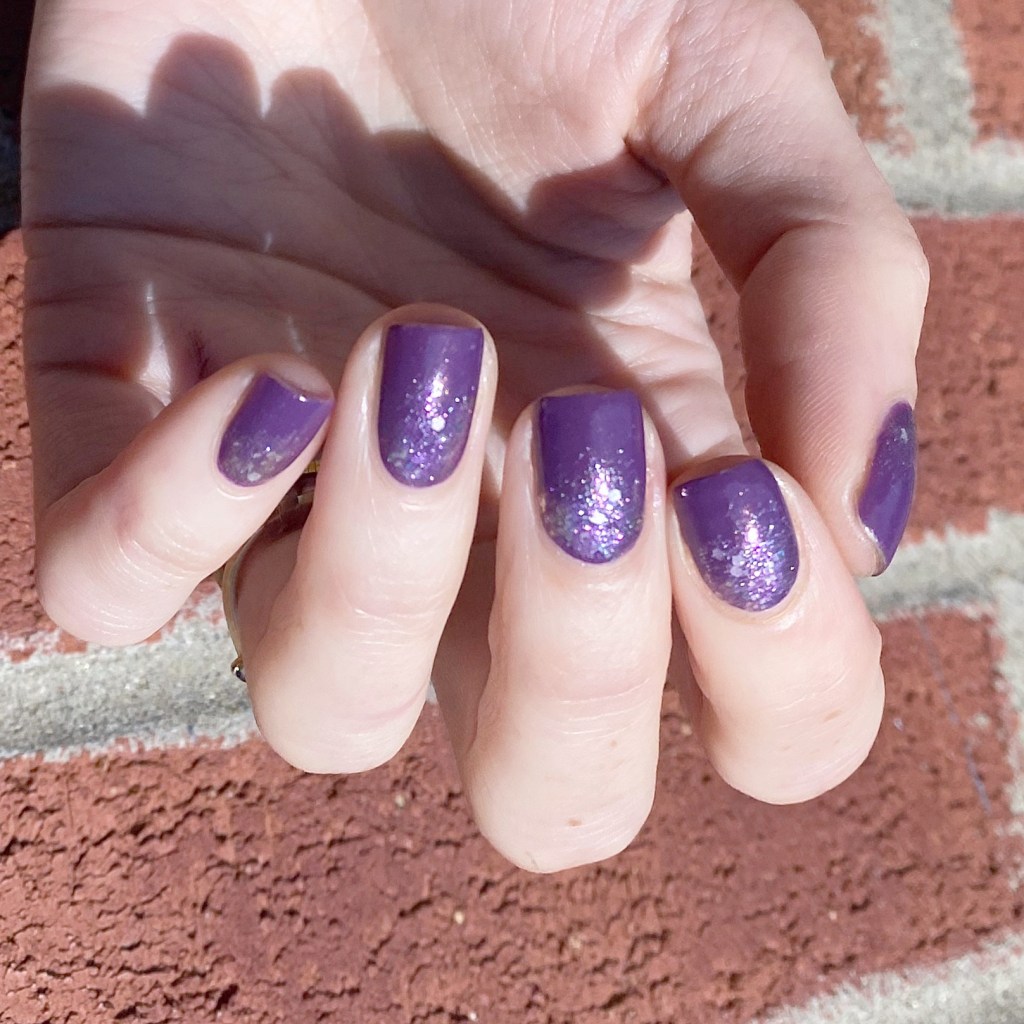
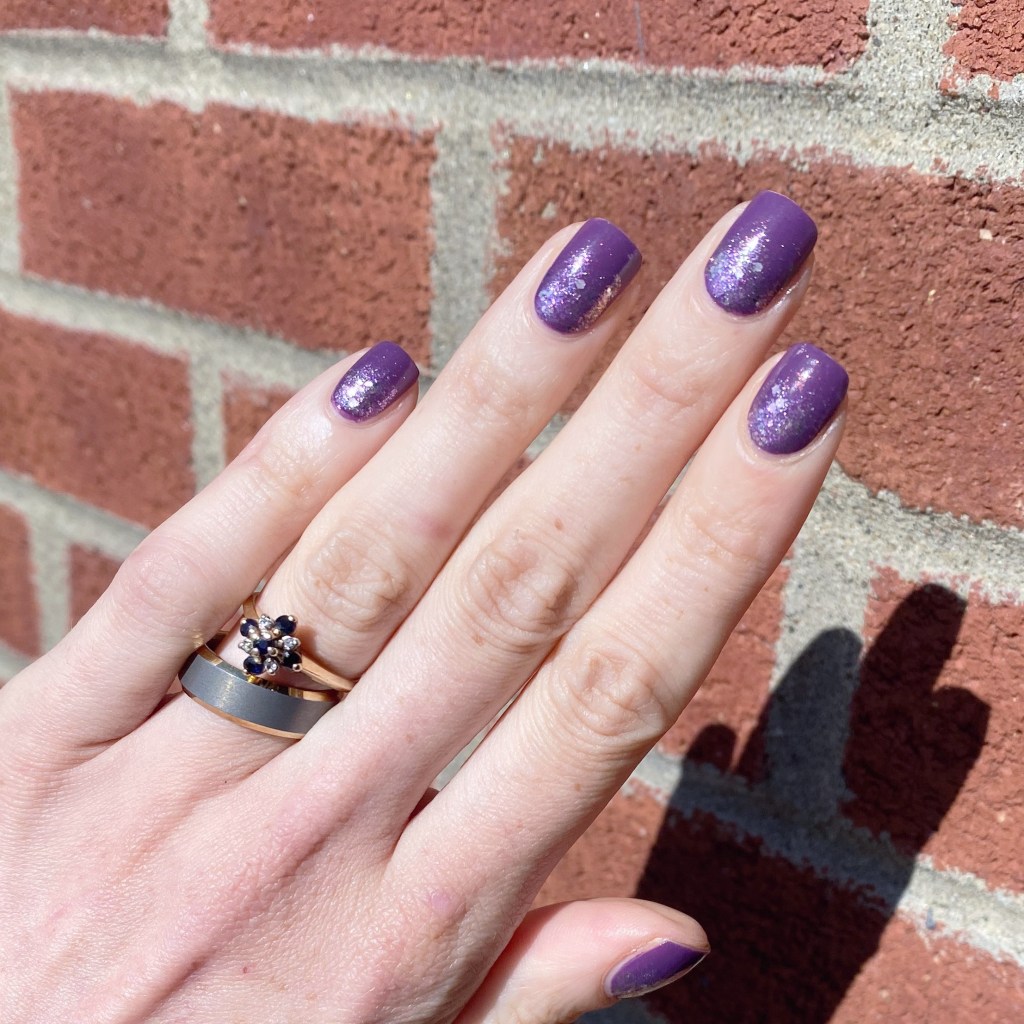
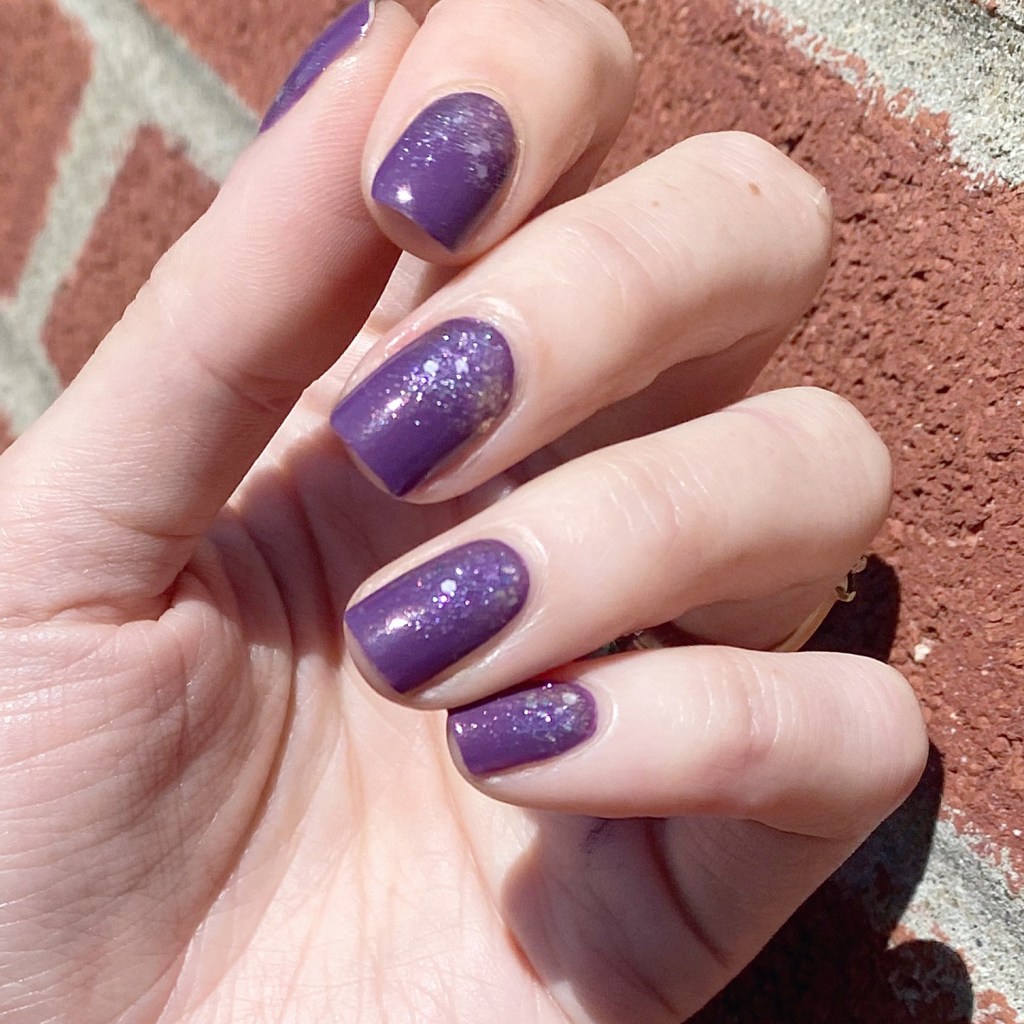
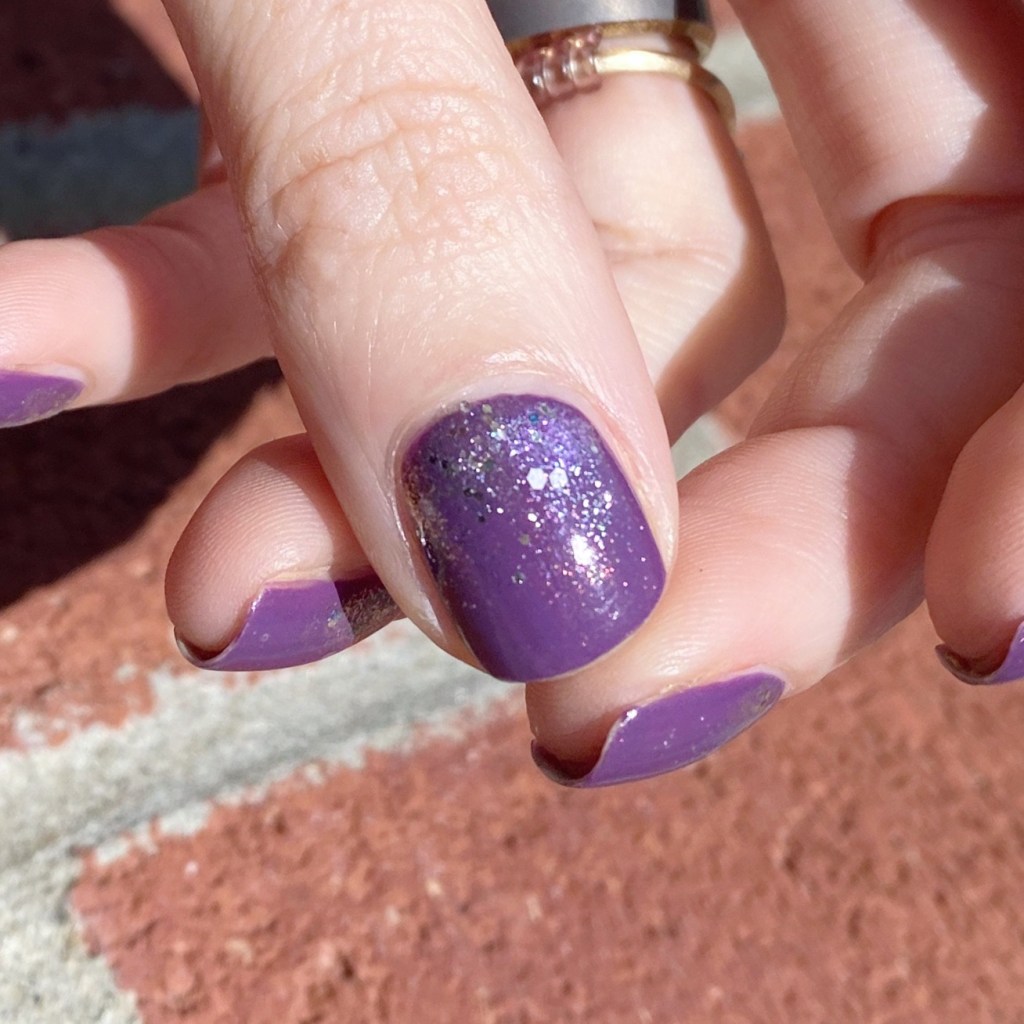
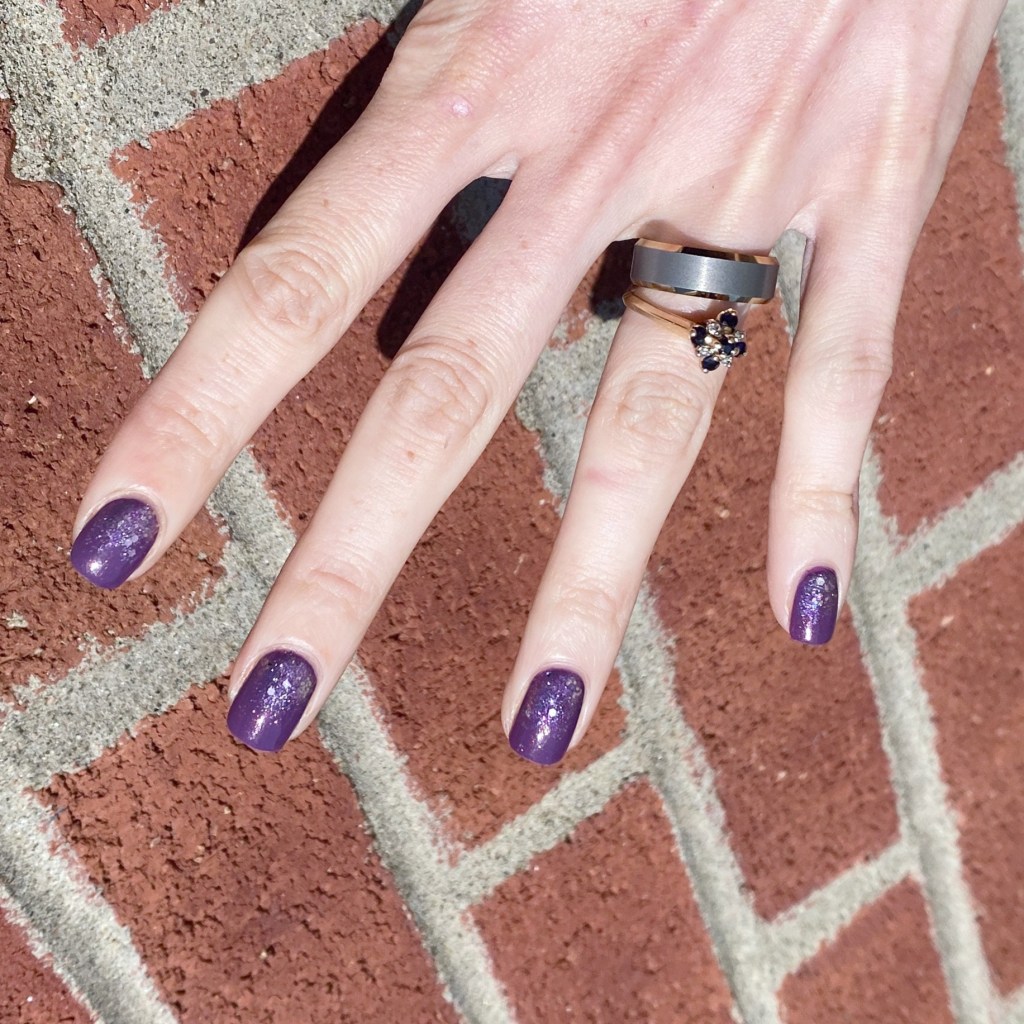
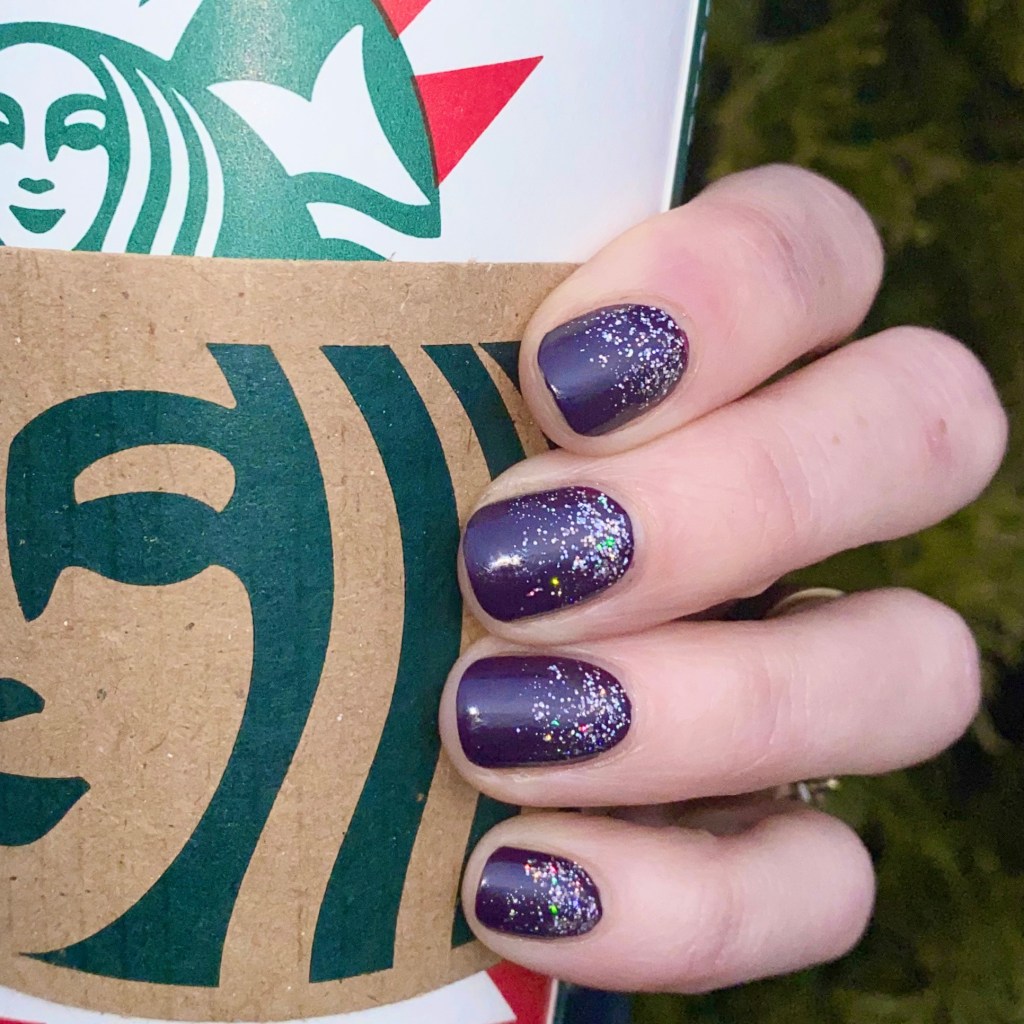
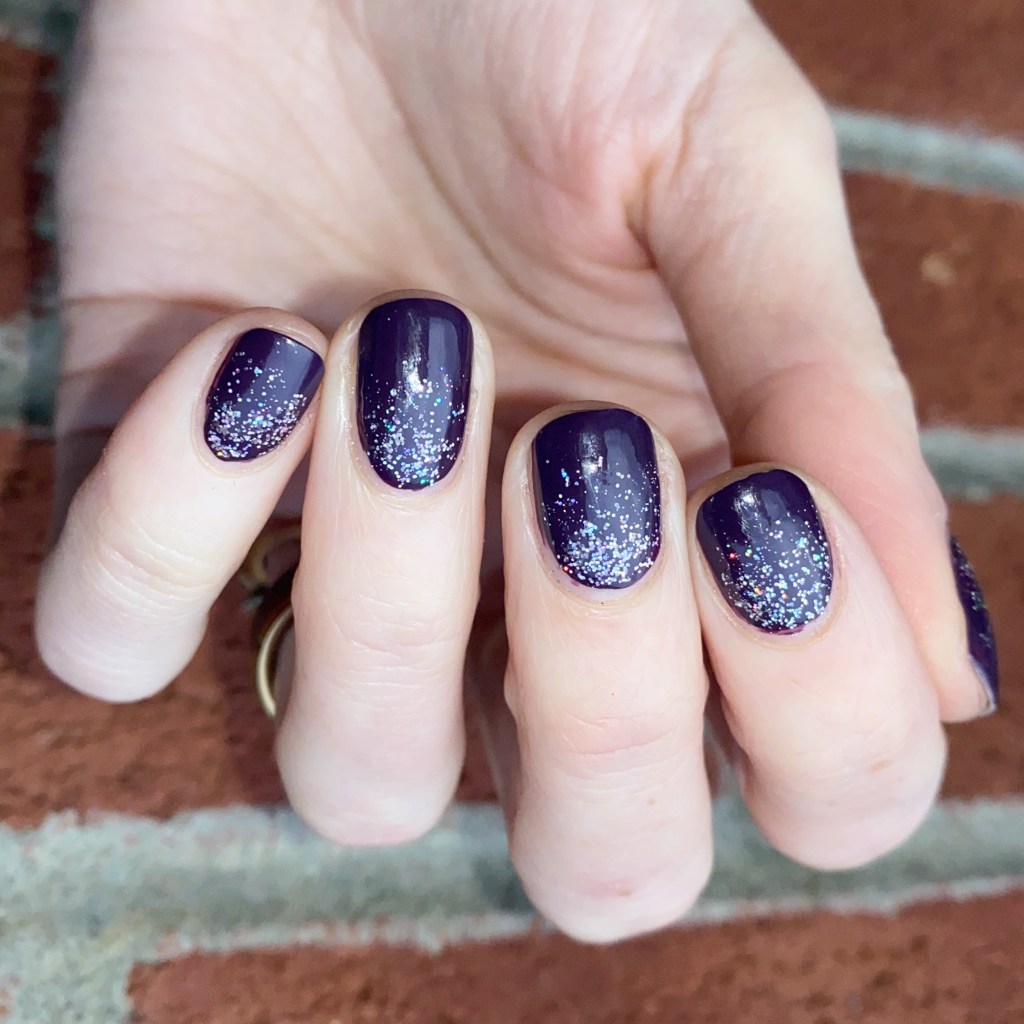
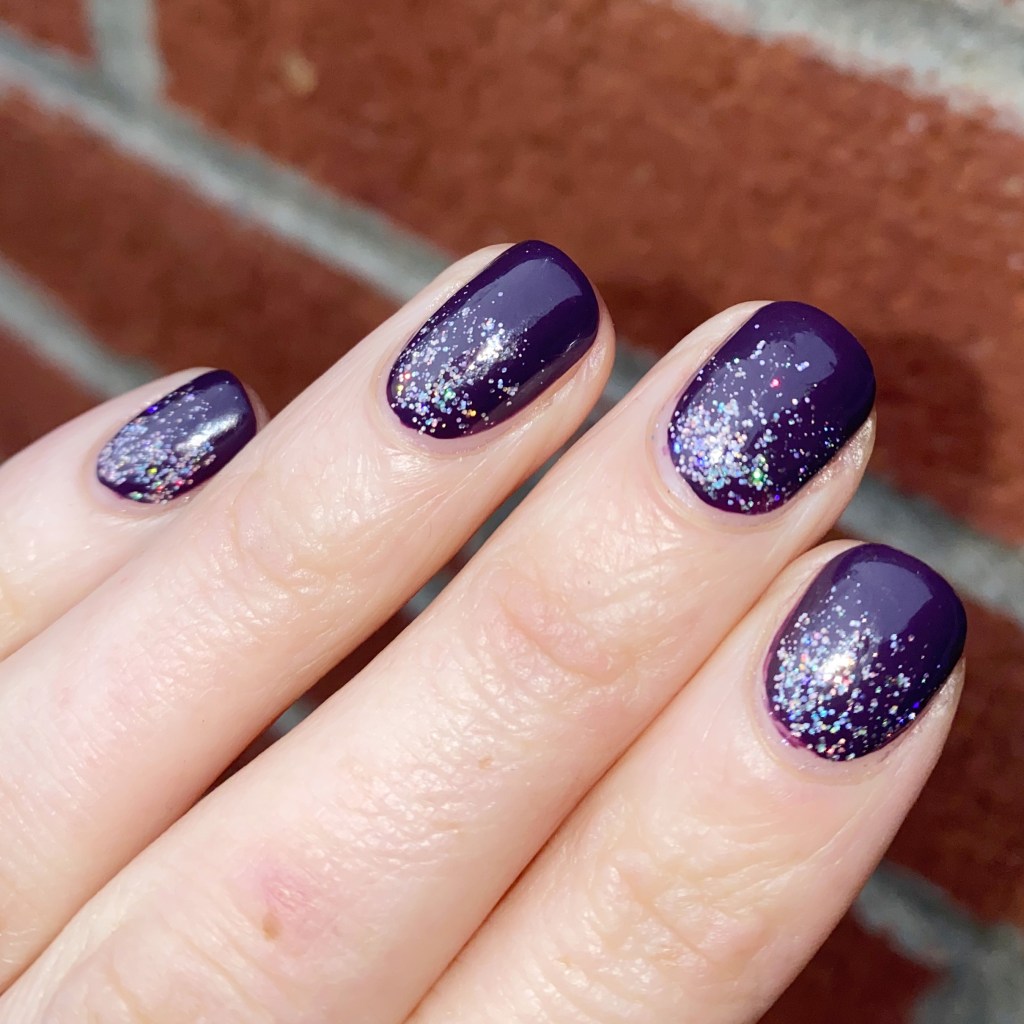
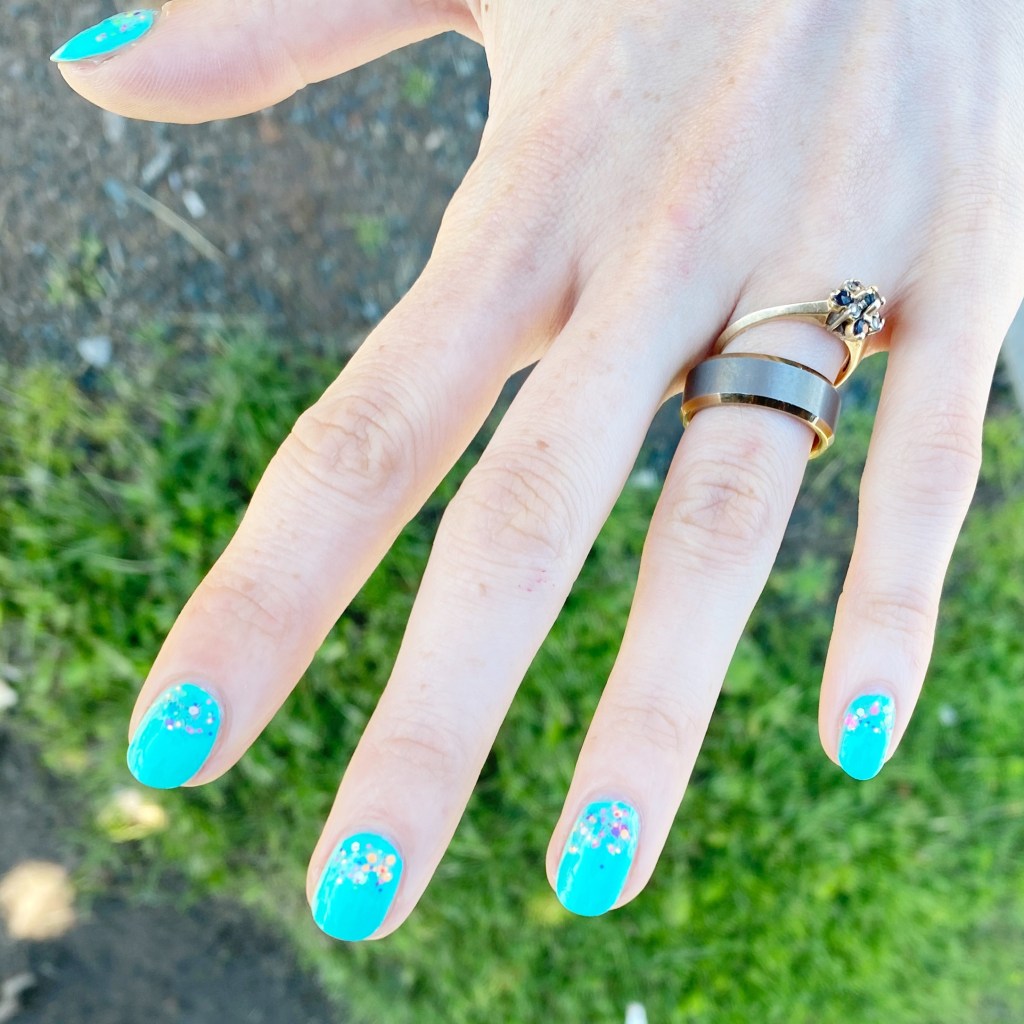
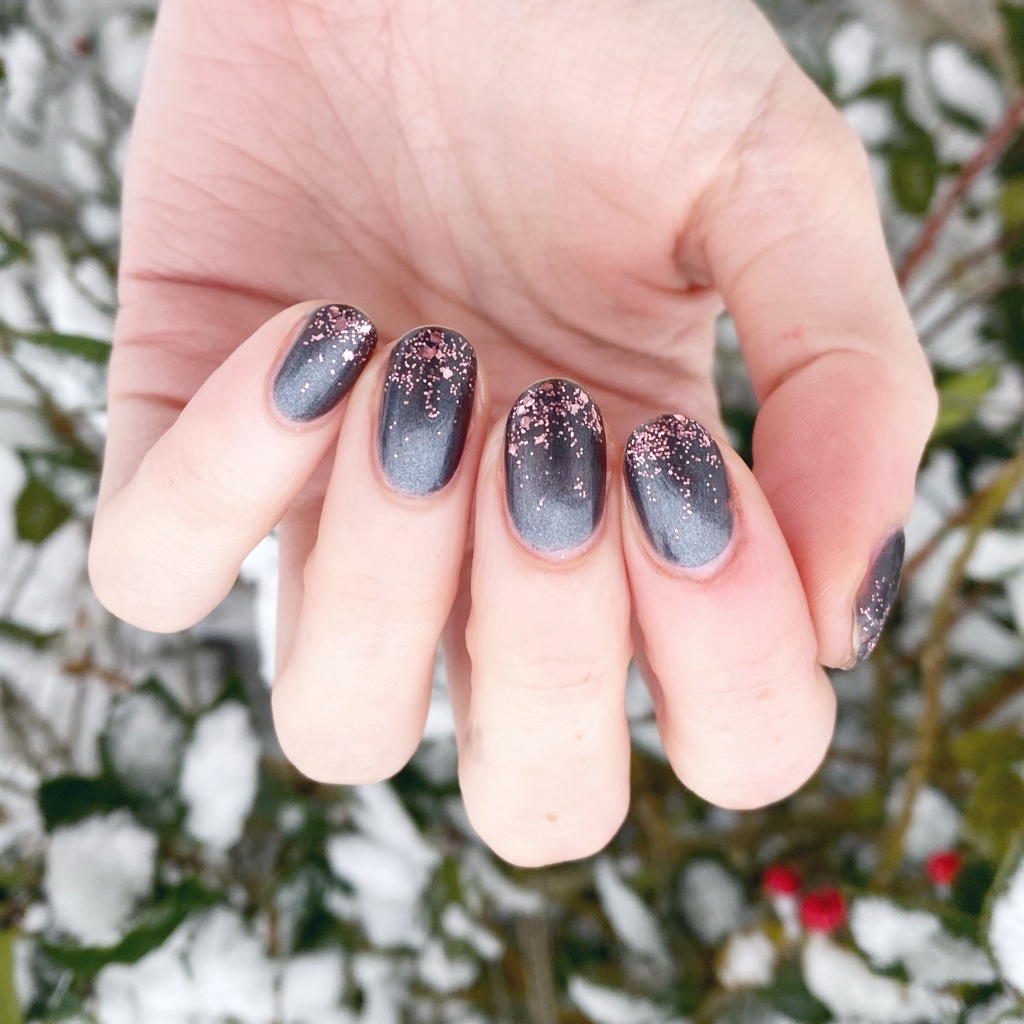
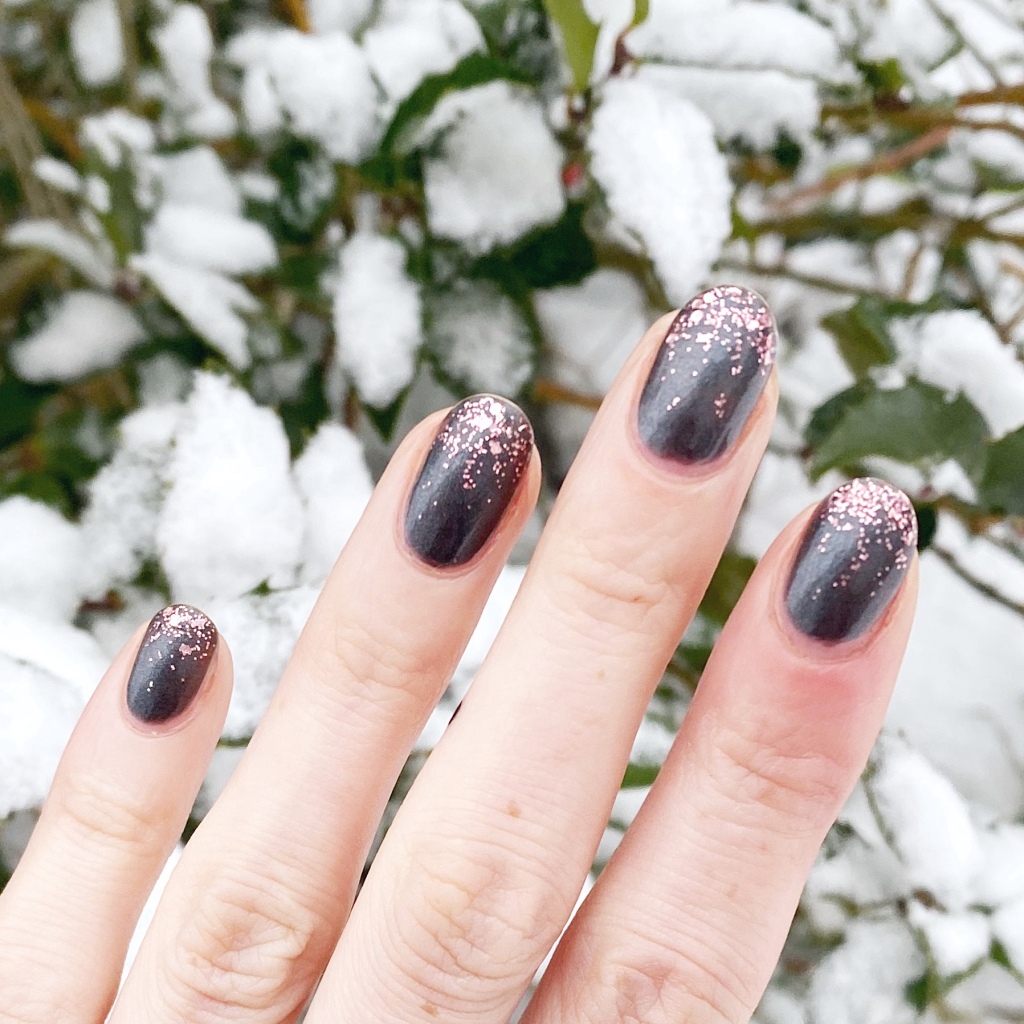
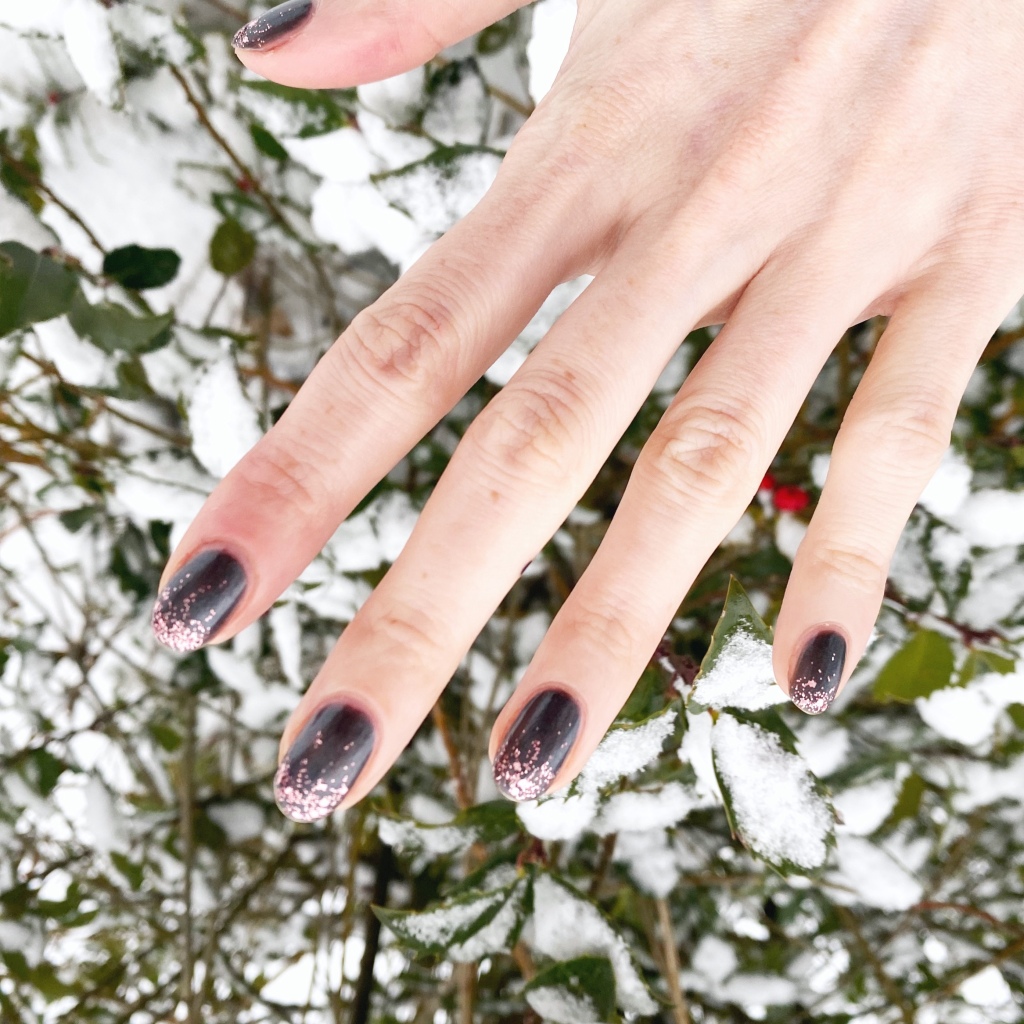
My local Dollarama had two different styles in stock — one neon one, & the one Santa slipped into my stocking called 350 Ulterior Motif. It has a dark metallic gunmetal base shade, with a rose gold glitter for accenting.
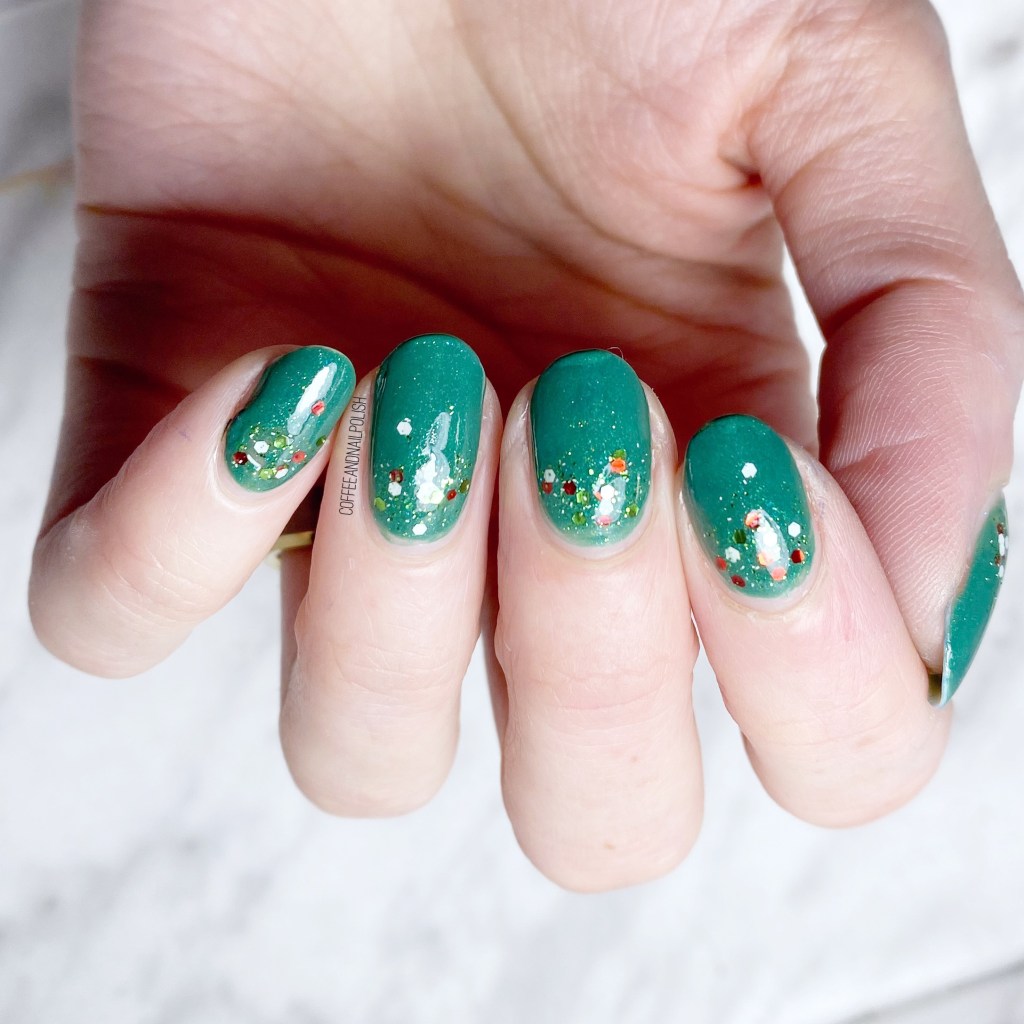
The polishes I used for this manicure are:
- Base Coat: China Glaze Calcium Gel Fortifer
- Top Coat: Essie Speed Setter
- Revlon Nail Art Duo 350 Ulterior Motif


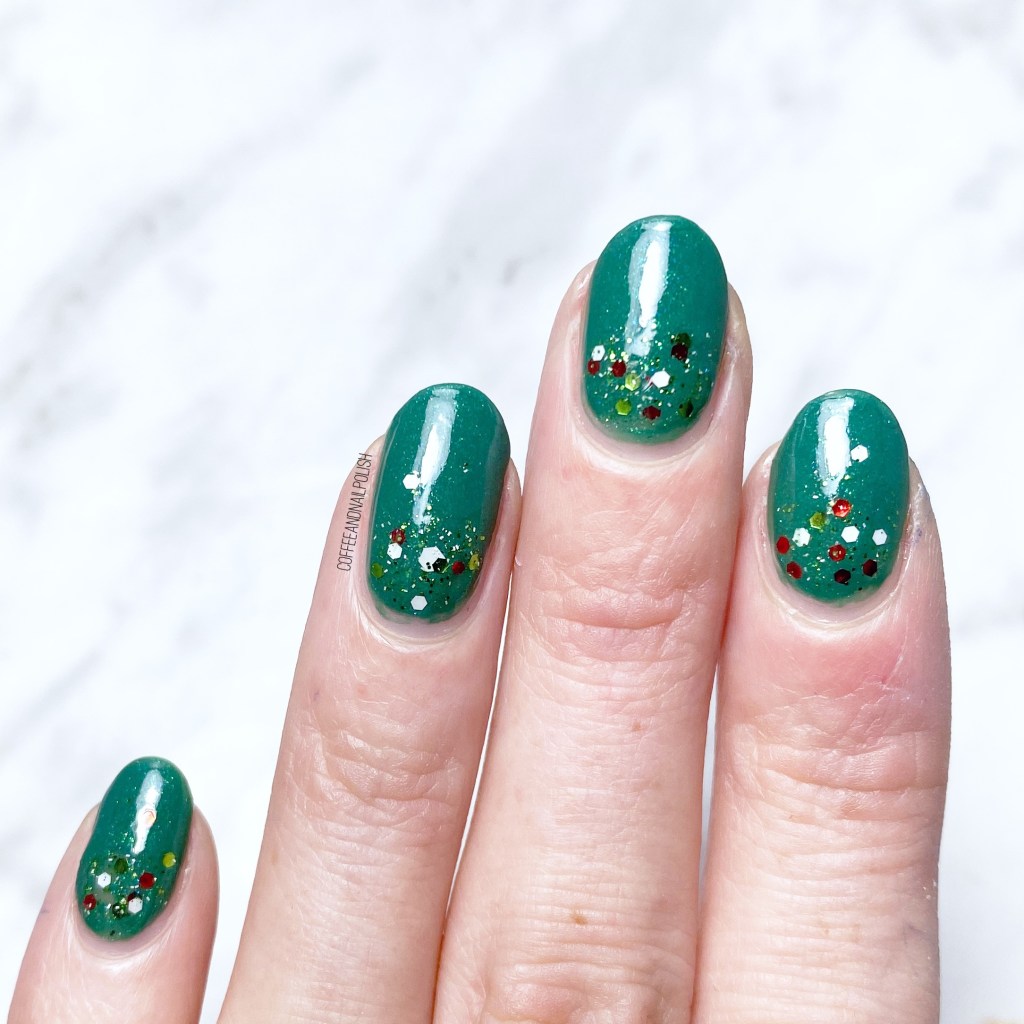
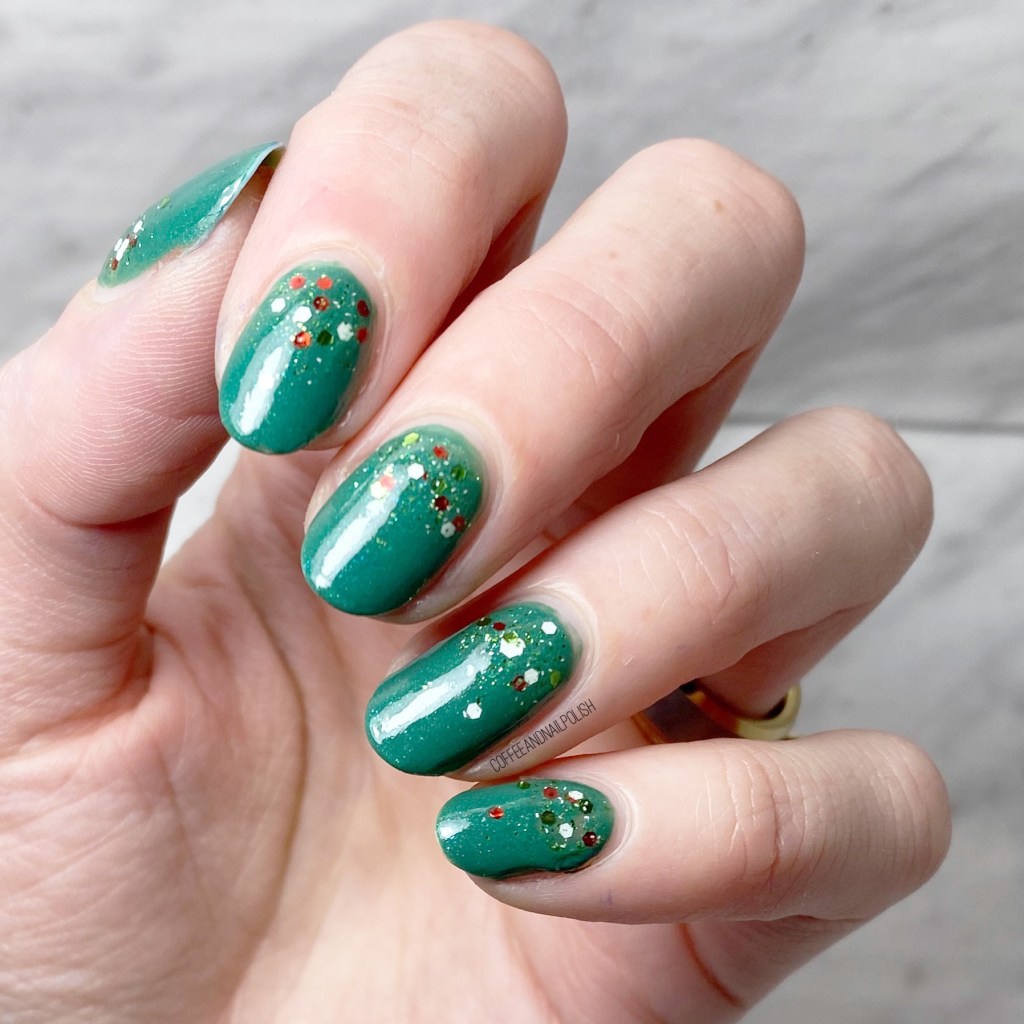
Don’t mind the tip wear — I stupidly photographed these after wearing them for a full work shift. But I love how easy this duo made it to create a funky nail art look, with no tools needed. I definitely didn’t take advantage of these sets when they were originally released — which is a shame, because they make nail art super easy!
Do you remember the Revlon Nail Art Duos from the mid-2010s? Did you have/do you have any in your nail polish stash? After using this one, I kind of want to go back & get the neon style because it will be fun to use in the Summer!
Have a lovely day ♥︎